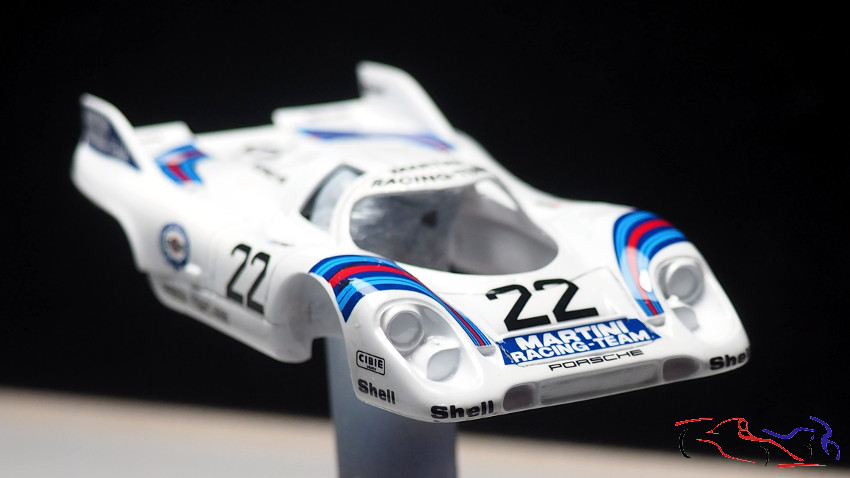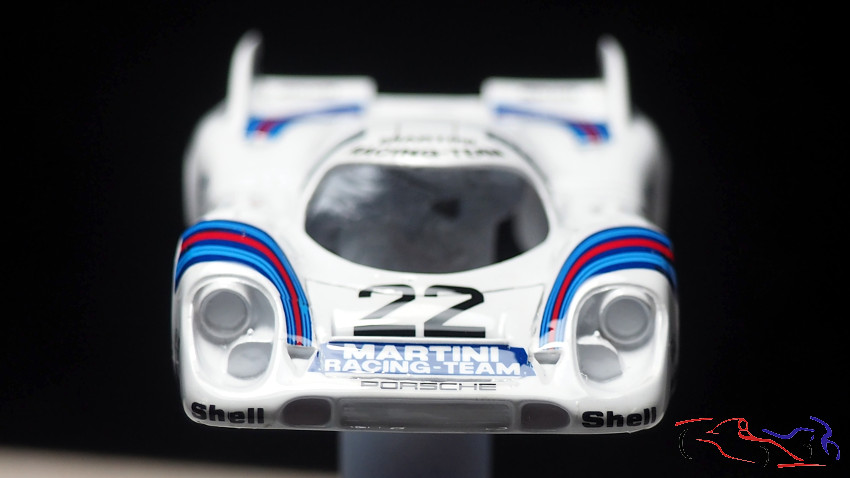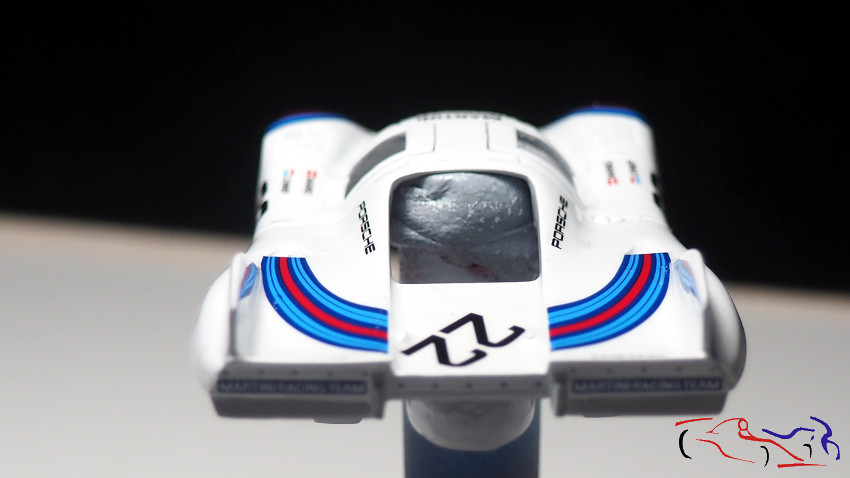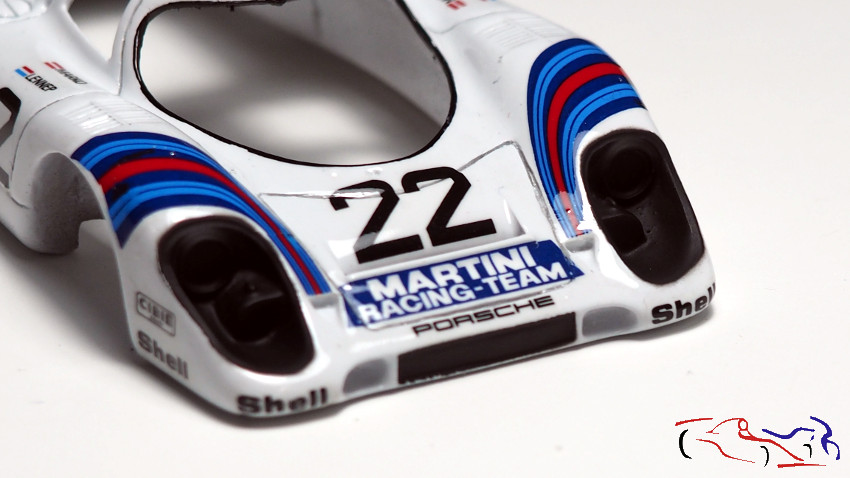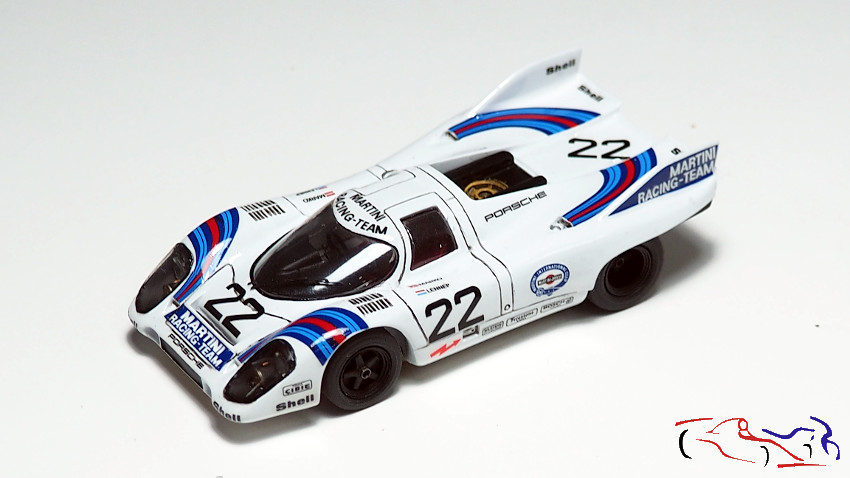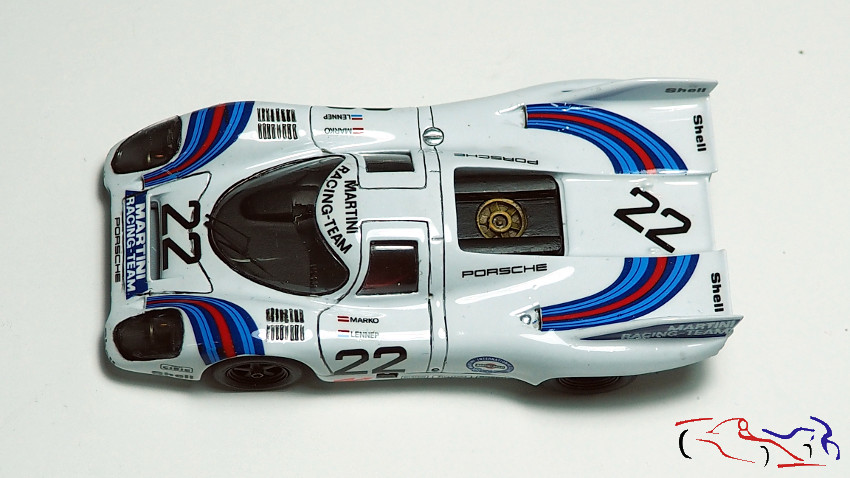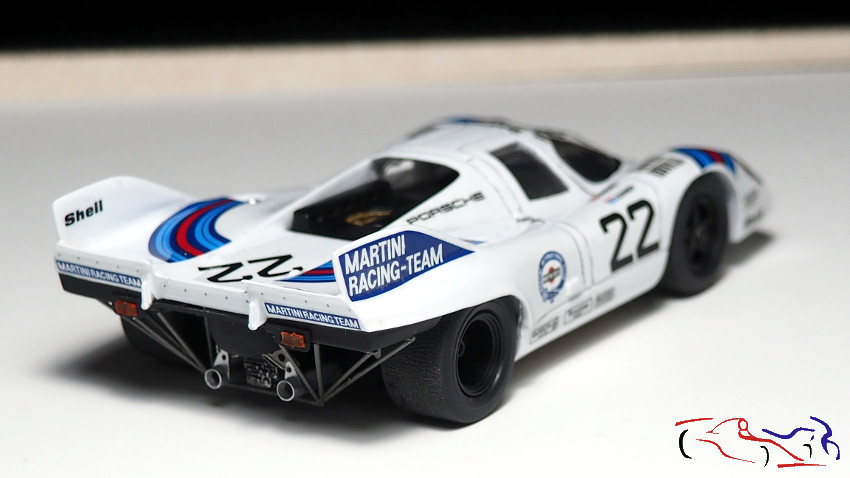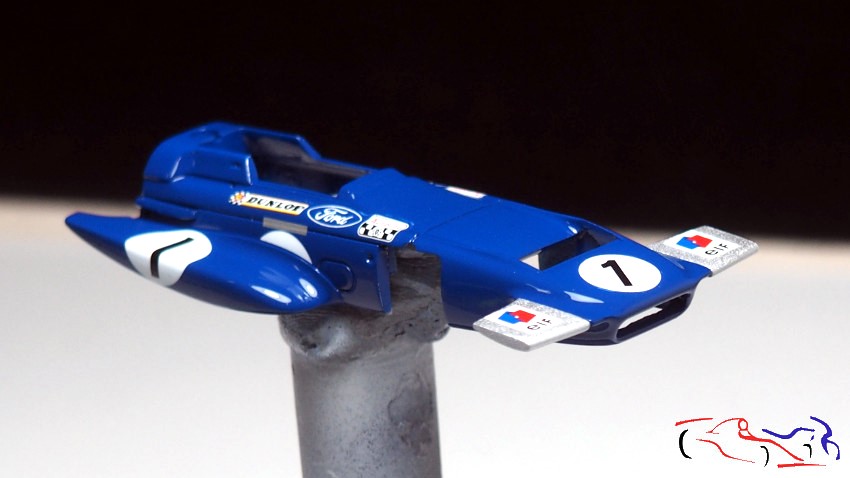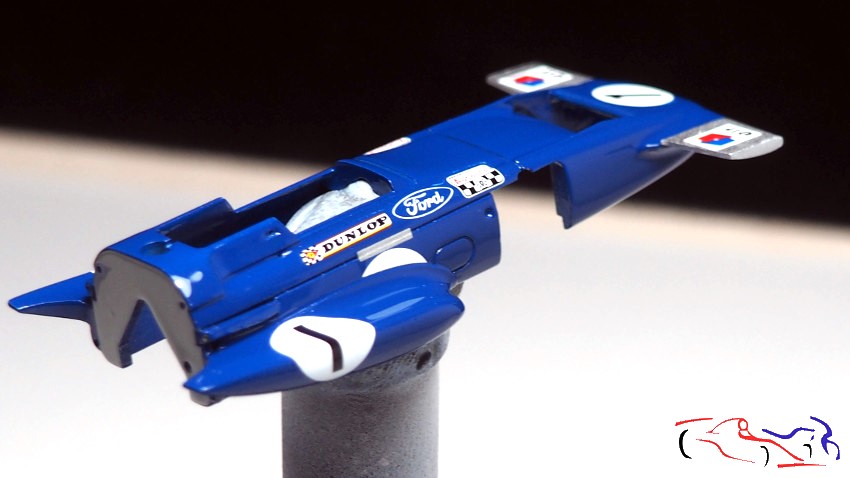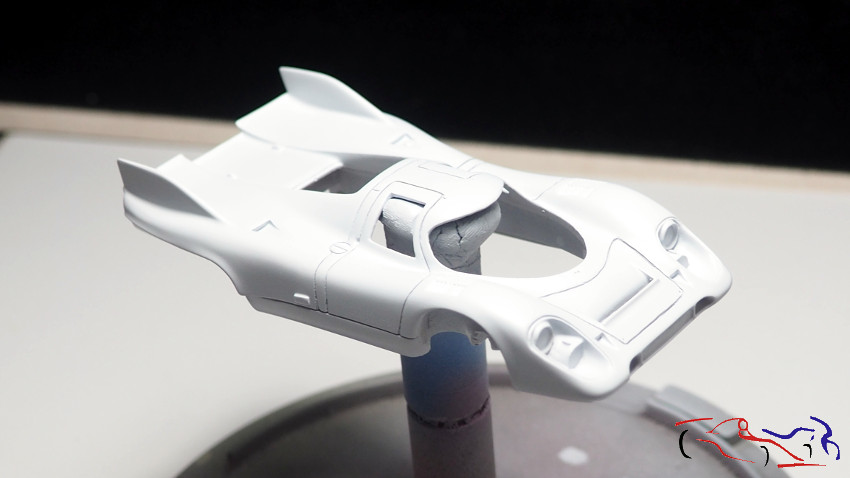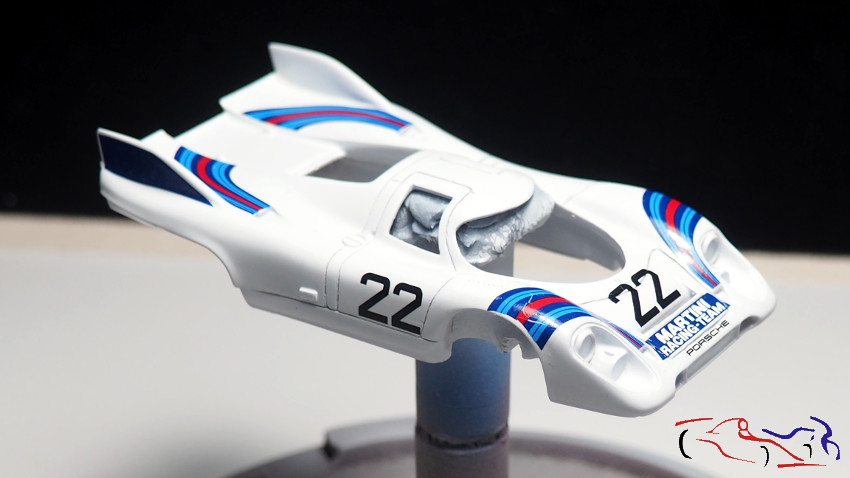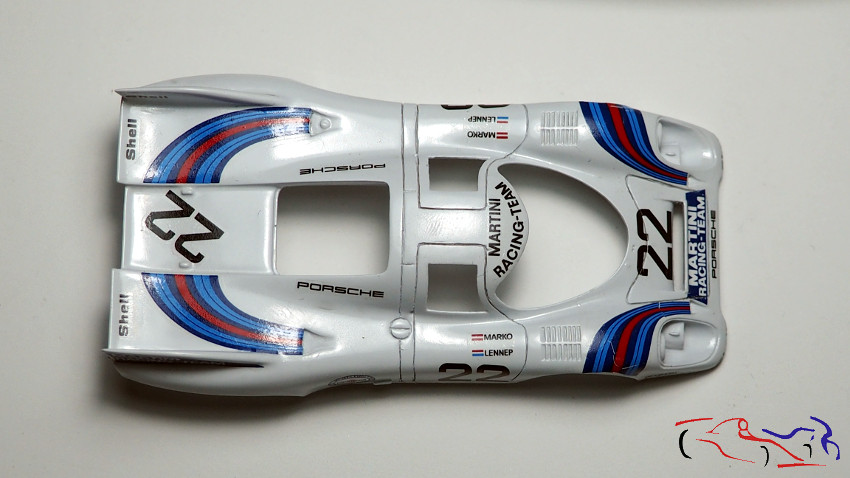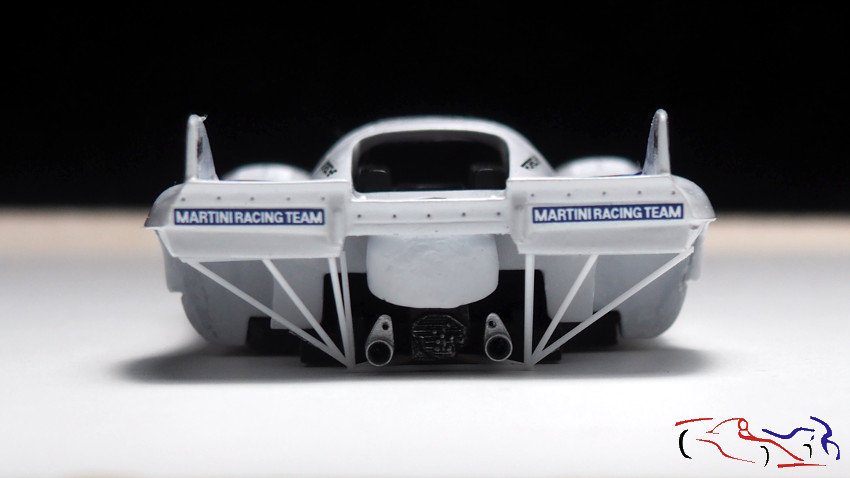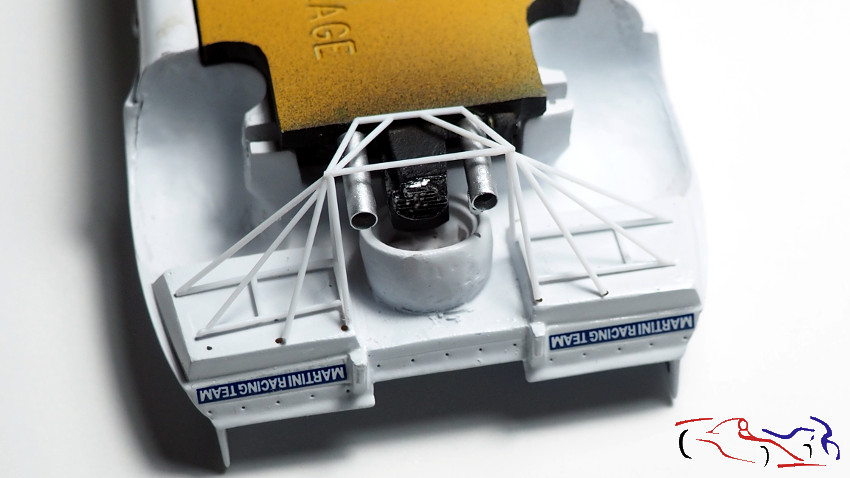
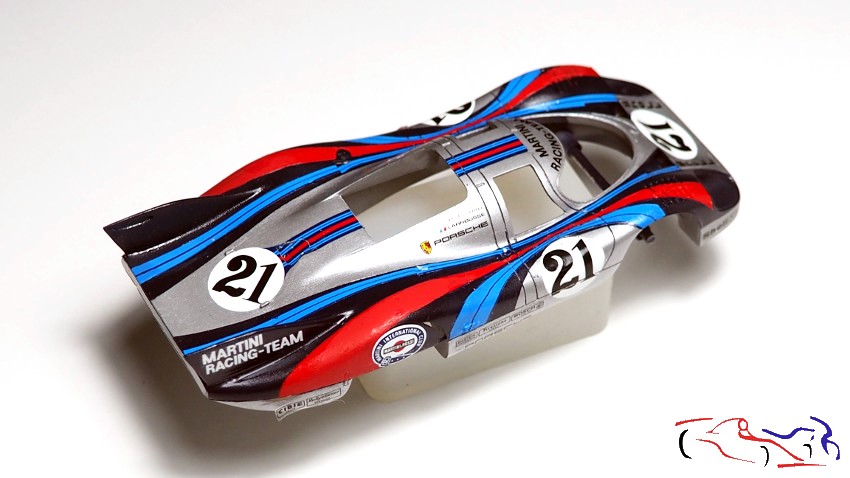
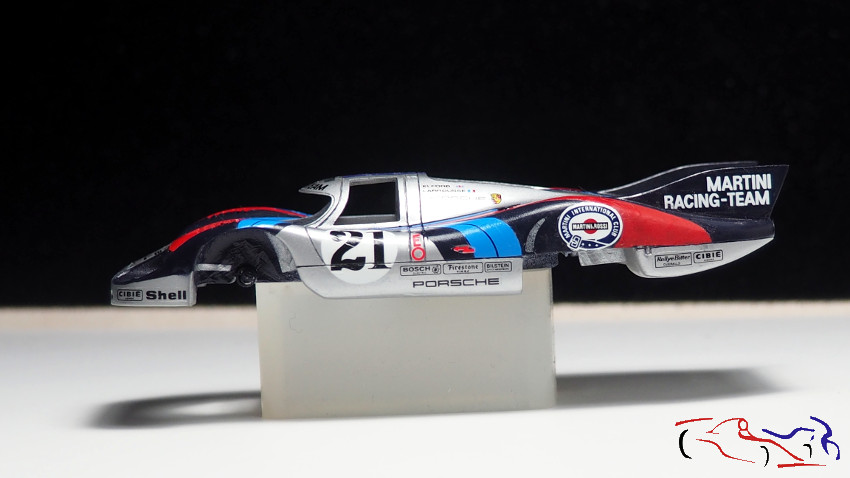
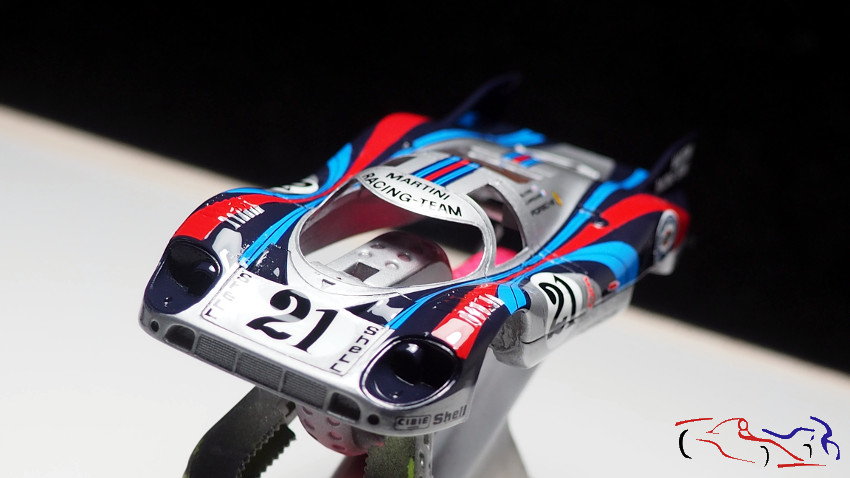
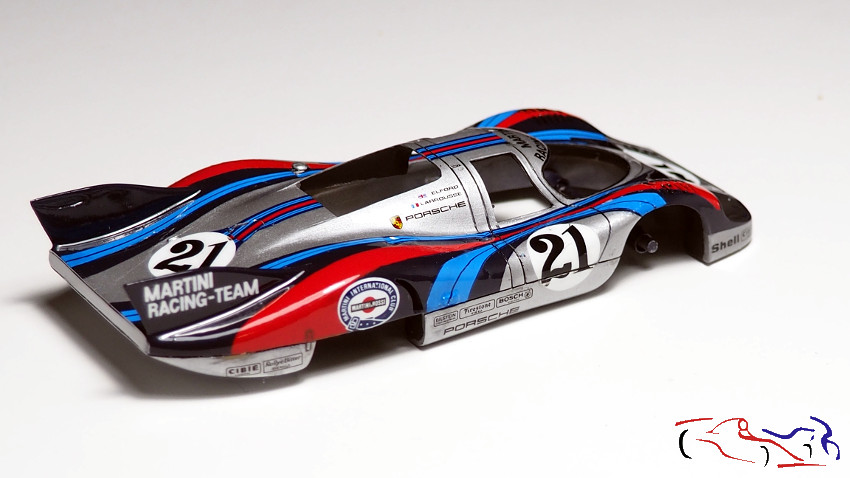
Hola a todos de nuevo. Dejamos al 917 LH con parte de las calcas puestas, y aquí os muestro el coche con todas las calcas colocadas. Siguieron dando trabajo pues había formas redondeadas y los liquidos y el calos fueron indispensables:
Hello everyone again. We left the 917 LH with some of the decals applied, and here’s the car with all the decals in place. They were still a bit of a challenge because there were rounded shapes, and liquids and heat were essential.
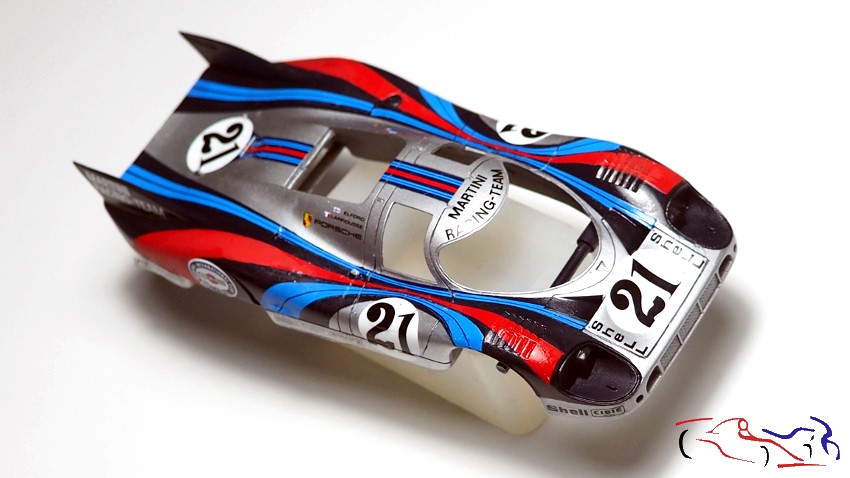
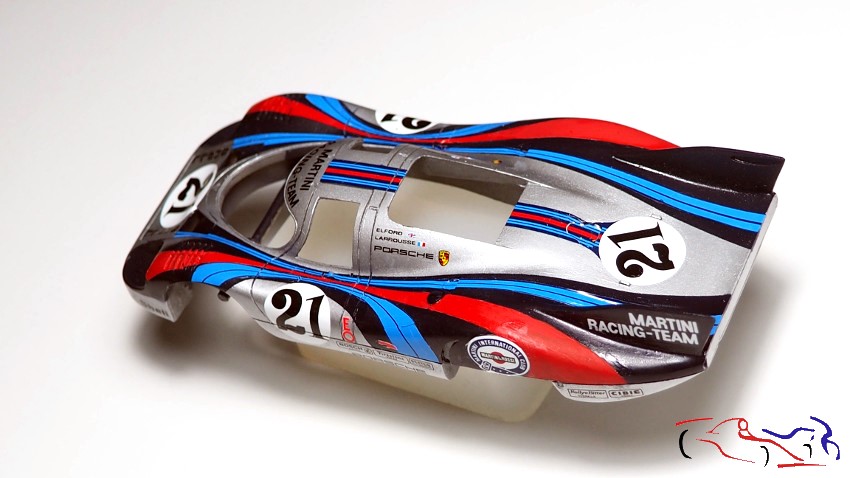
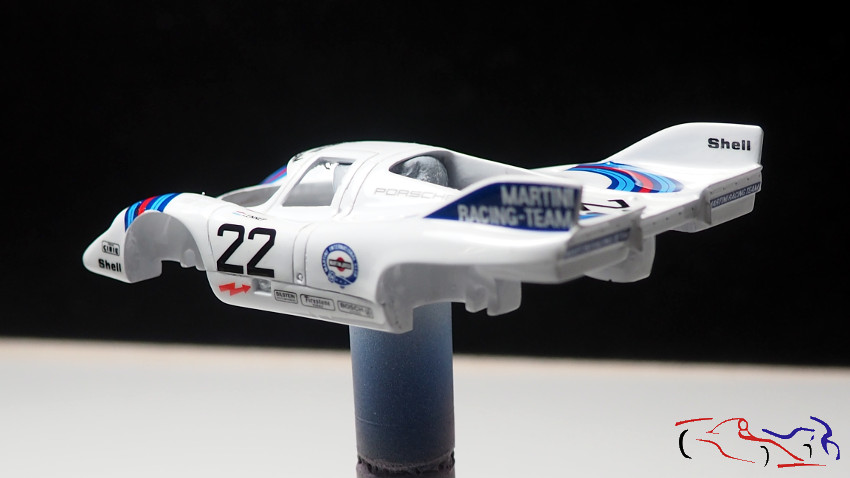
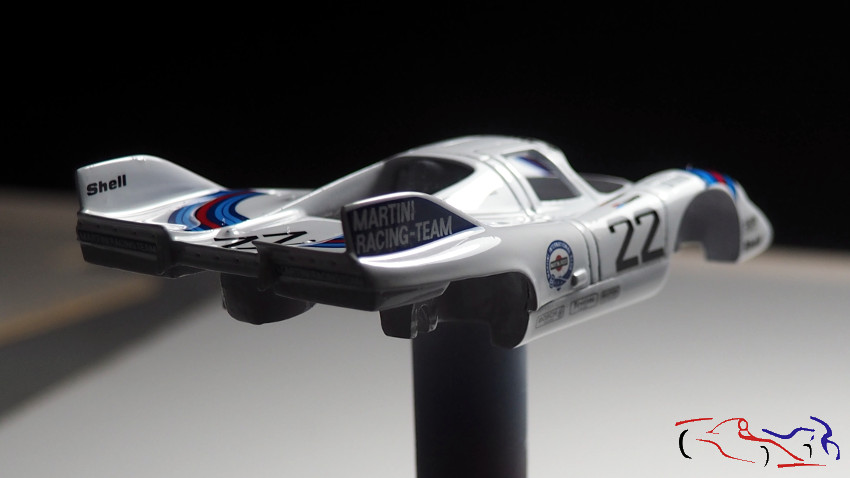
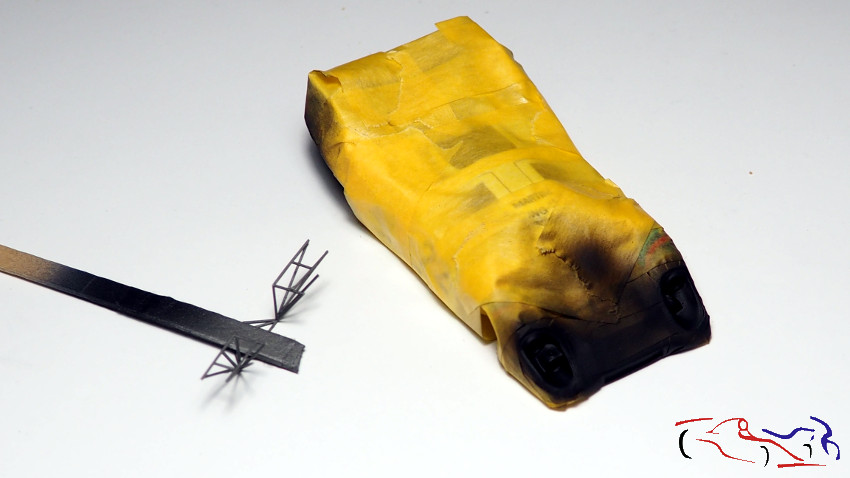
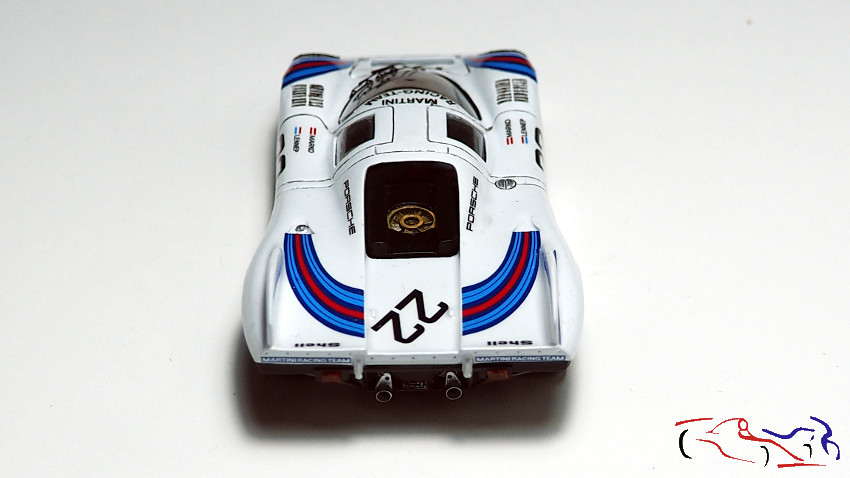
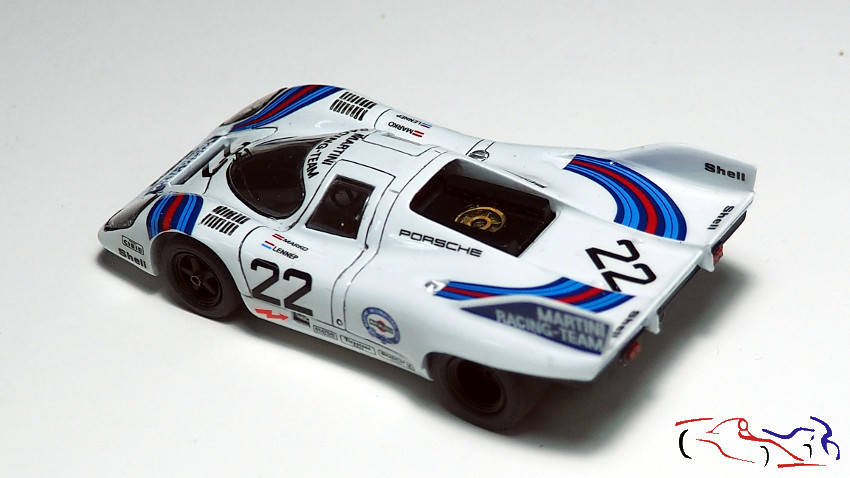
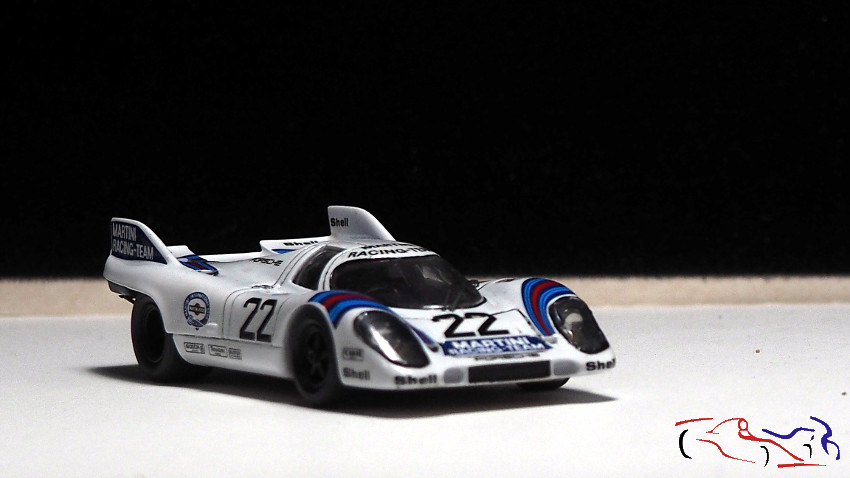
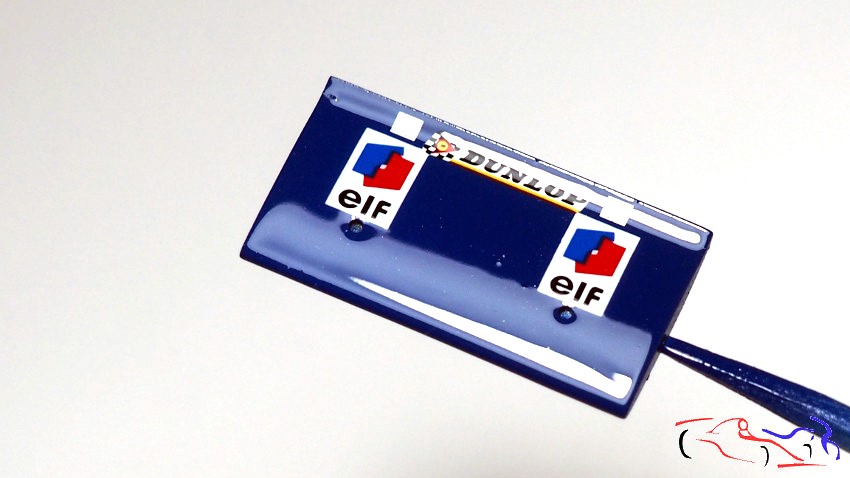
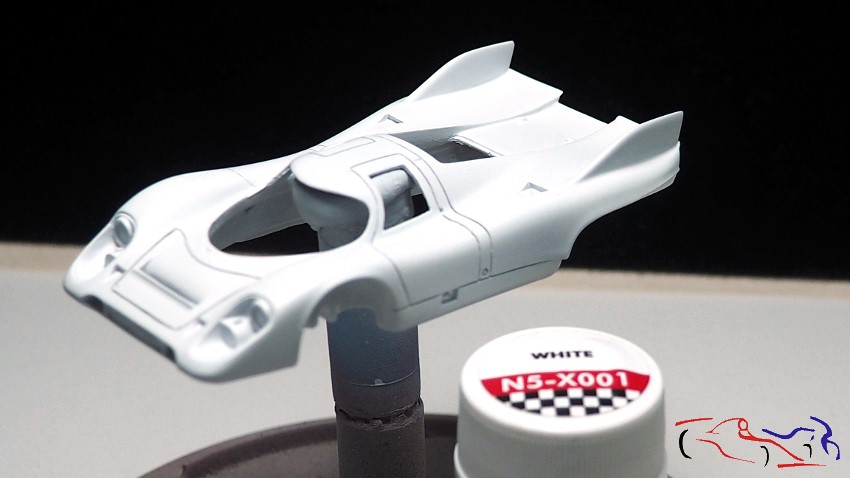
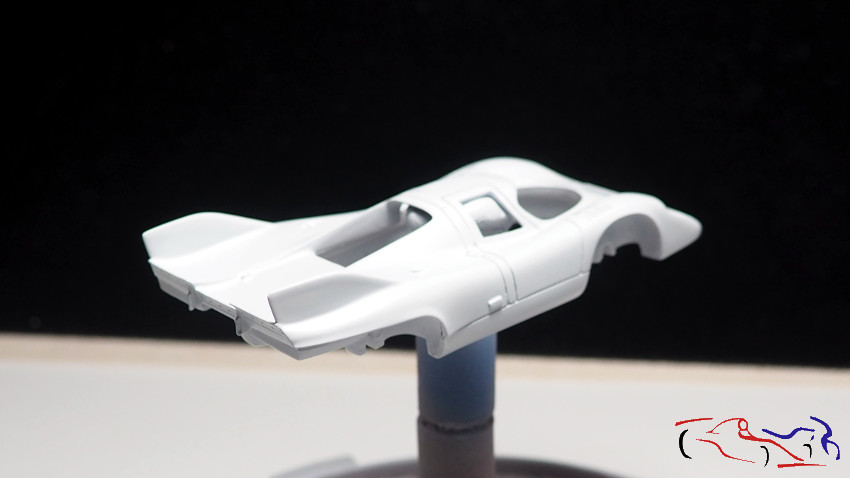
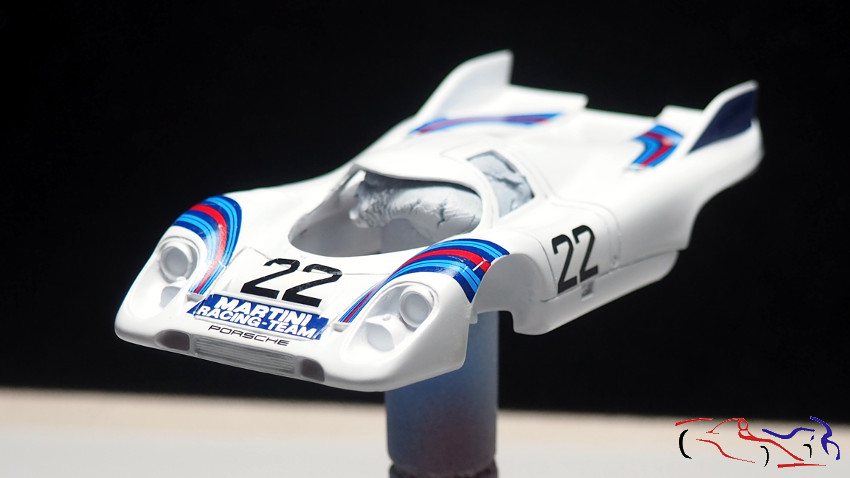
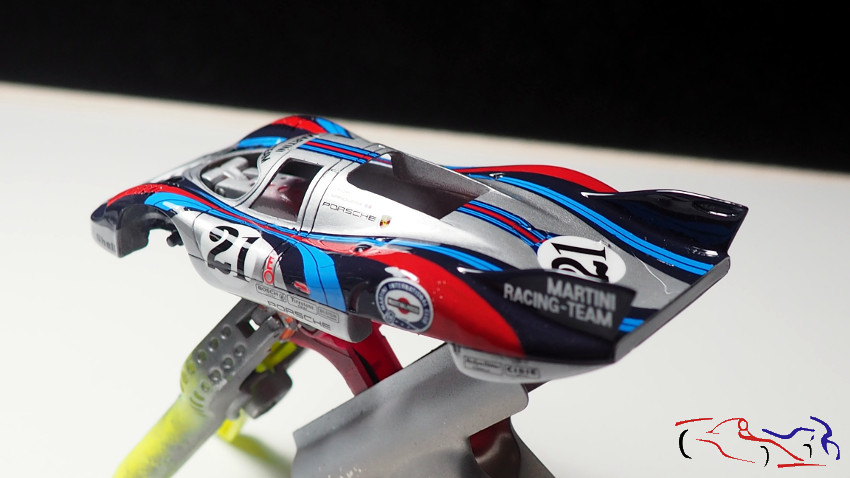
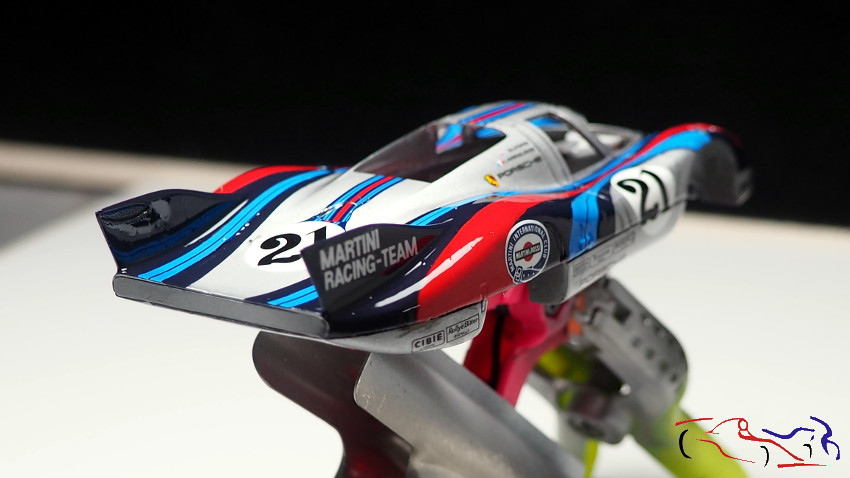
Y el siguiente paso fue lacar la carroceria, proceso que realicé junto al March y al 917K con el producto de Number5. Fue todo bien excepto unos puntos que salieron en las bandas Martini superiores de la parte trasera derecha y una mota en el alerón trasero. El resto fue todo bien:
The next step was to paint the bodywork, a process I carried out alongside the March and the 917K using Number 5’s product. Everything went well except for a few spots that appeared on the upper Martini stripes on the right rear and a speck on the rear spoiler. The rest was fine.

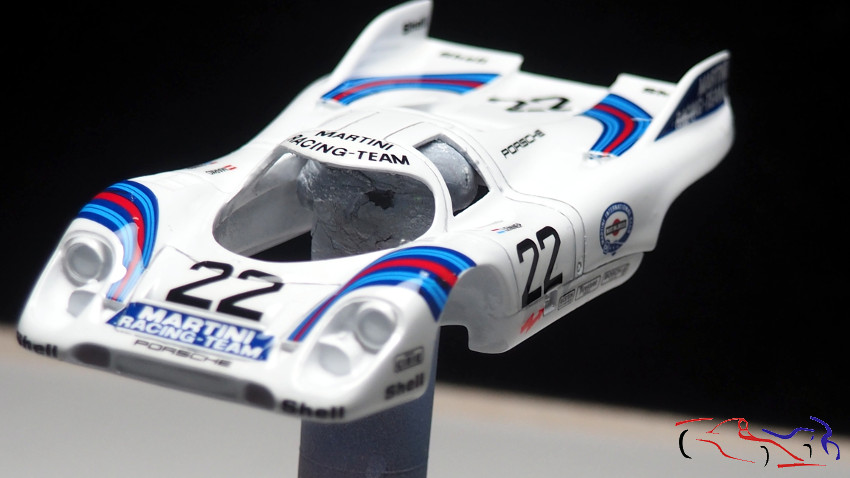
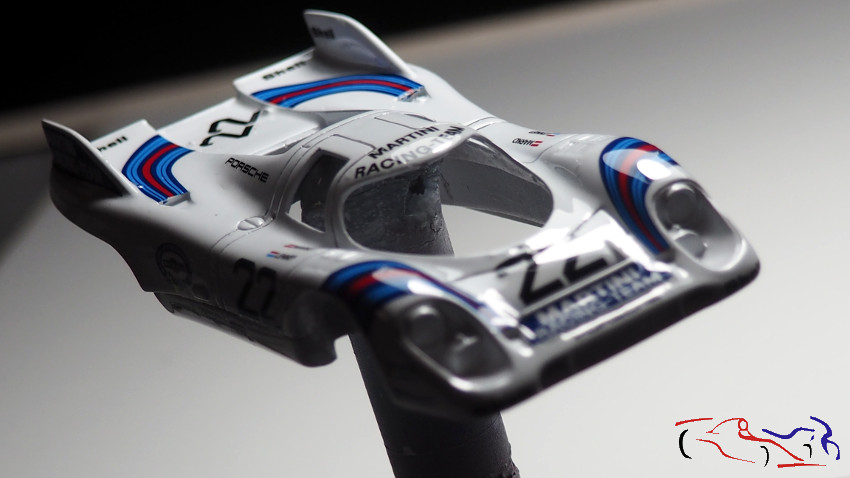
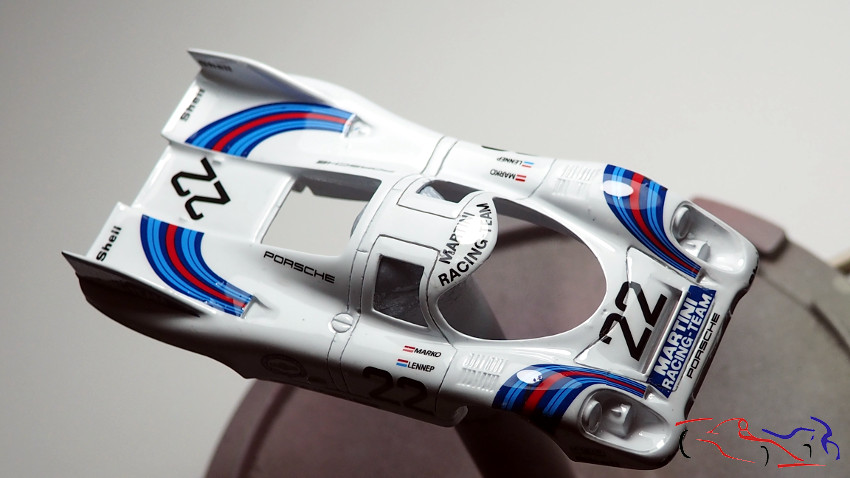
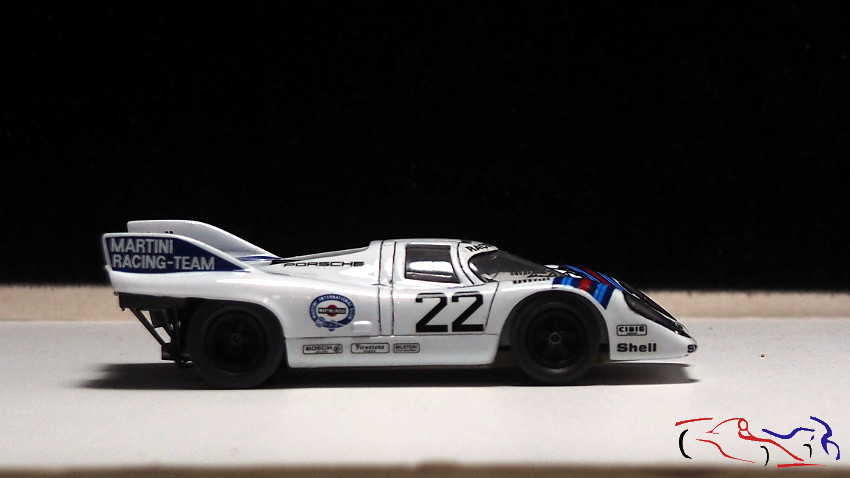
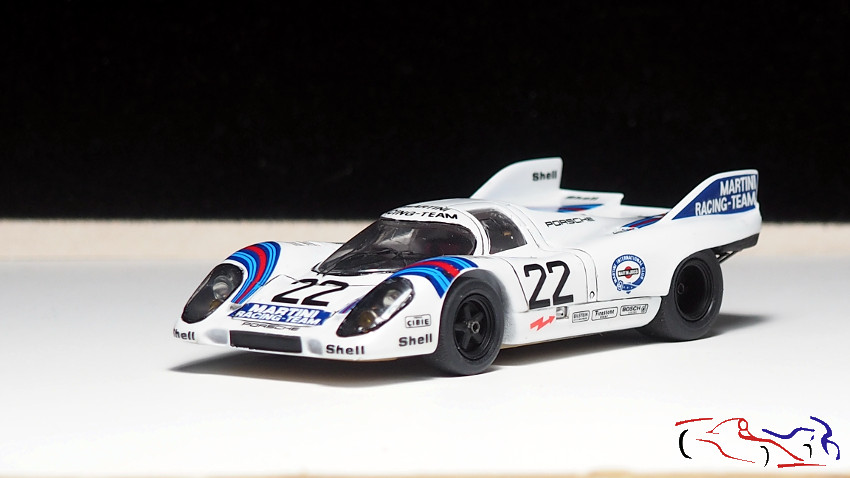
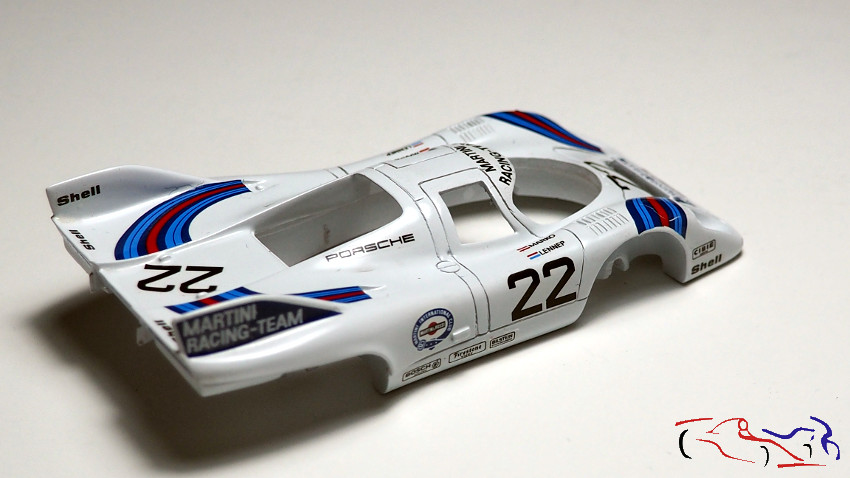
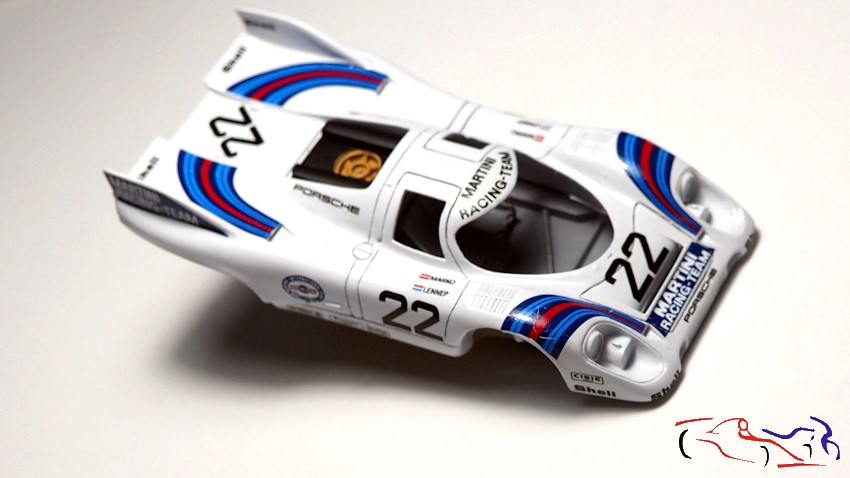
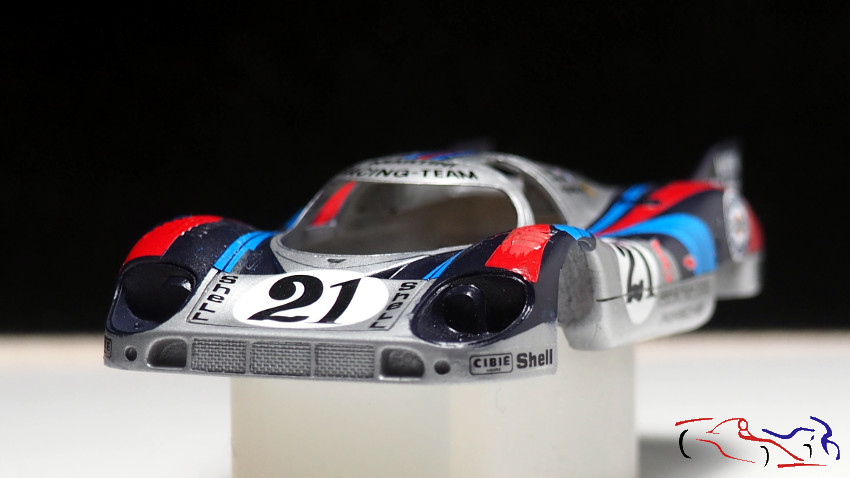
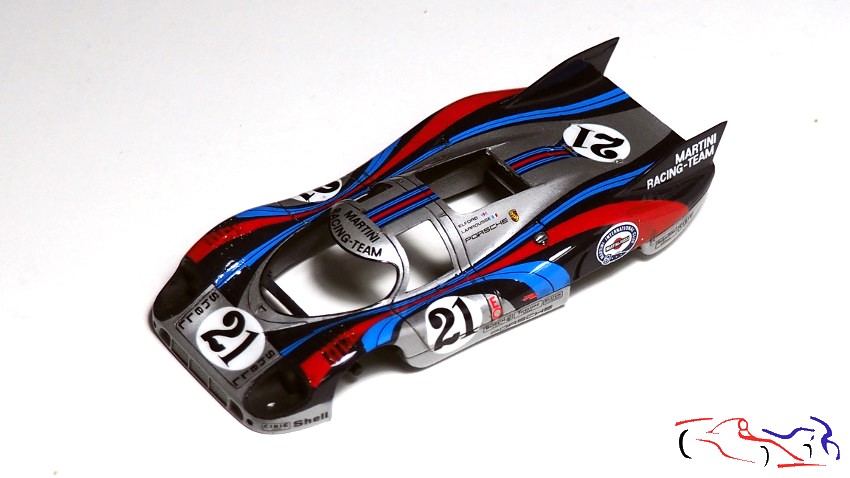
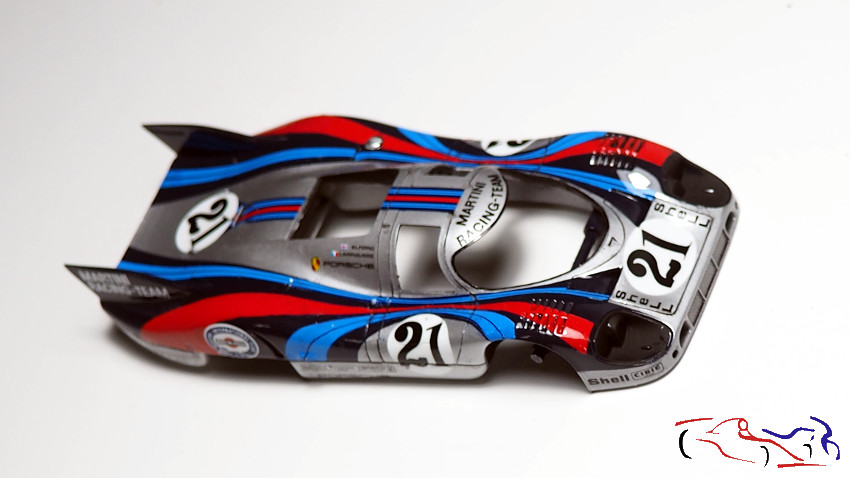
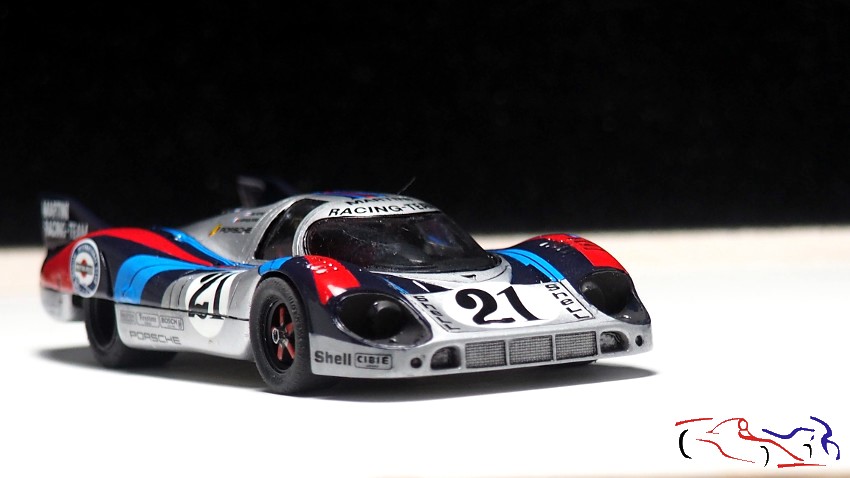
Una vez la carrocería estuvo seca, marqué las lineas de panel con Panel Liner negro de Tamiya, el borde del cristal delantero con un rotulador permanente, y los pasos de rueda con negro de Vallejo:
Once the bodywork was dry, I marked the panel lines with Tamiya black Panel Liner, the edge of the windshield with a permanent marker, and the wheel arches with Vallejo black:

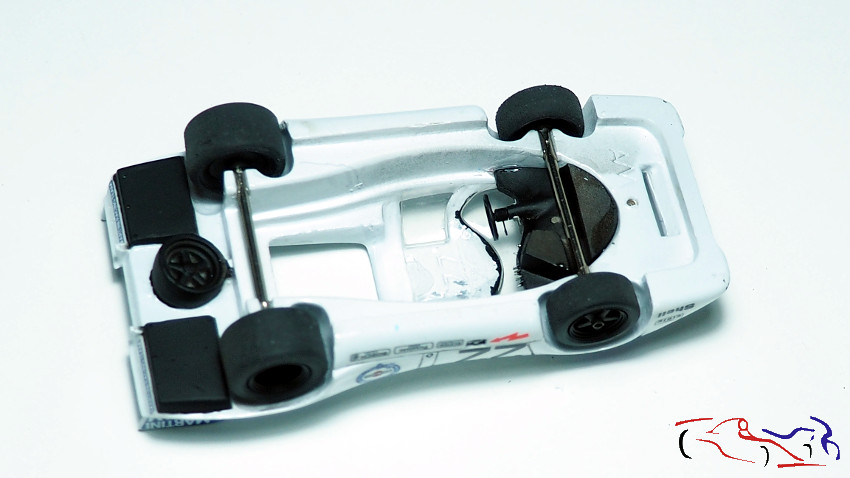
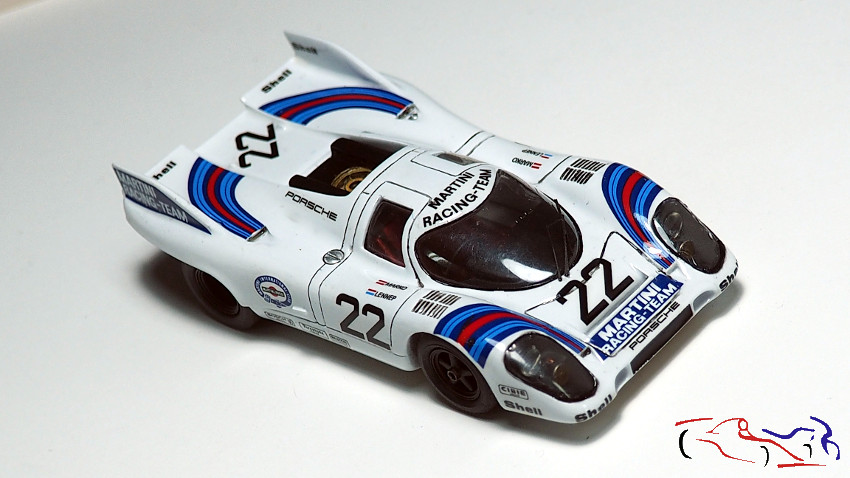
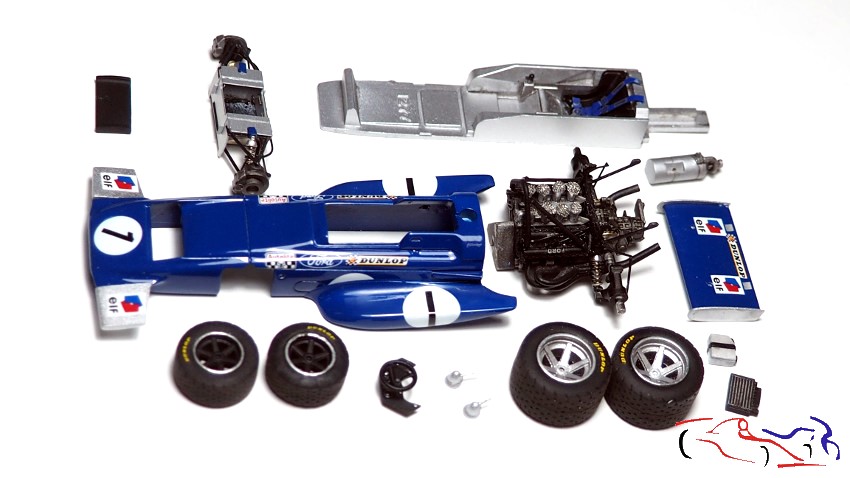
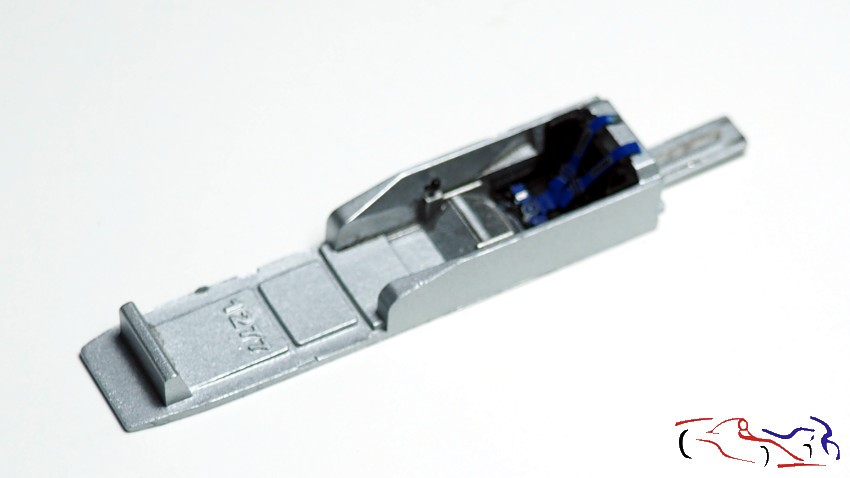
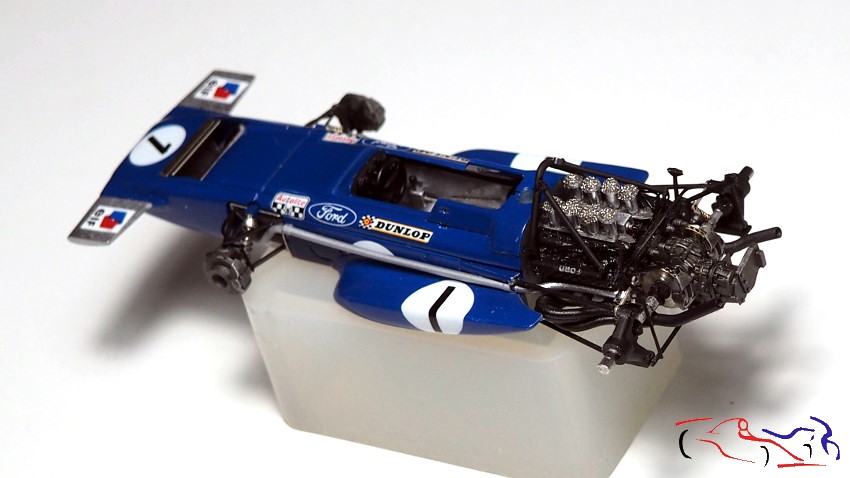
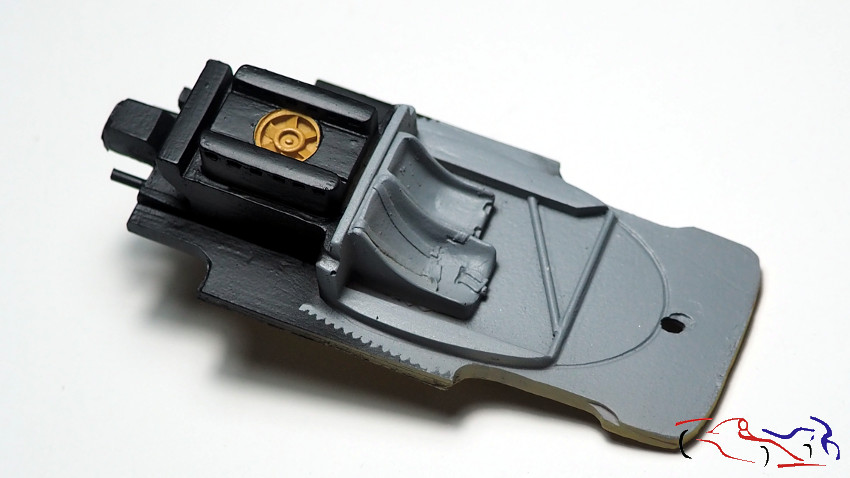
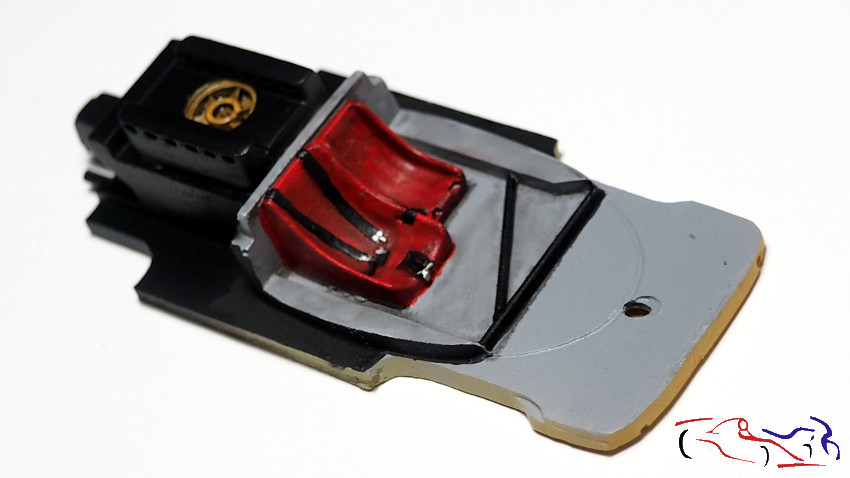
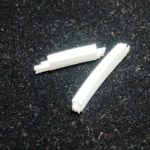
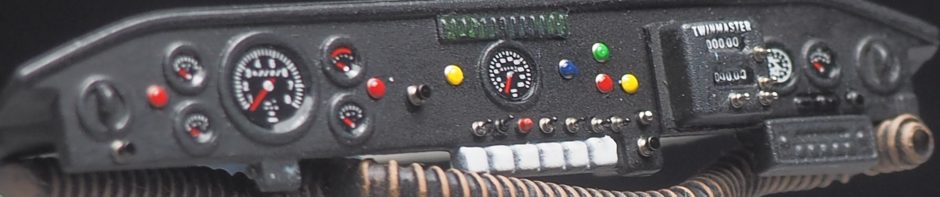
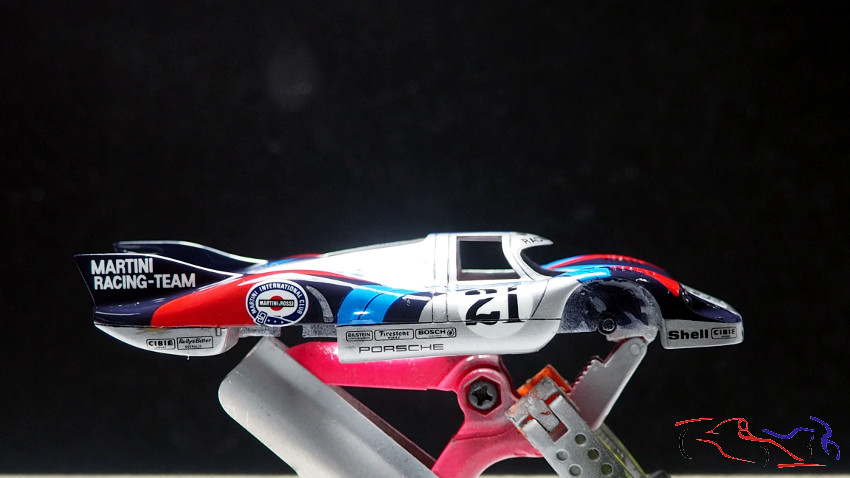
Y ahora es el turno de montar el coche. Pegamos los cristales por el interior con resina UV. El salpicadero va a continuación junto a los ejes y sus ruedas.
And now it’s time to assemble the car. We glue the windows on the inside with UV resin. The dashboard goes next, along with the axles and their wheels.
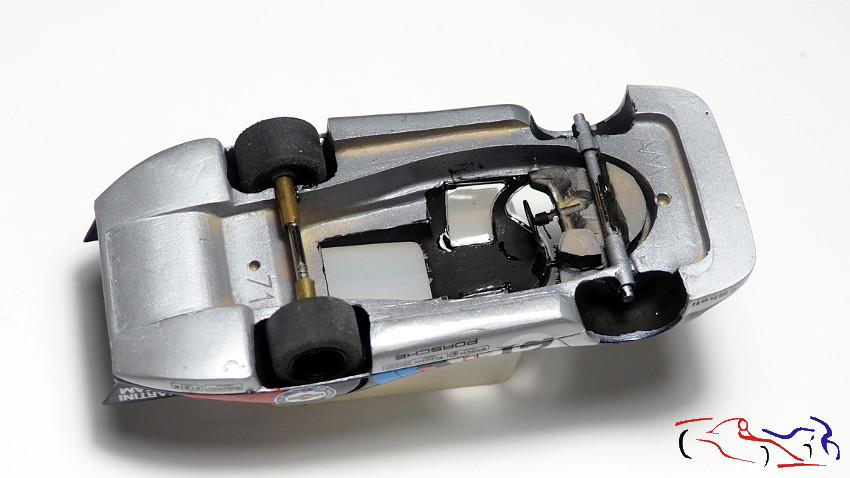

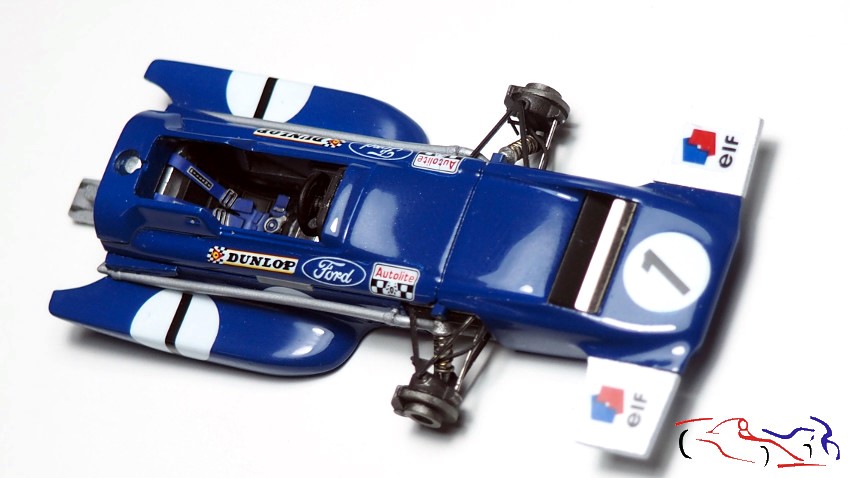
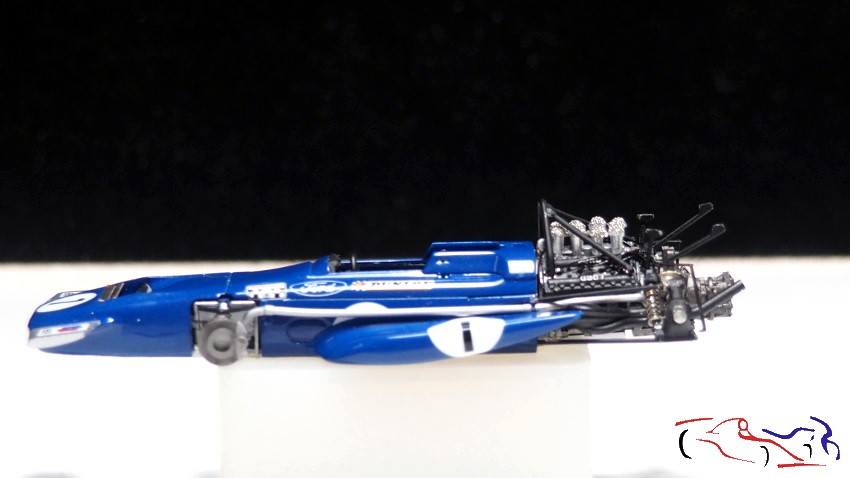
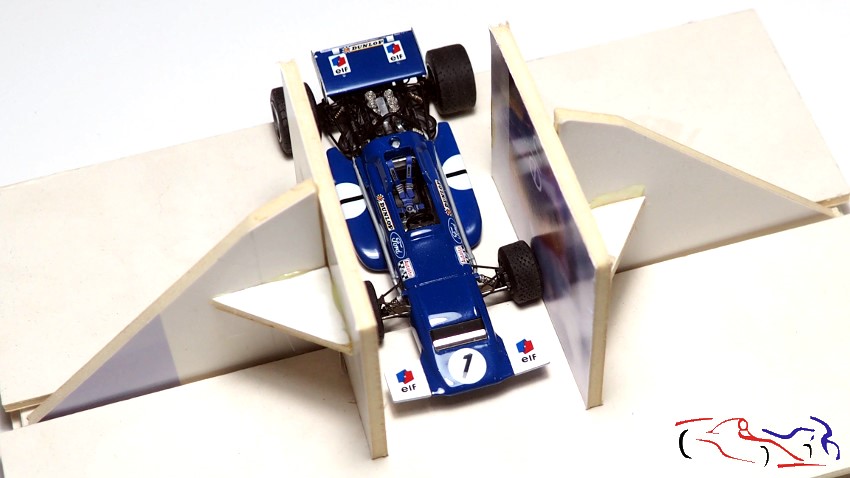
Por último,pegamos y atornillamos el chasis.
Finally, we glued and screwed the chassis to the body.

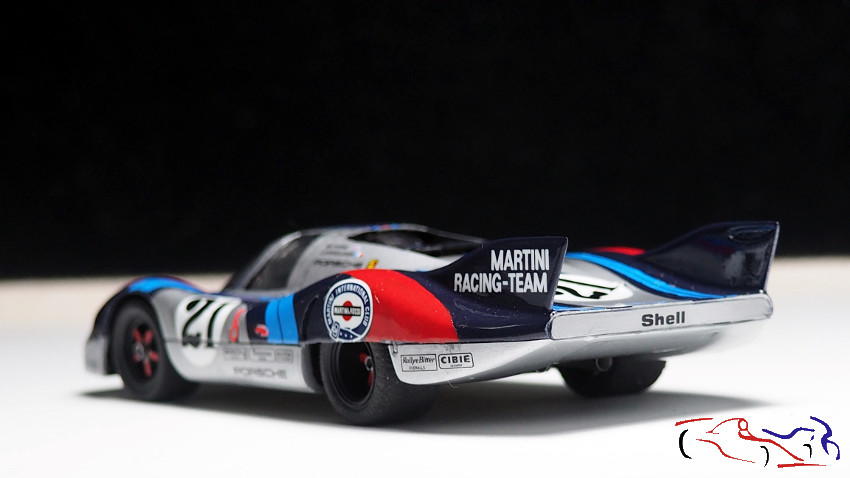

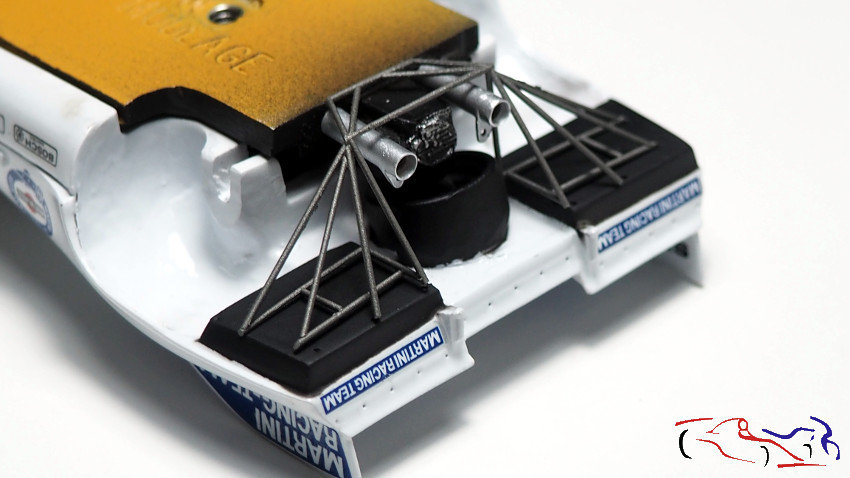
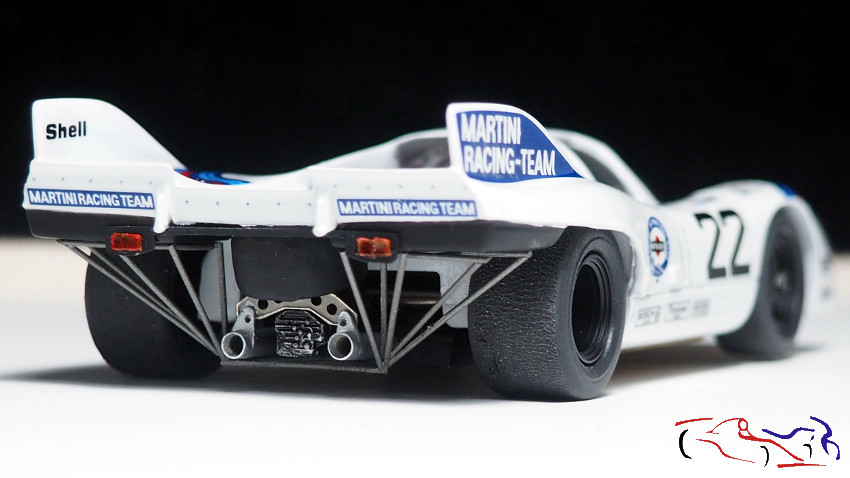
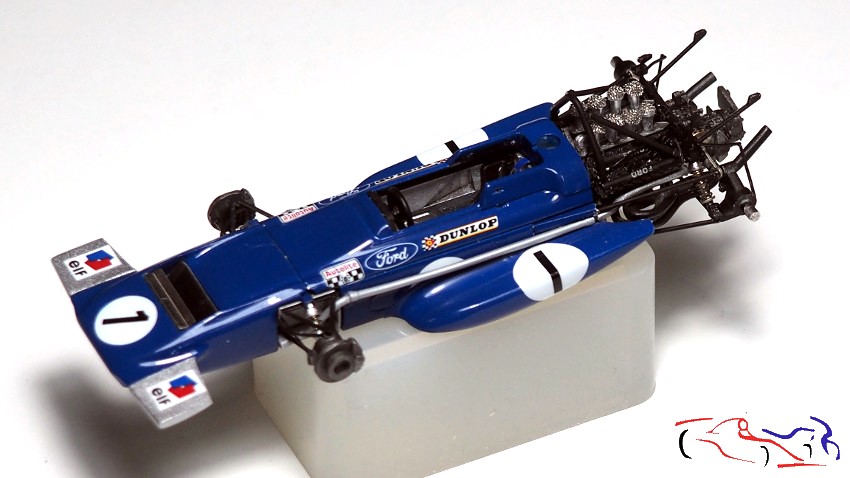
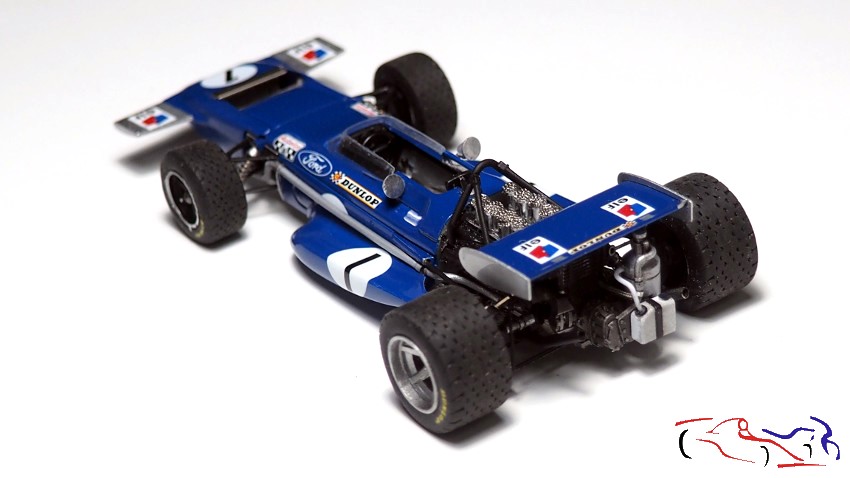
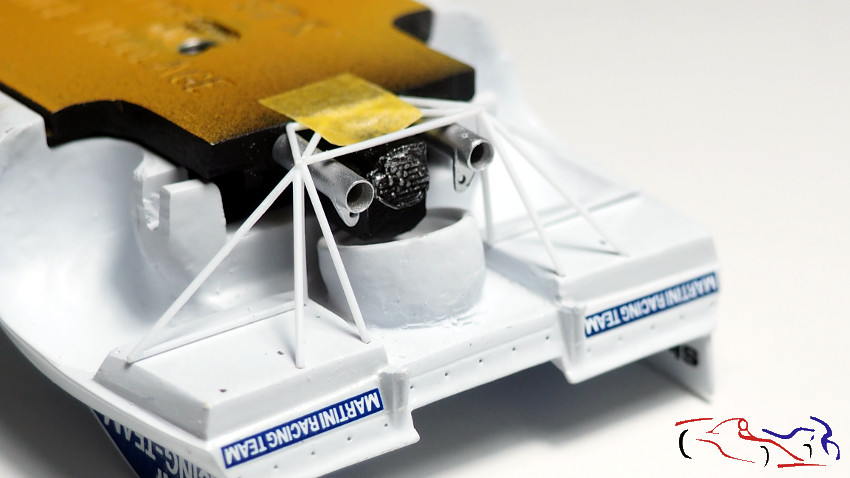
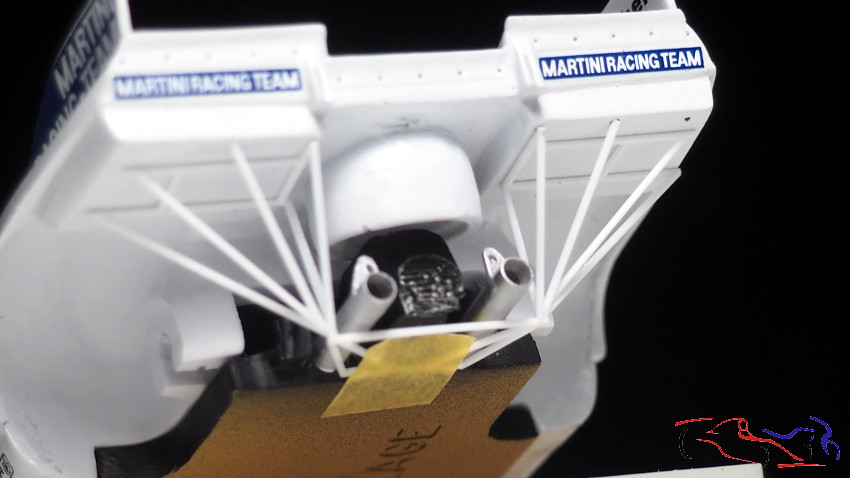
En el siguiente post, terminaremos la parte trasera y….. Gracias por ver y comentar!!
In the next post, we’ll finish the back and… Thanks for watching and commenting!!