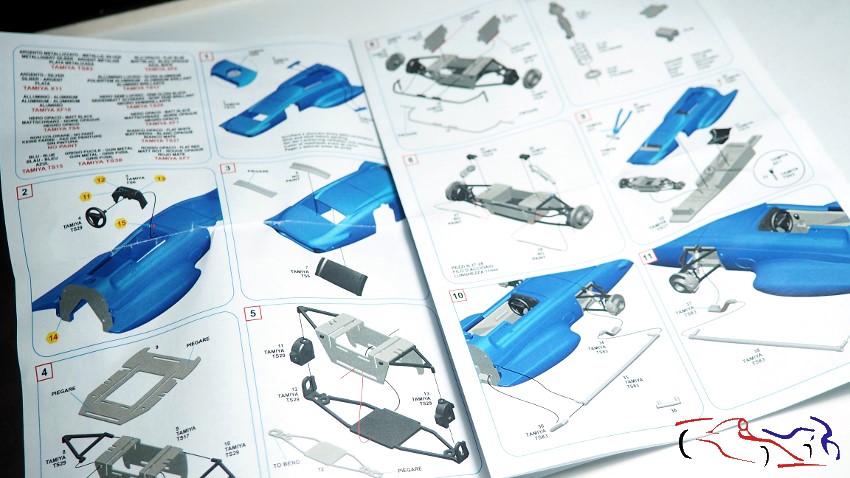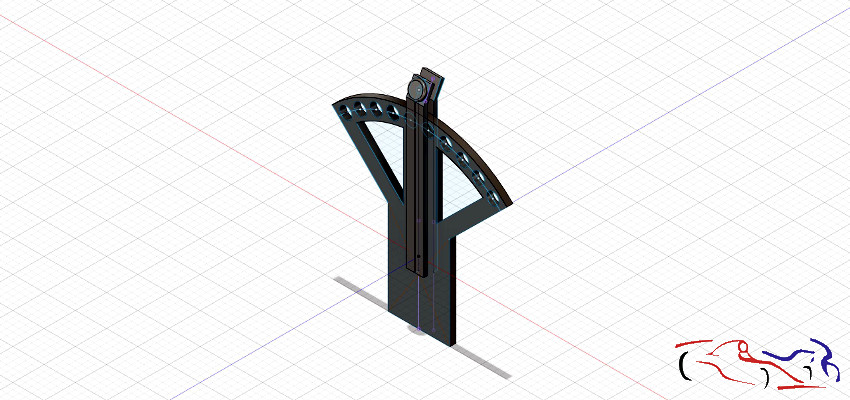
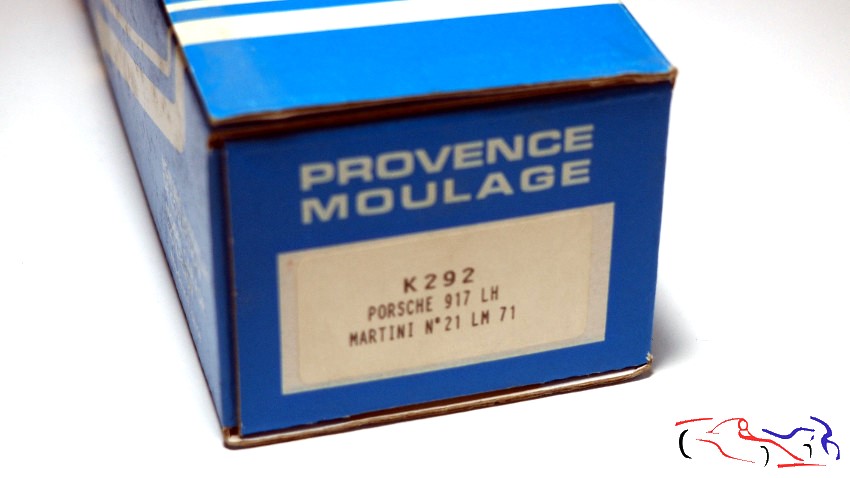
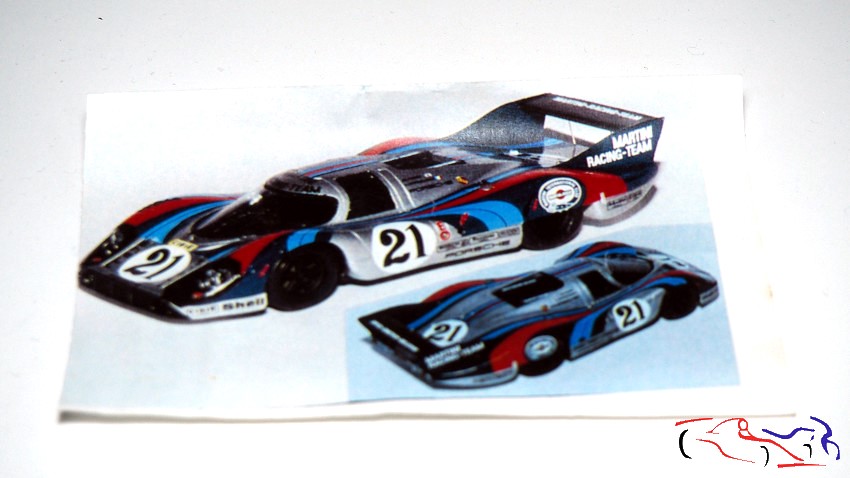
Hola a todos!! He pensado que podía hacer más kits a 1/43, para aprovechar el proceso del lacado, y viendo los coches que tengo pendientes, he escogido dos de la marca Provence Moulage, con poco despiece, y que con un poco de esfuerzo, pueden salir unos buenos proyectos. El primero es éste: Porsche 917 LH (Long Tail = Cola Larga) que corrió en 1971, con los colores de Martini.
Hello everyone! I thought I could make more 1/43 scale kits to take advantage of the painting process, and looking at the cars I have pending, I’ve chosen two from Provence Moulage, which have few parts and, with a little effort, could turn into some great projects. The first is this one: a Porsche 917 LH (Long Tail) that raced in 1971, in Martini livery.
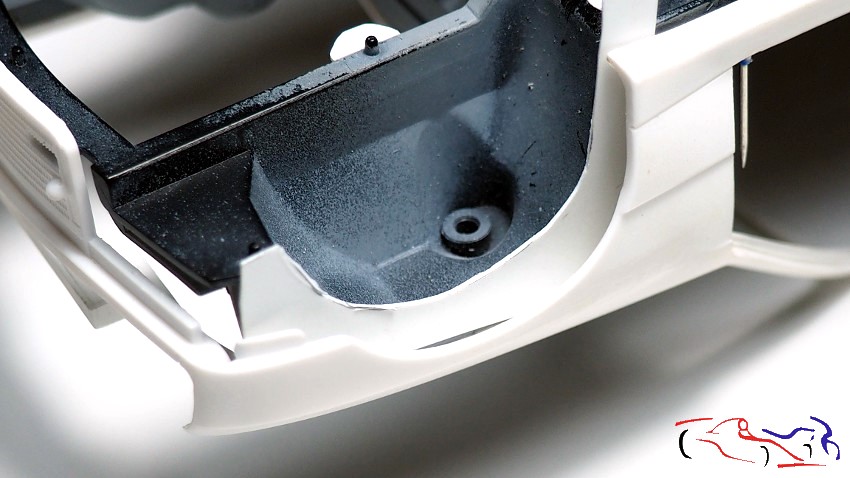
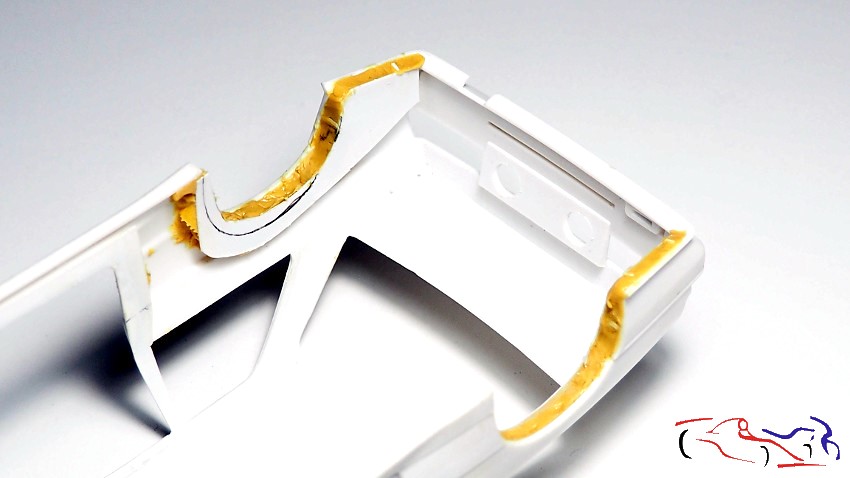
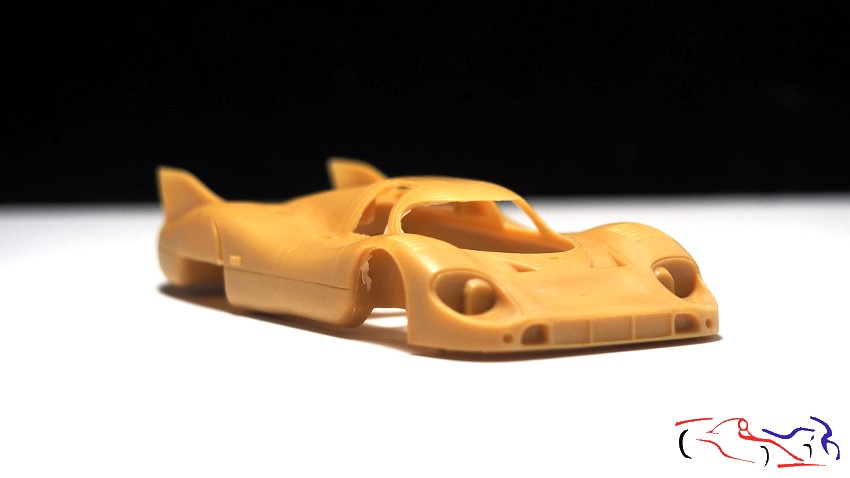
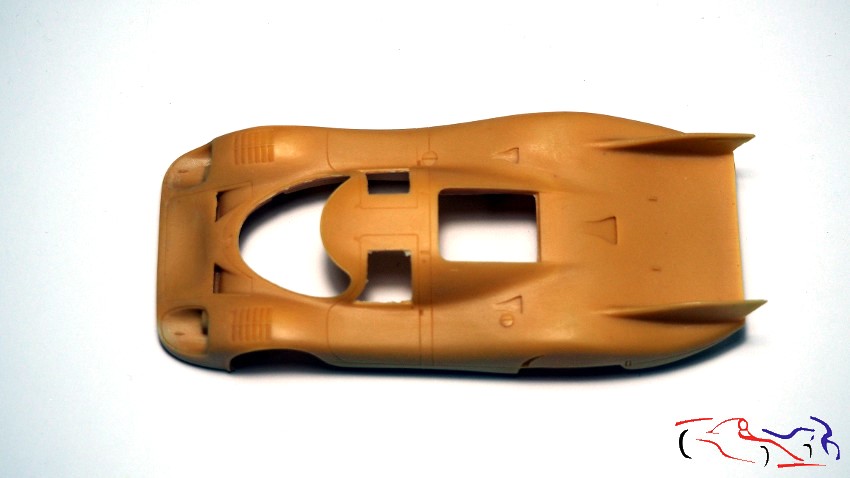
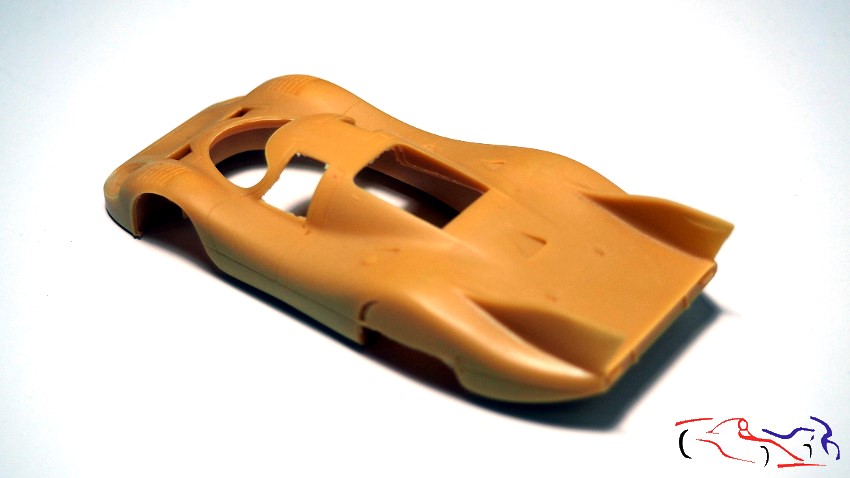
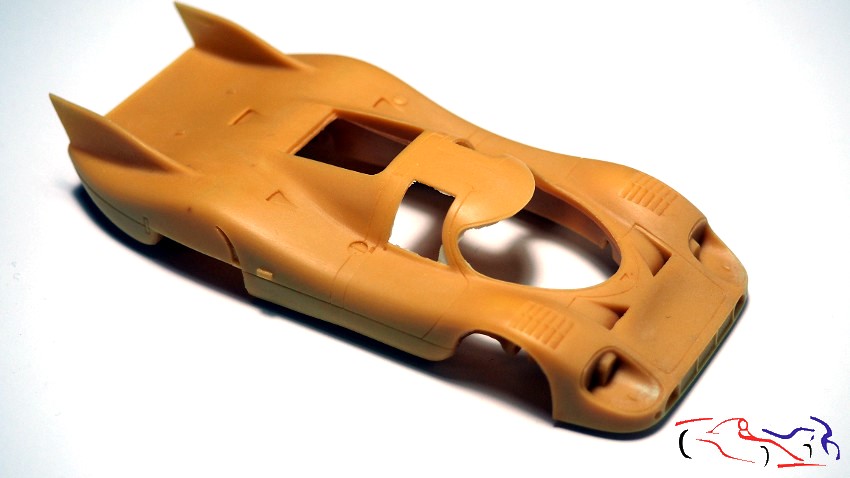
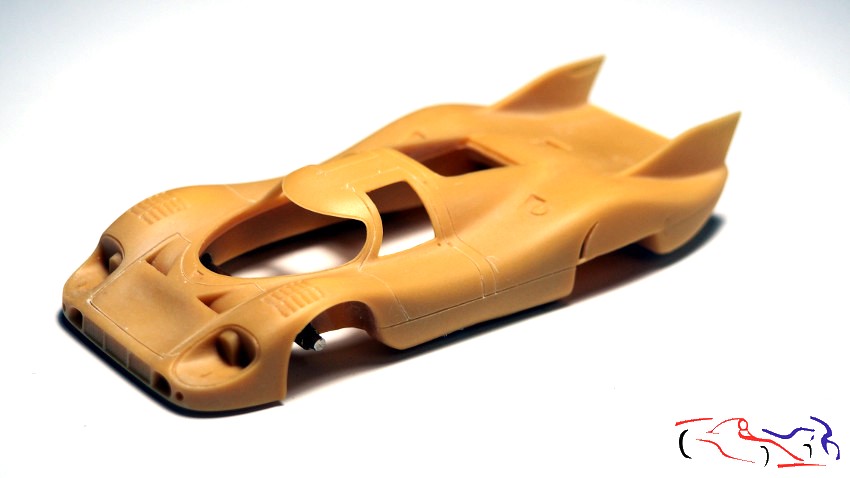
La carrocería es de resina, que si bien tiene buenas formas, hay que limpiarla de rebabas, y profundizar el panelado:
The body is made of resin, which, although it has good shapes, needs to be cleaned of burrs, and the paneling needs to be deepened:

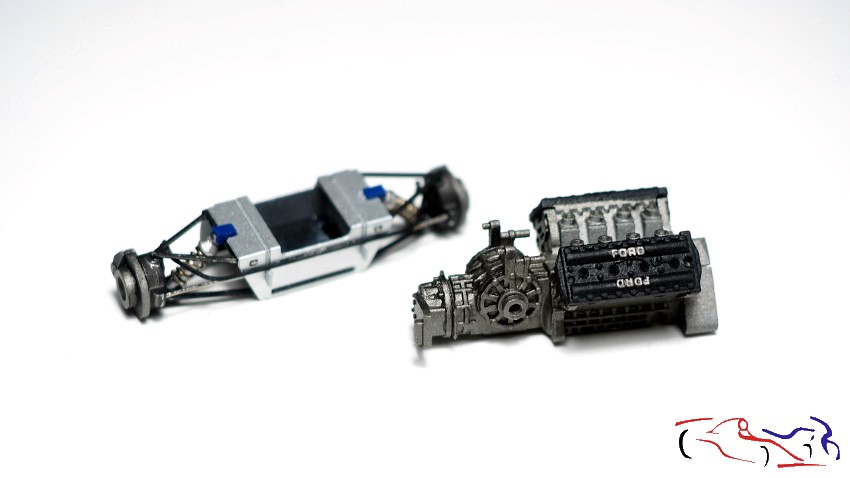
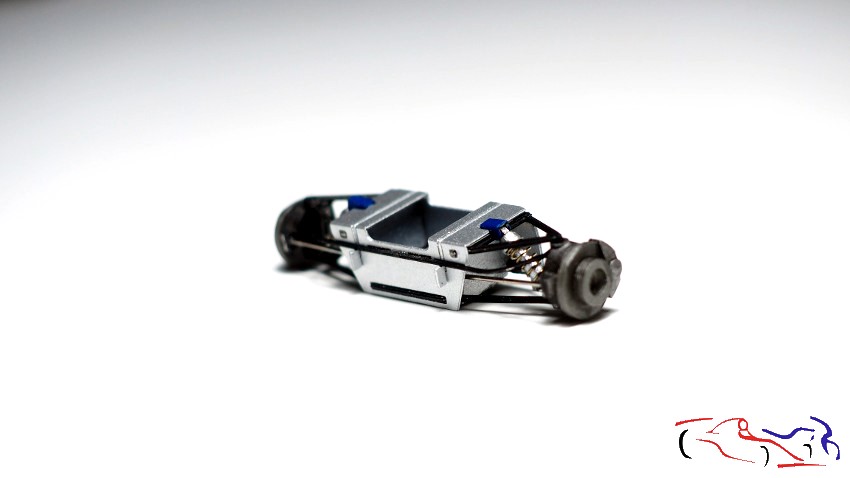
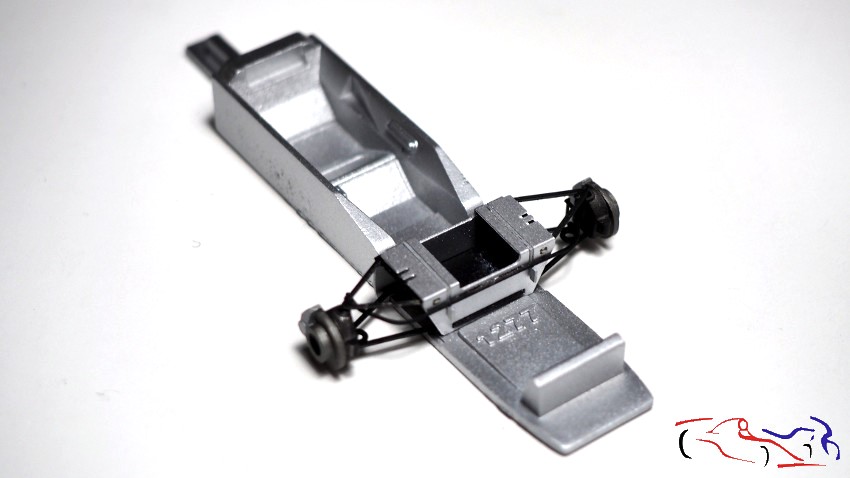
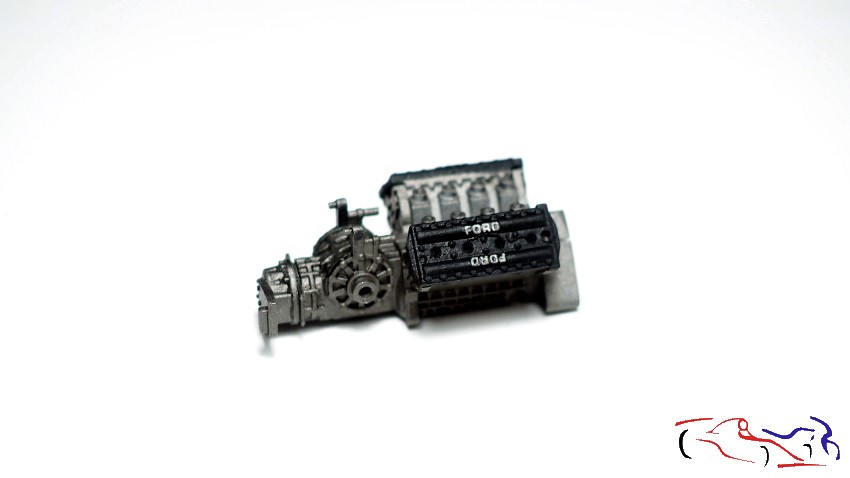
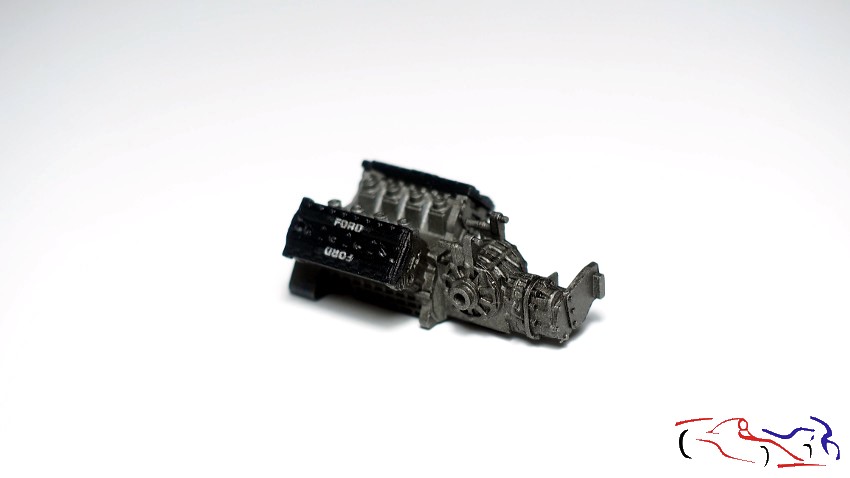
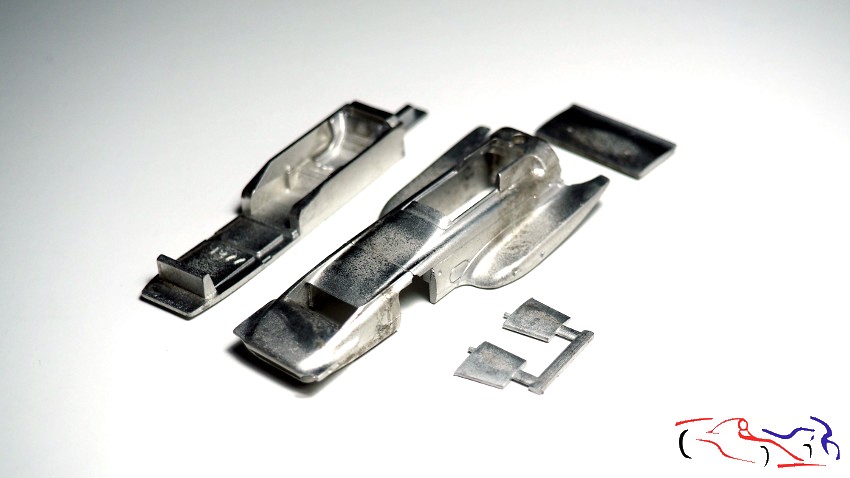
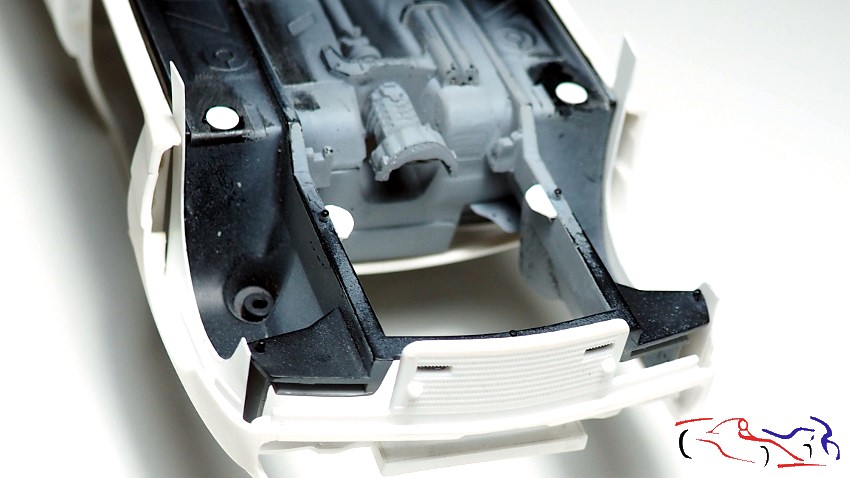
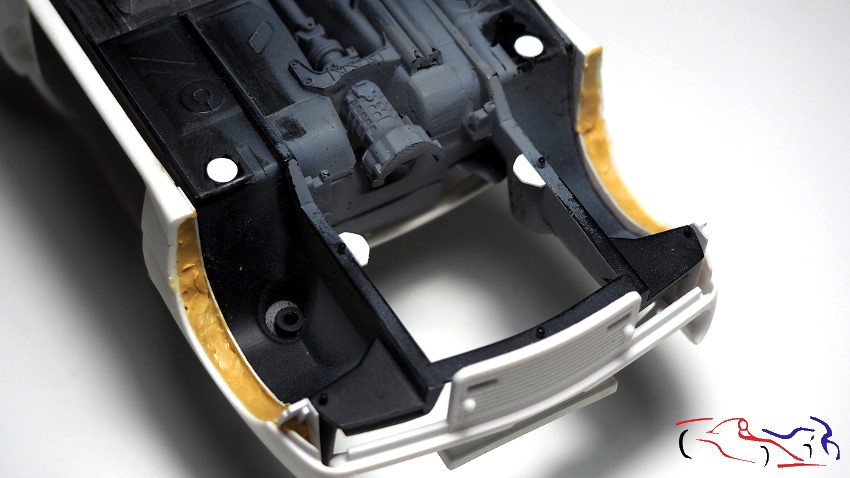
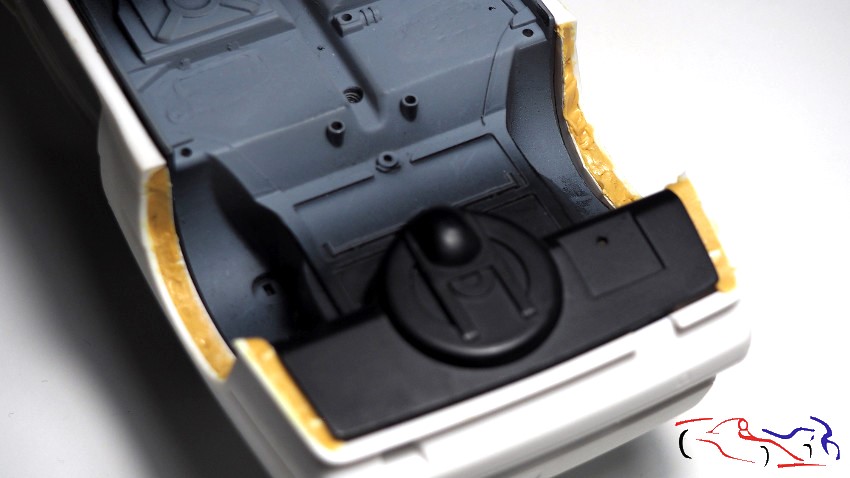
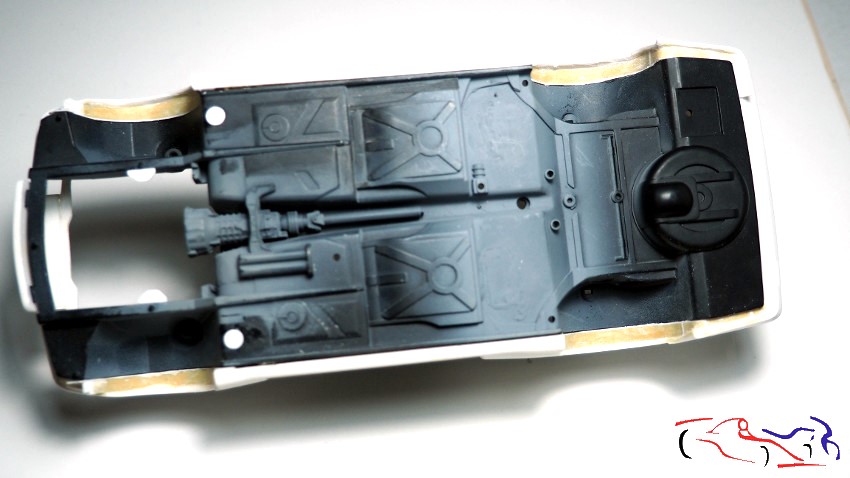
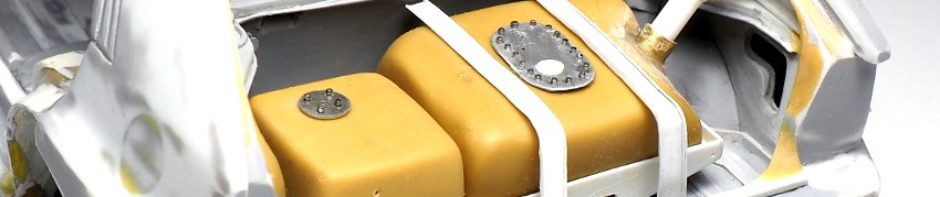
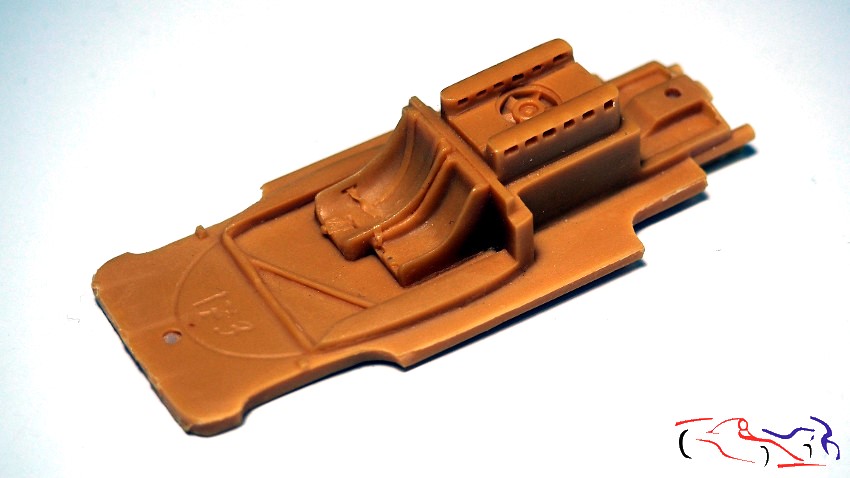
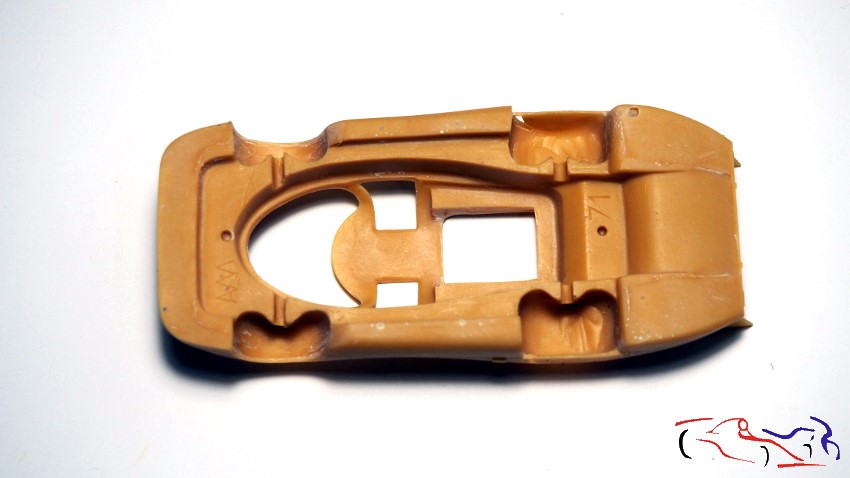
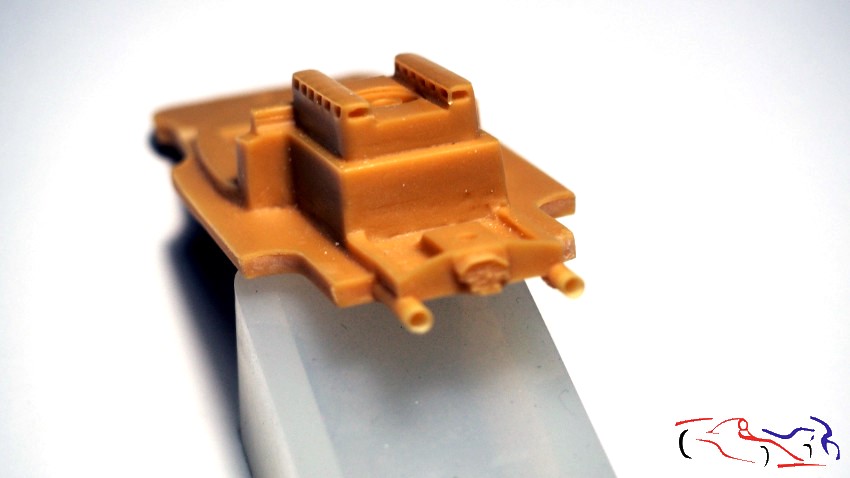
El chasis es también de resina, y vienen incluidos los asientos y el motor:
The chassis is also made of resin, and the seats and motor are included:
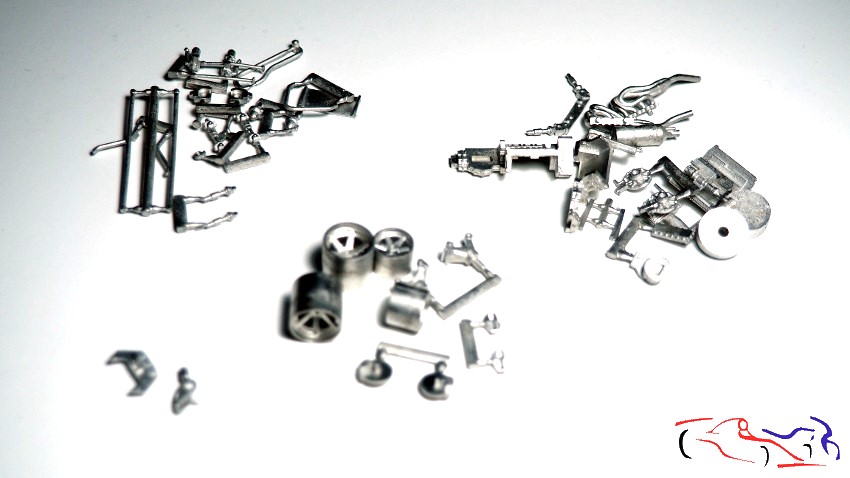
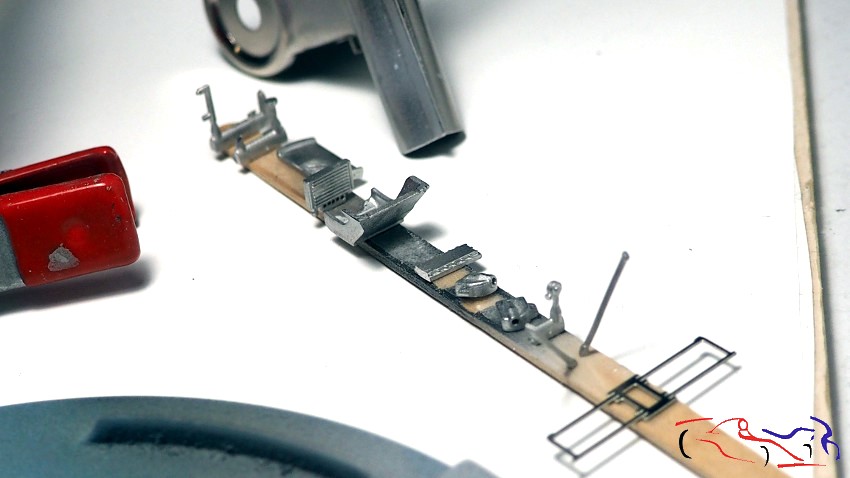
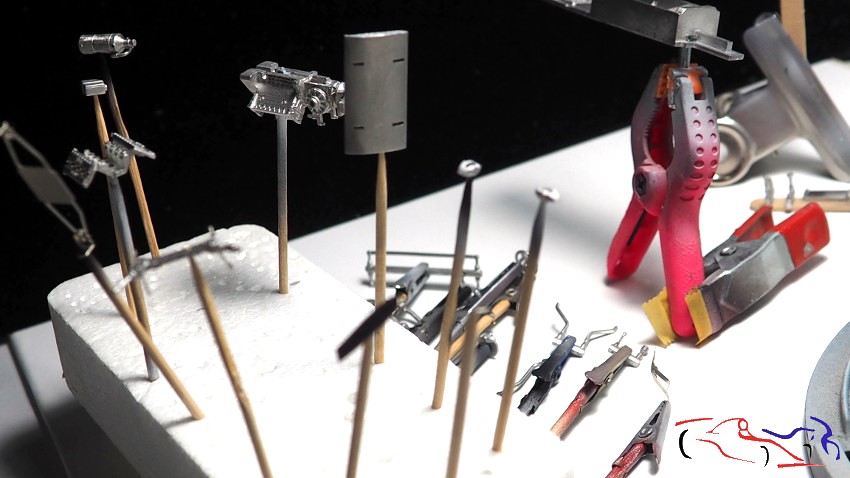
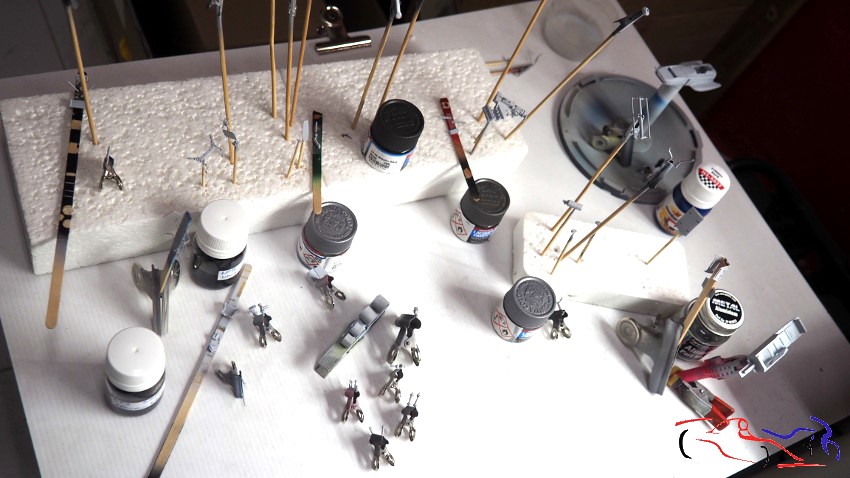
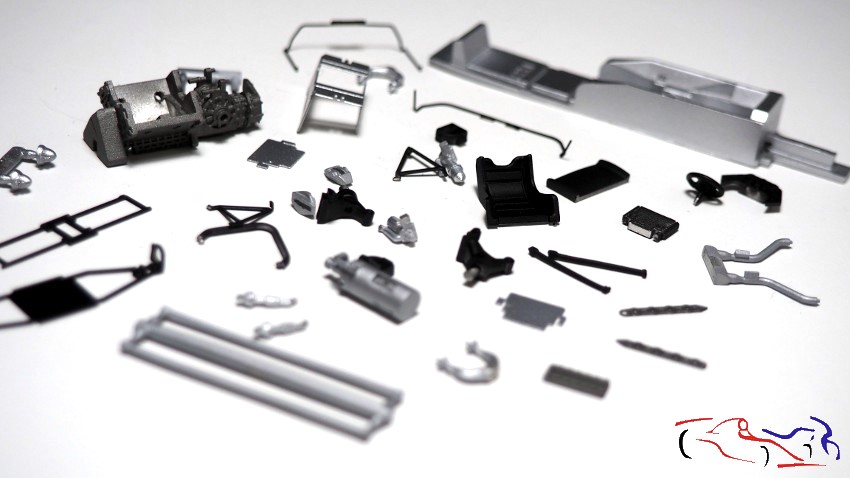
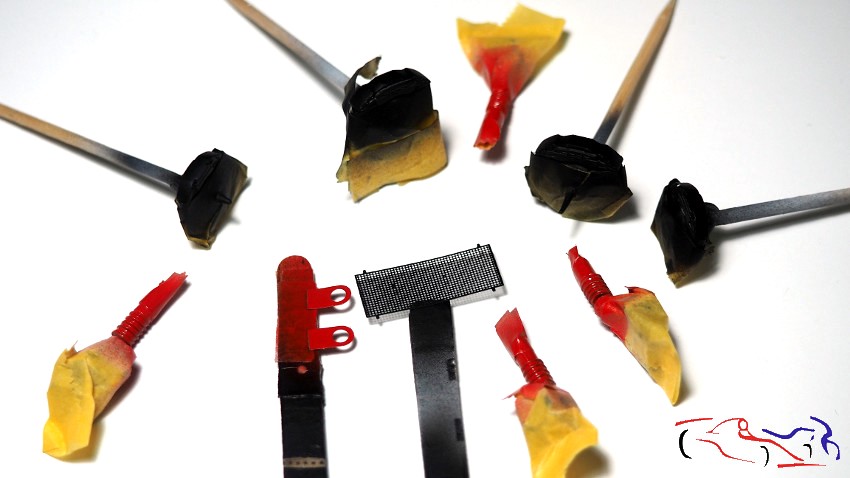
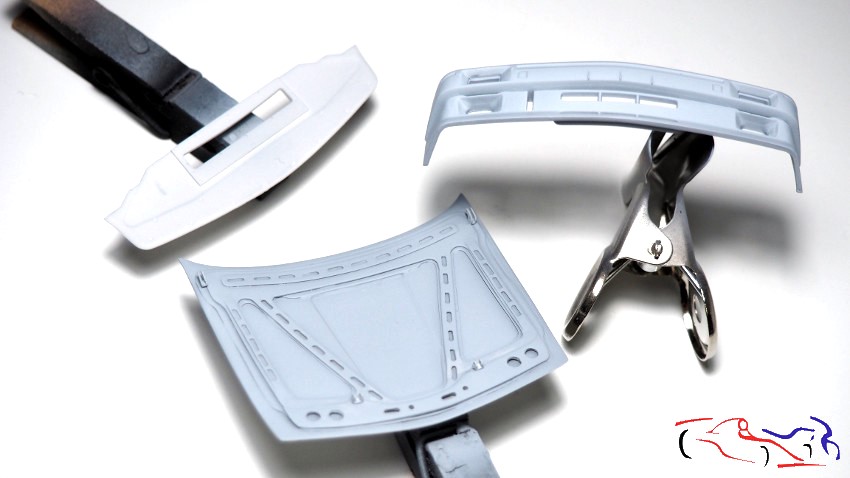
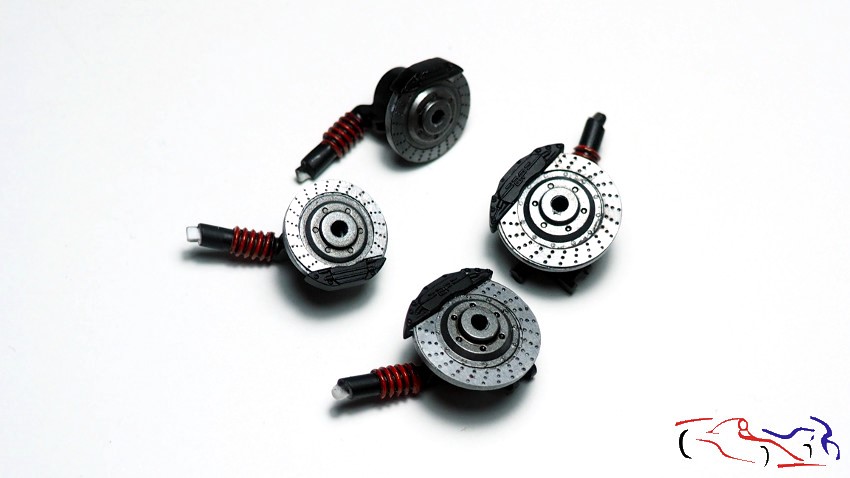
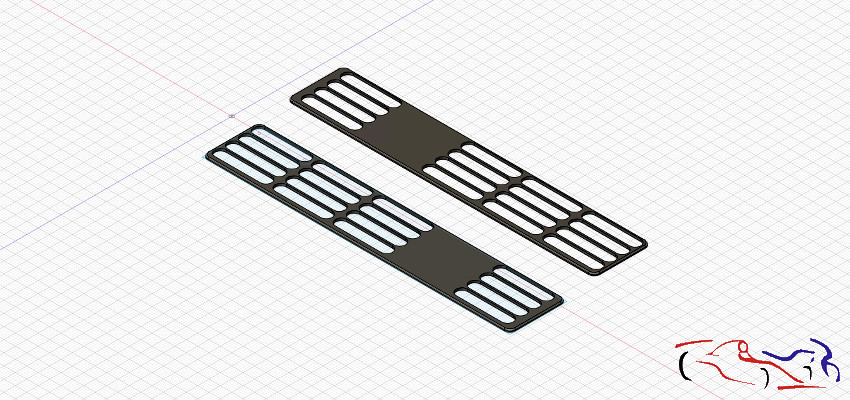
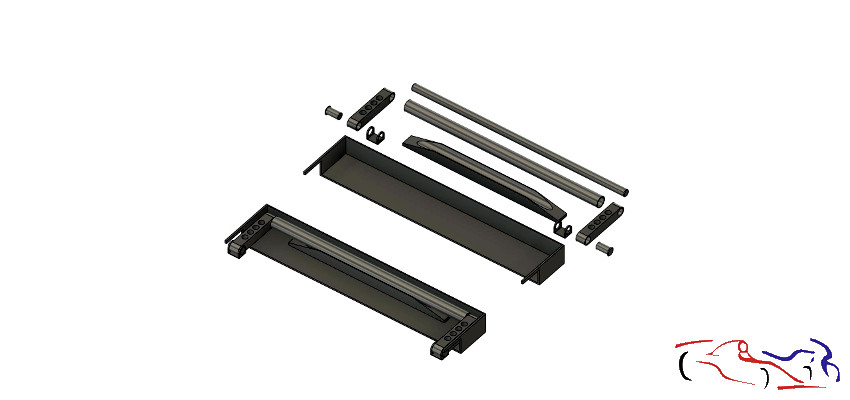
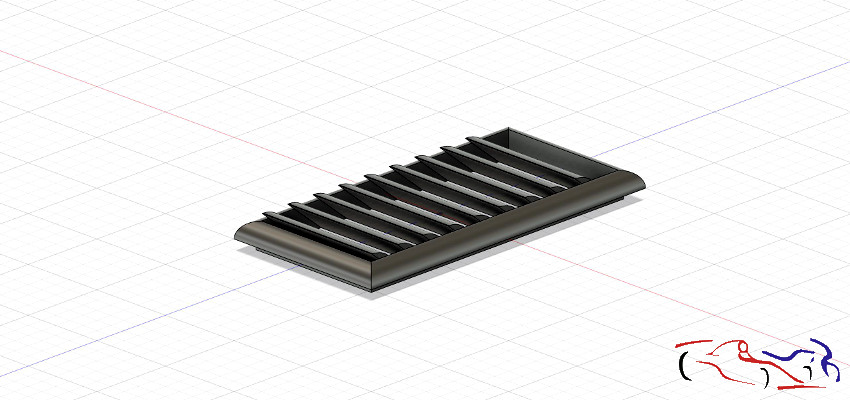
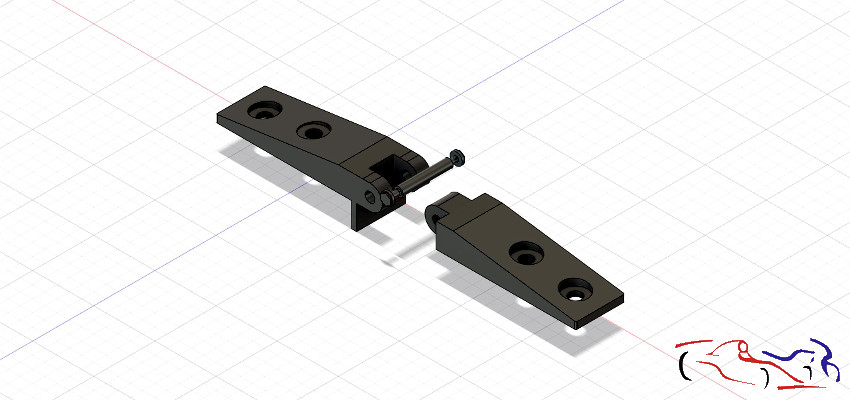
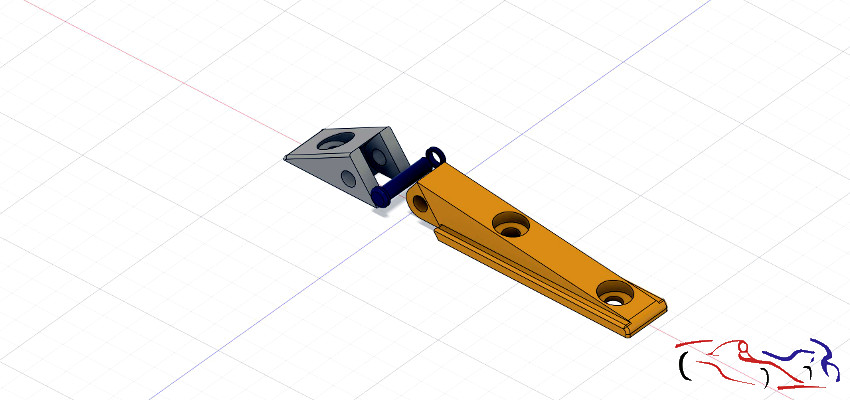
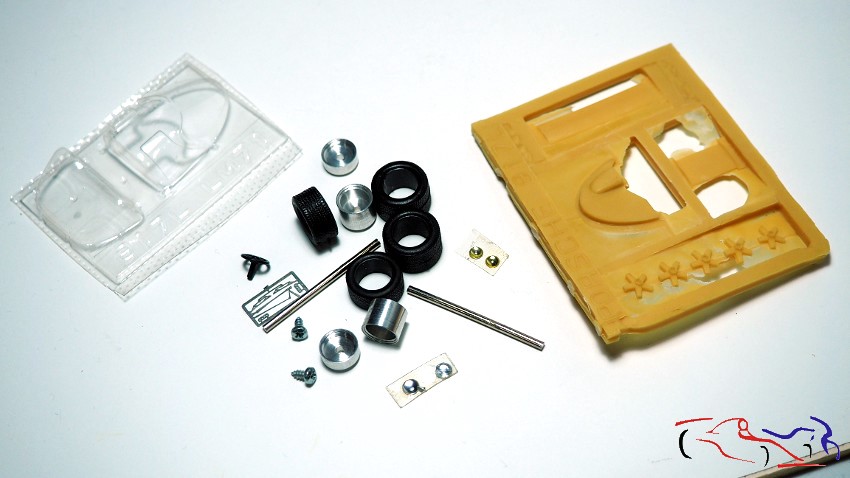
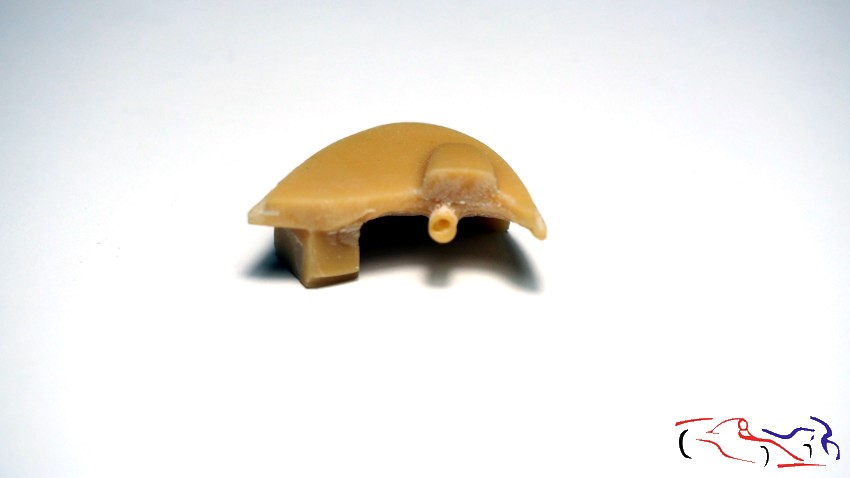
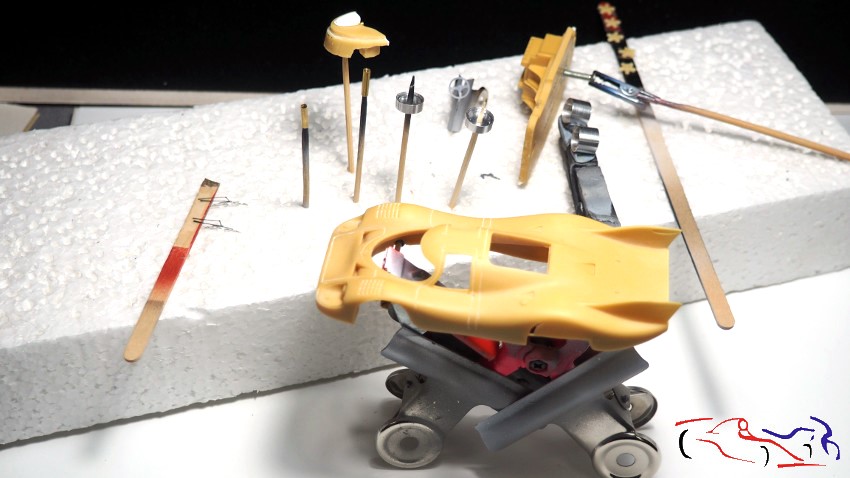
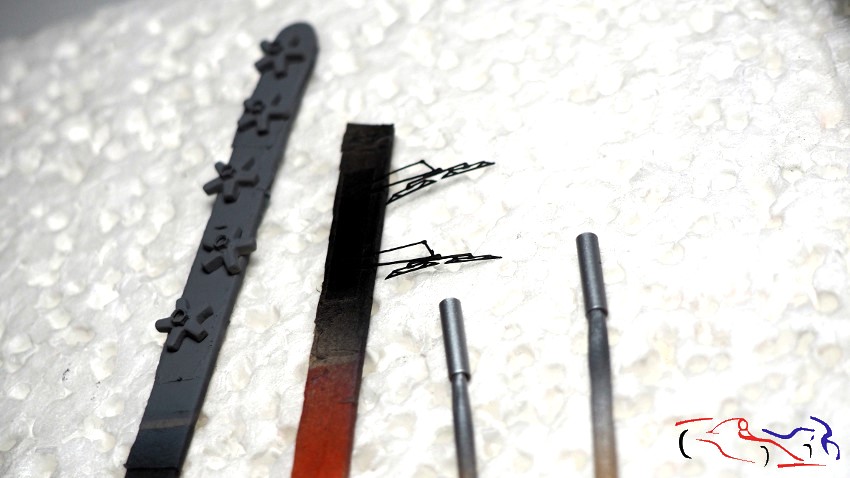
El resto de piezas las veis a continuación, en resina, metal, fotograbados y un vacuoformado para los cristales. Podréis comprobar, que el salpicadero, alerón trasero y las llantas están dentro de esa resina, que habrá que trabajar:
The remaining parts are shown below, made of resin, metal, photo-etched parts, and vacuum-formed glass. You’ll notice that the dashboard, rear spoiler, and wheels are embedded in the resin, which will require further work.
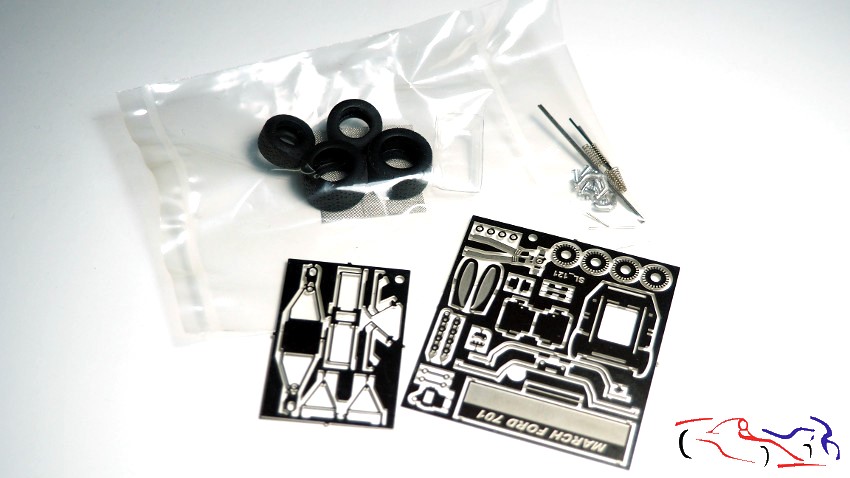
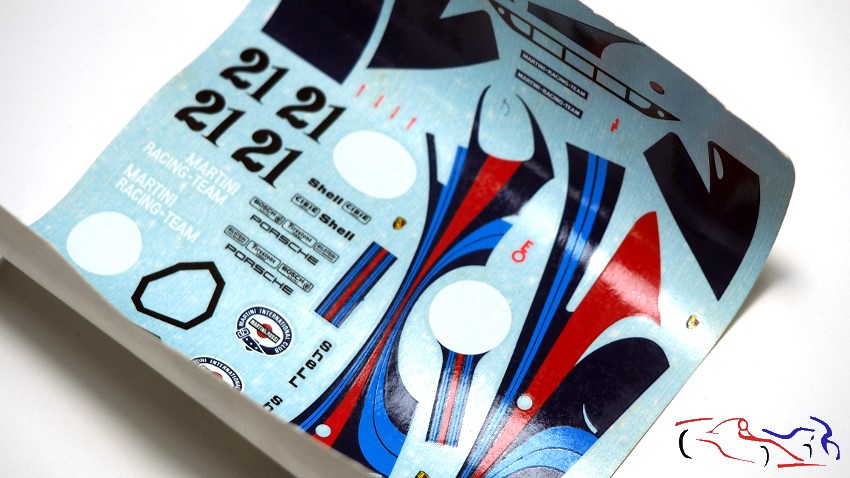
Las calcas son de Cartograph, pero al ser un kit muy antiguo, pueden dar problemas:
The decals are from Cartograph, but since it’s a very old kit, they may cause problems:
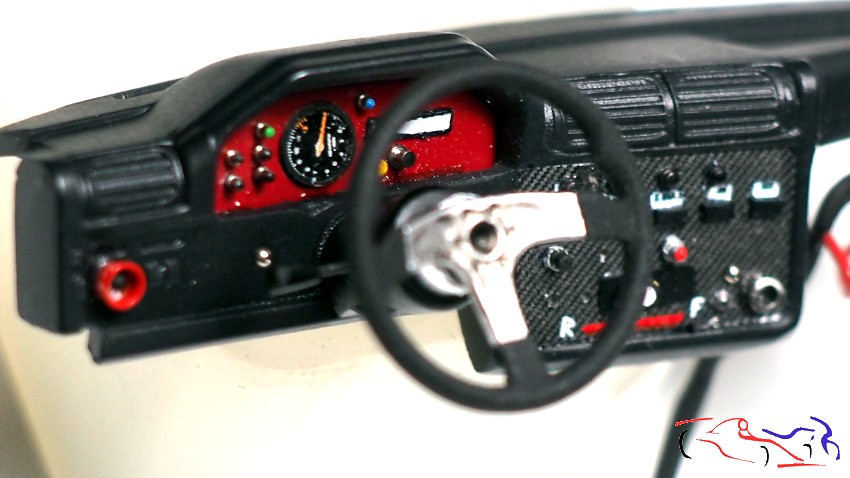
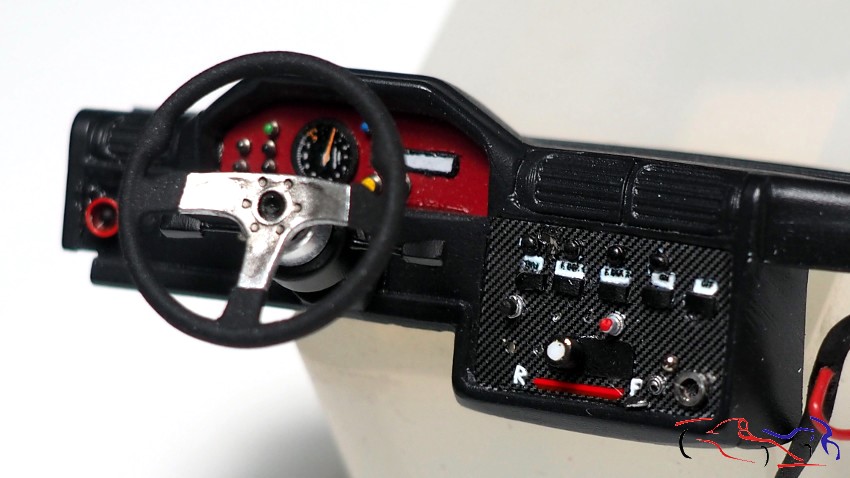
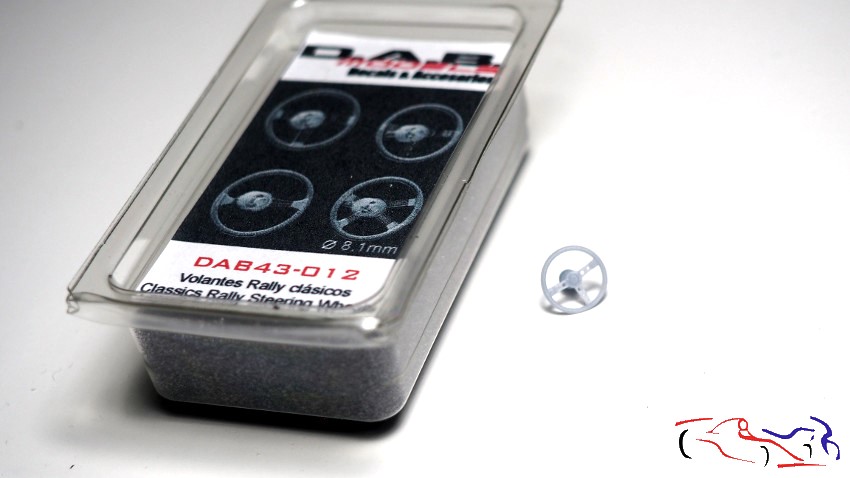
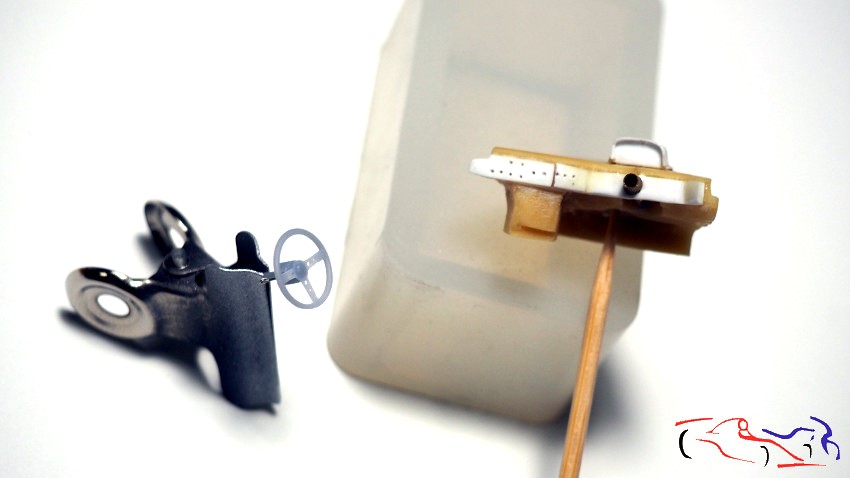
Una de las cosas que de momento le voy a poner es un volante de DAB Models, ya que el original deja mucho que desear:
One of the things I’m going to add for now is a DAB Models steering wheel, since the original leaves a lot to be desired:
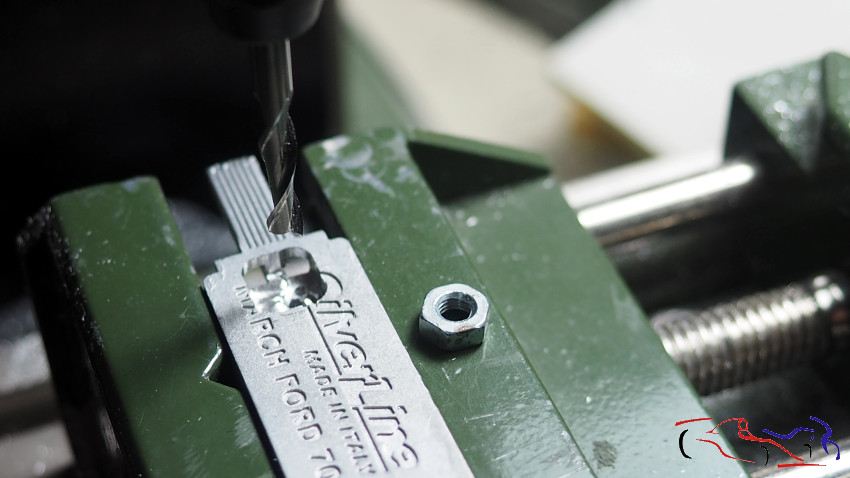
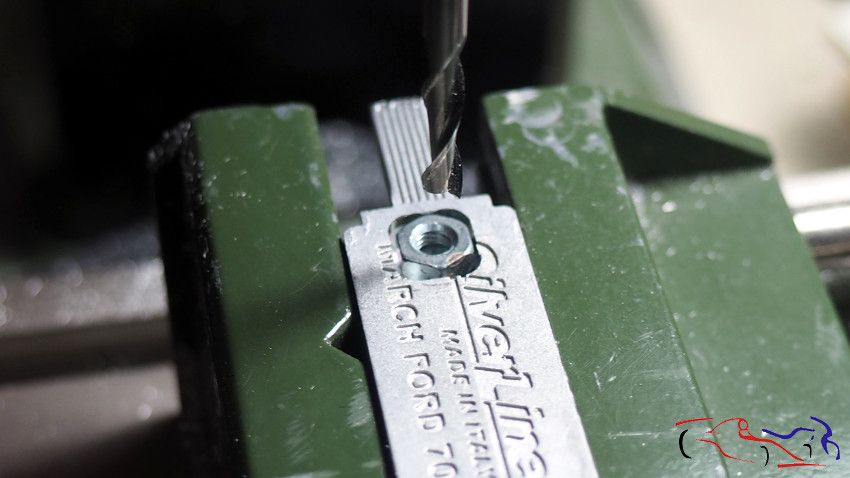
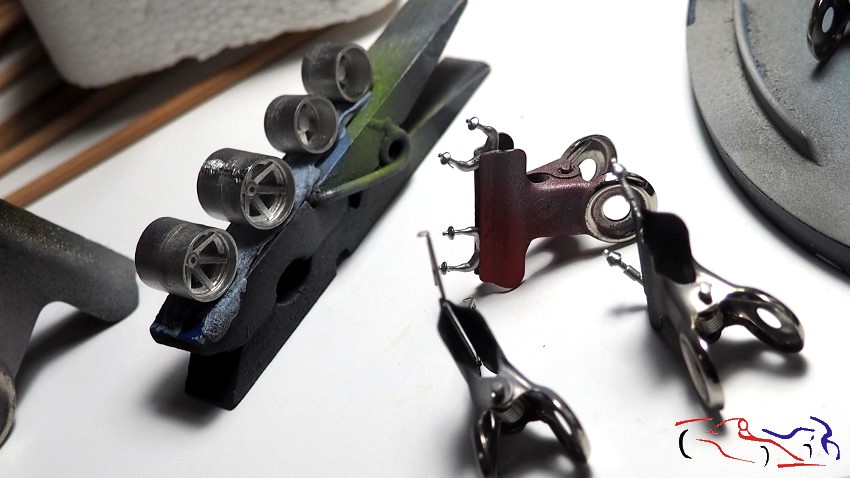
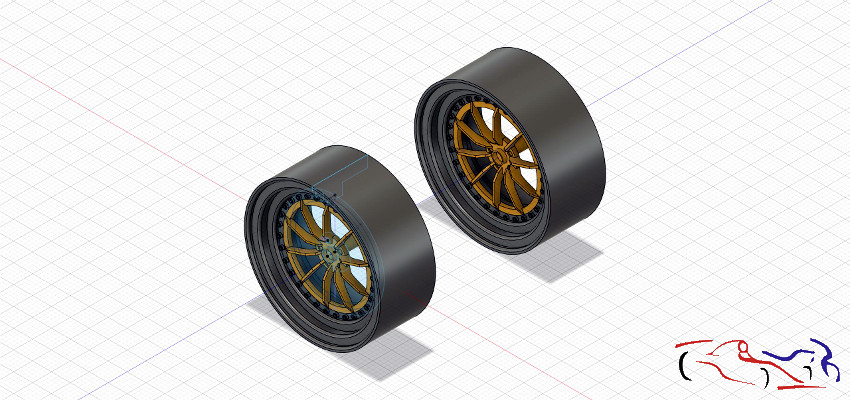
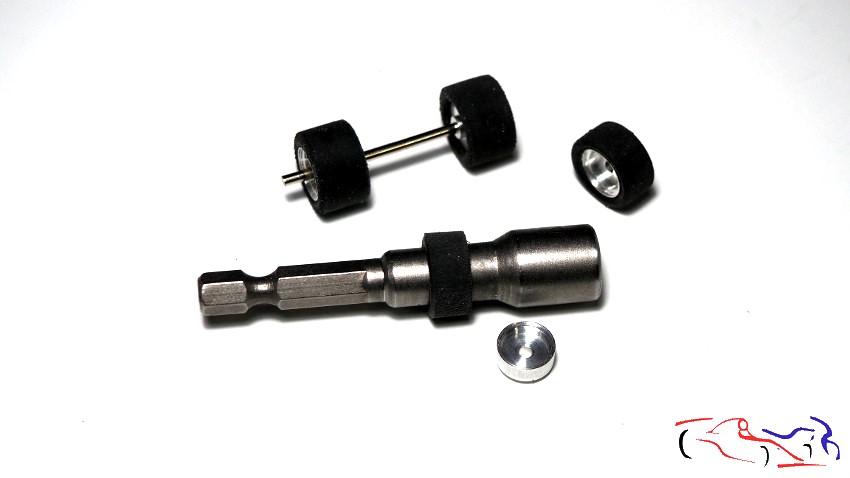
Y empezamos con el proceso: primero torneamos las ruedas para gastarlas y reducir un poco el diámetro. Lo hago lijándolas en ese útil del taladro:
And we begin the process: first we turn the wheels to wear them down and reduce the diameter a little. I do this by sanding them on that attachment of the drill:
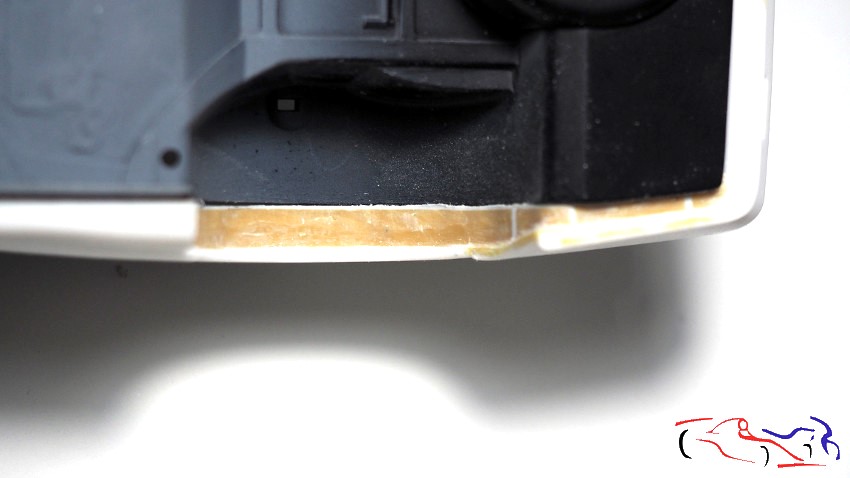
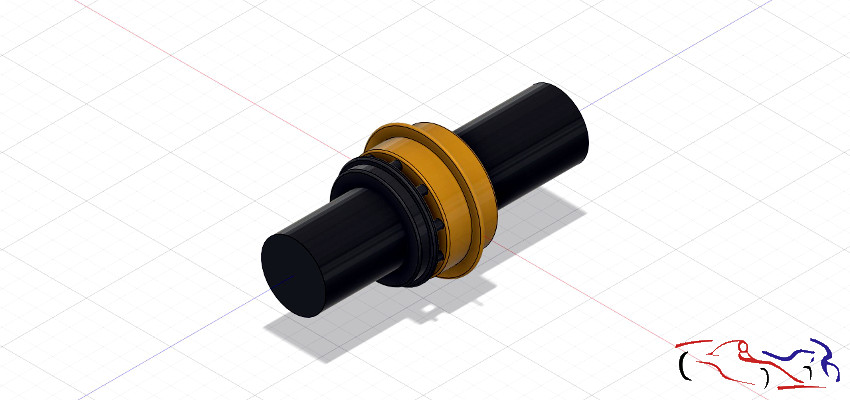
En cuanto a la carrocería, relleno burbujas por la parte inferior, y le ajusto los ejes de las ruedas, añadiendo unos tubos en las de delante, y una base en la trasera, para levantar la carrocería. Los ejes están acortados porque sobresalían de las llantas:
As for the body, I filled in any air bubbles underneath and adjusted the wheel axles, adding tubes to the front wheels and a base to the rear to raise the body. The axles were shortened because they were sticking out beyond the rims.
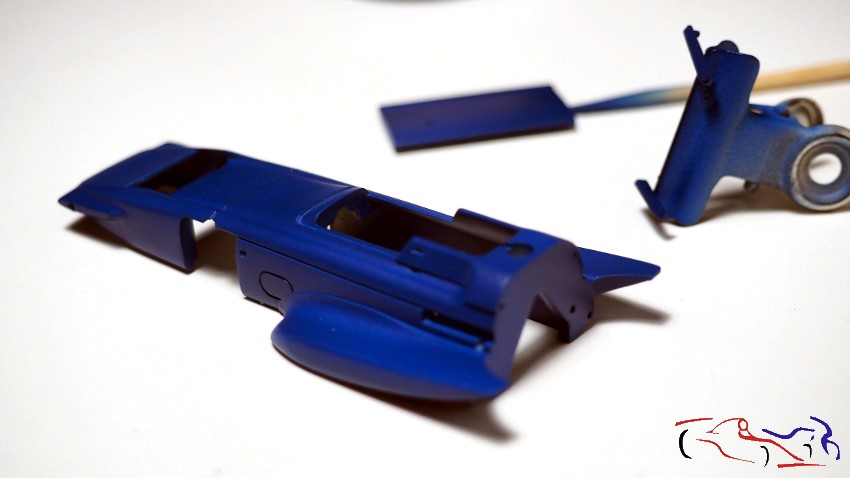
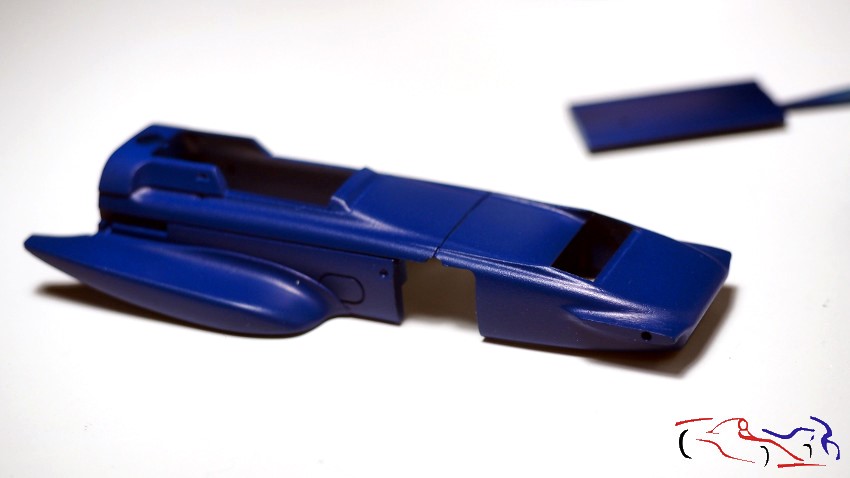
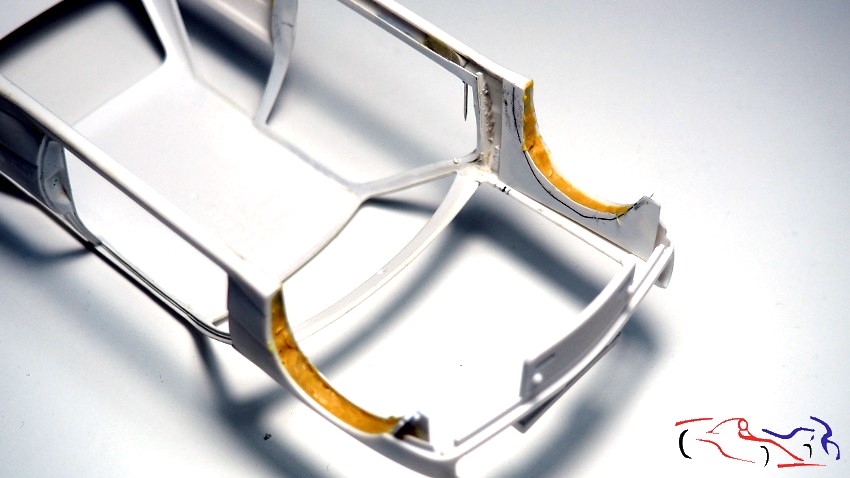
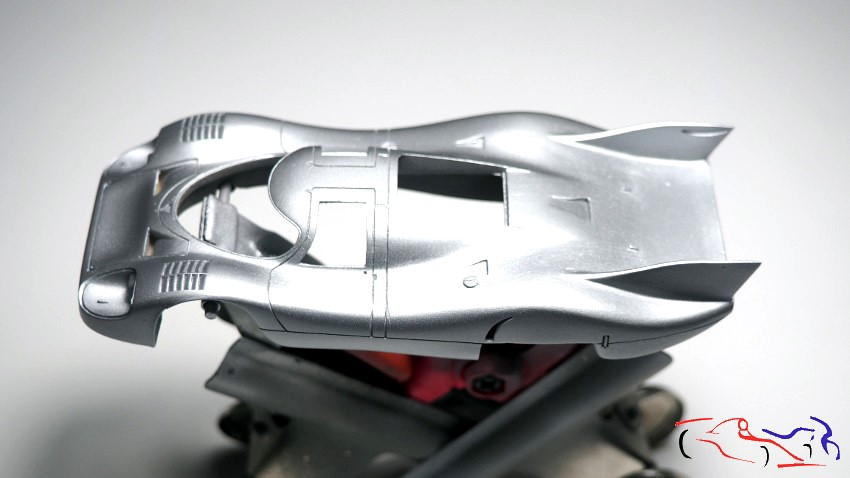
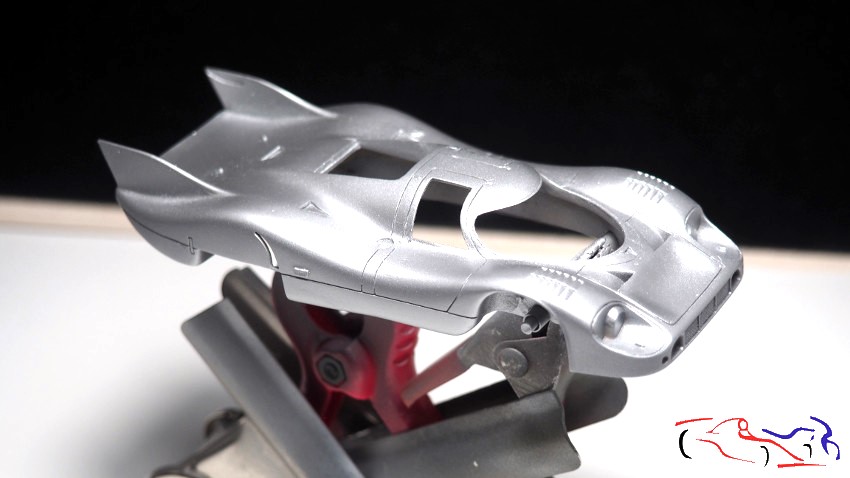
Aquí os presento la carrocería, una vez eliminadas las rebabas, profundizadas las líneas, y con una lijada completa a toda la superficie:
Here I present the bodywork, once the burrs have been removed, the lines deepened, and the entire surface has been completely sanded:
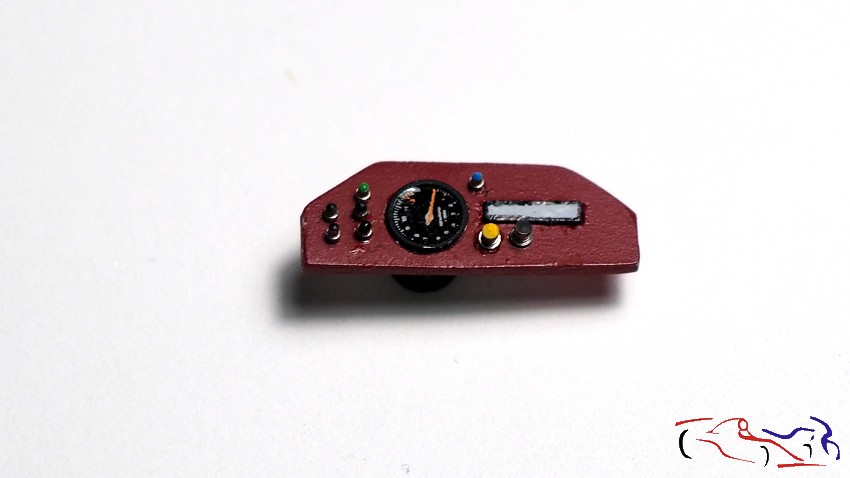
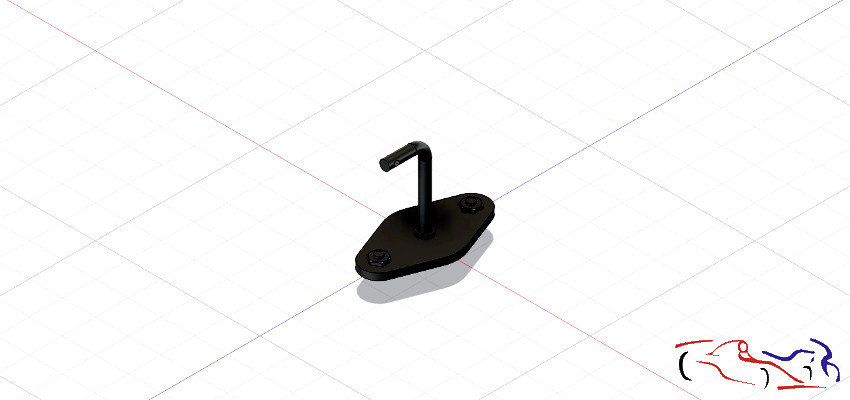
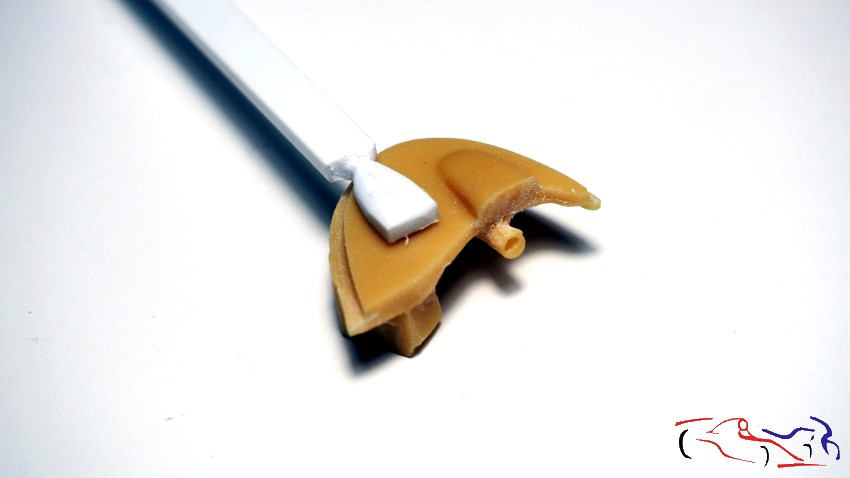
Pasamos al salpicadero. Podéis comprobar que es lo menos parecido a un salpicadero: la caja de relojes, que no tiene profundidad, no cuadra con la barra de la dirección, rebabas por todos lados…. Lo primero es hacer una caja de relojes, puesto que la original hay que eliminarla, y ponerle profundidad. La hago tallando una barra de plástico. Le rebajo todo el frontal para poner unas tiras de plástico donde le hago los agujeros de los interruptores, y le remplazo la guía de la dirección:
Let’s move on to the dashboard. You can see it’s the least like a dashboard: the instrument cluster, which has no depth, doesn’t align with the steering column, and there are burrs everywhere… The first thing is to make a new instrument cluster, since the original one has to be removed, and give it depth. I make it by carving a plastic rod. I reduce the entire front edge to attach some plastic strips where I drill the holes for the switches, and I replace the steering column guide.
Y todo listo para imprimar y pintar:
And everything is ready for priming and painting:
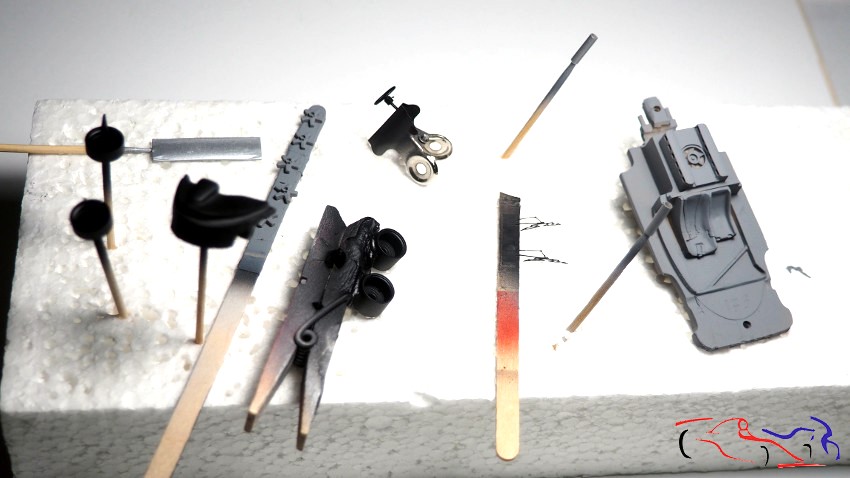

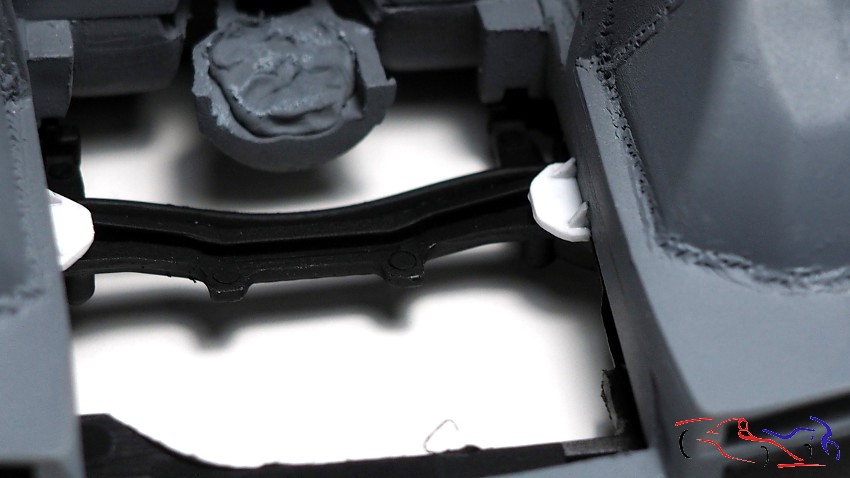
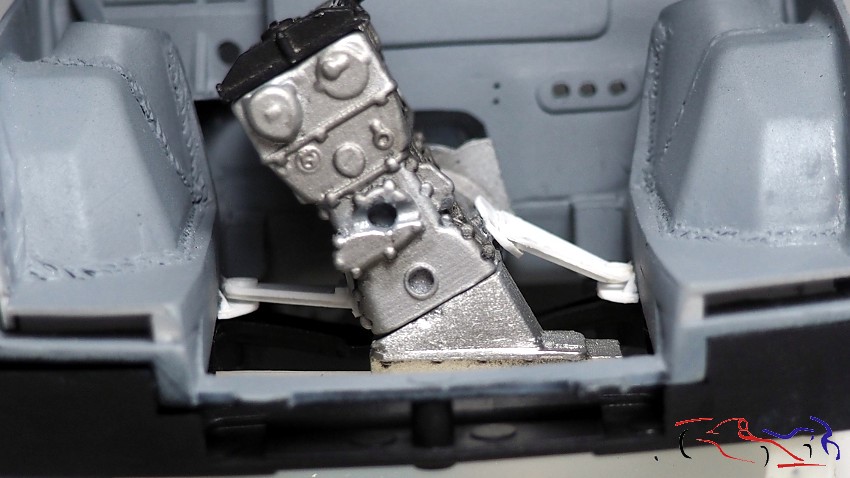
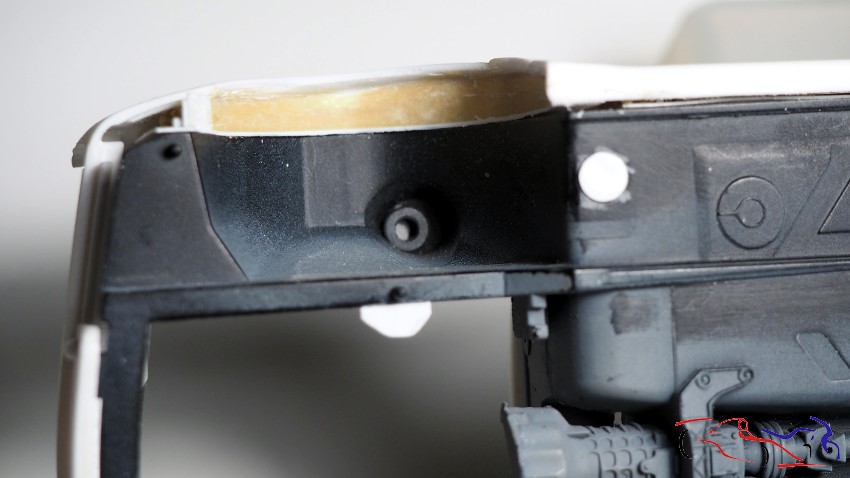
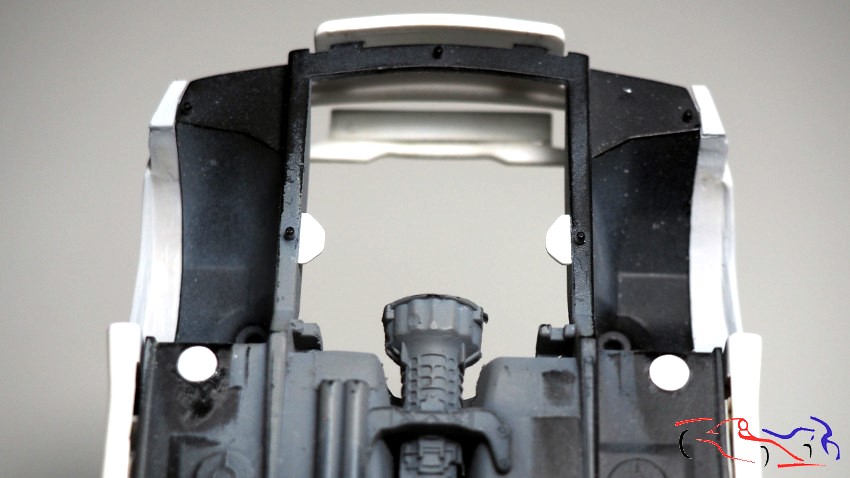
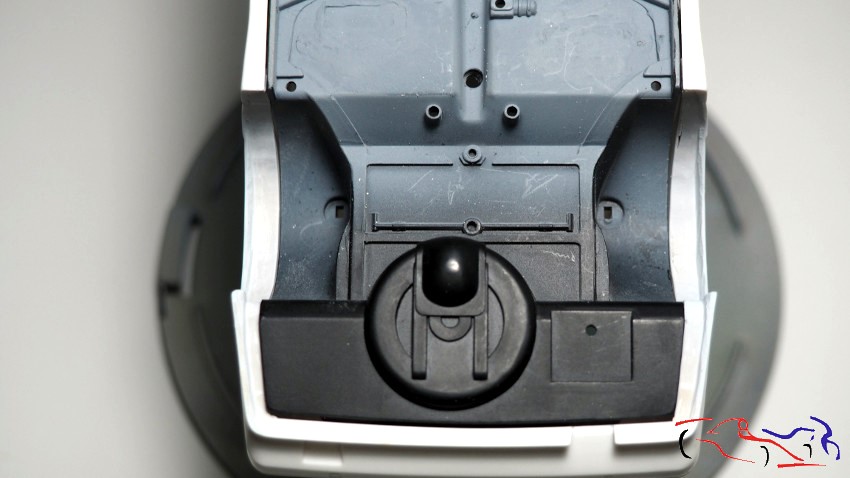
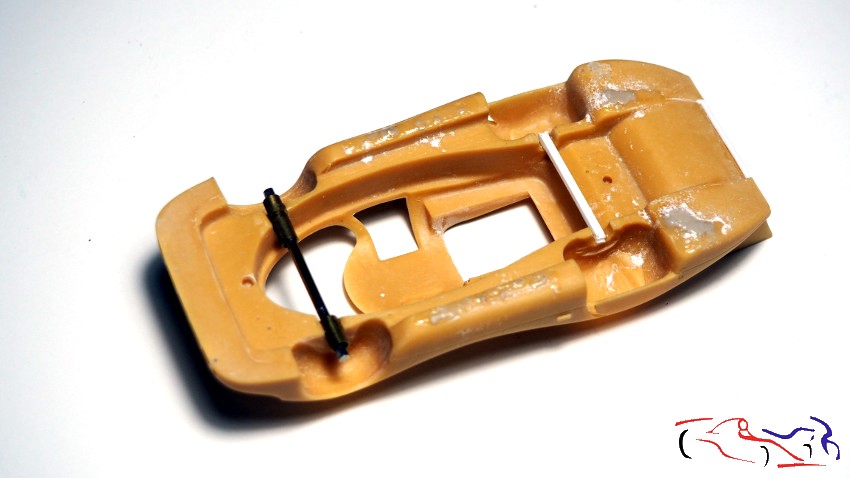
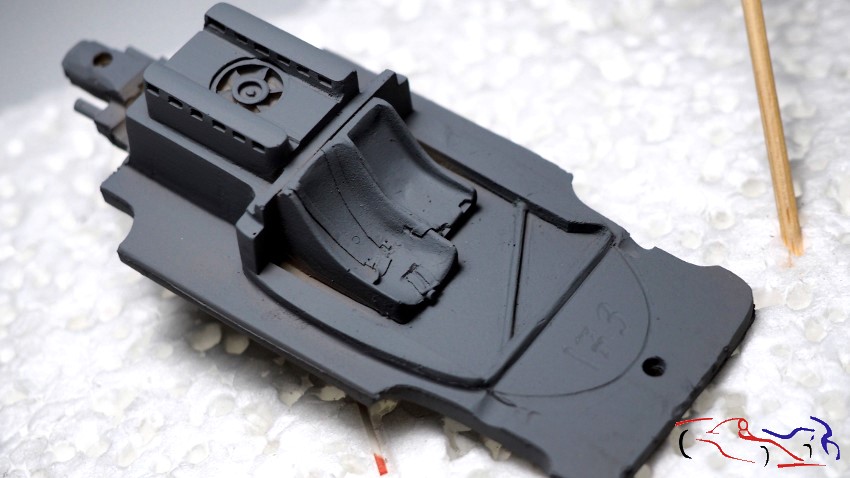
Si nos movemos al chasis, decir que los escapes están muy separados de la caja de cambios (los remplazaré por unos tubitos de metal), y eliminaré todo menos la caja de cambios. En la foto del chasis imprimada (con imprimación gris oscura de Gravity), se ve un poco la parte trasera que he modificado, y que más adelante mostraré:
Moving on to the chassis, the exhaust pipes are quite far from the gearbox (I’ll replace them with small metal tubes), and I’ll remove everything except the gearbox. In the photo of the primed chassis (with Gravity dark gray primer), you can see a bit of the rear section I’ve modified, which I’ll show later.
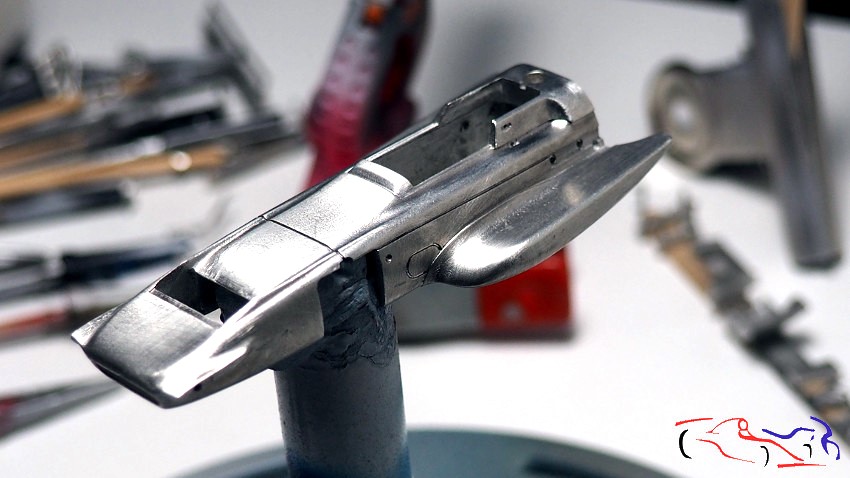
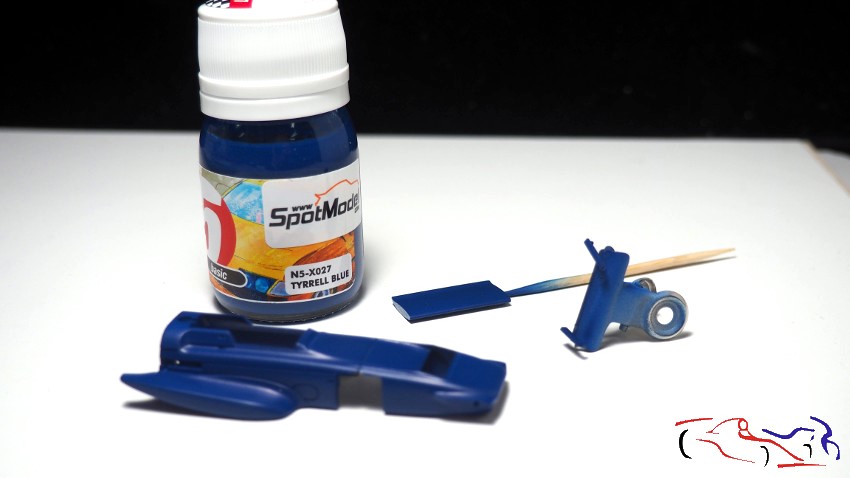
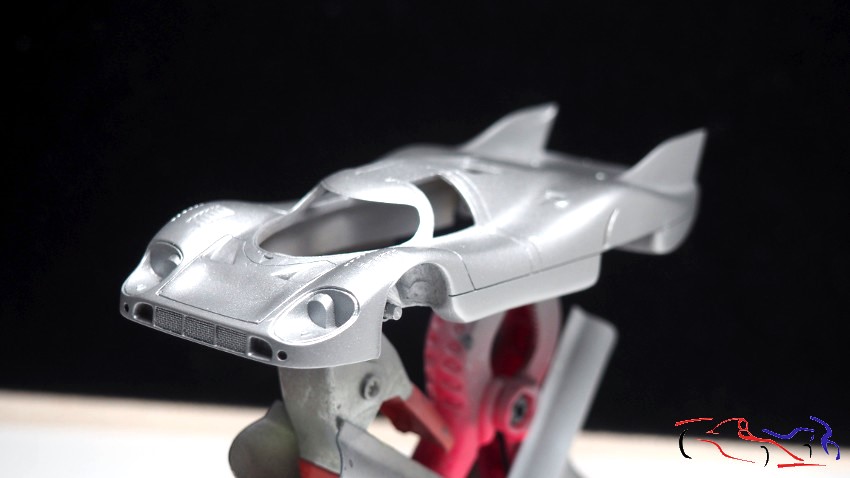
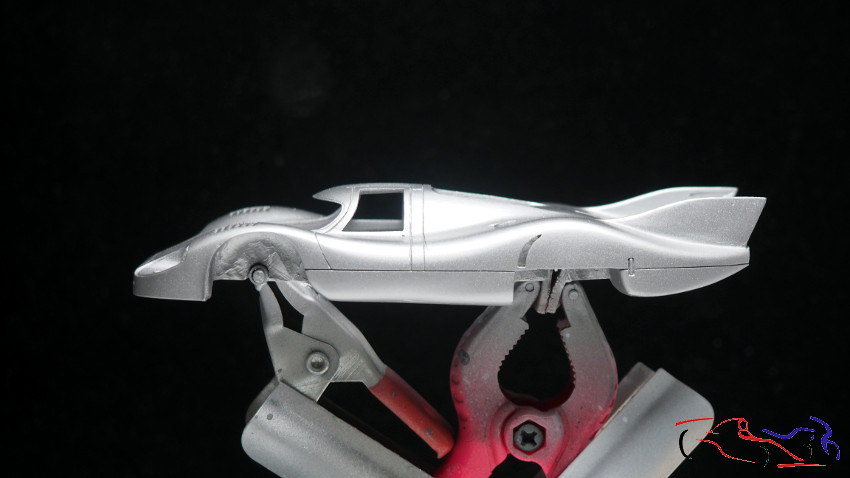
Una vez imprimada la carrocería con el gris oscuro de Gravity, le aplico el Alcoa Aluminium de la misma marca. Resultado: muy fino y muy fácil de aplicar:
Once the car body was primed with Gravity’s dark gray, I applied the Alcoa Aluminium from the same brand. Result: very smooth and very easy to apply.
Esto es todo de momento. Gracias por ver y comentar!!
That’s all for now. Thanks for watching and commenting!