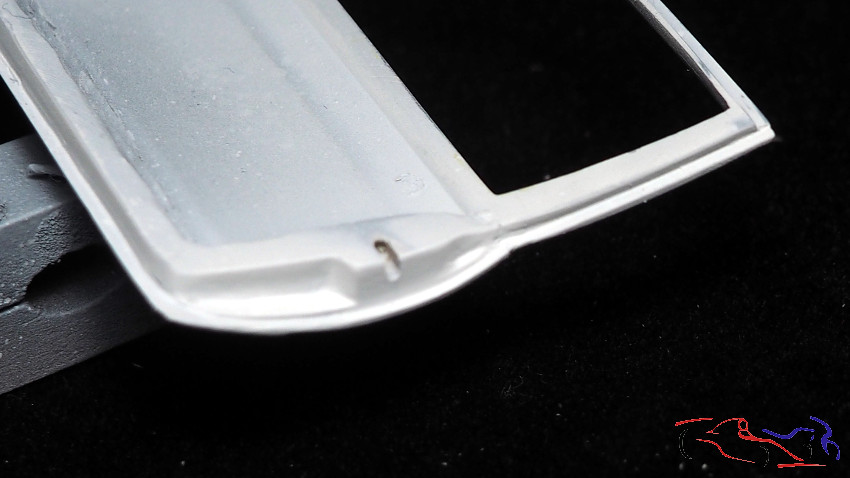
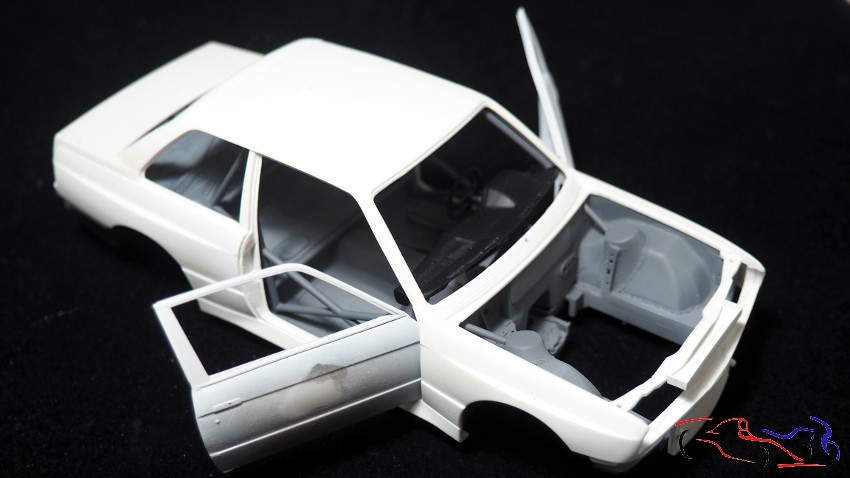
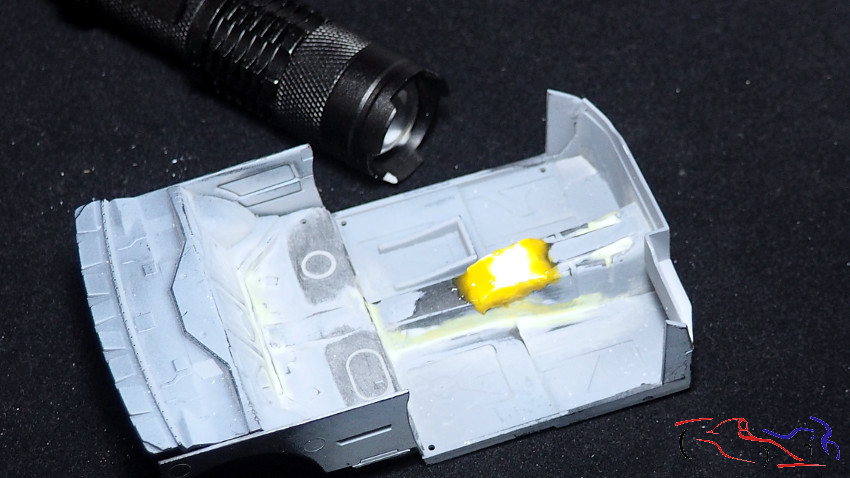
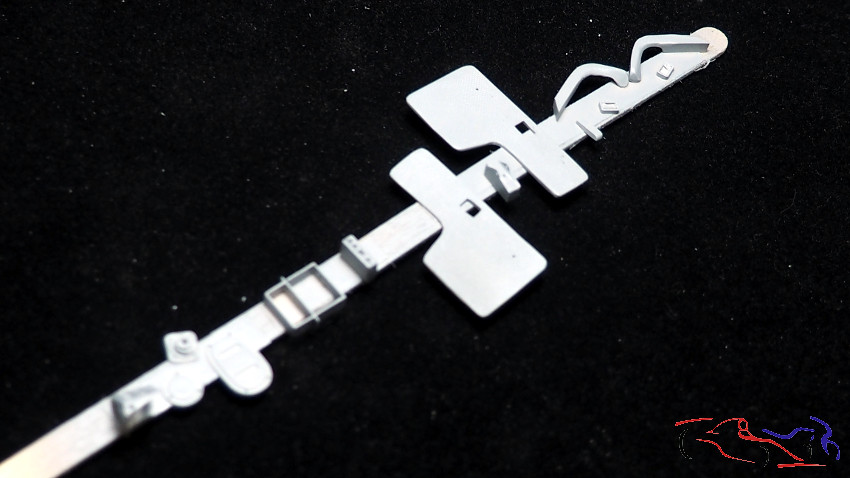
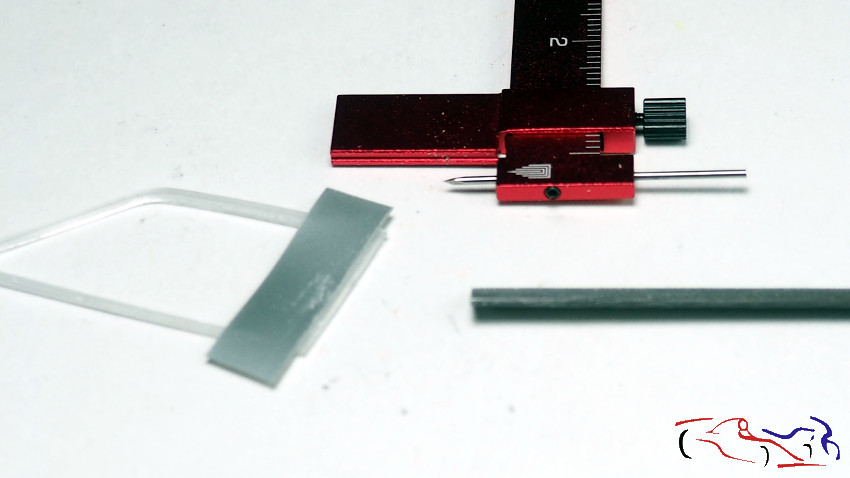
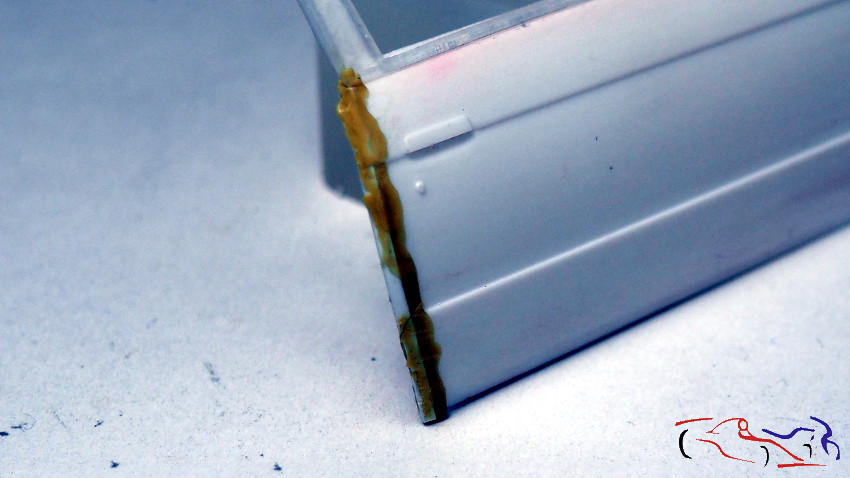
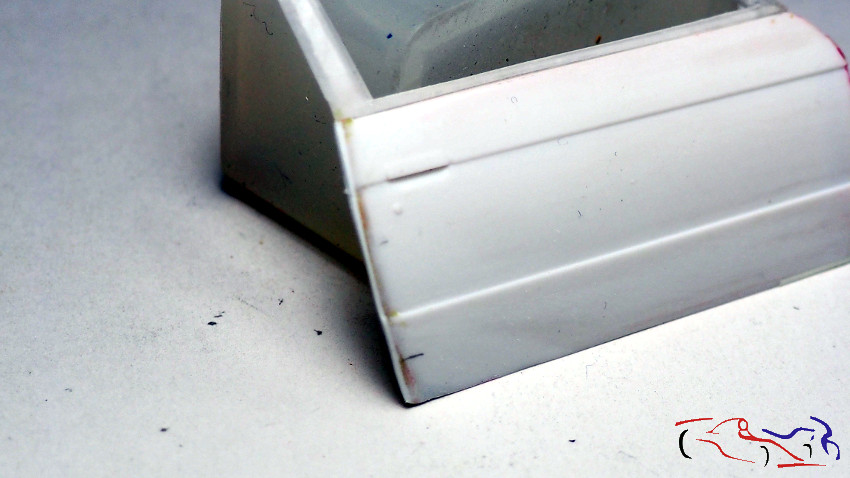
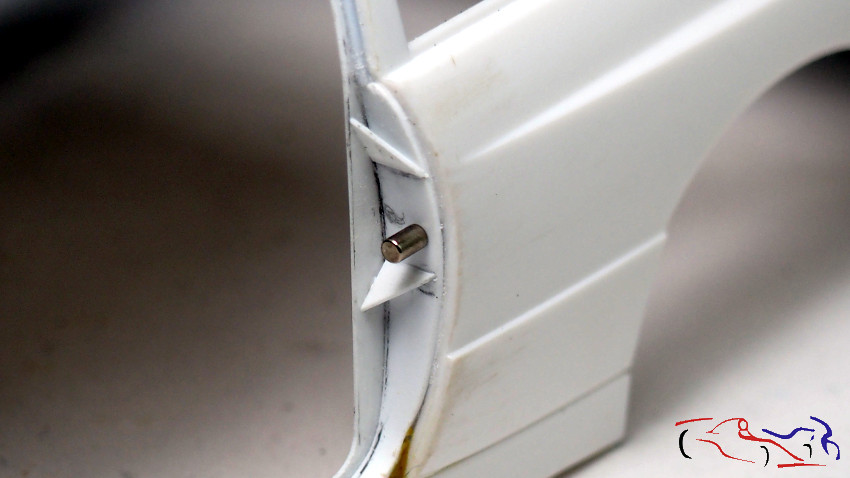
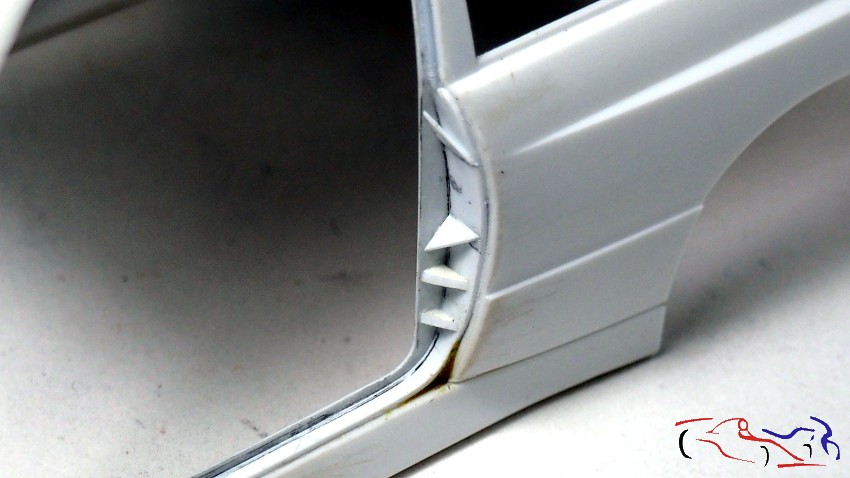
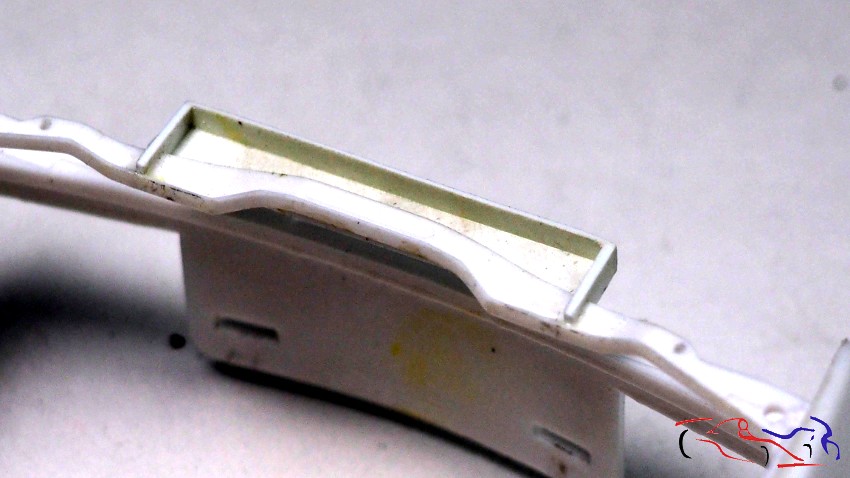
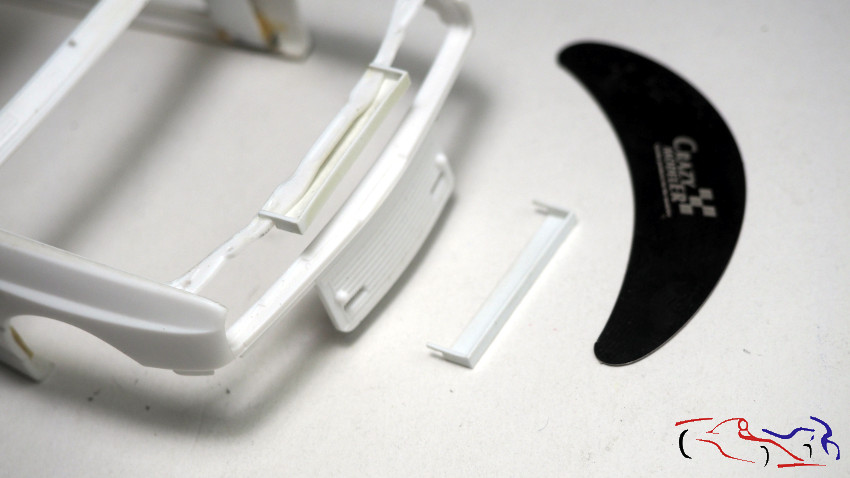
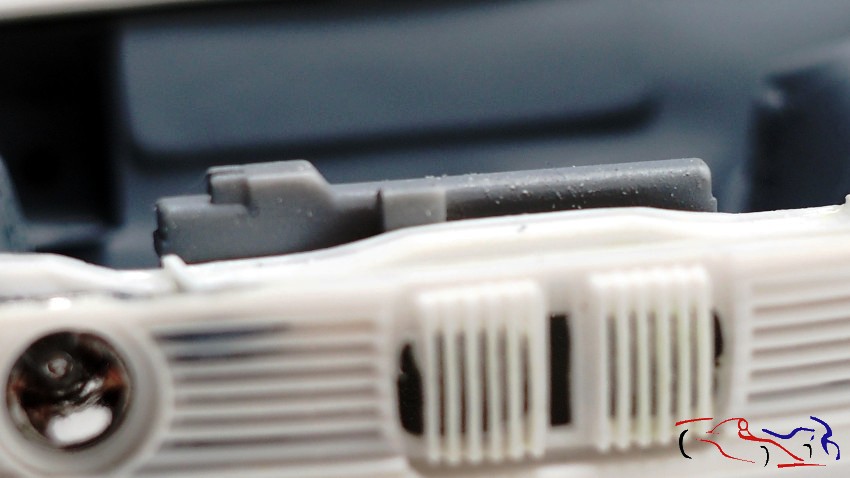
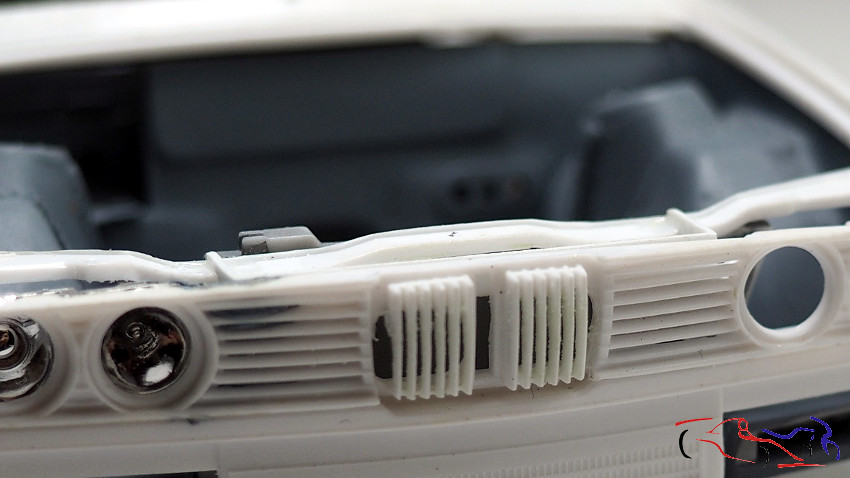
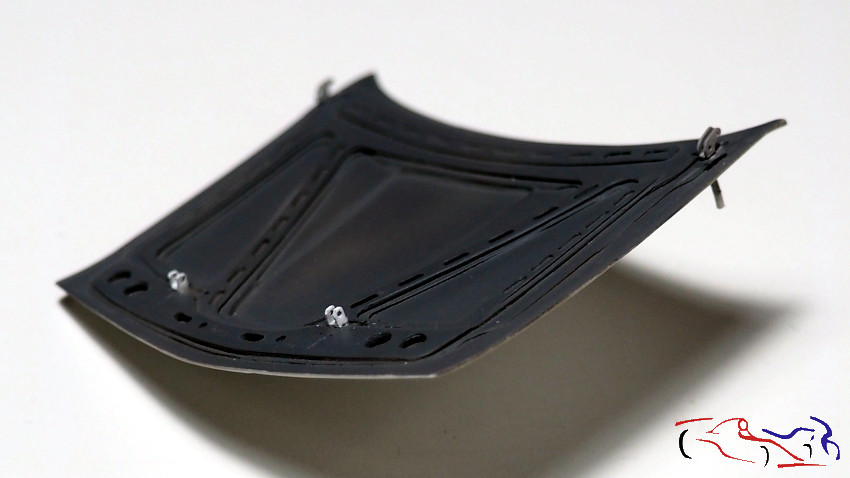
Hola a todos!! Un buen empujón he dado al interior, ahora que tengo más tiempo!! Pero empecemos por una pieza terminada a falta de imprimar y pintar, que se hará con la carrocería. En el capço del motor, he colocado las fijaciones para su apertura y para su cierre, que ya había realizado. Para fijar los cierres, directamentehe taladrado el capó y pegado el vástago, para cortarlo y alisarlo una vez seco, De esta manera, aseguro su fijación.
Hi everyone! I’ve made good progress on the interior now that I have more time! But let’s start with a finished piece that just needs priming and painting, which will be done with the body. On the hood, I’ve attached the fasteners for opening and closing it, which I had already made. To secure the fasteners, I drilled directly into the hood and glued the pin in place, then cut and smoothed it once it was dry. This way, I ensured it was securely attached.
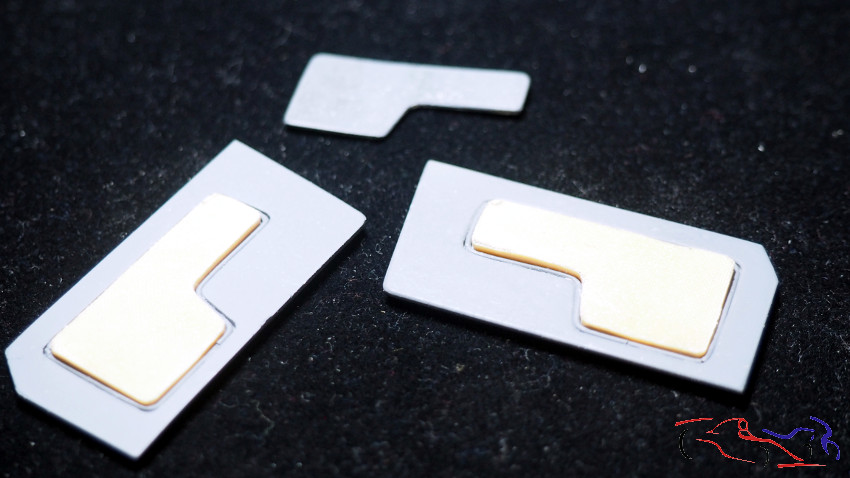
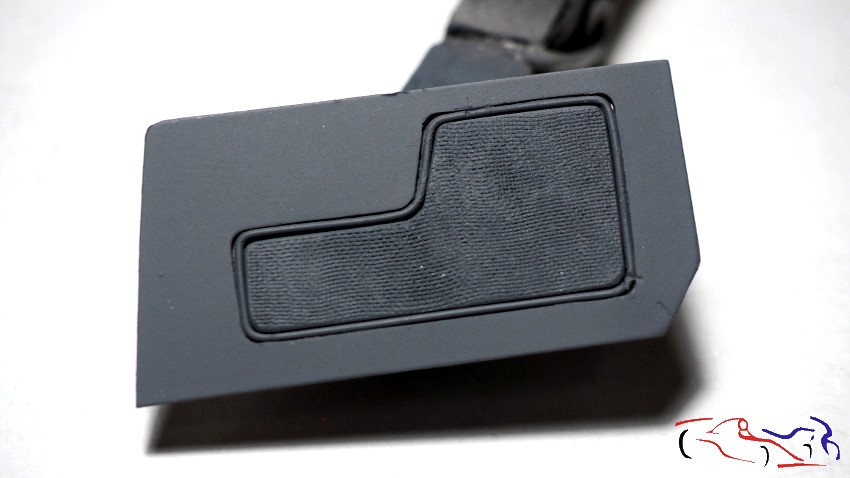
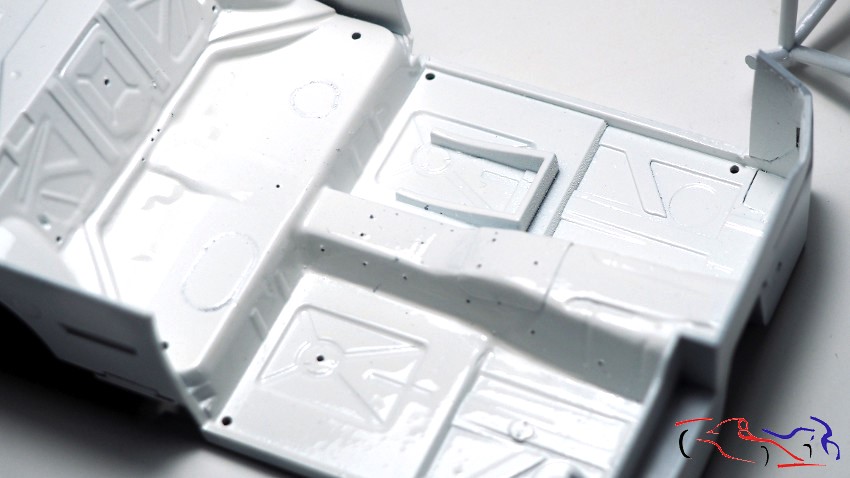
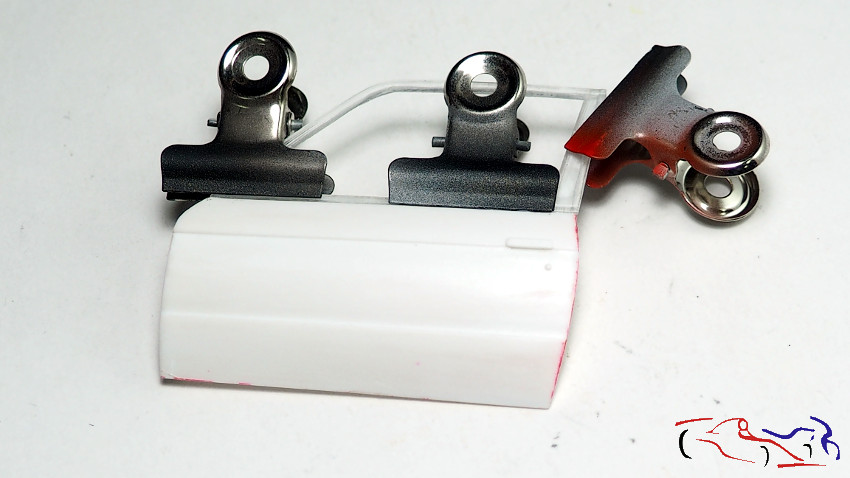
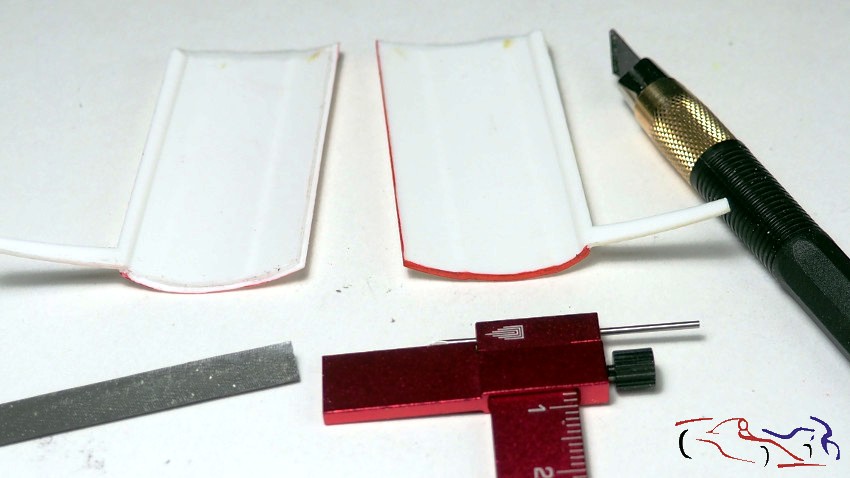
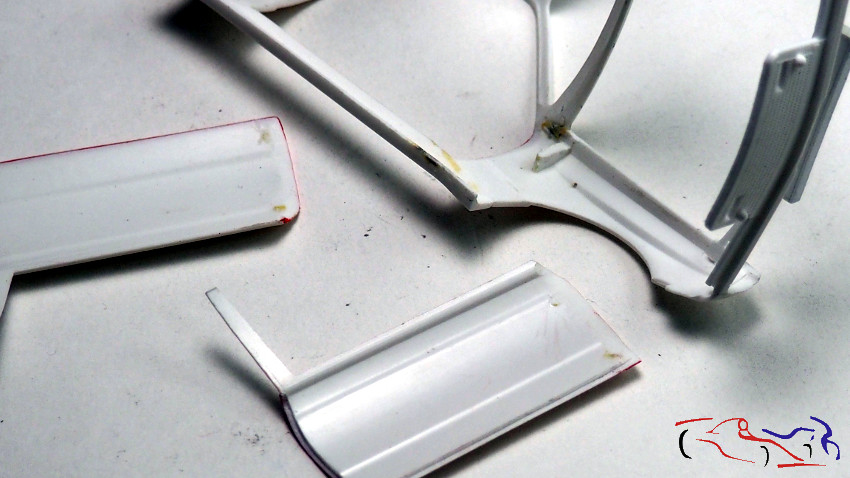
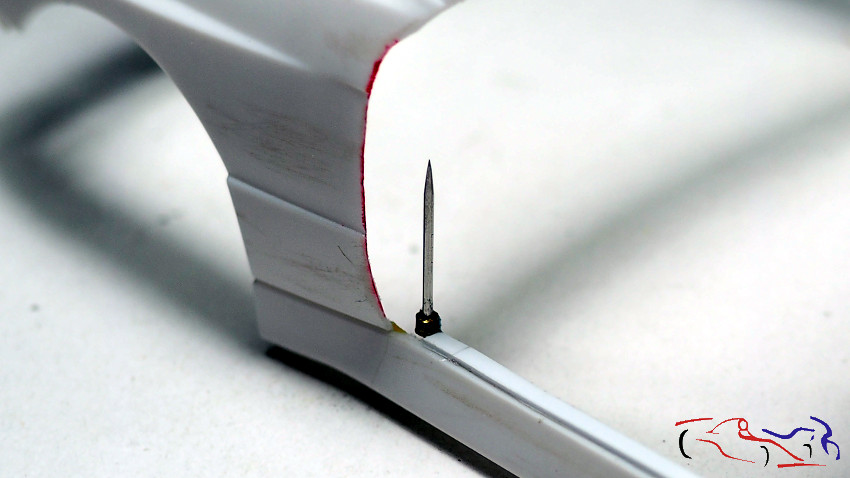
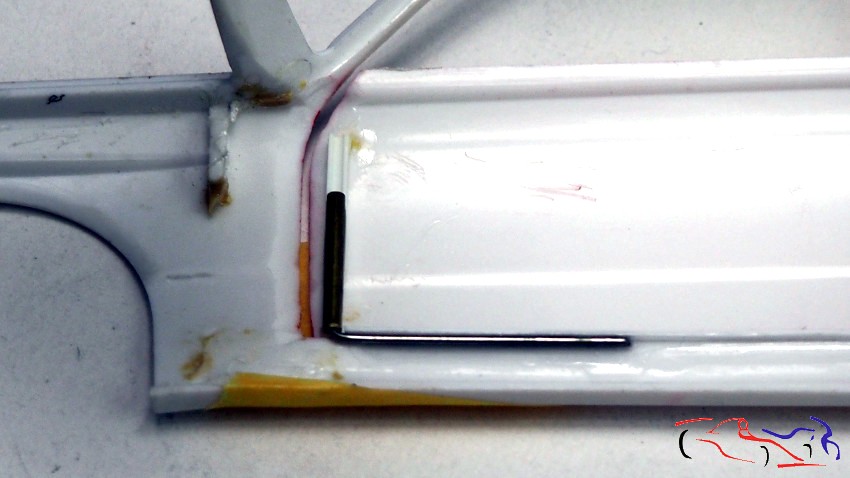
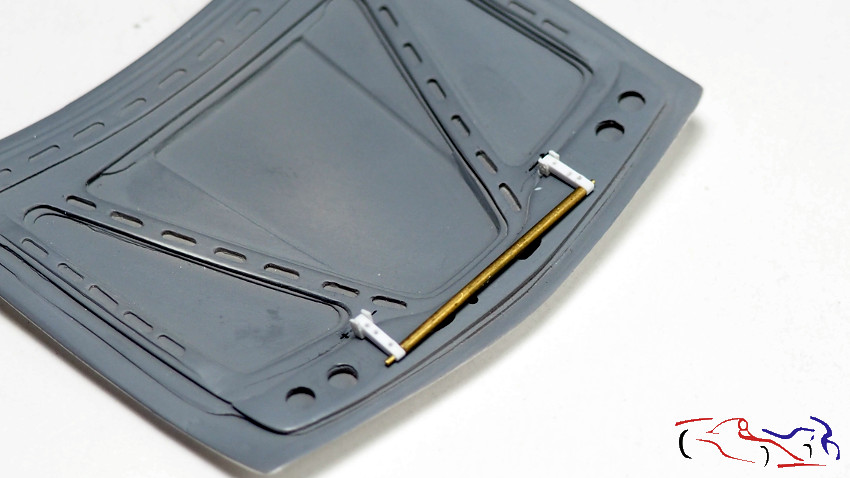
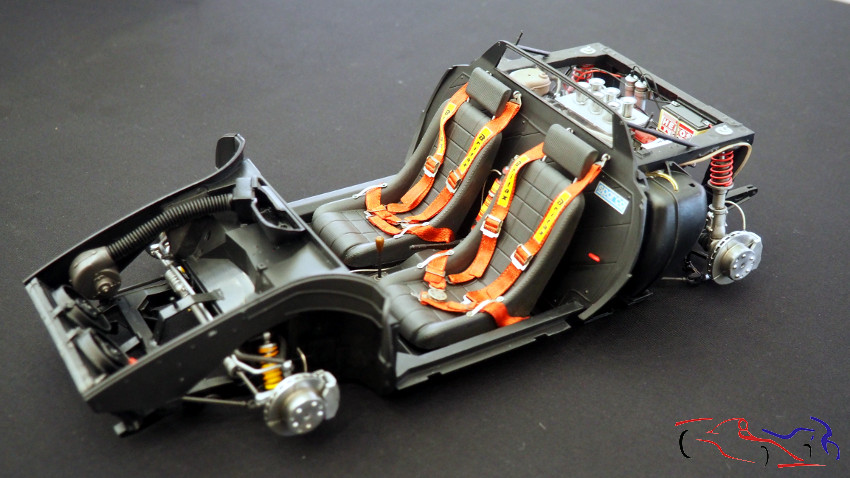
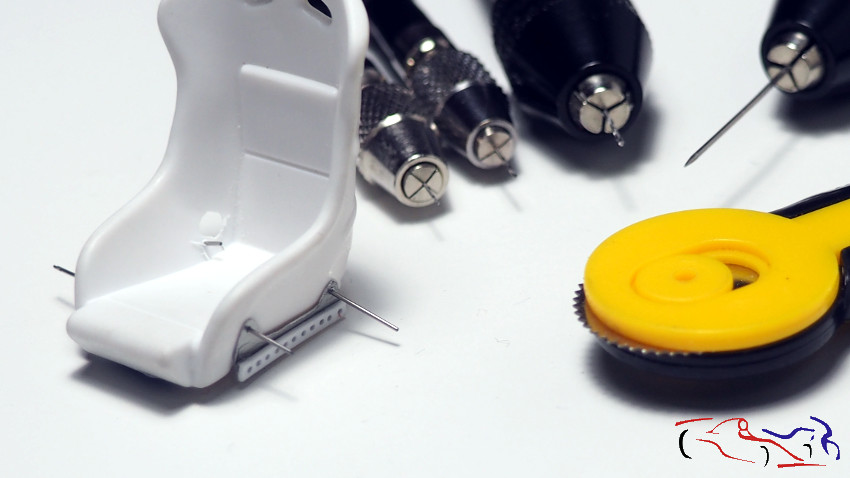
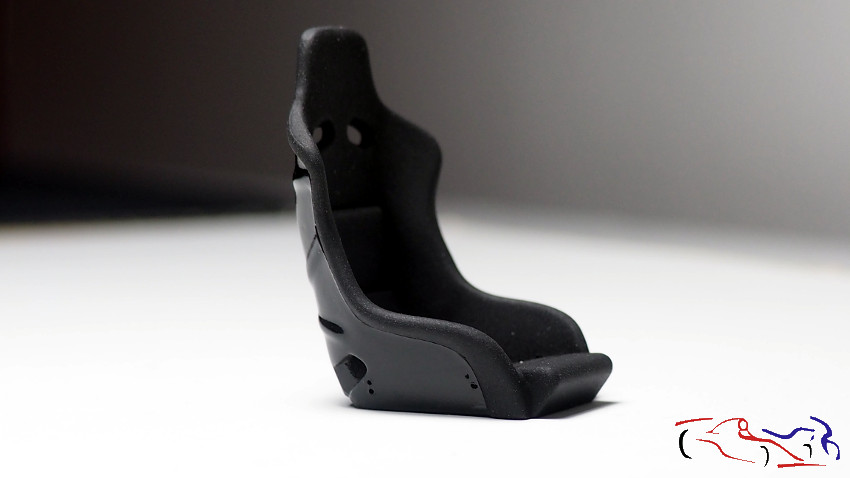
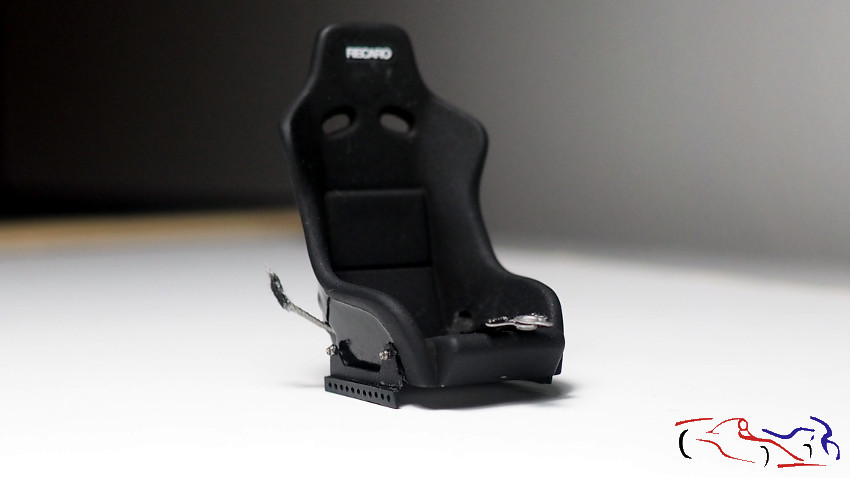
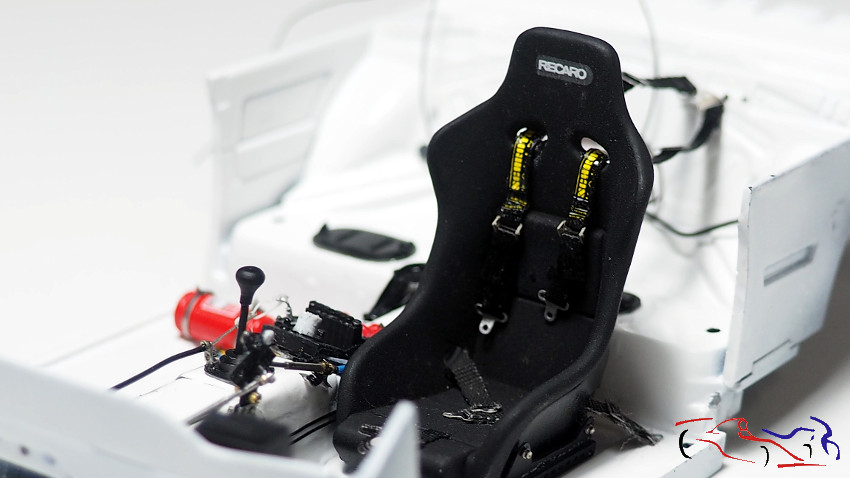
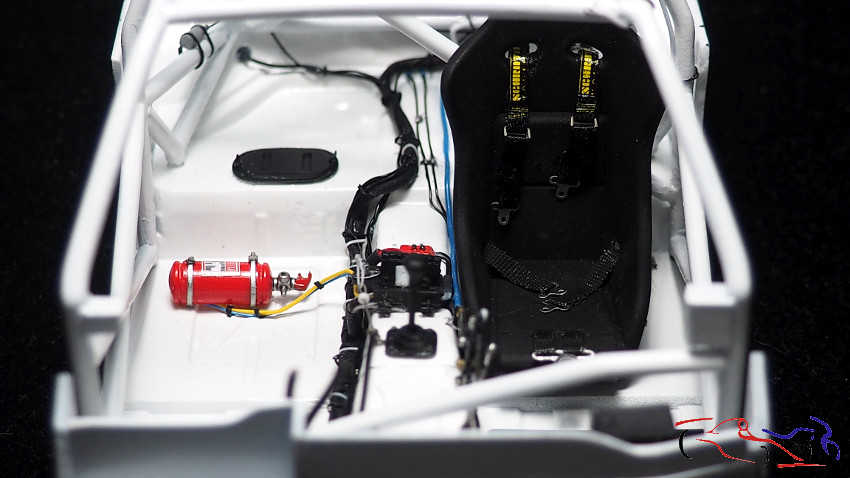
Continuamos con el asiento. Lo primero que hago son las fijaciones al suelo del coche, con una lámina de metal tallada, y una tira de plástico taladrada. Para su posterior fijación al asiento, taladro los agujeros para introducir los correspondientes tornillos de metal. Después, pinto dichas piezas con negro satinado y la parte trasera del asiento, de negro brillante. Una vez seco, lo enmascaro para pintar la parte delantera del asiento con negro mate y polvos de talco, simulando esa textura característica. Quitamos la cinta de enmascarar y ya tenemos listo el asiento para poner los cinturones:
We continue with the seat. The first thing I do is attach it to the car floor using a carved metal sheet and a drilled plastic strip. To attach it to the seat, I drill holes for the corresponding metal screws. Then, I paint these pieces with satin black and the back of the seat with gloss black. Once dry, I mask it off and paint the front of the seat with matte black and talcum powder, simulating that characteristic texture. We remove the masking tape, and the seat is ready for the seatbelts.
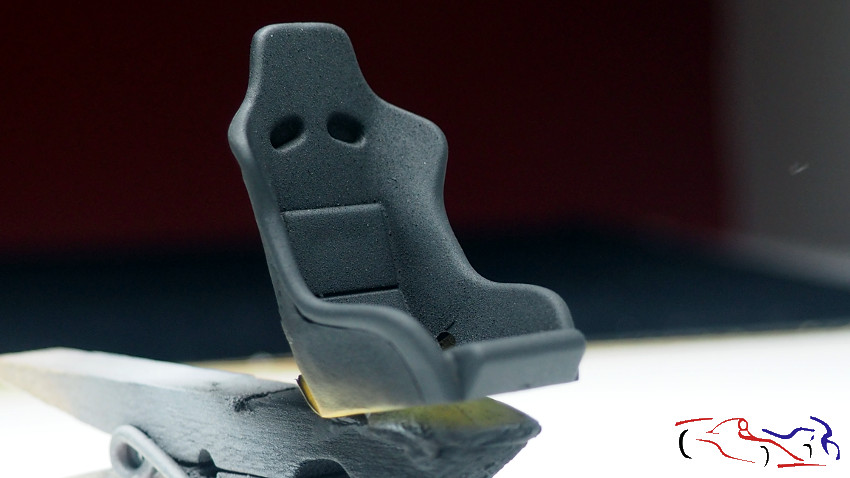
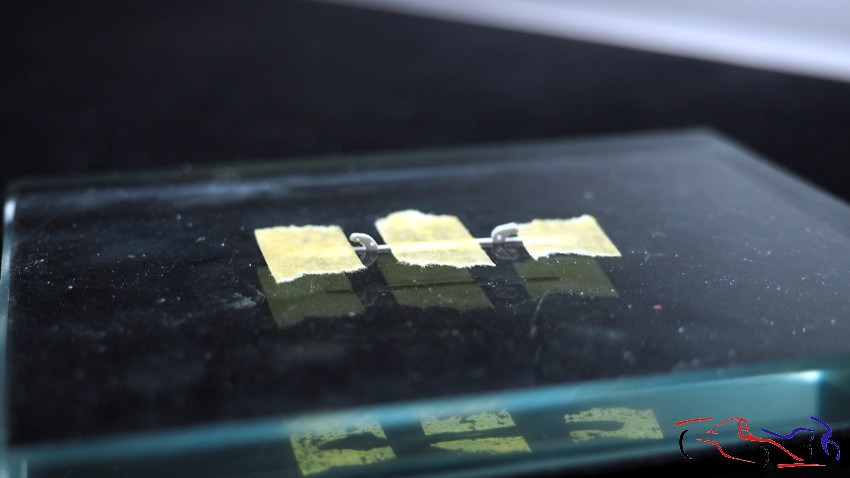
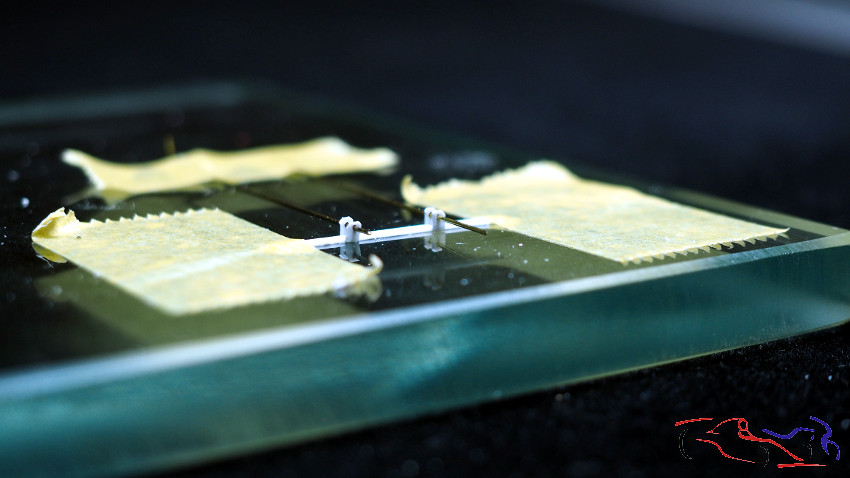
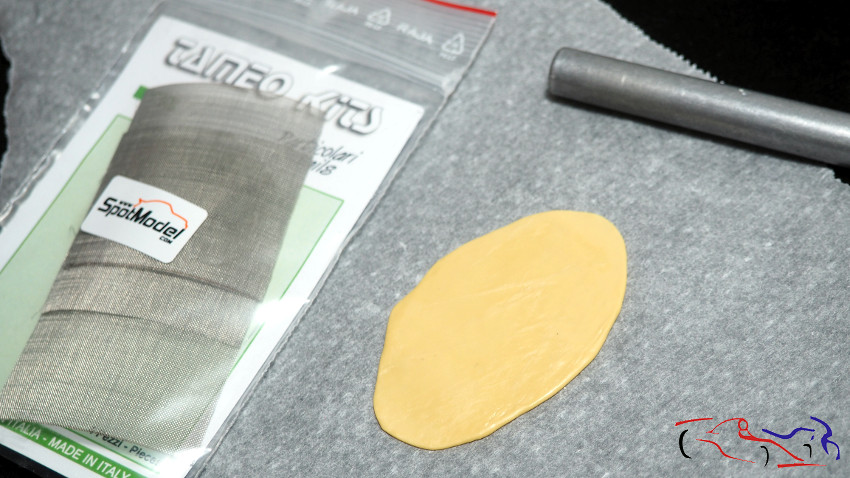
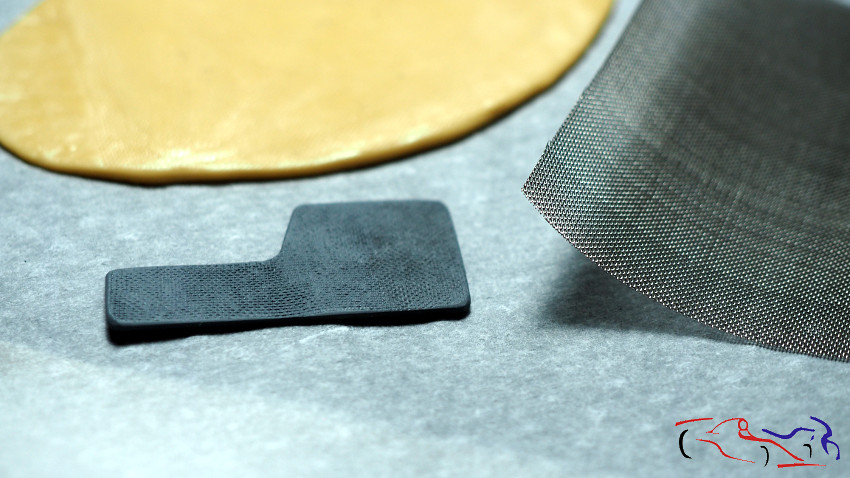
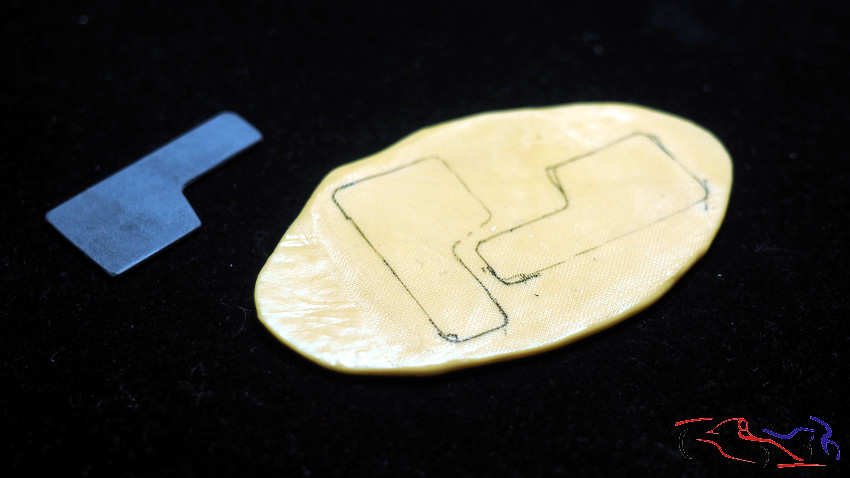
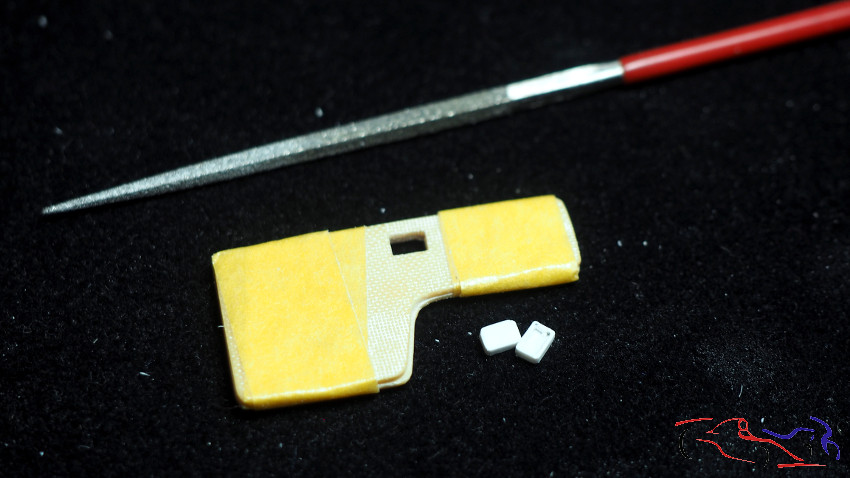
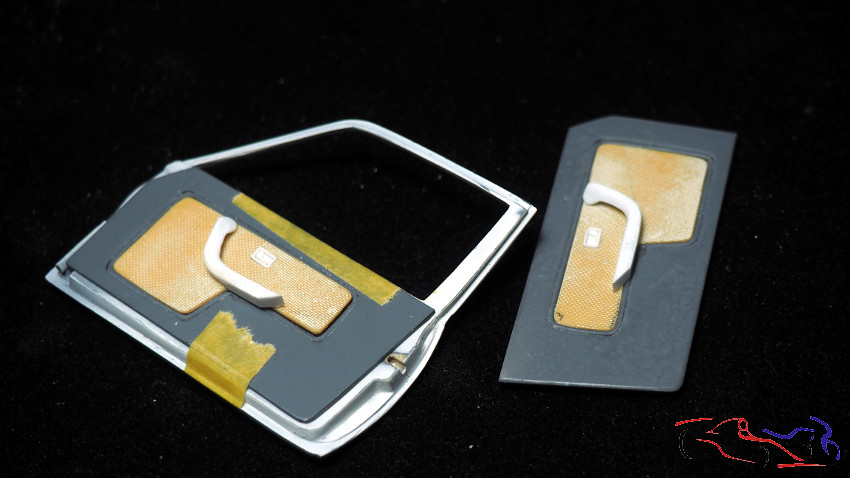
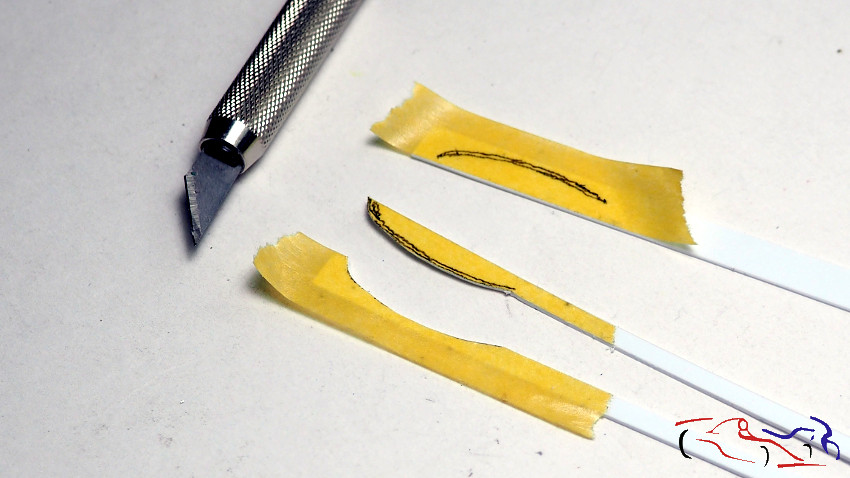
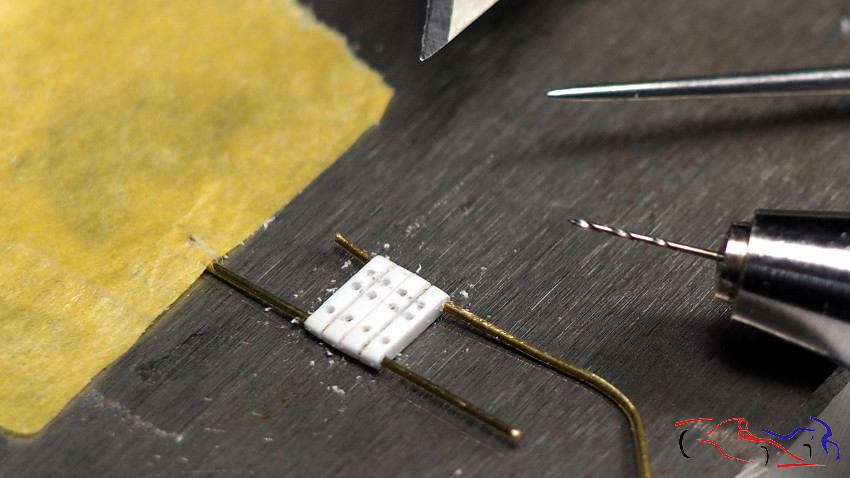
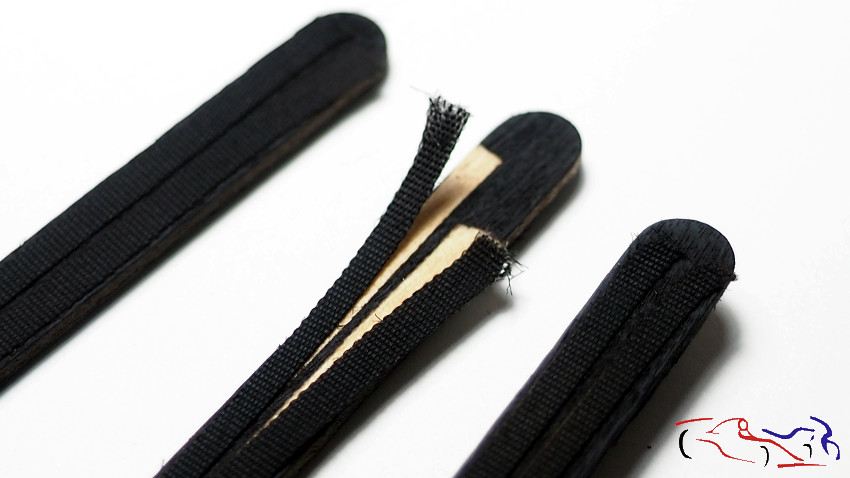
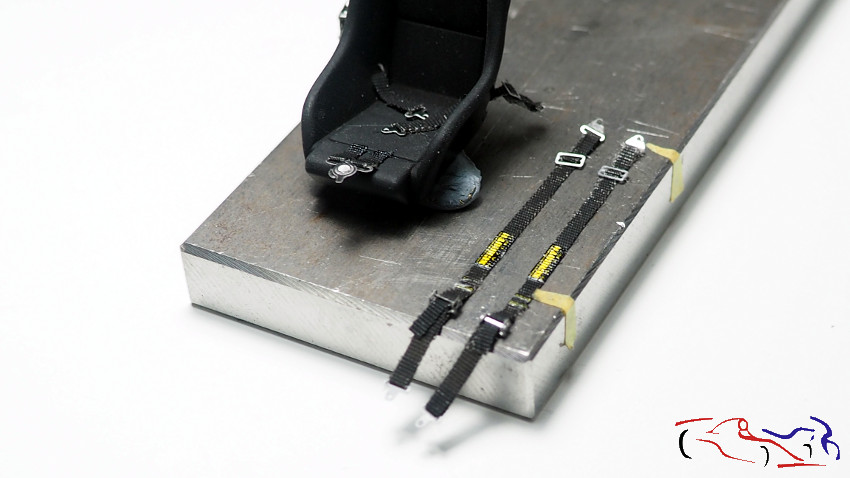
En este caso, los cinturones los voy a hacer partiendo de esparadrapo quirúrgico, que corto y pinto con negro mate. Les pongo las ebillas con mucho cuidado ya que tiene pegamento por su cara posterior. Para eso me ayudo de una peana metálica, donde aprovecho para poner las calcas de dichos cinturones, fijadas con el liquido de Tameo “Strong”, que deja la calca como la superficie en la que se coloca. Pegamos las fijaciones del asiento con sus tornillos y los cinturones, excepto los superiores, que se tienen que colocar después del arco de seguridad:
In this case, I’m going to make the seatbelts from surgical tape, which I cut and paint matte black. I attach the buckles very carefully since they have adhesive on the back. I use a metal base for this, where I also apply the seatbelt decals, fixed with Tameo “Strong” adhesive, which makes the decal adhere to the surface it’s placed on. Then I glue on the seat fixings with their screws and the seatbelts, except for the upper ones, which need to be attached after the roll cage.
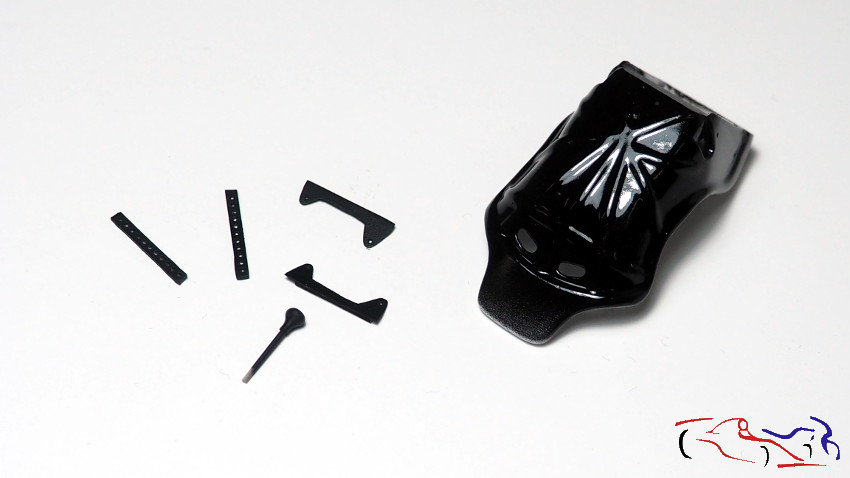
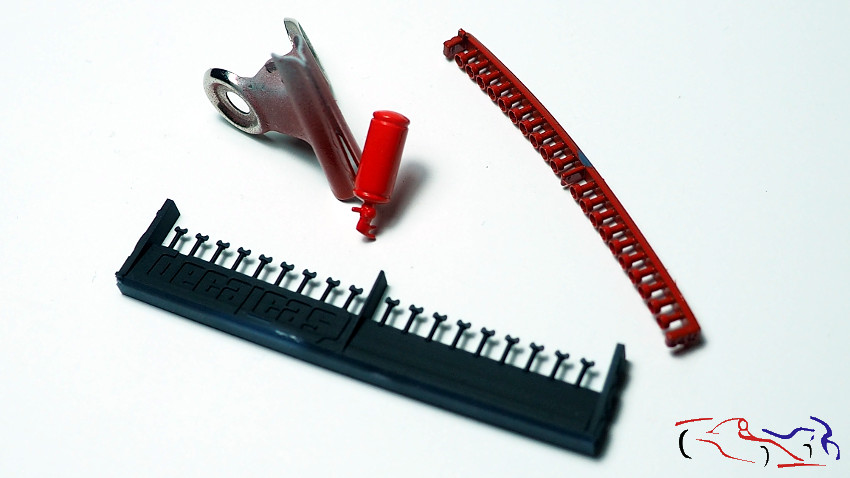
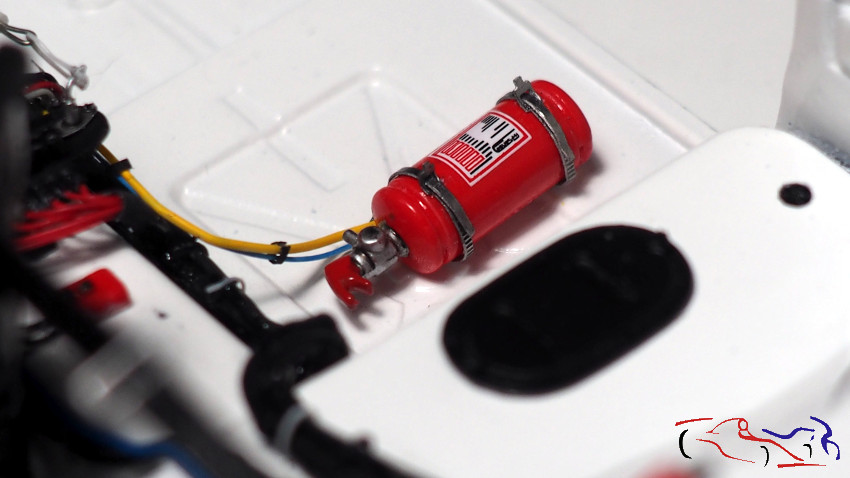
Al mismo tiempo, vamos pintando más piezas de negro satinado, el extinror y unos botones de rojo, asi como las palometas de cierre de dos tapas del habitáculo.
At the same time, we are painting more parts in satin black, the fire extinguisher and some buttons in red, as well as the wing nuts for closing two compartment covers.

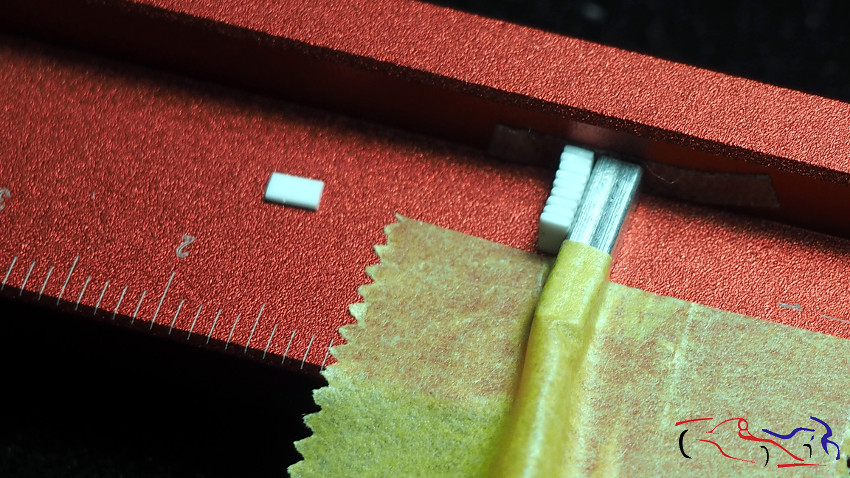
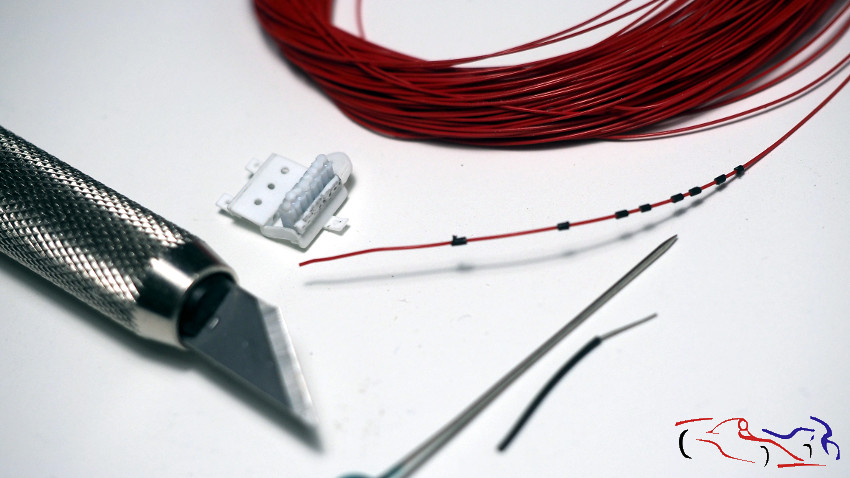
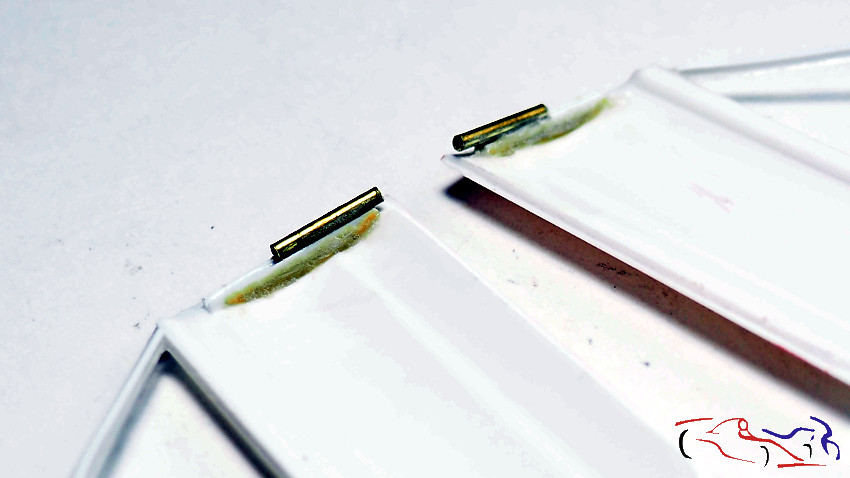
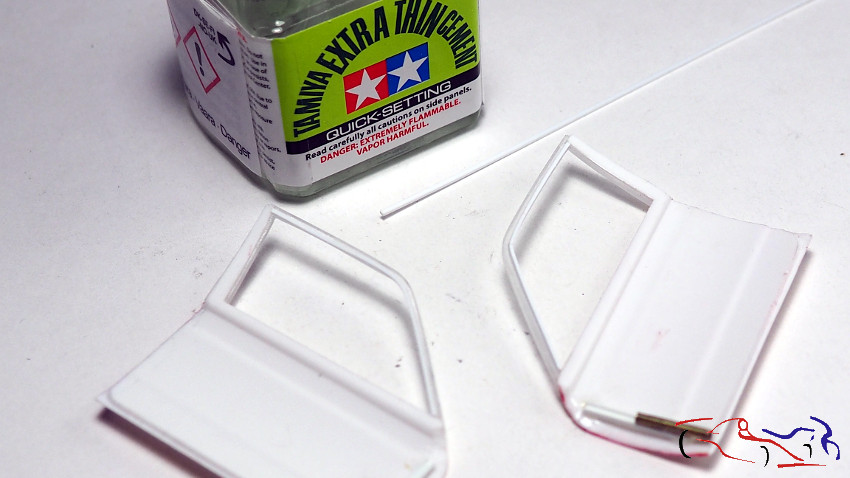
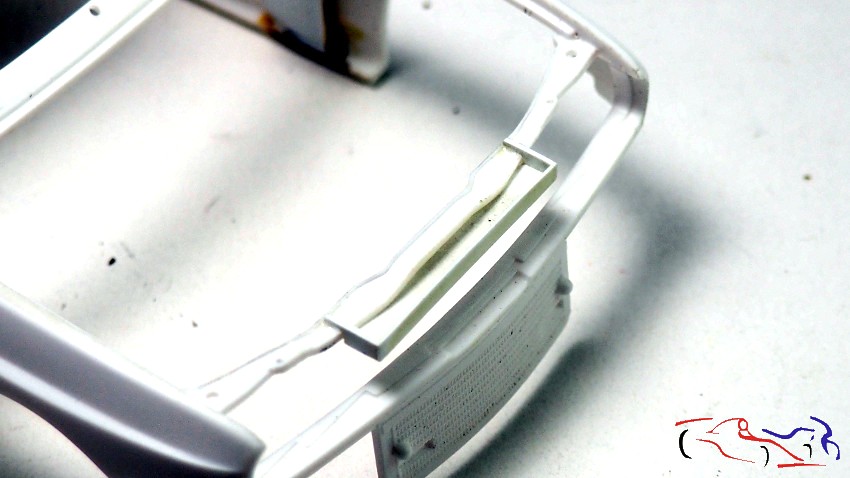
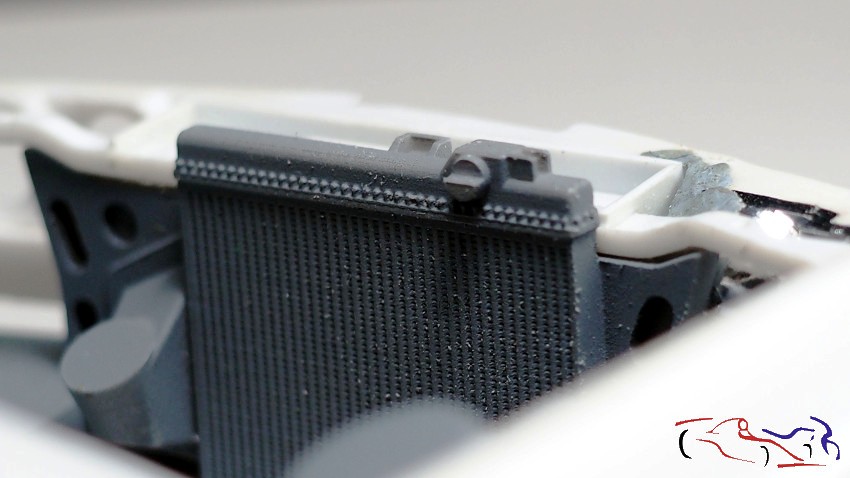
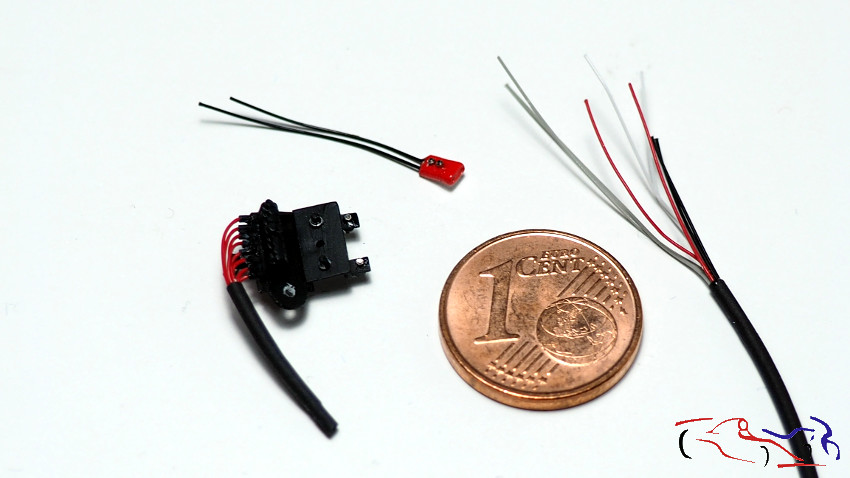
Y para terminar esta serie antes de acometer el habitáculo, os muestro la caja de fusibles con sus cables y tornillos de fijación, el conector Anderson (en rojo) o un manojo de cables que van a la caja de fusibles, pegados dentro de un tubo termorretractil:
And to finish this series before tackling the interior, I’ll show you the fuse box with its cables and fixing screws, the Anderson connector (in red) or a bundle of cables going to the fuse box, glued inside a heat-shrink tube:
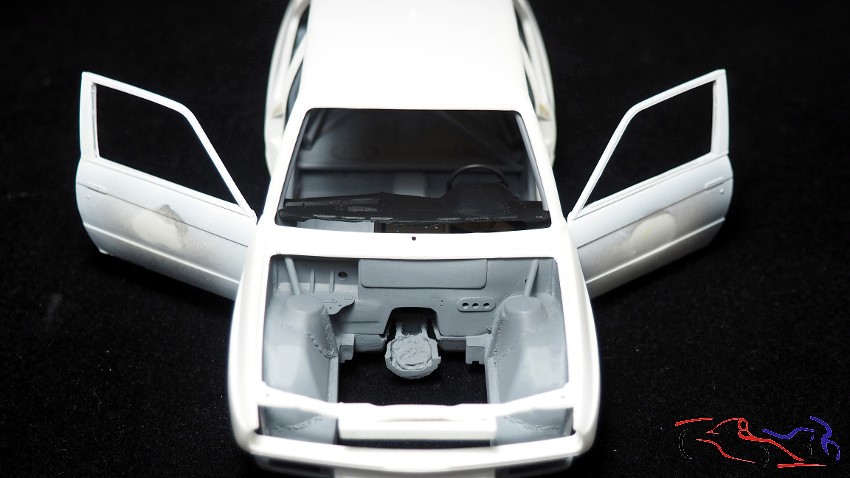
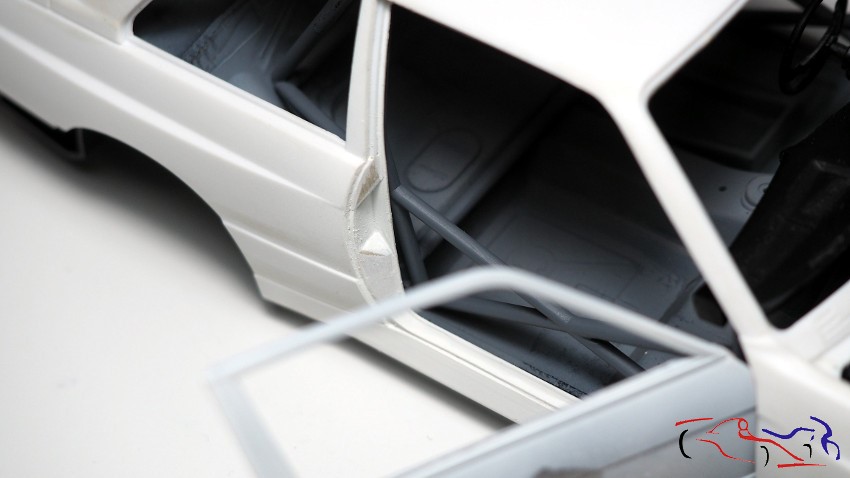
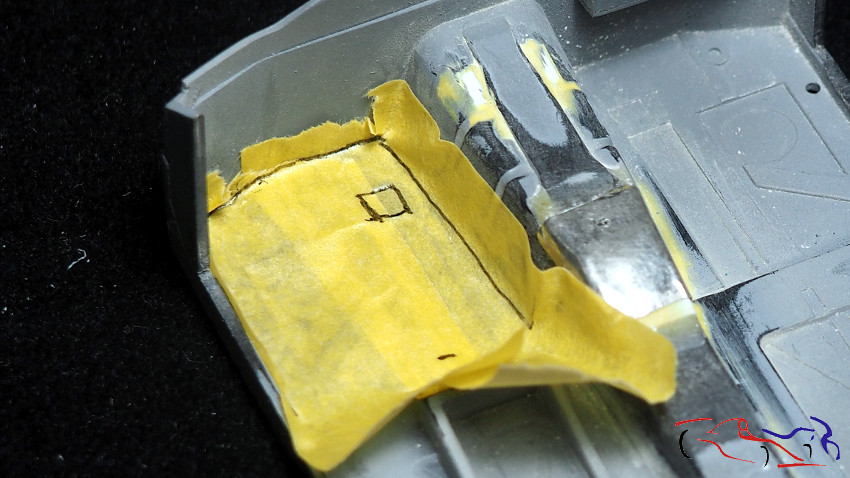
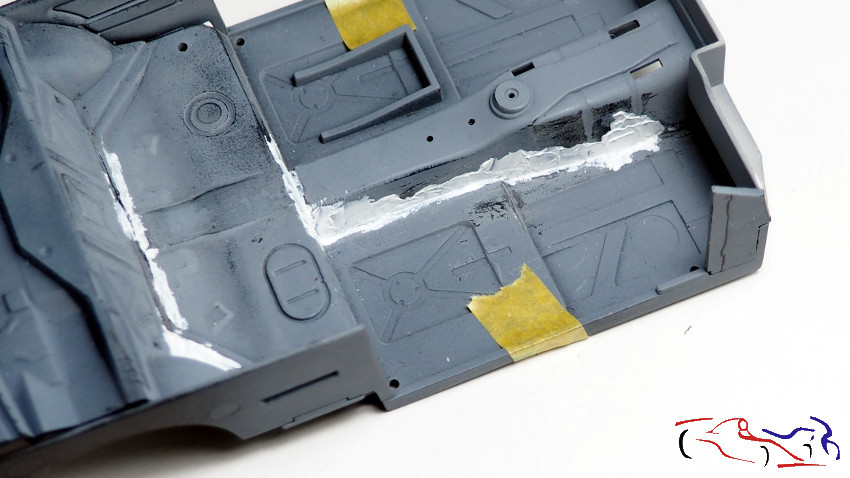
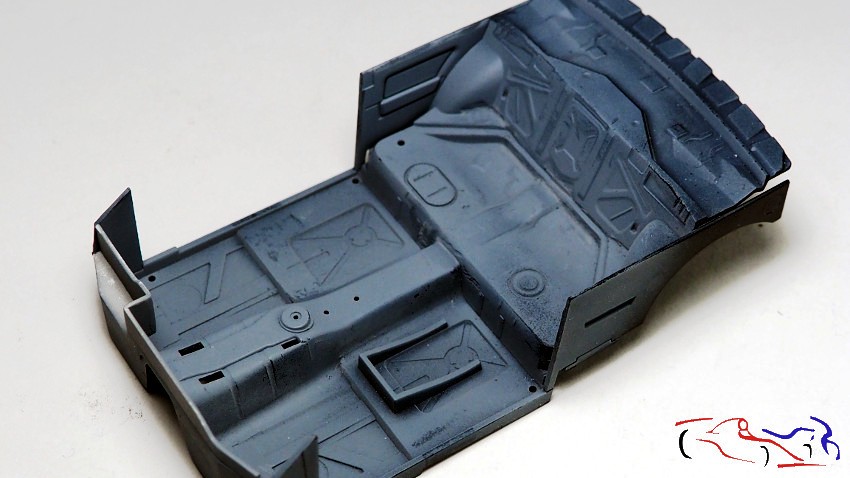
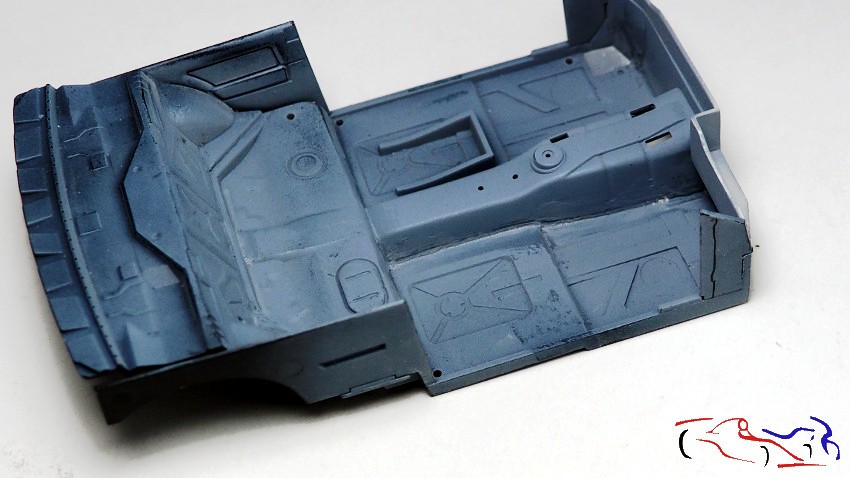
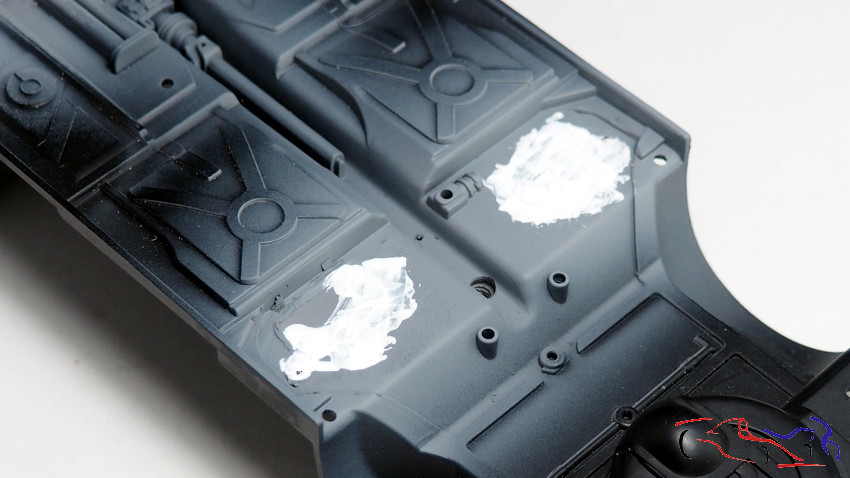
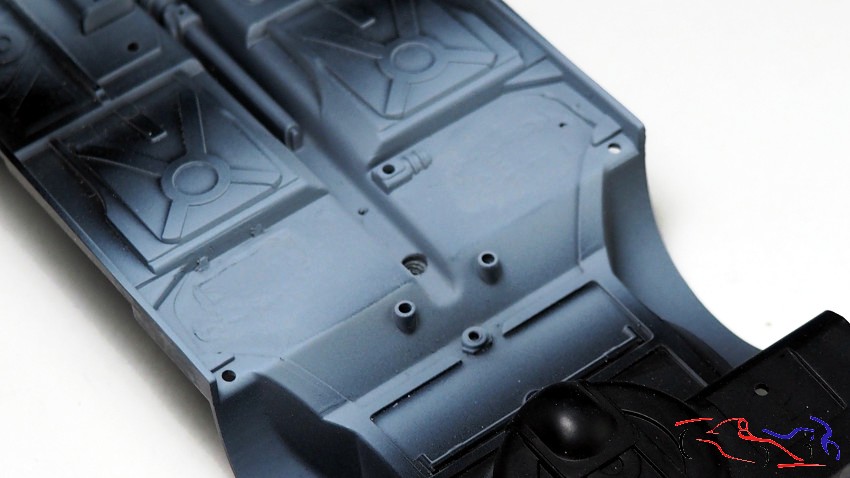
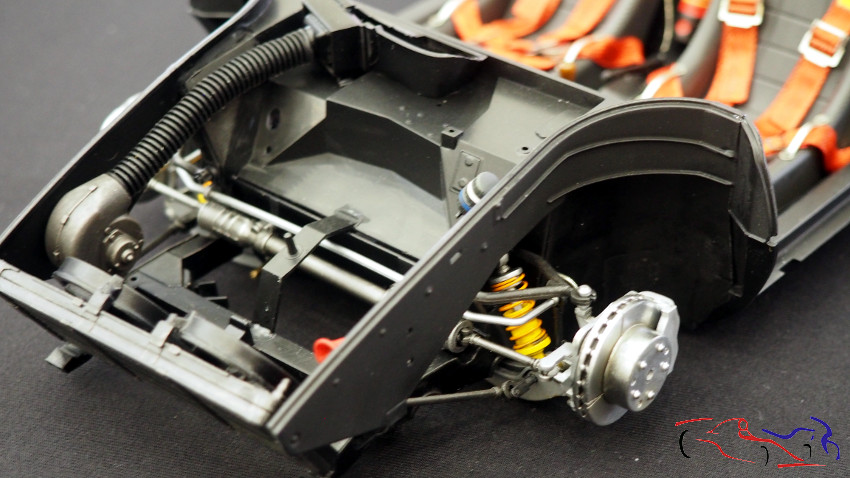
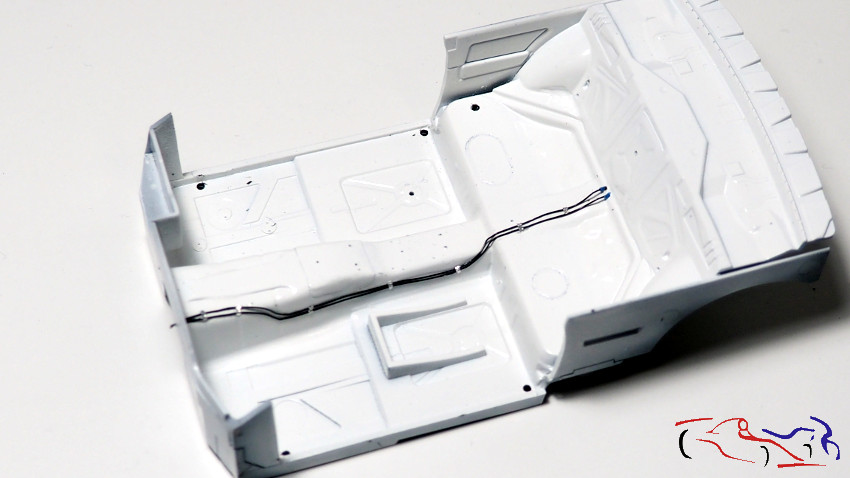
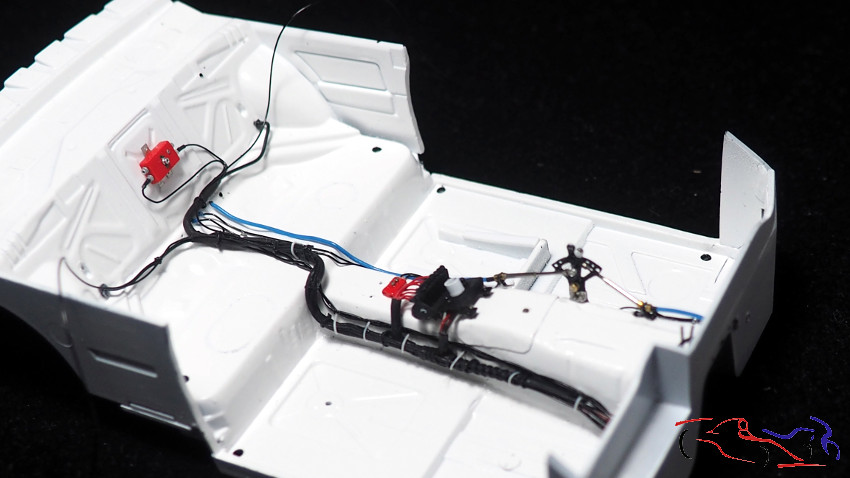
Y pasamos al detallado del habitáculo. Empezamos poniendo dos cables que recorren el espacio longitudinalmente de forma paralela y que creo que corresponden a los conductos de aceite de los frenos traseros. Estos van pegados poco a poco con ciano al suelo, poniendo después unas tiritas de cinta cromada autoadesiva:
And now we move on to detailing the interior. We start by placing two cables that run parallel to each other lengthwise, which I believe correspond to the rear brake oil lines. These are gradually glued to the floor with cyanoacrylate, followed by strips of self-adhesive chrome tape.

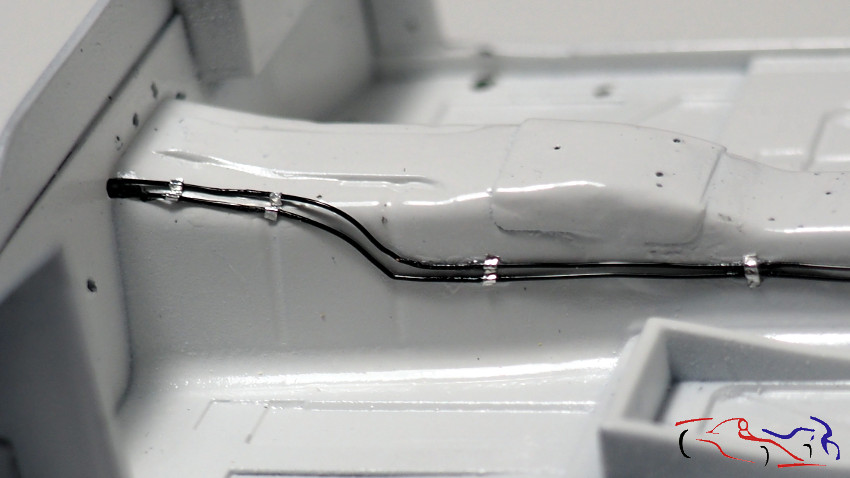
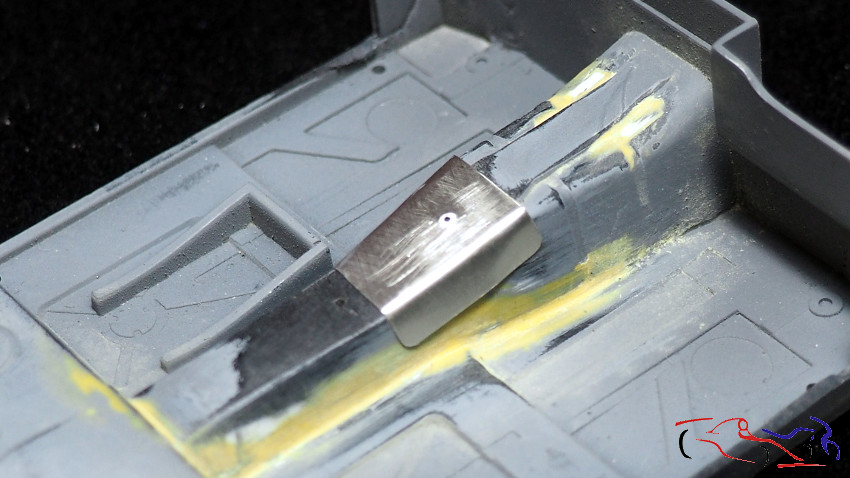
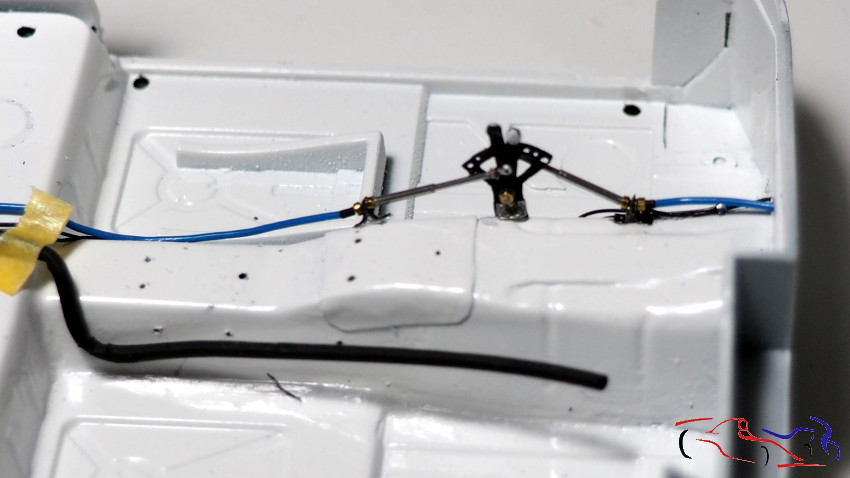
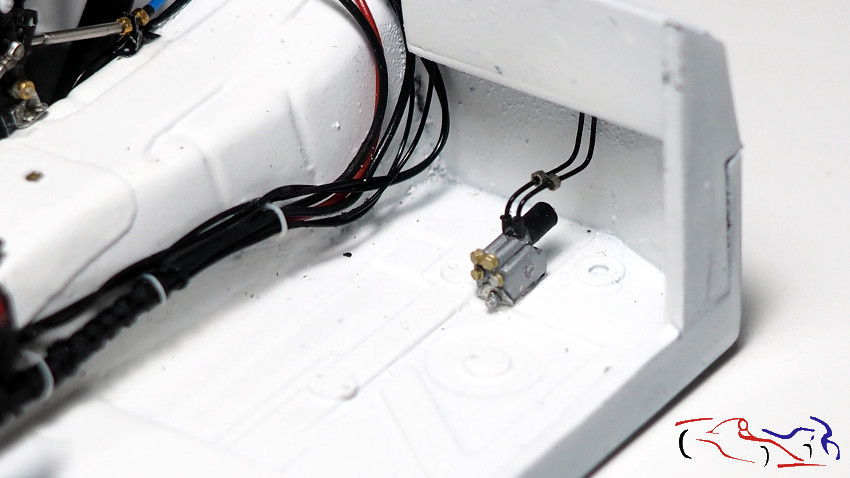
Justo encima de los tubos del freno, colocamos el repartidor de frenada, no sin muchos problemas, por lo complejo de la pieza. Al final, el resultado es aceptable, con todas sus conexiones tanto haciea delante como hacia atrás, con esos tubos azules. Tamboen vemos por donde va el tubo termorretractil, con una primera forma dada con un alambre interior:
Just above the brake lines, we placed the brake proportioning valve, not without considerable difficulty due to the complexity of the part. In the end, the result is acceptable, with all its connections both front and rear, including those blue lines. We can also see where the heat-shrink tubing goes, initially shaped with an internal wire.
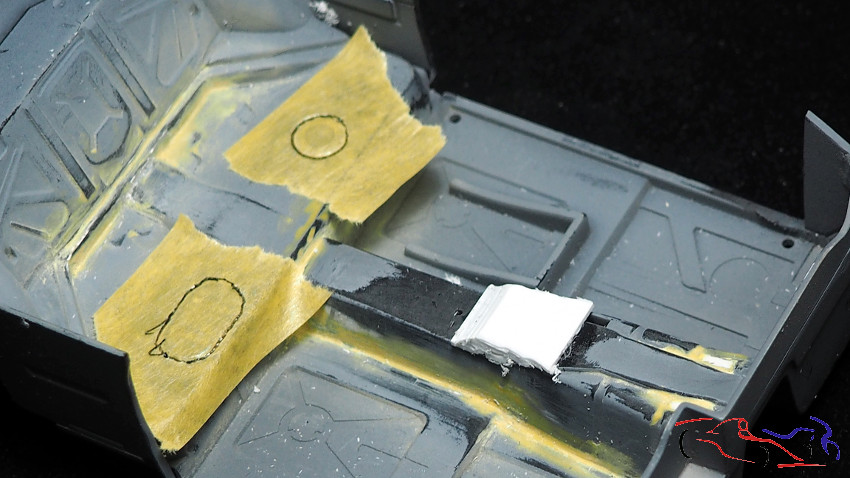
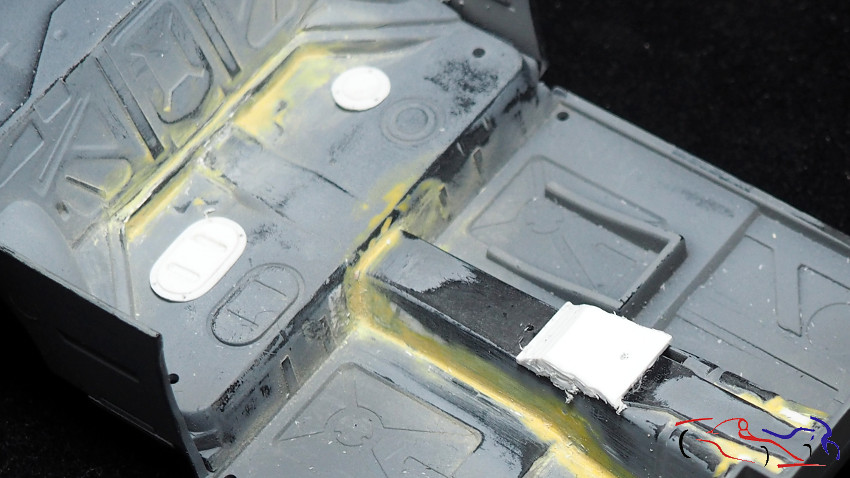
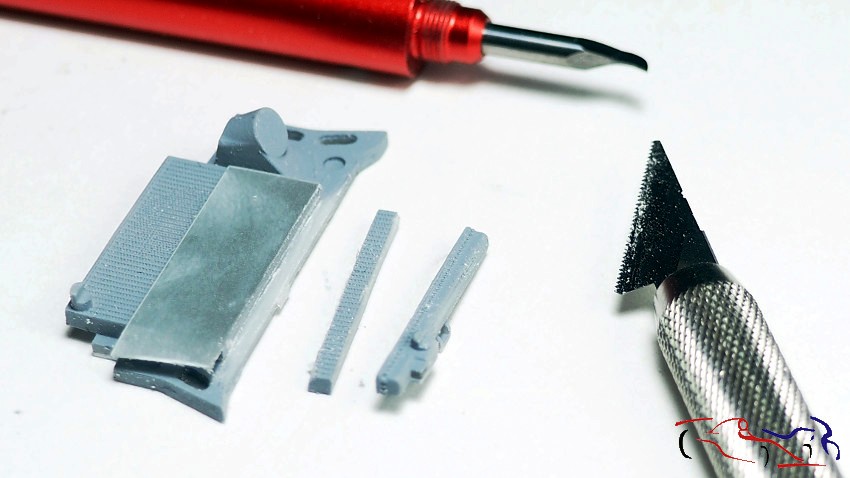
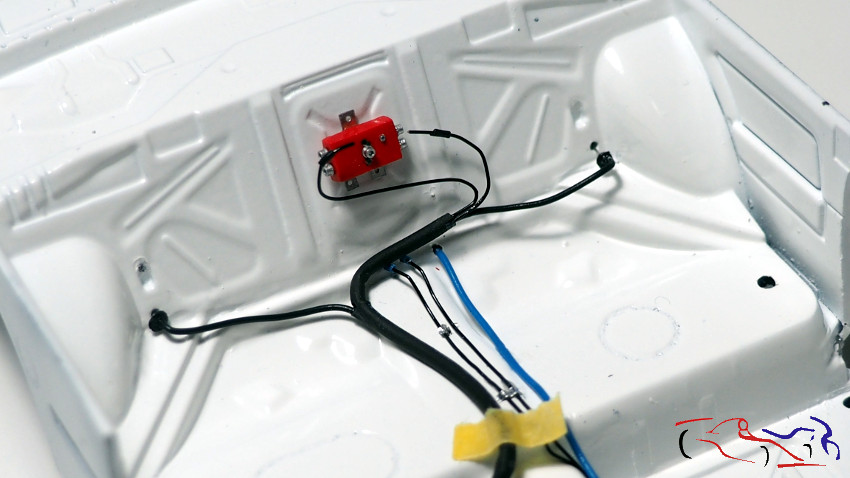
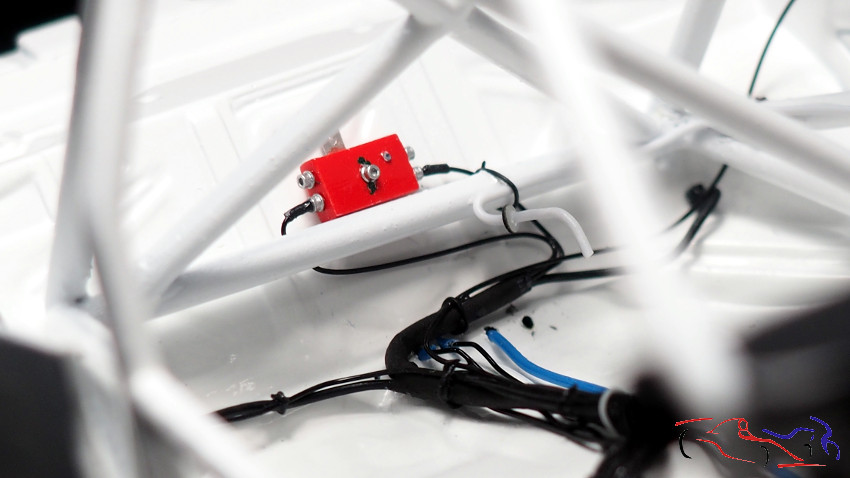
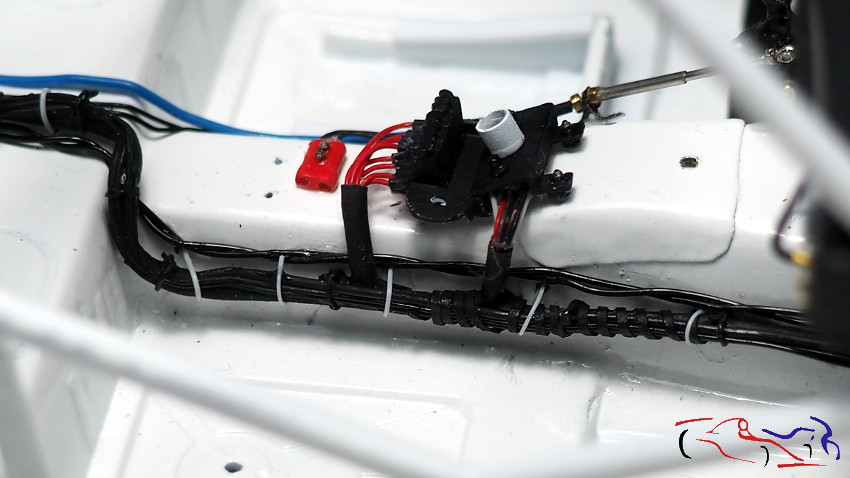
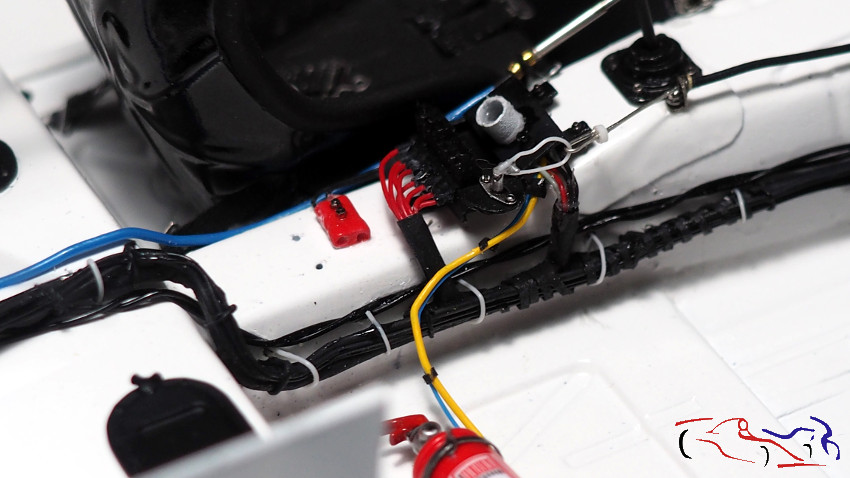
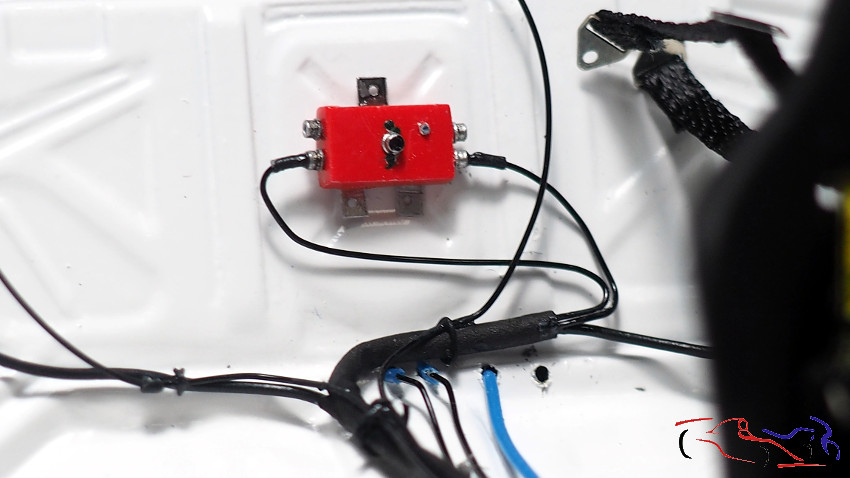
Colocamos una caja roja con varios conectores en el respaldo posterior y empezamos a simular cables, introducidos en el tubo termorretractil principal, al que vamos dando la forma que tendrá finalmente. A este tubo, le iremos añadiendo otros tubos o cables a lo largo de su recorrido, como vemos en la segunad foto: sobre esa base, y una vez ajustada la forma del tubo, añado cables haciendo pequeños agujeros. En el caso de otros tubos, les hago unos cortes logitudinales para abrir el tubo, separando cada lado del tubo que pego sobre el principal, como se ve en el de los cables rojos de los fusibles:
We placed a red box with several connectors on the back of the unit and began simulating cables, inserting them into the main heat-shrink tubing, shaping it into its final form. We added other tubes or cables along its length, as seen in the second photo: once the tube’s shape was adjusted, I added cables by making small holes. For other tubes, I made longitudinal cuts to open them, separating each side of the tube that I glued onto the main one, as seen with the red fuse wires.
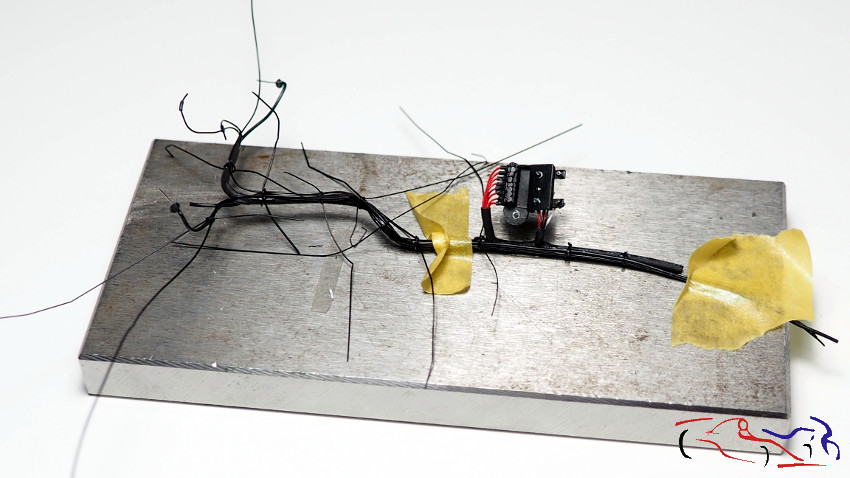
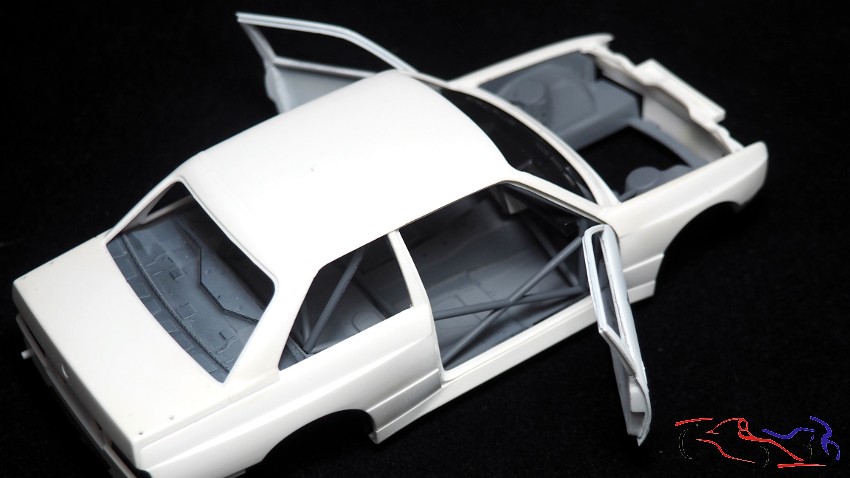
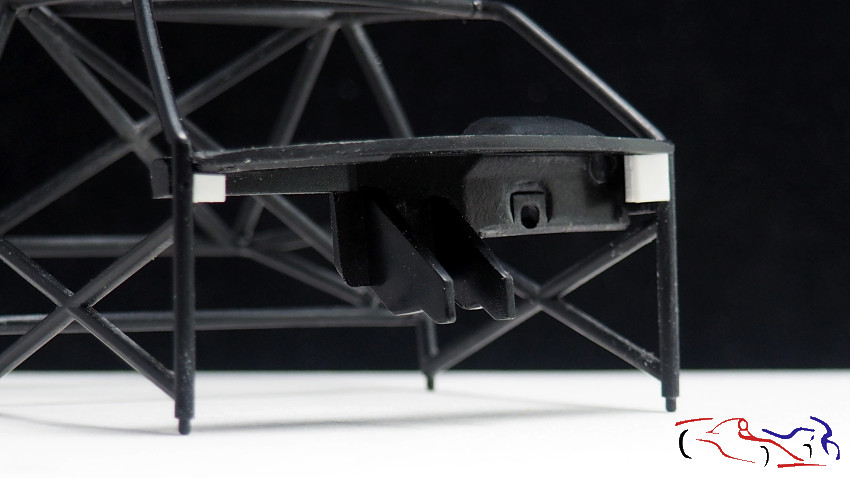
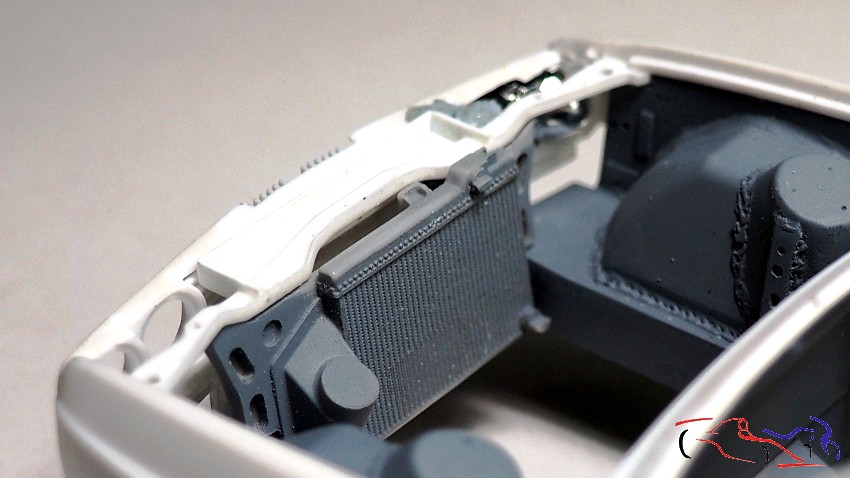
Al msimo tiempo, también voy creando otras piezas añadiendo cables tanto al salpicadero como al arco de seguridad:
At the same time, I’m also creating other parts by adding cables to both the dashboard and the roll bar:
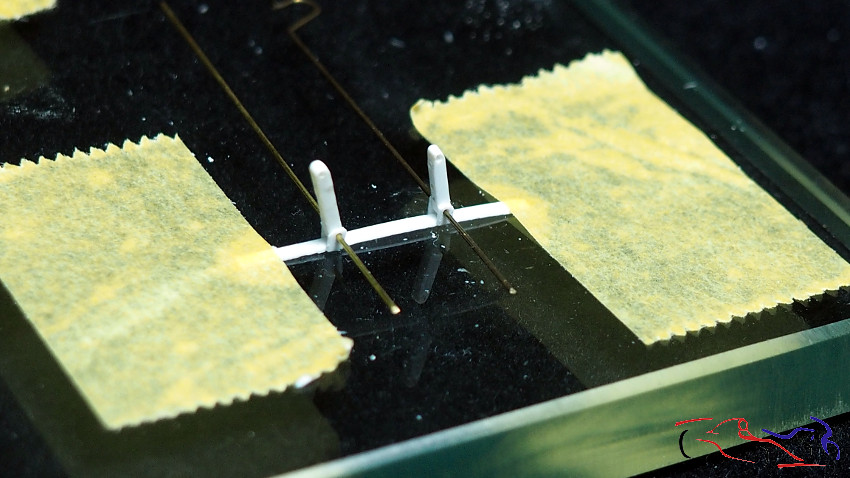
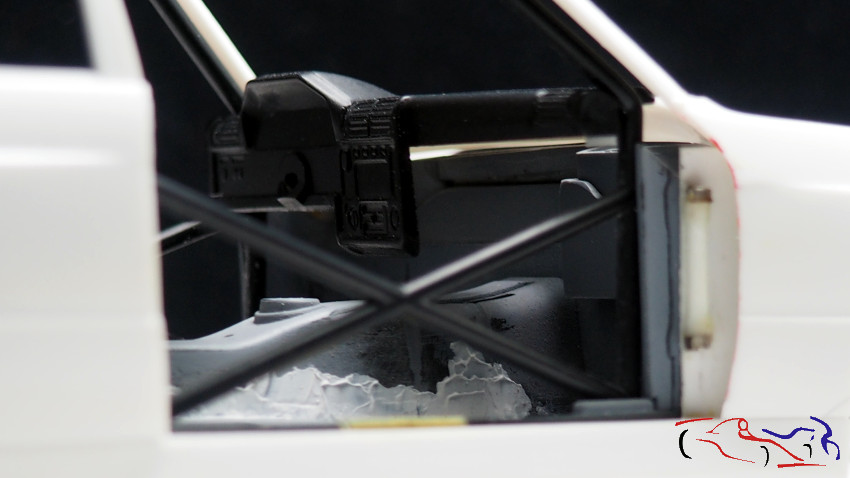
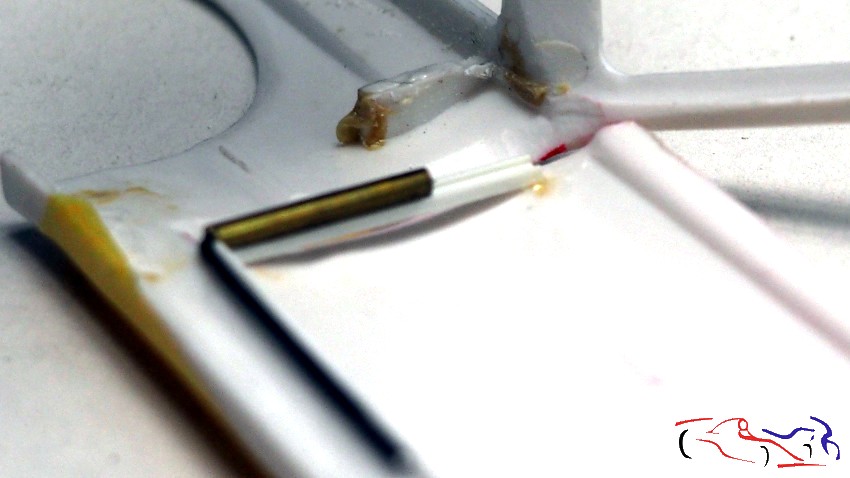
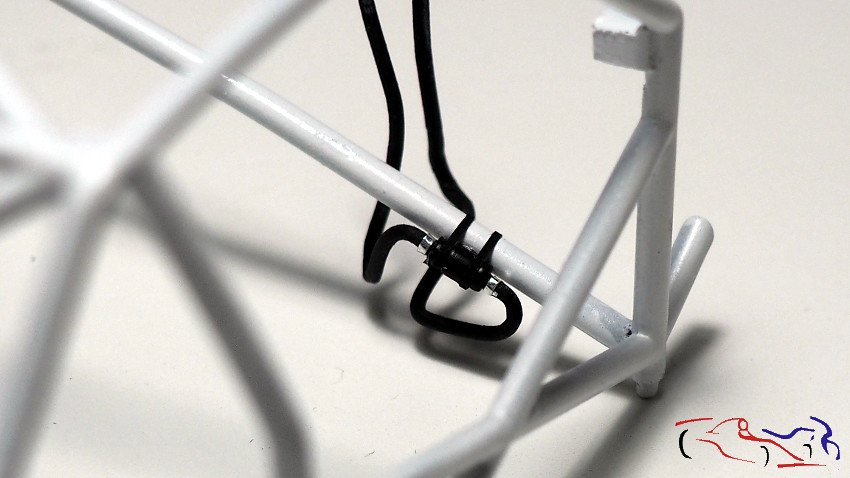
Y ahora toca colocar el tubo principal al cockpit. COmo veis, me ayudo de una bridas de plástico blanco estirado, asi como de una cinta de enmascarar negra de 0,5 mm.
And now it’s time to attach the main tube to the cockpit. As you can see, I’m using some stretched white plastic cable ties and 0.5 mm black masking tape.

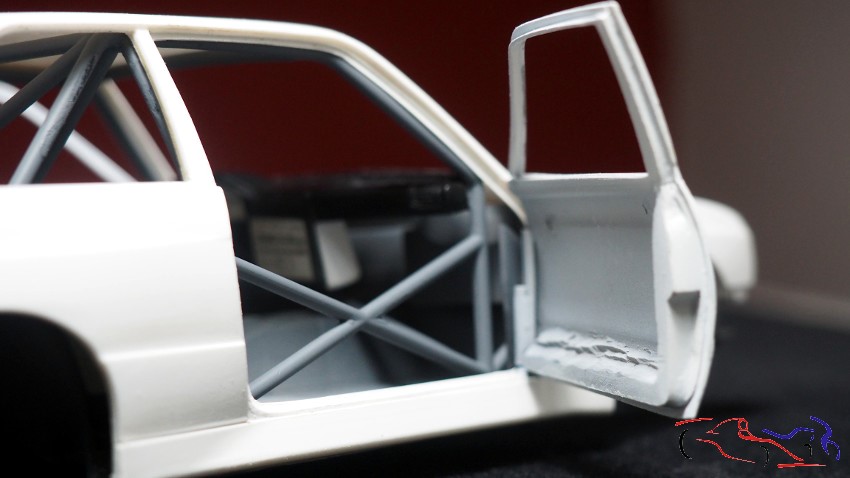
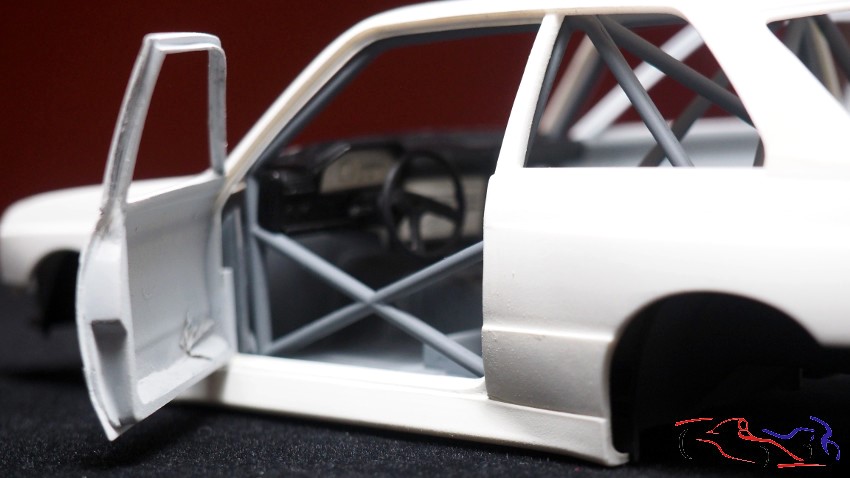
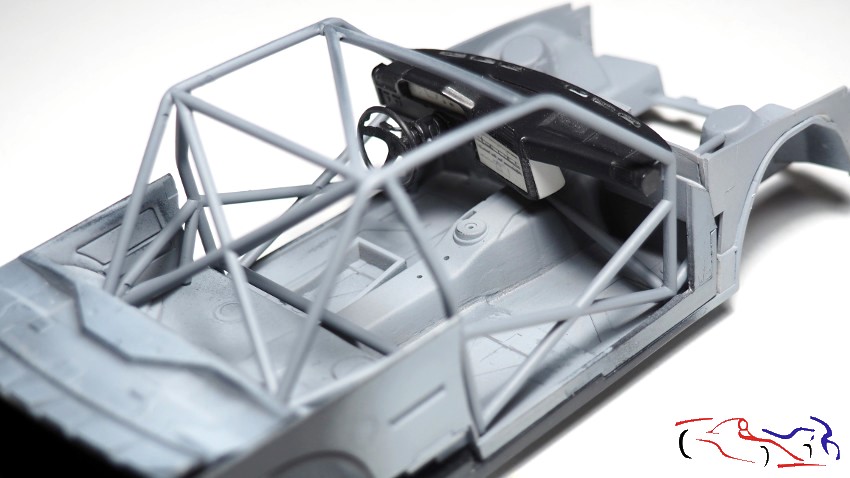
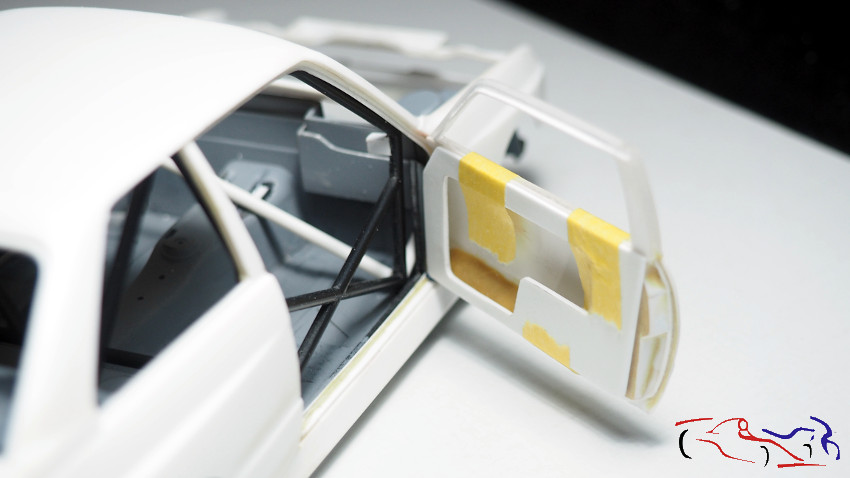
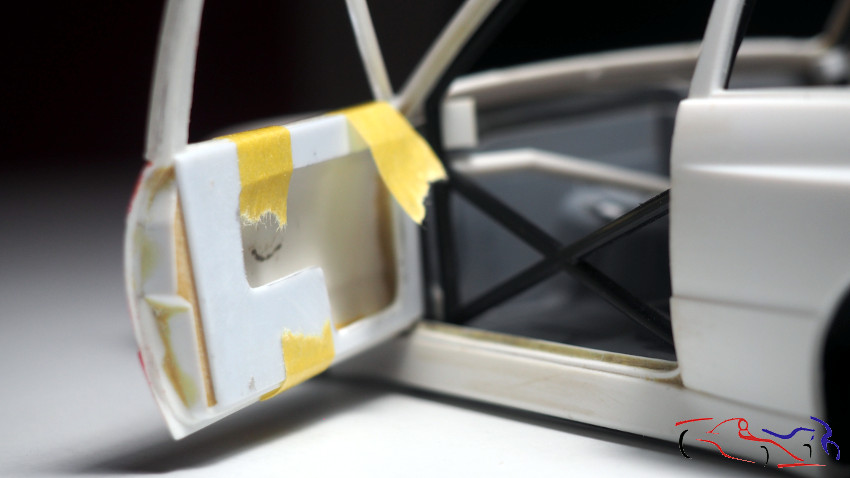
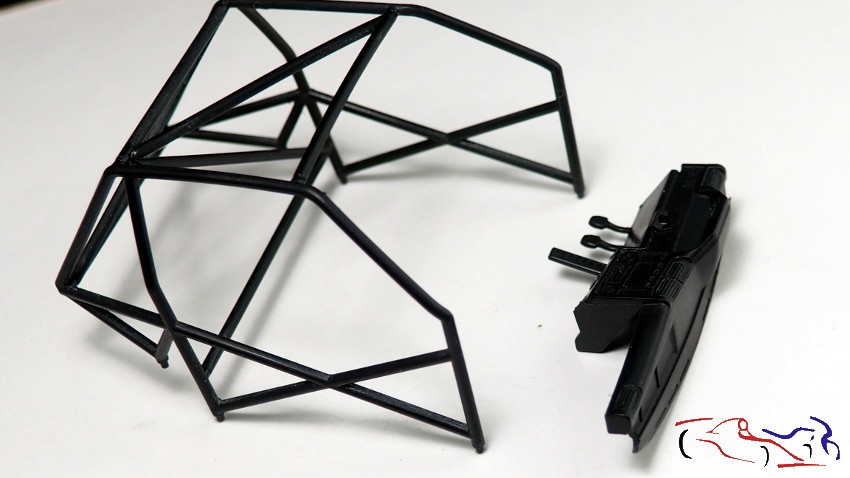
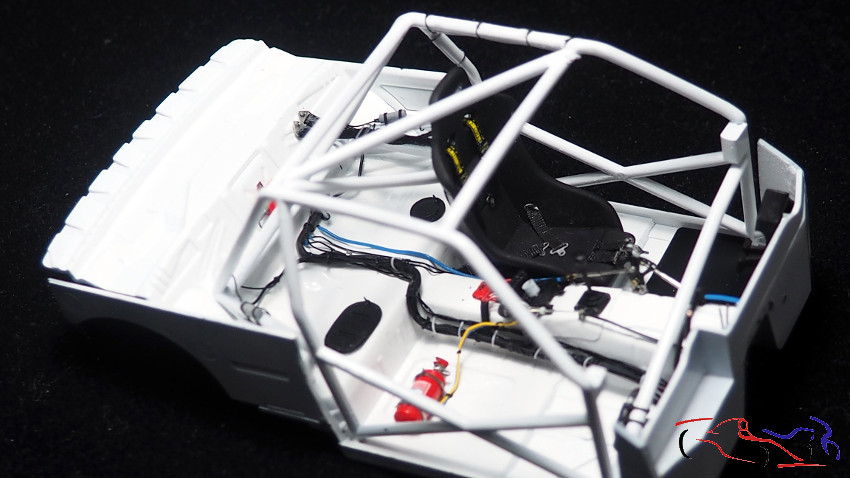
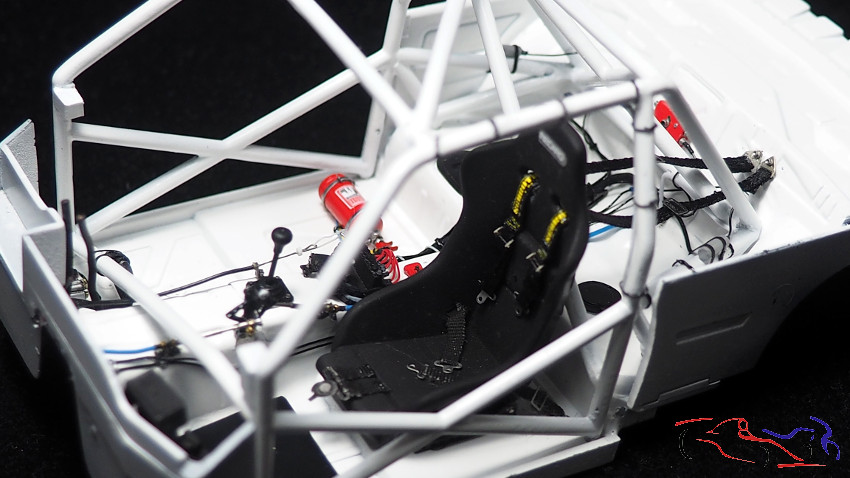
A continuación, una serie de fotos con el arco de esguridad ya puesto a modo de test:
Below is a series of photos with the safety arch already installed for testing purposes:
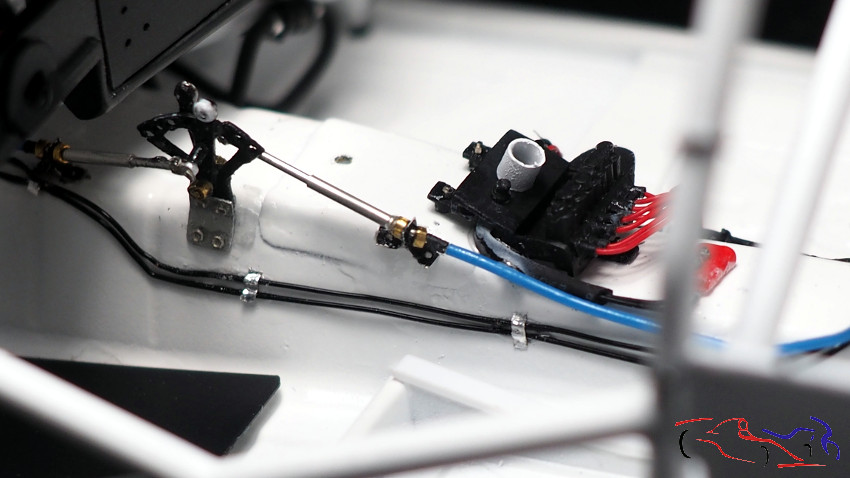
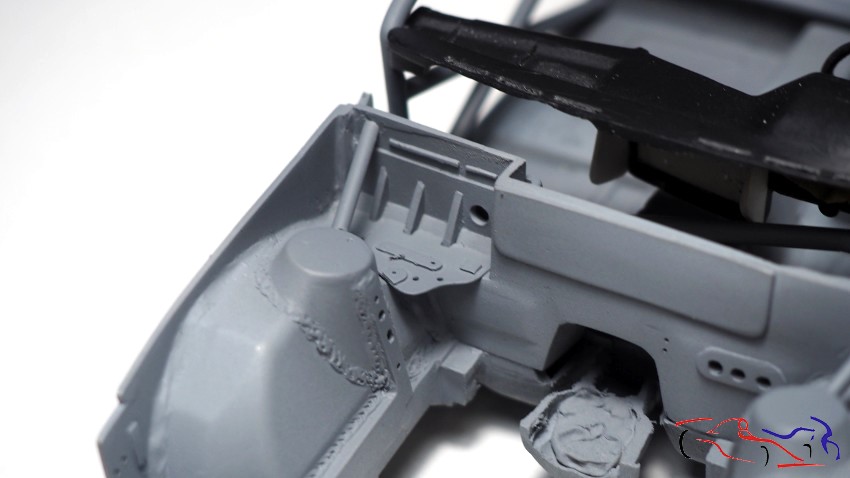
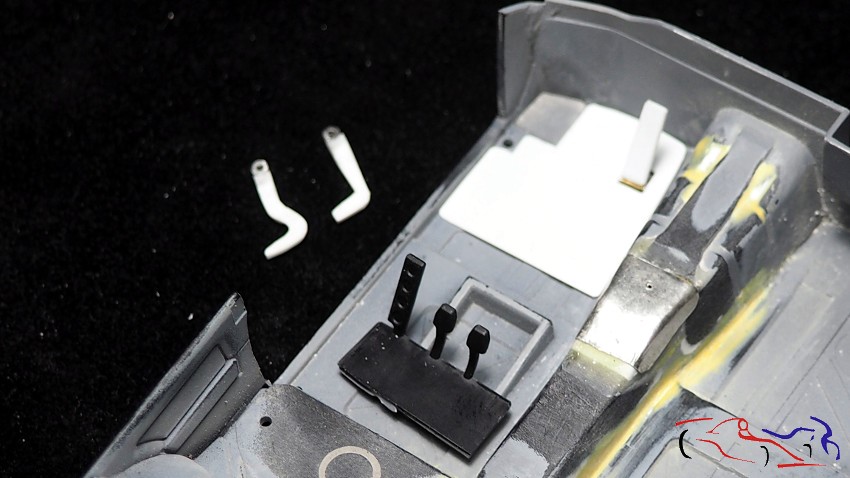
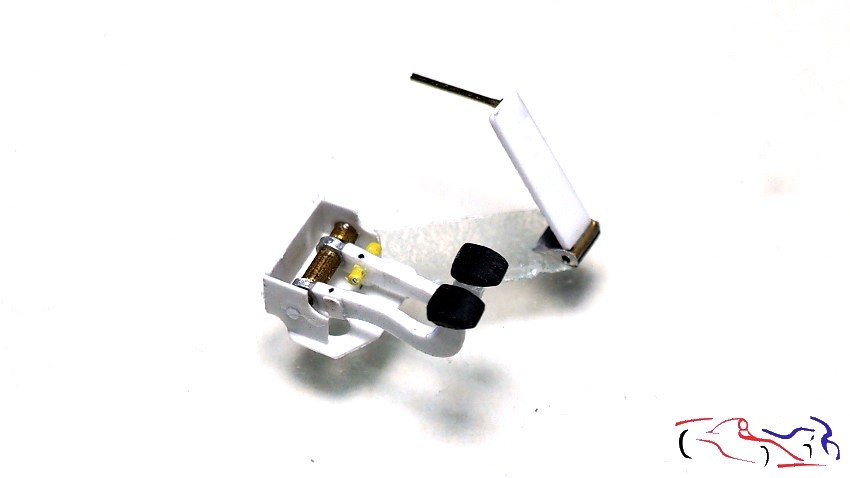
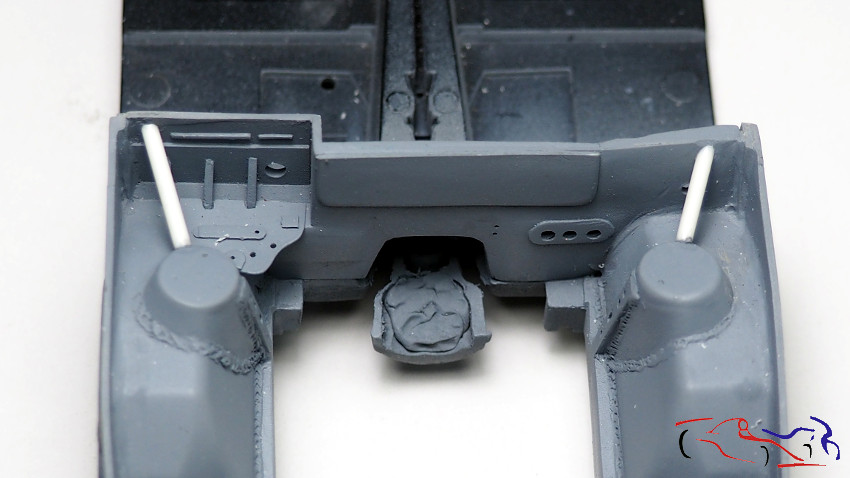
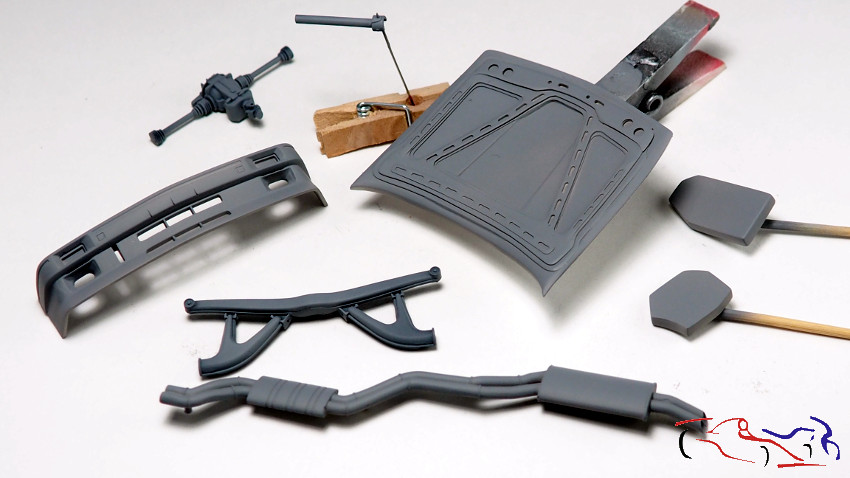
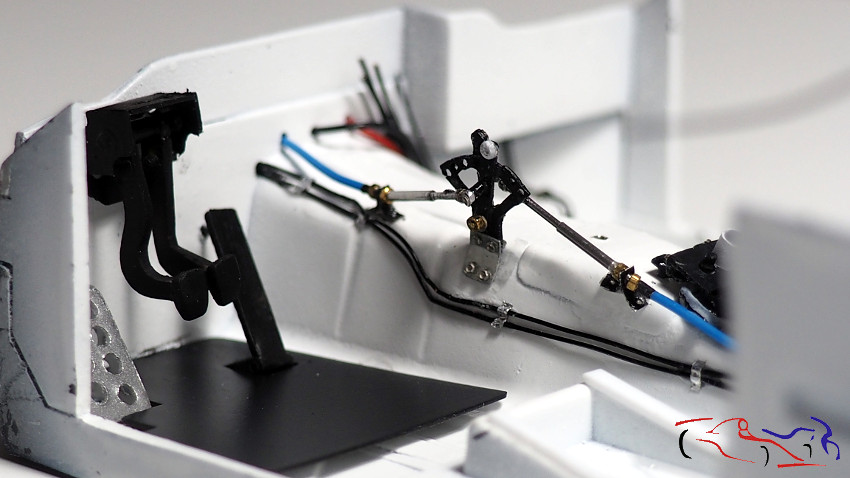
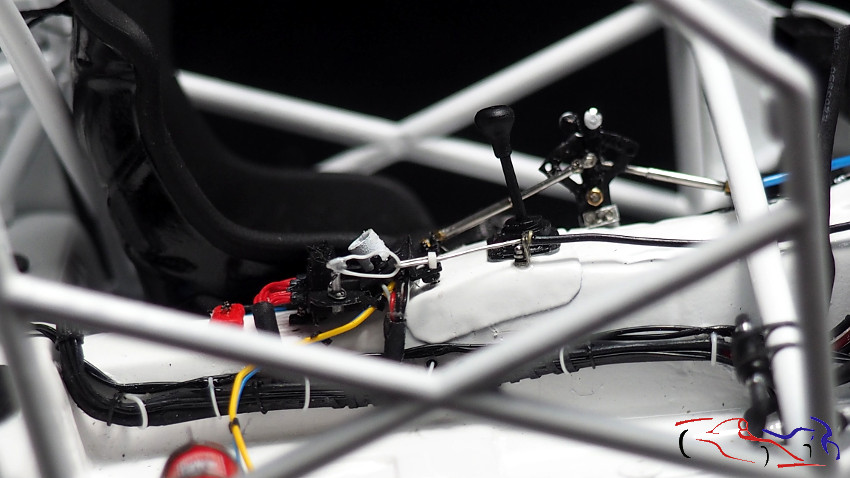
Mas piezas nuevas: ese bloque parace ser que es del frno ABS, pero no estoy seguro, y los pedales con el repartidor de frenada a la derecha:
More new parts: that block seems to be for the ABS brake, but I’m not sure, and the pedals with the brake bias adjuster on the right:
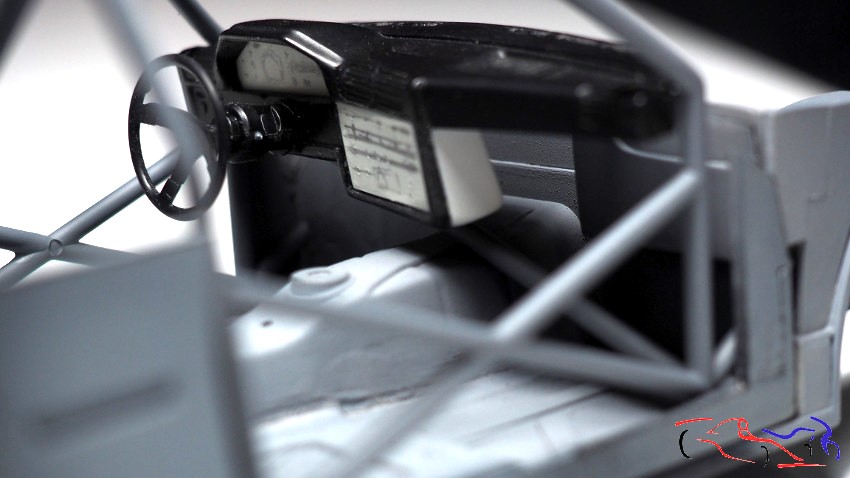
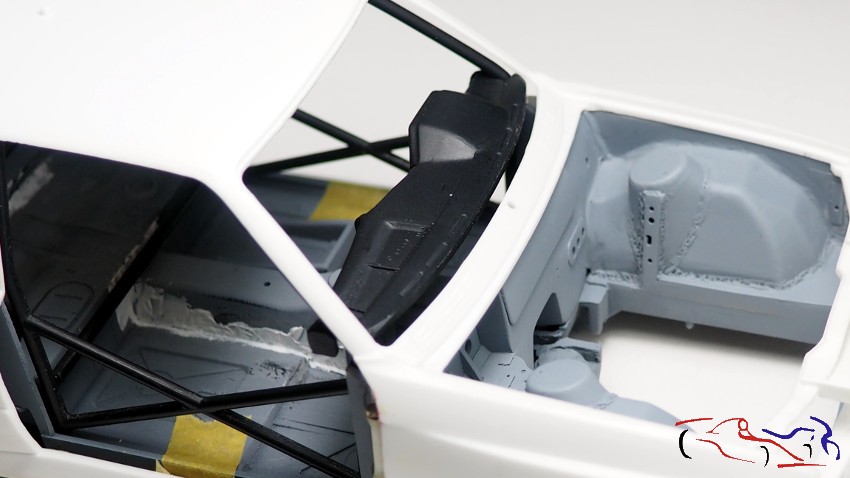
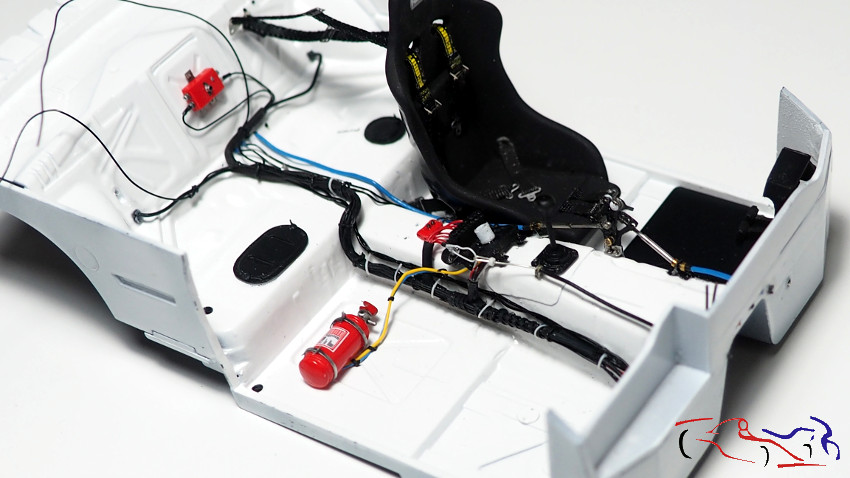
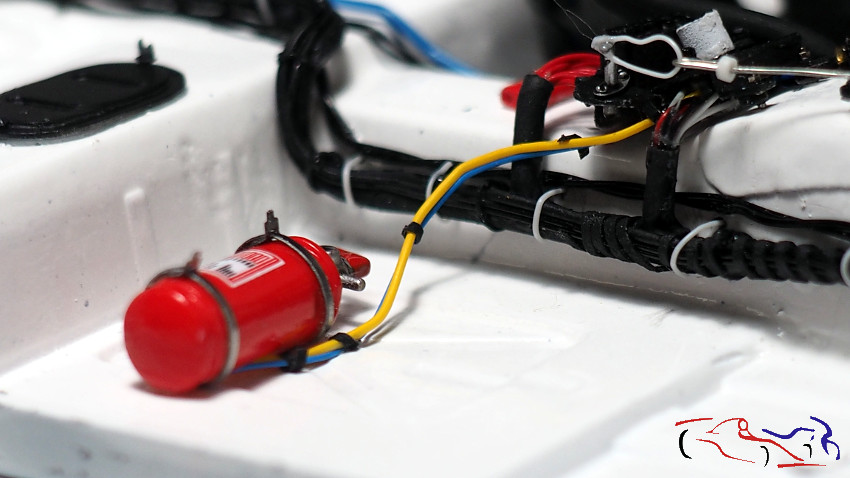
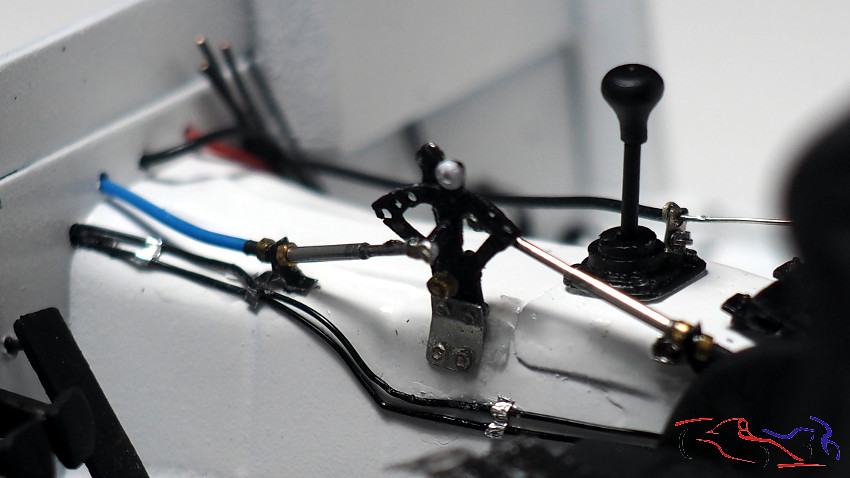
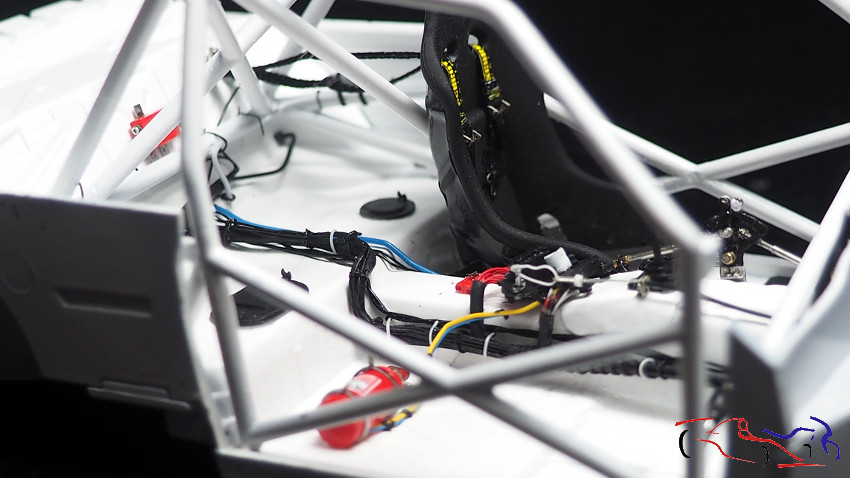
Vamos añadiendo más detalles: el asiento, el extintor, la palanca de cambios, el cable de cortacorriente y las tapas traseras, todo con sus cables correspondientes:
Let’s add more details: the seat, the fire extinguisher, the gear lever, the kill switch cable, and the rear covers, all with their corresponding cables:

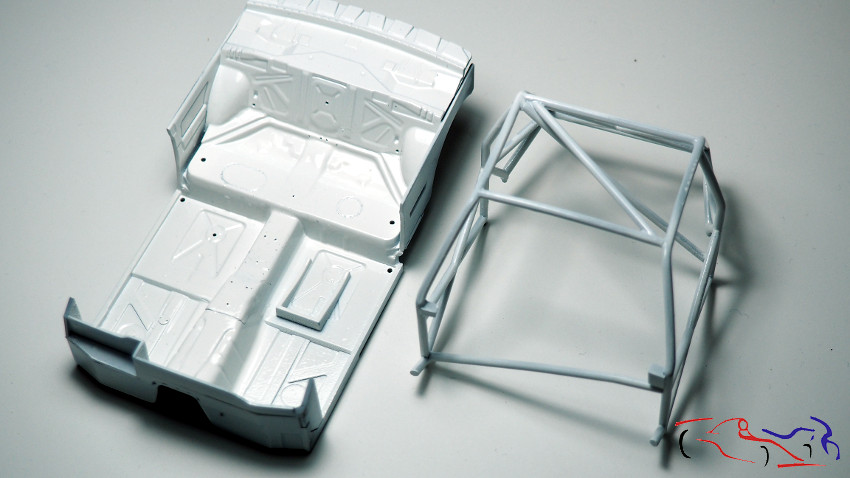
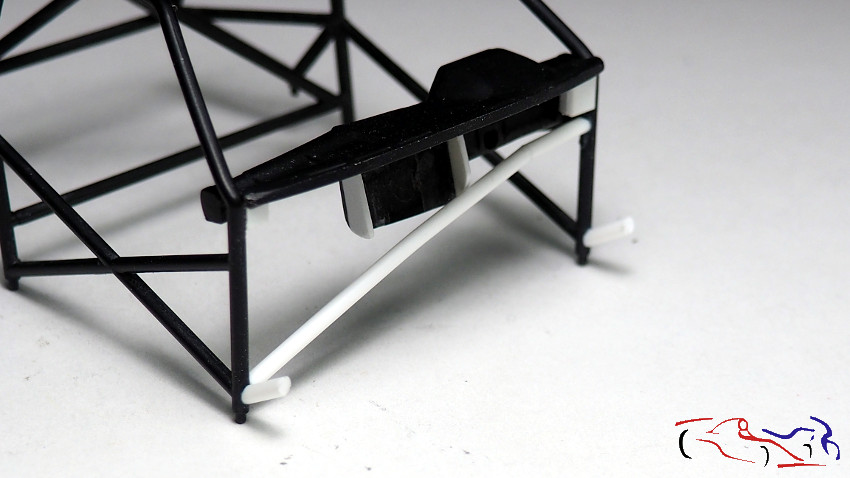
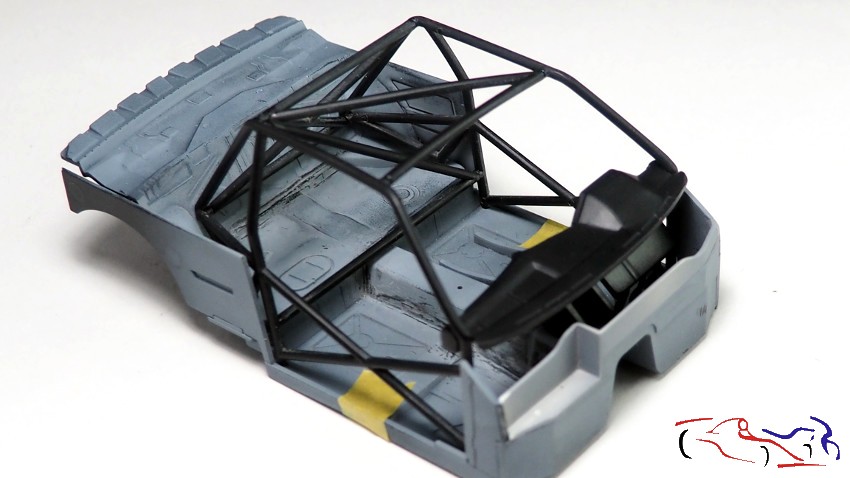
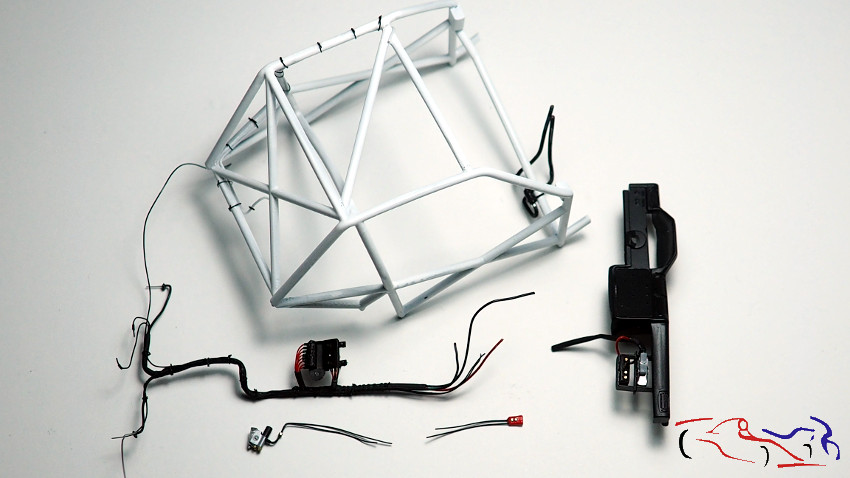
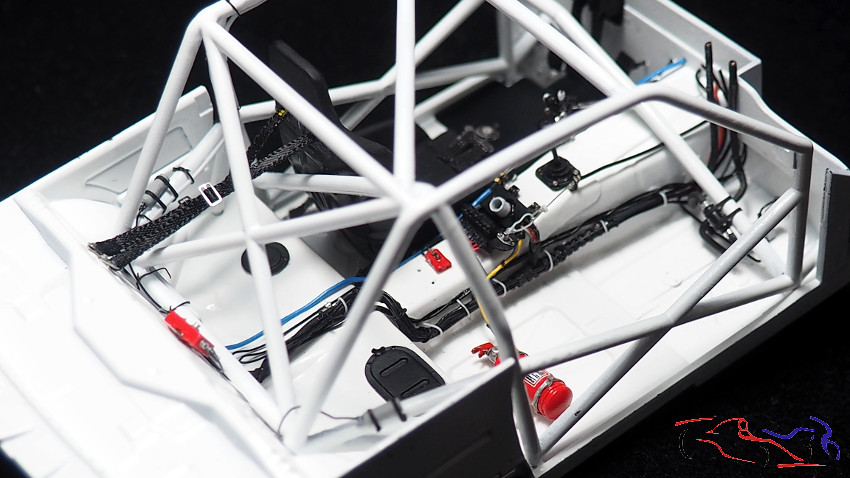
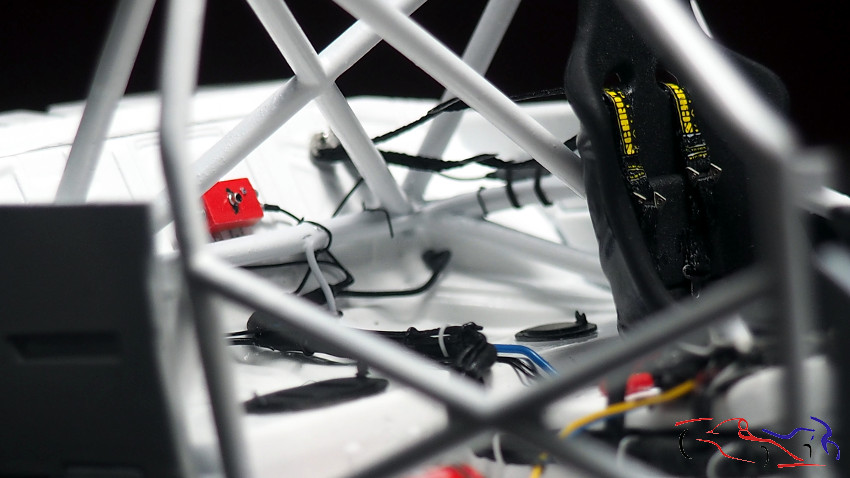
En cuanto al arco de seguridad, ya tenemos todo listo y pegado para añadirlo al conjunto:
As for the role cage, we have everything ready and glued to add it to the assembly:

Y para terminar, una serie de fotos con todo conectado y pegado: el cockpit está terminado a falta del salpicadero!!
And finally, a series of photos with everything connected and glued: the cockpit is finished except for the dashboard!

Gracias por ver y comentar!!
Thanks for watching and commenting!