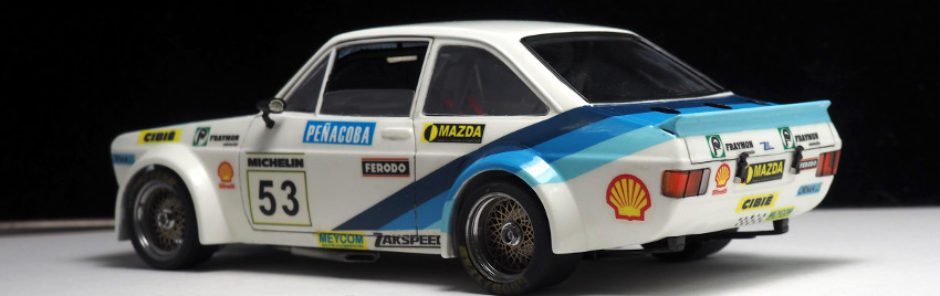
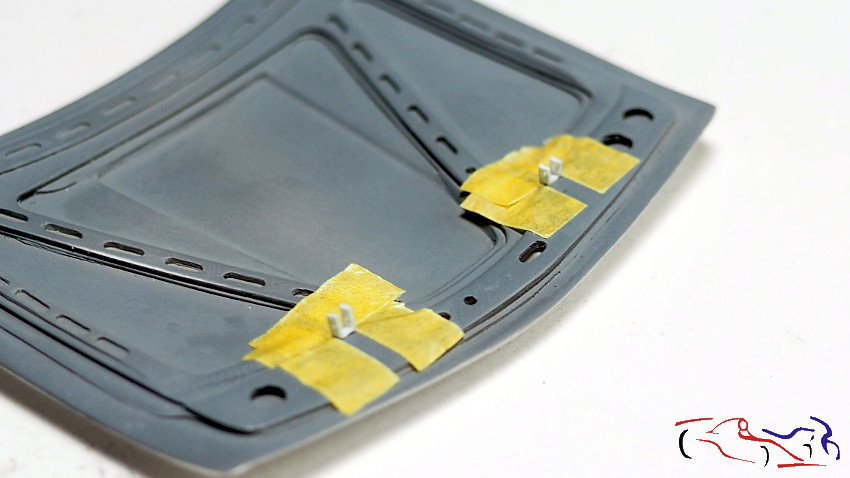
Mucho tiempo hace del anterior post. Cambios en la cueva están haciendo que me retrase en este proyecto, pero por ello, no para!! Para empezar hoy, lo primero es poner lo que me faltó del anterior post: la colocación donde las bisagras del capó girarán en el propio capot. De momento están pegadas temporalmente y para saber su posicion correcta, las he rodeado con cinta de enmascarar:
It’s been a long time since my last post. Changes in the cave are delaying this project, but it won’t stop there! To start today, the first thing I need to do is add what I missed from the previous post: the placement of where the hood hinges will rotate on the hood itself. For now, they’re temporarily glued, and to ensure their correct position, I’ve surrounded them with masking tape:
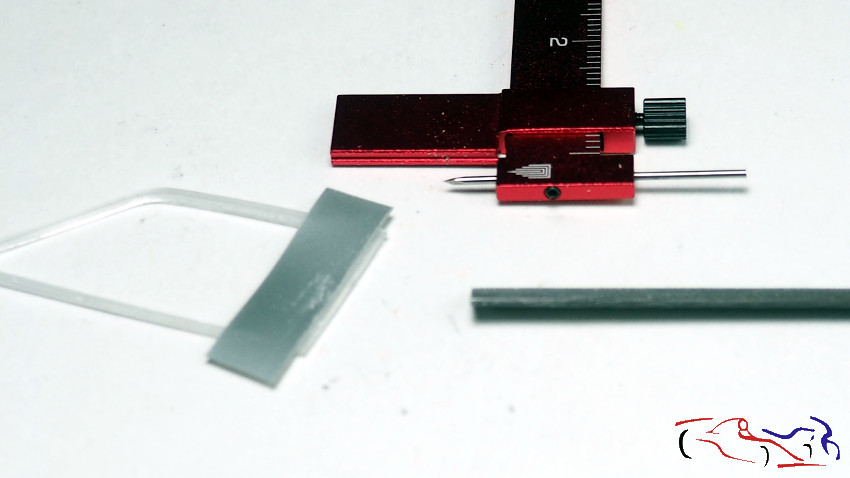
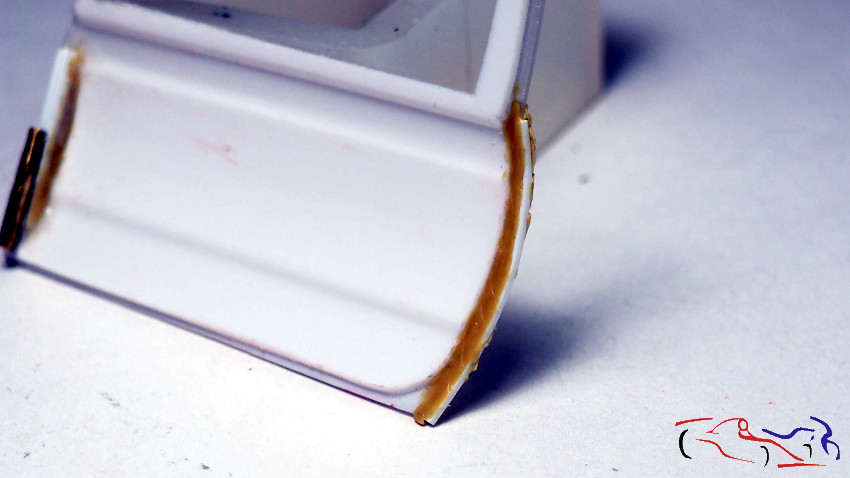
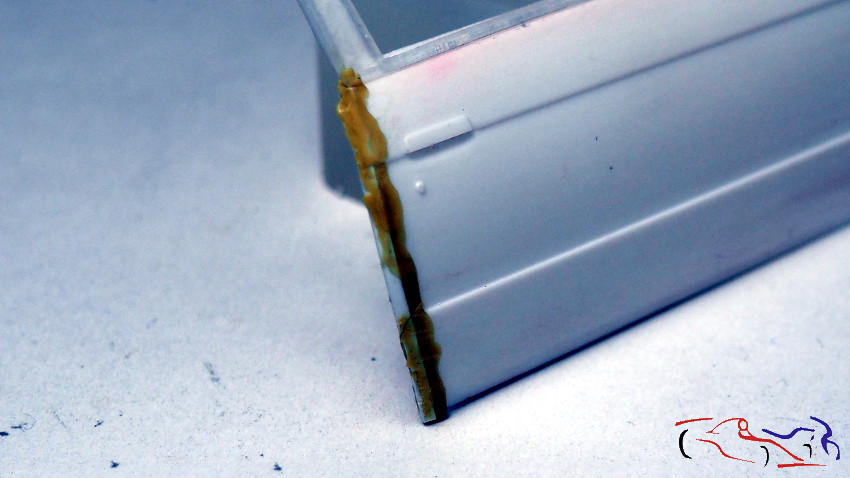
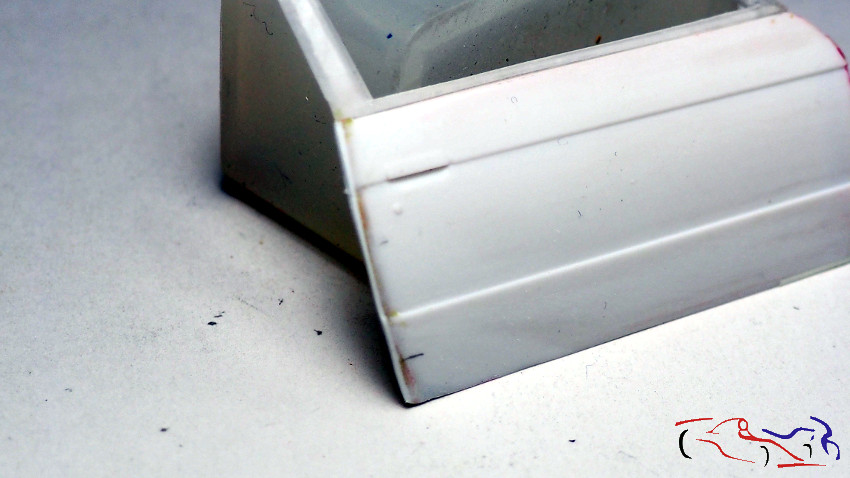
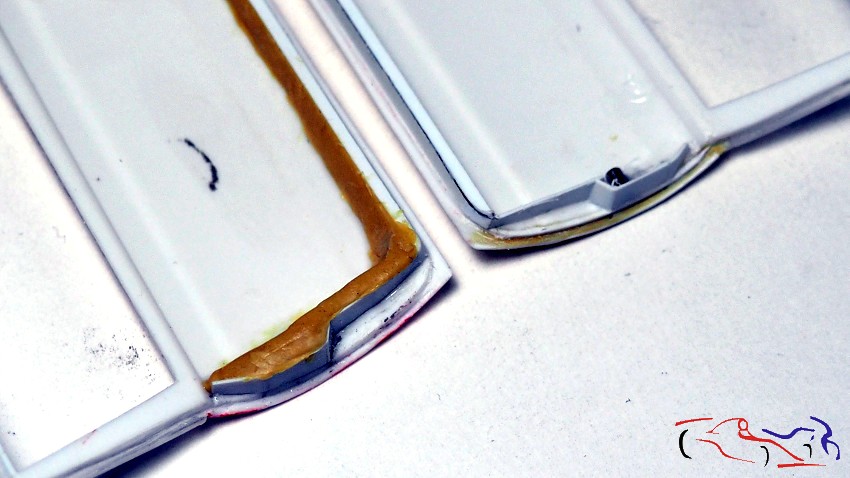
Y pasamos a las puertas, y lo primero que hago es rebajar el borde trasero del cristal, para que enaje en la carrocería al cerrar la puertas, y posteriormente, lo pegamos a la propia puerta:
And we move on to the doors, and the first thing I do is lower the rear edge of the glass, so that it fits into the body when the doors are closed, and then we glue it to the door itself:
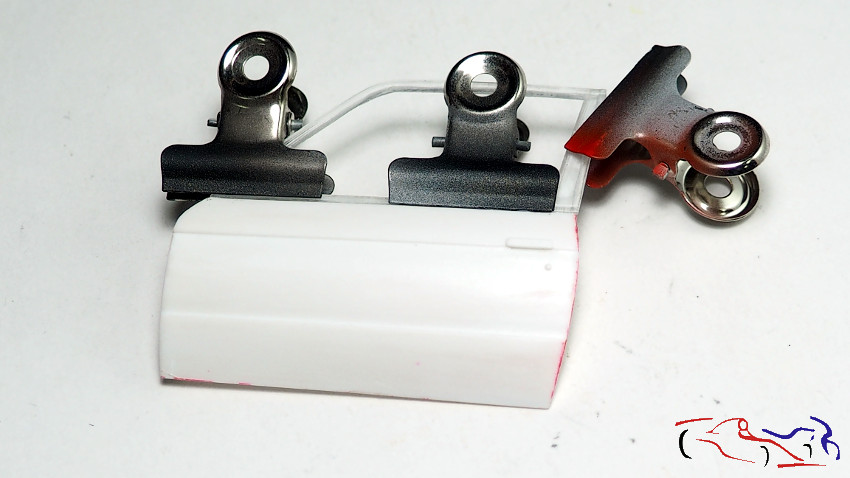
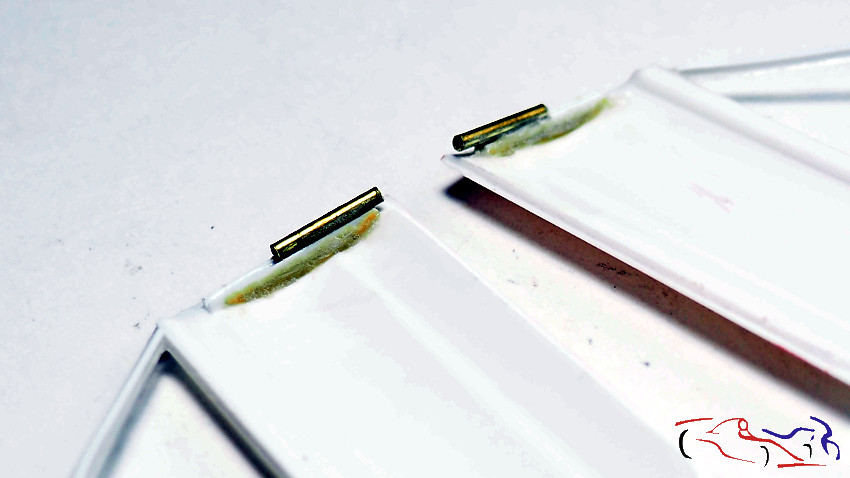
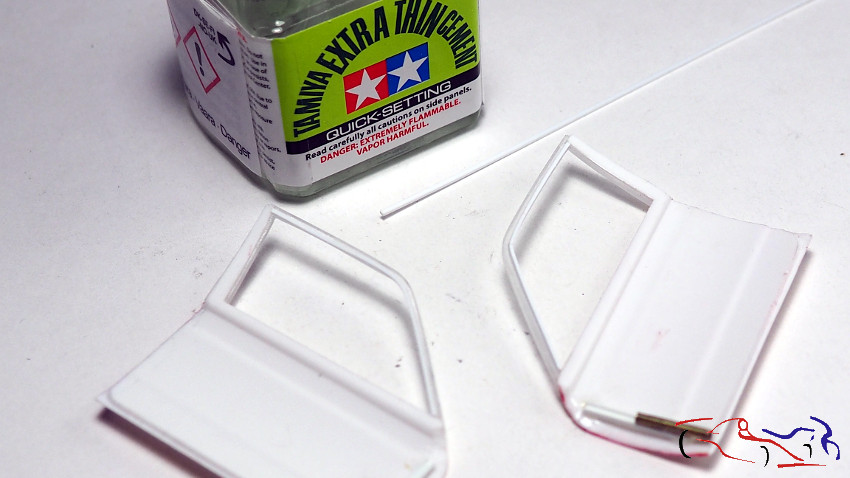
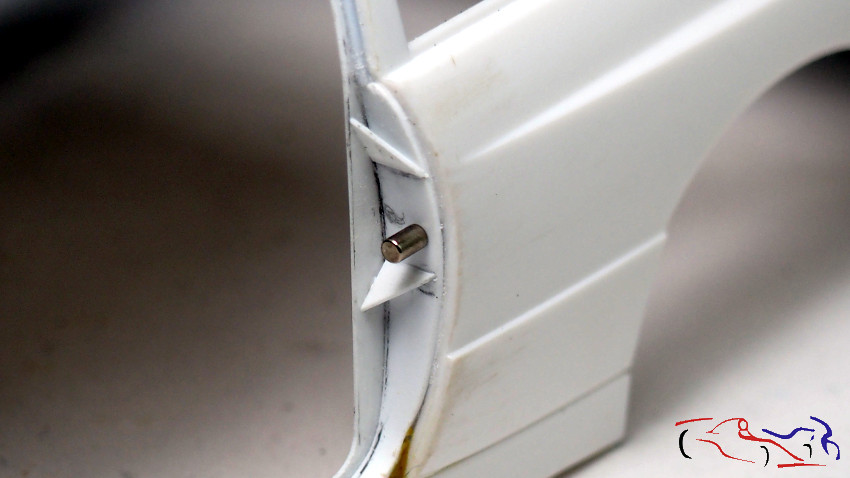
Una vez pegado, aseguramos los tubos de las bisagras con epoxy, para posteriormente, pegar el borde interno del marco superior de las puertas. Lo hago con varilla fina que voy pegando, poco a poco, y doblando si es necesario, con el pegamento de la tapa verde clara de Tamiya
Once glued, we secure the hinge tubes with epoxy, then glue the inner edge of the upper door frame. I do this with thin rod, which I glue little by little, bending if necessary, using the glue from the light green Tamiya cap.
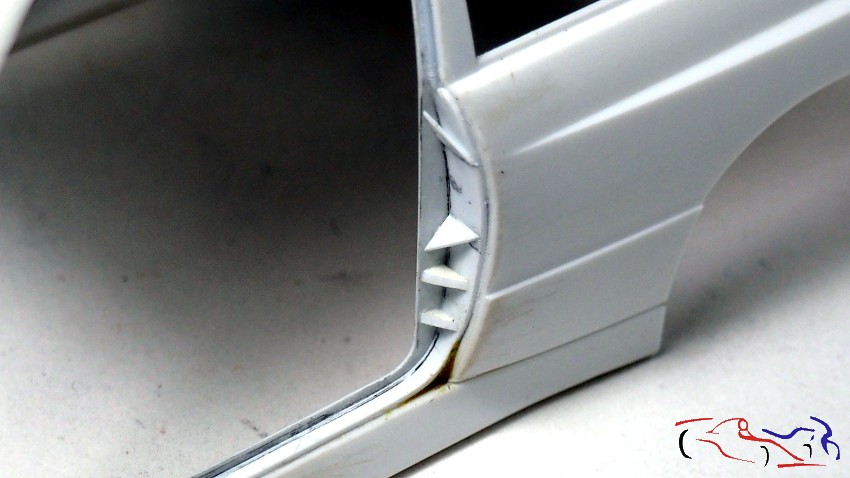
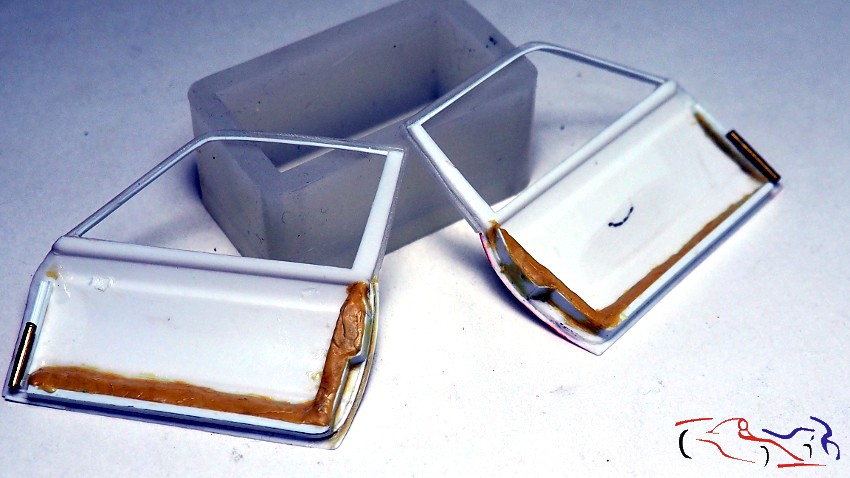
Siguiendo con las puertas, pero ahora en el lado de la carrocería, vamos a hacer la parte donde se apoya la puerta. Empezamos poniendo un cartón donde dibujamos donde irá el corte. Recosrtamos y pegamos. Una vez seco, aseguramos la unión con masilla epoxy, y ya afinaremos más adelante:
Continuing with the doors, but now on the body side, we’ll make the part where the door rests. We start by placing a piece of cardboard on which we’ll draw where the cut will go. We cut it out and glue it. Once dry, we secure the joint with epoxy putty, and we’ll fine-tune it later:

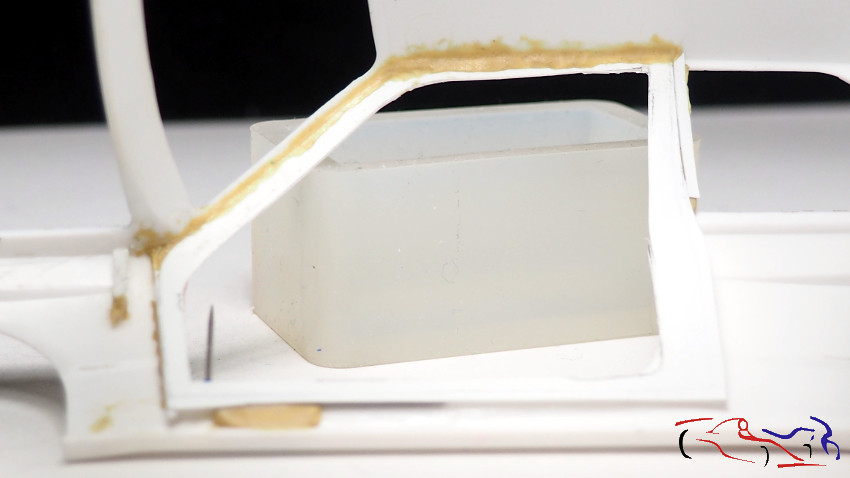
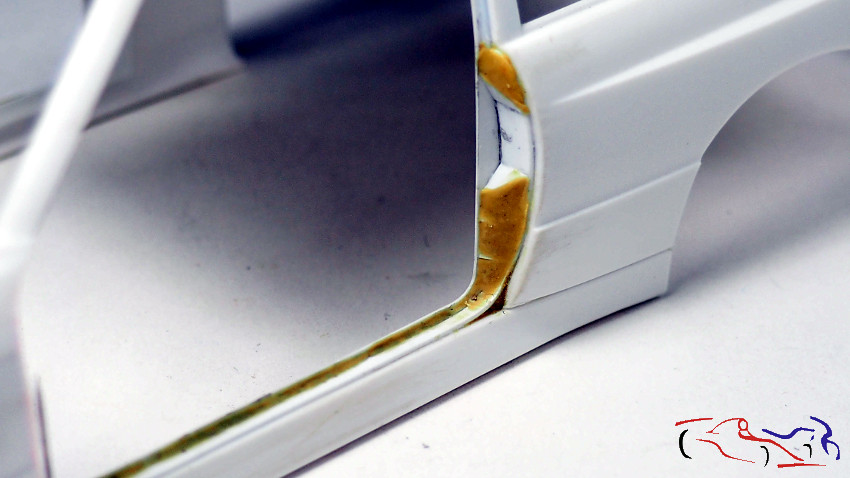
Mientras se seca, y testeando las puertas en la carroceria, veo que el hueco entre la puerta derecha y la carrocería, es notable con lo que añado una tira de plástico a la puerta, que fijo con masilla epoxy y después afino:
While it dries, and I’m testing the doors on the body, I notice that the gap between the right door and the body is noticeable, so I add a plastic strip to the door, which I fix with epoxy putty and then fine-tune:
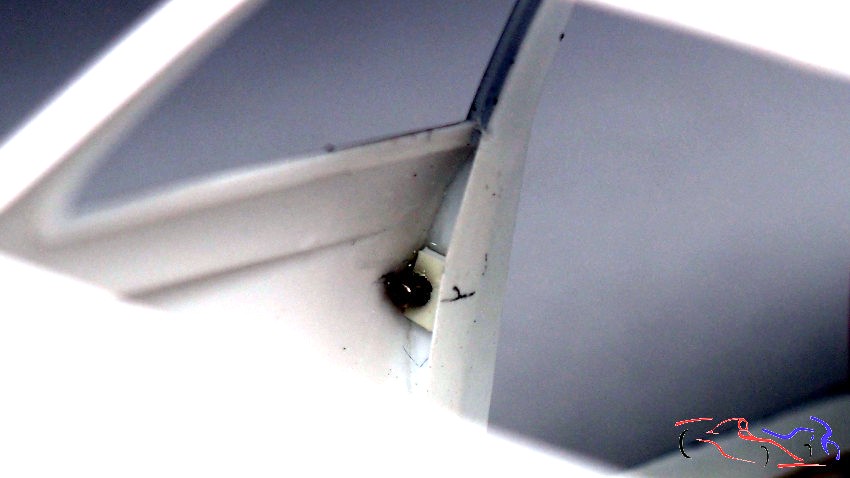
El turno ahora es de la parte donde la puerta apoya en la carrocería. Lo primero, es situar donde va el cierre, y donde colocamos un imán. En la parte posterior, dentro de la carrocería, colocamos el otro imán que aseguramos con ciano. Una vez seco, retiramos el imán exterior, que será el que ponga en la puerta, y vamos colocando las cuadernas segun la forma que deseamos. Después rellenamos con masilla epoxy. De la misma manera, hacemos la forma de la puerta, colocando el imán, y después tapamos con masilla epoxy. Mas tarde afirnaremos todo.
Now it’s time to work on the part where the door rests against the body. First, we locate where the lock will go and where we’ll place a magnet. On the back, inside the body, we place the other magnet, secured with cyanoacrylate. Once dry, we remove the outer magnet, which will be the one placed on the door, and we position the frames according to the desired shape. Then we fill it with epoxy putty. In the same way, we shape the door, placing the magnet, and then covering it with epoxy putty. We’ll secure everything later.
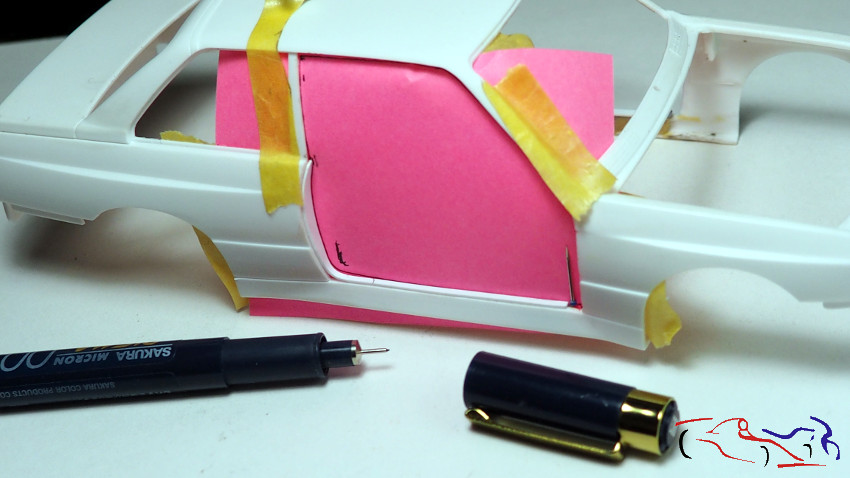
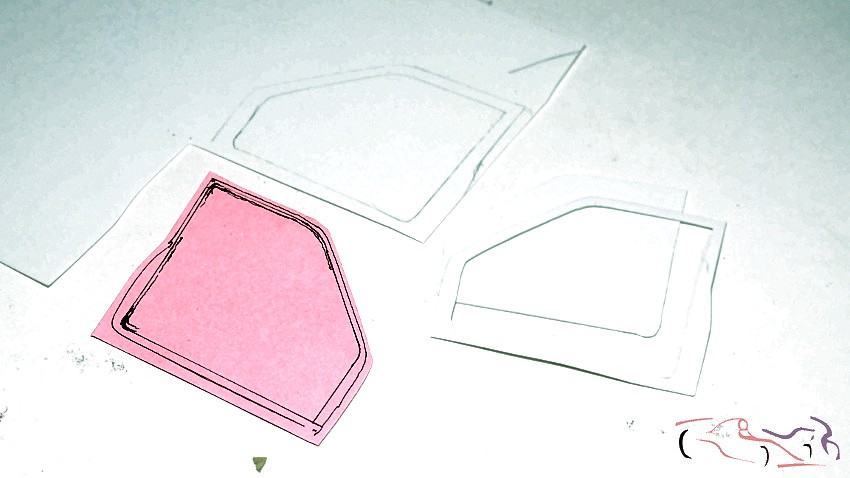
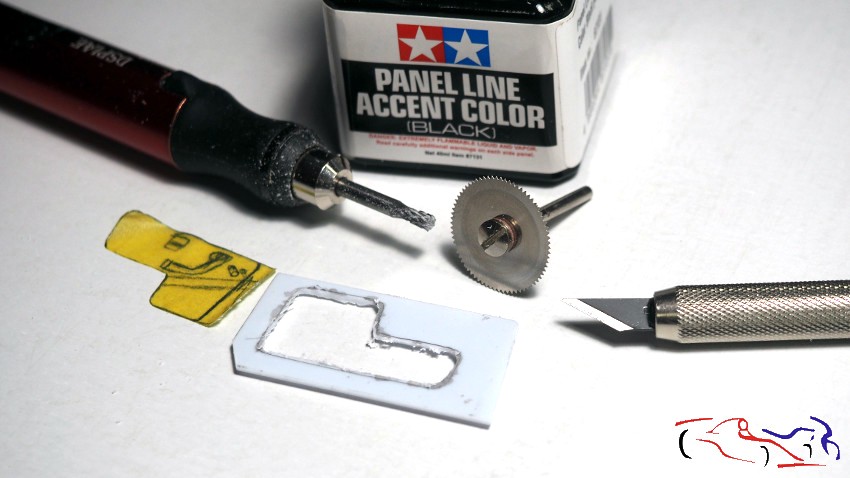
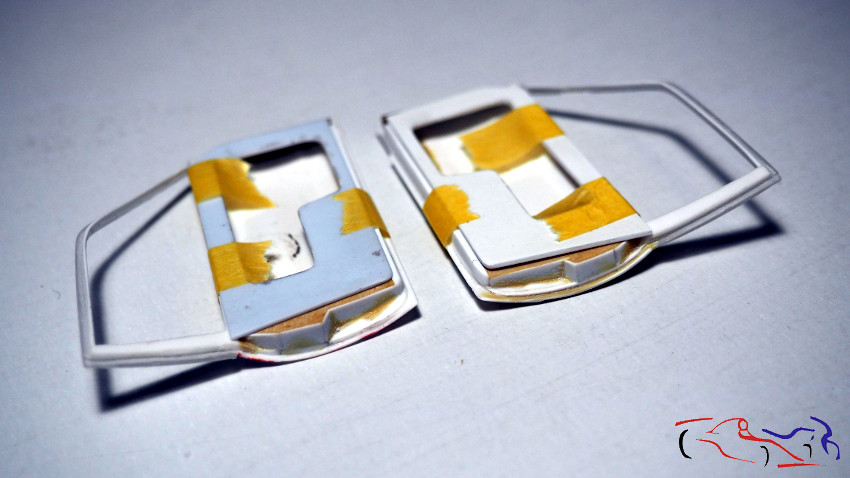
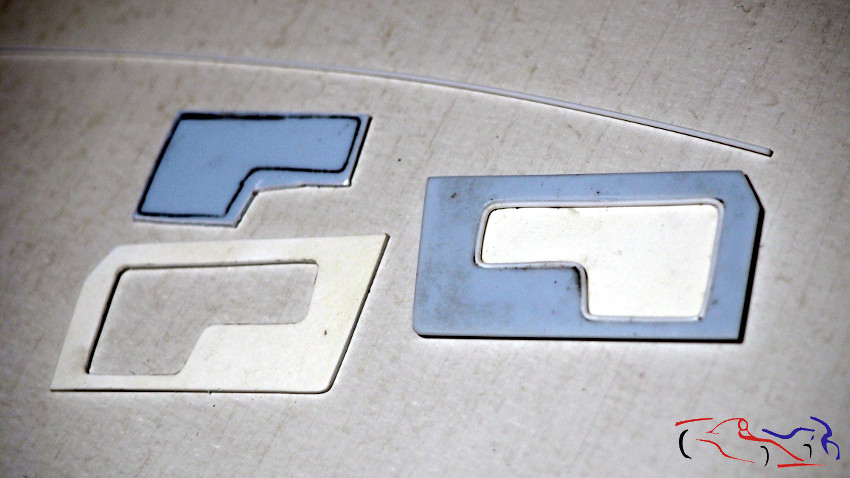
Y pasamos al guarnecido de las puertas. Aunque tengo las piezas originales recortadas, decido hacer unas nuevas para que se acomoden a lo realizado en la puerta. Para ello, marco los bordes sobre cinta de enmascarar pegada en la puerta. Esto lo llevamos a una plancha de plástico que recortamos por el perímetro, pintando los detales de dicho guarnecido. Con dichos detalles pintados, recortamos el interior para rehacerlo de nuevo.
Now we move on to the door trim. Although I have the original pieces cut out, I decide to make new ones to fit the door. To do this, I mark the edges with masking tape stuck to the door. We transfer this to a plastic sheet, which we cut around the perimeter, painting the details of the trim. With these details painted, we cut out the interior to redo it again.

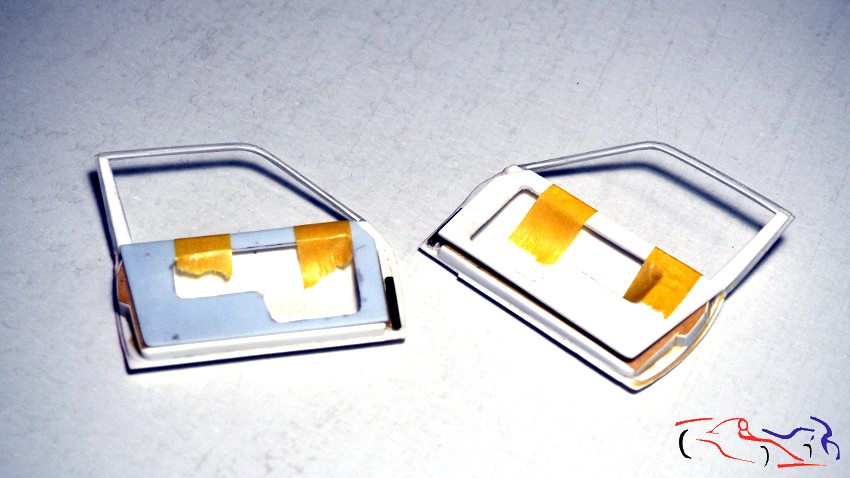
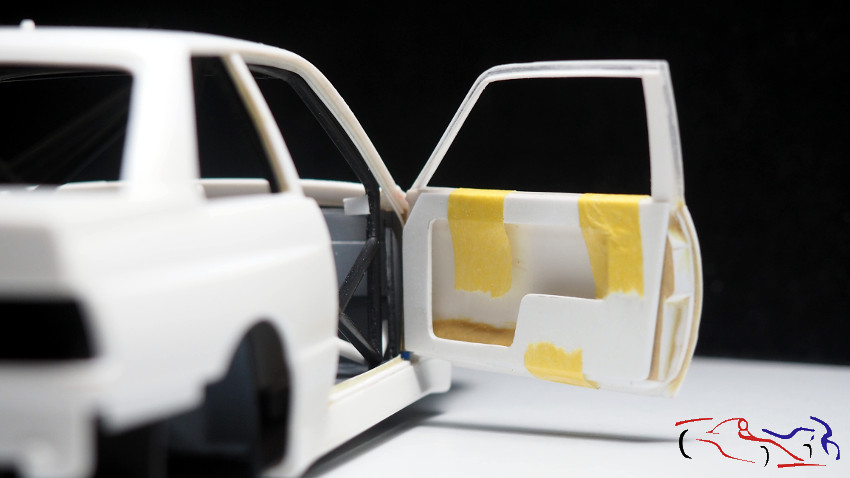
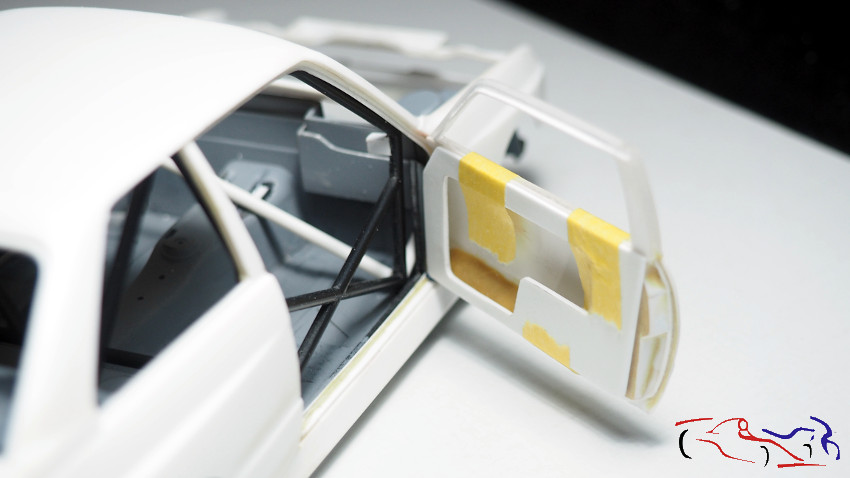
Una vez afinados, los colocamos en las puertas para ver como resultan, y como encajan en la carrocería:
Once tuned, we place them on the doors to see how they look and how they fit on the body:
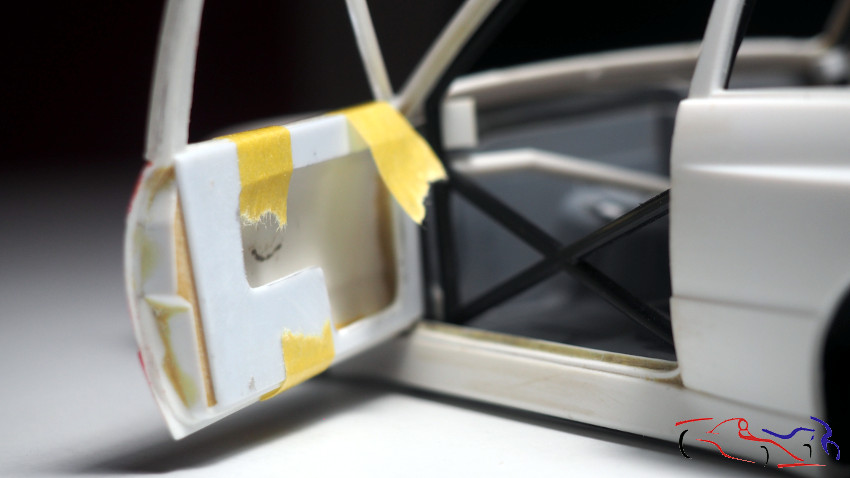
Para esa parte interior del guarnecido de la puerta, ponemosuna lamina por el interior donde irán pegadas la distintas partes del mismo, empezando por un reborde realizado con varilla de plástico, que voy pegando y doblando poco a poco, ayudado or el pegamento Tamiya verde claro. El resto vendrá en futuros posts.
For the interior of the door trim, we’ll apply a sheet of paper to the inside of the trim where the different parts will be glued. We’ll start with a border made from plastic rod, which I’ll glue and bend little by little, using the light green Tamiya glue. The rest will come in future posts.
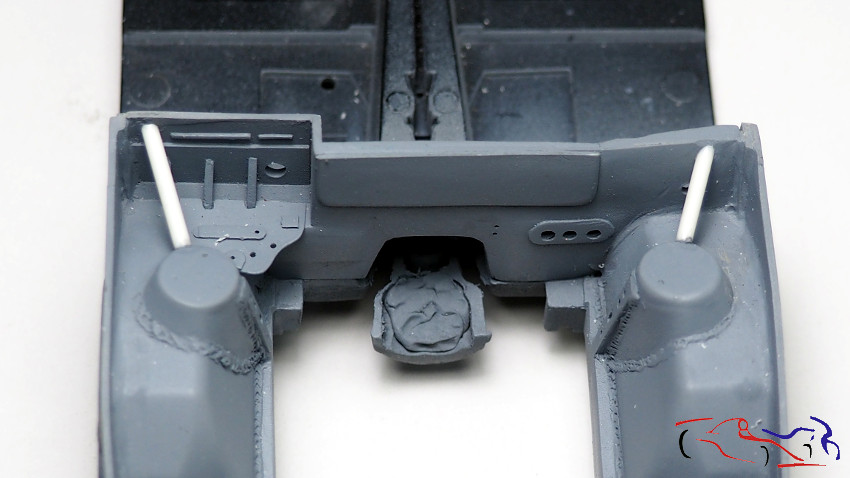
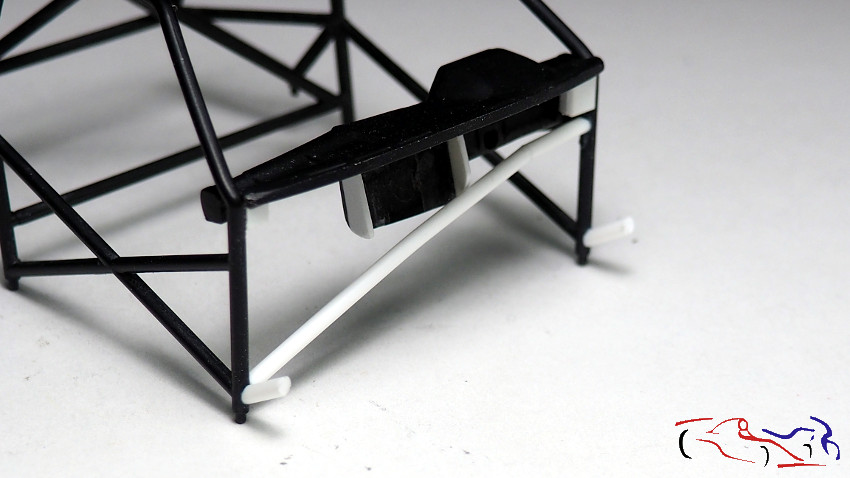
Más cosas que se han realizado: los soportes de las torretas de suspensión que les dan rigidez, y las distintas barras delanteras del arco de seguridad del habitáculo:
Other things that have been done: the suspension turret supports that give them rigidity, and the various front bars of the passenger compartment roll bar:
Esto es todo por hoy, y gracias por ver y comentar!!
That’s all for today, and thanks for watching and commenting!!


