Este proyecto lo dejé en Febrero de 2015, porque no tenía fotos de las fijaciones del motor ni tenía decidido el asunto de las bisagras. Pero puesto que ya se como van dichas fijaciones, gracias mi amigo Borja, que va a salir un motor hecho en resina por mi amigo Claudio de Bellis, y que quiero probar una nueva forma de hacer las bisagras, que ya comentaré, he decidido retomar la contrucción del Lancia Delta!!
I left this project in February 2015, because I didn’t have photos of the engine mountings and I hadn’t decided on the hinges. But since I already know how these fixings go, thanks to my friend Borja, that a resin engine will be made by my friend Claudio de Bellis, and that I want to try a new way of making the hinges, which I will comment later, I decided to resume the construction of the Lancia Delta!
Pero primero os pongo en situación para recordar lo que tenía hecho, y para eso tengo las anteriores actualizaciones de mi blog:
But first I’ll put you in situation to remember what I had done, and for that I have the previous updates of my blog:
- http://blog.maquetea.com/?p=1913
- http://blog.maquetea.com/?p=2058
- http://blog.maquetea.com/?p=2118
- http://blog.maquetea.com/?p=2183
- http://blog.maquetea.com/?p=2282
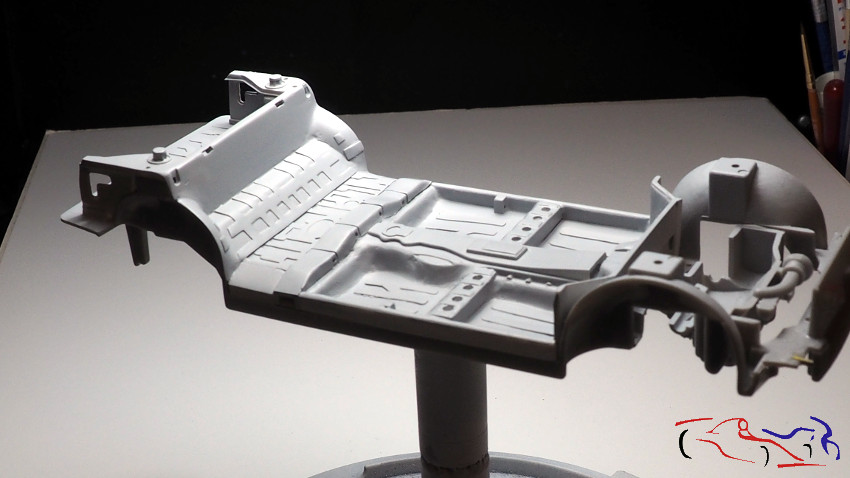
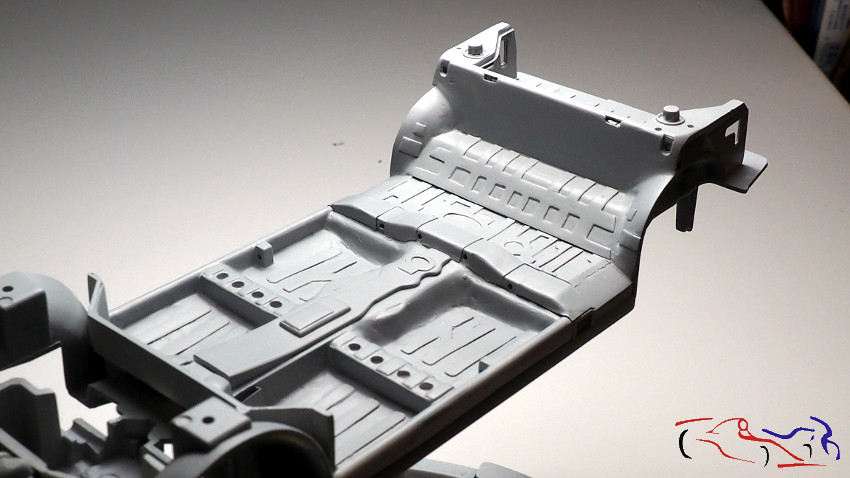
Y para continuar, unas fotos actuales: Aquí os muestro el chasis, con parte de la cuna añadida, y modificada con todos sus nervios:
And to continue, some current photos: Here I show you the chassis, with part of the cradle added, and modified with all its nerves:
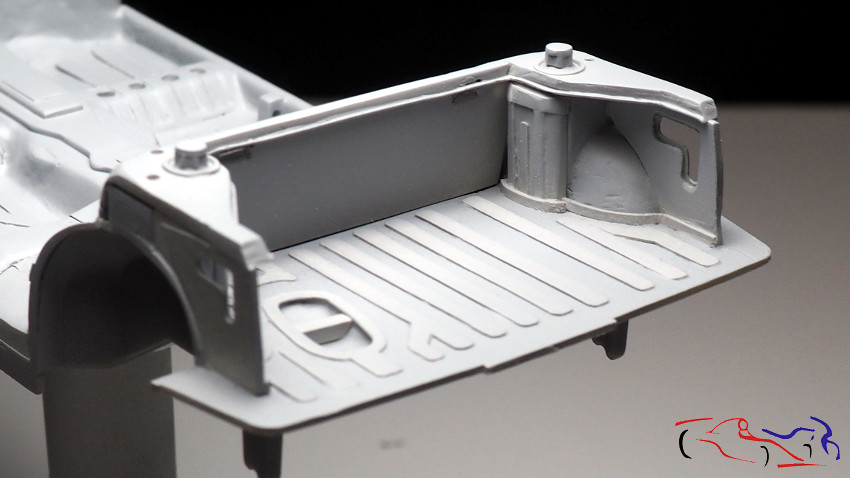
Y a continuación, la parte del maletero:
And then the luggage compartment:
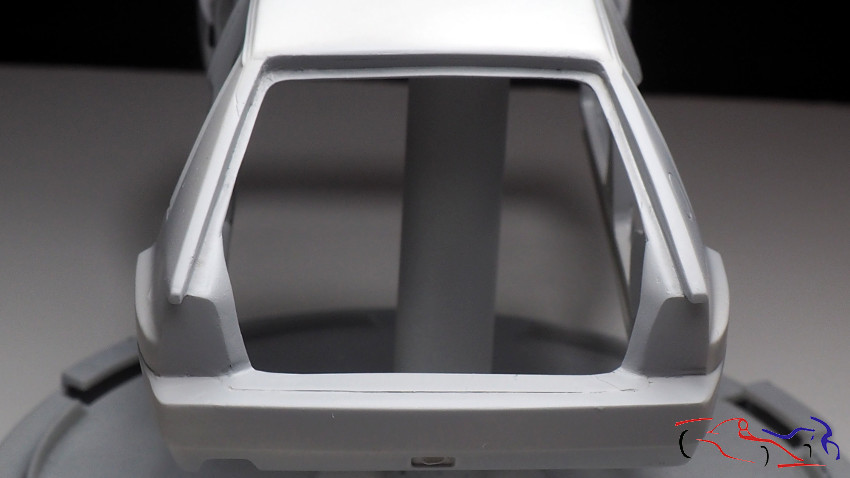
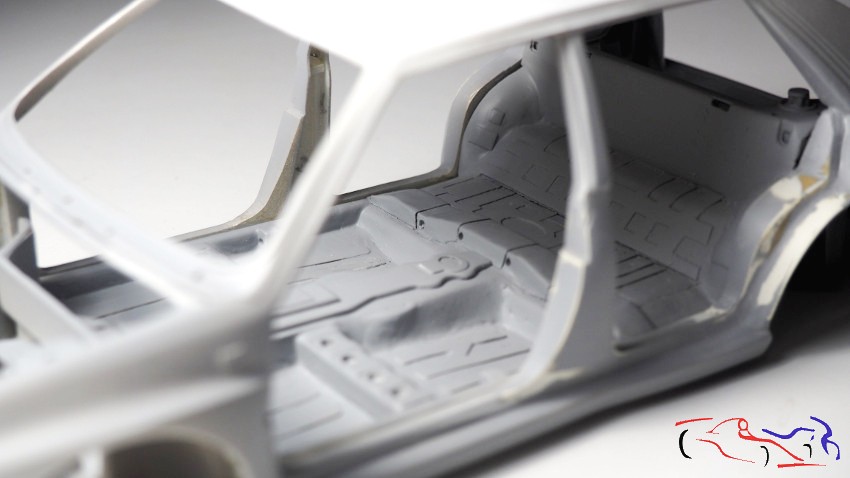
Si pasamos a la carrocería, y una vez abierto todo lo que se puede abrir, os muestro la parte del maletero y de los laterales de las puertas:
If we move on to the bodywork, and once everything that can be opened has been opened, I show you the part of the boot and the sides of the doors:

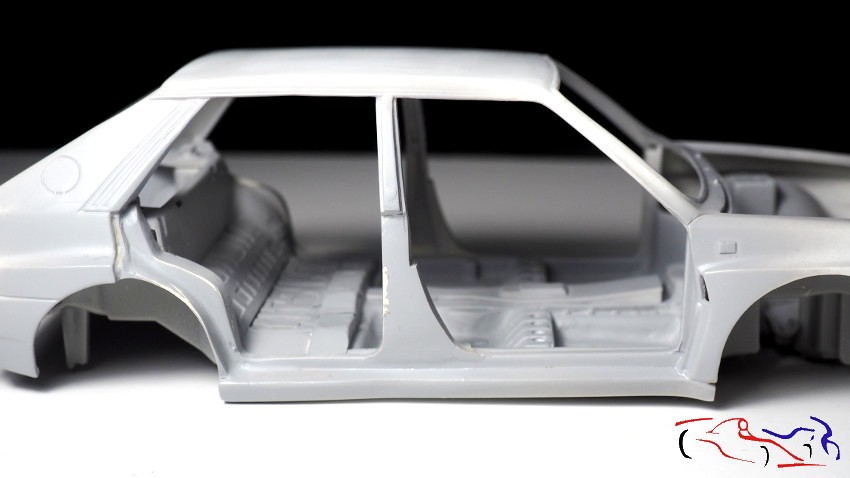
Y si unimos el chasis y la carrocería, este es el resultado:
And if we place the chassis and the body both together, this is the result:
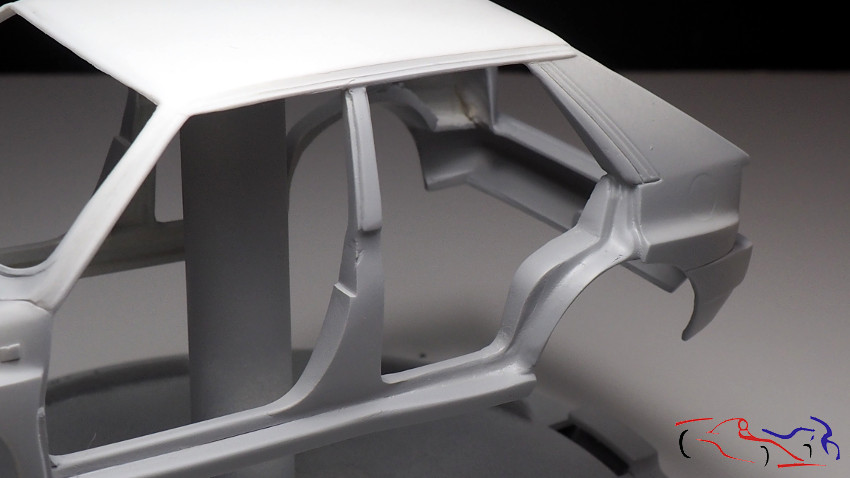
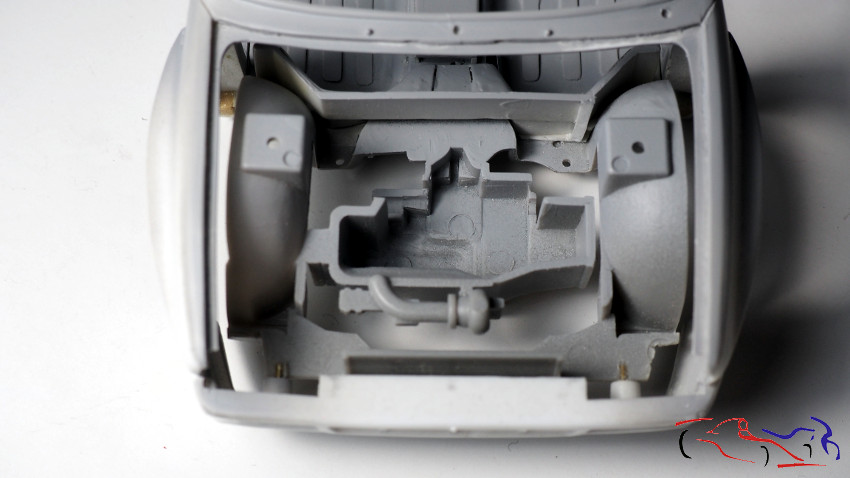
Mención especial tiene el vano motor, sobre el que se construirá todo, eliminando la parte que se incluye en el chasis:
Special mention must be made of the engine bay, on which everything will be built, eliminating the part that is included in the chassis:
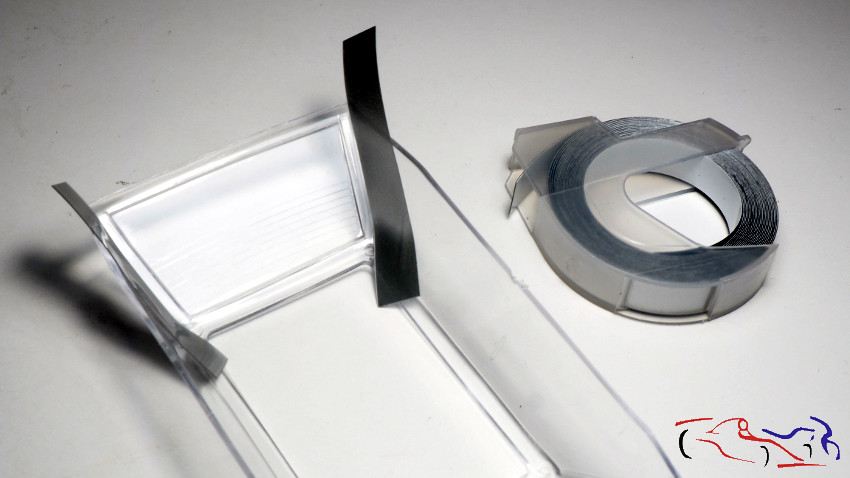
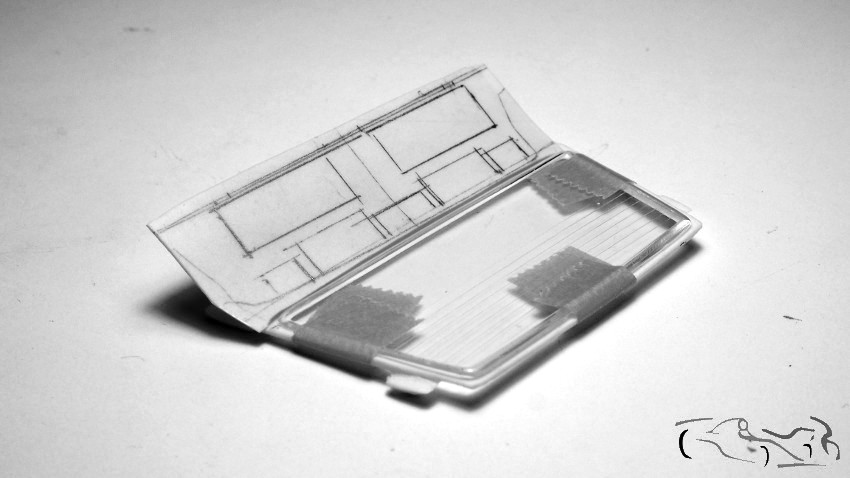
Hasta aquí, lo que ya tengo realizado. Ahora viene lo que empiezo a hacer. Y empezamos por el portón trasero. Lo primero, y para tomar medidas, tengo que recortar la parte del cristal, que viene junta. Para cortarlo, pongo unas tiras de la cinta autoadhesiva Dymo de las antiguas: son suficientemente rigidas para servir de guia para la sierra, quedando cortado en la foto derecha. Después lijaré hasta se ajuste al marco del portón.
So far, what I have already done. Now comes what I start to do. And we start with the tailgate. First of all, and to take measurements, I have to cut the part of the glass, which comes together. To cut it, I put some strips of the old Dymo self-adhesive tape: they are rigid enough to serve as a guide for the saw, being cut in the right photo. Then I’ll sand it until it fits the frame of the gate.
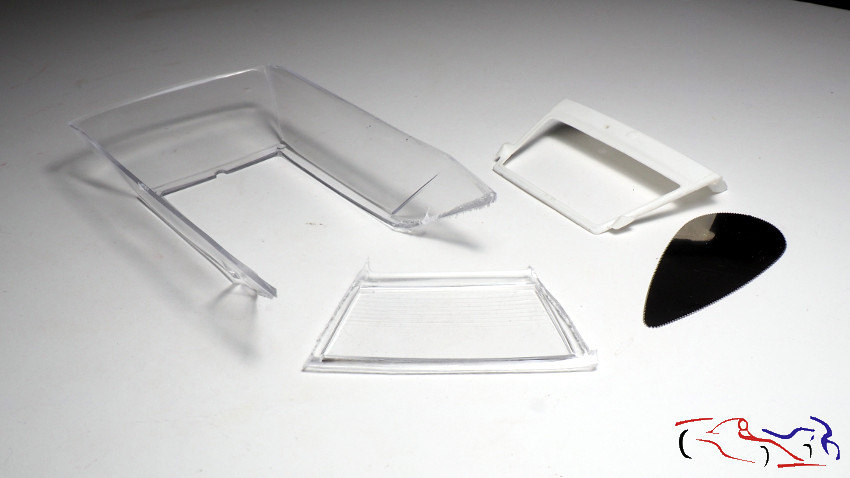
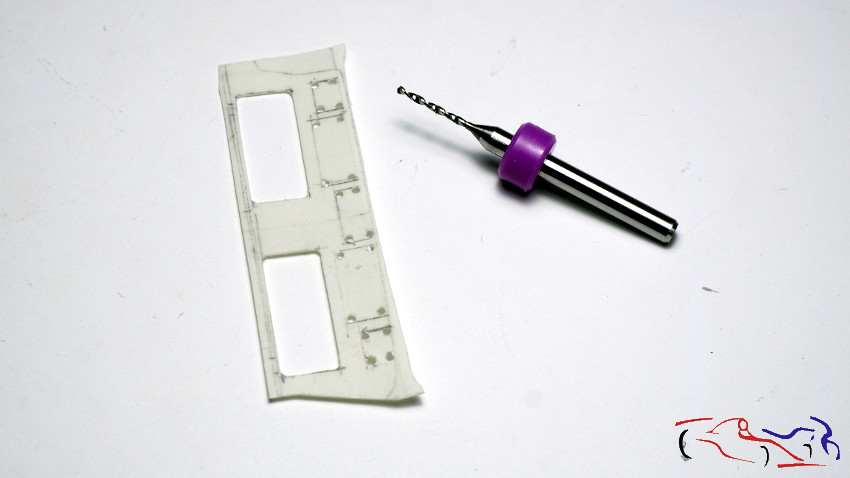
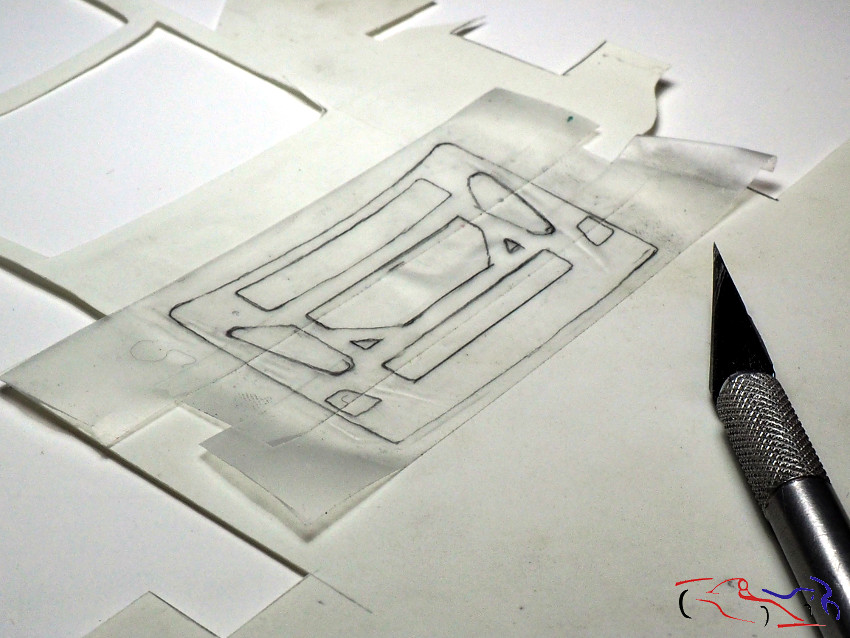
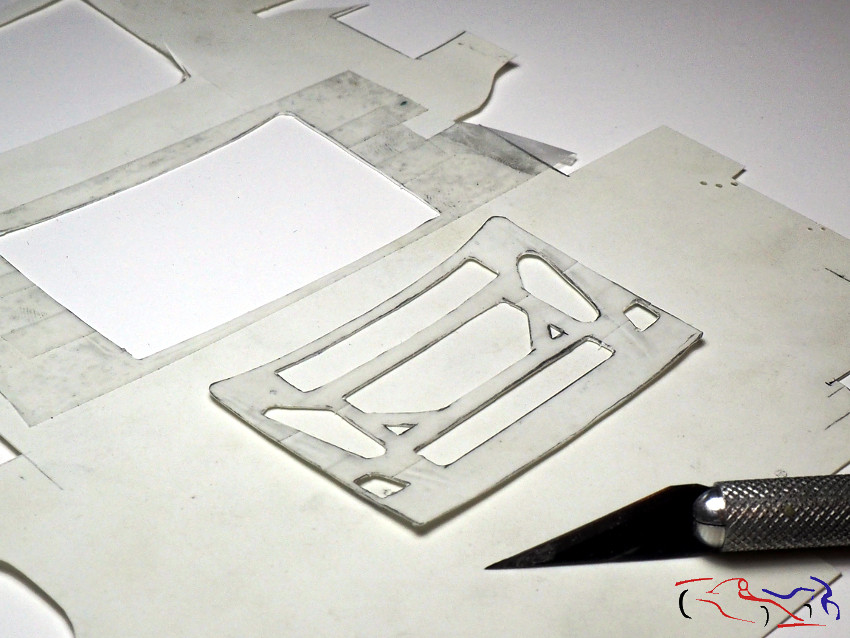
Ahora moficamos el interior del portón, empezando por eliminar los laterales que servían para pegar las luces traseras (dos primeras fotos). Después, con un trozo d eplástico mut fino, lo sujeto al portón, y dibujo los cortes que tengo que hacerle. Y estos cortes se empiezan por las esquinas, con una broca, porque van redondeados, teminando con un corte del cutter entre los circulos. Después se lima todo para afinarlo, y se pega en el portón con unos cuadradillos para dar volumen. Falta ahora, enmasillar los laetrales y lijar:
Now we have to mock up the inside of the tailgate, starting by removing the sides that were used to attach the rear lights (first two pictures). Then, with a piece of thin plastic, I attach it to the tailgate, and draw the cuts I have to make. And these cuts start at the corners, with a drill, because they are rounded, ending with a cutter cut between the circles. After that, the whole thing is filed and glued to the door with some squares to give volume. Now it’s time to putty and sand the edges:
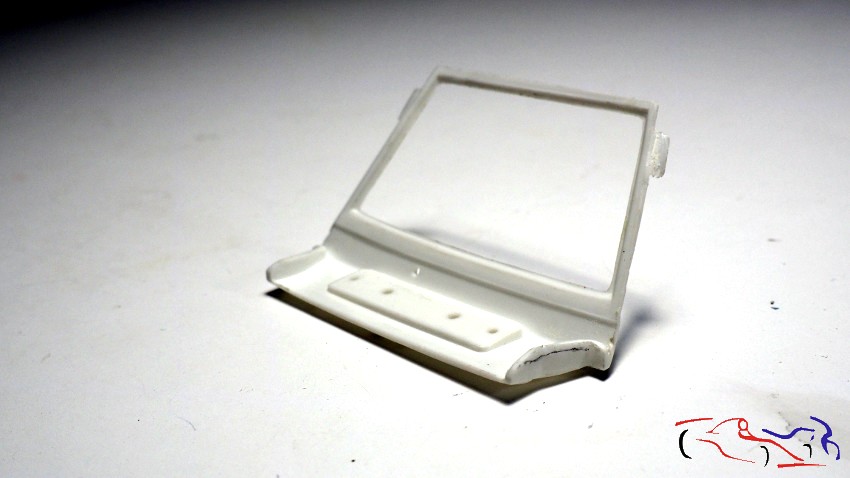
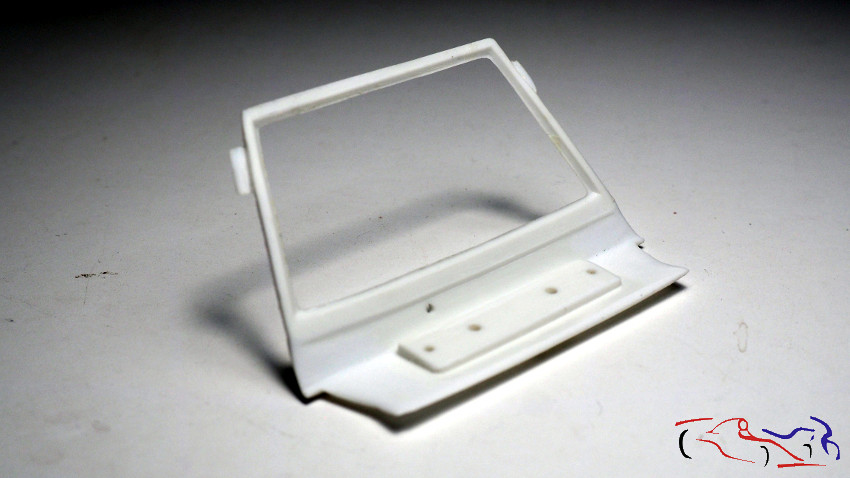
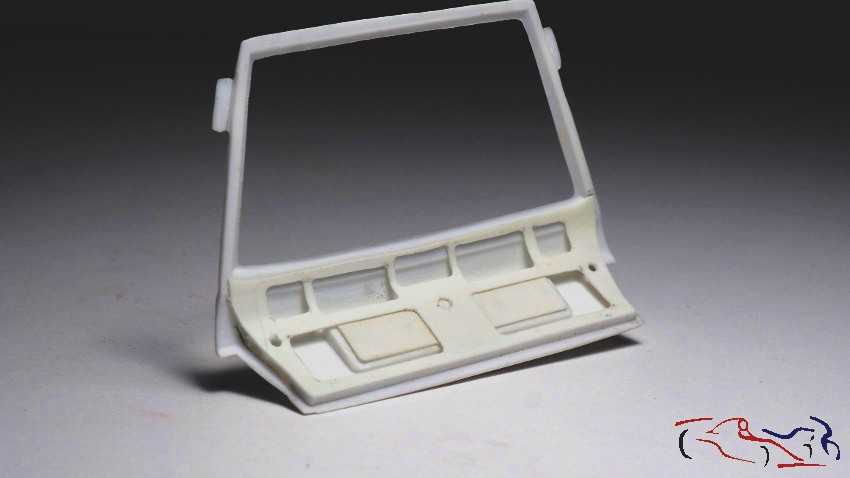
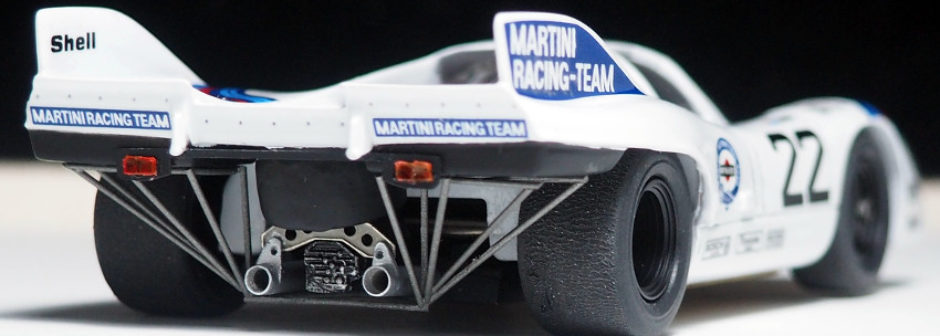
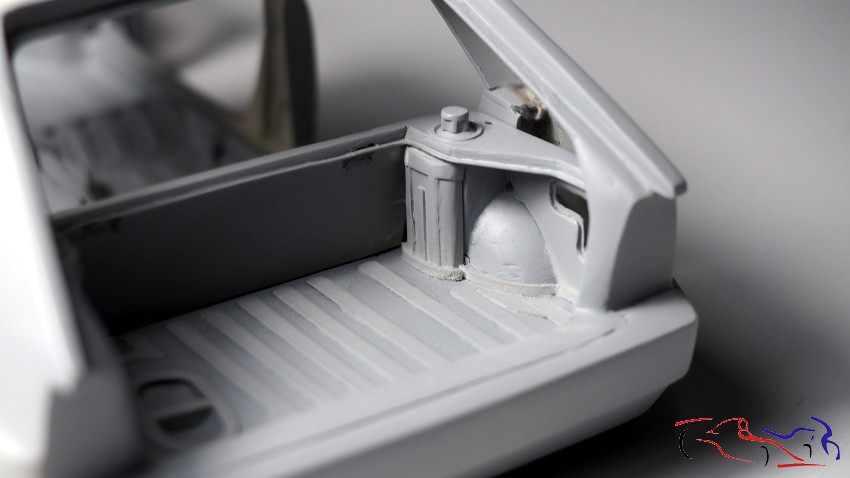
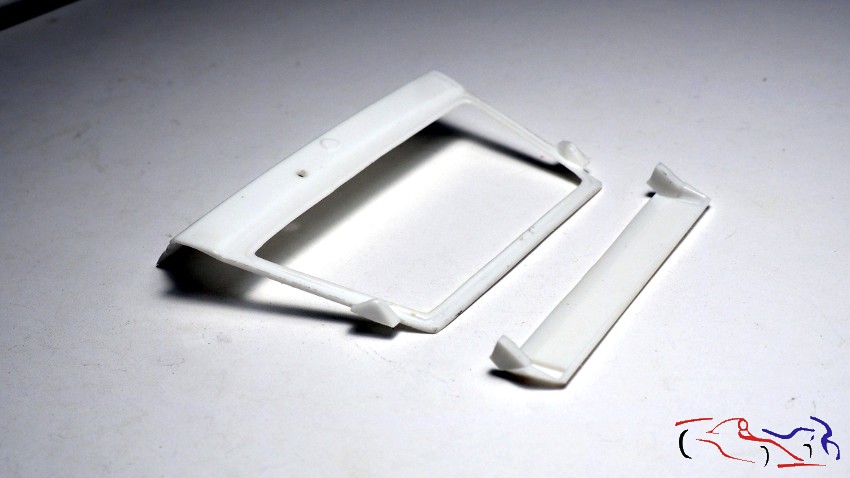
Os pongo esta foto para que veáis el alerón superior, y su fijación, que habrá que modificar y ajustarla a la realidad:
Here is a photo to show you the upper wing, and its attachment, which will have to be modified and adjusted to reality:
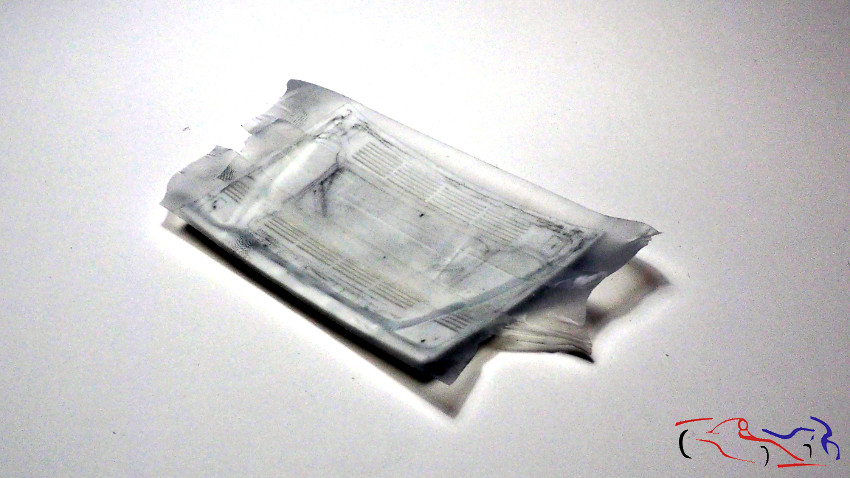
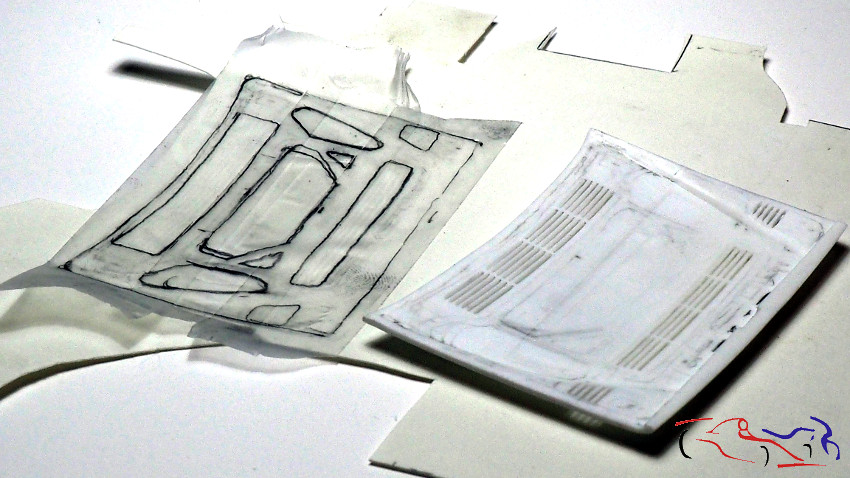
Y del portón, pasamos al capót, para mostraros el proceso de creación de los nervios interiores, proceso que hice también hace años. Primero ponemos cello autoadhesivo de la marca Scotch, que se pinta muy bien con el lápiz, sobre la parte inferior, y dibujamos los nervios y agujeros. Lo despegamos y pasamos a una plancha fina de Evergreen, y recortamos con el cutter, afinando con minilimas y lijas.
And from the tailgate, we move on to the bonnet, to show you the process of creating the interior ribs, a process I also did years ago. First we put Scotch cello sticker, which can be painted very well with a pencil, on the lower part, and we draw the ribs and holes. We peel it off and transfer it to a thin sheet of Evergreen, and cut it out with the cutter, sharpening it with mini files and sandpaper.
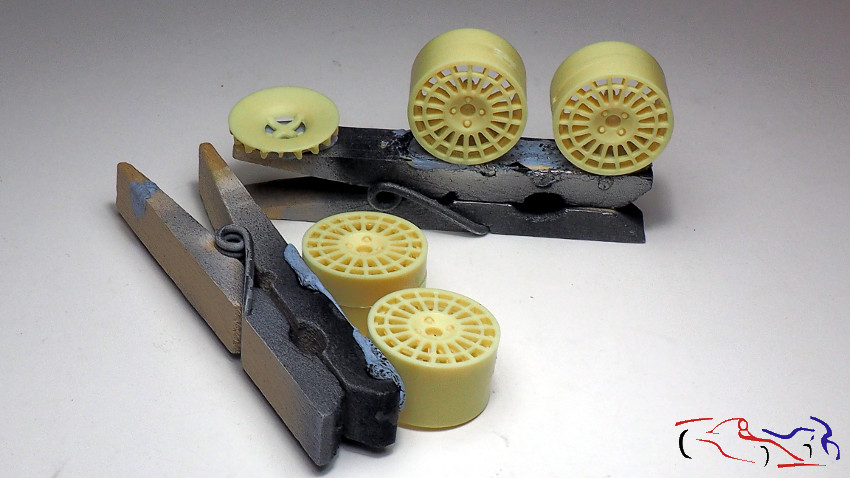
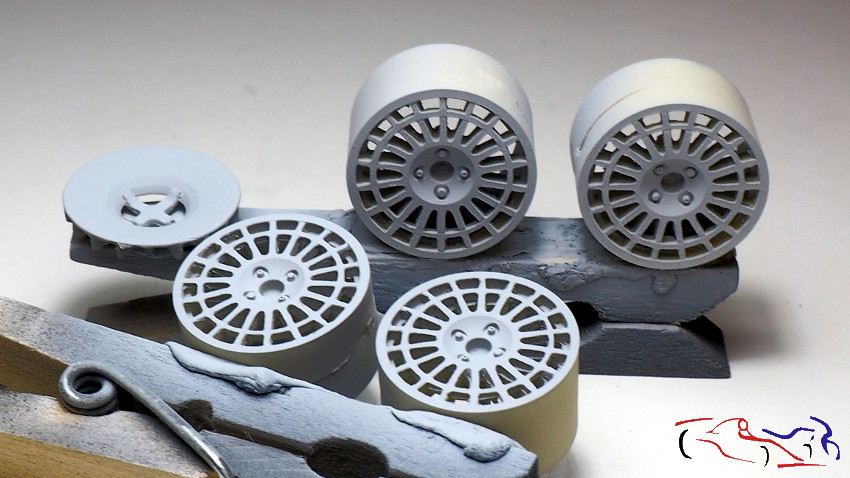
Y por último, os muestro las llantas y ventolines que compré a un modelista italiano, las cuales imprimí con Gravity-colors Spain:
And lastly, I show you the rims and rims that I bought from an Italian modeler, which I printed with Gravity-colors Spain:
Esto es todo por el momento! Gracias por ver y comentar!!
That’s all for the moment! Thanks for watching and commenting!


