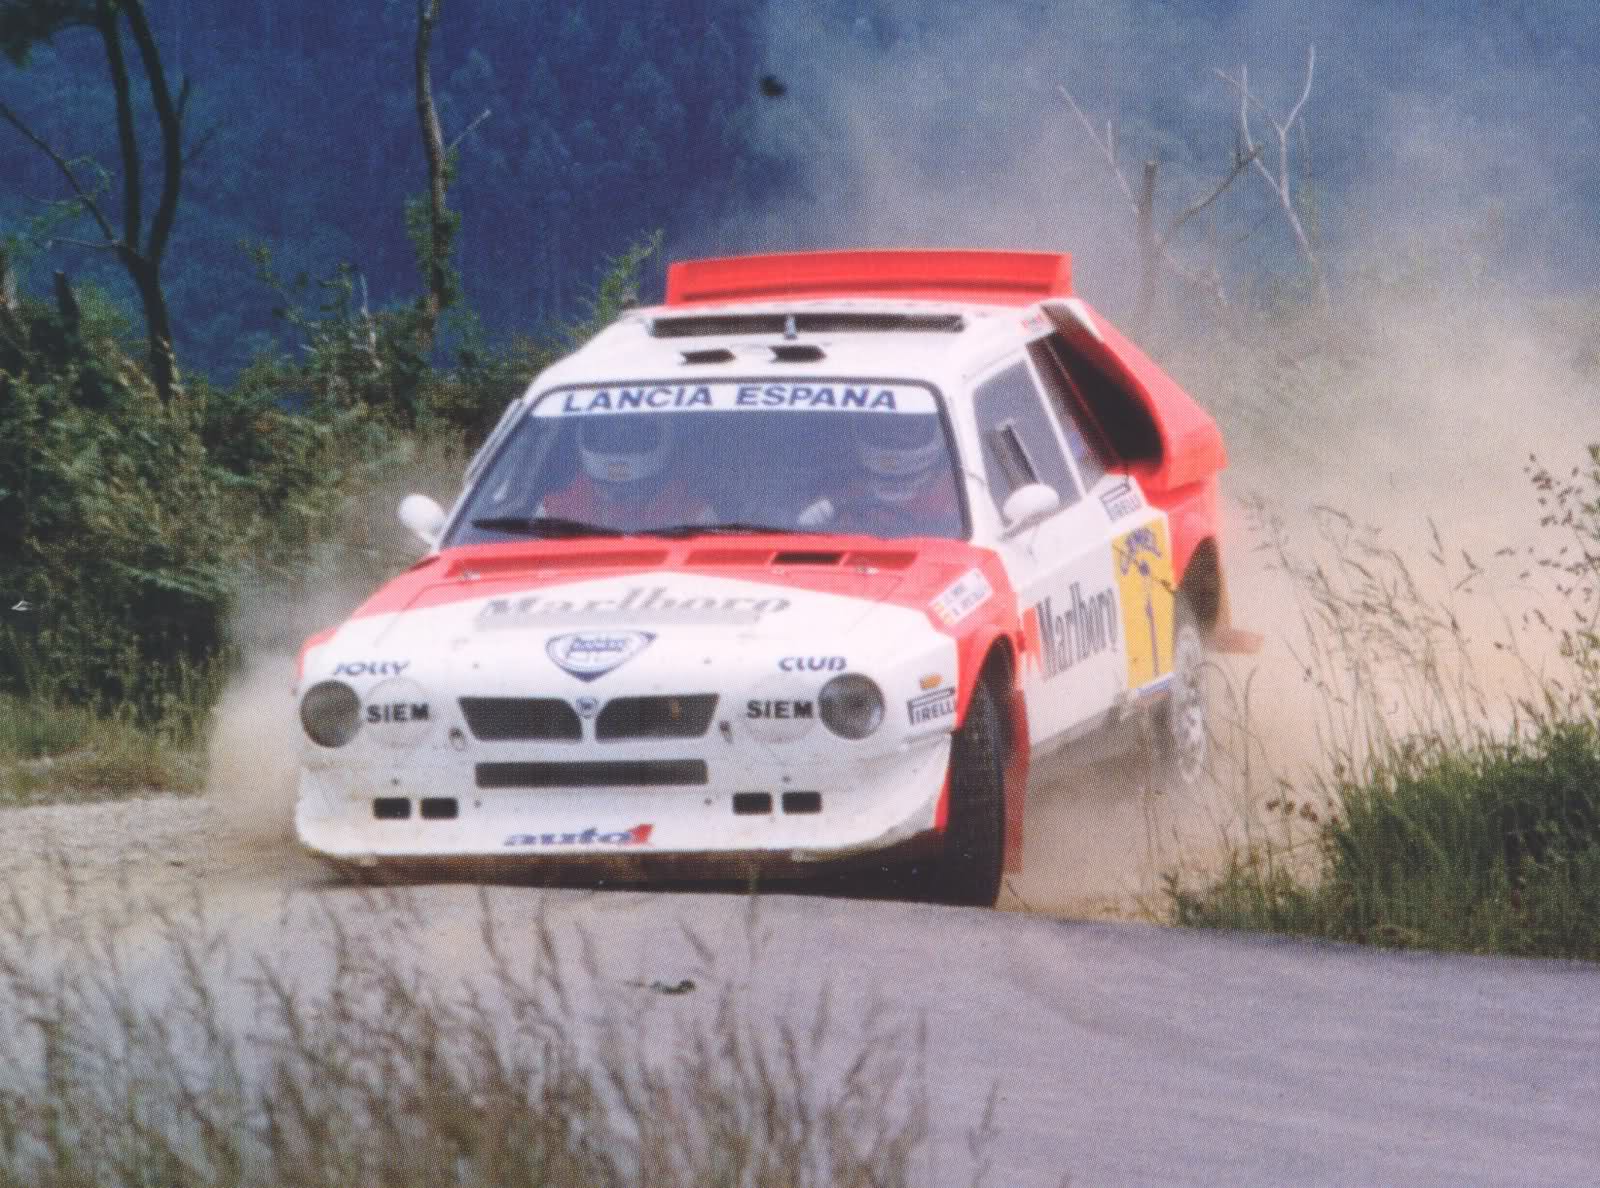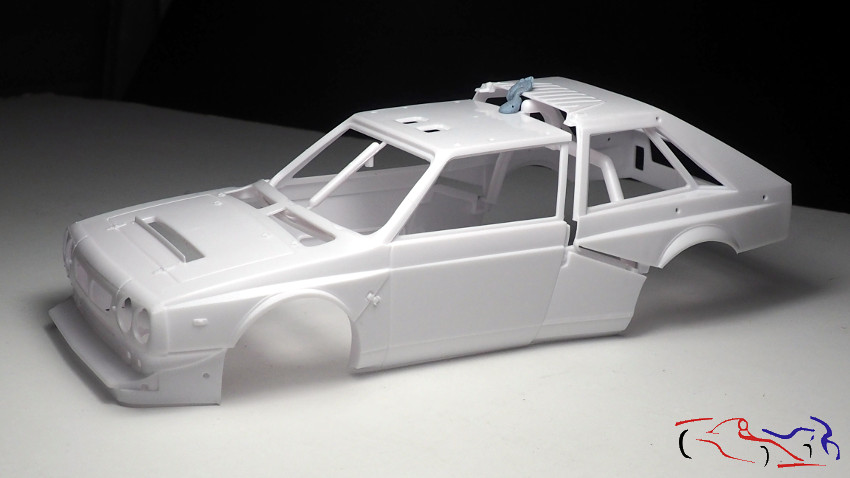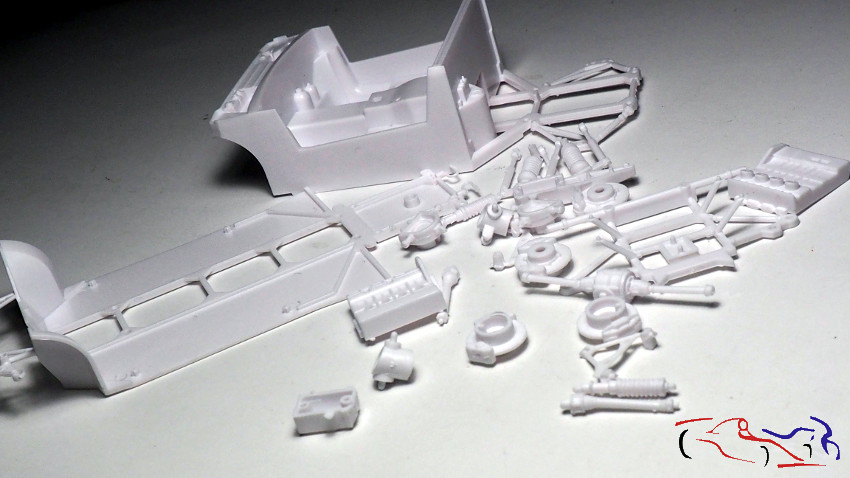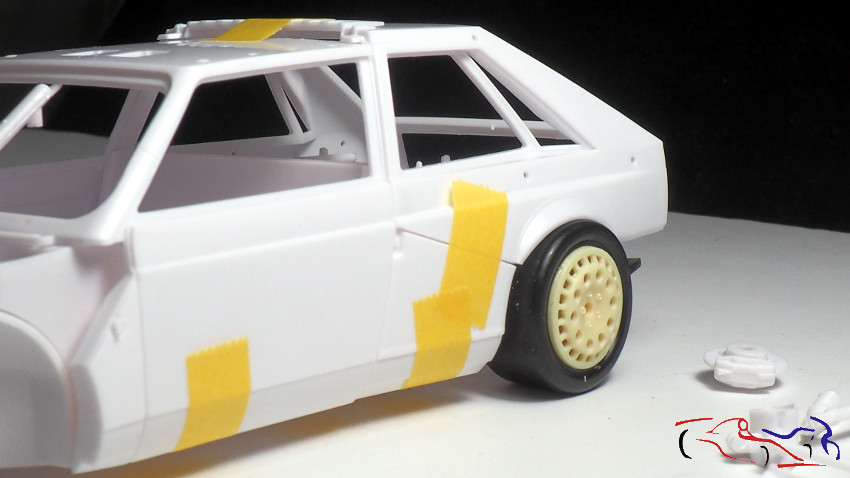
Desde febrero no ponía ninguna actualización….Vacaciones, Semana Santa, diversos puentes…..pero no he parado!! De hecho he tenido que dividir las fotos en dos procesos por la cantidad de tareas que he realizado. En esta primera, me dedico enteramente a la parte delantera del coche.
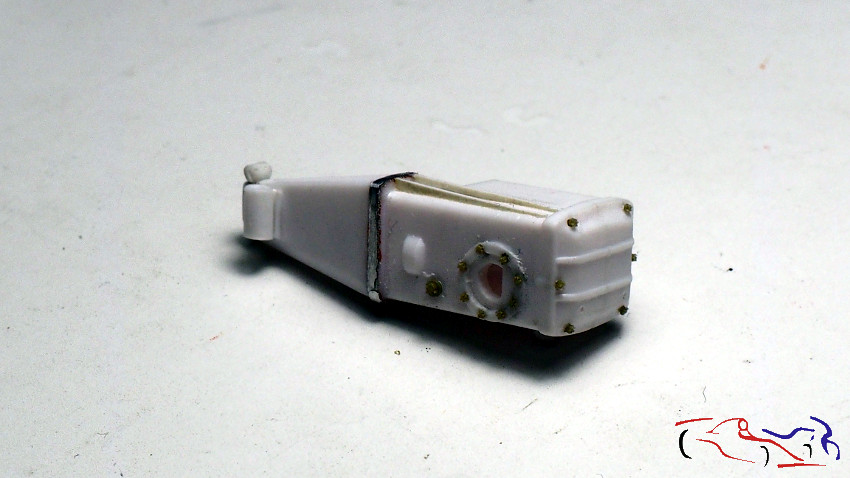
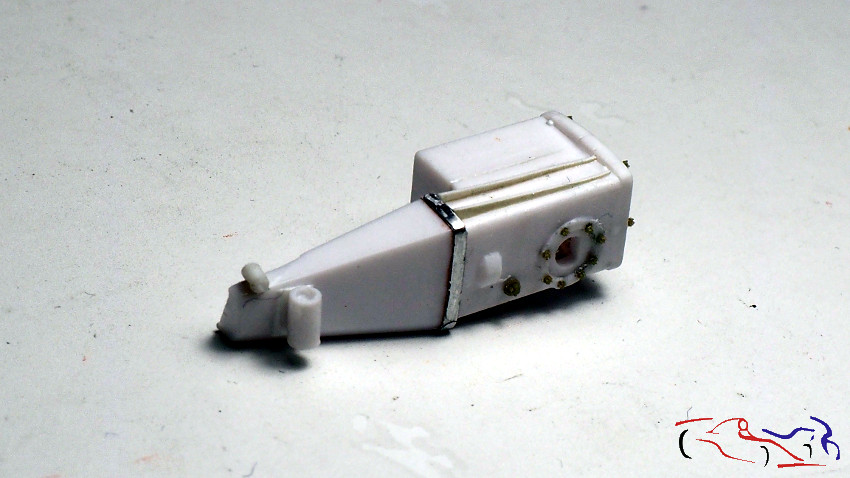
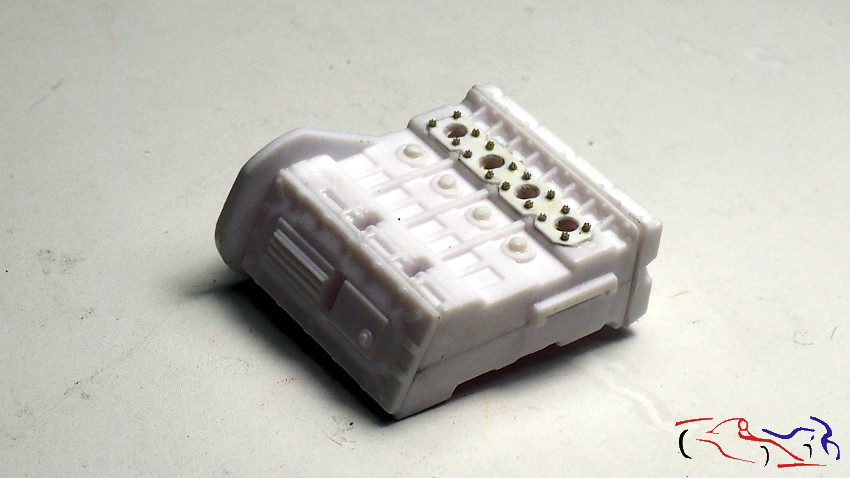
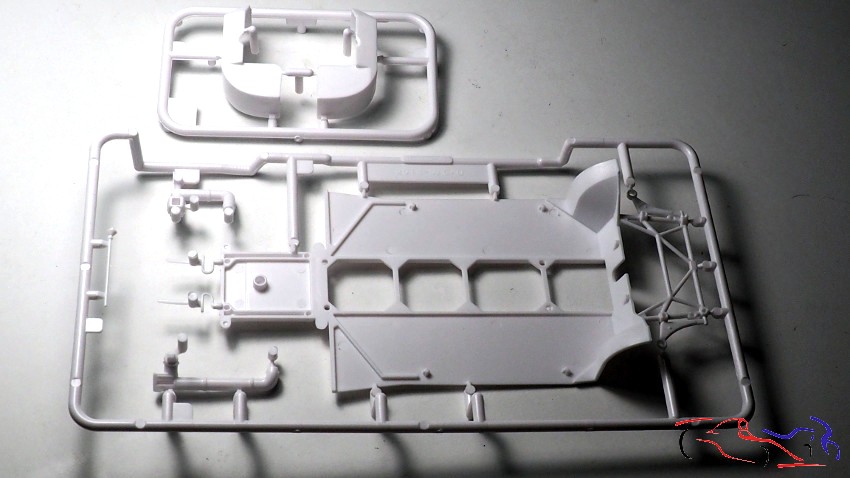
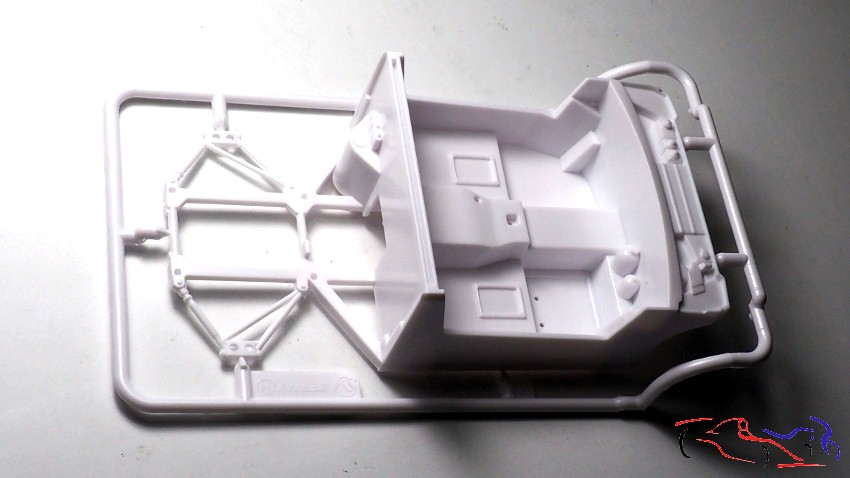
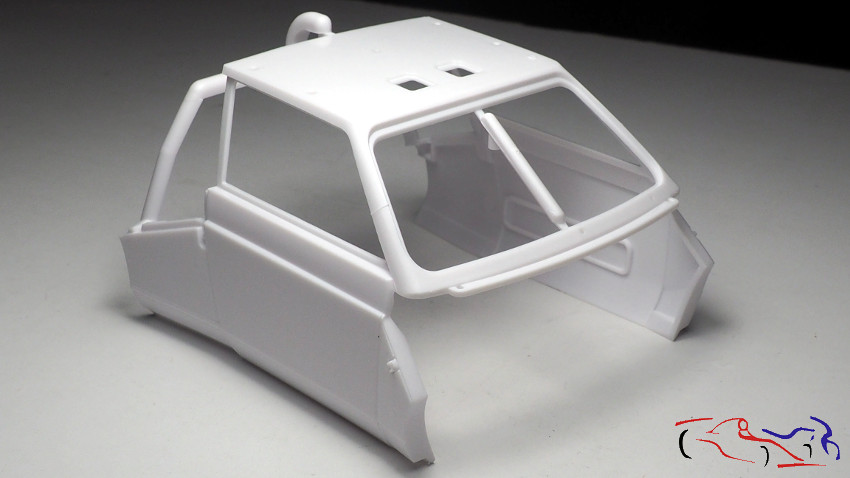
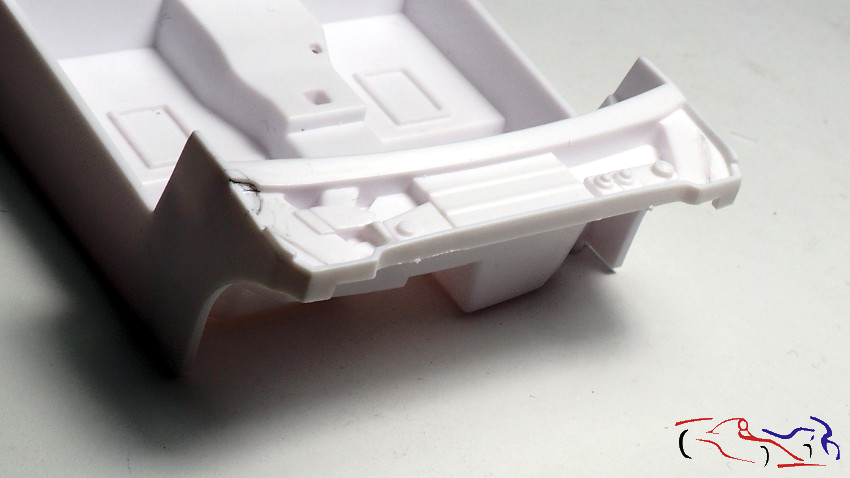
Aquí vemos la pieza base del cockpit, con la bandeja delantera, y donde se sitúa la entrada de gasolina a la derecha, que como va incluida en el capó, no aparece:
Since February do not add any update …. Holidays, Easter week, various long weekends ….. but I have not stopped! In fact I had to divide all the photos in two posts by the amount of tasks I have done. In this first post, I dedicate myself entirely to the front of the car.
Here we see the base part of the cockpit, with the front tray, and where the gasoline entrance is located to the right, which as it is included in the hood, does not appear:
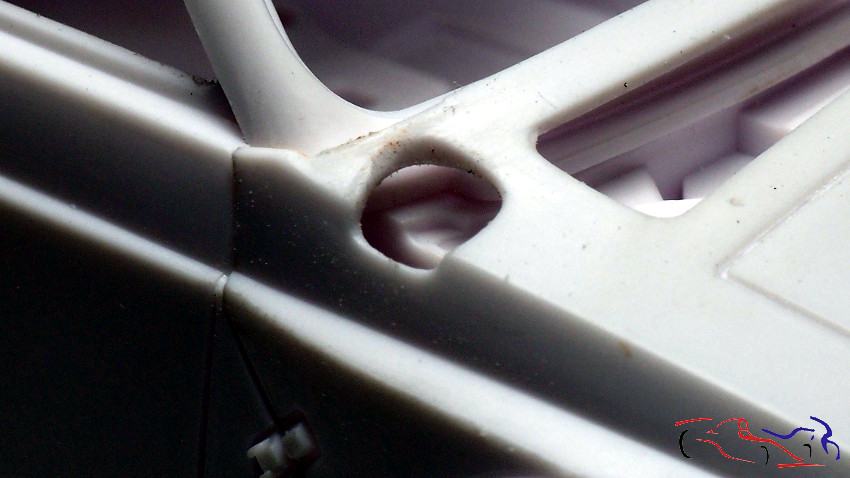
Por tanto, decido recortar esa bandeja en sus extremos, y las piezas de los pasos de rueda que van en el chasis. Para la entrada de la gasolina, realizo un agujero con el minitaladro:
Therefore, I decide to cut that tray at its ends, and the pieces of the wheel arches that go in the chassis. For the entry of gasoline, I make a hole with the mini-drill:
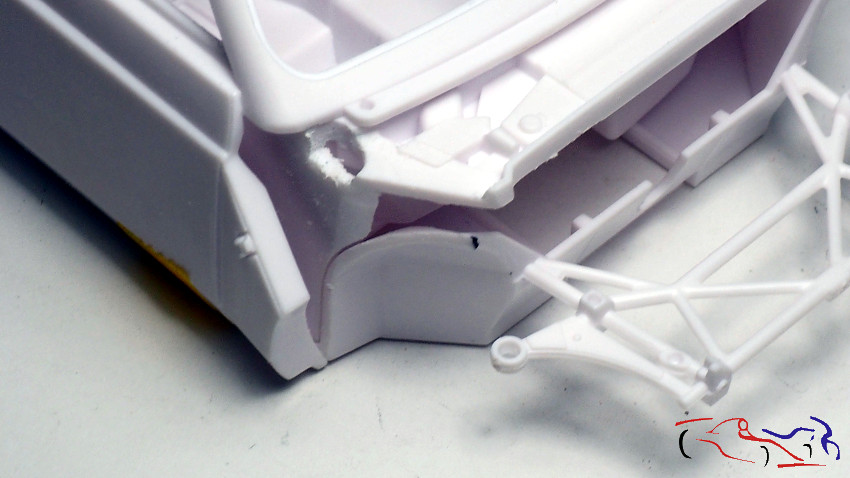
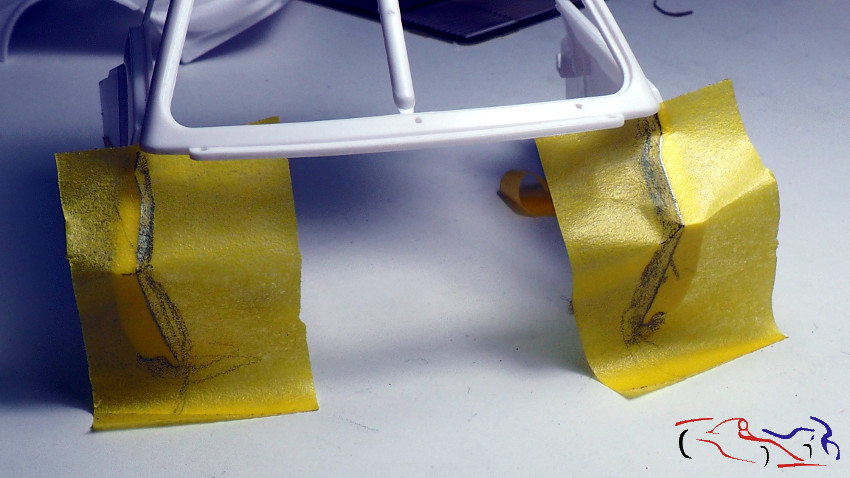
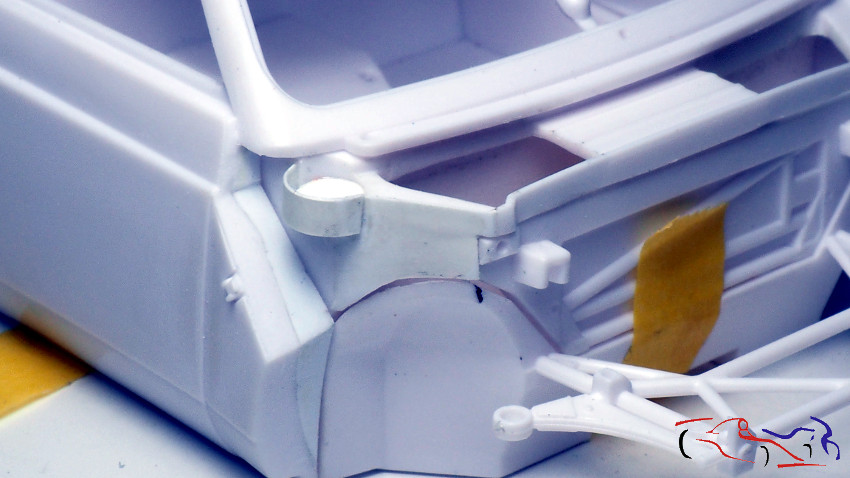
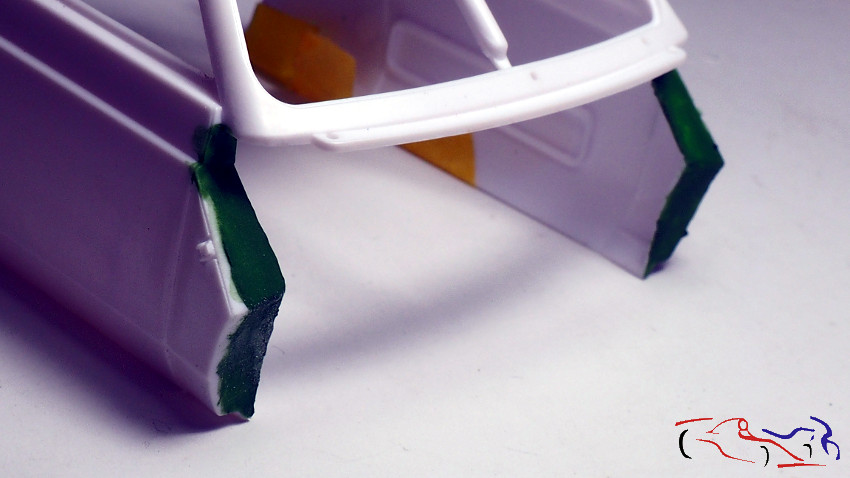
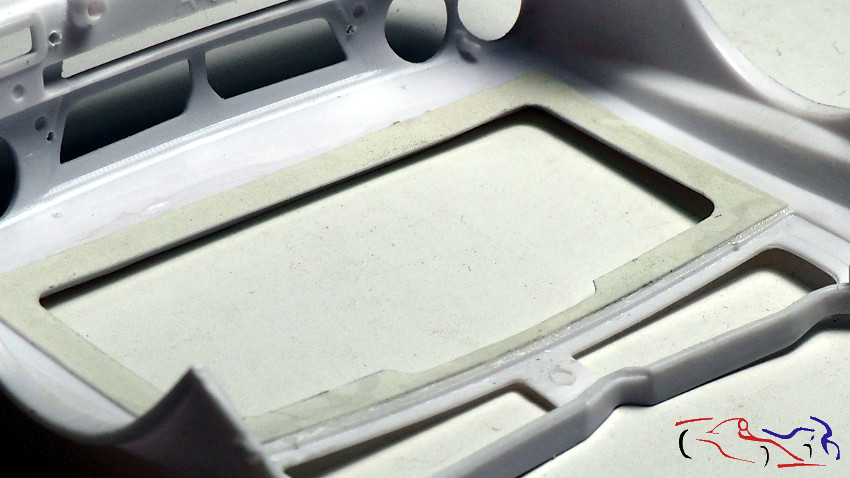
Si os fijáis, entre las piezas del chasis y el cockpit, y la carrocería, hay un hueco que no existe en verdad, con lo que vamos a taparlo, añadiendo plástico. Para ello ponemos cinta de enmascarar y perfilamos con un lápiz el borde interior de la carrocería donde vamos a ampliar:
If you notice, between the parts of the chassis and the cockpit, and the body, there is a gap that does not really exist, so we are going to cover it, adding plastic. For this we put masking tape and outline the inside edge of the body with a pencil where we will expand:
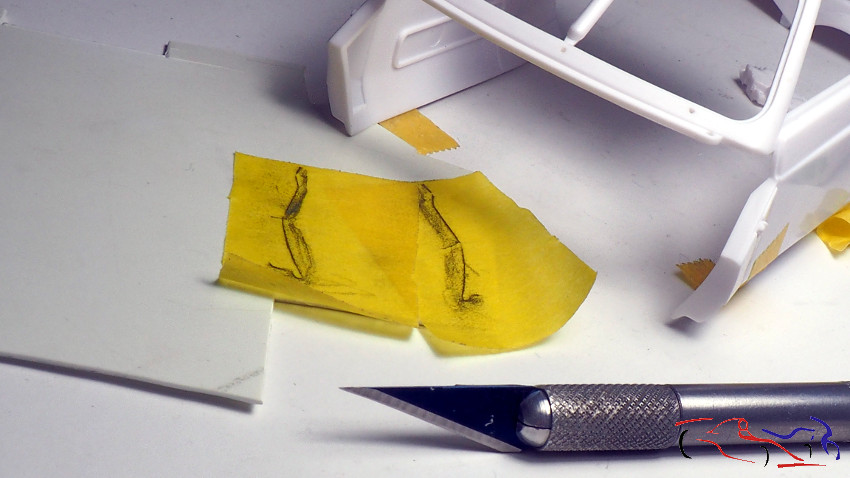
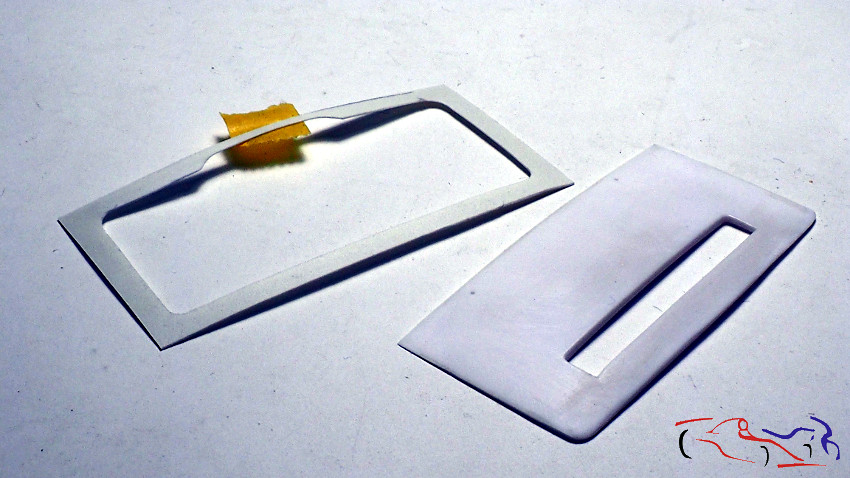
Esa cinta de enmascarar, la pegamos en plancha de plástico y cortamos con el cutter:
We put that masking tape on a plastic plate and cut with the cutter:
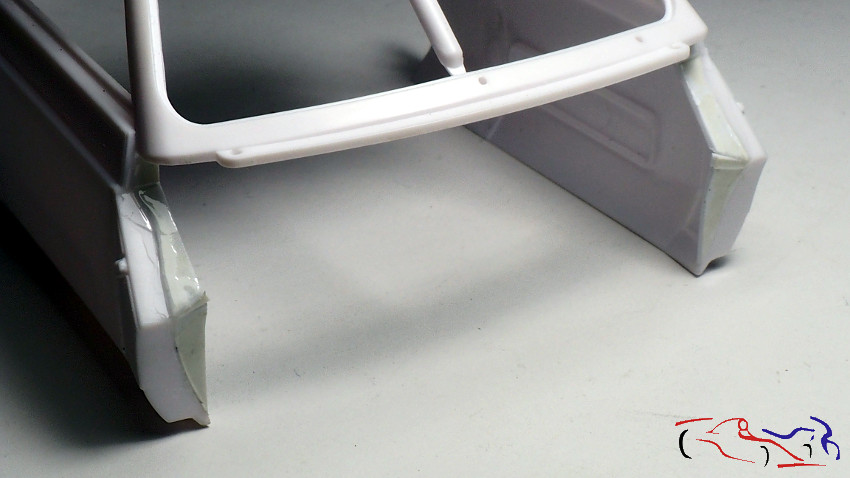
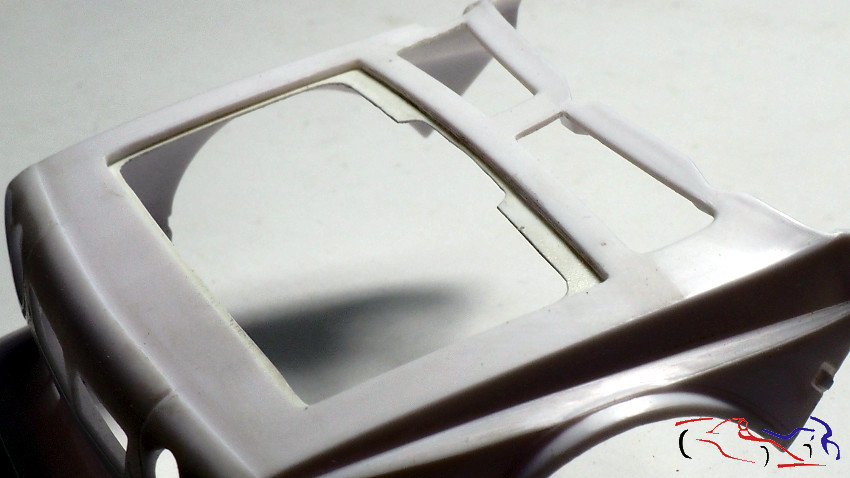
Y las piezas las añadimos a la carrocería. En la parte interior, igualamos las piezas una vez pegadas, con una lima, y le pongo un poco de cianocrilato para asegurarlas.
And the pieces are added to the body. In the interior part, we match the pieces once they are stuck together, with a file, and I put a little cyanoacrylate on them to secure them.
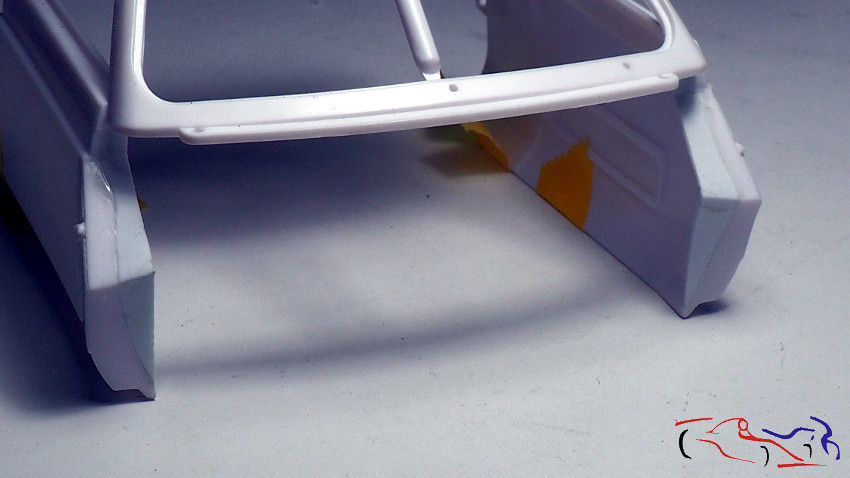
 Después lijamos para igualar los planos:
Then we sanding to match the planes:
En este punto recortamos los dos huecos dela bandeja para que lo que pongamos tenga más sensación de realidad:
At this point we cut the two holes of the tray so that what we put in has more sense of reality:
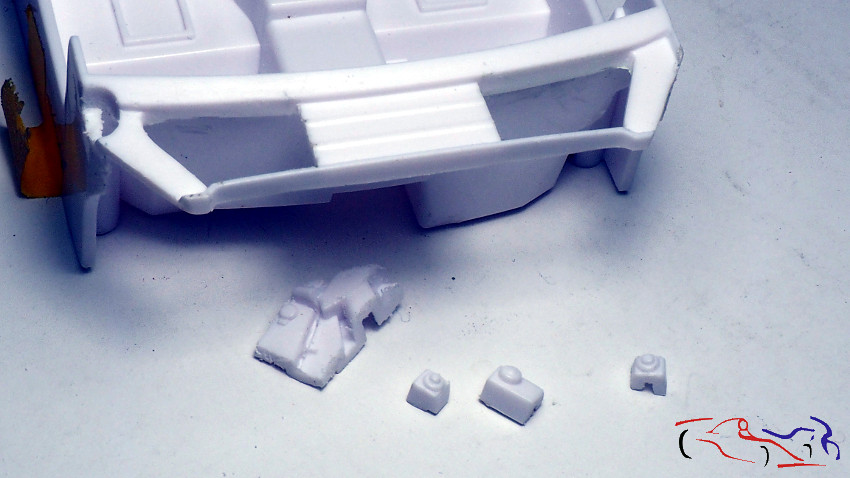
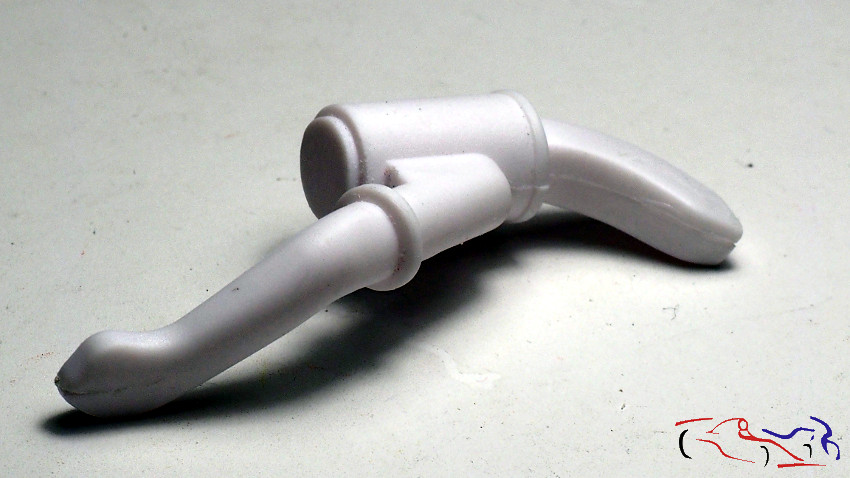
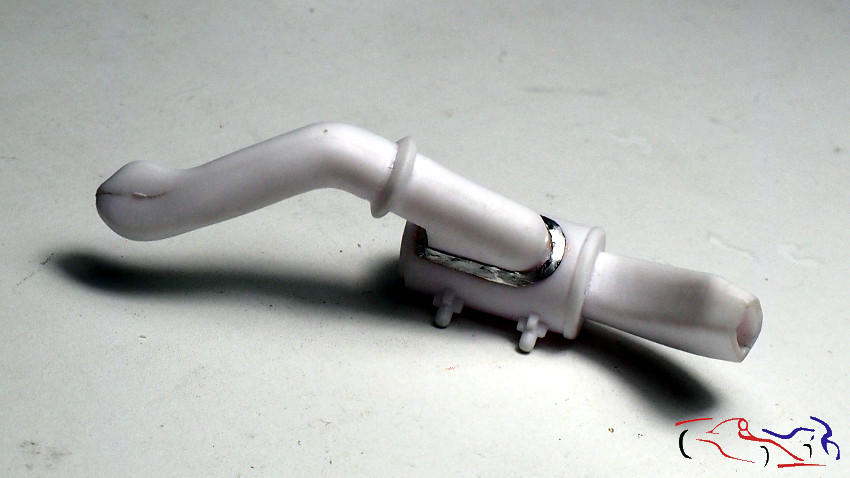
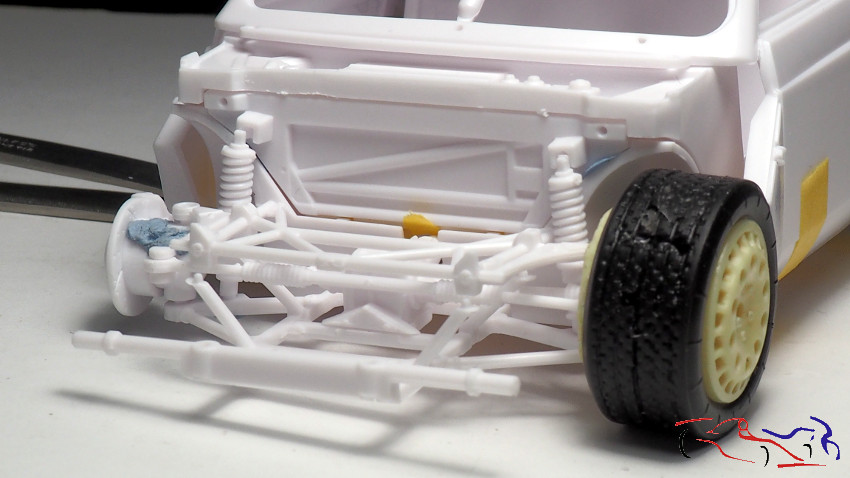
Vamos con la entrada de la gasolina, a la que recortamos la base y le ponemos un tubo de metal. Para ver su correcta posición, le pongo blue-tack por debajo para poder moverla:
We go with the entrance of gasoline, to which we cut the base and we put a metal tube. To see its correct position, I put blue-tack underneath to be able to move it:
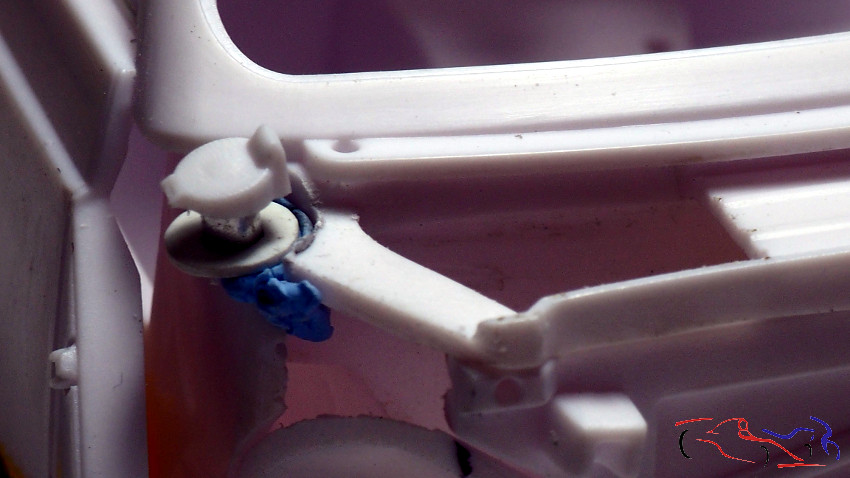
Ponemos el capo y la ajustamos gracias al blue-tack:
We put the hood and adjust it thanks to the blue-tack:
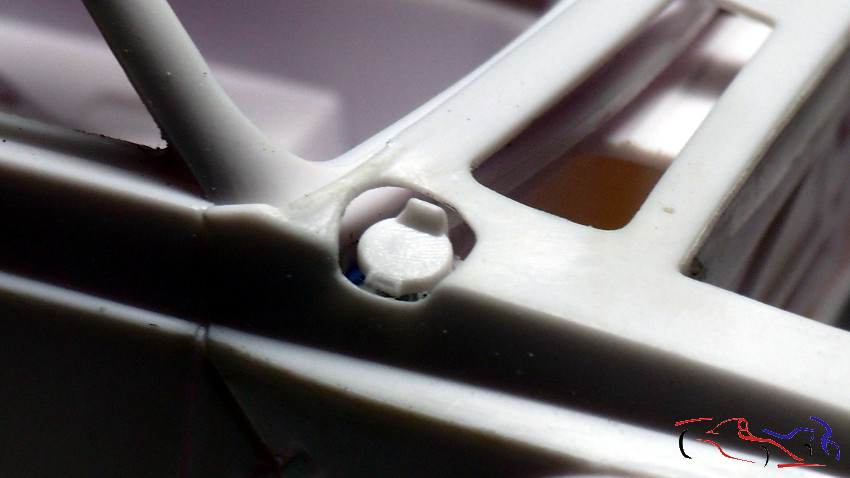
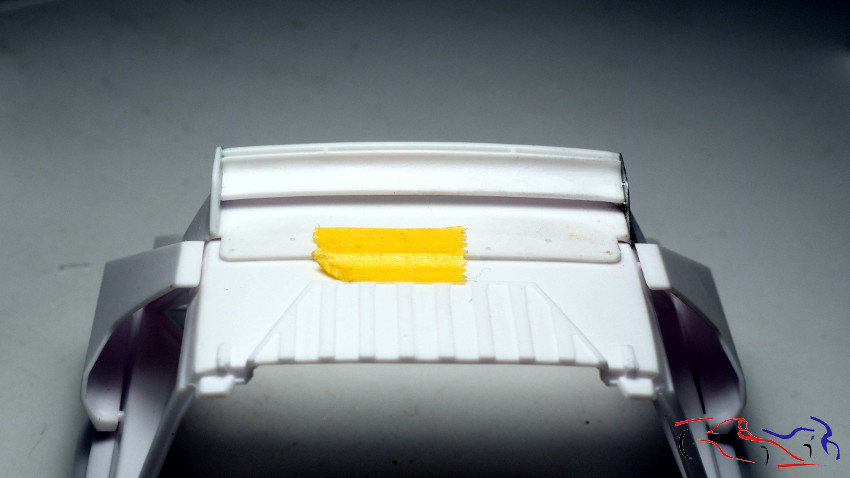
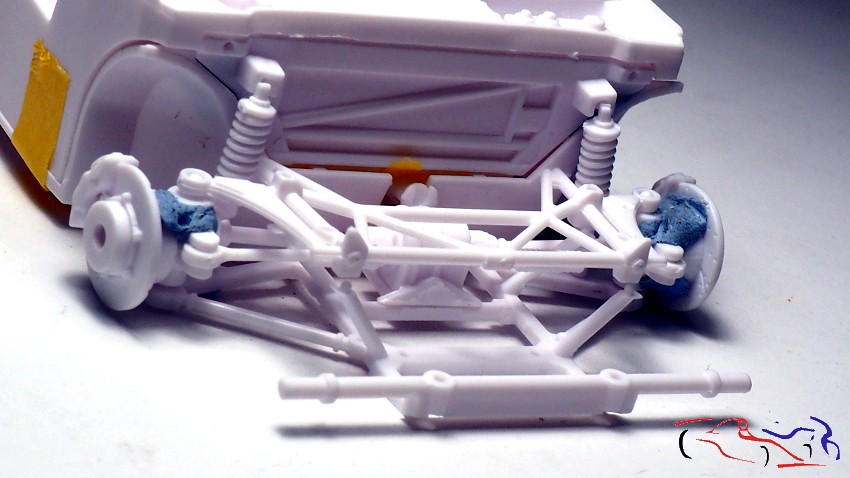
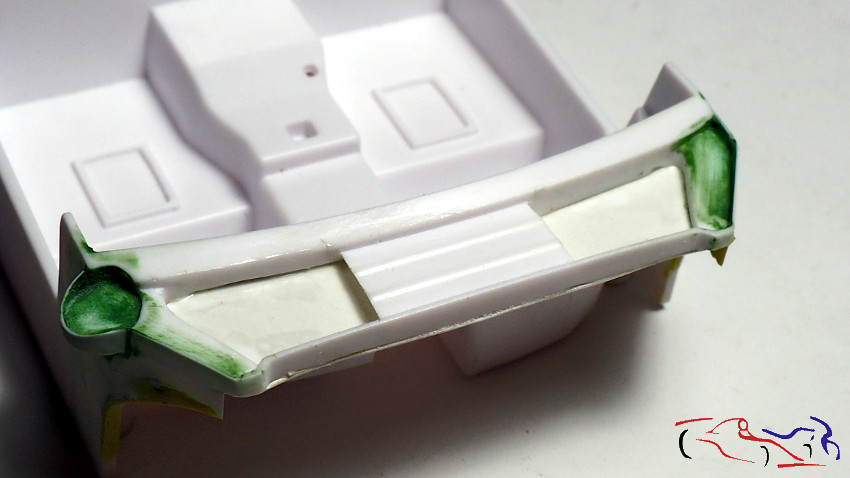
Una vez situado, empiezo a tapar todo lo que he abierto:
Once located, I begin to cover everything I have opened:
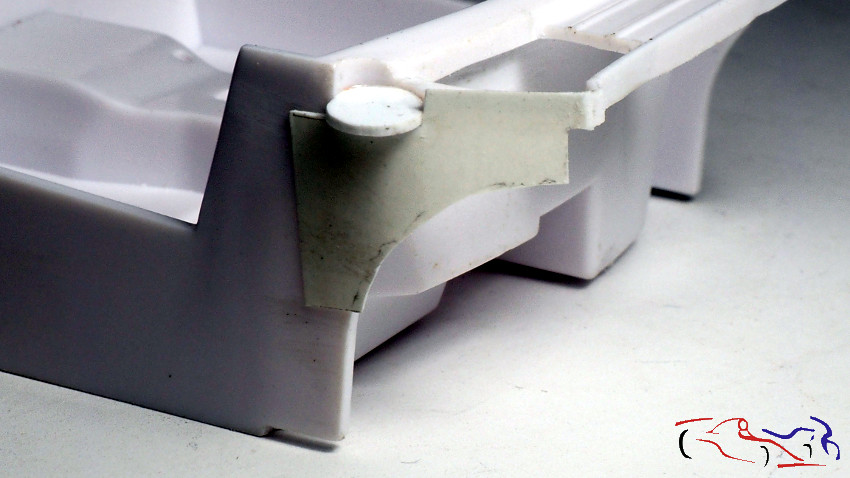
 Vemos como queda todo encajado…
We see how everything is fitted …
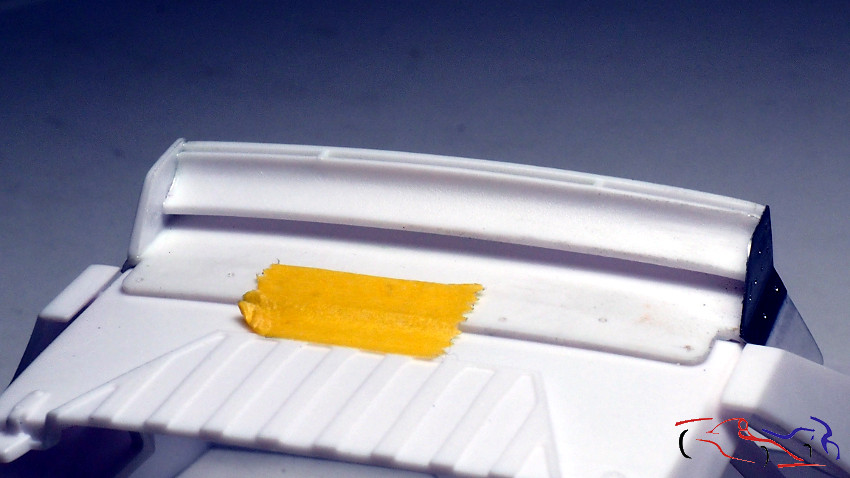
Ponemos una plancha por debajo de la bandeja y aplicamos putty:
We put an piece of plastic under the tray and apply putty:
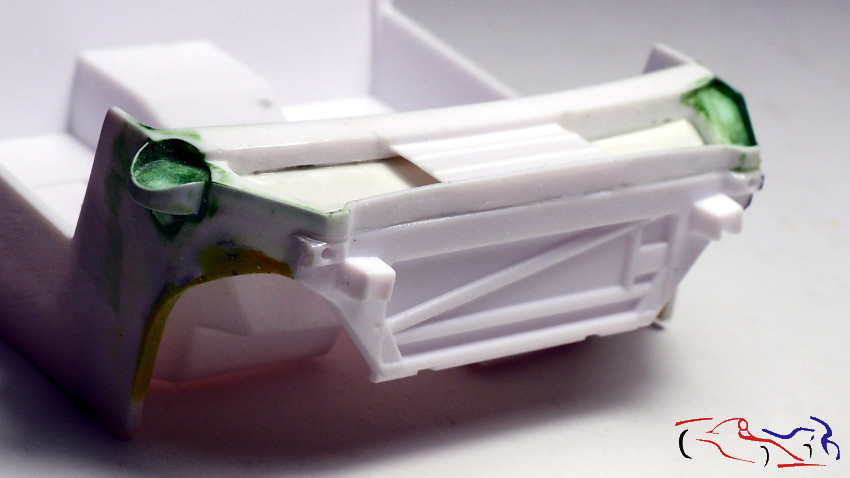
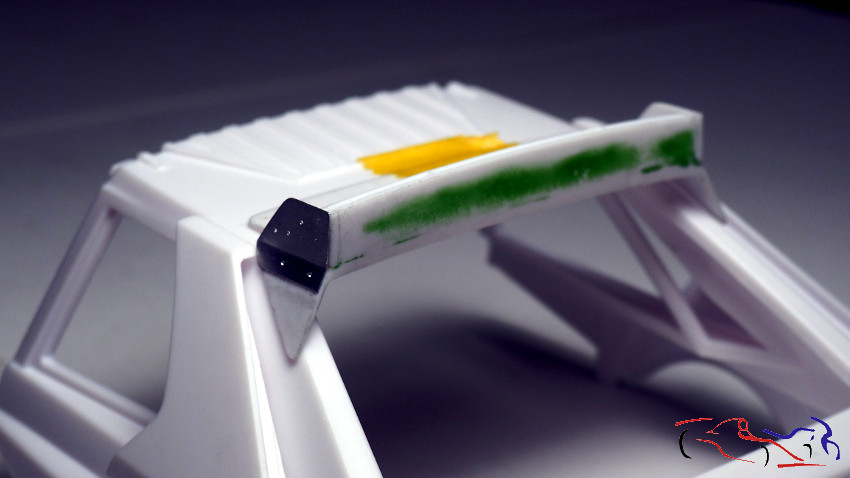
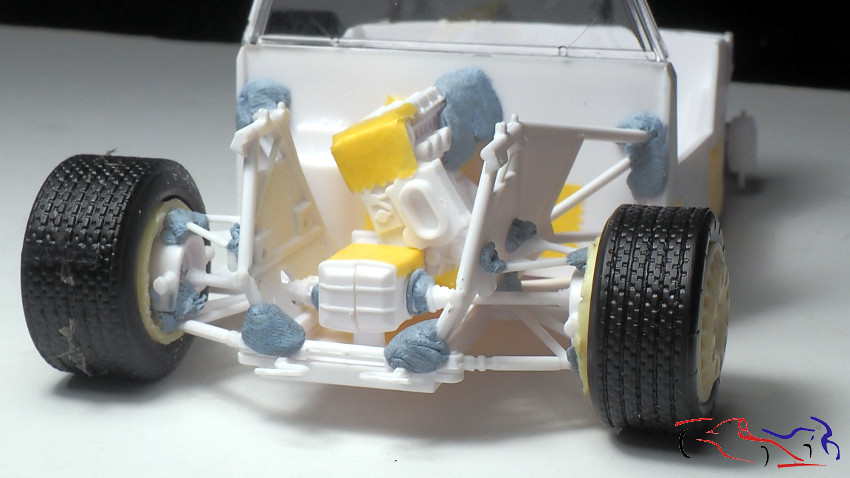
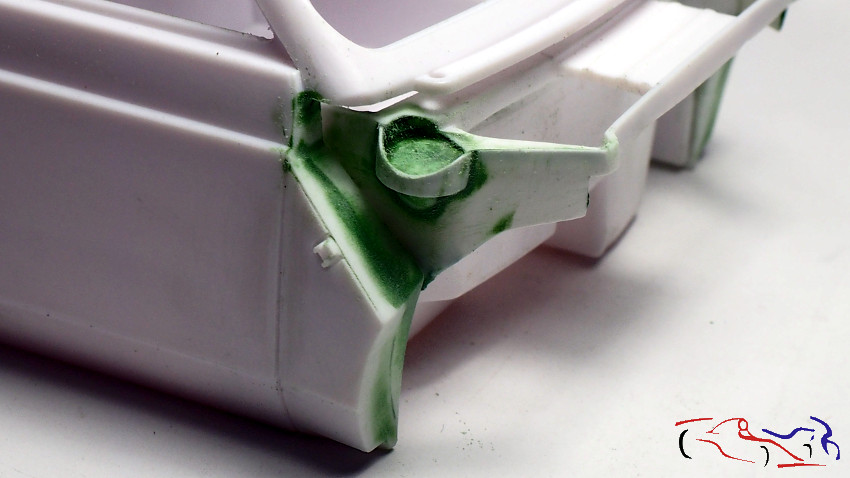
También aplicamos putty a las piezas que he añadido en la carrocería:
We also apply putty to the parts that I have added in the body:
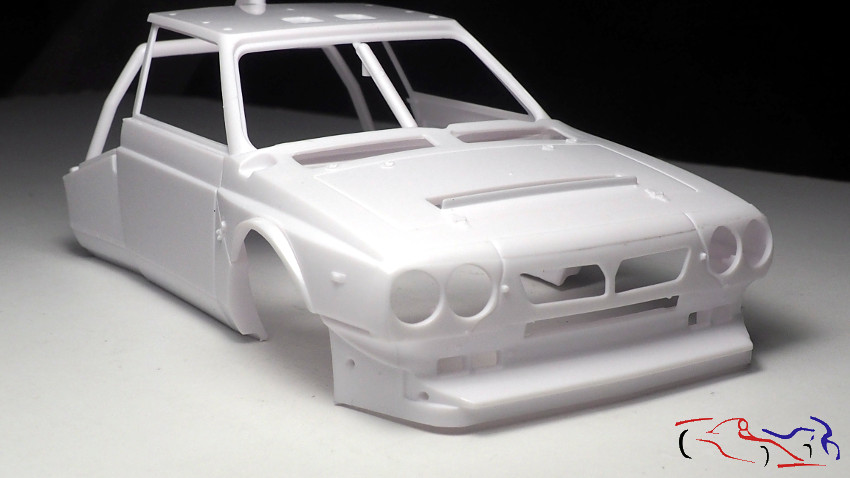
Falta todavía pero se ve mejor!!
It’s still missing but it looks better !!
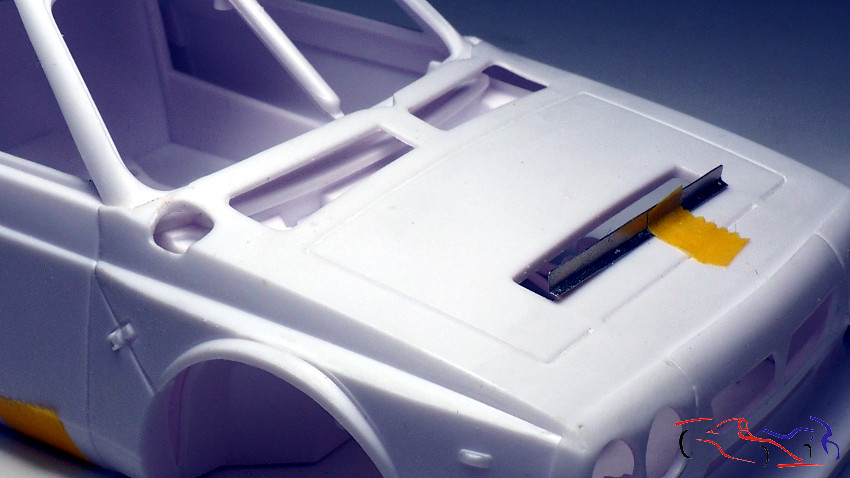
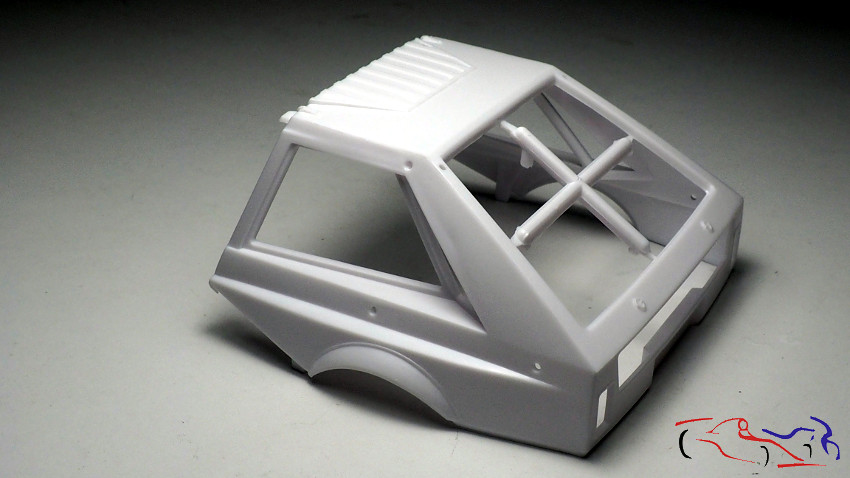
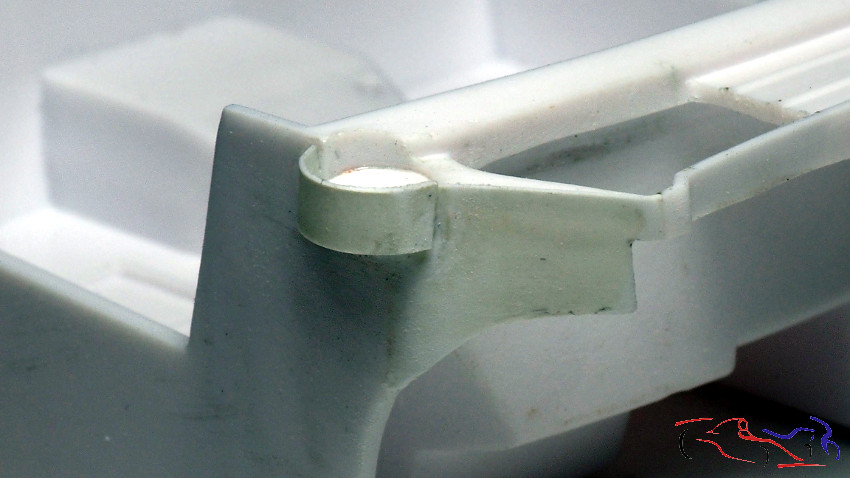
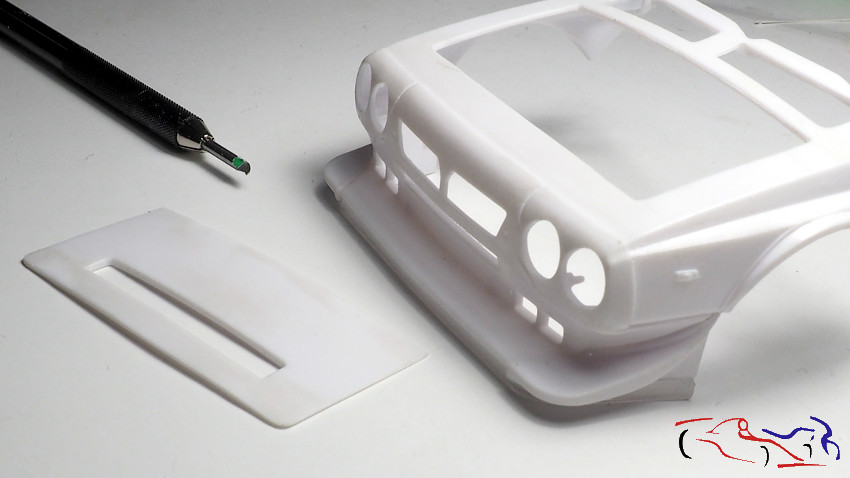
Pasamos al capó, y vamos a abrir la compuerta que tiene. Pero antes, hacemos una máscara para poder cortar la base donde irá apoyada la bandeja:
We go to the hood, and we are going to open the hatch that it has. But first, we make a mask to cut the base where the tray will be supported:

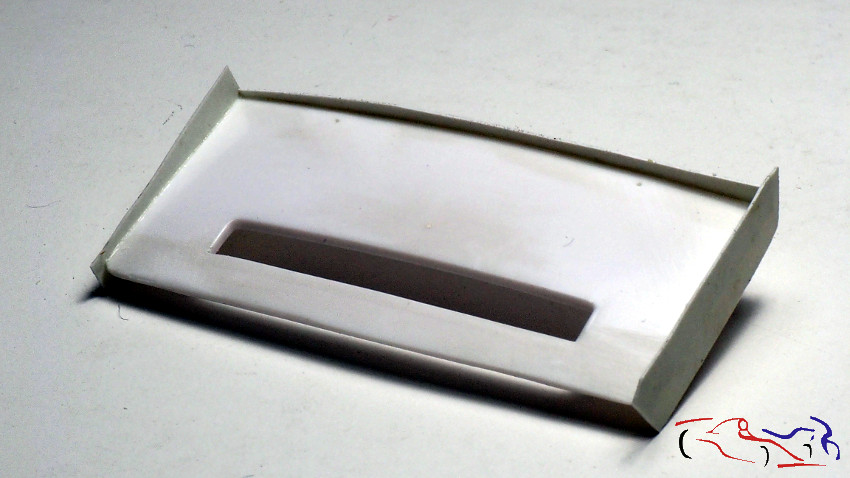
Una vez hecha la máscara, recortamos esta trampilla pasando el panelador muchas veces por los paneles, hasta que se traspasa el plástico:
Once the mask is made, we cut out this trapdoor, passing the paneler many times through the panels, until the plastic is transferred:
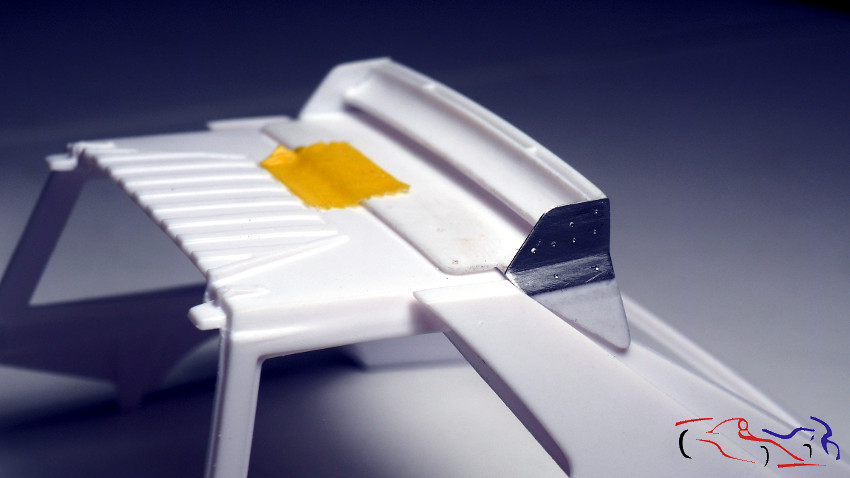
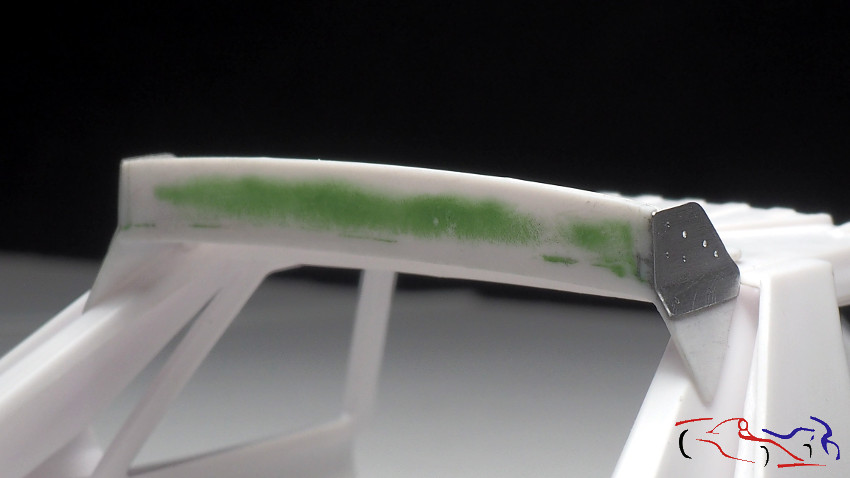
 Pero hay que añadir en los bordes para que después encaje bien. Pego planchas de plástico perpendicularmente y después lijo hasta legar al borde:
But you have to extend the edges in order to fits well. I stick plastic plates perpendicularly and then I sand up until the edge:
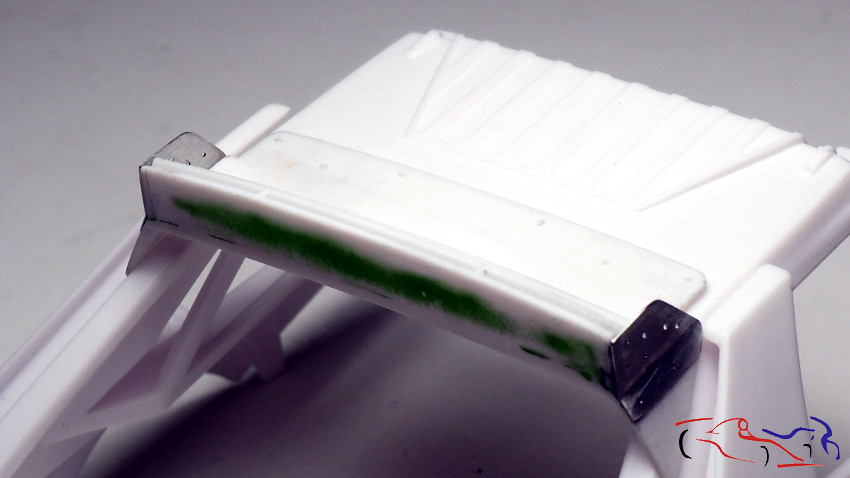
Y con la plantilla, corto la base…
And with the template, I cut the base …
..que va pegada en el interior del capo:
..which is stuck inside the hood:
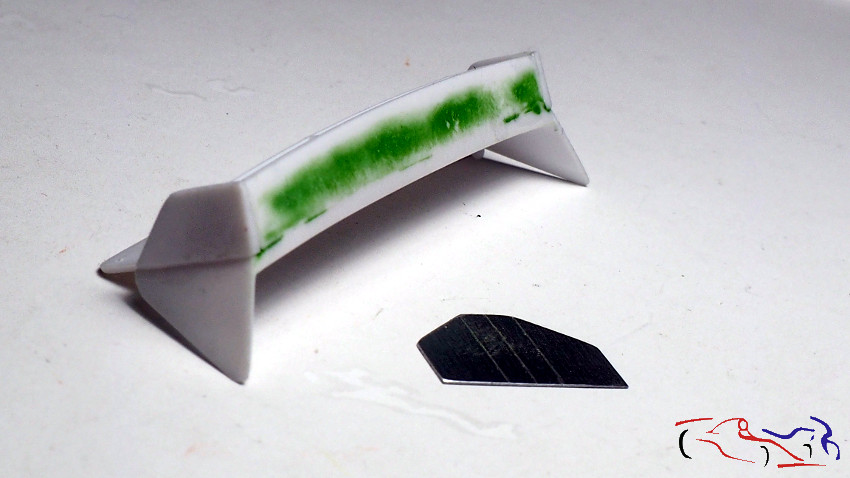
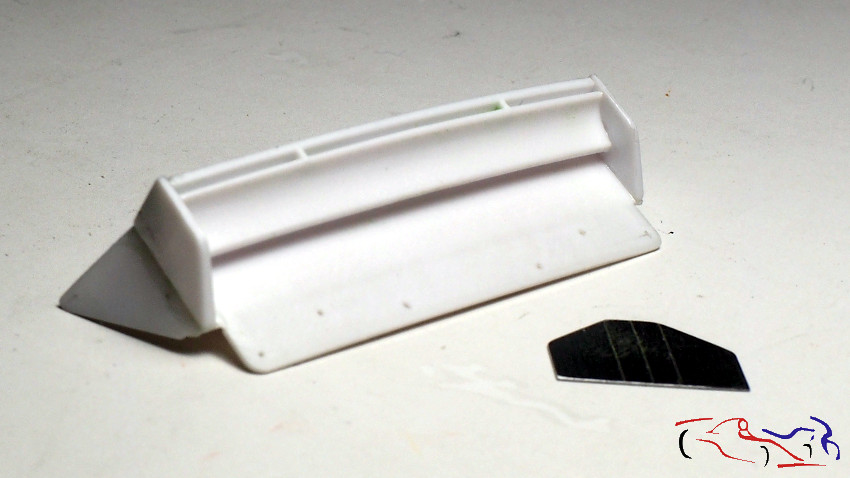
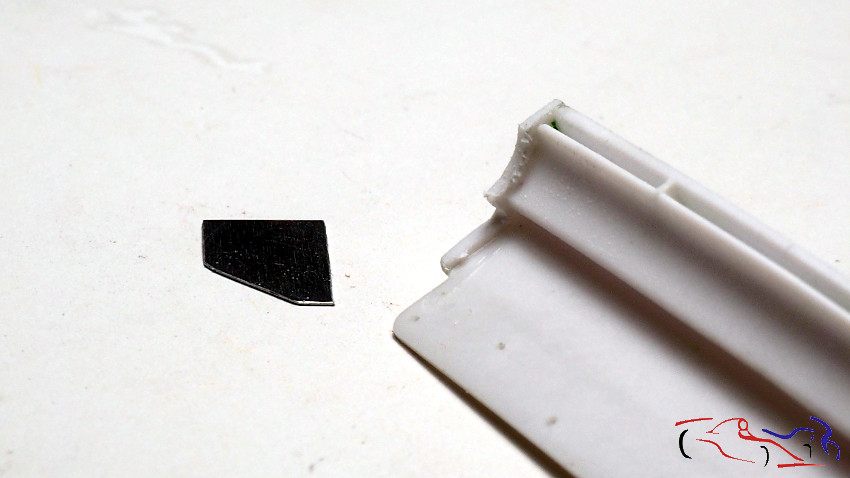
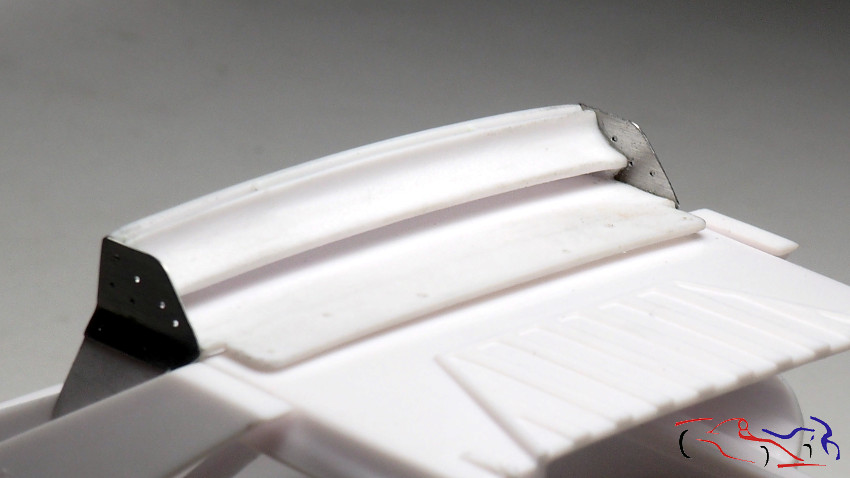
Y para el interior de la trampilla, cogemos tiras de media luna…
And for the inside of the trap door, we take half moon strips …
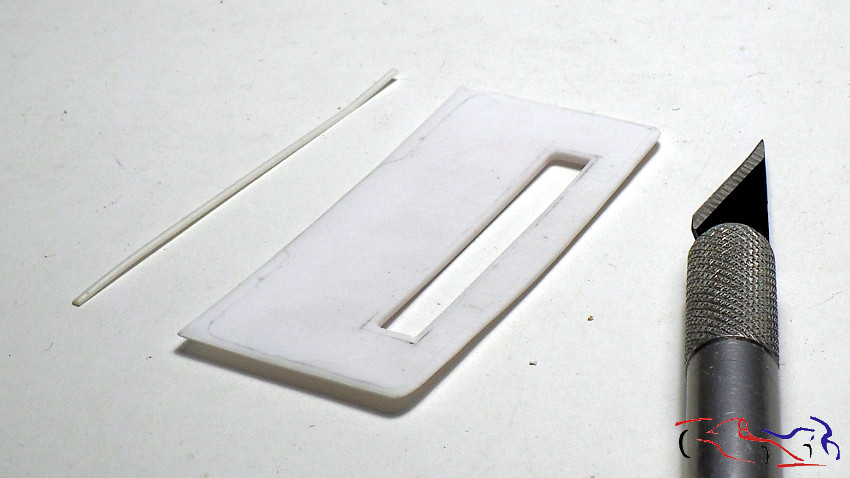
Y medimos y cortamos hasta rellenarla de acurdo con las fotos existentes:
And we measure and cut to fill it according to the existing photos:

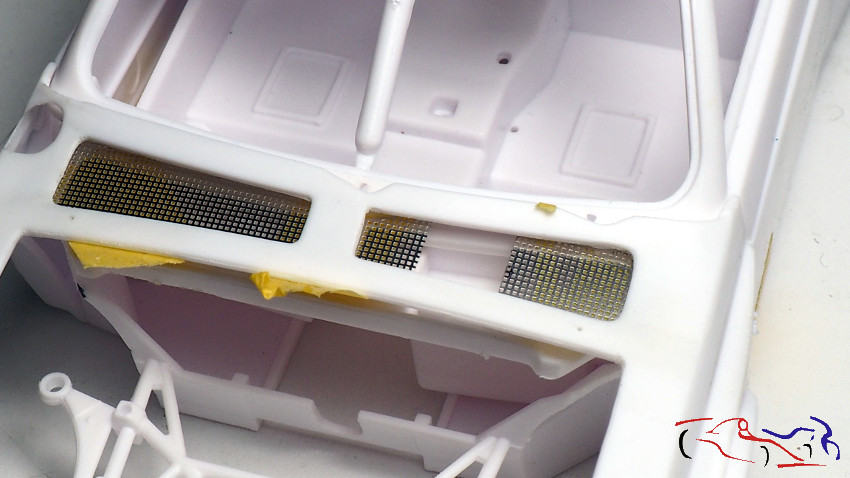
Otro cambio que voy a hacer es en la rejilla de la bandeja delante del parabrisas. He visto una foto que la tenía recortada para acceder más rápido a los botes de los líquidos que hay. Para eso marco el fotograbado con cinta de enmascarar…
Another change to make is in the rack of the tray in front of the windshield. I have seen a photo that had it cut out to access faster the cans of liquids there. For that I frame the photogravure with masking tape …
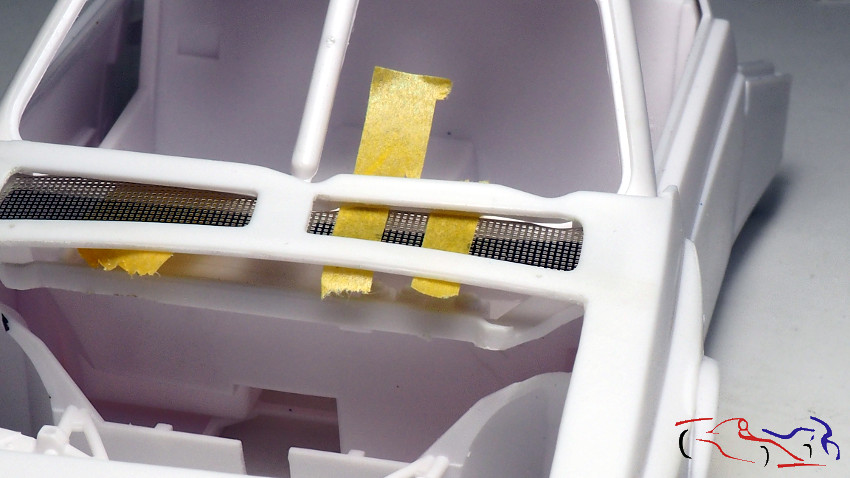
Y lo corto con el minitaladro. Después irán pintados de rojo Marlboro:
And I cut it with the mini drill. Then they will be painted Marlboro red:
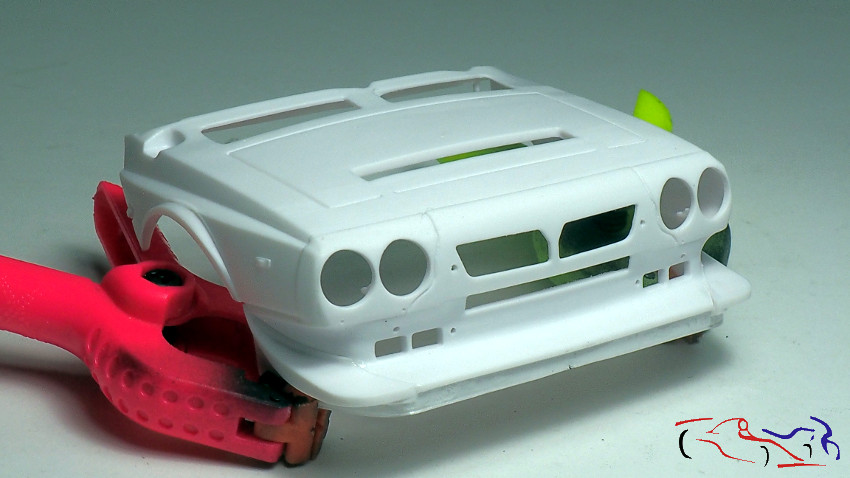
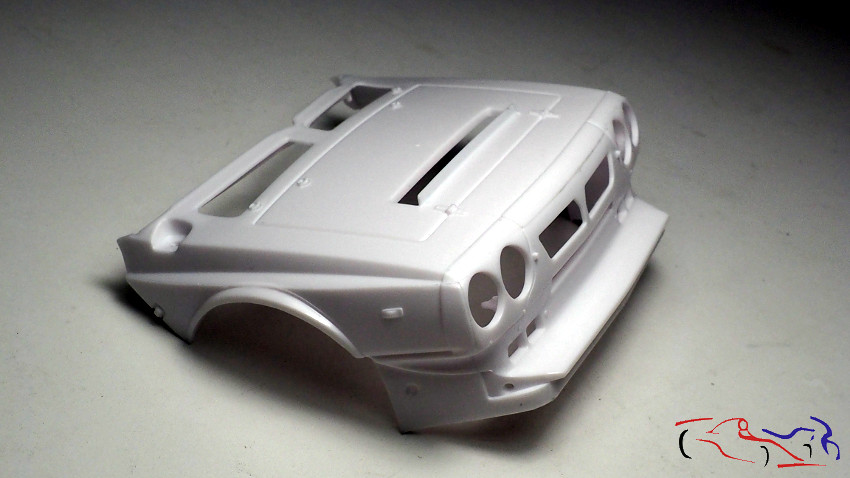
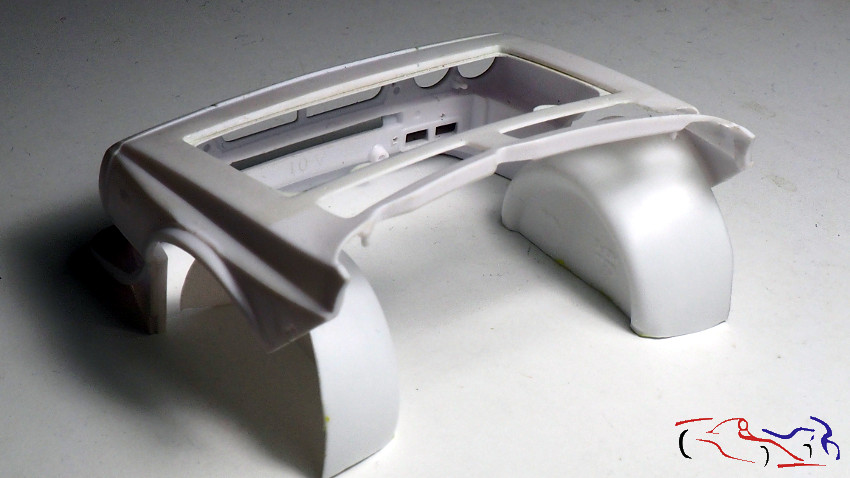
Otro punto que voy a añadir: los pasos de rueda del capo delantero. Para ello cojo un bote de plástico de yogur que tenga la medida correcta:
Another point that I will add: the wheel arches of the front hood. For this, I take a plastic yoghurt pot that has the correct size:

Y lo corto la parte inferior y después por la mitad para hacer dos mitades. Las coloco para ver qué tal irán….
And I cut the bottom and then in the middle to make two halves. I put them to see how they will go ….
 Pero eso lo dejo para más adelante!!
Gracias por ver y comentar!
But I’ll leave that for later!
Thanks for viewing and commenting!