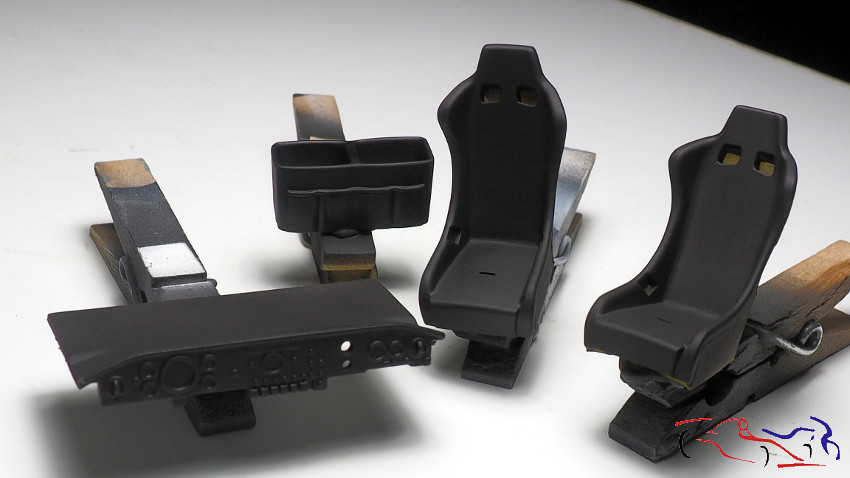
Seguimos con el Opel Manta, pintando todas las piezas. Aquí vemos el trabajo realizado con el negro semi mate de MIG:
We continue with the Opel Manta, painting all the pieces. Here we see the work done with the semi matt black MIG:
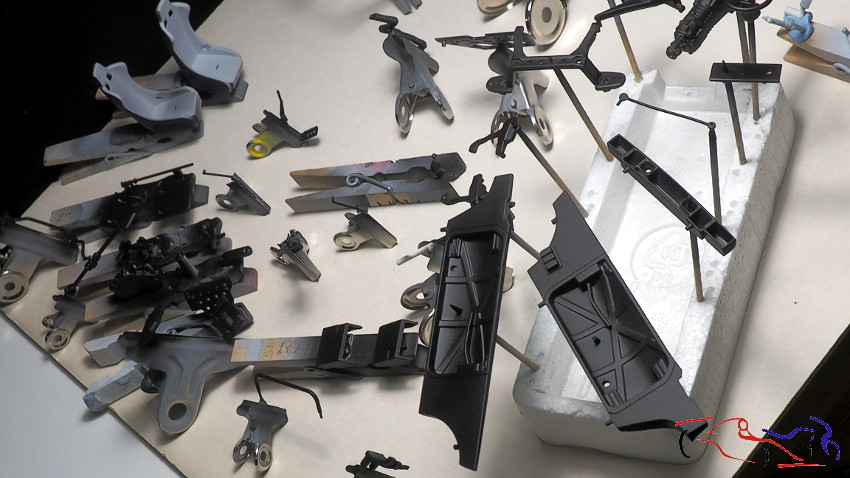
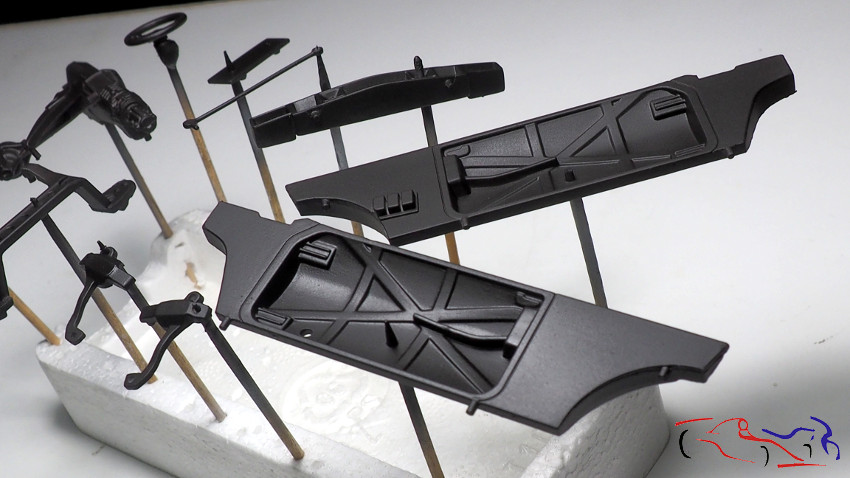
Los paneles interiores en más detalle. Decir que este negrome gusta mucho:
The interior panels in more detail. To say that I like this black a lot:
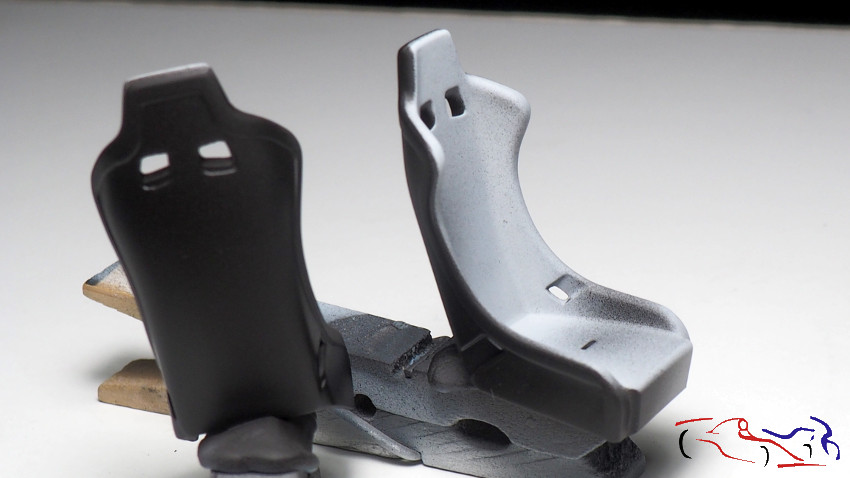
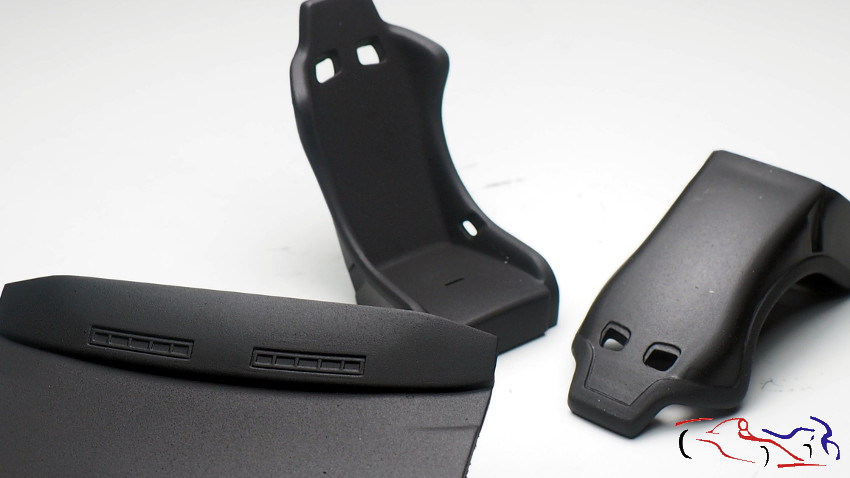
También están pintadas las partes traseras de los backets:
The rear parts of the seats are also painted:
Y una vez enmascarado, lo pinto de negro mate, junto al salpicadero y la caja de los cascos del piloto y copiloto:
And once masked, I paint it matt black, next to the dashboard and the box of the helmets of the pilot and co-pilot:
 Destacar que el negro mate lo tiré desde el aerógrafo con mucha distancia y a presión baja, para dar ese tono de textura que lo caracteriza, además de dar una segunda capa de la misma manera, pero de gris, muy cercano al negro, para realzar las formas:
Note that the matt black I shot from the airbrush with a lot of distance and low pressure, to give that tone of texture that characterizes it, in addition to giving a second layer in the same way, but in gray, very close to black, to enhance the shapes:
 Detalle de los parasoles y de la luz del copiloto. Se podría detallar más esta luz, añadiendo un cable fino alrededor del soporte de la luz:
Detail of the parasols and the passenger light. This light could be further detailed by adding a thin cable around the light support: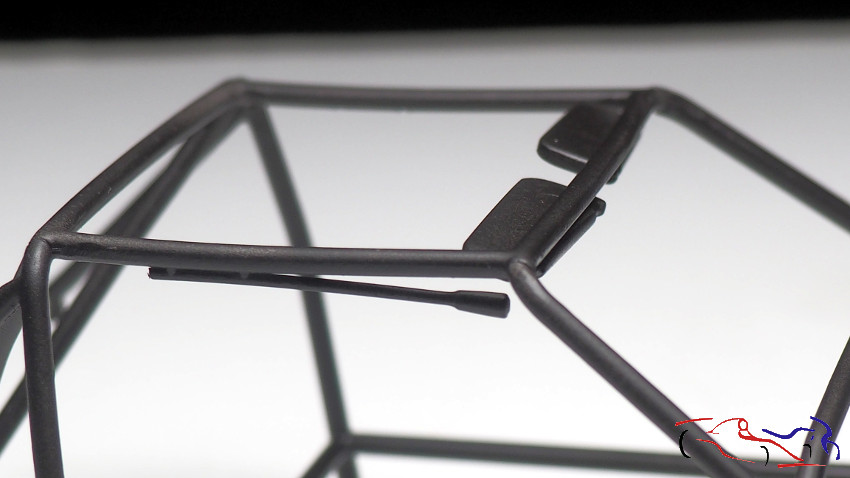 En cuanto al chasis, este fue pintado con aluminio pulido de Vallejo. La terminación es muy buena porque no llega a ser ese brillo espejo que tienen otros aluminios:
As for the chassis, it was painted with polished aluminum from Vallejo. The termination is very good because it does not turn out to be that mirror shine that other alumines have: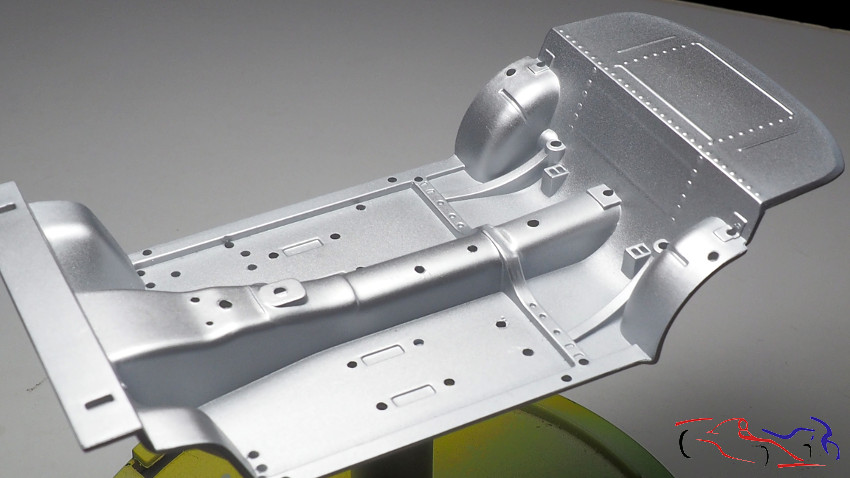 A su vez, también pinté el cubre carter del motor:
At the same time, I also painted the engine cover: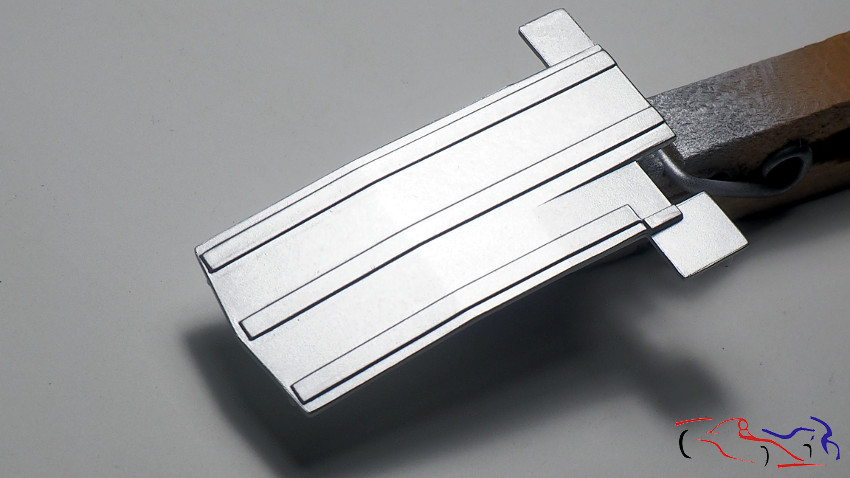 Para el chasis, después de la imprimación, usé el blanco brillante de Zero:
For the chassis, after priming, I used Zero’s bright white: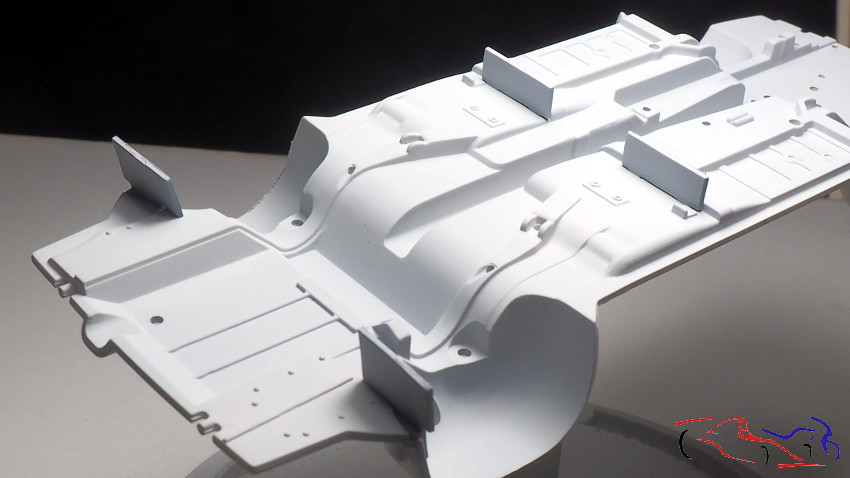
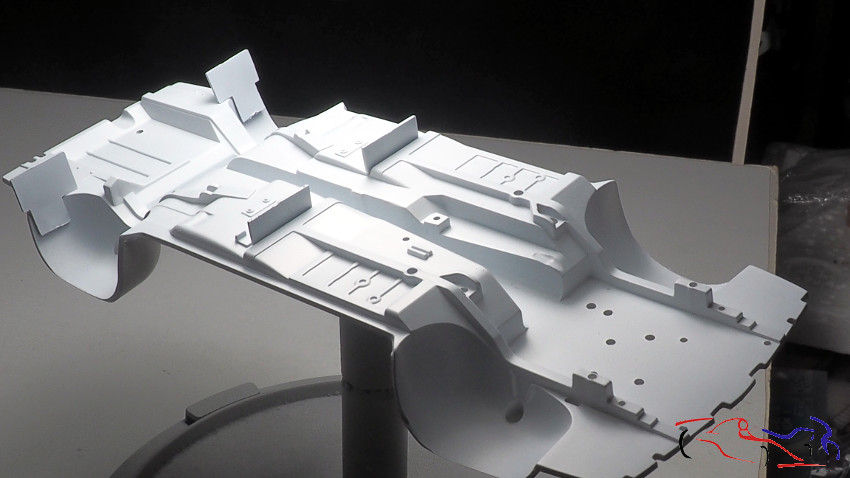 Y después, cuando estuvo seco, lo trabajé con los OIL de MIG, que dando puntos de colores, después se difuminan con su disolvente. El resultado es sufiv¡ciente para matar el blanco y que aparezca ligeramente usado:
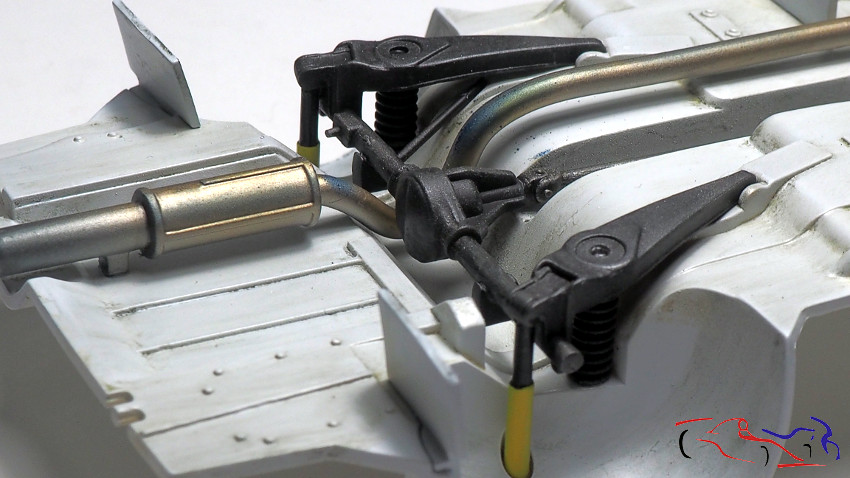
And then, when it was dry, I worked with the MIL OILs, which gave colored dots, then they faded with their solvent. The result is enough to kill the target and appear slightly used: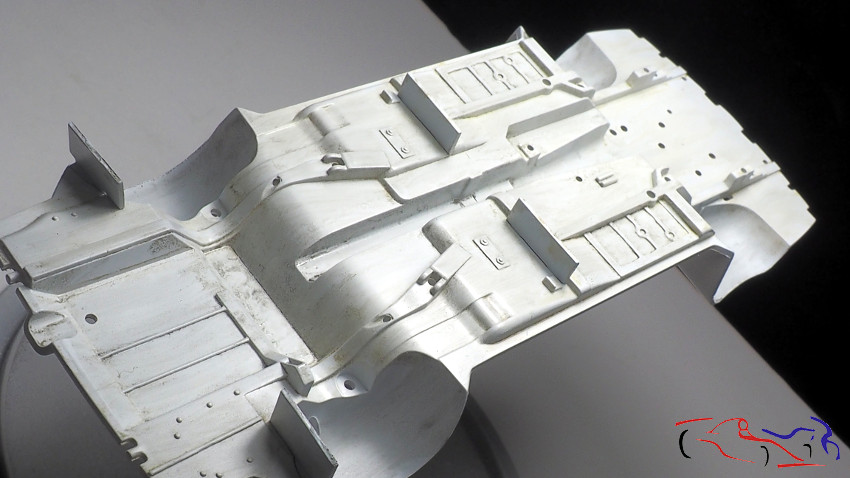 El tubo de escape fue pintado con el mismo aluminio pulido de Vallejo:
The exhaust pipe was painted with the same polished aluminum from Vallejo: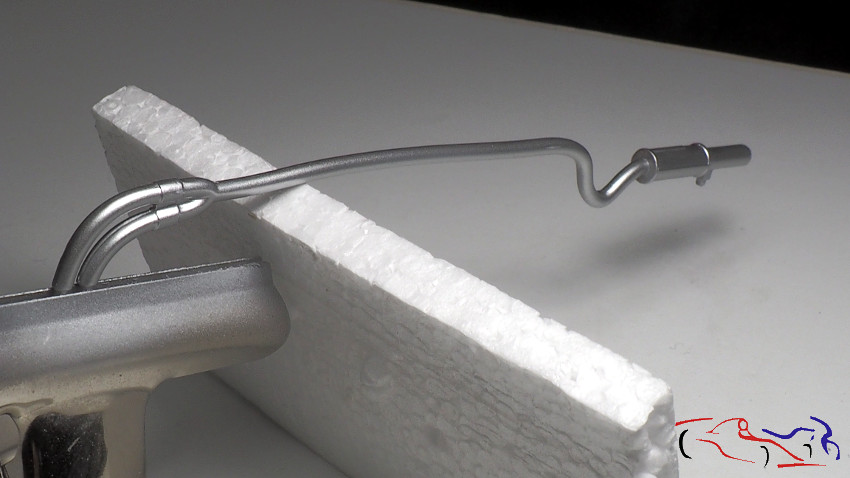 Un tratamiento posterior de azul trasparente, hierro quemado de Alclad y negro mate en la salida del escape..
A subsequent treatment of transparent blue, burnt Alclad iron and matte black at the exhaust outlet. 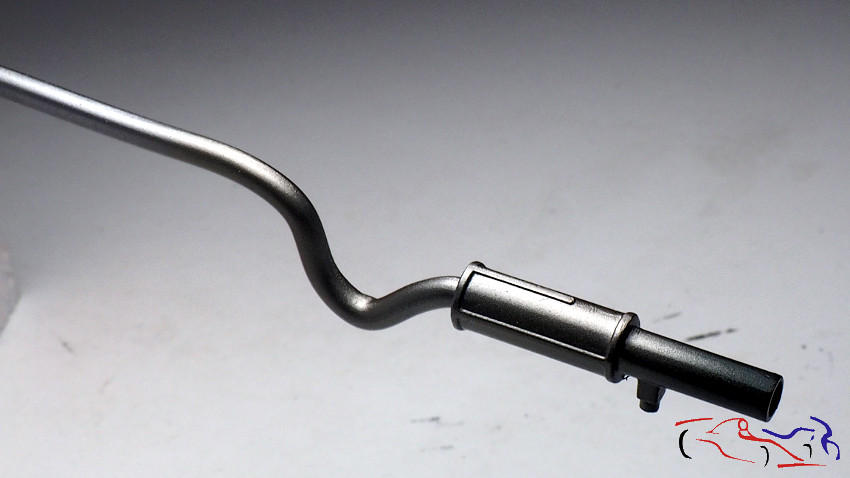
..para terminar con unos toques de amarillo trasparente. De esta manera, se diferencia del resto del chasis como se verá más adelante:..
to finish with a few touches of transparent yellow. In this way, it differs from the rest of the chassis as will be seen later: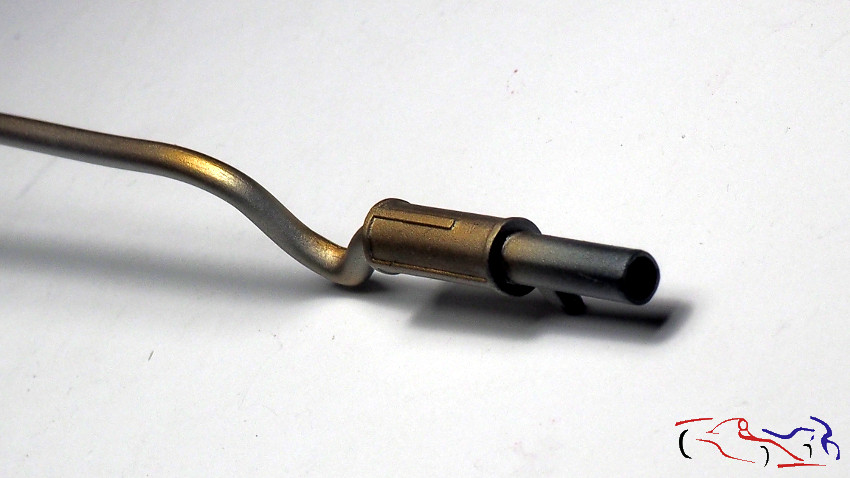 Las llantas, las delanteras fueron pintadas con aluminio pulido de Vallejo, siendo las traseras de color blanco:
The tires, the front ones were painted with polished aluminum from Vallejo, the rear ones being white: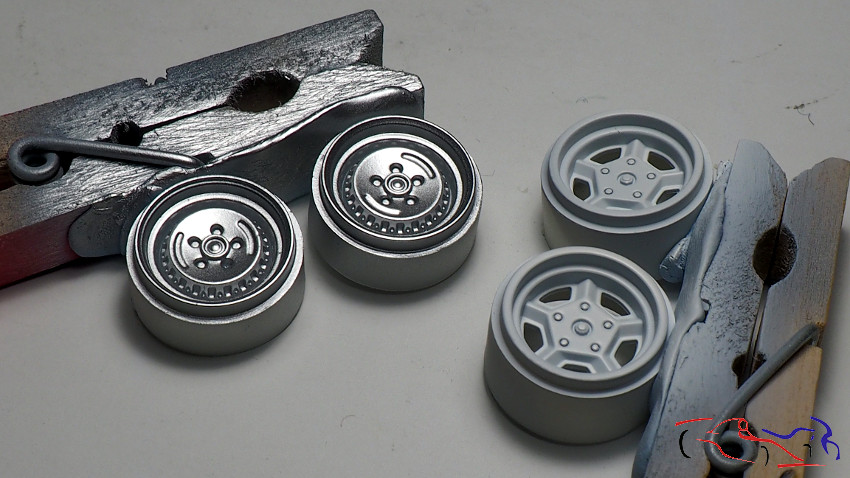 Un tratamiendo posterior de humo de tamiya diluido. les dio profundidad:
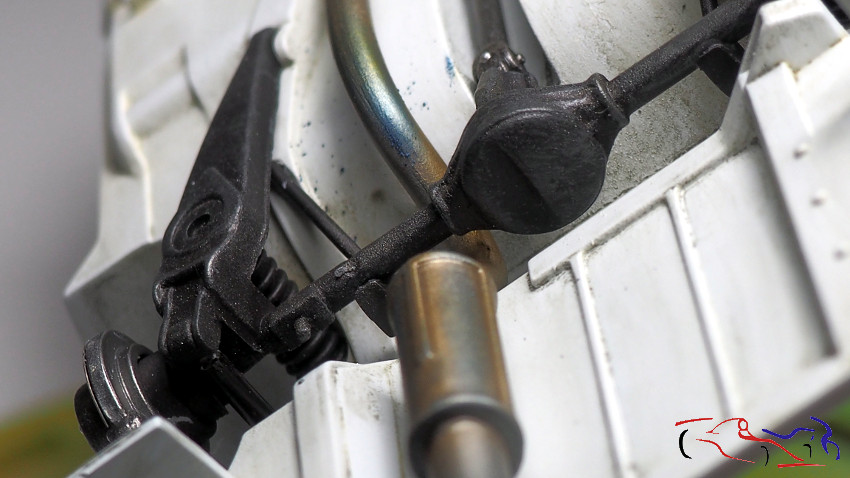
A subsequent treatment of diluted tamiya smoke gave them depth: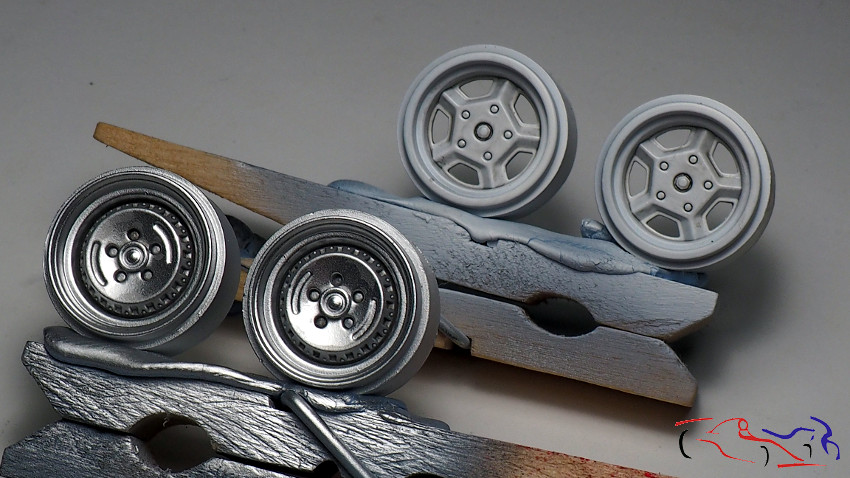 Los discos de freno fueron pintados con acero de Vallejo…
The brake discs were painted with Vallejo steel …  …después les puse los fotograbados, les apliqué humo de Tamiya diluido y con un rotulador de chromo, les pinté los remaches. Asi mismo, con chromo de Molotov, pinté el lateral de los discos.
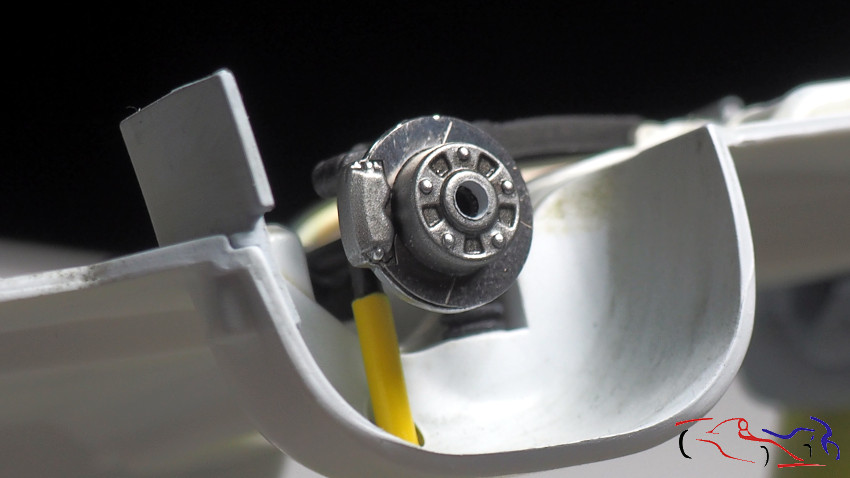
… then I put them in photoetches, I applied smoke from Tamiya diluted and with a chromo marker, I painted the rivets. Likewise, with Chromo from Molotov, I painted the side of the discs. 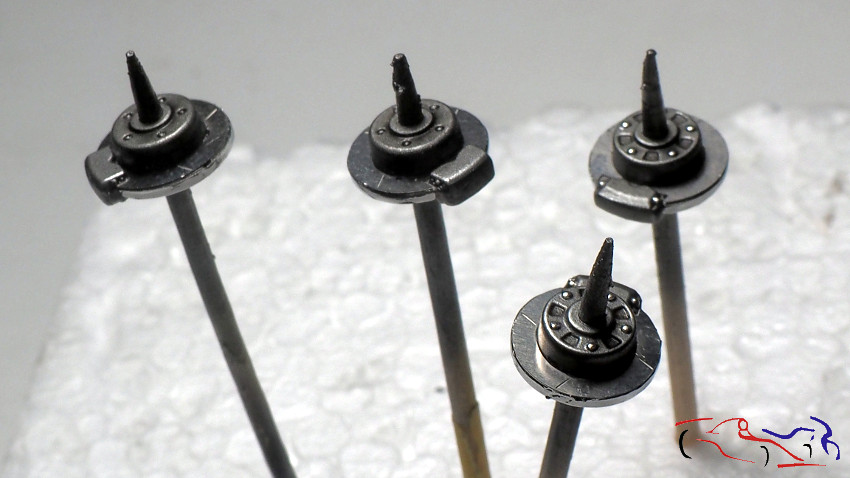 Aquí los vemos montados en el chasis:
Here we see them mounted on the chassis: 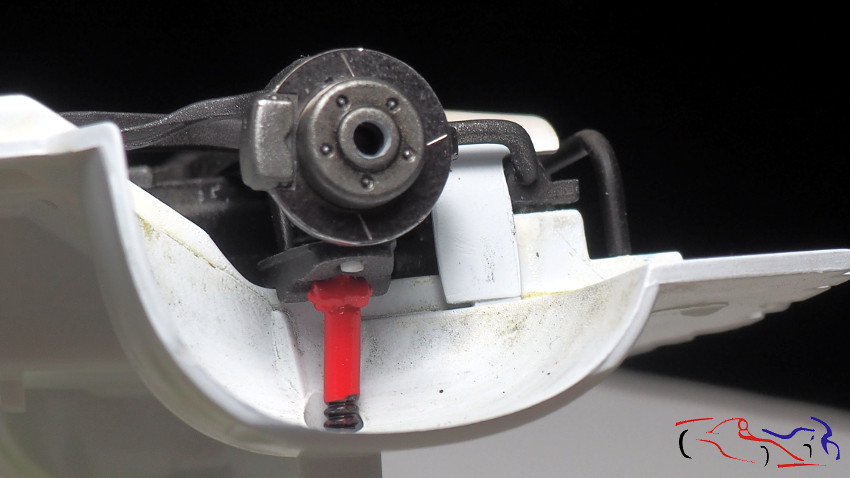
 Fotograbados de las entradas de aire: los colocamos en el soporte….
Photogravures of the air inlets: we place them in the support ….  Y los pintamos de negro mate:
And we paint them in matt black: 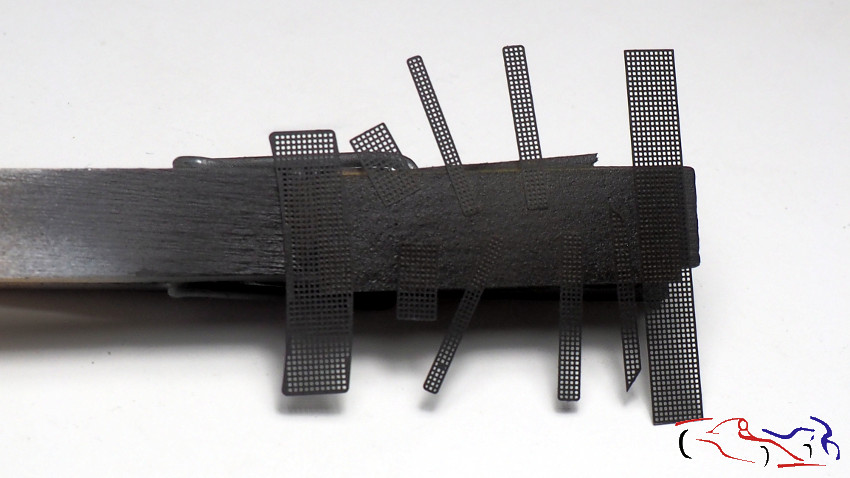 Al chasis, también le damos unos ligeros toques de humode tamiya para diferenciar algunas partes…
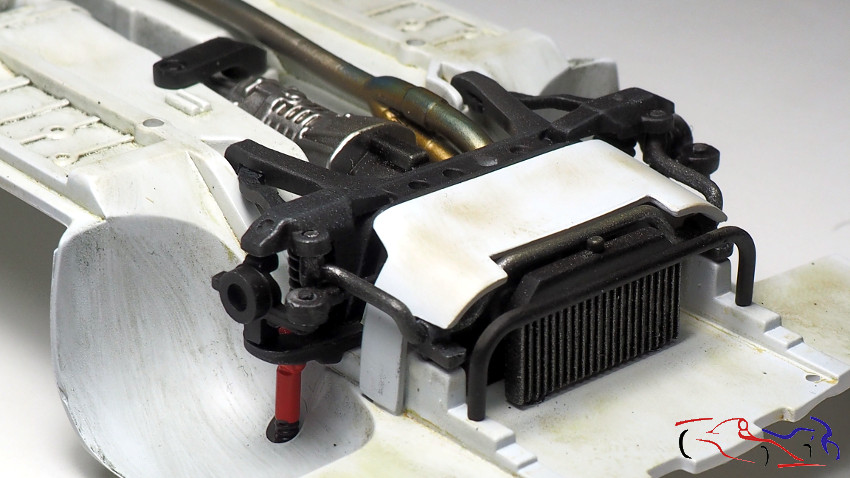
To the chassis, we also give a light touches of tamiya smoke to differentiate some parts …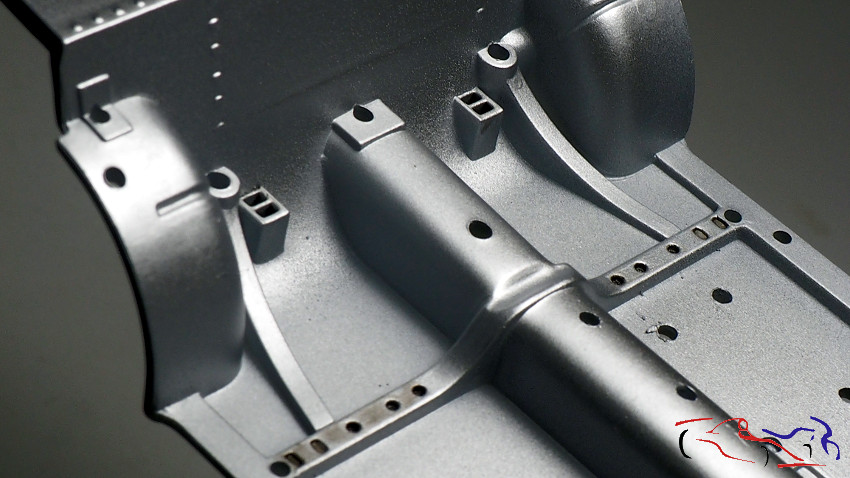 La pieza que simula el motor, también va pintada de negro semi mate, y aluminio pulido de Vallejo, al cual le he dado unos lavados de humo diluido de tamiya, para dar volúmenes y profundidad:
The piece that simulates the engine is also painted in semi-matt black, and polished aluminum from Vallejo, to which I have given a wash of diluted smoke of tamiya, to give volumes and depth: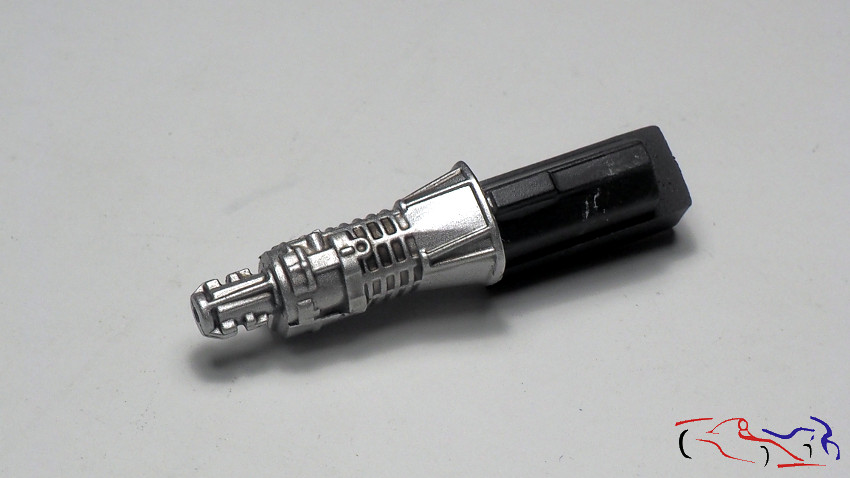 Piezas pinatdas de rojo y de amarillo, barnizadas después con prediluido de Zero (las piezas correspondientes a los amortiguadores, ya les he puesto antes en unas fotos con los discos de freno):
Pieces painted red and yellow, then varnished with prediluido de Zero (the parts corresponding to the shock absorbers, I have already put before in some photos with the brake discs):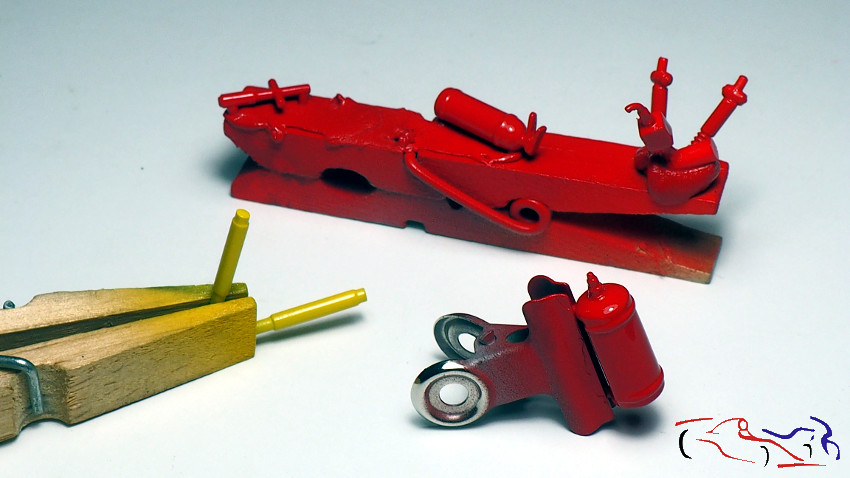
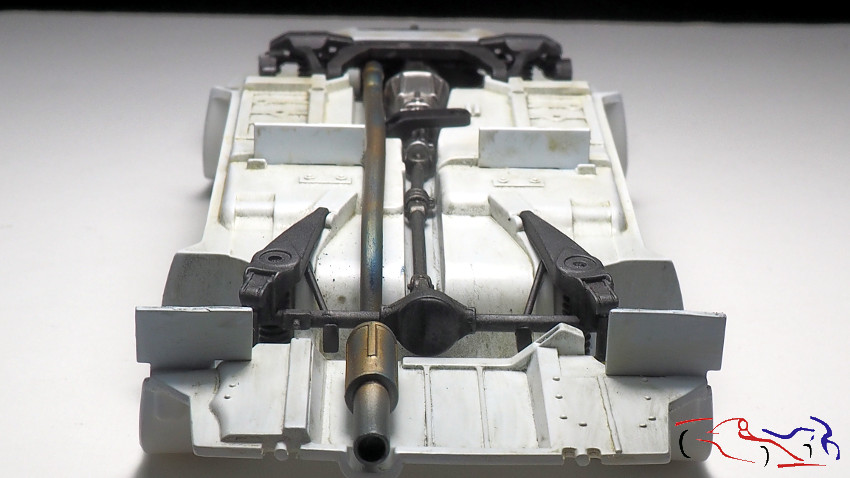
Y aquí el conjunto del cahsis, ensuciado con las piezas ya colocadas:
And here the whole of the cahsis, dirty with the pieces already placed: 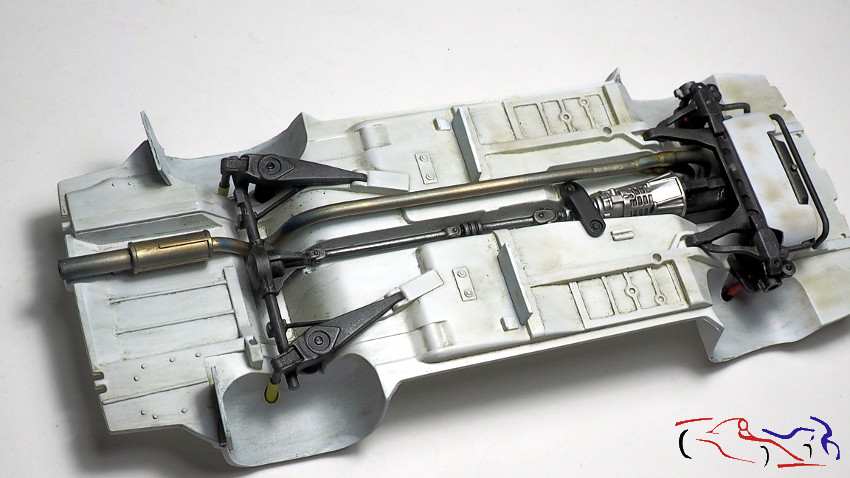
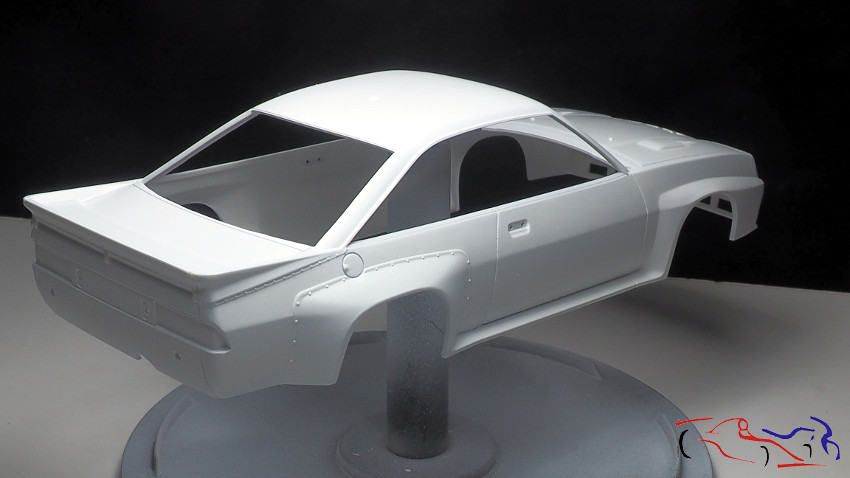
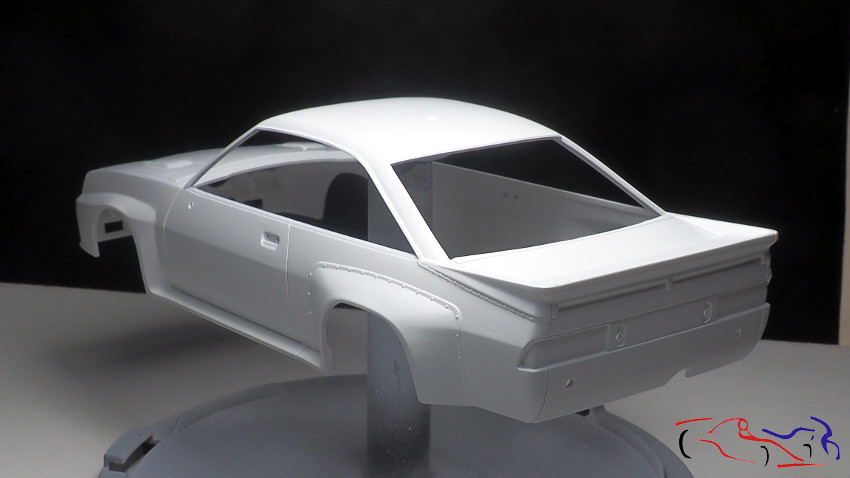
 En cuanto a la carrocería, ya está pintada de blanco, lista para la pintura, que ya he dado y que veréis en el siguiente post:
And regarding the body, it is already painted white, ready for painting, which I have already given and that you will see in the following post: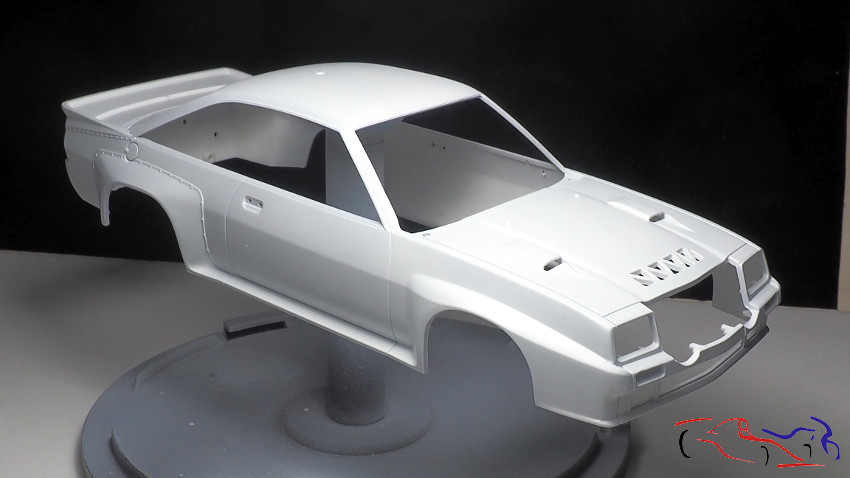
 Gracias por ver y comentar!!
Thanks for viewing and commenting!!


