Hoy empezamos otro kit igual que el último, un Opel Manta 400 GrB de la marca Belkits en la escala 1/24. Pero, cómo que empiezo otro igual, sin haber terminado el anterior? La verdad es que quería hacer los dos al tiempo pero las calcas del Philips no las tengo aún, con lo que me he decidido a empezar este modelo puesto que si tengo las calcas.
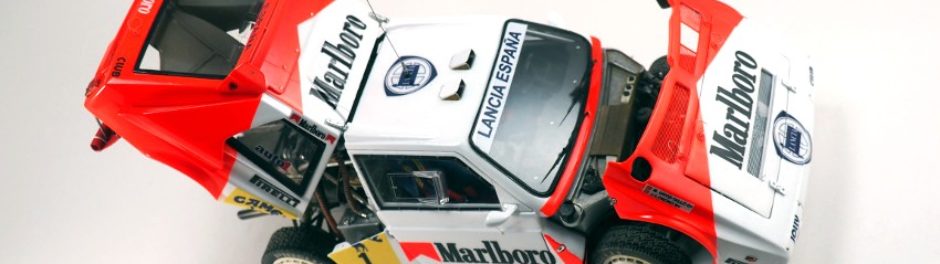
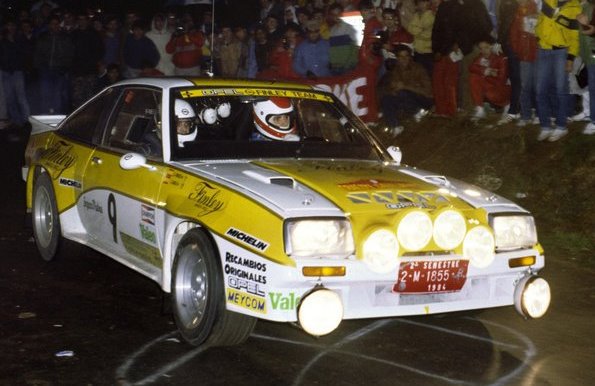
Este modelo será el que utilizó Carlos Sainz en el año 1984 en el rallye de Cataluña, cuando ficho por Opel como piloto oficial, después de haber estado pilotanto el Renault 5 Turbo de la Red Renault de Madrid y Provincia. El modelo en cuestión es este con la decoración de Finley:
Today, we start another kit like the last one, an Opel Manta 400 GrB from the Belkits brand in the 1/24 scale. But, how do I start another equal, without having finished the previous one? The truth is that I wanted to do both at the same time but I do not have the decals of the Philips yet, so I decided to start this model because I already have the decals.
This model will be the one used by Carlos Sainz in the year 1984 in the rally of Catalonia, when he signed for Opel as official driver, after having been driving the Renault 5 Turbo of the Renault Network of Madrid and Province. The model in question is this with Finley’s livery:
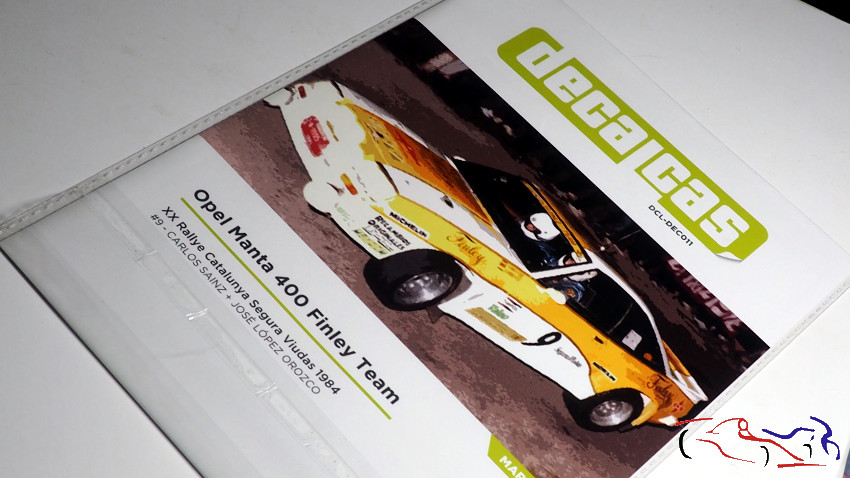
 Y para las calcas, voy a utilizar las que recientemente ha puesto a la venta la marca Decalcas, que muestro a continuación y que las tenéis aquí:
And for the decals, I’m going to use the ones that the Decalcas brand has recently put on sale, which I show below and you have them here:
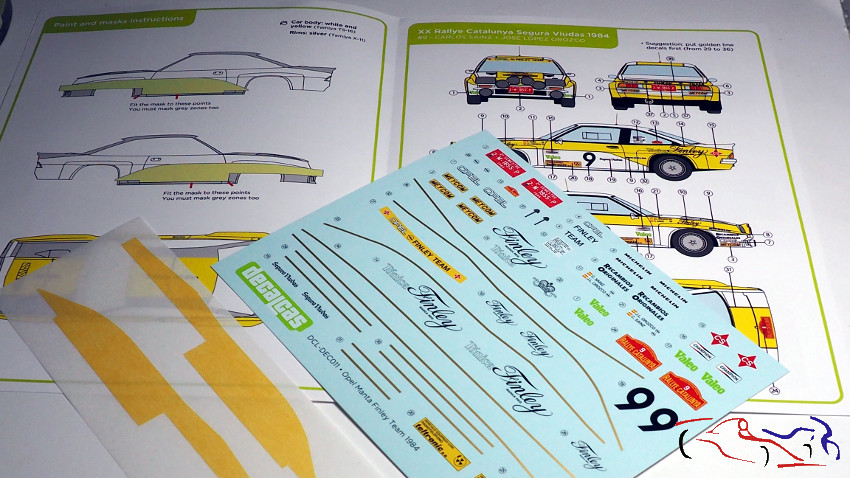
 Dicho juego de calcas contiene además de las calcas, unas máscaras y unas instrucciones muy completas tanto para las calcas como para la aplicación de las máscaras, que son para la curva de la pintura amarilla de los laterales, y los datos para pintar las franjas superiores:
This set of decals contains in addition, masks and a very complete instructions for both the decals and for the masks application, which are for the curve of the yellow paint on the sides, and the data to paint the upper stripes :
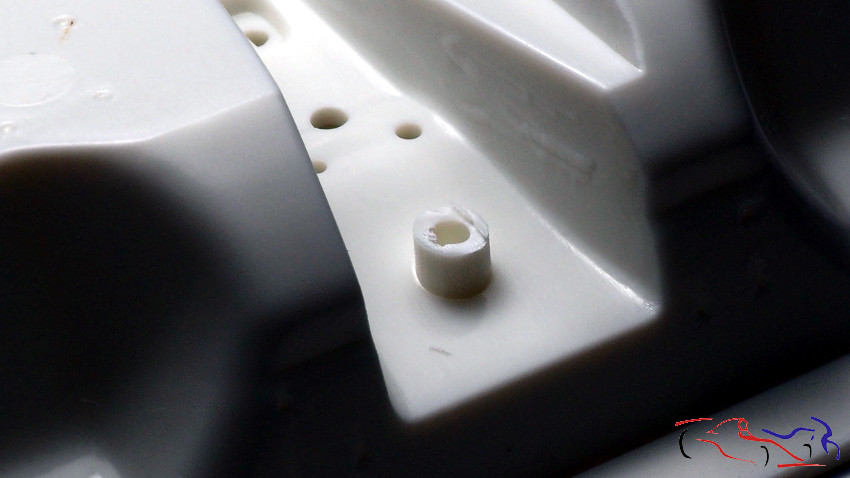
 Como el kit es el mismo que el de la versión de Philips, voy a ir poniendo los detalles o pasos que son nuevos en este proyecto. Empezamos por acortar las fijaciones de la cuna sobre el chasis para que esta se asiente mejor:
As the kit is the same as that the Philips version one, I will be putting the details or steps that are new in this project. We start by shortening the fixings of the cradle on the chassis so that it fits better:
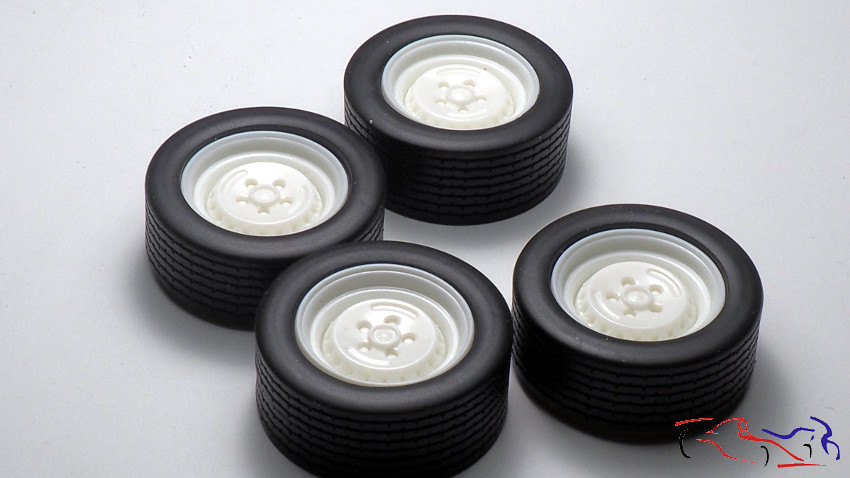
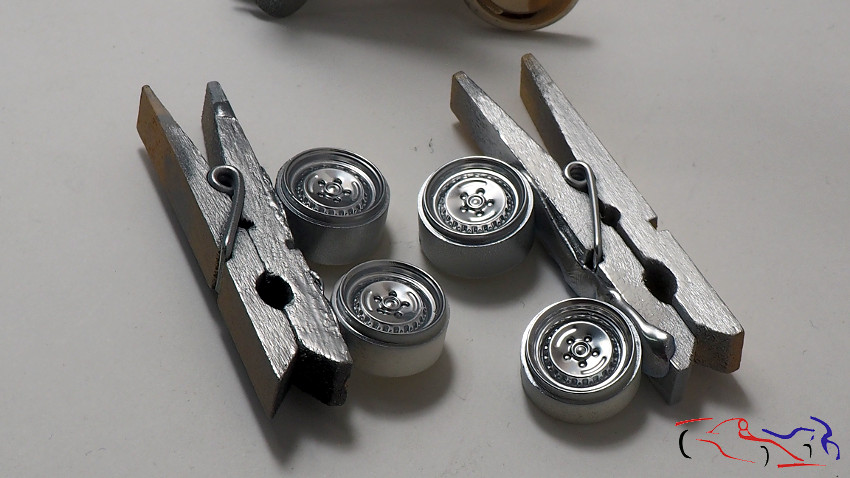
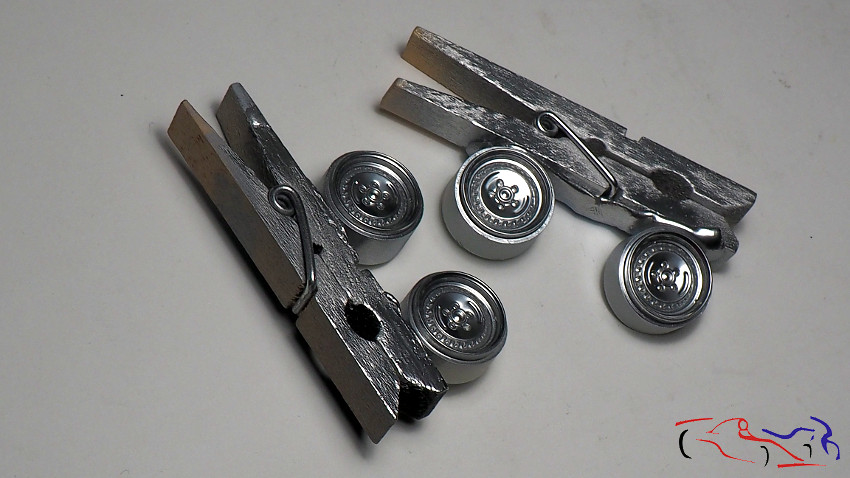
 Otra diferencia son las llantas que utilizaré en este modelo, que son todas iguales. También, mostraré más adelante, el rebajado que he realizado en los neumáticos para quitarles las marcas y hacerlos más de asfalto:
Another difference is the tires that I will use in this model, which are all the same. Also, I will show later, the reduction that I made in the tires to remove the marks and make them more asphalt:
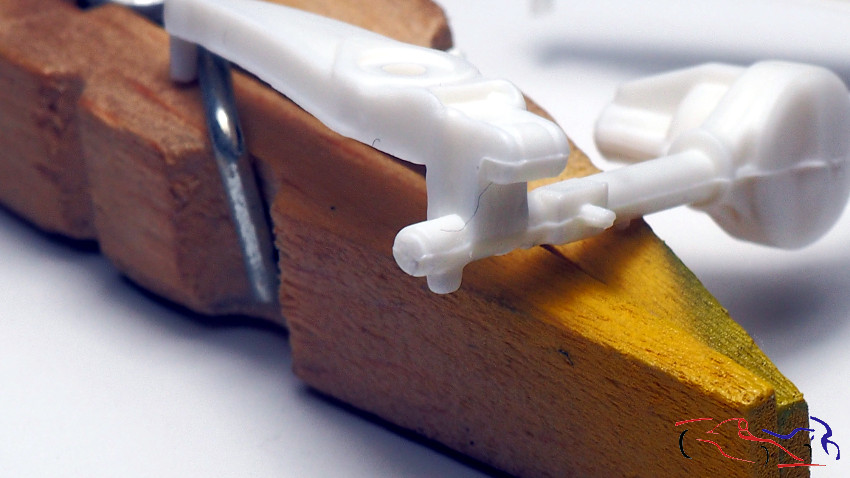
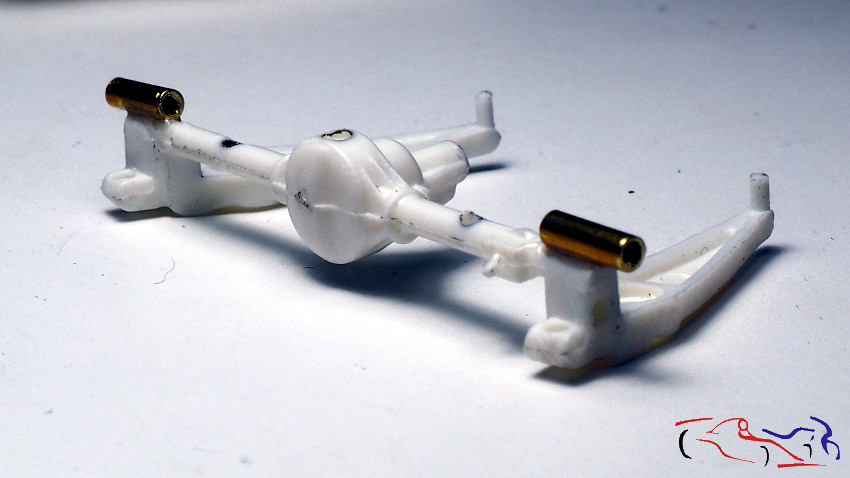
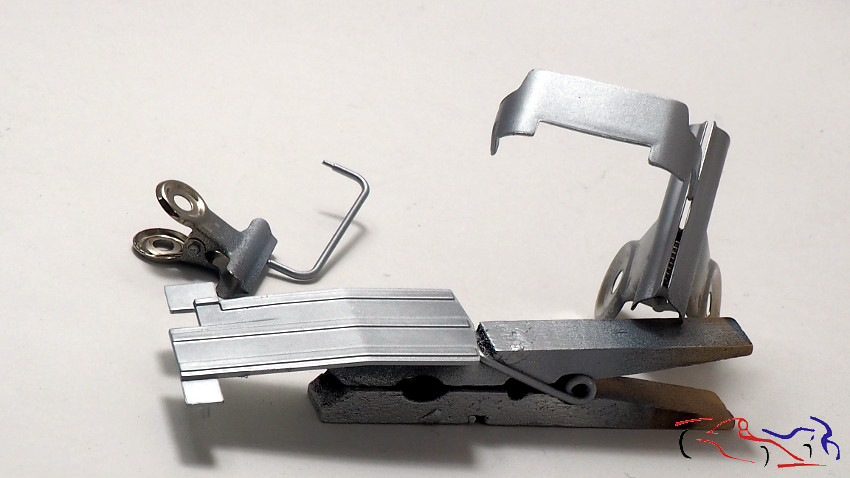
 Y como en la maqueta anterior, vi que las suspensiones parecían de tierra en lugar de asfalto, procedo a modificarlas. En al siguiente foto os muestro el eje posterior y el vástago que hay que mover para que la carrocería baje 2 mm:
And as in the previous model, I saw that the suspensions looked like dirt instead of asphalt, I proceed to modify them. In the next photo I show the rear axle and the rod that must be moved so that the body falls 2 mm:
 Entonces empecé a modificarlo, cortándolo u poniéndole otro de metal tal y como se ve en la foto siguiente:
Then I started to modify it, cutting it or putting another metal one as shown in the following photo:
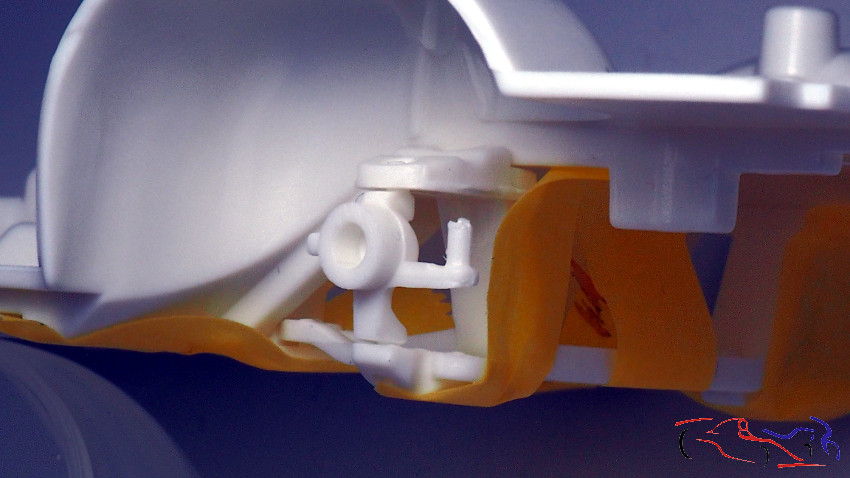
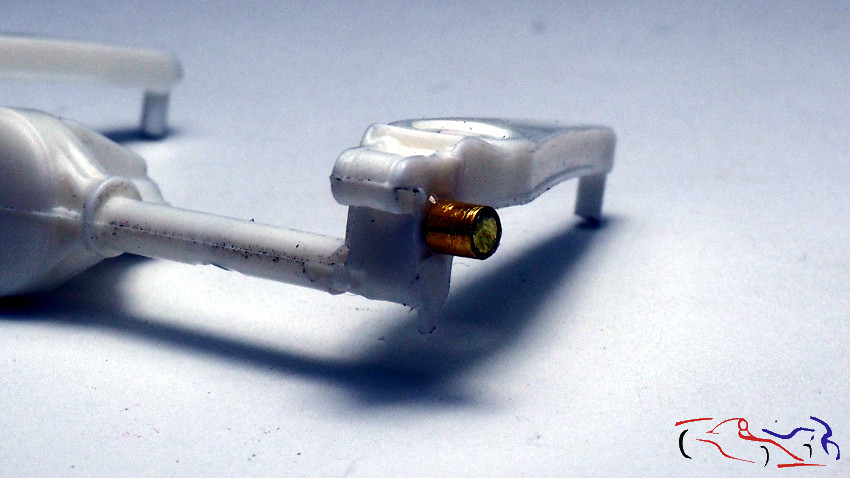 Pero al montarlo, me di cuenta que lo había hecho al revés, y en vez de bajar la carrocería, la había subido 2 mm más!! Por tanto, deshice lo hecho y tenía que poner el vástago hacia el otro sentido, y como no quería tocar las alturas del amortiguador, decidí poner un vástago tal y como se ve en la foto, de una manera poco ortodoxa pero fiable:
But when I riding it, I realized that I had done it the other way around, and instead of lowering the body, I had raised it 2 mm more! Therefore, I undone what had been done and had to put the rod to the other direction, and since I did not want to touch the heights of the shock absorber, I decided to put a rod as shown in the photo, in an unorthodox mode but reliable way:
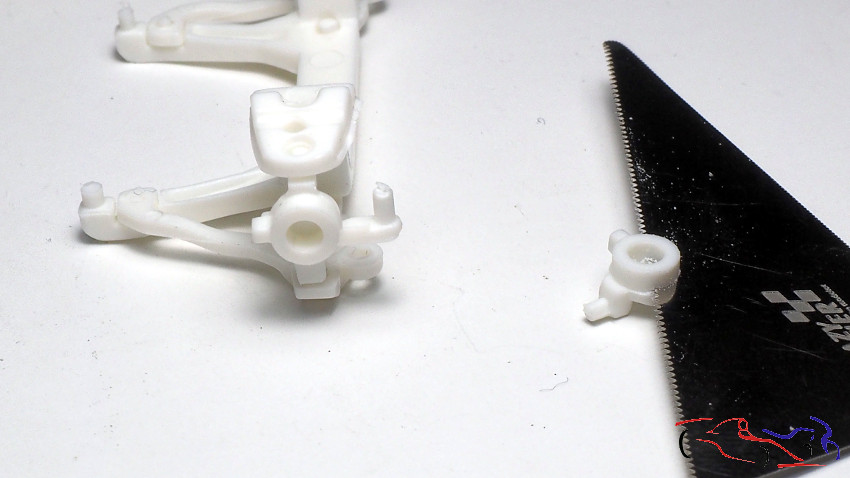
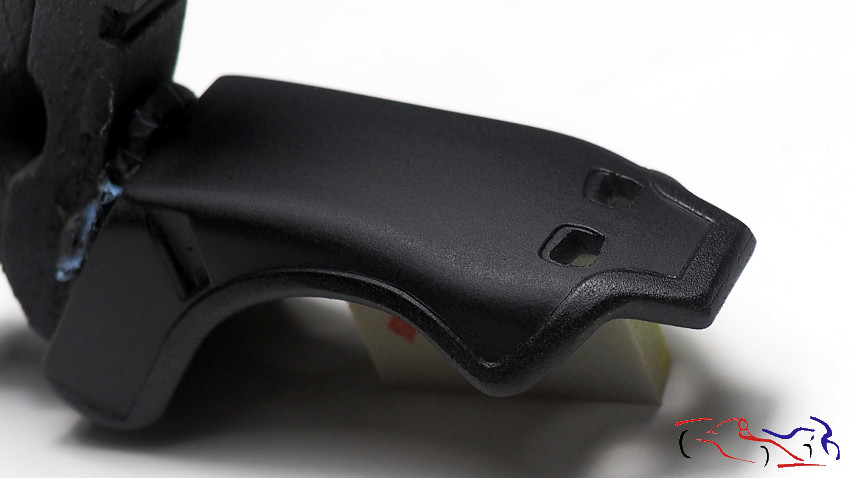
 Para el eje delantero, tenía que modificar las rótulas de dirección de manera que el círculo blanco que sobresale, se moviera hacia arriba 2mm:
For the front axle, I had to modify the steering knuckles so that the protruding white circle would move up 2mm:
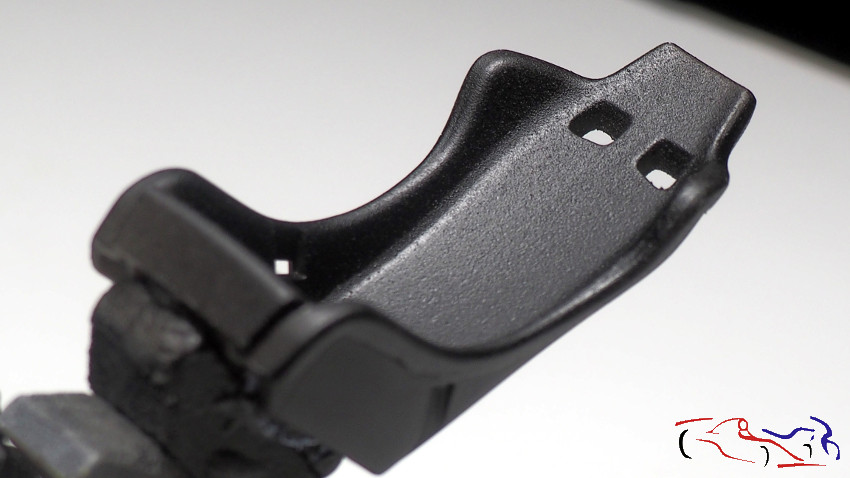
 Por lo cual, lo cortamos con la sierra de fotograbado más fina que tenía:
Therefore, we cut it with the finest photoetched saw that i had:
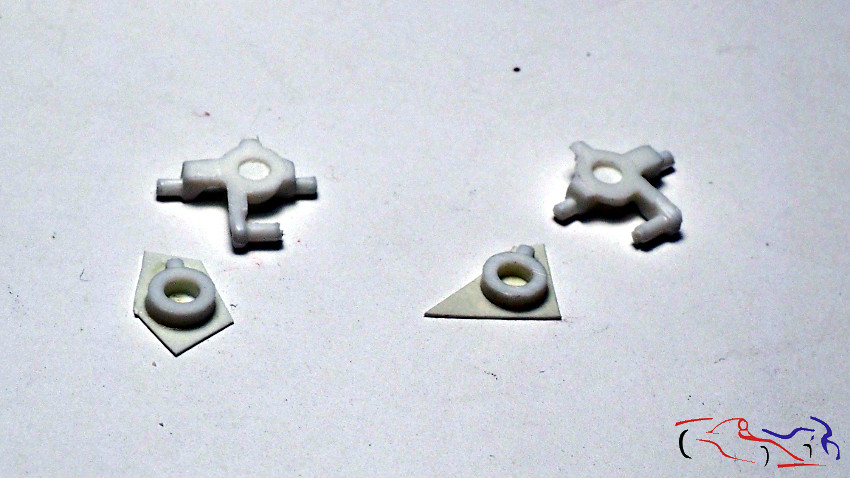
 Y le pegaba una planchita de evergreen para contrarrestar el corte de la sierra. Y esa pieza se pegará en al posición deseada con pegamento epoxy de dos componentes para asegurar la unión:
And I added a small evergreen plate to counter the cut of the saw. And that piece will stick in the desired position with two component epoxy glue to ensure the union:
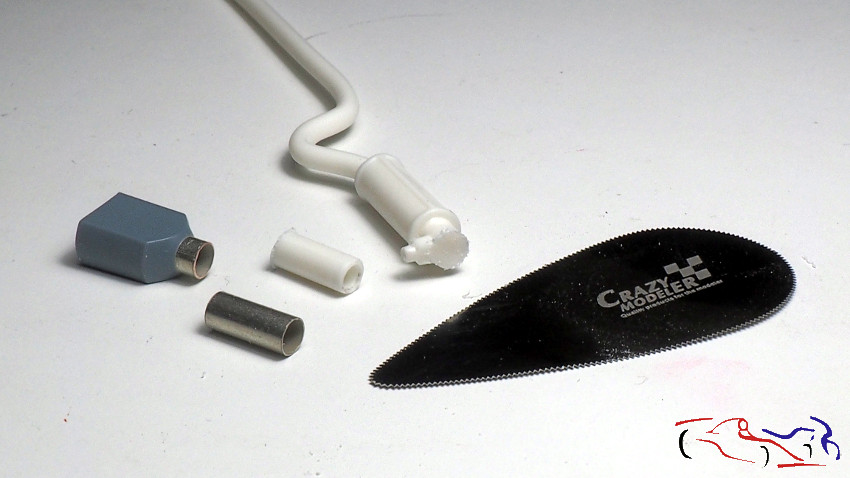
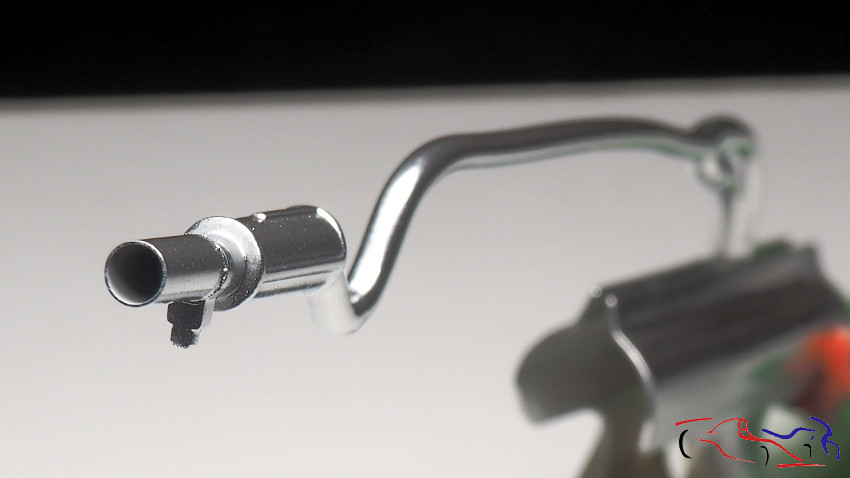
 Mas modificaciones: el extremos del tubo de escape lo sustituimos por un tubo extraído de un conector eléctrico del mismo diámetro, con lo que conseguimos afinar el extremo:
More modifications: the ends of the exhaust pipe are replaced by a tube extracted from an electrical connector of the same diameter, which allows us to fine tune the end:
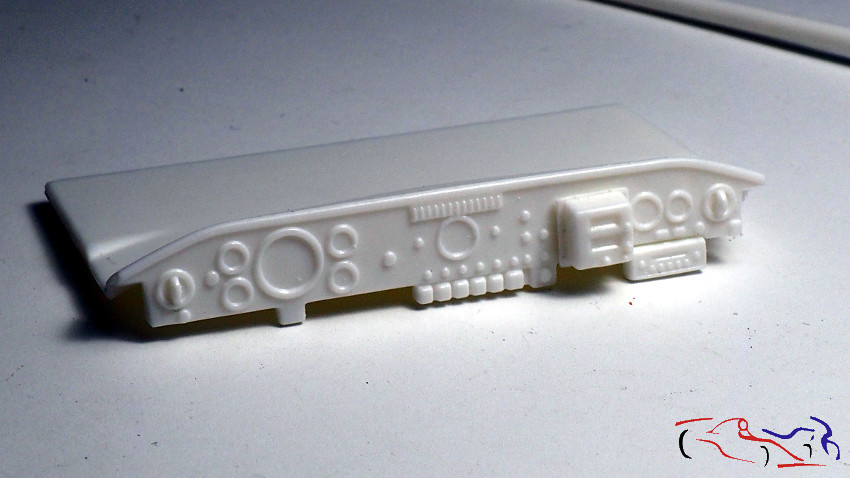
 El salpicadero. Esta foto es como la que puse en el otro kit, pero en esta caso, voy a detallarlo más, incluyendo algunos botones y palancas, pero eso lo contaré más adelante:
The dashboard. This picture is like the one I put in the other kit, but in this case, I will detail it more, including some buttons and levers, but I’ll tell you later:
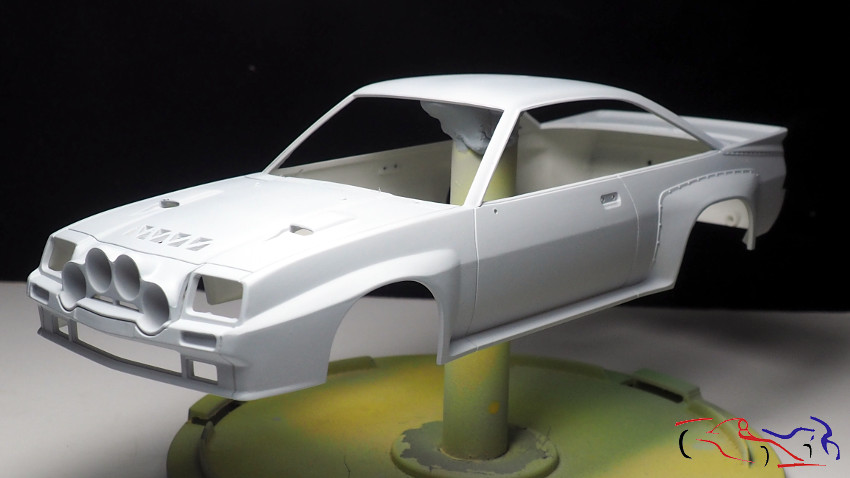
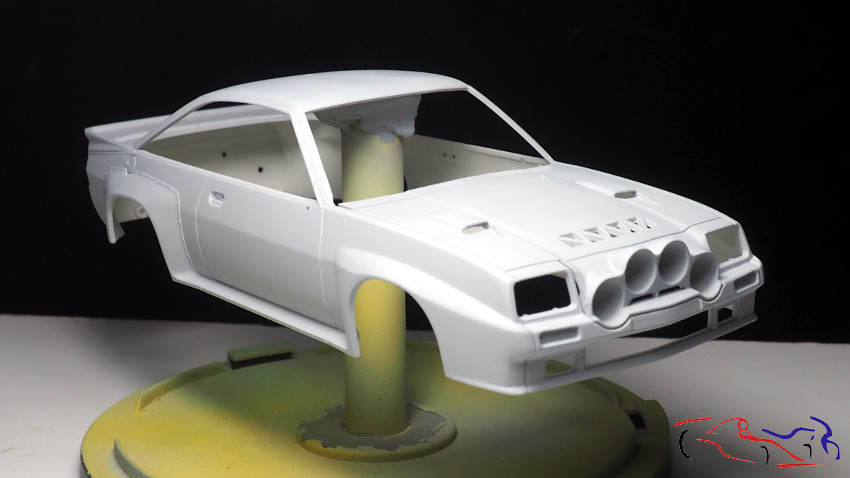
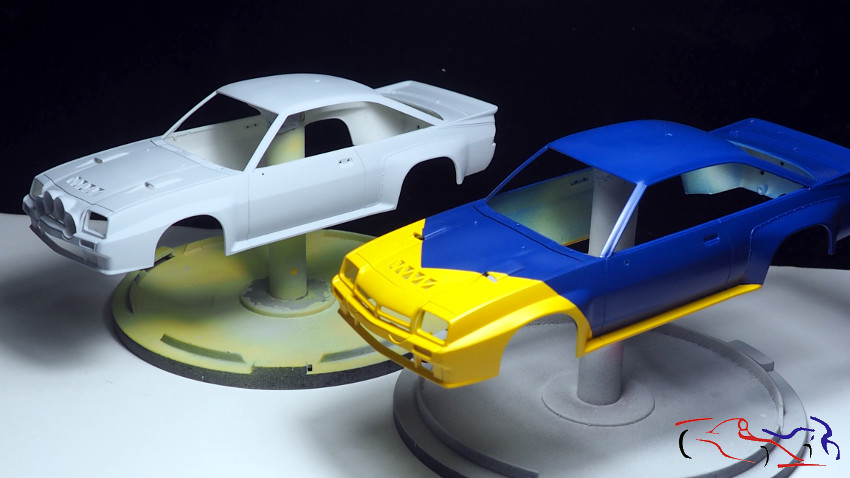
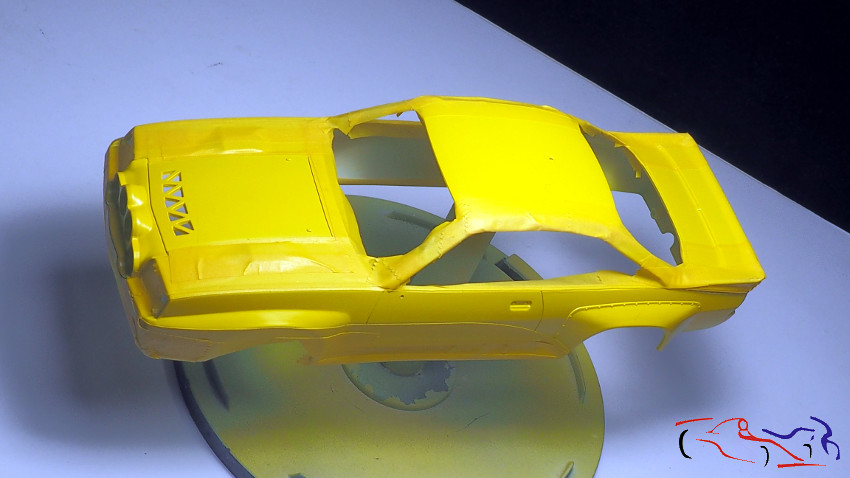
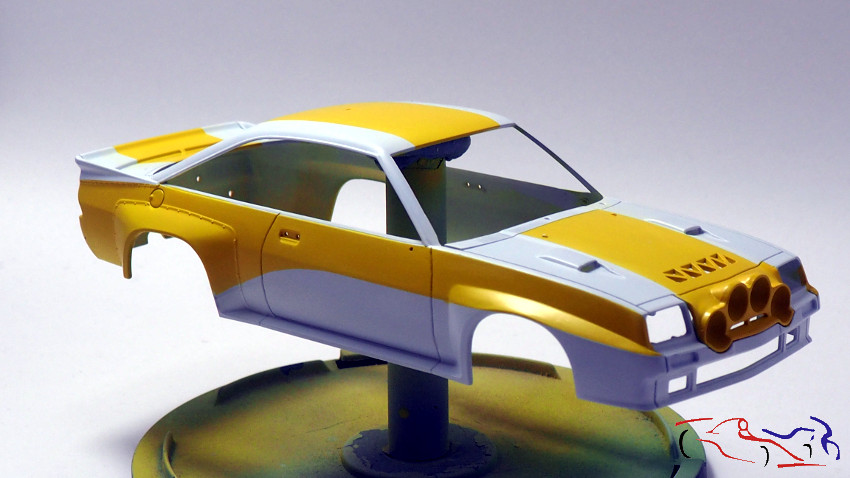
 Ya tenemos la carrocería imprimada de la marca Gravity, y posteriormente pintado de blanco brillante de la marca Zero. A este modelo le pondré la parrilla de faros extra para la visión nocturna, y también irá con los faros cuneteros.
We already have the bodywork primed Gravity brand, and then painted in bright white Zero brand. To this model I will put the extra headlight grille for night vision, and also go with the external headlights not included in this picture:.
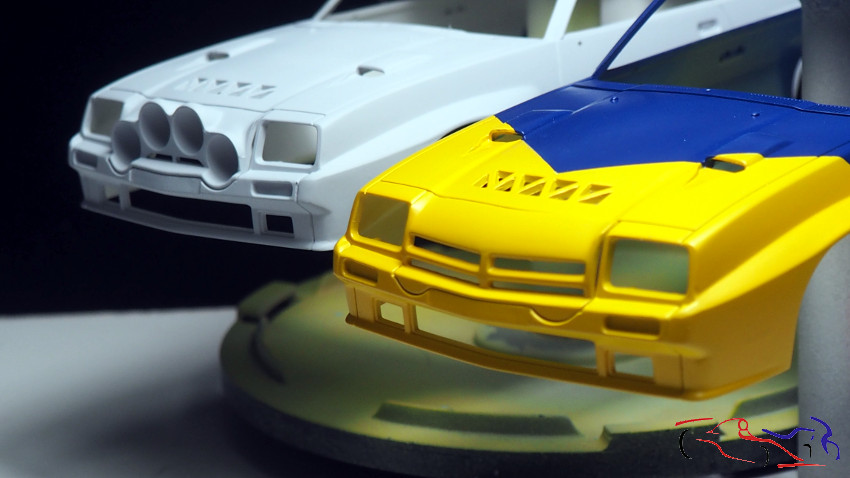
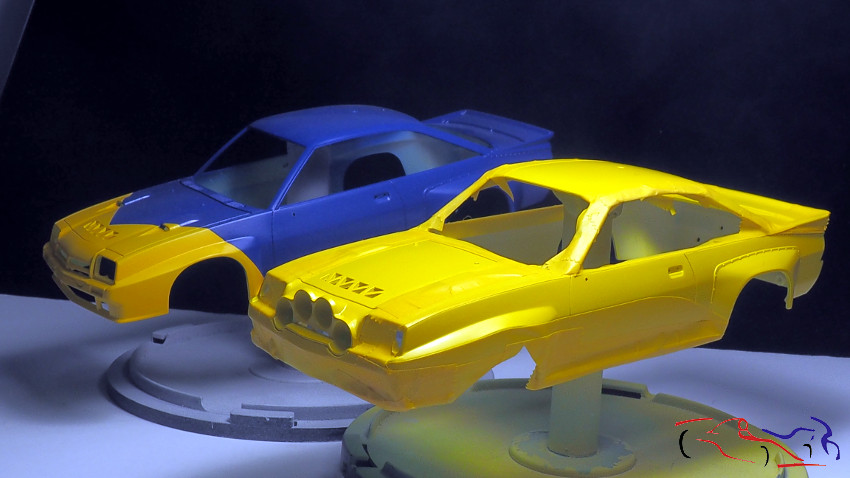
 Y lo comparamos con el otro kit, que cronológicamente, se situará dos años después, siendo esa versión la creada en Francia para el piloto Guy Frequelin:
And we compare it with the other kit, which chronologically, will be placed two years later, being created in France for the pilot Guy Frequelin:
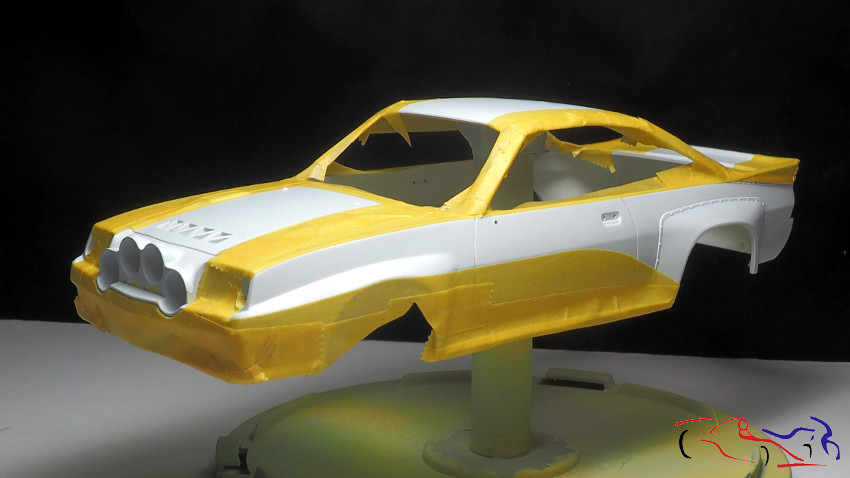
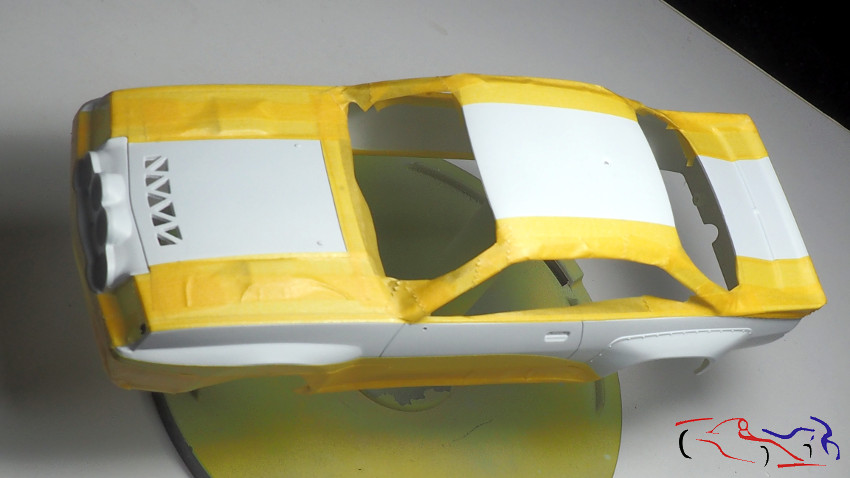
 Y pasamos a la decoración de la carrocería. Para ello utilizamos las máscaras que proporciona Decalcas en su TK, que ayudan a crear la curva necesaria para pintar de amarillo, ya que existe una franja dorada que separa ambos colores:
And we went to the decoration of the body. For this we use the masks provided by Decalcas in their TK, which help to create the necessary curve to paint yellow, since there is a golden band that separates both colors:
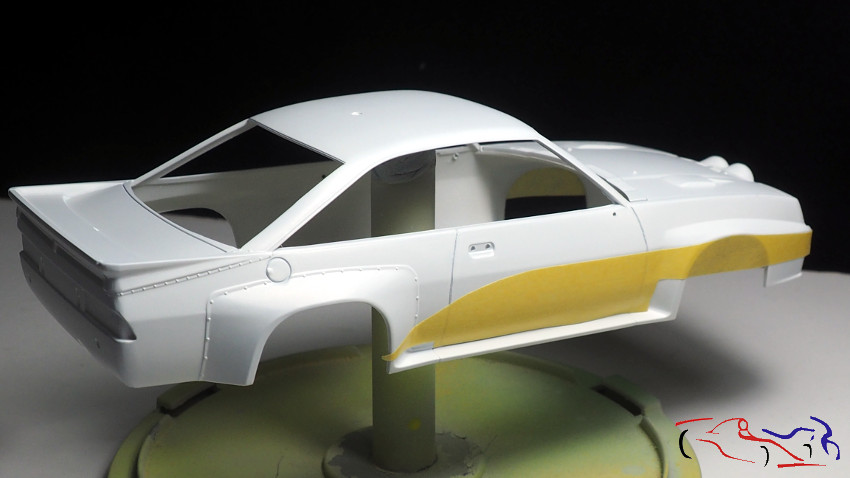
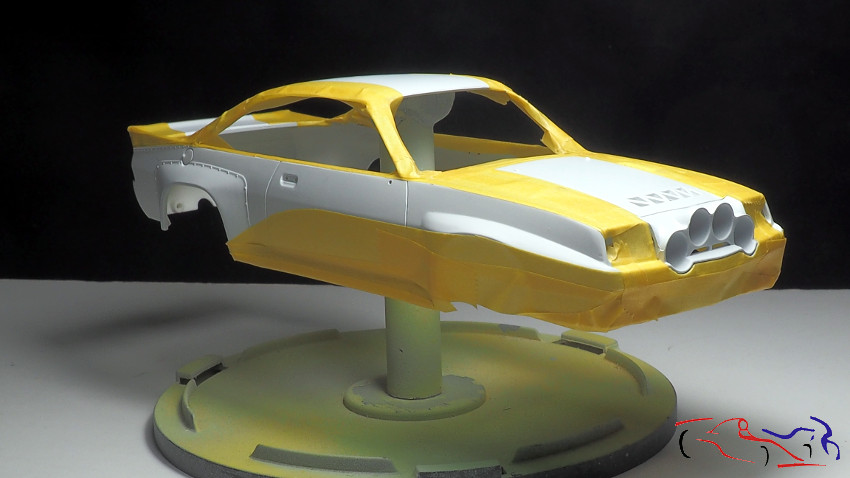
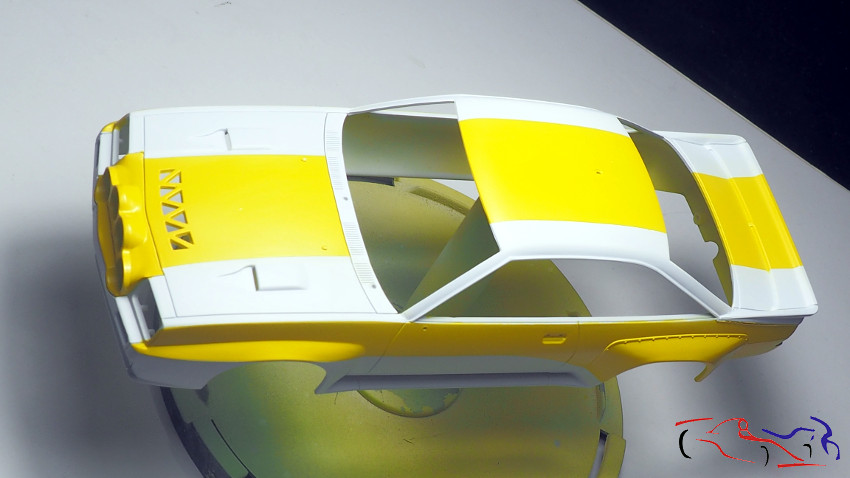
 También enmascaramos el resto dejando un espacio que recorre toda la carrocería por su parte superior, de 3 cm de ancho:
We also mask the rest, leaving a space that runs through the entire body at the top, 3 cm wide:
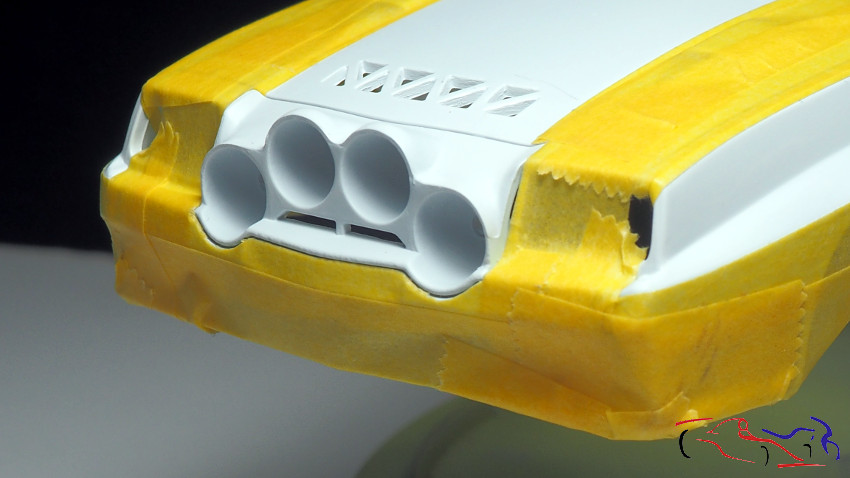
 Vemos que los faros nocturnos supletorios van también sin enmascarar:
We see that the auxiliary night lights also go unmasked:
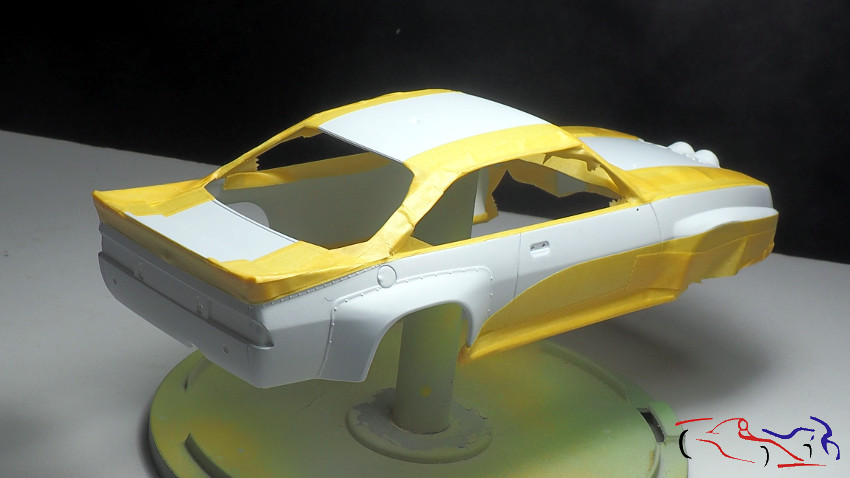
 Vemos la franja superior, que ira pintado todo de amarillo:
We see the upper strip, which it is painted everything yellow:
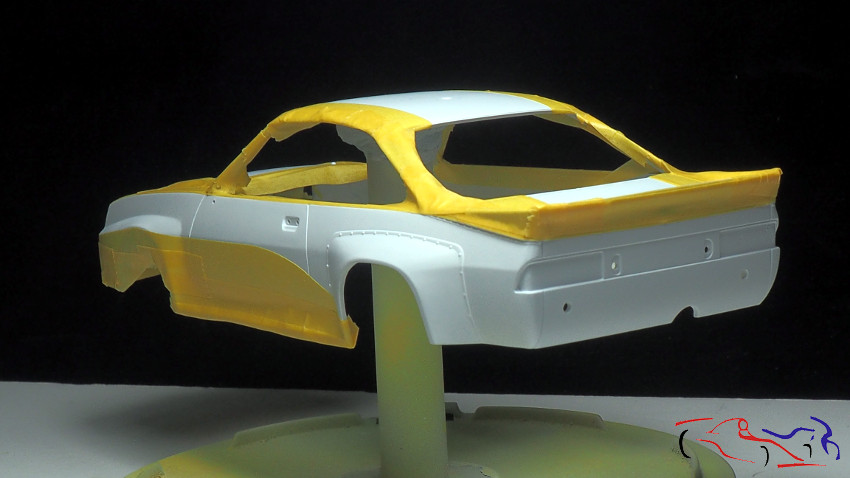 Para este color, he usado el amarillo de Zero Paints similar al TS16 de Tamiya. Tres capas para que todo quede igual:
For this color, I used Zero Paints yellow similar to Tamiya’s TS16. Three layers so that everything stays the same:
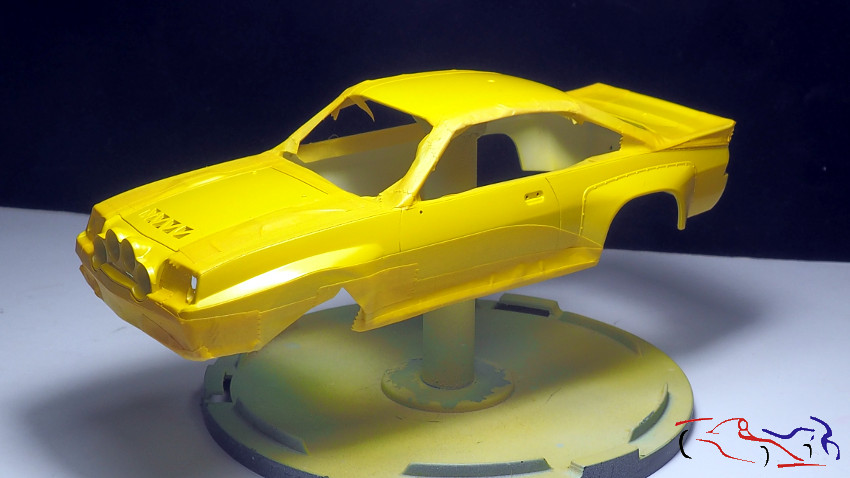
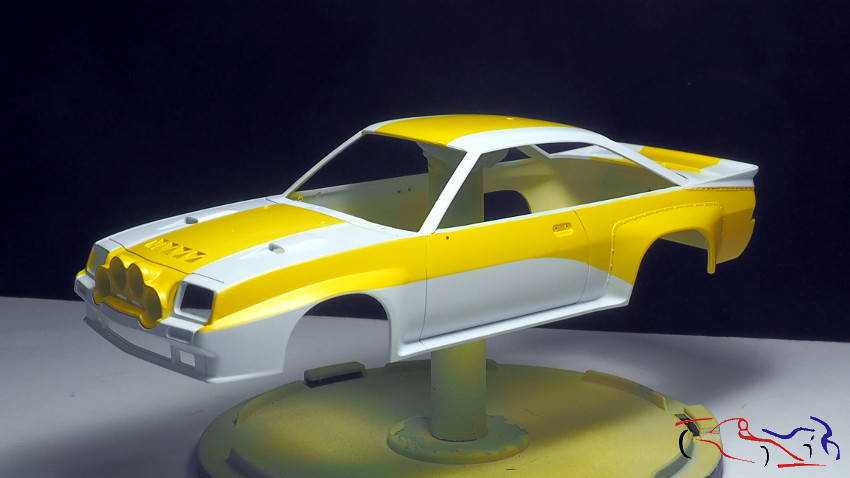
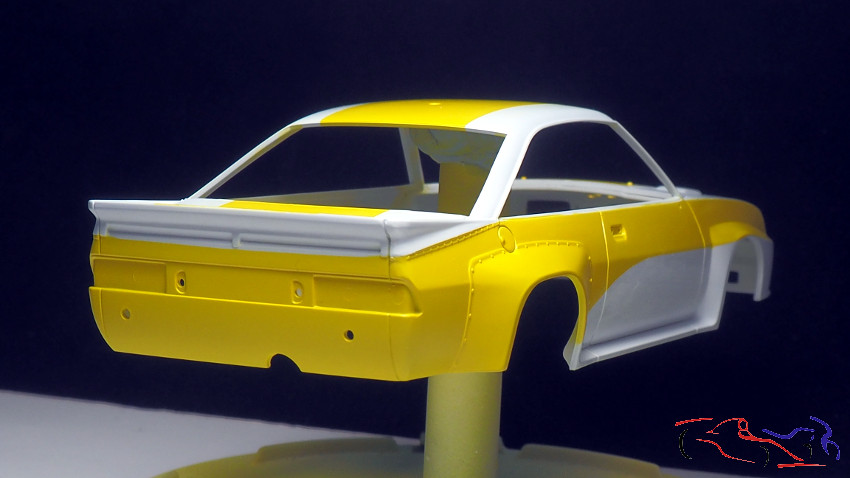
 Y una vez retiradas las máscaras, este es el resultado. Contento porque estaban bien puestas y solo he tenido dos fugas muy pequeñas que me han obligado a enmascarar de nuevo esas zonas y pintar de blanco:
And once the masks are removed, this is the result. Happy because they were well placed and I have only had two very small leaks that have forced me to mask those areas again and paint white:
 Una vez seco, he pasado una esponja de lija marca Spotmodel que para estas tareas cumplen muy bien su cometido, eliminando los saltos de pintura amarilla creados a lo largo de las máscaras:
Once dry, I have passed a Spotmodel sandpaper sponge that, for these tasks, fulfills its purpose very well, eliminating the jumps of yellow paint created along the masks:
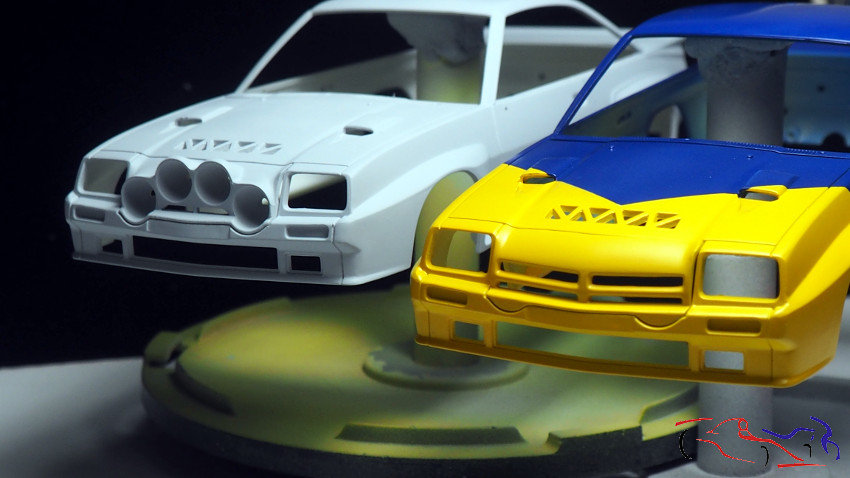
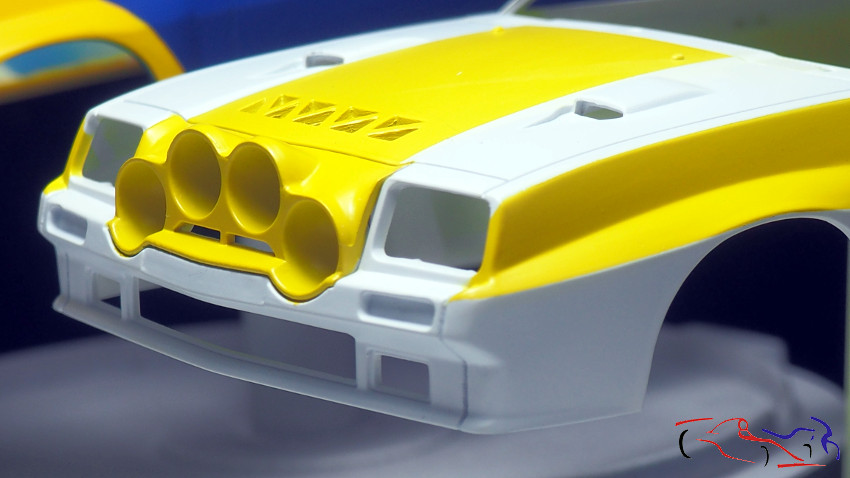
 Una imagen de la parrilla de faros!!
An image of the headlight grill !!
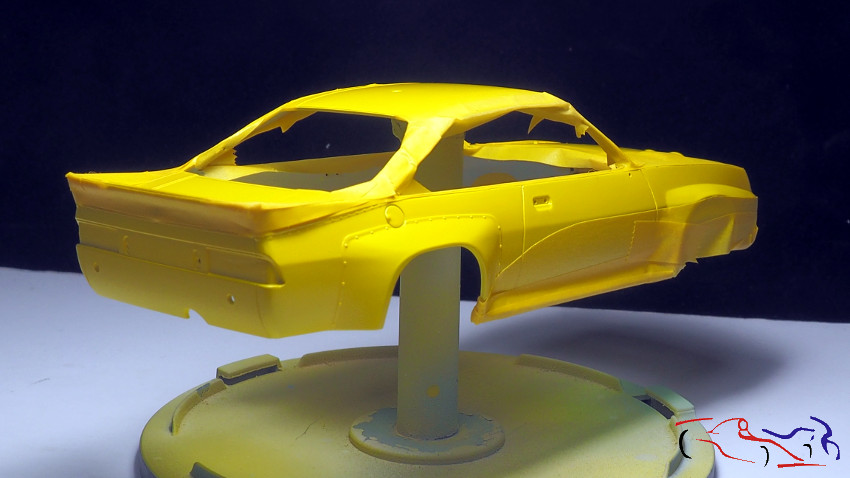
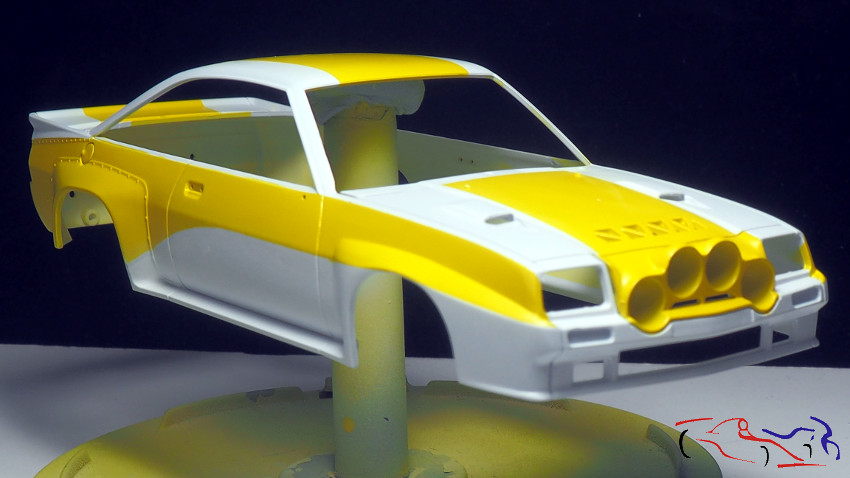
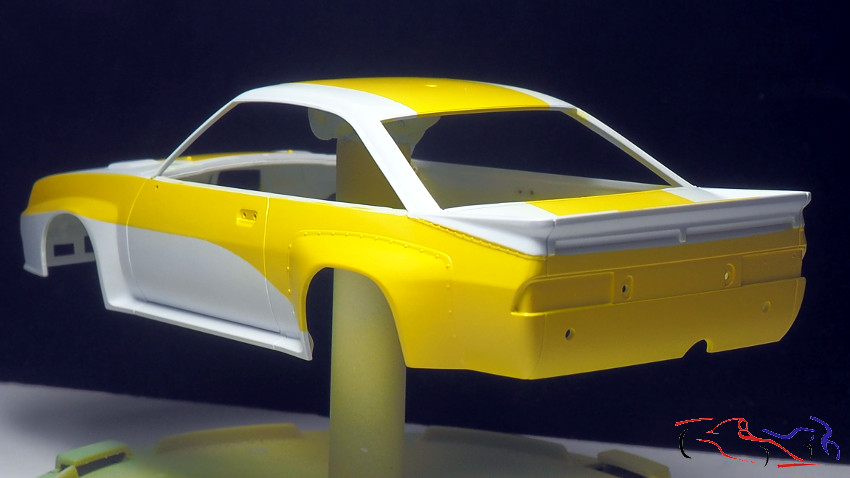
 Y otra vista desde el lado derecho del modelo:
And another view from the right side of the model:
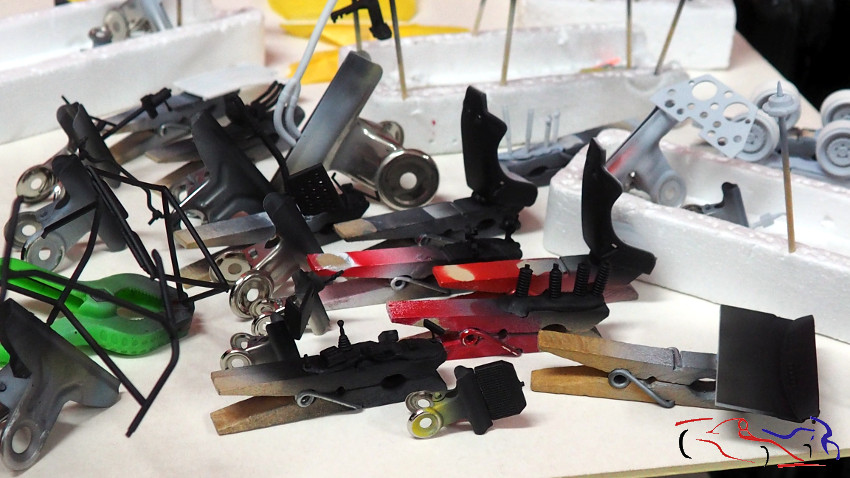
 A su vez, todas las piezas debían ser imprimadas y pintadas, en este caso de negro satinado de Zero Paints.
In turn, all parts had to be primed and painted, in this case with satin black Zero Paints.
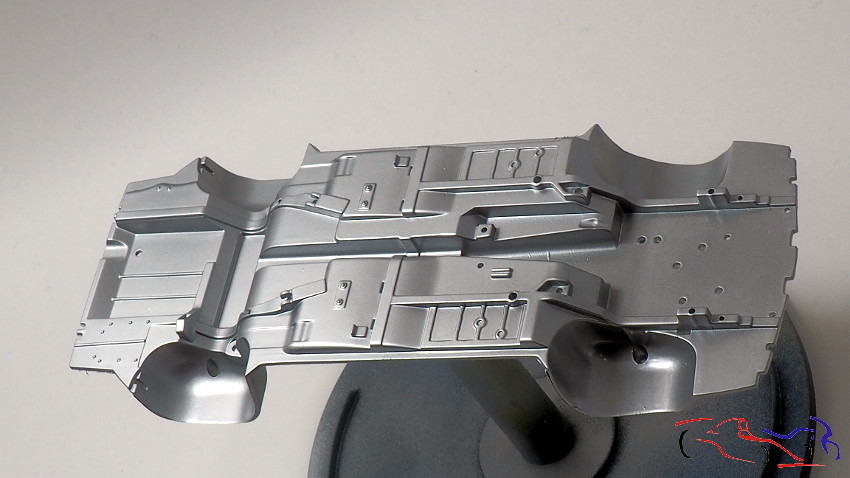
 El chasis imprimado con gris de Gravity
The chassis primed with Gravity gray
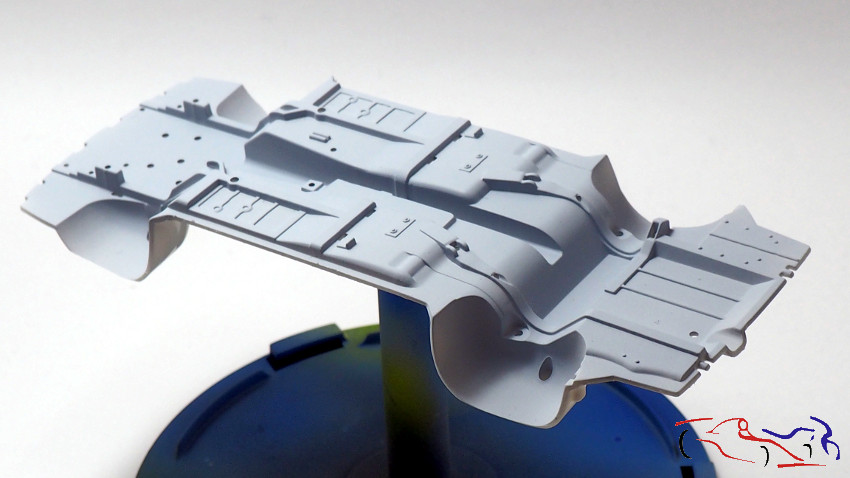 y posteriormente pintado de plata con spray TS30 de Tamiya, mientras que al anterior iba blanco
and then painted silver with Tamiya TS30 spray, while the previous one was white
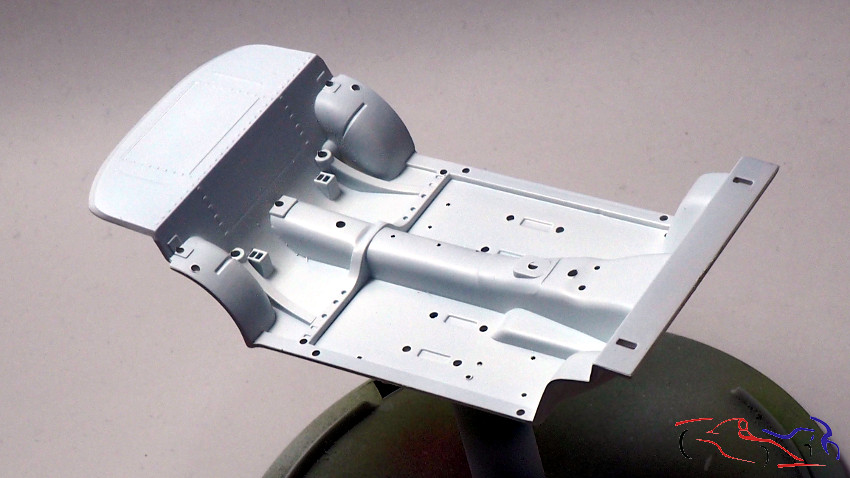
En cambio, el cockpit va en blanco mientras el anterior iba metalizado:
Instead, the cockpit goes blank while the previous one went metallic:
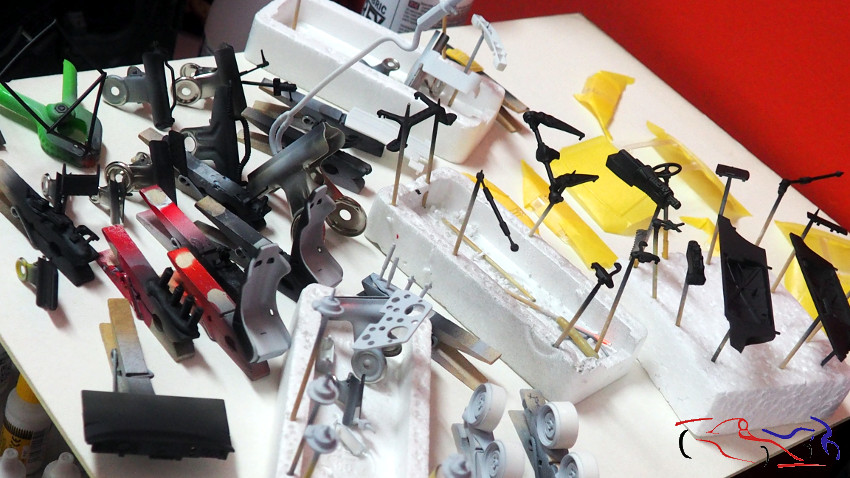
Más piezas del chasis pintadas con TS-30:
More parts of the chassis painted with TS-30:
 Y para el cromo, he usado un spray cromo que compré hace años en una ferretería. Resultado; bueno!!
And for the chrome parts, I used a chrome spray that I bought years ago in a hardware store. Result; good!!
 Y aquí vemos el tubo de escape pintado con ese spray: el espejo se nota y se puede manipular todo lo que se quiera una vez seco.
And here we see the exhaust pipe painted with that spray: the mirror is noticeable and you can manipulate everything you want once it’s dry.
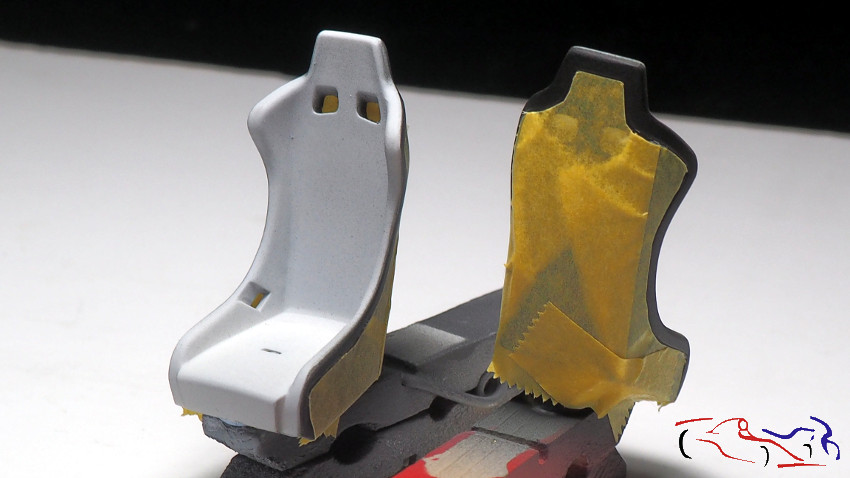
 Pasamos a los asientos. Una vez pintado la parte de atrás con negro semimate de Zero Paints, enmascaro para pintar la parte delantera:
We went to the seats. Once painted the back with semi-black Zero Paints, masking to paint the front:
 Esta parte delantera, la pinto con la nueva pintura negro de Zero llamada “texturizada” que podéis encontrar aquí. El resultado es bueno pero tengo que probar más pues el aerógrafo se atascaba, pero merece la pena:
This front part, I paint it with the new black paint of Zero called “textured” that you can find here. The result is good but I have to try more because the airbrush got stuck, but it’s worth it:
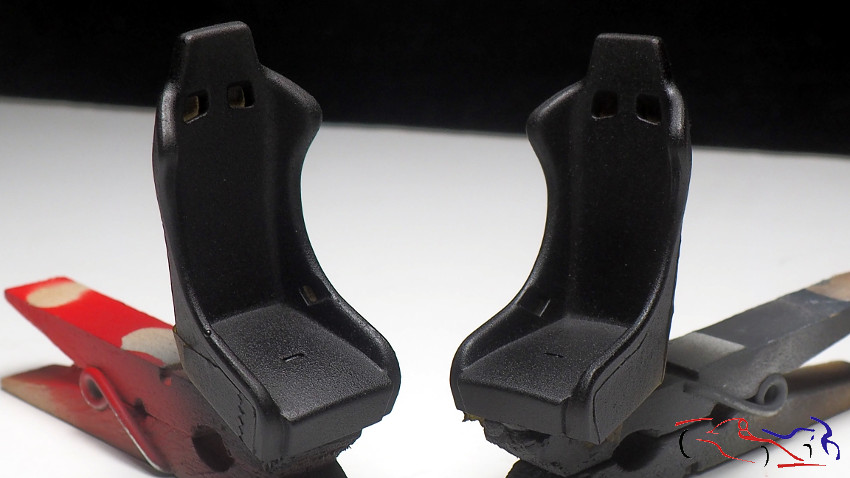 Vemos los dos acabados: el semimate y el texturizado:
We see the two finishes: the semi-matt and the textured:
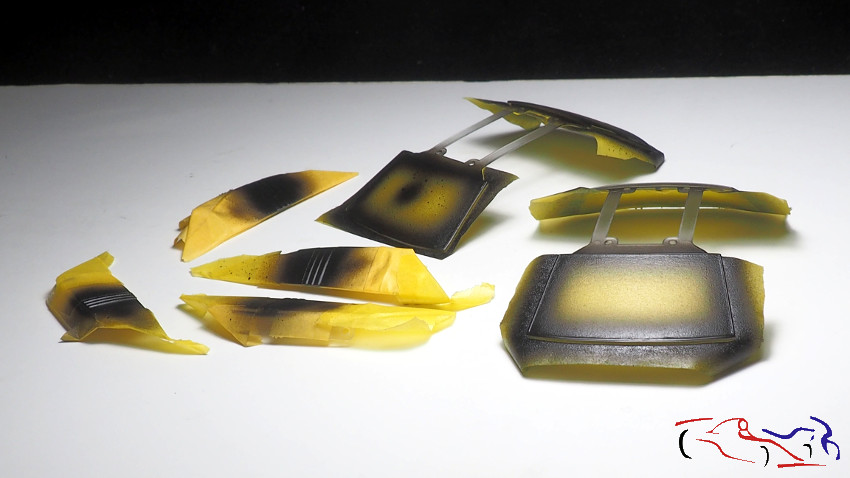
 Finalmente, os muestro todos los cristales pintados con negro semimate de Zero, aun sin quitar las máscaras. Decir que al final opté por sustituir las máscaras del kit porque eran duras y se despegaban:
Finally, I show you all the crystals painted with Zero’s semi-matt black, even without removing the masks. To say that in the end I chose to replace the masks in the kit because they were hard and took off:
 Lo próximo serán las calcas. Gracias por ver y comentar!!
The next thing will be the decals. Thanks for viewing and commenting!!


