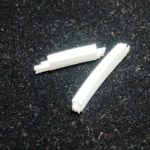
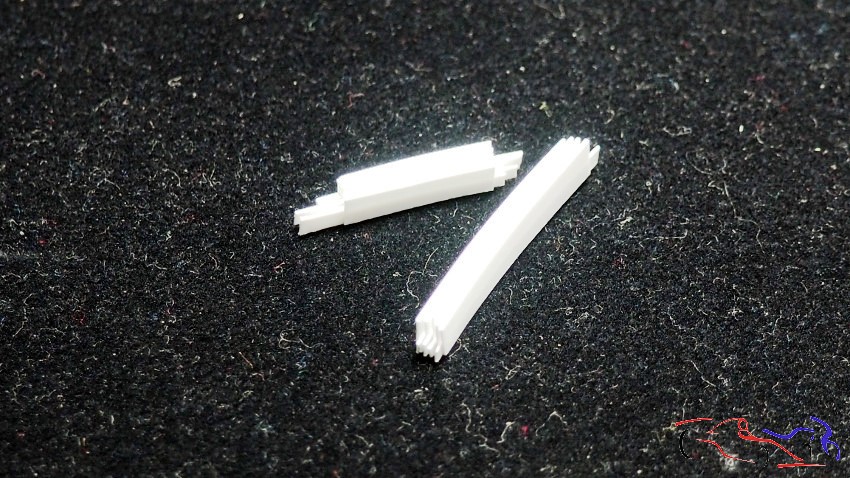
Hola a todos. Volvemos con este proyecto, ya que los tres pequeñines que me propuse hacer para desintoxicarme del superdetallado de éste coche, se han terminado. Una complicación que tenia de la carrocería eran las rejillas que hay entre el capó delantero y el parabrisas, una a cada lado. Intenté profundizar dichas aberturas pero el intento no sirvió. Entonces intenté recrearlas con plástico. Fui pegando láminas muy finas entre si para lograr dichas rejillas, y hacer copias en resina cuando estuviera terminado. Pero vi que no era buena solución, por lo que busqué el fotograbado de Syudio27 que mi amigo Borja me recomendó, y que pondré fotos más adelante.
Hello everyone. We’re back with this project, as the three small models I set out to do to detox from the super-detailing of this car are now finished. One complication I had with the bodywork was the grilles between the hood and the windshield, one on each side. I tried deepening these openings, but it didn’t work. So I tried recreating them with plastic. I glued very thin sheets together to create the grilles, planning to make resin copies once I was finished. But I realized that wasn’t a good solution, so I looked for the photo-etched parts from Syudio27 that my friend Borja recommended me, and I’ll post pictures of them later.
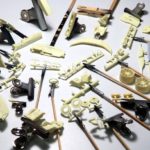
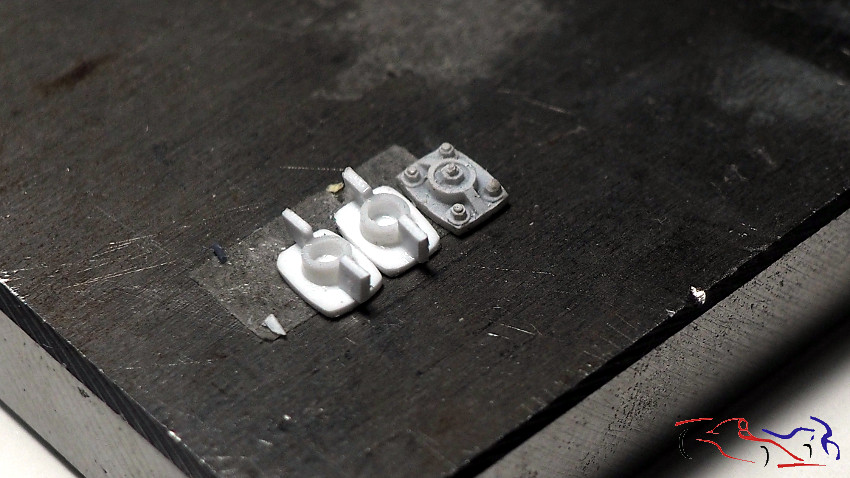
Otras piezas que voy a recrear son las copelas delanteras. El TK trae unas en resina, pero desgraciadamente, una de ellas volóy tuve que hacerlas a partir de esa. Esta es una foto del proceso antes de estar finalizadas.
Other parts I’m going to recreate are the front strut mounts. The TK comes with some in resin, but unfortunately, one of them broke off, and I had to make them from that one. This is a photo of the process before they were finished.
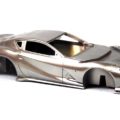
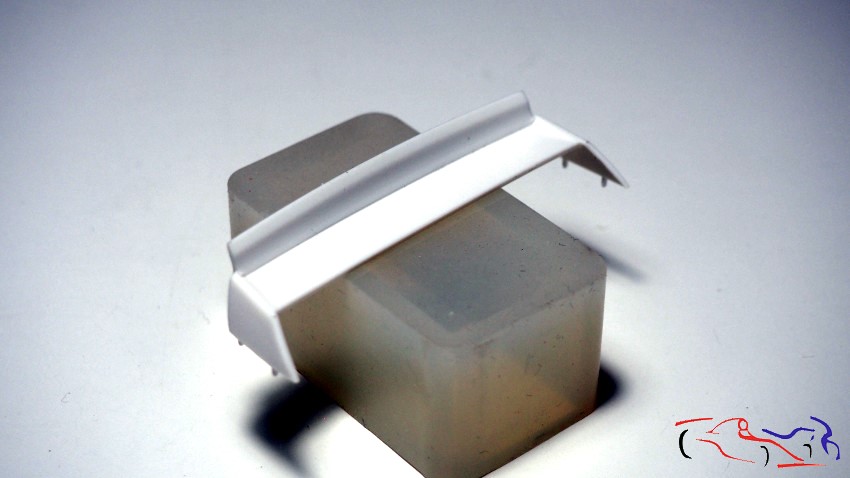
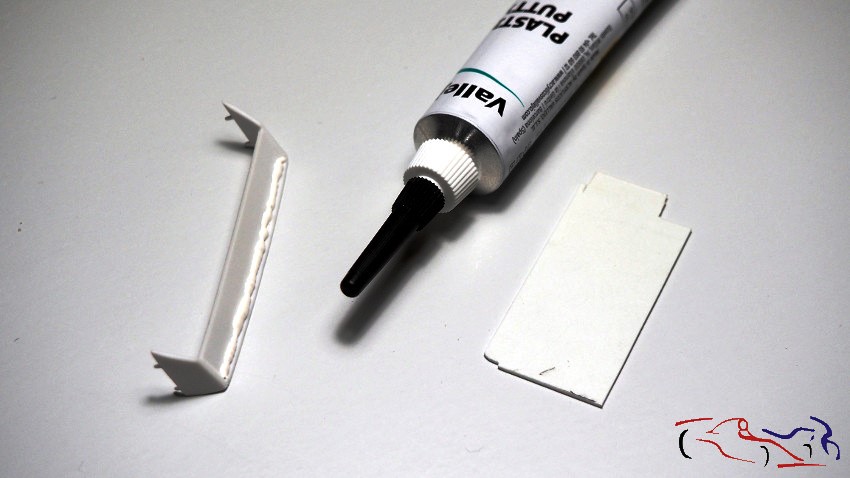
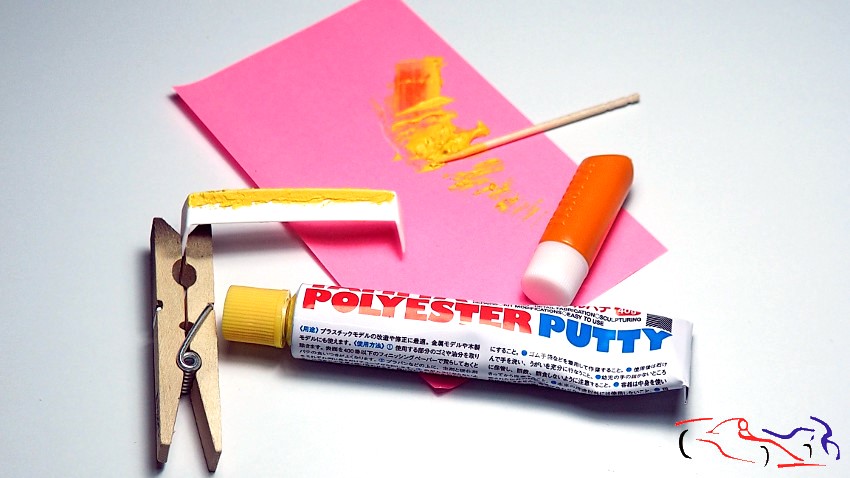
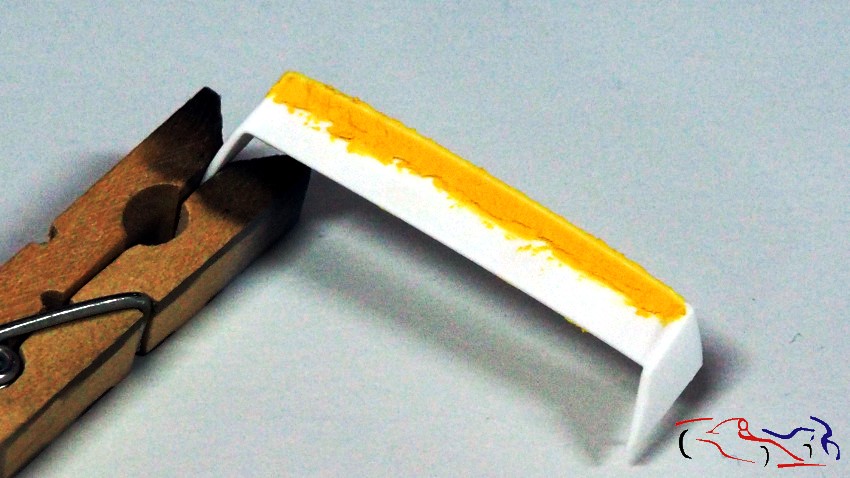
Más cosas de la carrocería. El alerón trasero viene configurado para el DTM, con una sobreelevación vertical, que no llevaba el coche de Peres Sala, que hay que recortar. A su vez, la linea de unión con el plano horizontal no es una linea sino que es una curva, por lo que tendremos que rellenar con masilla y dar la correspondiente forma. Una vez recortado, uso una masilla nueva para mi que era la Vallejo, que una vez puesta, la iba a definir con un útil que me hice en plástico. Pero no me gustó la masilla, ya que se comportaba como plástico blando. Quizás hice algo mal, pero decicí quitarla y poner masilla Putty de poliester de Tamiya. En la última foto veis que está ya puesta lista para lijar.
More on the bodywork. The rear wing comes configured for DTM racing, with a vertical lift, which Peres Sala’s car didn’t have, and this needs to be trimmed. Also, the line where it meets the horizontal plane isn’t a straight line but a curve, so we’ll have to fill it with putty and shape it accordingly. Once trimmed, I used a new putty for me, Vallejo, which I was going to refine with a tool I made out of plastic. But I didn’t like the putty, as it behaved like soft plastic. Perhaps I did something wrong, but I decided to remove it and use Tamiya polyester putty. In the last photo, you can see it’s already in place and ready to be sanded.
En este momento, ya tenía todo listo para imprimar y pintar posteriormente:
At this point, I had everything ready to prime and then paint:
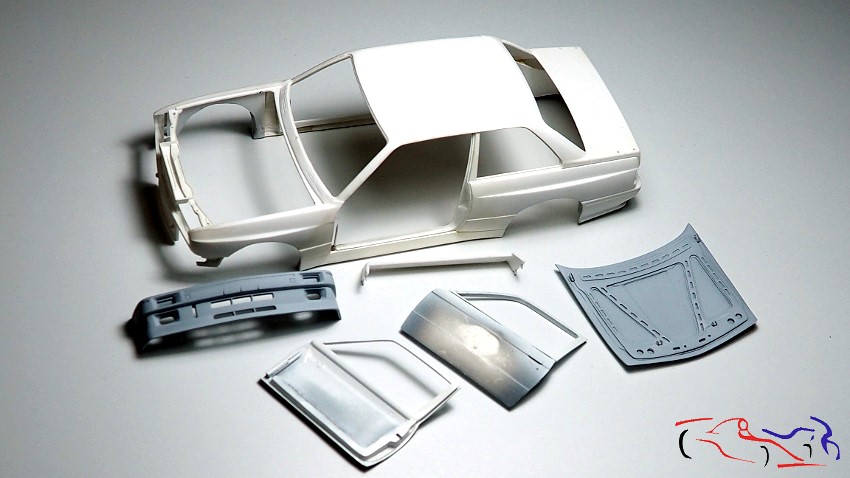
Y así lo hice con imprimación Tamiya blanca en spray para todas las piezas de la carrocería:
And so I did, using Tamiya white spray primer for all the body parts:
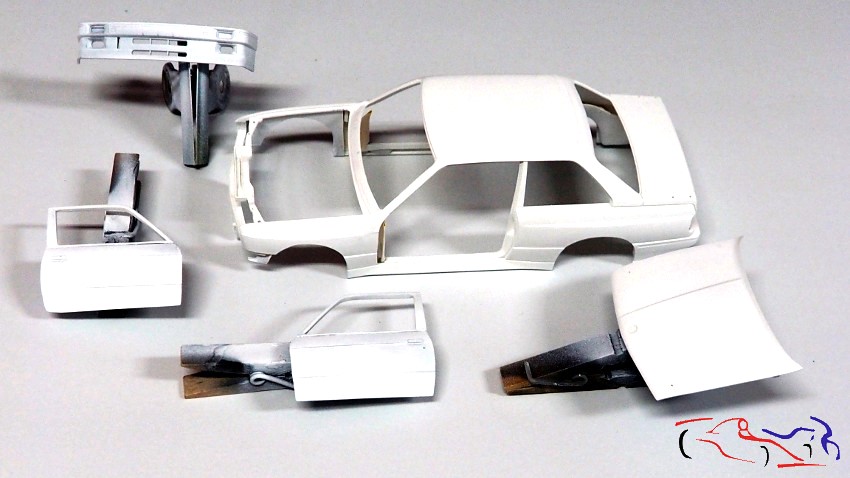
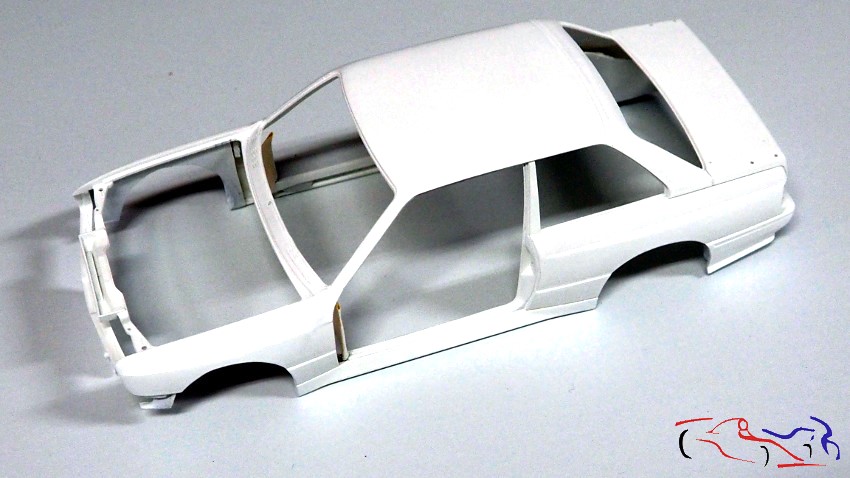
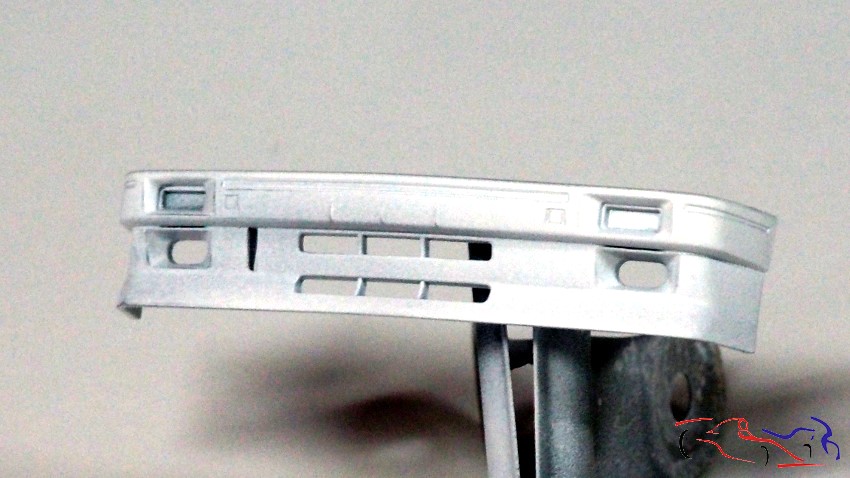
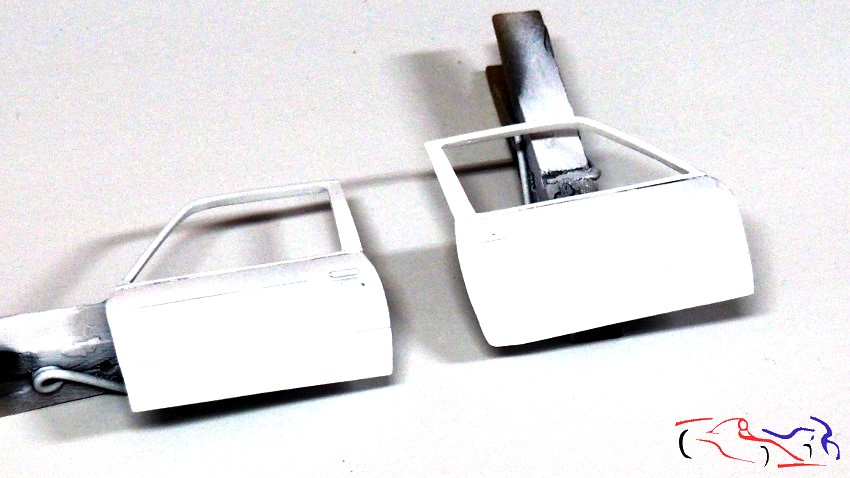
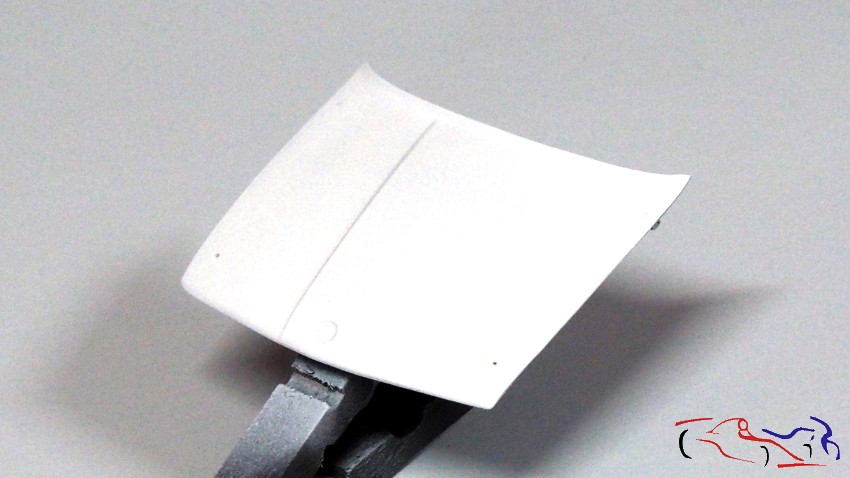
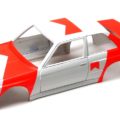
Una vez seca, le paso una lija con grano 2000 y pasamos a su pintado: utilizo la pintura de Number5 que tiene para este BMW M3 E30. Sobre el blanco de la imprimación, se puede ver que es un tono un poco más crema, siendo su aplicación muy buena. Yo suelo dar siempre una capa muy fina, y una segunda que ya cubra bien. El resultado es inmejorable!!
Once it’s dry, I sand it with 2000-grit sandpaper and then we move on to painting: I use the Number 5 paint they have for this BMW M3 E30. Over the white primer, you can see it’s a slightly creamier tone, and it applies very well. I usually apply a very thin coat, and then a second coat for good coverage. The result is unbeatable!
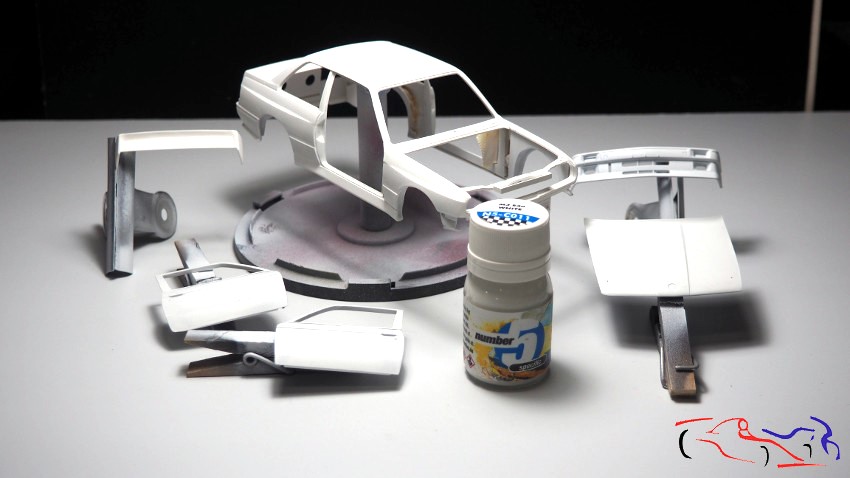
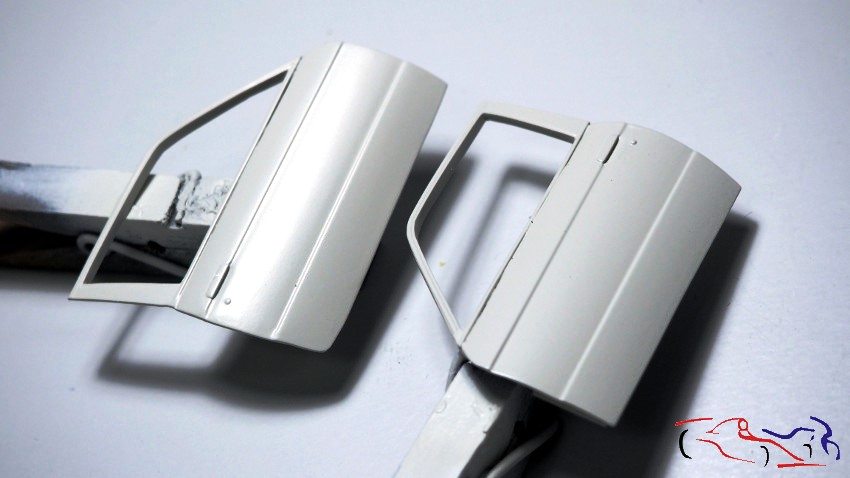
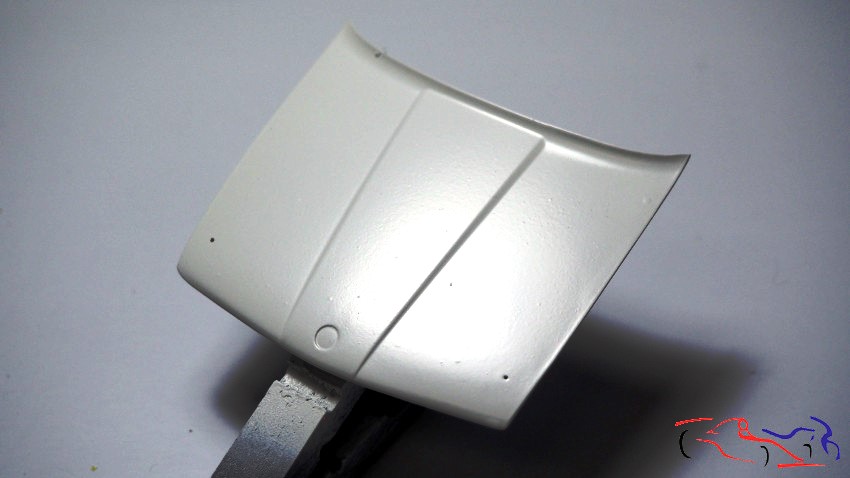
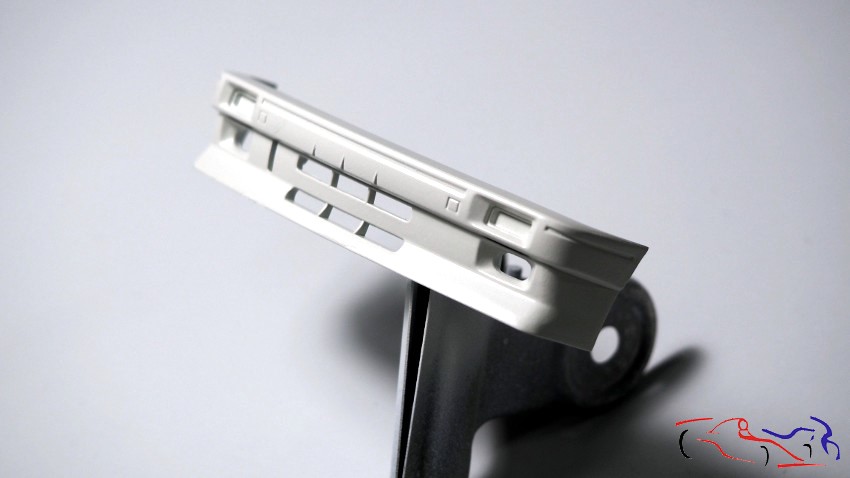
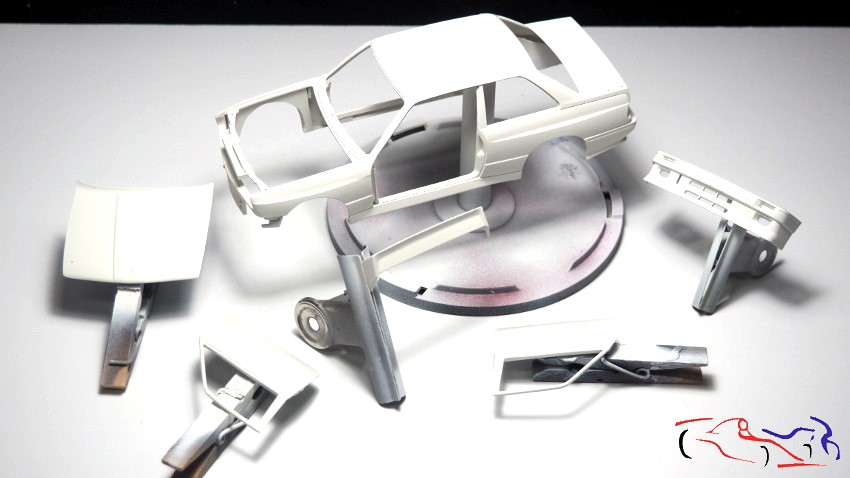
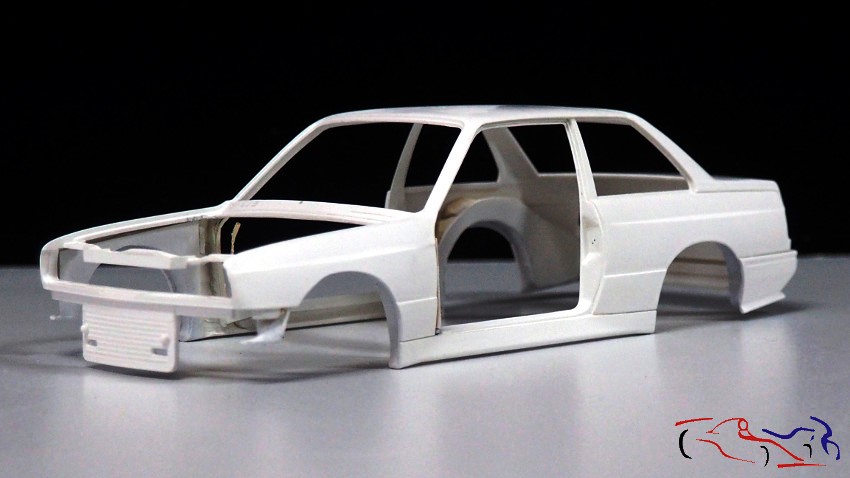
Ahora, os muestro fotos de la carrocería:
Now, I’ll show you photos of the bodywork:
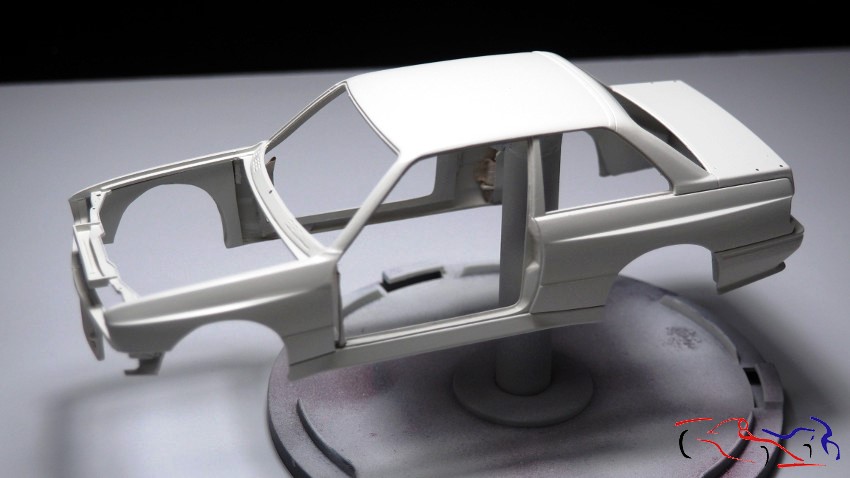
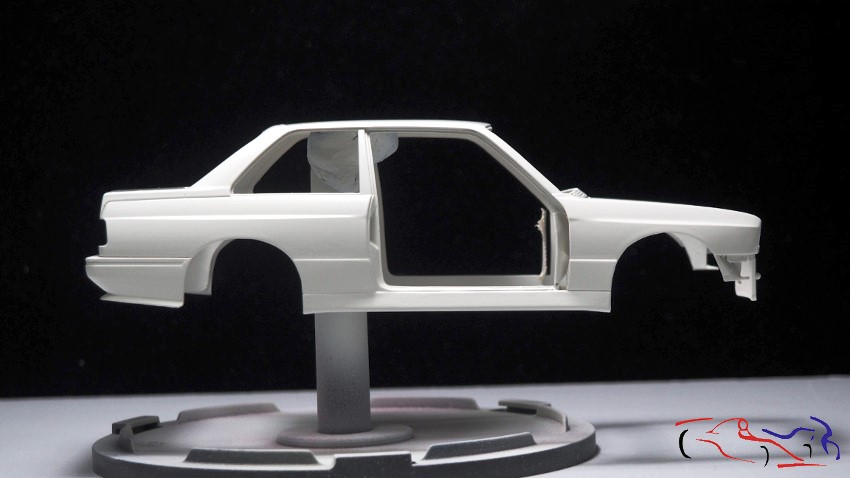
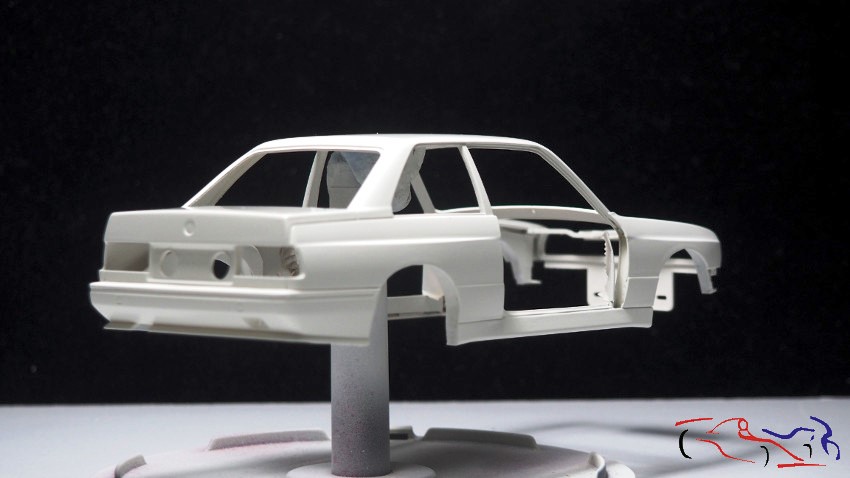
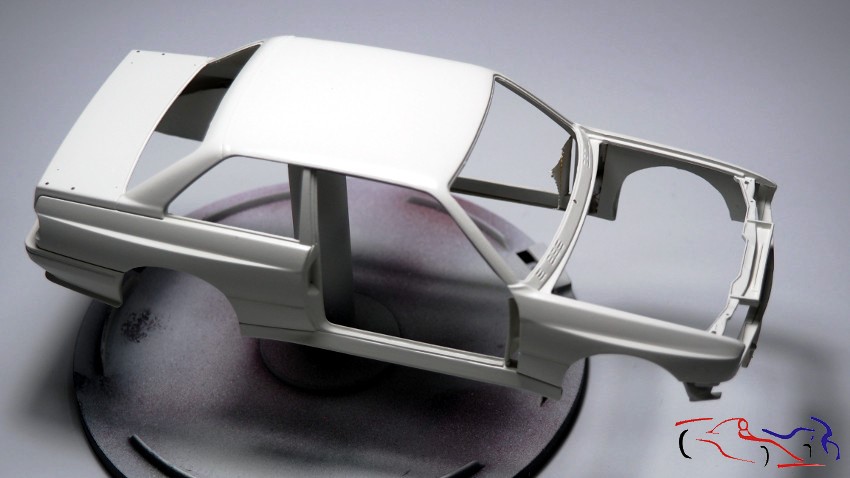
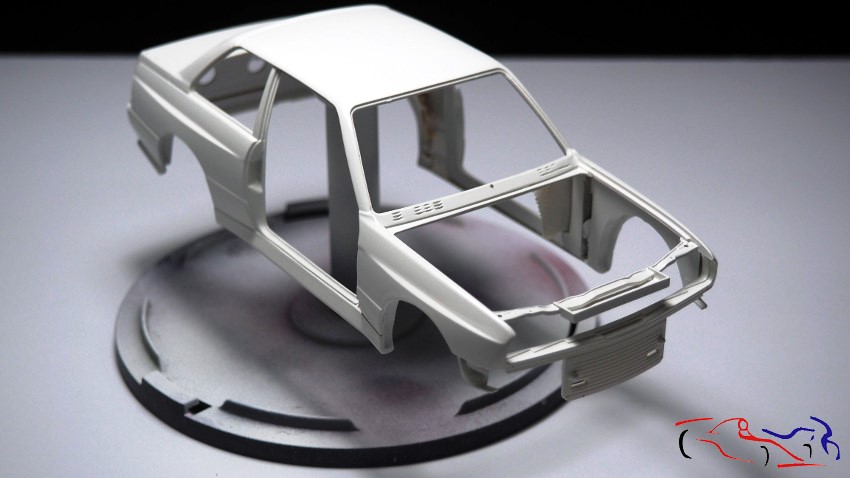
Podéis ver que en la foto anterior, se ven las endiduras de las rejillas de aire que comenté antes, y que en el siguiente post, habré arreglado, poniendo masilla, lijando, imprimando y pintando de nuevo la zona. Espero que os guste!!! Gracias por ver y comentar!!
As you can see in the previous photo, the gaps from the air vents I mentioned earlier are visible. In the next post, I’ll have fixed them by applying filler, sanding, priming, and repainting the area. I hope you like it! Thanks for watching and commenting!