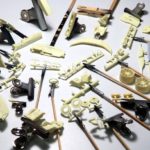
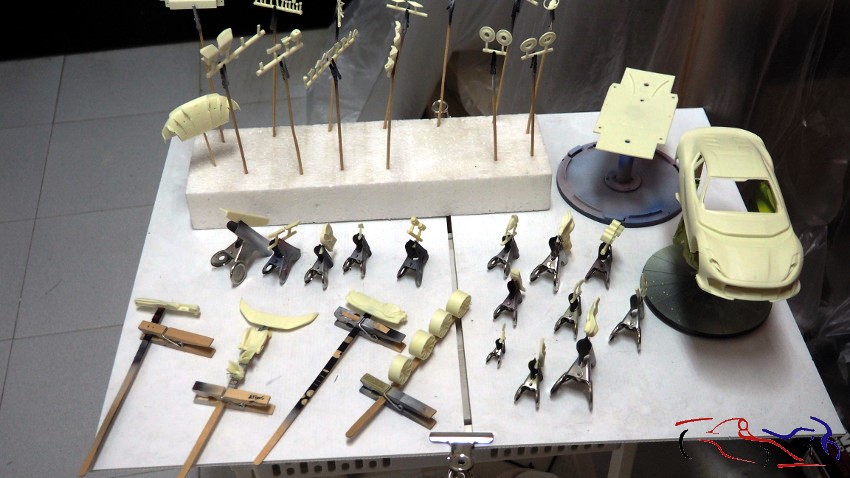
Hola a todos. Seguimos con el Ferrari al mismo tiempo del BMW para ahorrar tiempos en procesos. Por tanto, preparo todas las piezas para imprimar. Todas las piezas están lijadas y en sus respectivos soportes, incluyendo carroceria y chasis:
Hello everyone. We’re continuing with the Ferrari at the same time as the BMW to save time on the processes. Therefore, I’m preparing all the parts for priming. All the parts are sanded and on their respective supports, including the body and chassis.
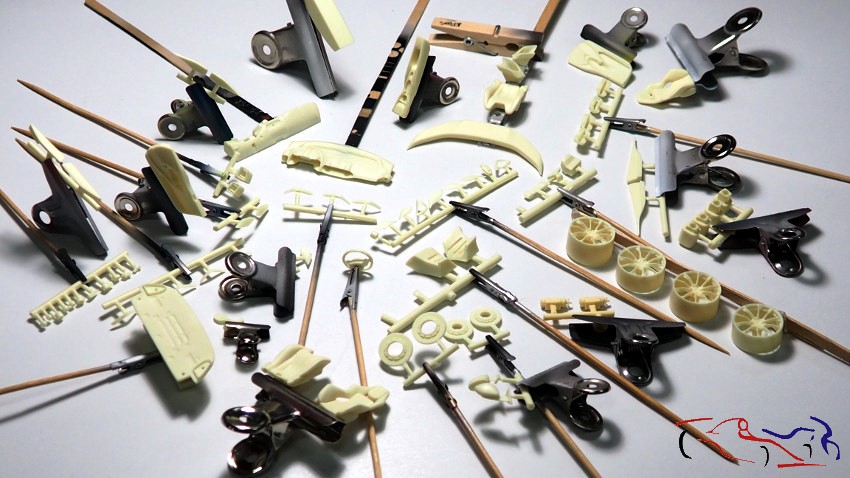
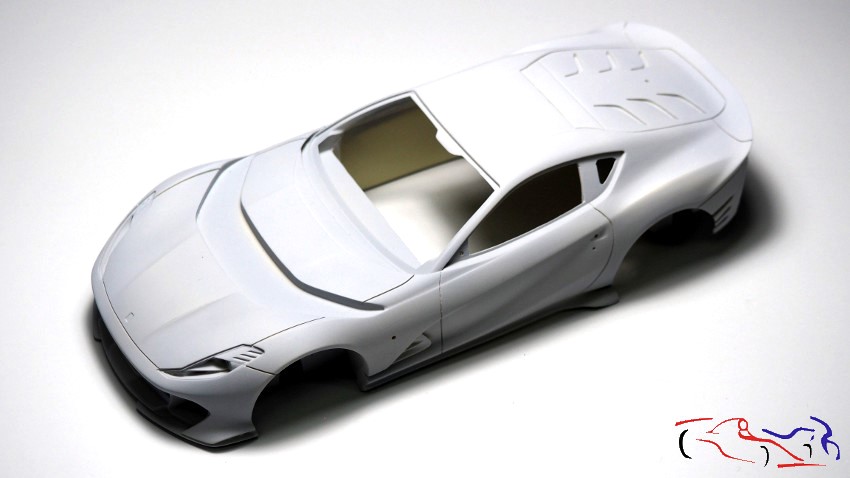
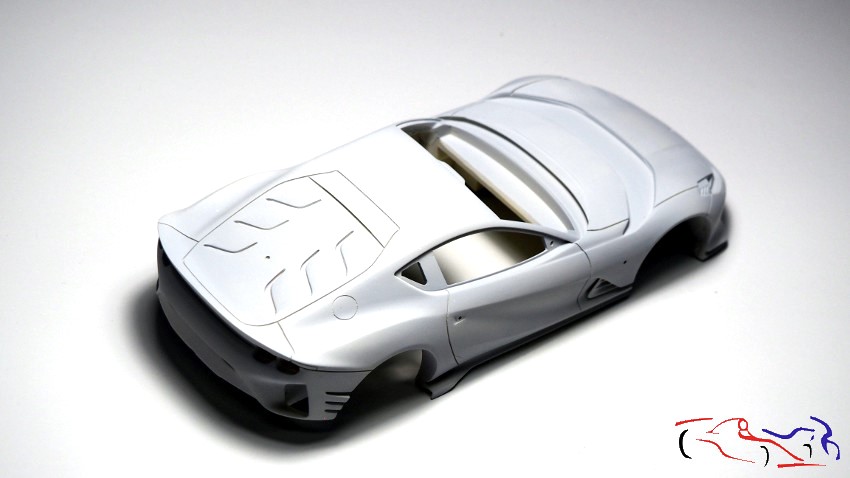
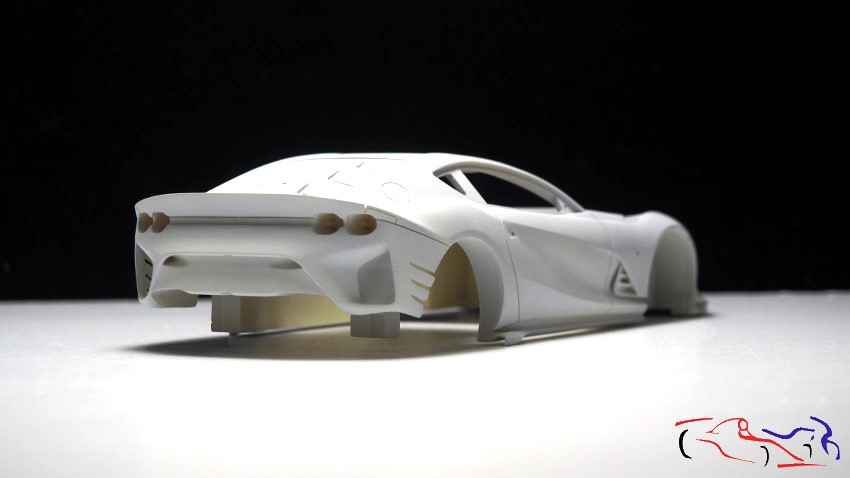
El proceso de imprimación se ha realizado con Gravity-Spain, tanto para las piezas como para la carrocería. He aplicado una primera capa muy ligera, y una segunda más húmeda para cubrir todo. Estas son las piezas….
The priming process was done with Gravity-Spain, both for the parts and the bodywork. I applied a very light first coat, and a second, wetter coat to cover everything. These are the parts…
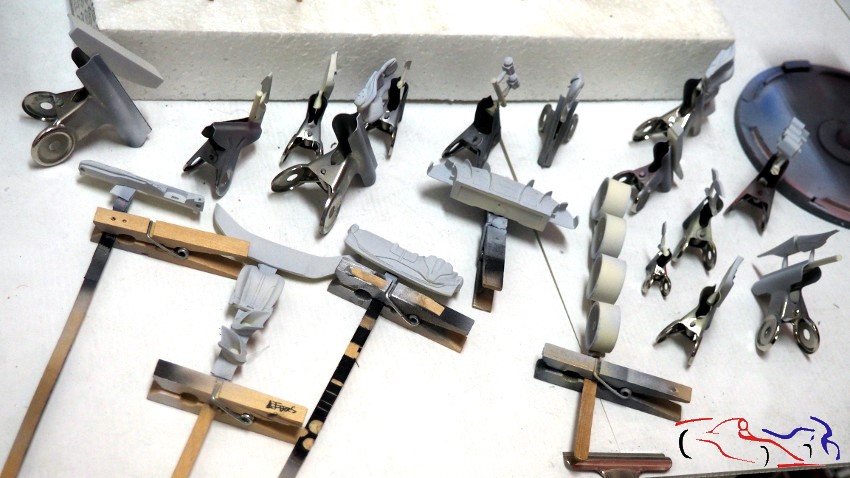
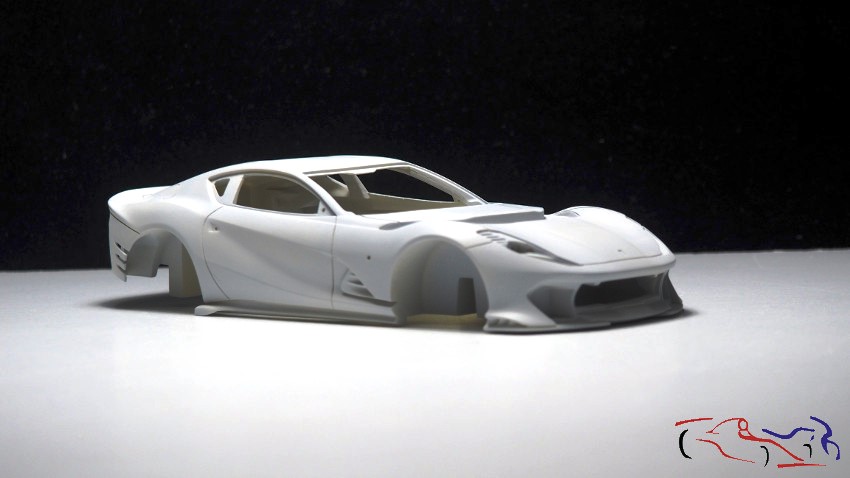
…y ésta es la carrocería:
…and this is the body:
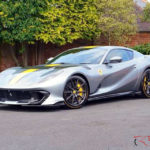
Ahora pasamos a la pintura: voy a utilizar el color Ferrari Grigio Competizione, característico de este coche, de la marca Gravity Spain:
Now we move on to the paint: I’m going to use the Ferrari Grigio Competizione color, characteristic of this car, from the Gravity Spain brand:
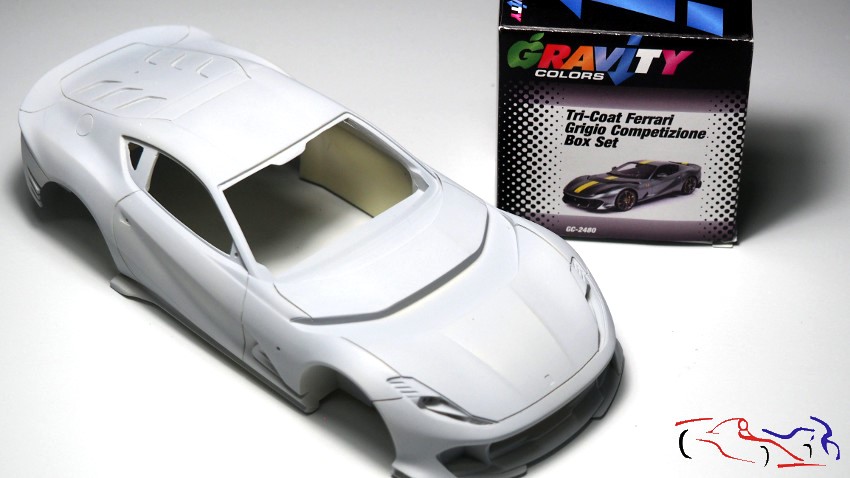
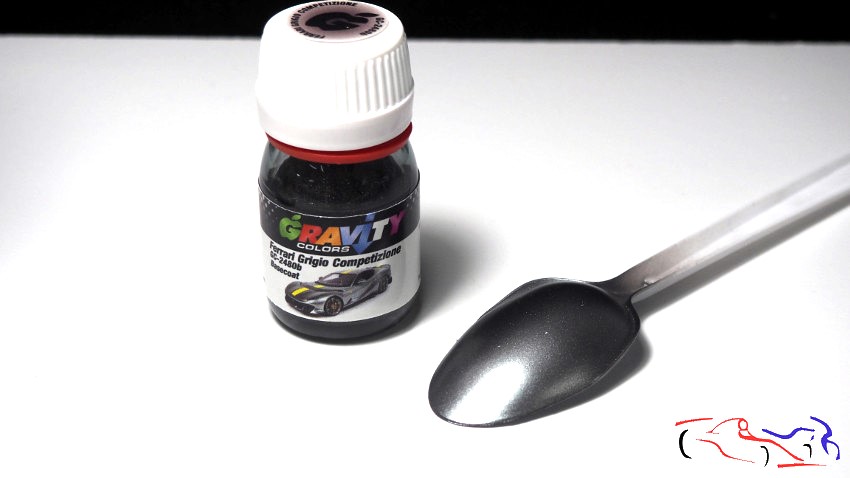
Esta pintura consta de una base gris y una capa externa metalizada. Vemos el resultado en las cucharas:
This paint consists of a gray base and a metallic outer layer. We can see the result on the spoons:
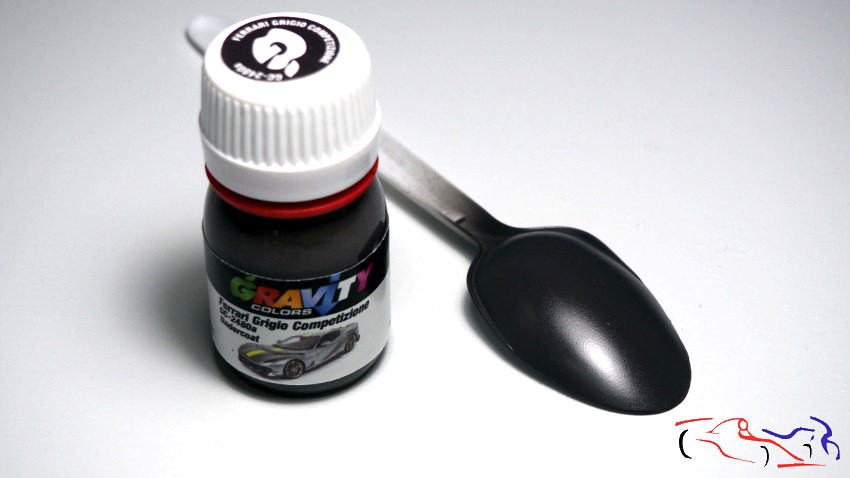
Empezamos por la primera capa gris. Se aplica en varias capas de la misma manera: una primera muy ligera, y una segunda más húmeda a los 5 minutos, hasta completar y saturar el color. He comprobado que una vez saturado, no se pone más oscuro por mucho que apliques color, al menos cuando todo está húmedo.
We start with the first gray layer. It is applied in several layers in the same way: a first very light one, and a second wetter one after 5 minutes, until the color is complete and saturated. I have found that once saturated, it does not get darker no matter how much you apply color, at least when everything was wet.
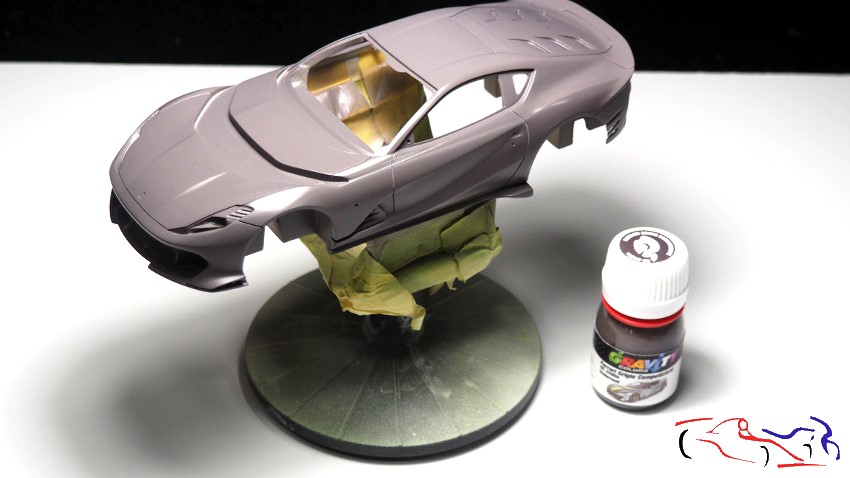
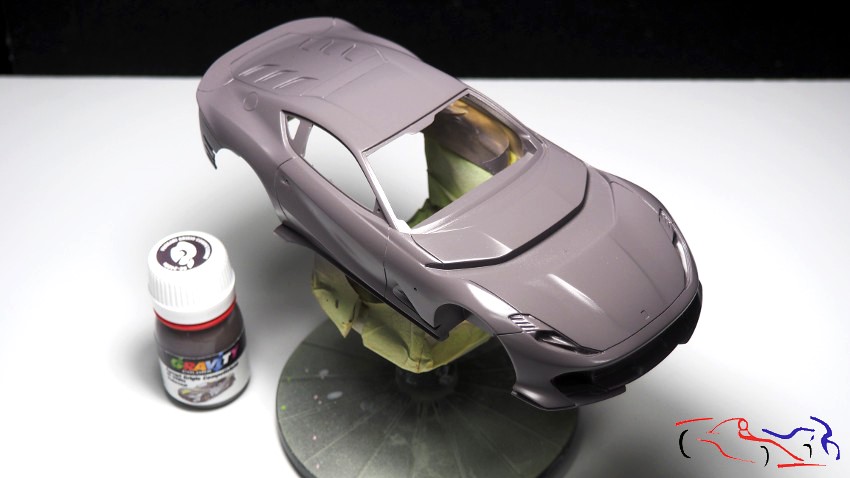
Y una vez seco, pasamos a la segunda capa con el acabado metalizado:
And once it’s dry, we move on to the second layer with the metallic finish:
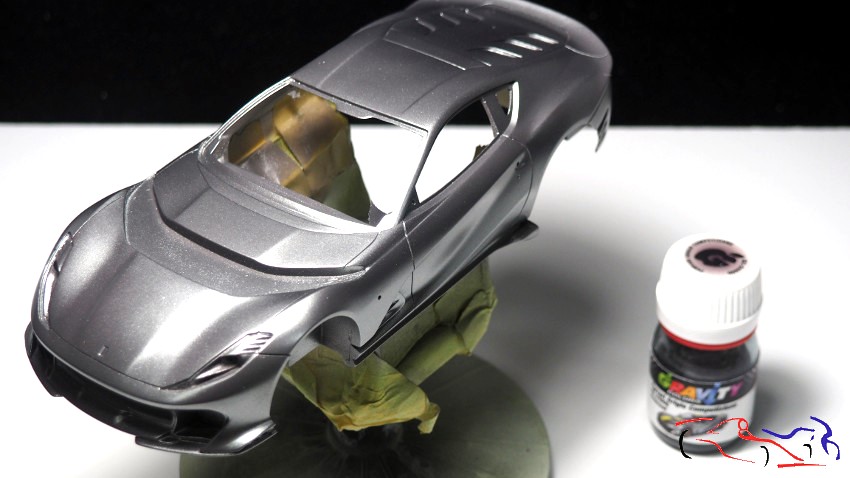
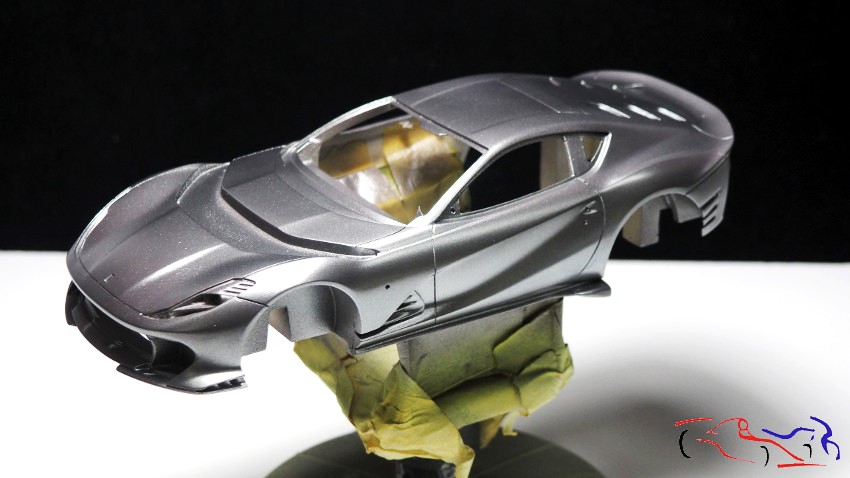
La forma de aplicación es la misma: una primera capa ligera, y una segunda más húmeda cubriendo y metalizando la anterior. El resultado es muy bueno como podéis ver a continuación:
The application method is the same: a light first coat, and a second, wetter coat covering and metallicizing the first. The result is very good, as you can see below:
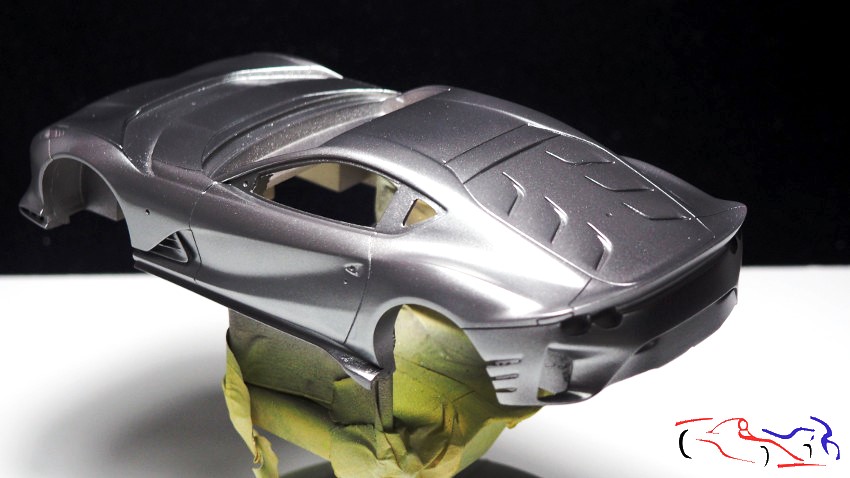
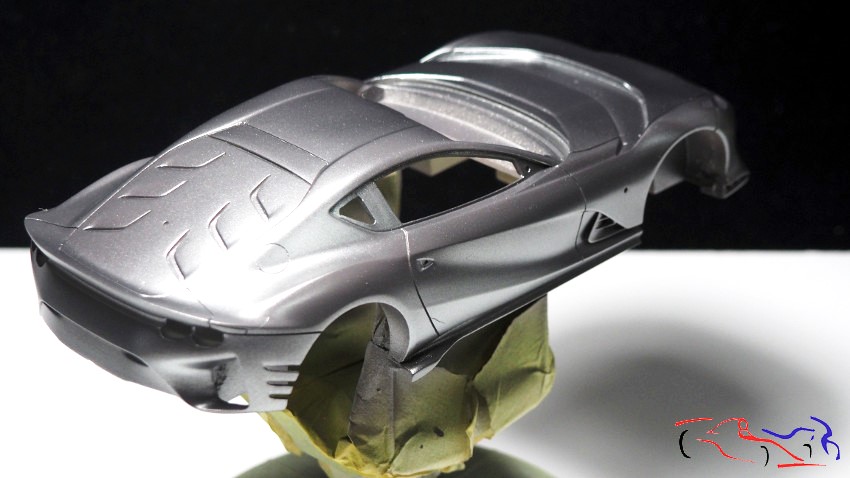
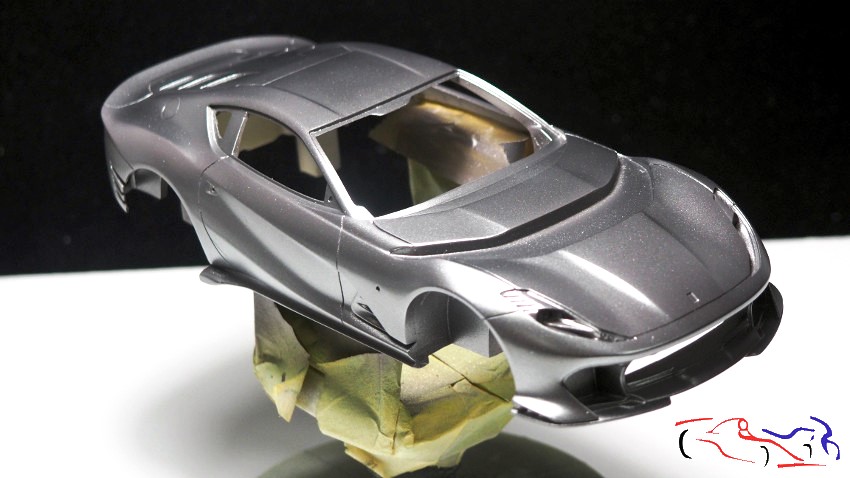
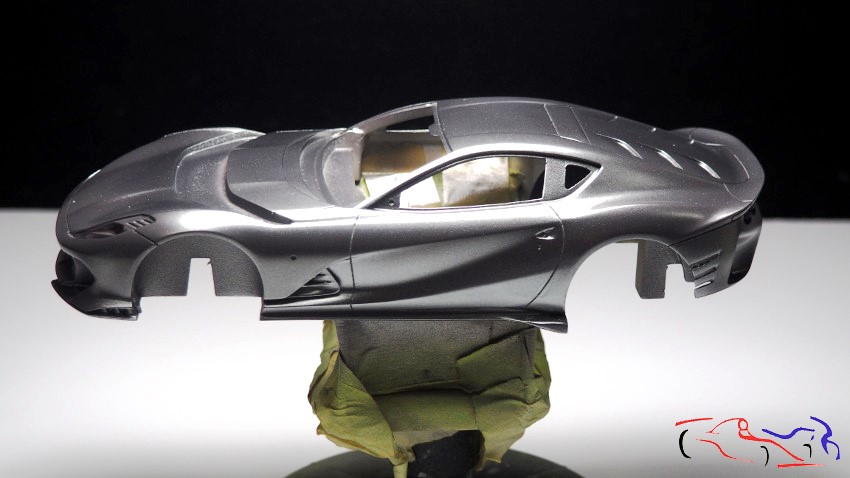
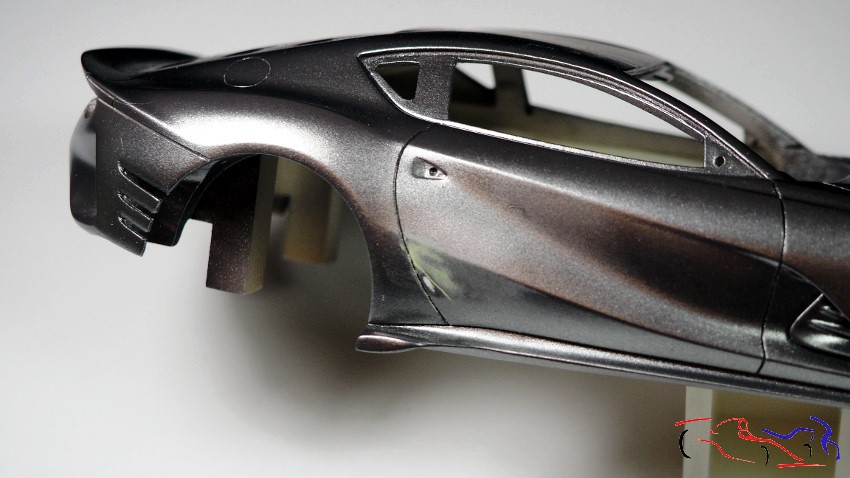
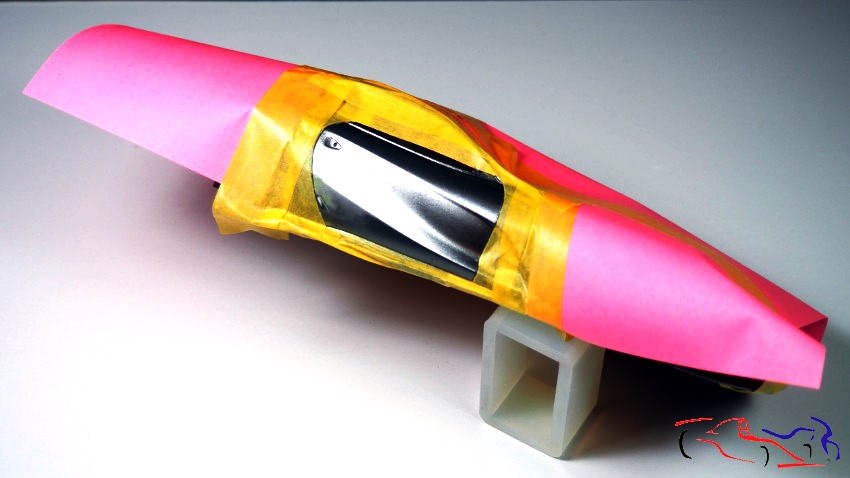
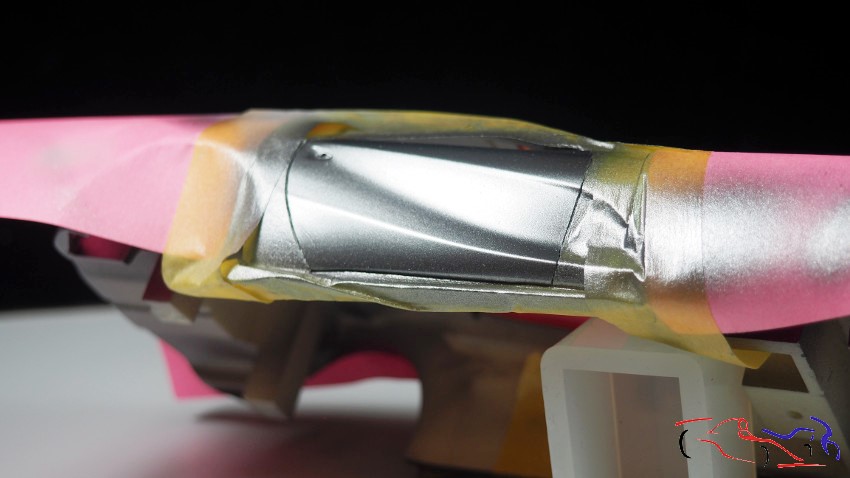
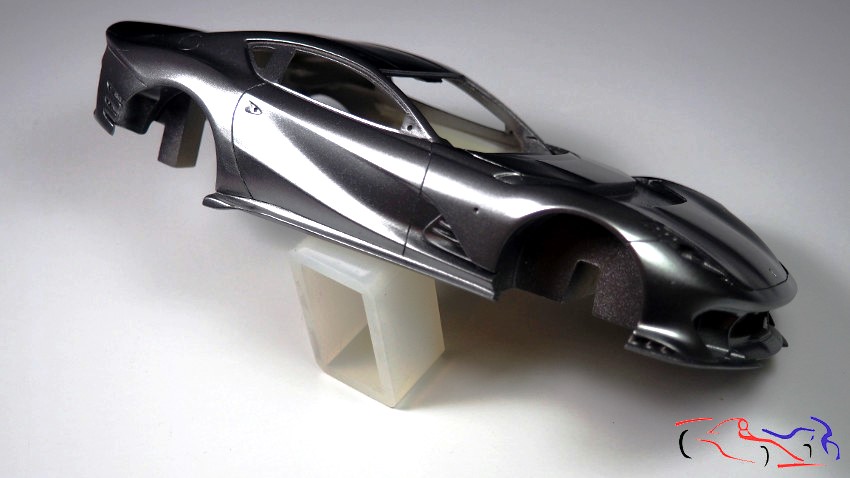
Pero hay veces, que las cosas no salen bien. En este caso, me olvidé de enmasillar una linea realizada al profundizar las lineas de panelado. Por tanto tuve que lijar un poco, enmascarar la zona y aplicar la masilla de Polyester de Tamiya. Volví a lijar, limpiar, y seguir con el proceso normal: imprimación, primera capa de pintura base y capa exterior metalizada. Una vez terminado, no se nota el problema!!
But sometimes things don’t go as planned. In this case, I forgot to fill a line I made while deepening the panel lines. So I had to sand it down a bit, mask the area, and apply Tamiya Polyester Filler. I sanded it again, cleaned it up, and continued with the normal process: primer, first coat of base paint, and metallic topcoat. Once finished, the problem was completely unnoticeable!
Para el resto de piezas, utilizo la base negra brillante de MIG para la spiezas que llevan algún tipo de calca como el difusor trasero que irá repleto de carbono…
For the rest of the parts, I use MIG’s glossy black base for the pieces that have some kind of decal, like the rear diffuser which will be covered in carbon fiber…
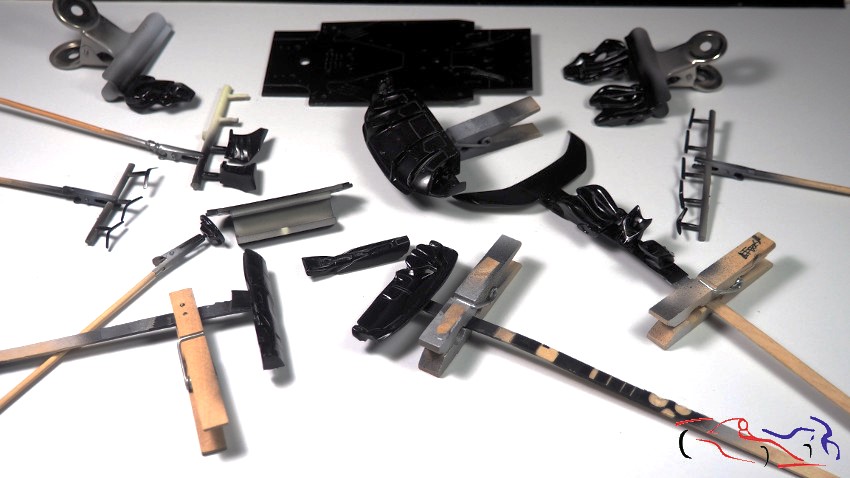
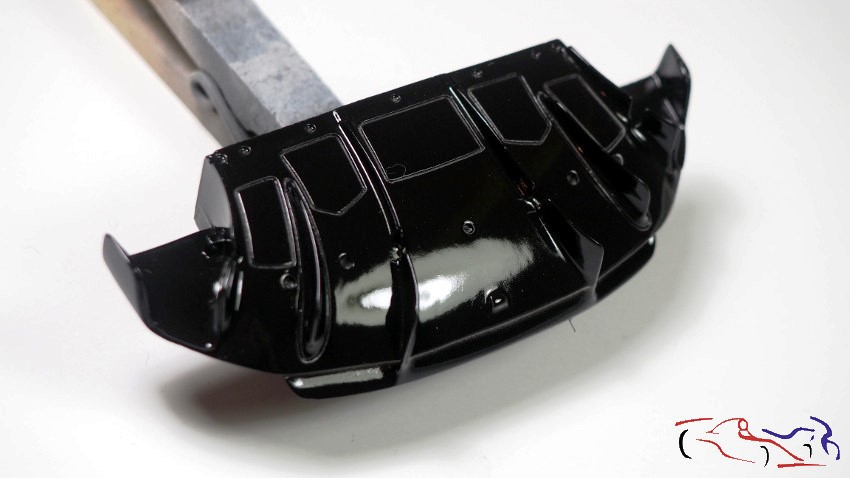
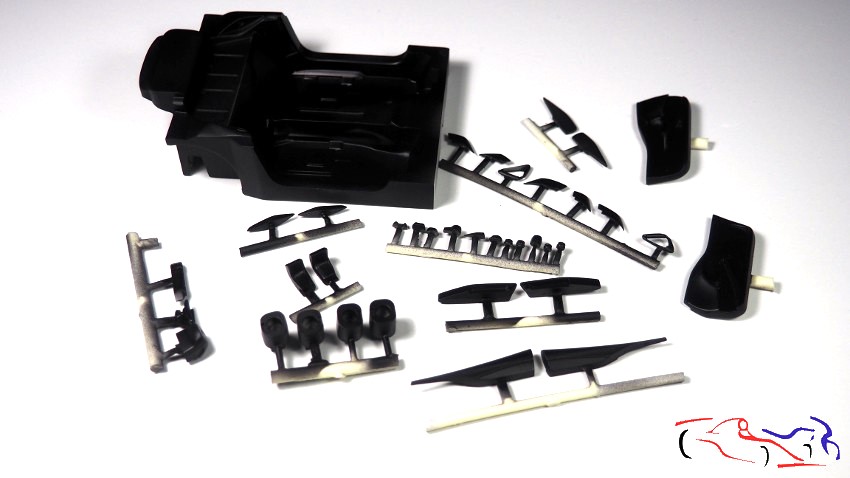
….y el negro semimate LP de Tamiya, para las piezas que no llevarían calcas:
…and Tamiya LP semi-matte black, for the parts that wouldn’t have decals:
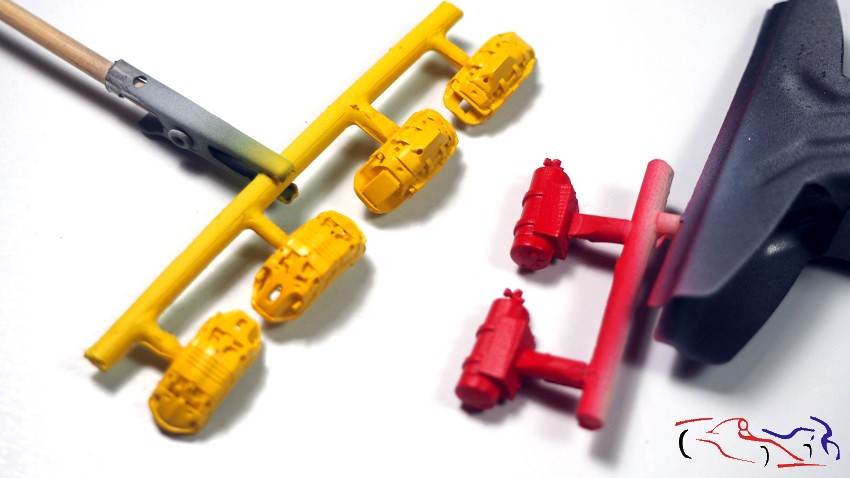
Aprovechamos para pintar las pinzas de freno con Giagio Modena, y rojo intenso para los extintores:
We took the opportunity to paint the brake calipers with Giagio Modena, and the fire extinguishers with a deep red:
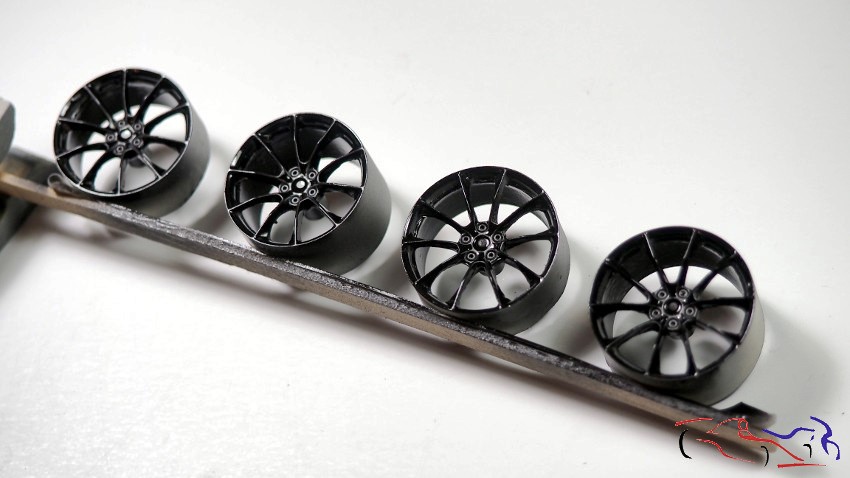
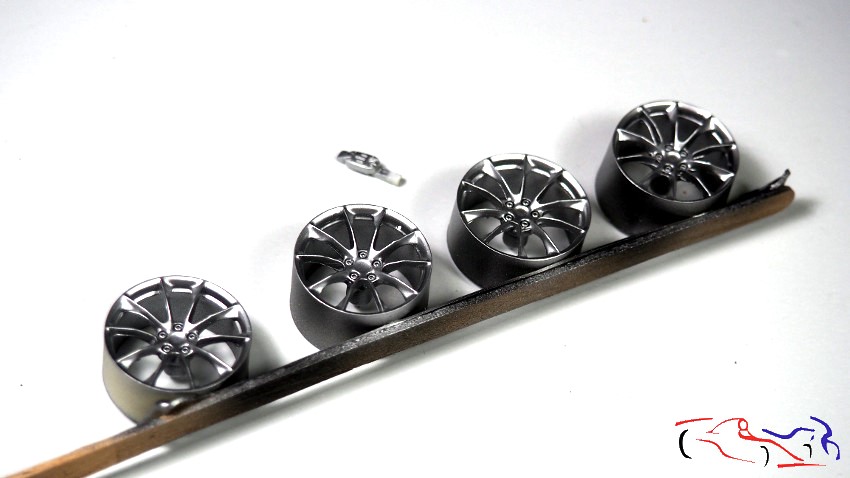
En el caso de las llantas, tambiénse pintan con el negro brillante de MIG, para terminar con el aluminui de la gama Zero Metal, que da un grano finísimo!!
In the case of the rims, they are also painted with MIG’s gloss black, and finished with the aluminum from the Zero Metal range, which gives a very fine grain!
Espero que os haya gustado los avances de este proyecto. Gracias por ver y comentar!!
I hope you enjoyed the progress on this project. Thanks for watching and commenting!