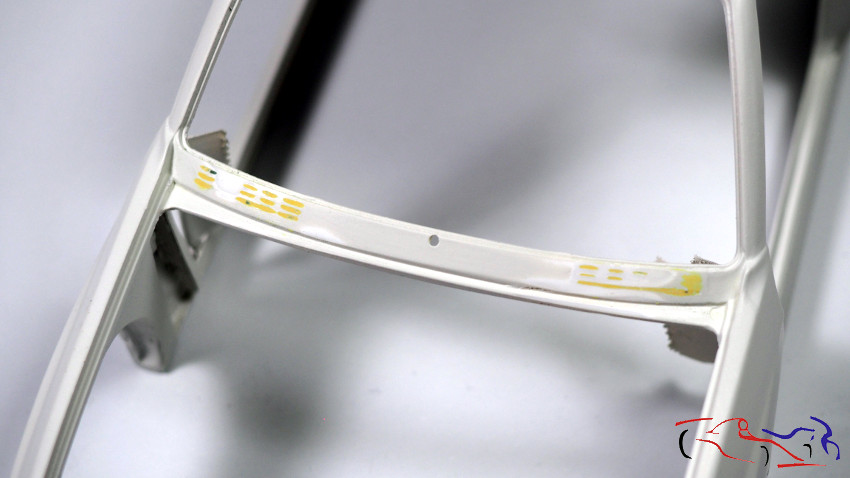
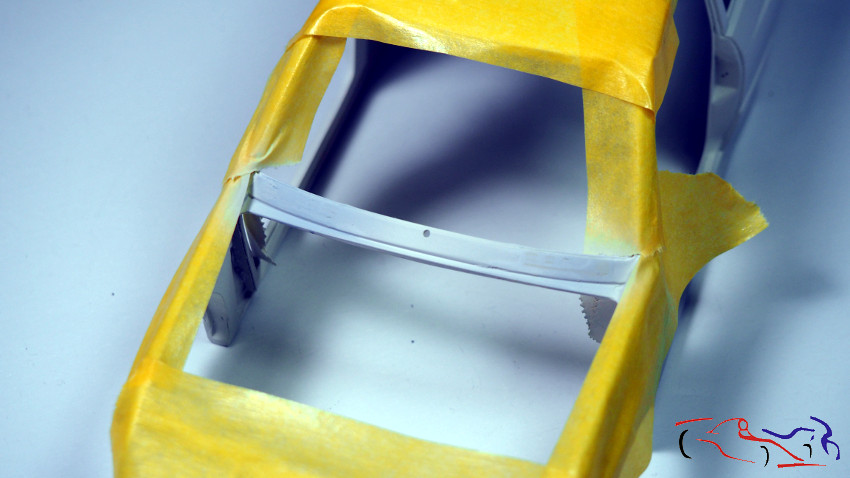
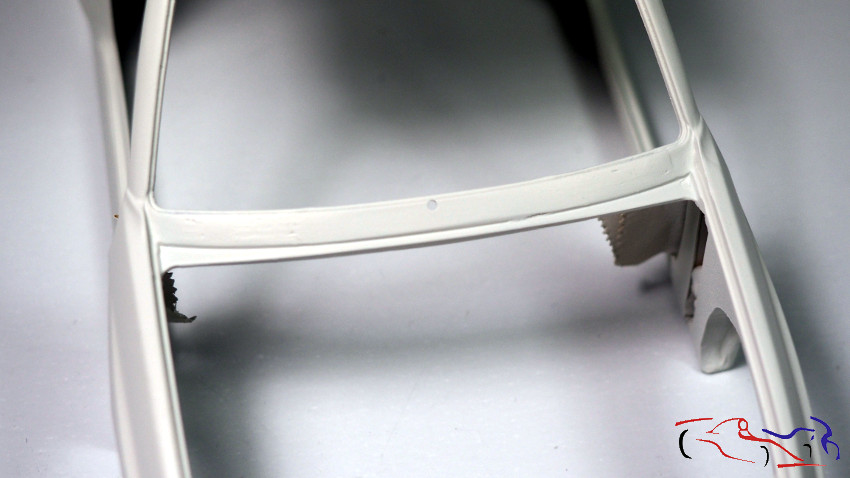
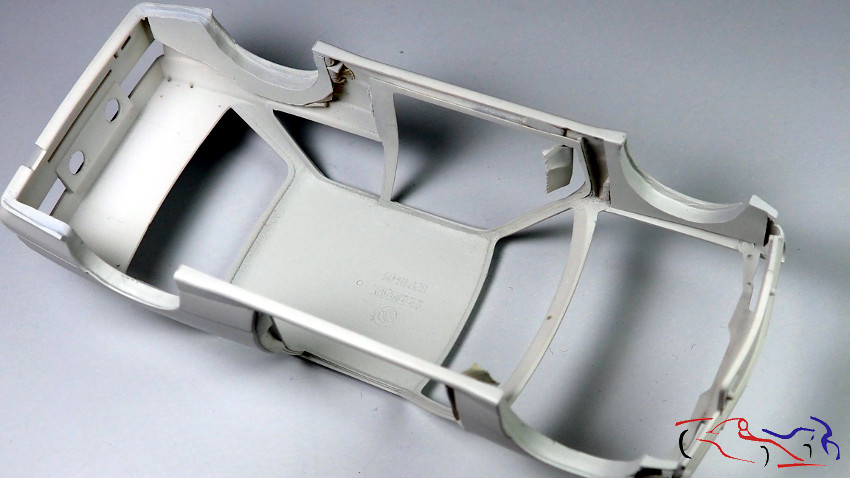
Hola a todos. Mi trabajo en la cueva se ha ralentizado debido al parón veraniego y a los cambios que estoy haciendo en mi lugar de trabajo, pero no por ello paro, y por tanto, os muestro ahora el trabajo realizado en el BMW M3, que si bien no es mucho, es muy gratificante: la pintura de la carrocería. Primero empezamos por lijar y enmasillar con Tamiya Putty de poliester, las entradas de aire del cockpit. Después enmascaramos y pintamos con el mismo blanco que la carrocería:
Hello everyone. My work in the “cave” has slowed down due to the summer break and changes I’m making to my workspace, but I haven’t stopped altogether; so, I’m now sharing the work done on the BMW M3—which, while not extensive, is very rewarding: painting the bodywork. First, we started by sanding and filling the cockpit air intakes with Tamiya polyester putty. Then, we masked and painted them using the same white as the bodywork:
El siguiente paso es preparar las partes interiores de la carrocería así como los retrovisores para pintarlos con el mismo blanco. Para eso, imprimamos la cara inferior del capó y los espejos que aun no estaban preparados….
The next step is to prepare the interior parts of the bodywork, as well as the side mirrors, for painting in the same white color. To do this, we prime the underside of the hood and the mirrors that hadn’t been prepared yet…
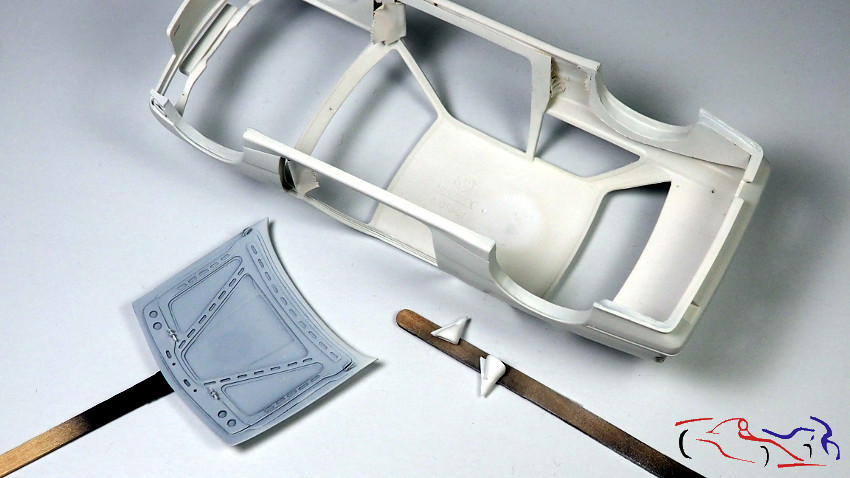
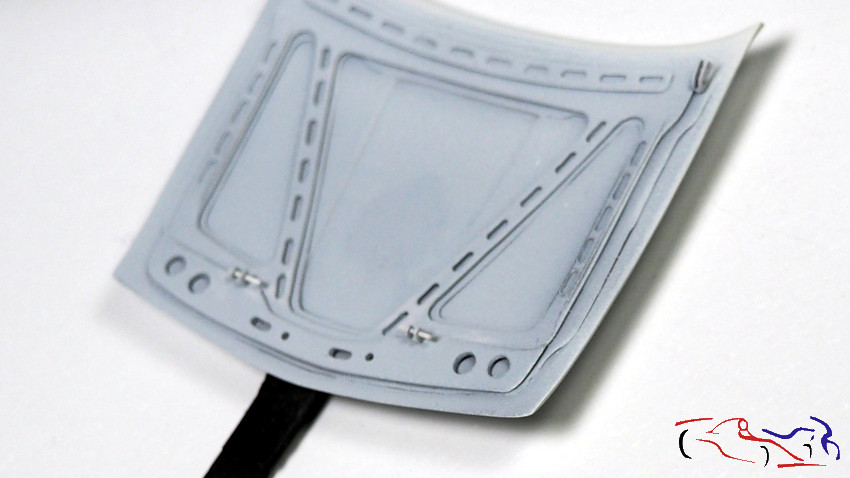
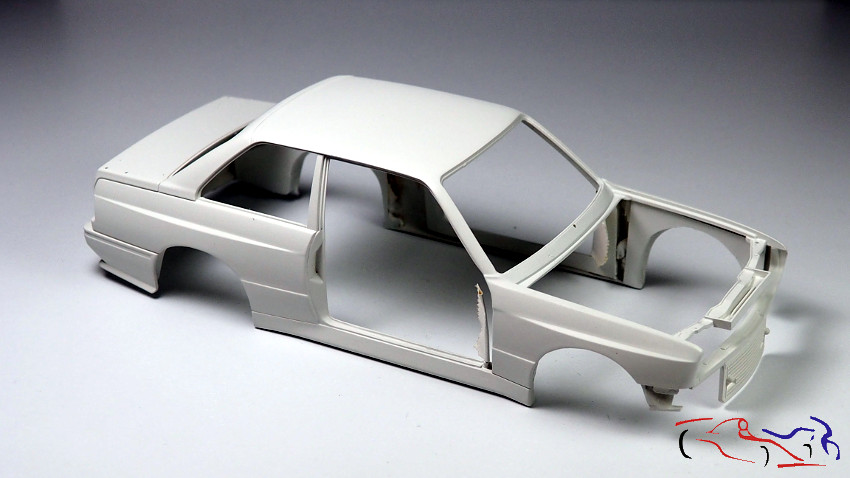
….para pintarlos a continuación (se nota que el blanco de este BMW es un poco crema):
…to paint them next (you can tell the white on this BMW is a bit of a cream shade):
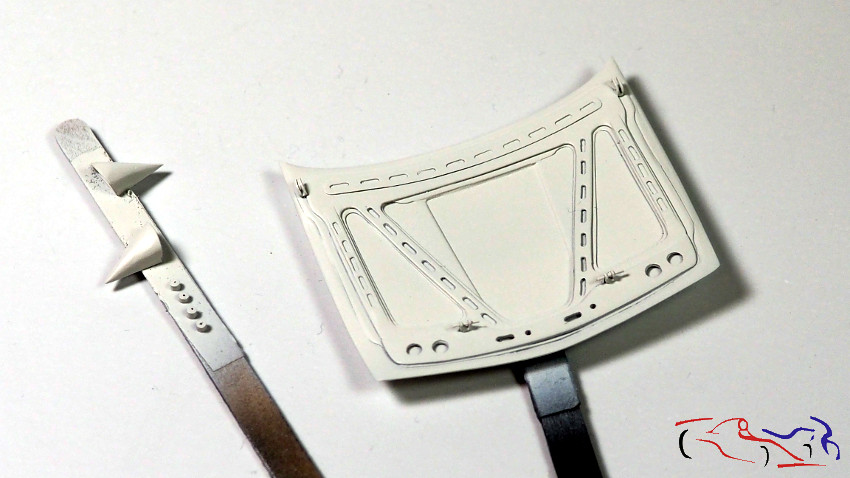
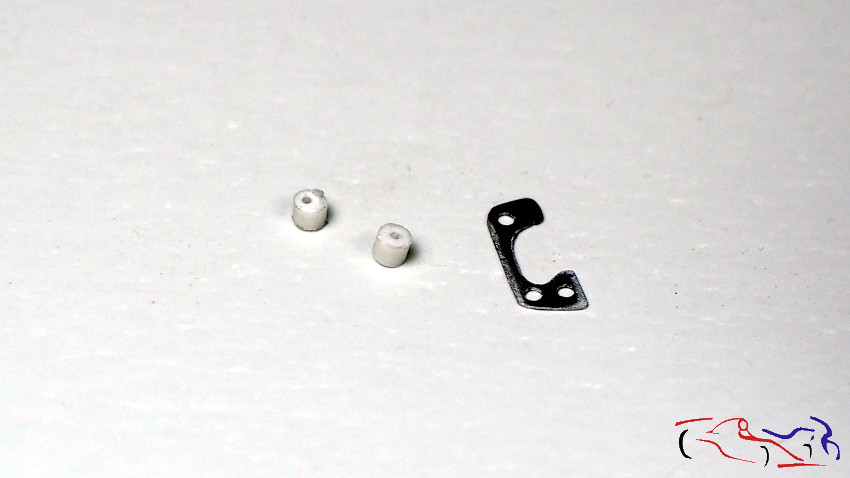
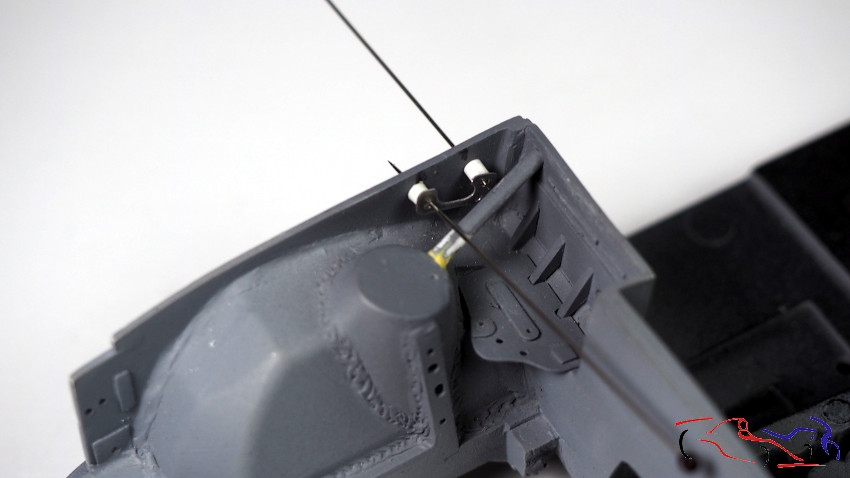
Y mientras seca, pasamos a realizar las fijaciones del capó que lleva este coche. Si bien ya hice y añadí en el capó la parte correspondiente, ahora tocaba fijar las piezas de metal en el vano motor. Para ello, taladro desde el exterior con la pieza como guía, y corto dos redondos pequeños que con unos taladros, fijo con unos alfileres. La pieza de metal irá tal como está en metal, y los redondos los pinto con el blanco de la carrocería, que también será el color del chasis. En la segunda foto, se ve la posición de estas fijaciones.
While that dries, we move on to installing the hood fasteners. Although I had already prepared and attached the corresponding section to the hood itself, the next step was to mount the metal parts in the engine bay. To do this, I drill from the outside using the part as a guide, and I cut two small round pieces which I secure using pins inserted into drilled holes. The metal part will remain unpainted, while the round pieces are painted in the same white as the bodywork—which will also be the color of the chassis. The second photo shows the positioning of these fasteners.
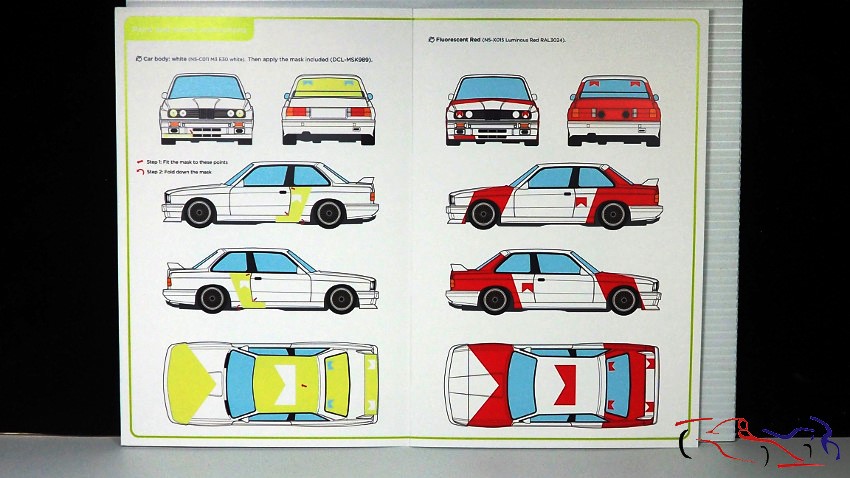
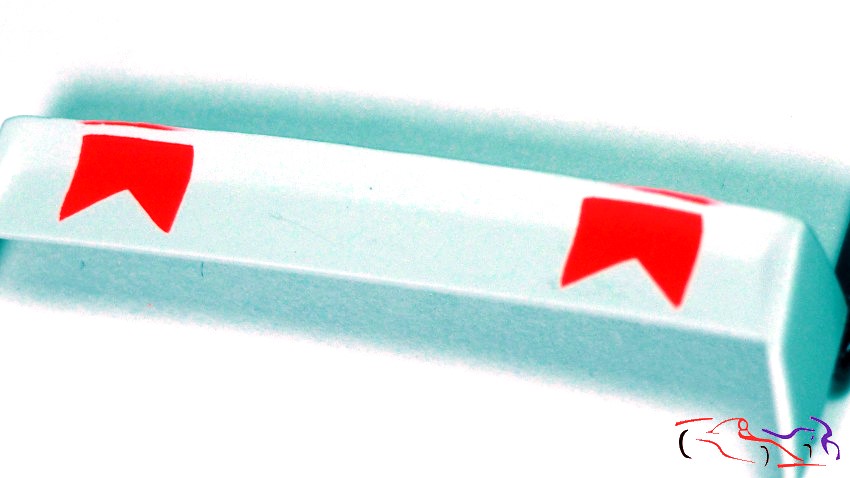
Y ahora si, vamos a pintar la carrocería con el rojo fluo de Number5. Partimos de la carrocería en blanco y añadimos las máscaras que proporciona Decalcas junto a las calcas de esta carrera. Las máscaras vienen muy bien explicadas pero hay que ser pacientes y tener mucho cuidado para ponerlas en sus correctas posiciones, ya que un pequeño giro al ponerlas, las descuadra por completo. Especial cuidado en las de los faros delanteros (pintar los cristales de blanco previamente) y en el aleron trasero, ya que la parte final de la máscara es muy finita encima de los logos de Marlboro. El capó conviene fijarlo a la carrocería para continuar las máscaras hasta los bajos laterales del faldón delantero, asi como crear las máscaras que delimitan el rojo delante de las puertas. Las instrucciones de Decalcas indican todo claramente.
Now, let’s paint the bodywork using Number5’s fluorescent red. Starting with the white body, we apply the masks provided by Decalcas along with the race-specific decals. The masking instructions are very clear, but patience and great care are required during placement; even a slight twist can completely throw off the alignment. Pay special attention to the headlight areas (remember to paint the lenses white beforehand) and the rear wing, as the tip of the mask is very thin where it sits over the Marlboro logos. It is best to attach the hood to the body to ensure the masking lines flow seamlessly down to the lower front splitter, and to correctly position the masks that define the red area ahead of the doors. The Decalcas instructions clearly outline all these steps.
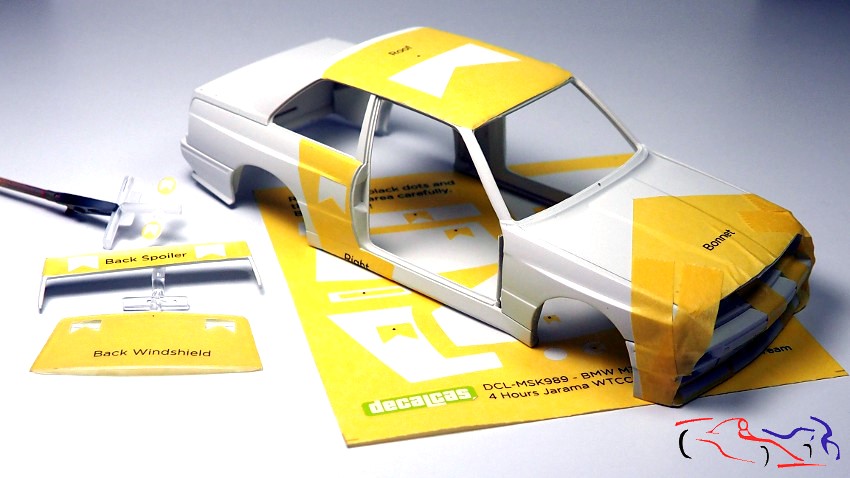
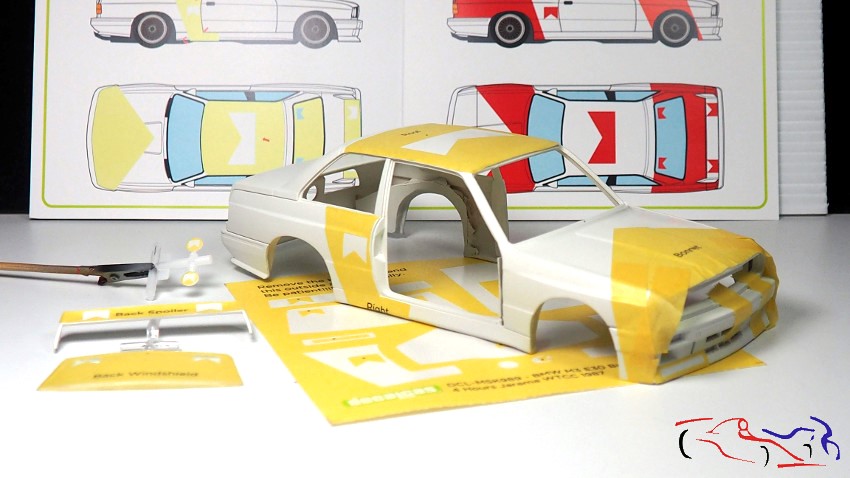
Aún así, después hay que enmascarar todo el resto para que el rojo no pinte en el blanco, y más en mi caso, que tiene las puertas abiertas. Mención especial son los pasos de rueda, que el interior es blanco mientras del perfil, es del color rojo. Y después tapamos los posibles huecos en las mascaras con Máscara líquida de AK.
Even so, I then have to mask off everything else so the red doesn’t get onto the white areas—especially in my case, since the doors are open. The wheel arches deserve special mention, as their interiors are white while the outer profile is red. Finally, I fill any potential gaps in the masking using AK liquid mask.
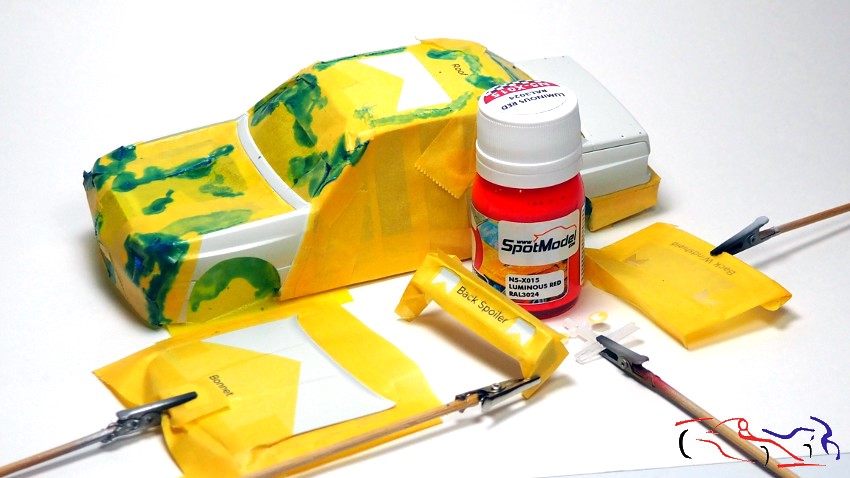
La pintura rojo fluo de Number5 viene un poco espesa para que el fluo tenga consistencia, por lo que decido añadirle disolvente de Number5. La medida sería entre 50/50 y 60/40 (pintura/thinner). Le doy primero una capa fina, y después de que seque un poco, le voy dando más capas hasta que el rojo sea opaco y sature, es decir, que no sea más rojo por más pintura que ponga.
Number5’s fluorescent red paint comes somewhat thick to ensure the fluorescent pigment has the right consistency, so I decide to add Number5 thinner. The mixing ratio is between 50/50 and 60/40 (paint to thinner). I apply a thin coat first, and after it dries slightly, I add more layers until the red is opaque and fully saturated—meaning the color doesn’t get any redder regardless of how much more paint I apply.
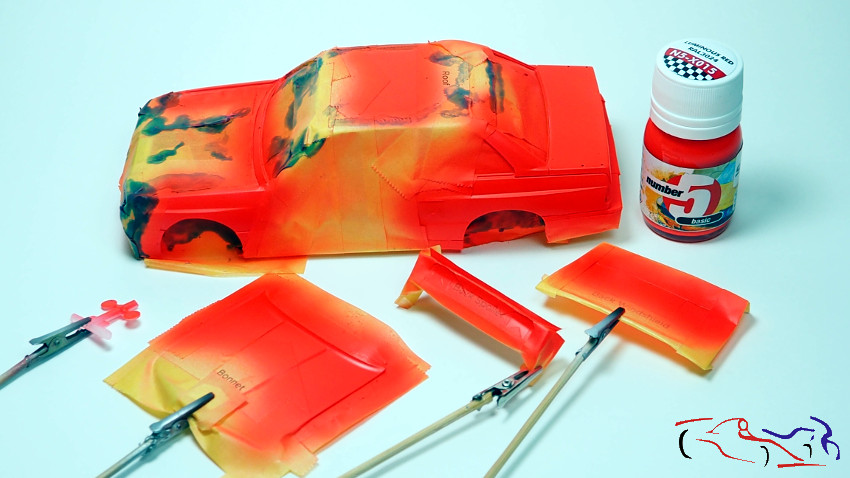
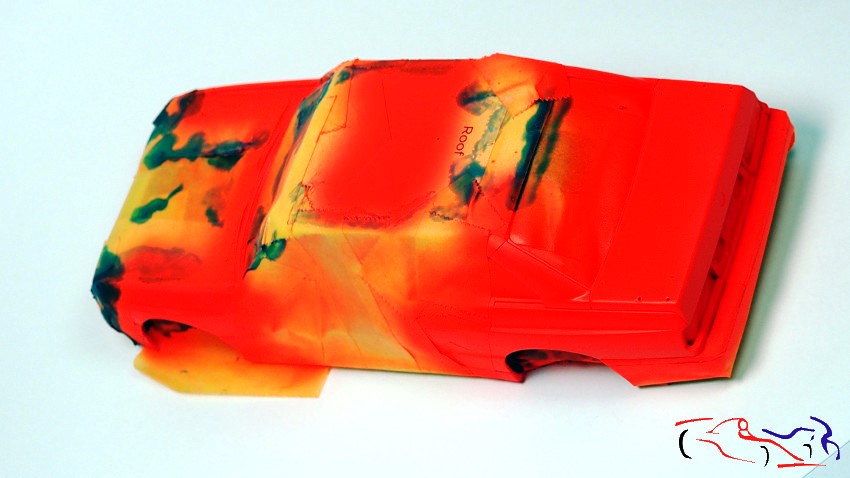
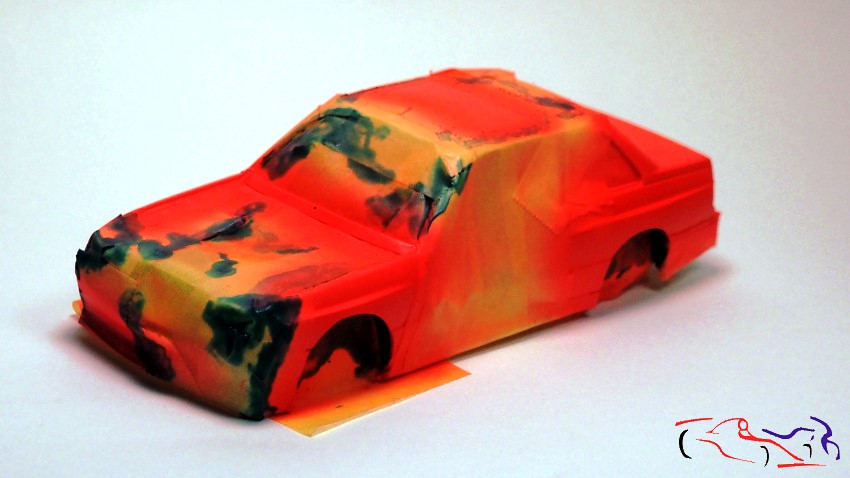
Y una vez seca, retiro las máscaras con cuidado, resultando la carrocería bonita, atractiva y mítica, sin muchos problemas.
And once it is dry, I carefully remove the masks, resulting in a beautiful, attractive, and iconic bodywork, without any major issues.
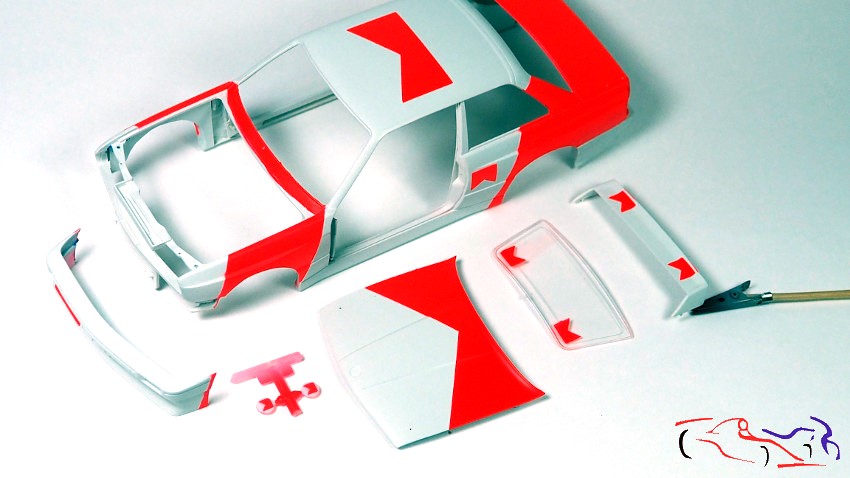
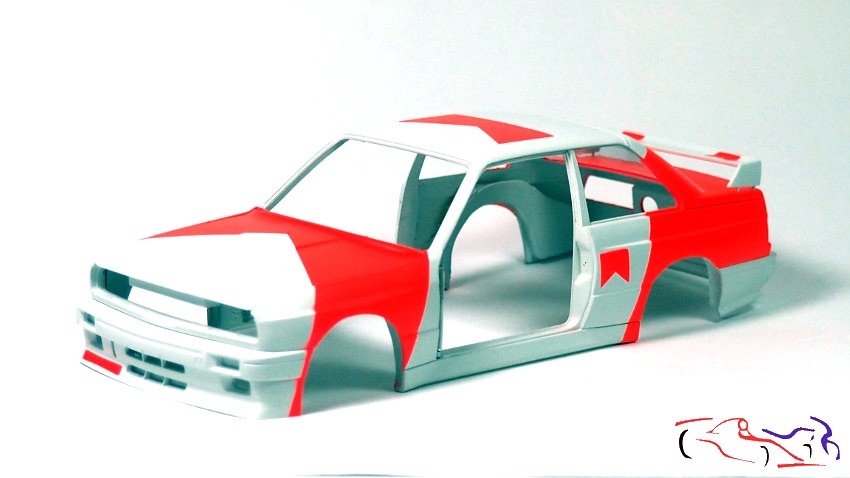
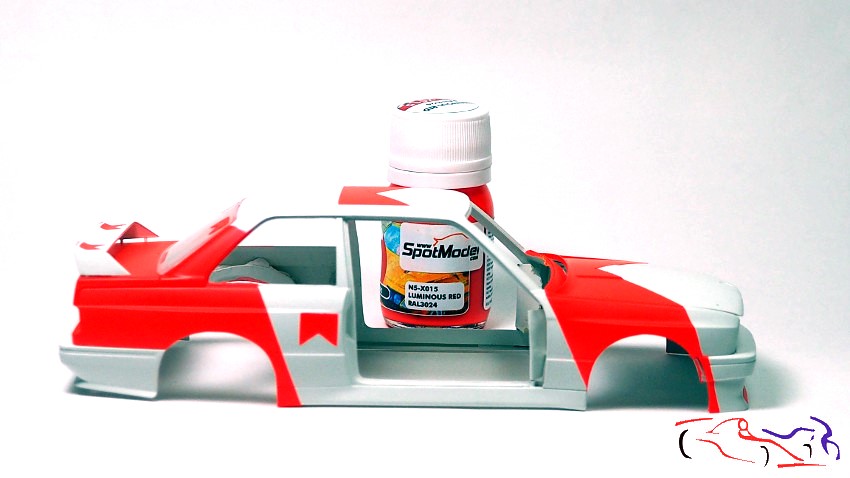
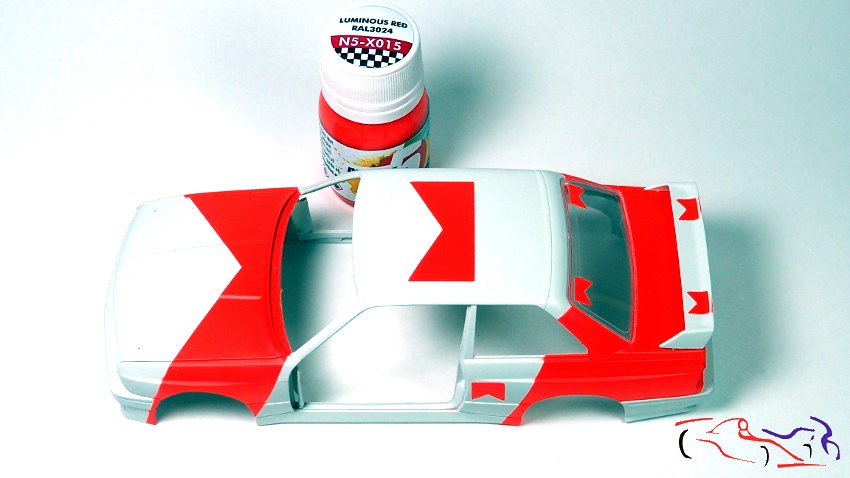
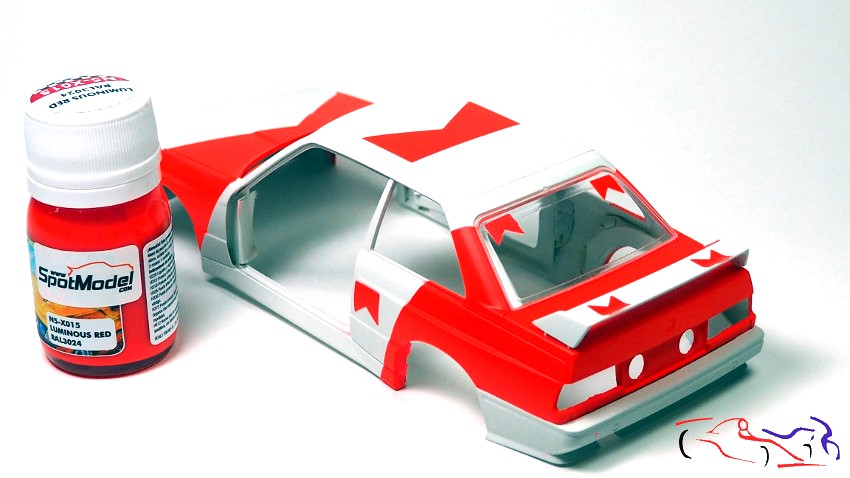
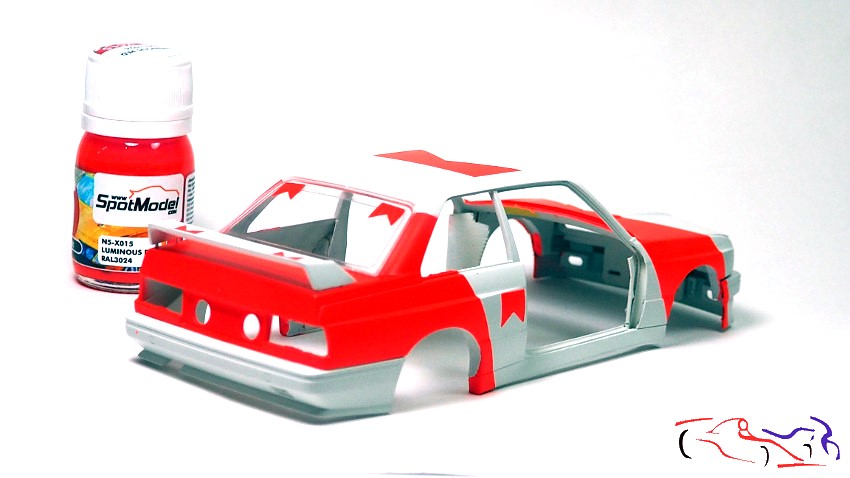
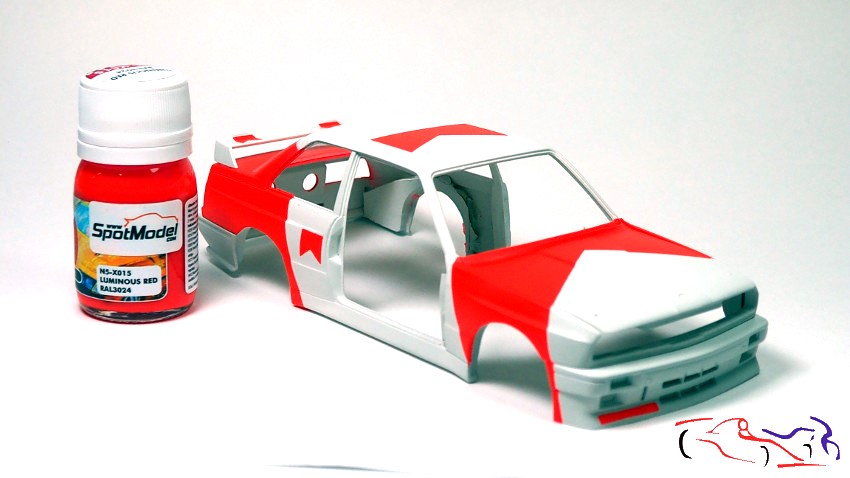
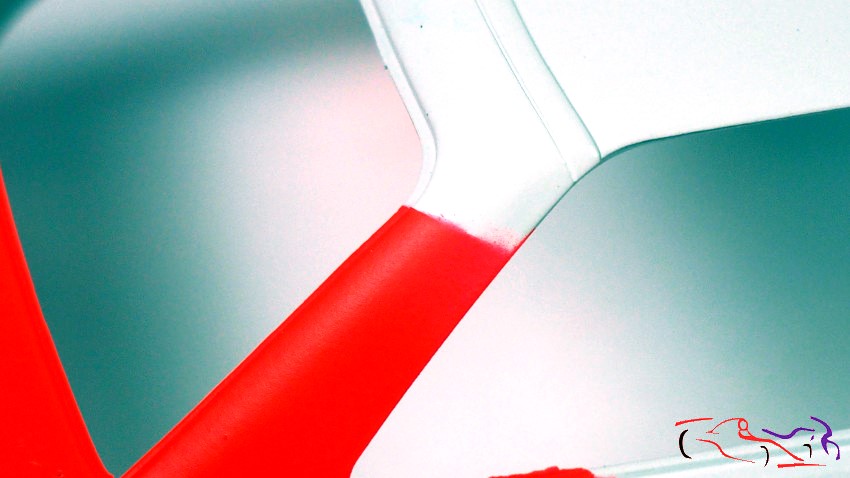
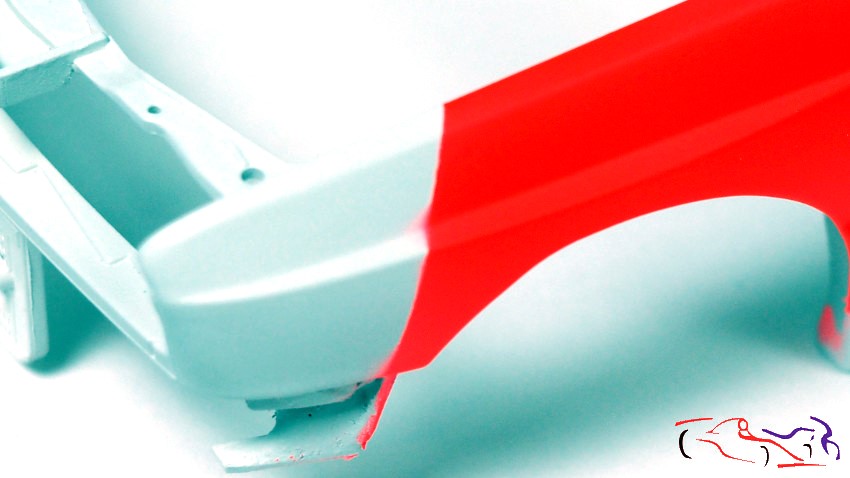
Y vamos con los fallos, los escapes de pintura roja pot fuera de las máscaras. Son solo estos tres que se eliminan al pasar una lija de grano 2000 con agua. Ese mismo lijado me servirá para eliminar el salto entre ambas pinturas y alisar toda la carrocería, lo blanco y lo rojo, como paso previo a la colocación de las calcas. Decir qie no he eliminado del todo el salto de blanco al rojo puesto que en los años 80, existía un salto, mínimo, porque no los coches no estaban vinilados sino pintados.
Now for the flaws: spots where the red paint bled outside the masking lines. There are just three of them, and they can be removed by wet-sanding with 2000-grit paper. That same sanding process will also help eliminate the ridge between the two paint colors and smooth out the entire bodywork—both the white and red sections—in preparation for applying the decals. It is worth noting that I haven’t completely eliminated the transition ridge between the white and red; back in the 80s, there was a slight ridge because the cars were painted rather than wrapped in vinyl.
Ahora, lo siguiente son las calcas y lacar, proceso que haré junto al Ferrari 812. Gracias por ver y comentar!!
Next up are the decals and clear-coating—a process I’ll be doing alongside the Ferrari 812. Thanks for watching and commenting!