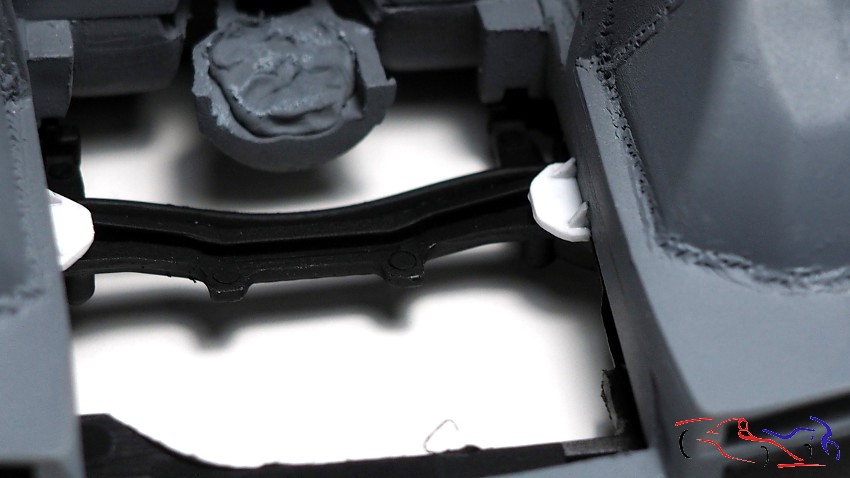
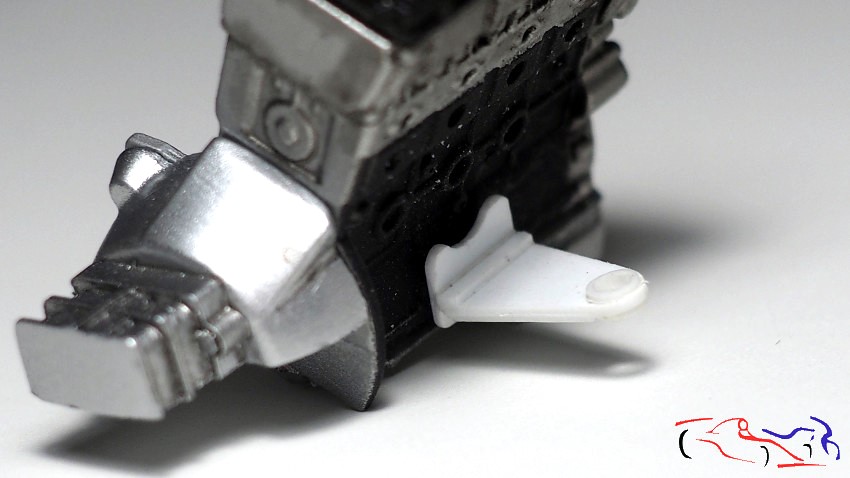
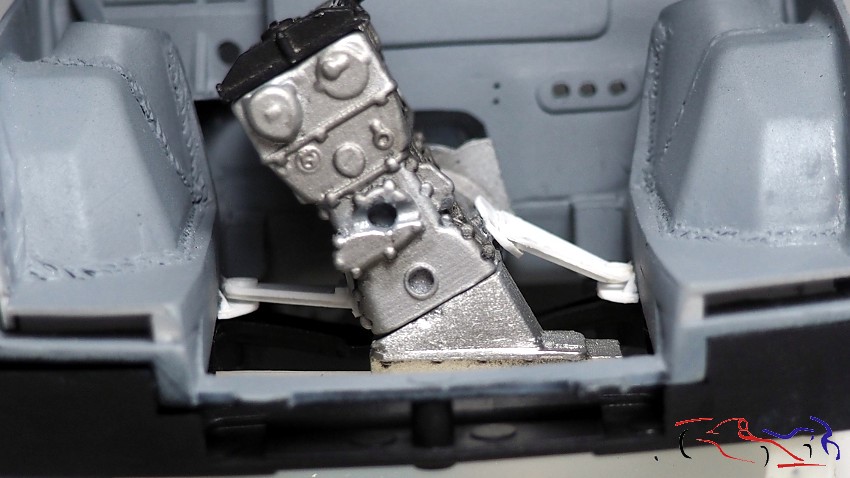
Hola a todos. Después de poner mis trabajos con el diseño 3D, seguimos con el BMW, puesto que ambos procesos los voy alternando por horas. Es el momento de trabajar en el chasis, y para ir avanzando con el motor, y siguiendo los pasos dados por mi compañero Borja en su proyecto, le hago las fijaciones del mismo sustituyendo las que trae el TK. Primero realizo las piezas que irán en el chasis, para después, realizar las piezas que van en el motor, con su inclinación correspondiente. Todo ello ha sido realizado con plástico de 0,3 mm.
Hello everyone. After posting my 3D design work, we’re continuing with the BMW, as I alternate between the two processes. It’s time to work on the chassis, and to move forward with the motor, and following the steps outlined by my colleague Borja in his project, I’m making the motor mounts, replacing the ones that come with the TK. First, I’m making the parts that will go on the chassis, and then I’ll make the parts that go on the motor, with the correct angle. Everything has been made with 0.3 mm plastic.
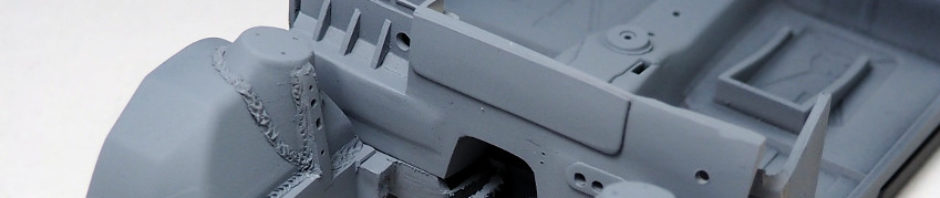
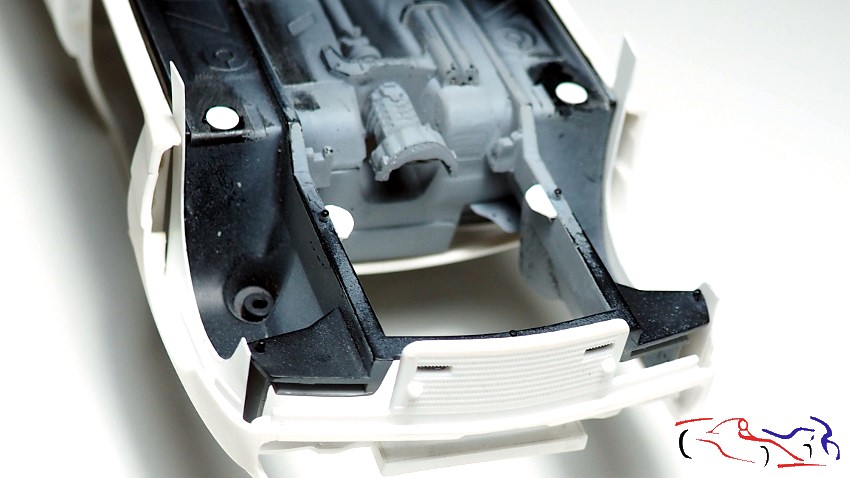
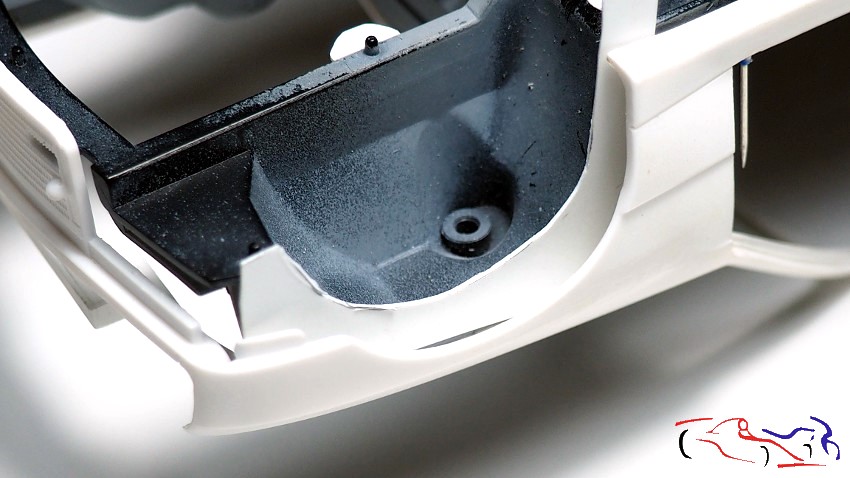
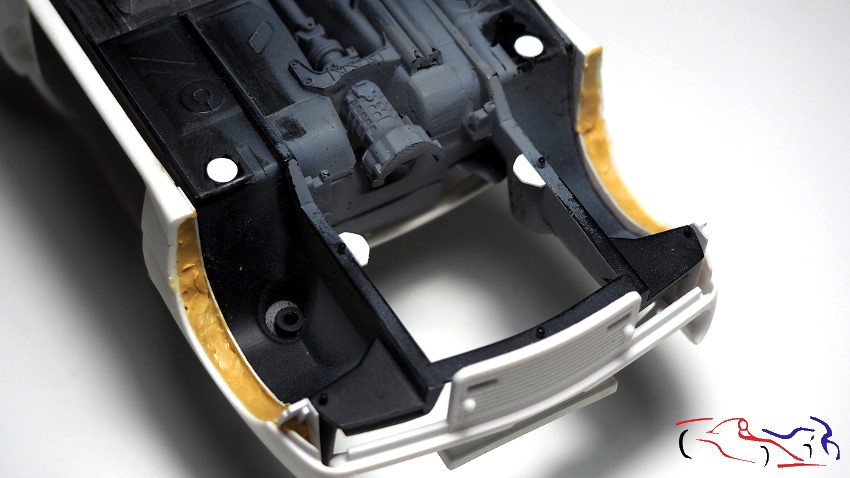
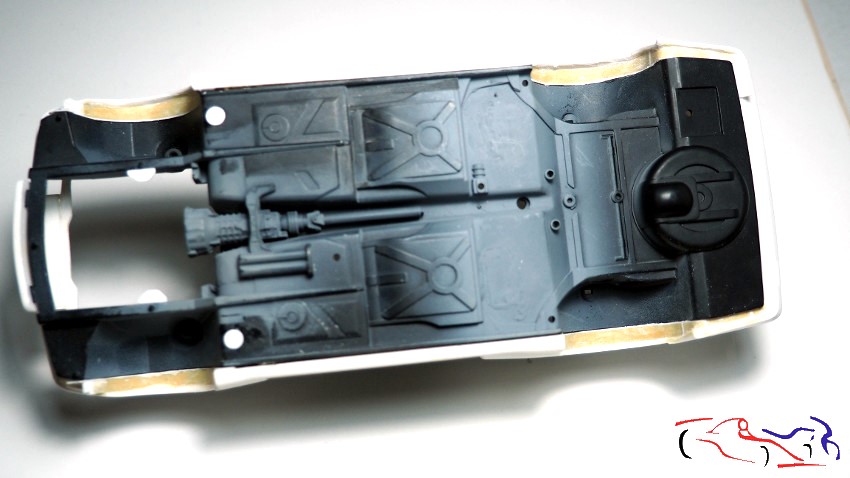
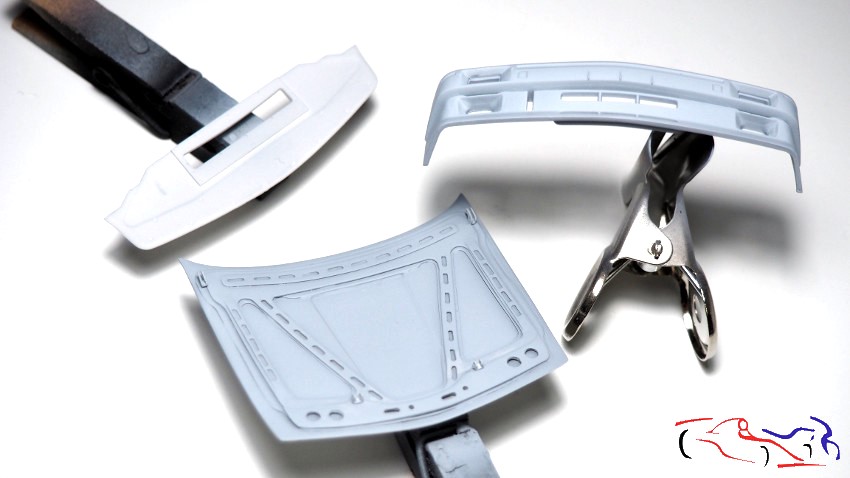
Siguiendo con el chasis, el turno es para completar los pasos de rueda que no llegan hasta la carrocería. El método es el mismo que use en el Porsche 911 Rothmans: poner plástico sin pegarlo al chasis, y rellenarlo con masilla epoxy en la parte de la carrocería. Una vez seco, separo el chasis y trabajo los pasos de rueda en la carrocería, recortando el plástico y lijando la masilla. Primero vemos las láminas de plástico en su lugar, sin pegar:
Continuing with the chassis, it’s time to complete the wheel arches that don’t extend to the body. The method is the same as I used on the Rothmans Porsche 911: apply plastic to the chassis without gluing it, and fill the gaps with epoxy putty on the bodywork. Once dry, I separate the chassis and work on the wheel arches on the body, trimming the plastic and sanding the putty. First, we see the plastic sheets in place, unglued:
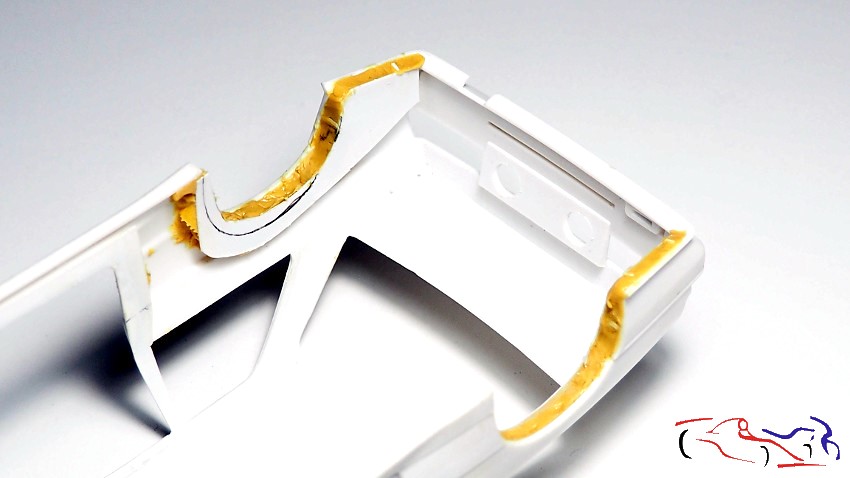
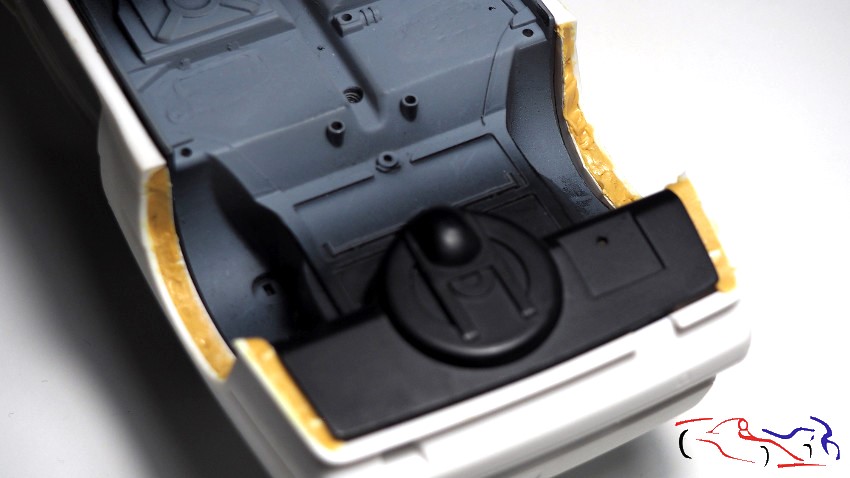
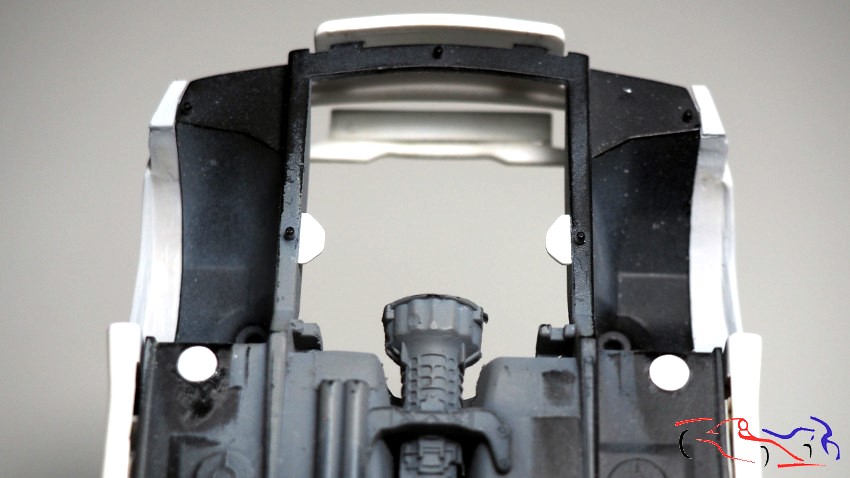
Aplicamos la masilla epoxy presionando para que el plástico no se separe del chasis. Una vez seca la masilla, retiramos el chasis y vemos como quedan las láminas y la masilla. Destacar, que antes de quitar el chasis, marco con un rotulador fino y siguiendo el paso de rueda del chasis, por donde tengo que cortar en el plástico:
We applied the epoxy putty, pressing firmly so the plastic wouldn’t separate from the chassis. Once the putty was dry, we removed the chassis and inspected the plastic sheets and the putty. Note that before removing the chassis, I marked with a fine-tipped marker, following the wheel well line of the chassis, where I needed to cut the plastic.
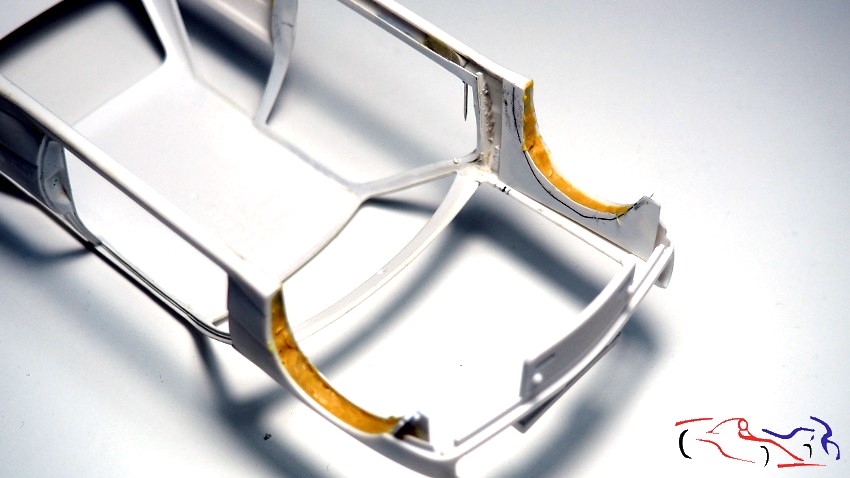
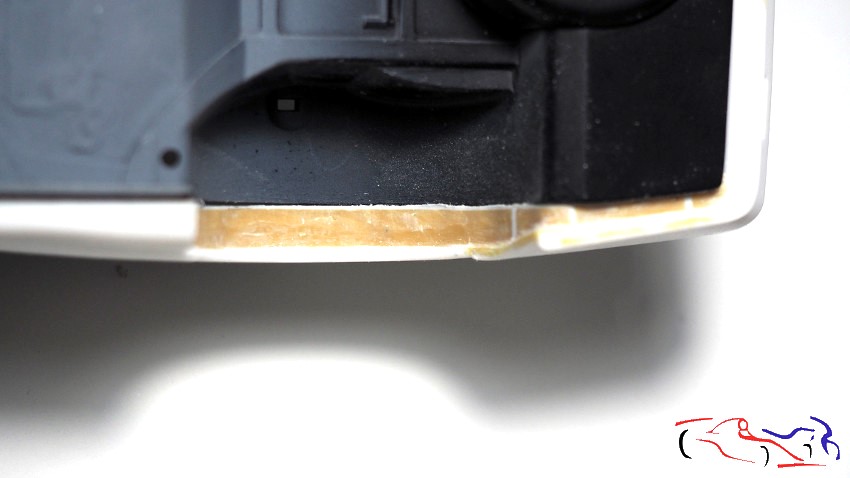
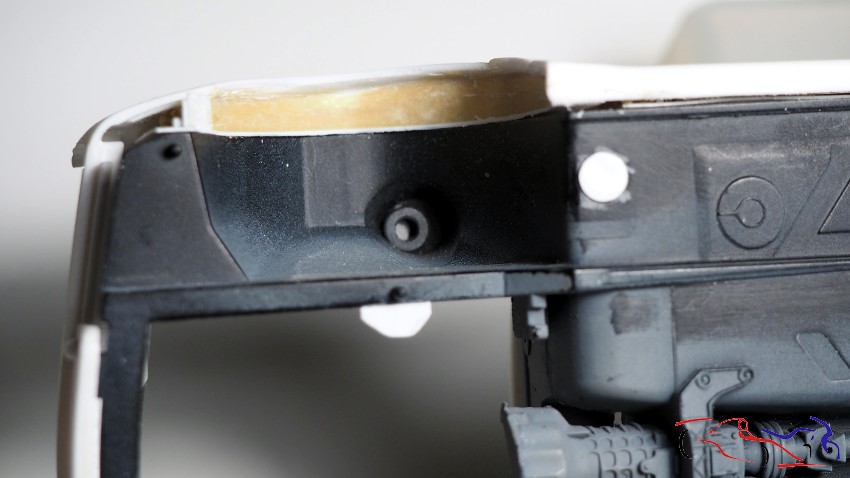
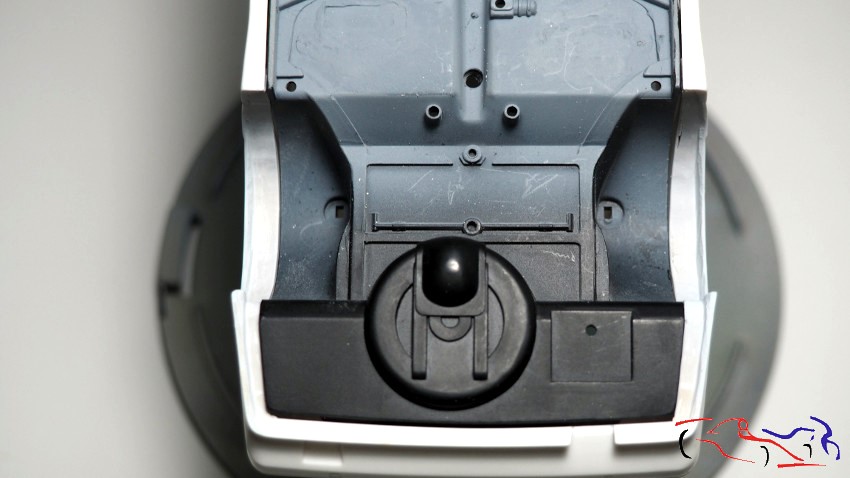
Una vez recortado por la línea, comprobamos con el chasis, como ha quedado. Vemos los pasos de rueda delanteros y traseros. Aún falta por lijar!!
Once cut along the line, we checked it against the chassis to see how it looked. We can see the front and rear wheel arches. It still needs sanding!
Y ahora lijamos, con el minitaladro y con lijas:
And now we sand, with the mini drill and sandpaper:
Y para comprobar el resultado, unas capas finas de imprimación:
And to check the result, a few thin coats of primer:
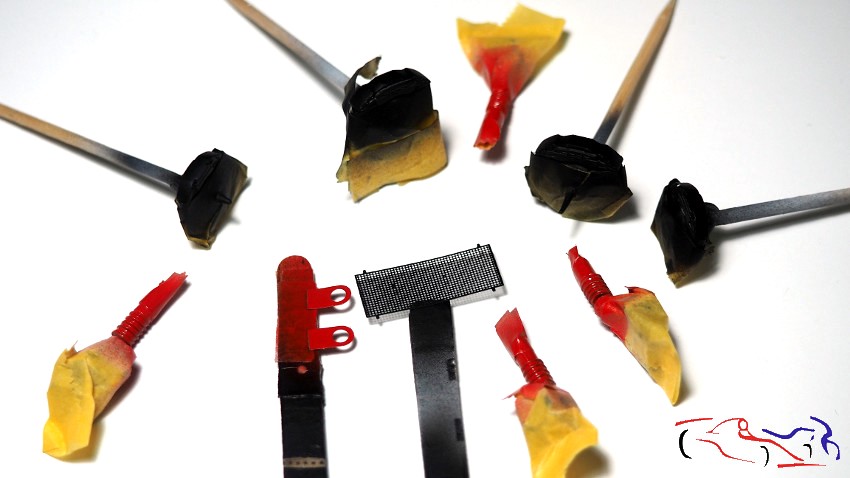
A continuación, y para dar un poco de color, os muestro varias piezas pintadas: en rojo, los amortiguadores y los ganchos delantero y trasero, en negro, un radiador de fotograbado y las pinzas de los frenos, que previamente había pintado en color metálico:
Next, to add a bit of color, I’ll show you several painted parts: in red, the shock absorbers and the front and rear tow hooks; in black, a photo-etched radiator and the brake calipers, which I had previously painted in metallic color:
Y como estaba con el aerógrafo, también di imprimación a piezas de la carrocería:
And since I was using the airbrush, I also primed some bodywork parts:
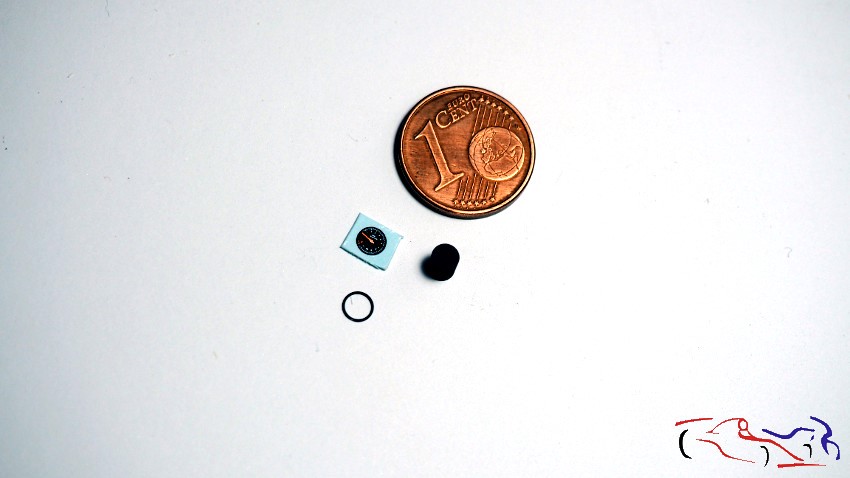
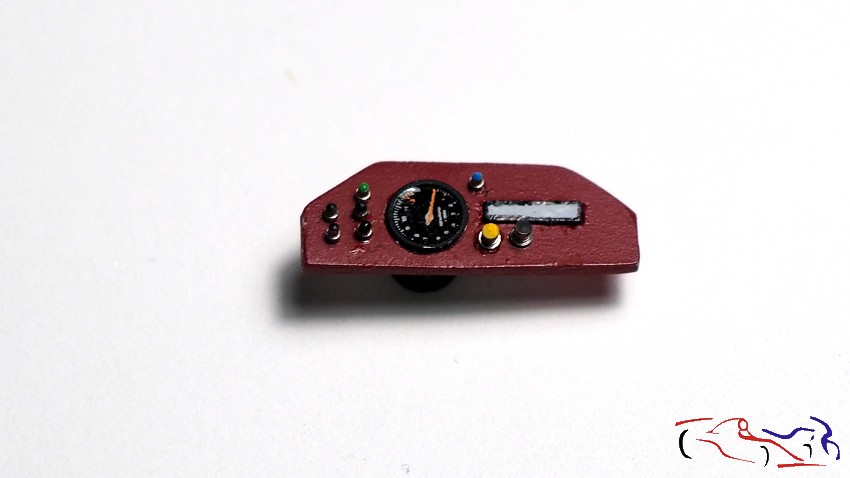
Nos movemos al cuadro de los relojes del salpicadero. Para el reloj principal, corto una varilla de metal y cojo un aro de fotograbado, que imprimo y pinto de negro. Después, pondré la calca y con resina UV, pegaré el aro y a su vez, crearé una película transparente imitando el cristal. En la foto de la pieza terminada, podemos ver otros accesorios pintados de colores:
We move on to the instrument cluster on the dashboard. For the main gauge, I cut a metal rod and take a photo-etched ring, which I prime and paint black. Then, I’ll apply the decal and, using UV resin, glue the ring in place, creating a transparent film to mimic the glass. In the photo of the finished piece, we can see other accessories painted in different colors:
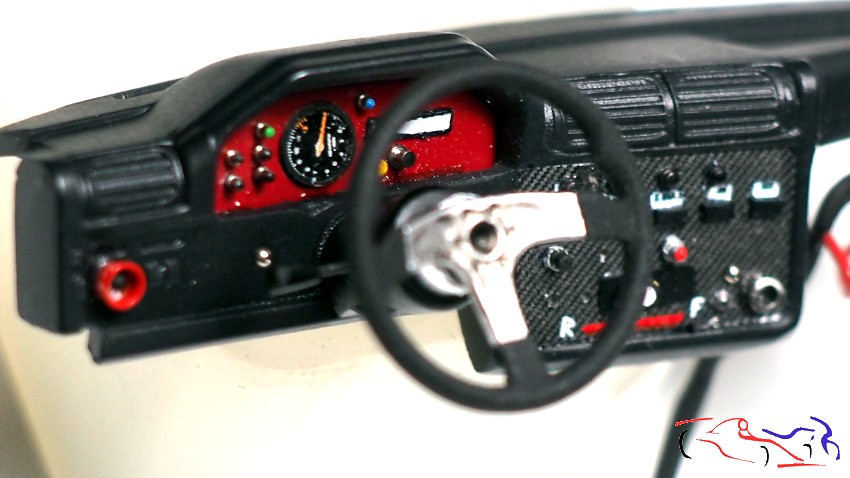
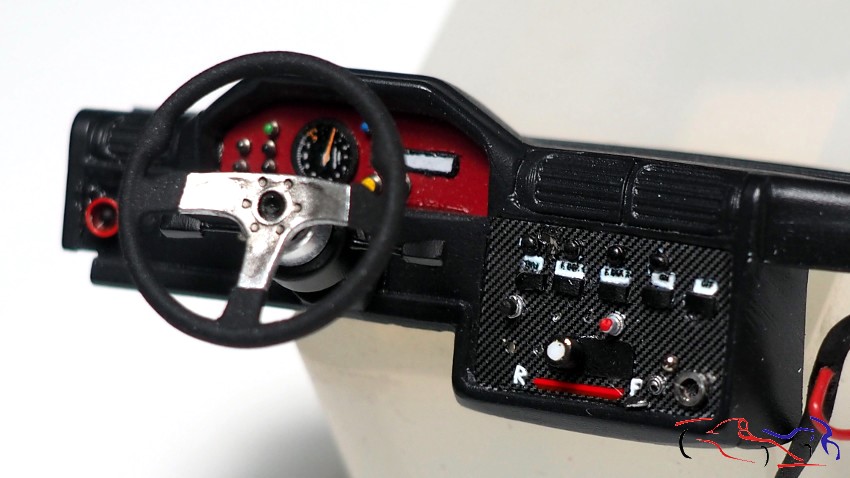
Y con ello, y muchas piececitas más, terminamos el salpicadero. Destacar las calcas de fibra y de los indicadores de los botones, así como los distintos tipos de interruptores, algunos pintados.
And with that, and many more small pieces, we finished the dashboard. The fiberglass decals and button indicators are particularly noteworthy, as are the different types of switches, some of which are painted.

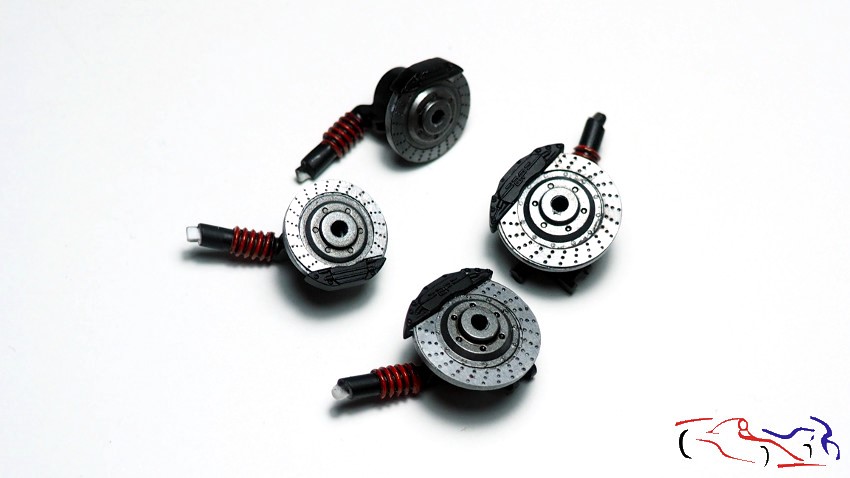
Y para terminar, los conjuntos de frenos-amortiguadores ya terminados. Los muelles fueron pintados enmascarando el negro base, repasándolos posteriormente con un rotulador rojo permanente, y un poco de Panel Liner de Tamiya. Los discos tienen el fotograbado correspondiente del coche, con una aplicación del panel liner.
And finally, the brake and shock absorber assemblies are now complete. The springs were painted by masking off the base black, then going over them with a permanent red marker, and applying a bit of Tamiya Panel Liner. The discs have the corresponding photo-etched parts from the car, with an application of Panel Liner.
Espero que os haya gustado!! Gracias por ver y comentar!!
I hope you liked it!! Thanks for watching and commenting!!


