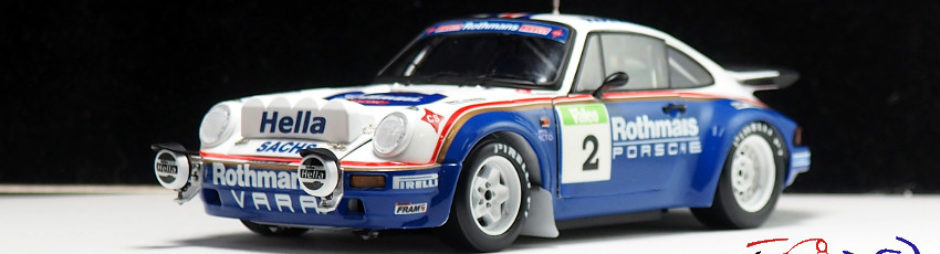
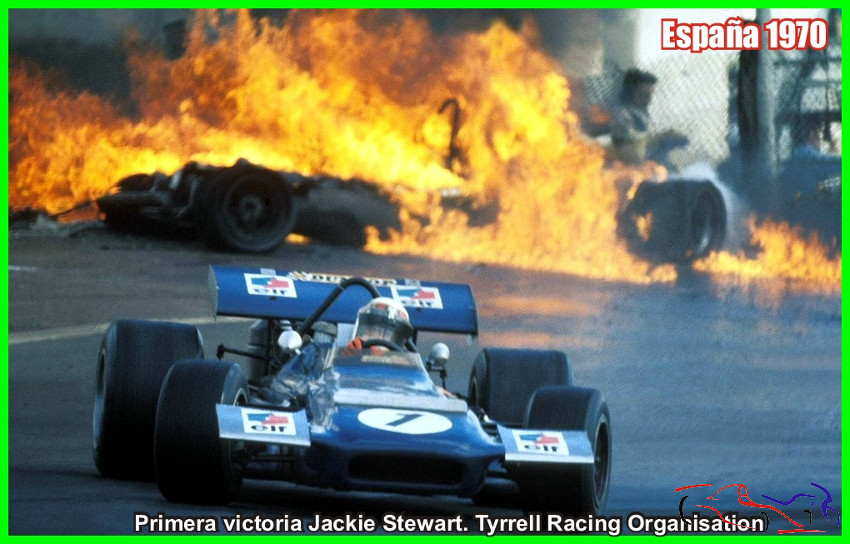
Hola a todos. Como he terminado el cockpit del BMW M3, he decidido hacer un kit de escala 1/43 para descansar un poco del continuo detallado del 1/24. Y para ello he escogido un kit, de un piloto y de una carrera, que quedaron en mi retina para siempre: el March 701 de J. Stewart, en el GP del Jarama de F1 de 1970. Stewart fue uno de mis ídolos desde pequeño, y antes de correr para Tyrrell, fue en este coche donde empezó su larga trayectoria, y en esta carrera, fue la primera victoria de este coche. Además, esta carrera, fue muy recordada por el accidente que hubo en la primera vuelta entre J. Ickx y J. Oliver, cuyos coches ardieron durante toda la carrera, sin que ésta se parara. Como muestra, una foto:
Hello everyone. Now that I’ve finished the BMW M3 cockpit, I’ve decided to make a 1/43 scale kit to take a break from the constant detailing of the 1/24 scale model. For this, I’ve chosen a kit, a driver, and a race that are forever etched in my memory: J. Stewart’s March 701 from the 1970 Jarama Grand Prix. Stewart was one of my idols since childhood, and before racing for Tyrrell, it was in this car that he began his long career, and this race marked the car’s first victory. Furthermore, this race is particularly memorable for the accident on the first lap between J. Ickx and J. Oliver, whose cars burned throughout the race, which continued uninterrupted. As an example, here’s a photo:
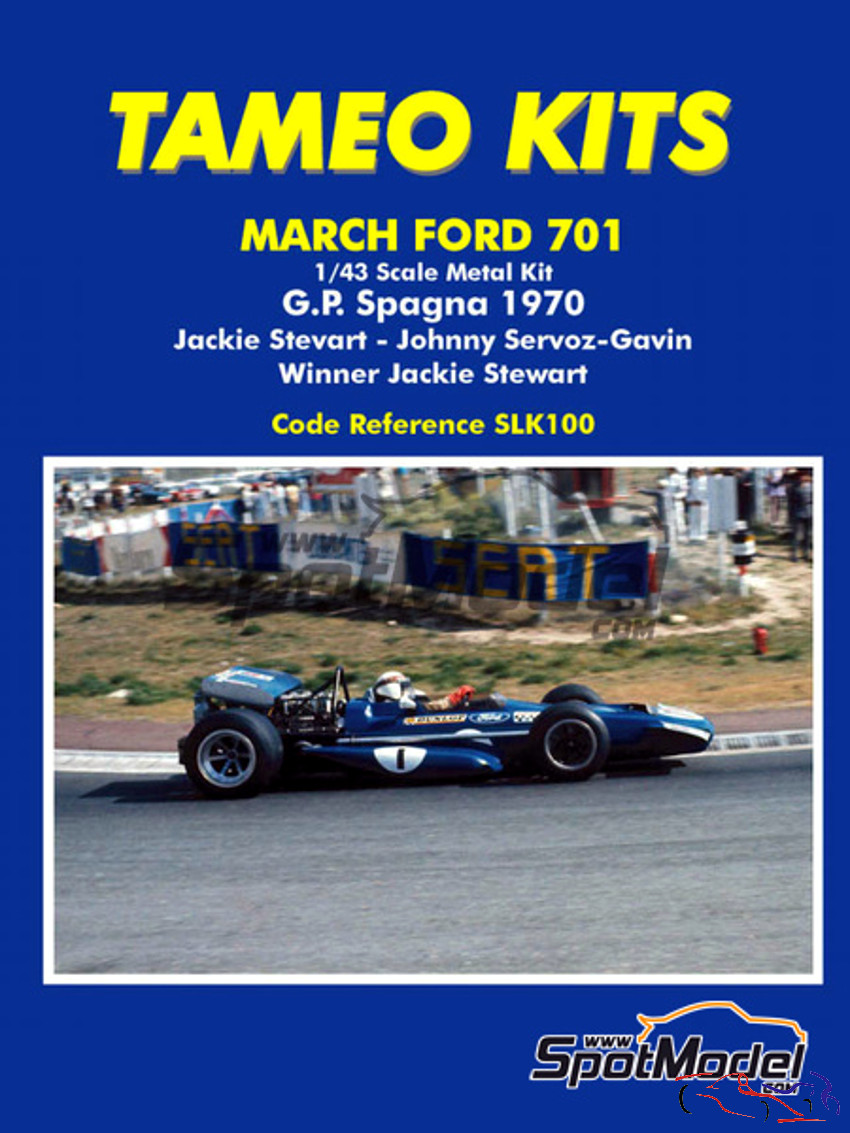
El kit es la referencia SLK100 de TAMEO a escala 1/43:
The kit is the TAMEO reference SLK100 at 1/43 scale:

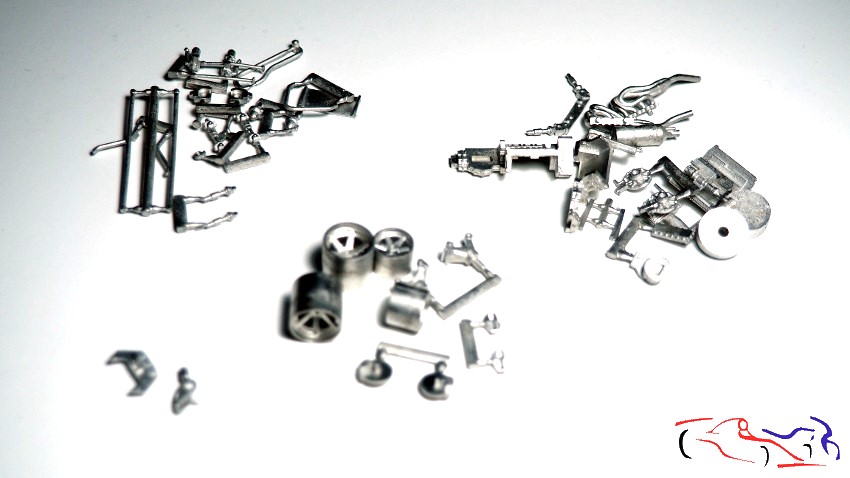
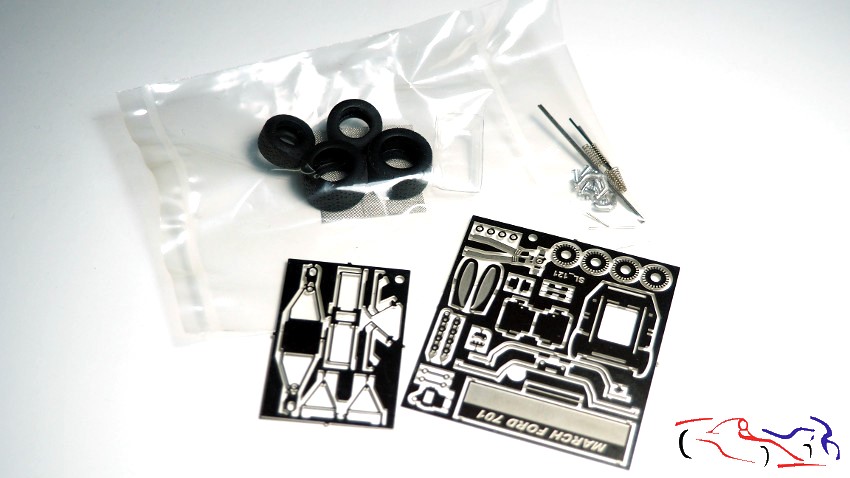
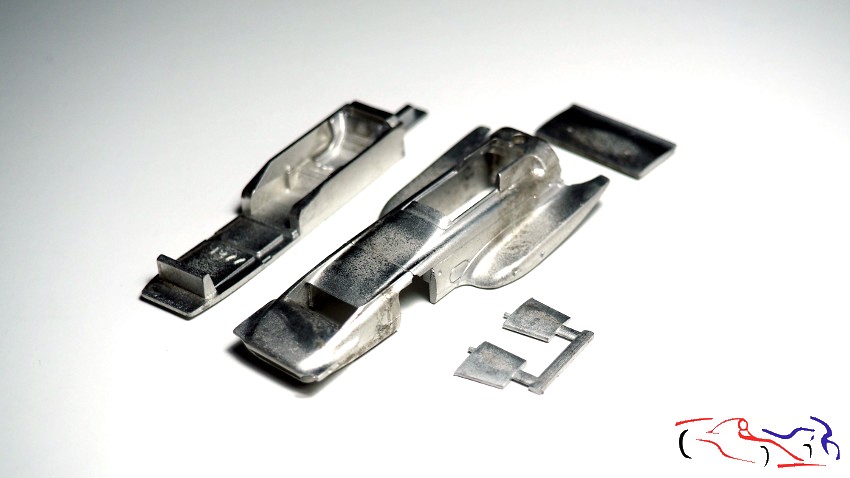
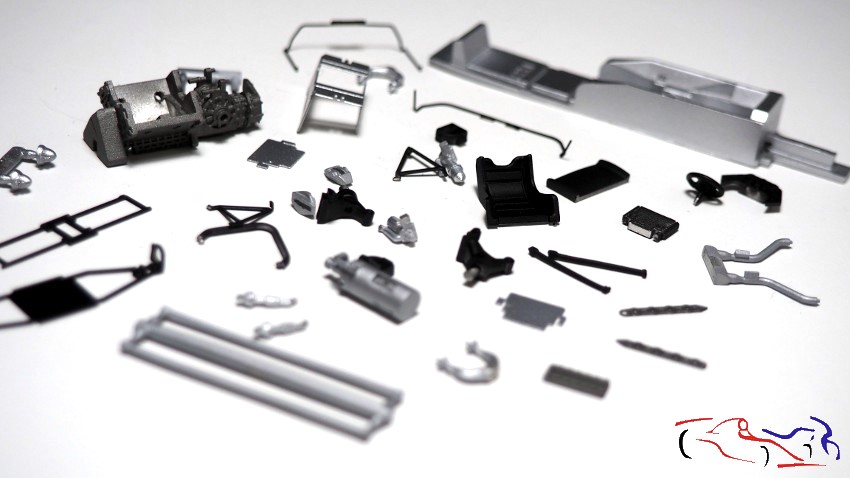
El kit está muy detallado con todas las piezas en metal blanco, con sus correspondientes fotograbados y sus ruedas de goma:
The kit is highly detailed with all parts in white metal, with their corresponding photo-etched parts and rubber wheels:
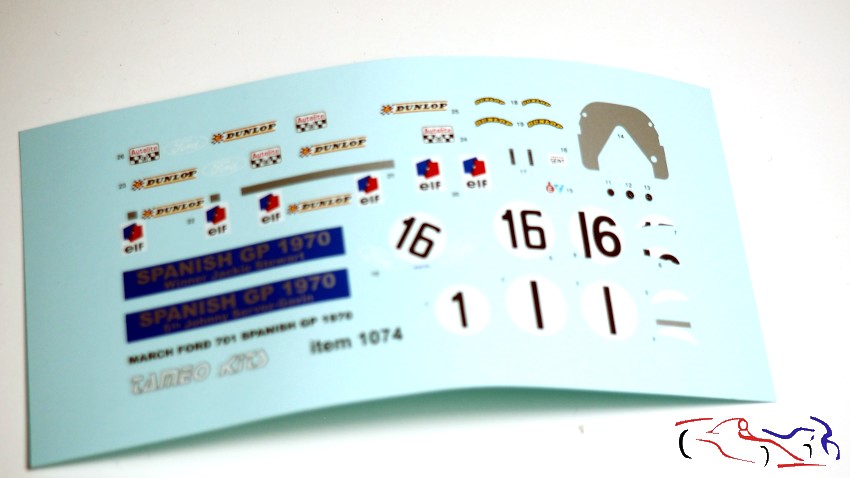
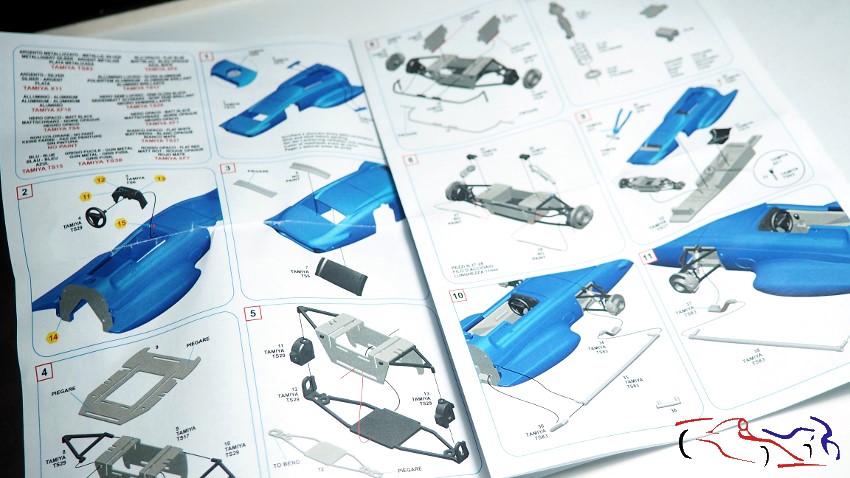
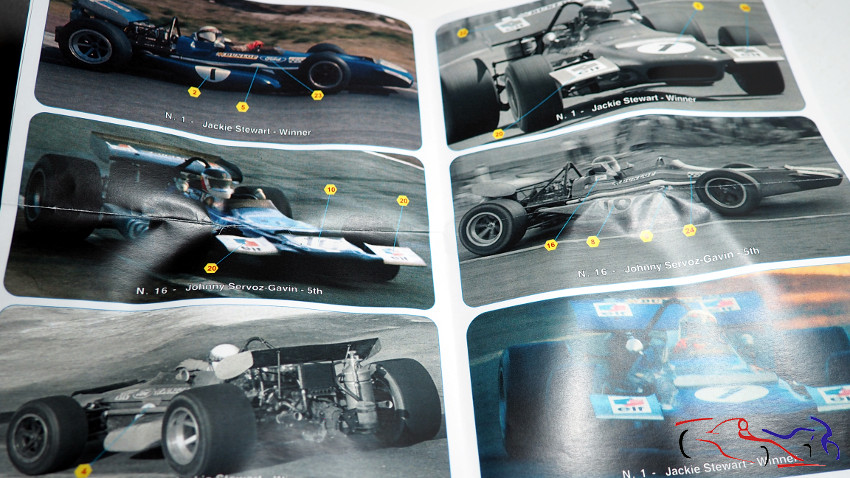
Las calcas son las típicas de Tameo, con buena calidad y con las numeraciones de Stewart y de Servoz-Gavin, el otro piloto del March. Las instrucciones están bien detalladas y se interpretan bien, junto con unas fotos originales para el posicionamiento de las calcas:
The decals are typical of Tameo, of good quality, and include the numbers for Stewart and Servoz-Gavin, the other driver of the March. The instructions are well-detailed and easy to understand, along with original photos for decal placement.
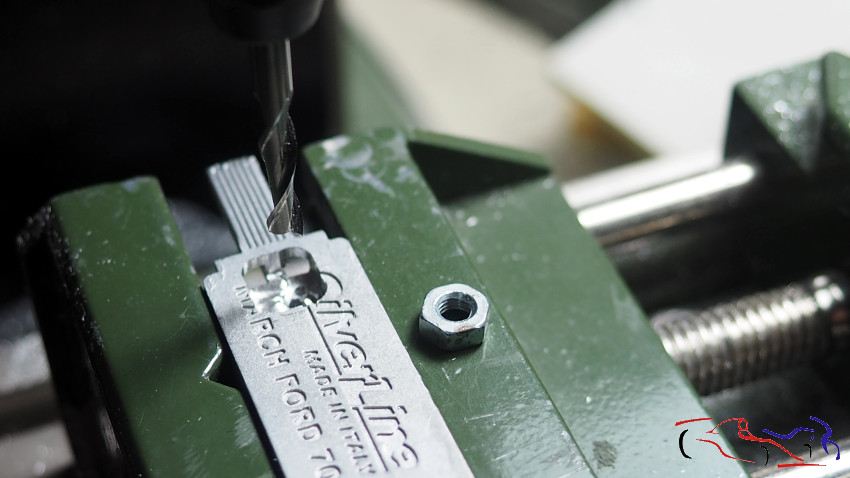
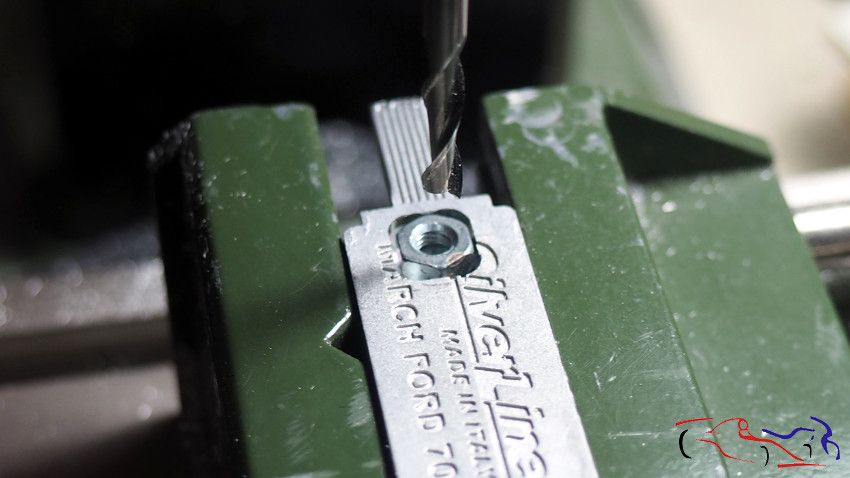
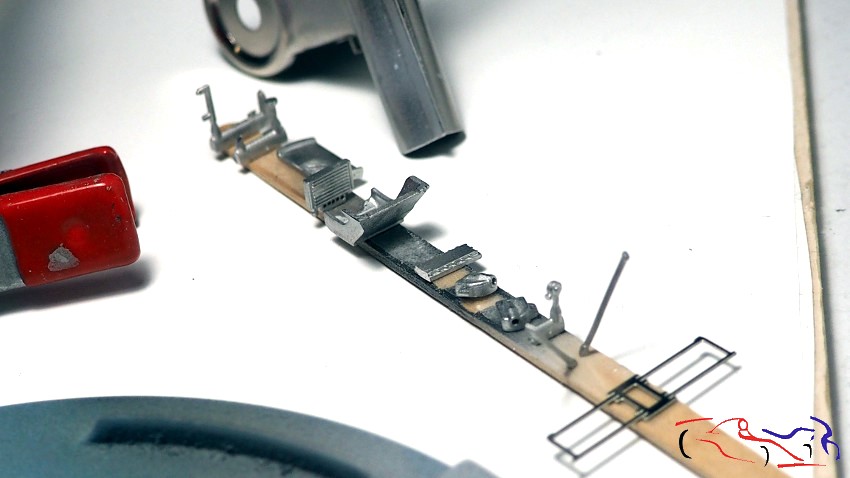
Y comenzamos el proceso. Lo primero es buscar un hueco en el chasis para alojar una tuerca con la que fijaremos el coche a la peana. Lo encontramos en la parte trasera, debajo del deposito, entre el piloto y el motor. Hacemos un agujero con la fresadora, y pegamos la tuerca con ciano:
And we begin the process. The first thing is to find a gap in the chassis to accommodate a nut that will secure the car to the base. We find it at the rear, under the fuel tank, between the driver and the engine. We drill a hole with the router and glue the nut in place with cyanoacrylate adhesive.
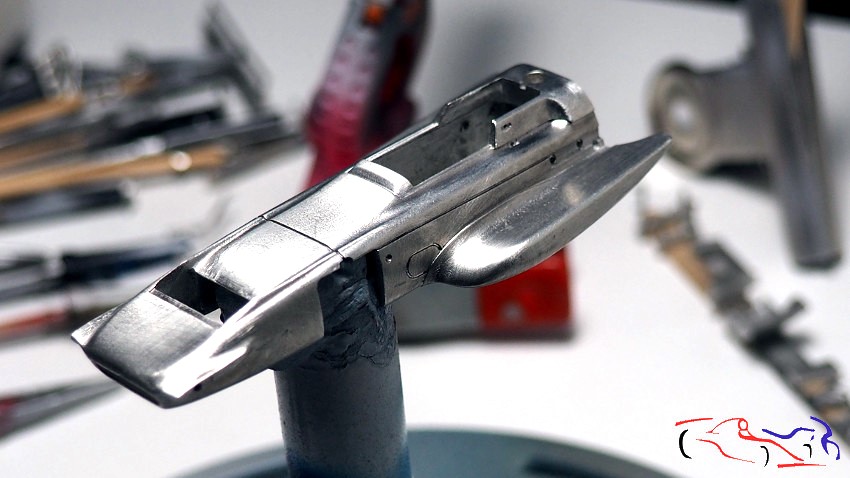
Una vez resuelto la fijación de la tuerca, es el turno de revisar las piezas, limpiarlas, mirar los encajes y en definitiva, entender el proceso. En la carrocería, se repasan los agujeros, y se lija toda la superficie:
Once the nut is tightened, it’s time to inspect the parts, clean them, check the fit, and ultimately, understand the process. On the bodywork, the holes are checked, and the entire surface is sanded.
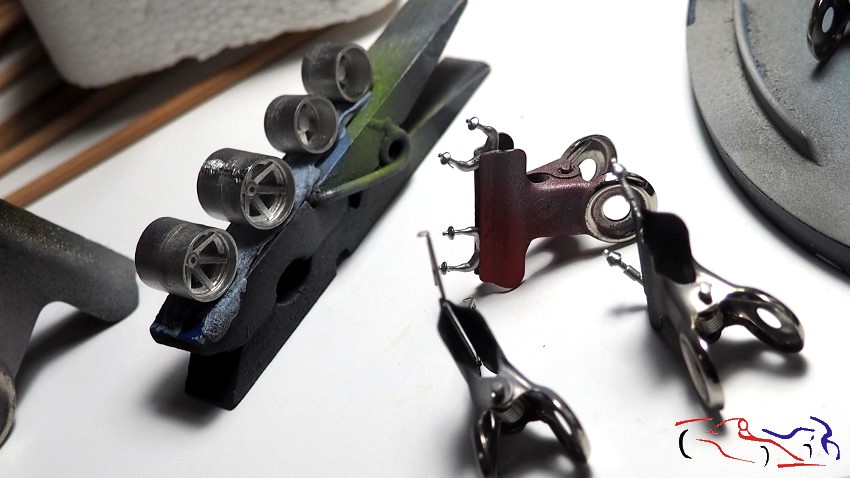
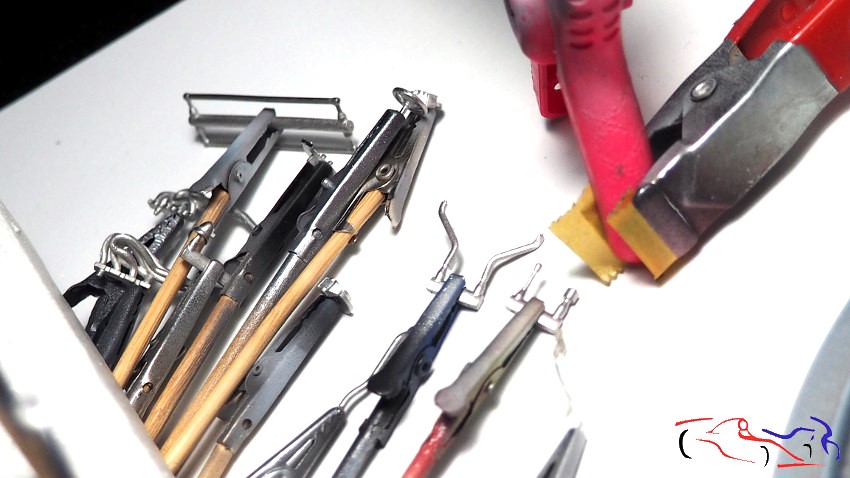
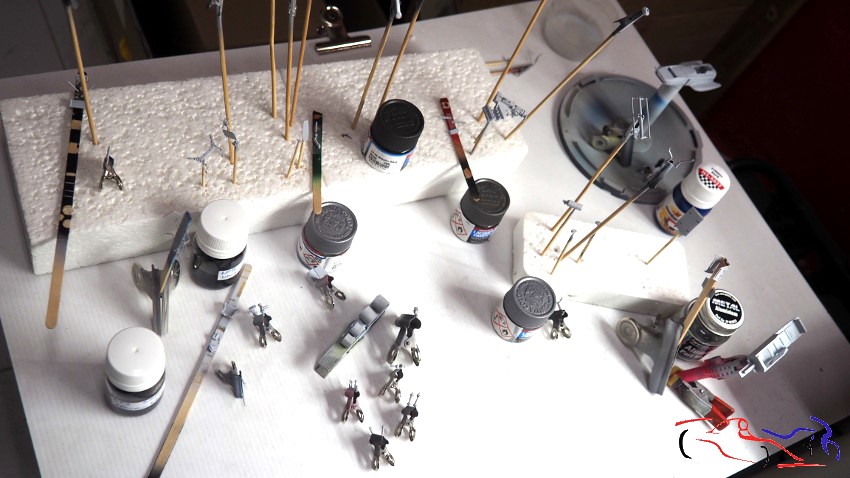
Y como todas las piezas se tiene que imprimar antes de pintar, las voy colocando en sus diversos soportes: pinzas de ropa, pinzas eléctricas, palillos, cinta adhesiva de doble cara….
And since all the pieces need to be primed before painting, I place them on their various supports: clothespins, electric clamps, toothpicks, double-sided tape….
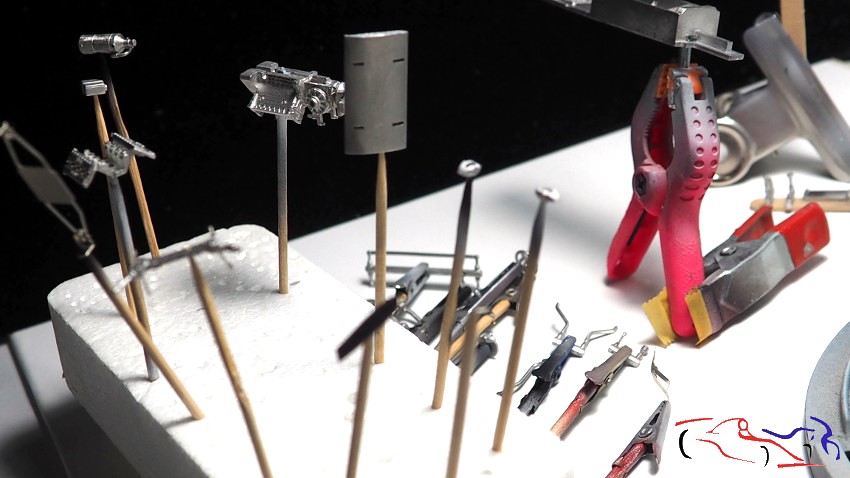
Y una vez imprimadas todas la piezas con imprimación Gravity, las separo por colores para pintarlas. Podéis ver ese paso, en la primera foto, y las piezas ya pintadas en la segunda foto:
Once all the pieces are primed with Gravity primer, I separate them by color for painting. You can see that step in the first photo, and the painted pieces in the second photo.
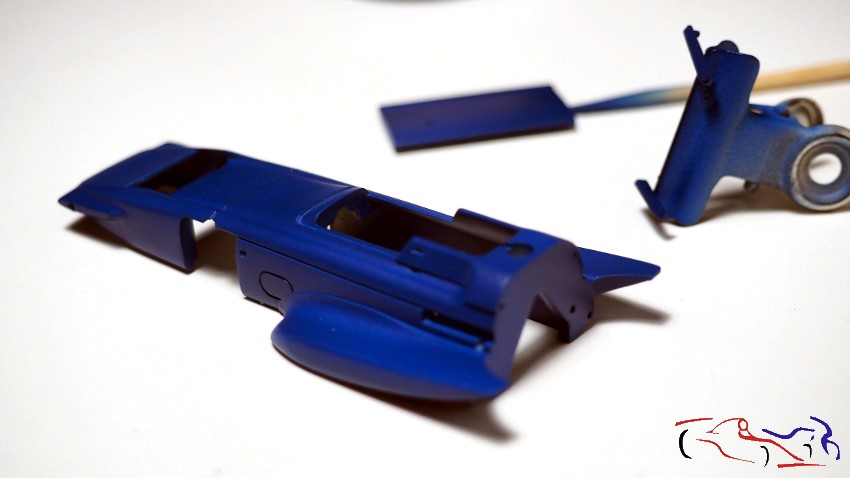
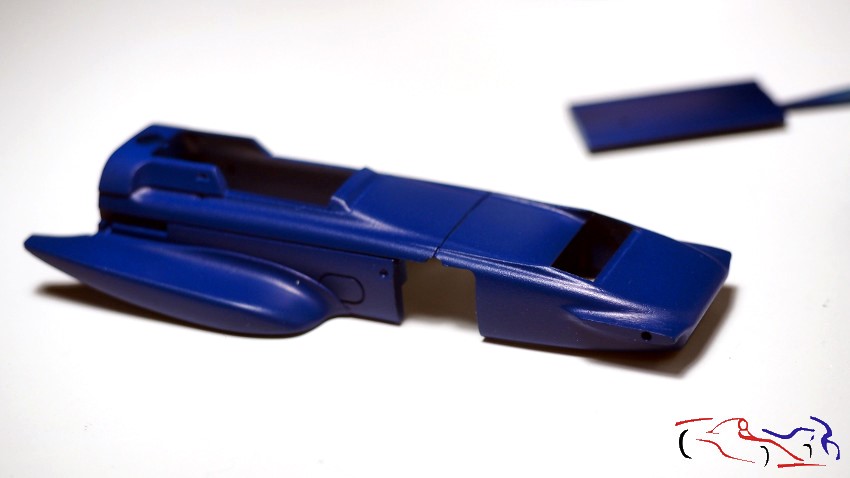
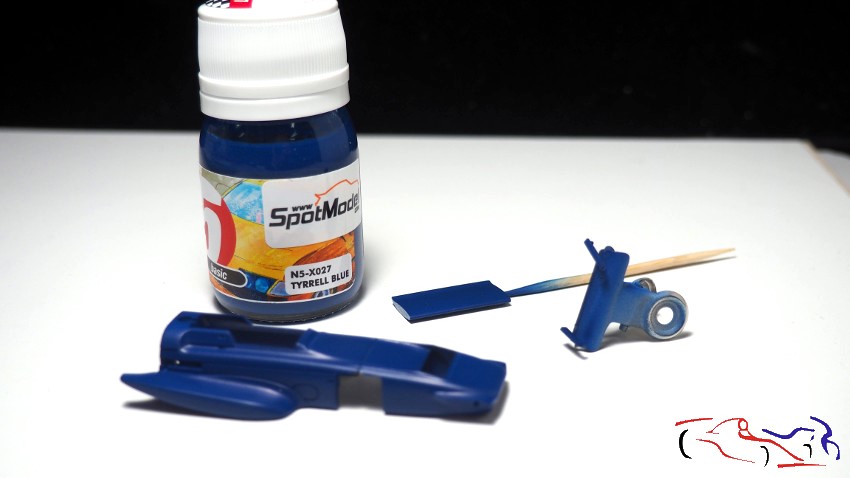
Para la carrocería, utilicé el azul Tyrrel de Number5 que cubre muy bien. Con una primera capa ligera, y una segunda para cubrir fue suficiente. La elección del color Tyrrel se debe a que este equipo estaba dirigido por Ken Tyrrel, que después usó el mismo color para su propios coches.
For the bodywork, I used Number 5 Tyrrell Blue, which has excellent coverage. A light first coat, followed by a second coat for coverage, was sufficient. I chose the Tyrrell color because this team was managed by Ken Tyrrell, who later used the same color for his own cars.
Esto va muy rápido y ya he empezado a ensamblar piezas. Pero eso lo dejo para el siguiente post. Gracias por ver y comentar!!
Things are moving really fast, and I’ve already started assembling the pieces. But I’ll leave that for the next post. Thanks for watching and commenting!


