
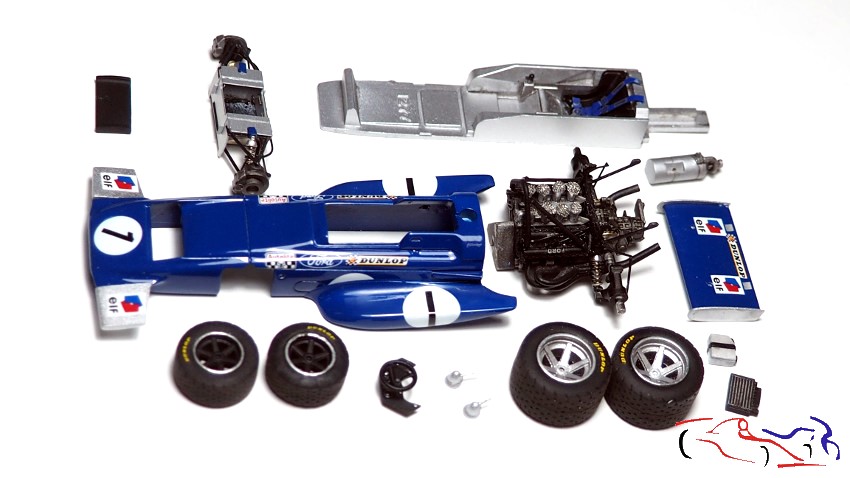
Hola a todos. Ya estamos llegando al final: todas las piezas están pintadas y los conjuntos pegados. Vemos la foto del despiece:
Hello everyone. We’re almost finished: all the pieces are painted and the assemblies are glued. Here’s a photo of the exploded view:
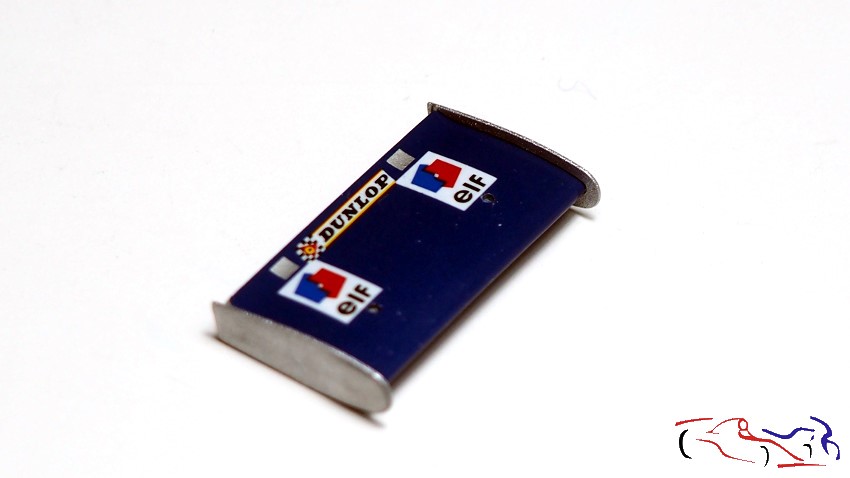
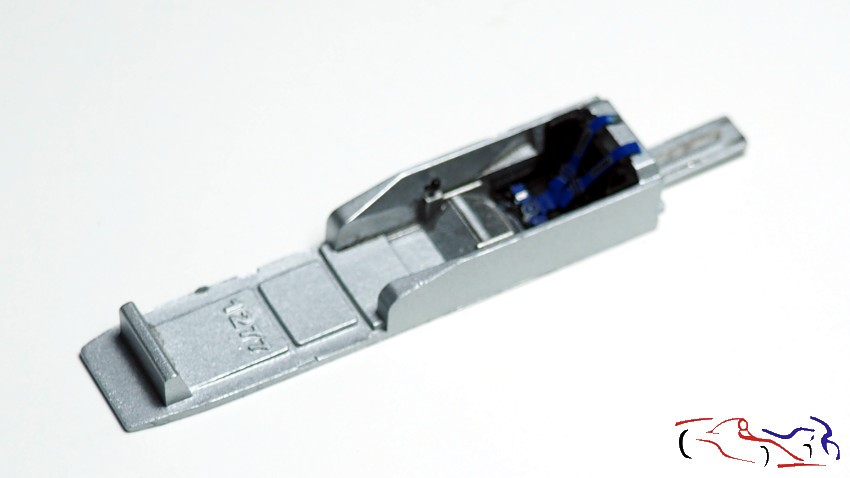
Y vamos por partes. El alerón con sus deflectores pegados y el chasis, primero con asiento y cinturones, para seguir con el conjunto del eje delantero pegado:
Let’s take it step by step. The spoiler with its deflectors is attached, and then the chassis, first with the seat and seatbelts, followed by the front axle assembly:

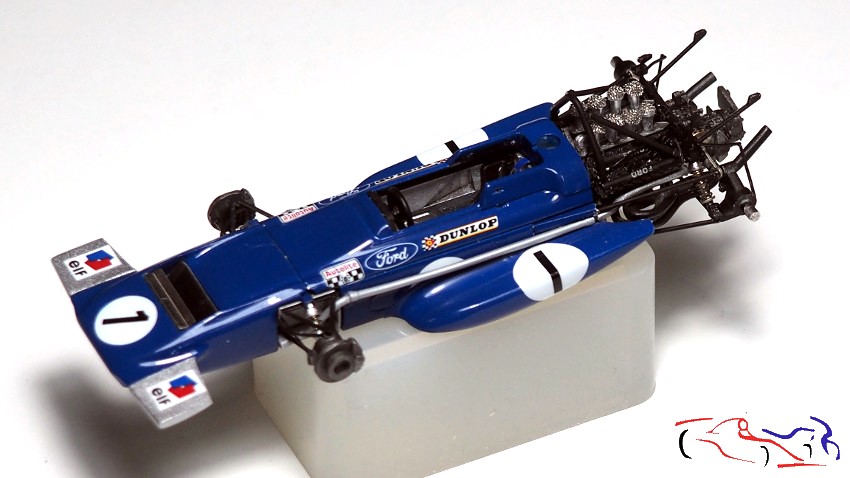
Y a ese chasis, le pegamos la carrocería y las canalizaciones longitudinales exteriores…
And to that chassis, we attached the bodywork and the external longitudinal tubes…
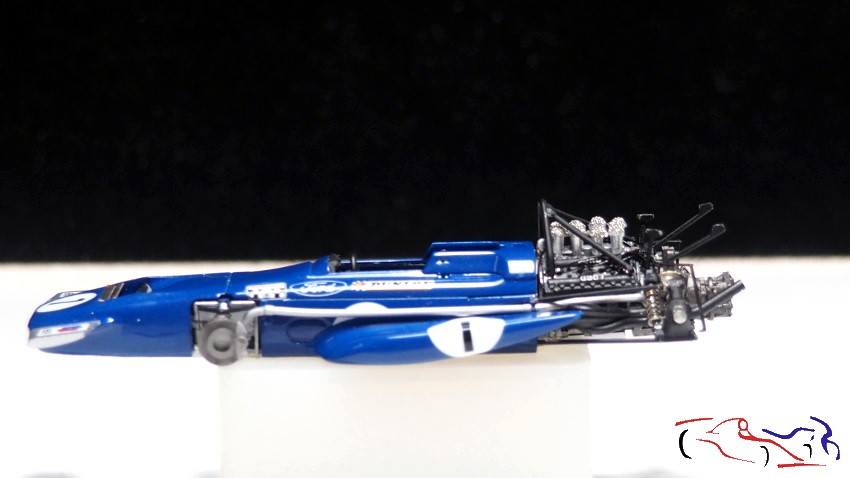
…para continuar pegando el motor:
…to continue attaching the engine:
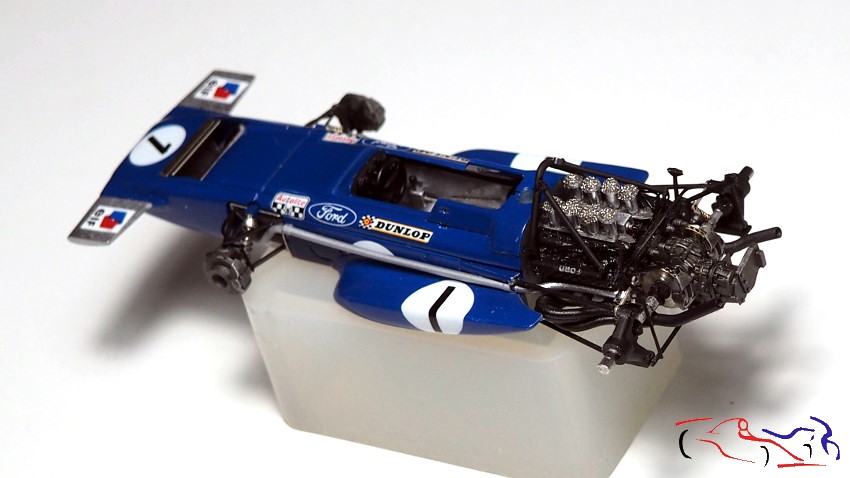
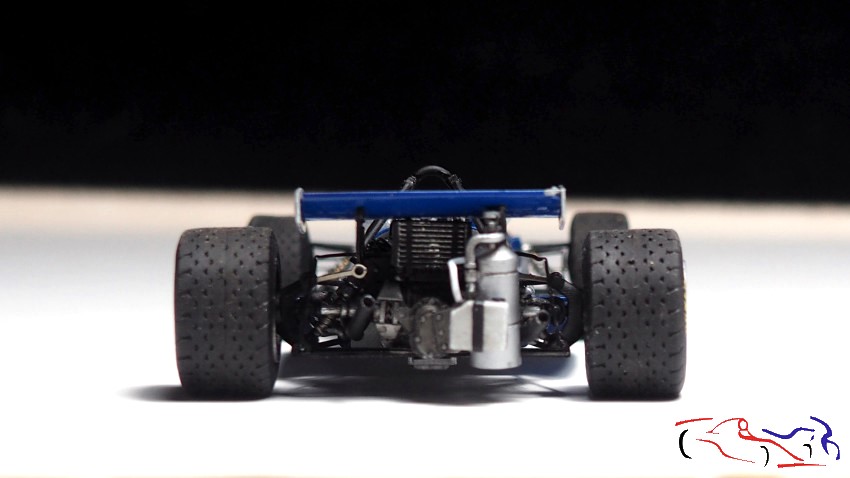
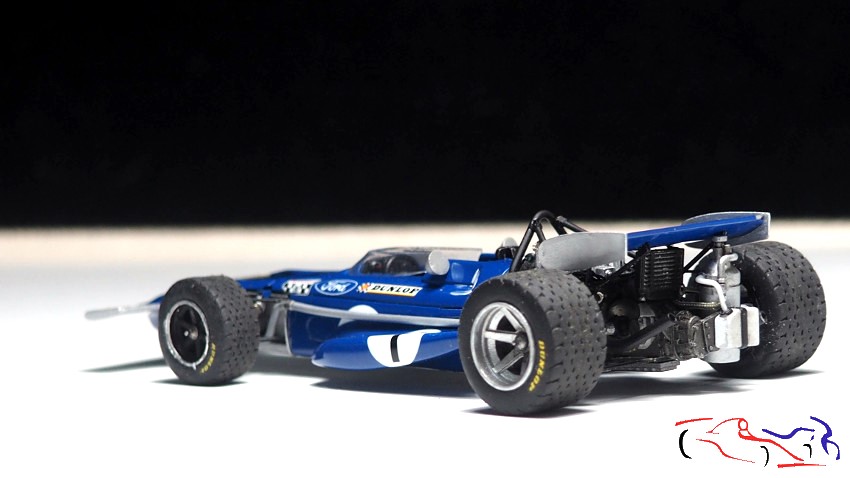
Lo siguiente, fue el alerón y las piezas de detrás del motor. Finalizamos con la ruedas, que las alineo correctamente con el útil que me hice hace años:
Next came the spoiler and the parts behind the engine. Finally, we finished with the wheels, which I aligned correctly using the tool I made years ago.
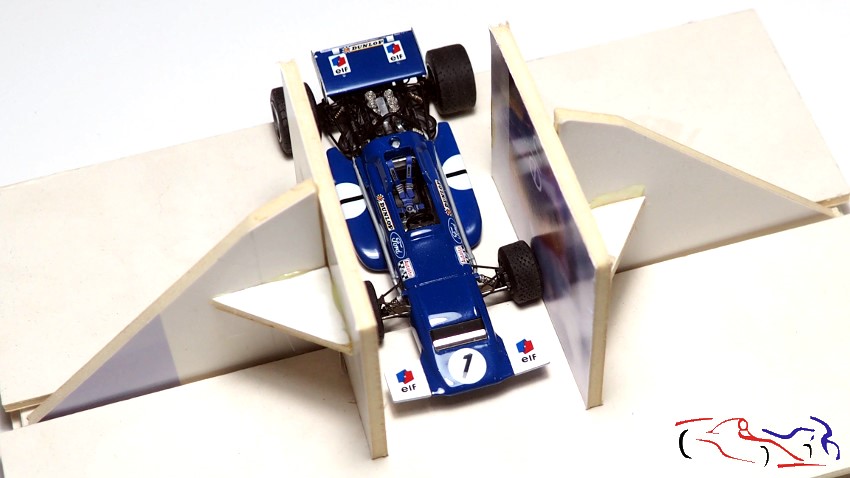
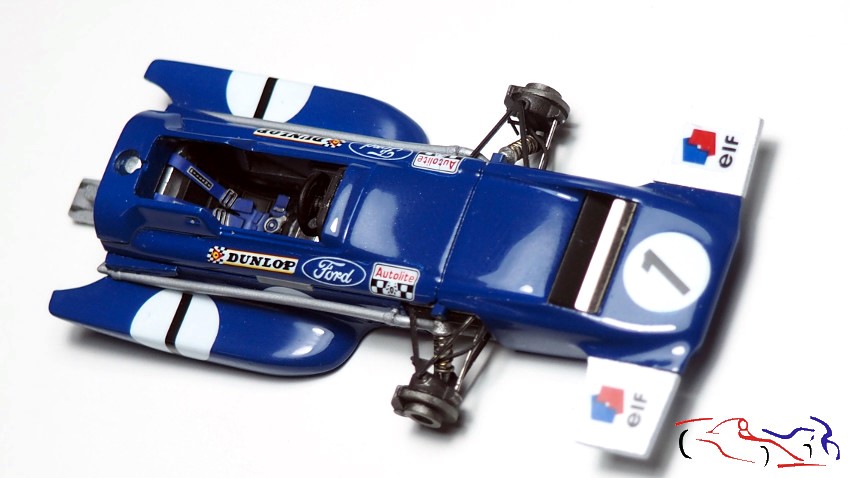
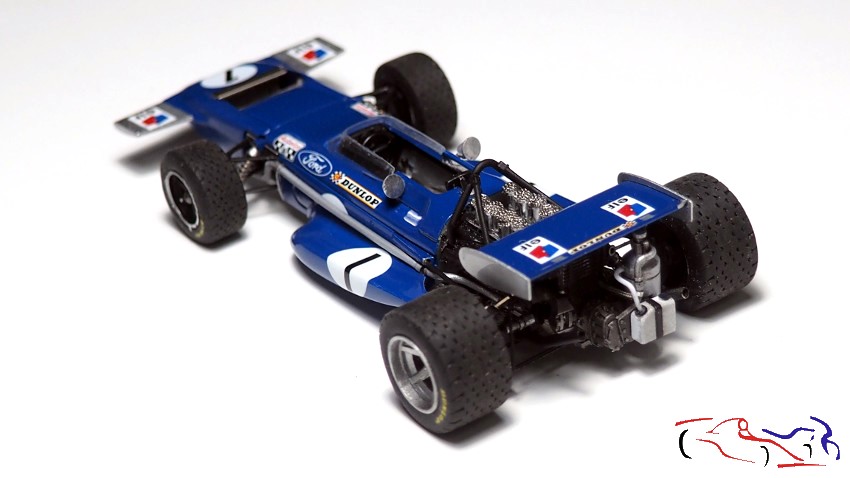
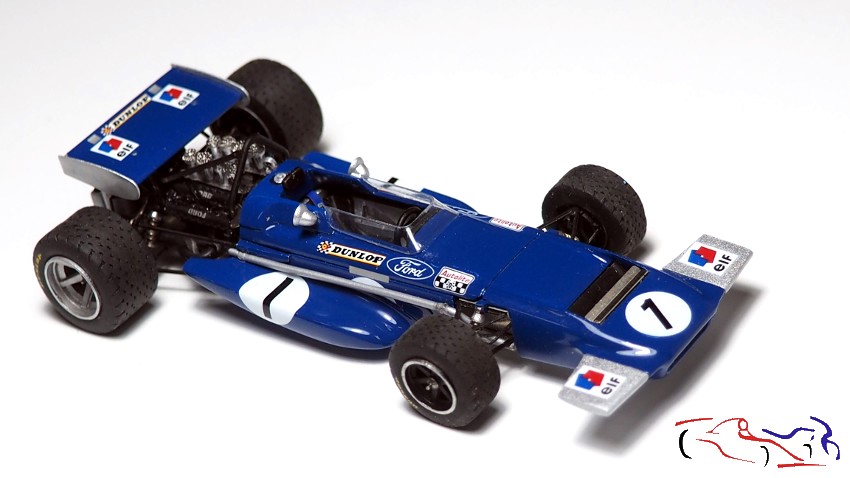
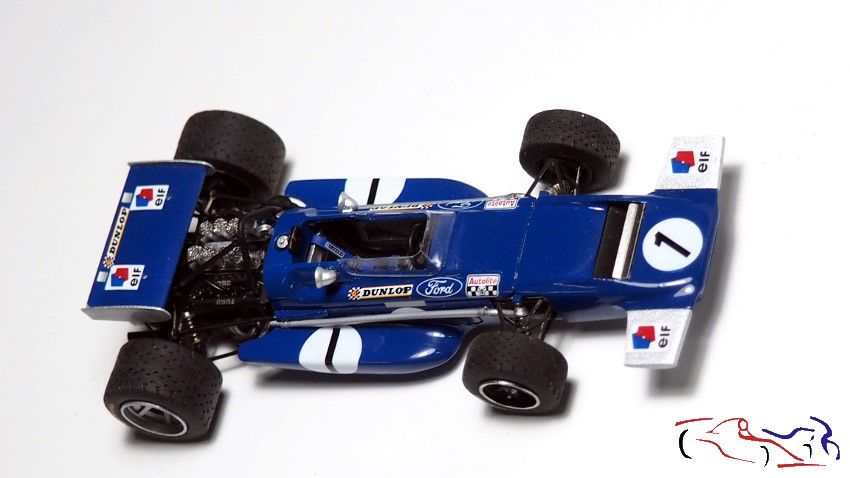
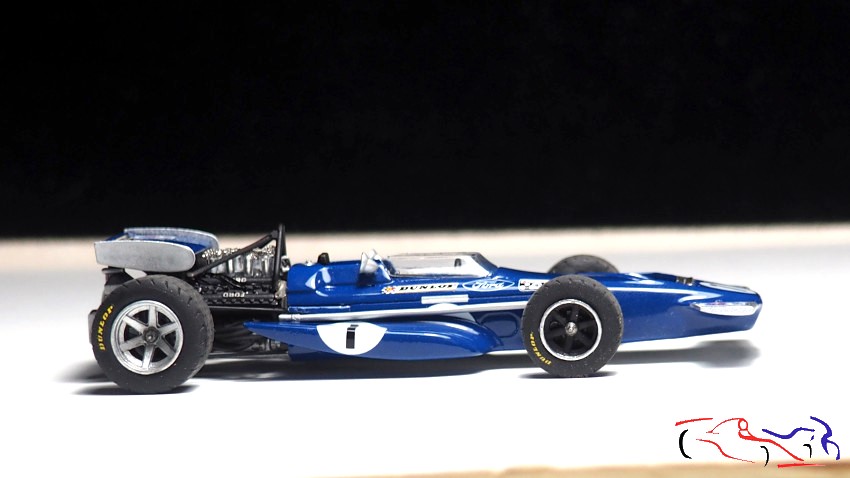
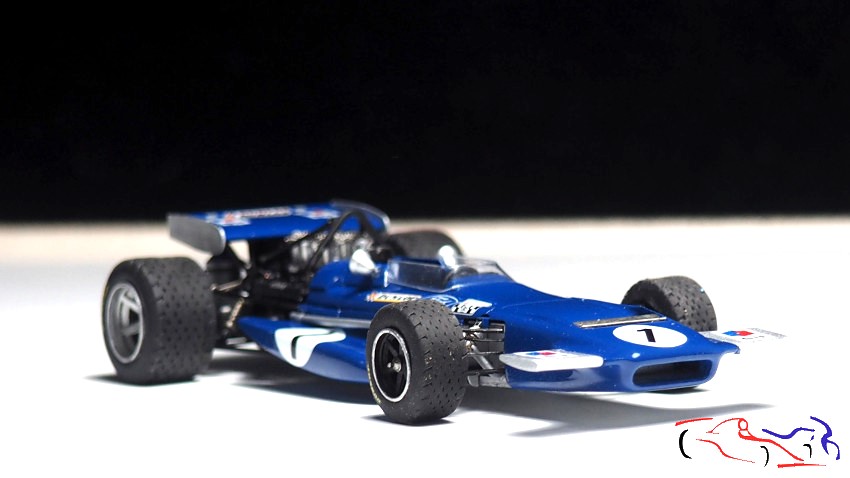
Y después de poner el cristal, es turno de las fotos finales:
And after putting the glass in place, it’s time for the final photos:
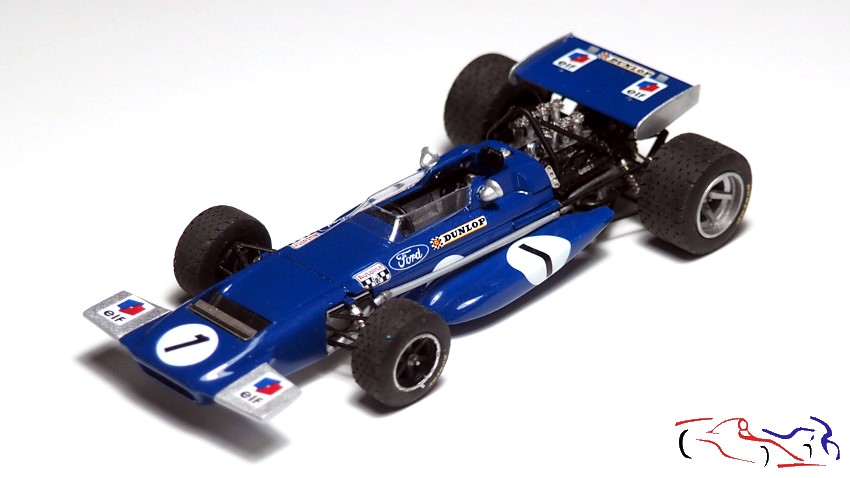
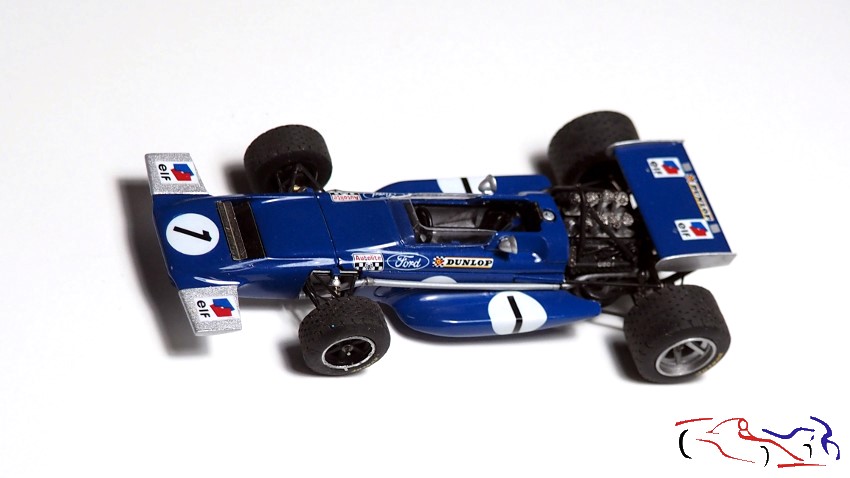
La verdad es que ha sido un proyecto en el que me he divertido, que me apetecía mucho, en el que me he reencontrado con la escala 1/43. Ahora toca la peana y mi valoración. Pero eso ya será en el siguiente post! Gracias por ver y comentar!!
The truth is, it’s been a fun project, one I was really looking forward to, and a chance to rediscover the 1/43 scale. Now it’s time for the base and my final assessment. But that’ll be in the next post! Thanks for watching and commenting!!


