Hola a todos. En este post os mostraré los ultimos pasos de este kit y las fotos finales. Pero empecemos donde lo dejamos a falta de lacar, paso que ya lo he completado. Utilicé la laca de Number5, a la que he añadido un poco de diluyente, ya que a mi, me gusta más más líquida. Y este es el resultado:
Hi everyone. In this post, I’ll show you the final steps of this kit and the final photos. But let’s pick up where we left off, before the lacquering step, which I’ve now completed. I used Number 5 lacquer, to which I added a little thinner, as I prefer it more liquid. And here’s the result:
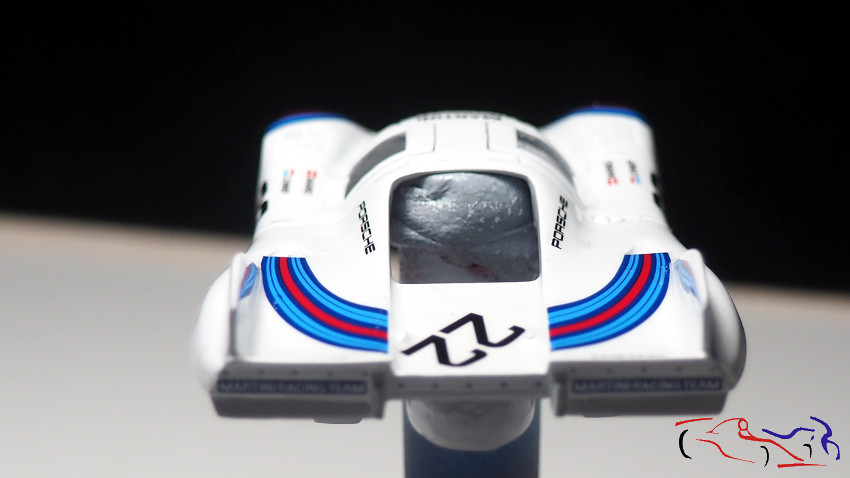
Y una vez seca, procedemos a enmascarra para pintar los faros y varias partes de la parte trasera. Utilizo máscara Tamiya y color negro Mate de la gama LP, también de Tamiya:
Once dry, we proceed to mask off for painting the headlights and various parts of the rear. I use Tamiya masking tape and Matte Black paint from the LP range, also by Tamiya.
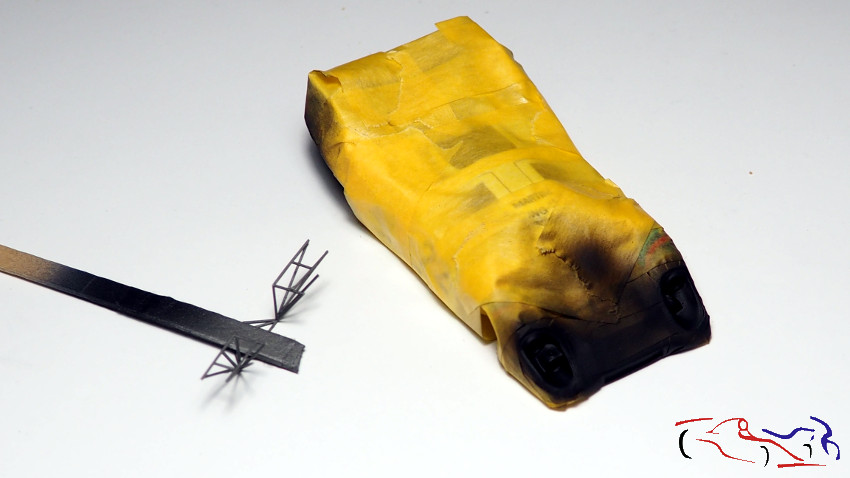
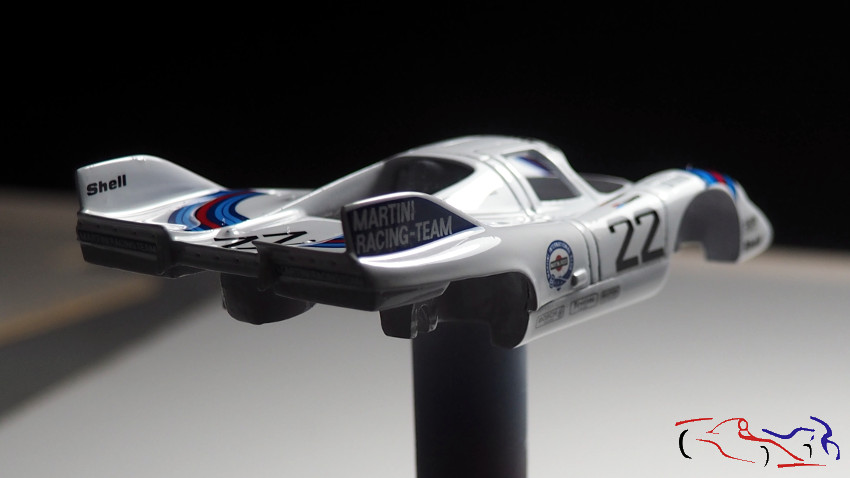
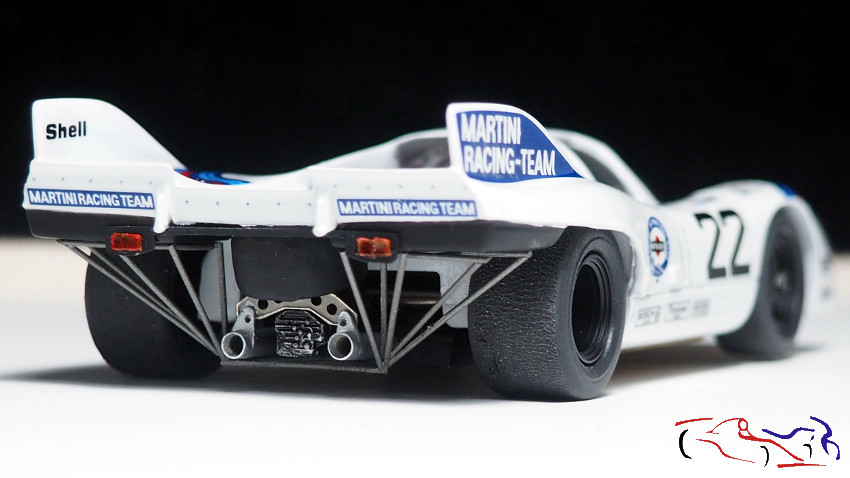
Las partes de la parte trasera son las que os muestro en la siguiente foto, junto con el conjunto tubular creado, y pintado con gris metalizado de la gama LP de Tamiya:
The parts of the rear section are shown in the following photo, along with the tubular assembly created and painted with metallic gray from Tamiya’s LP range:
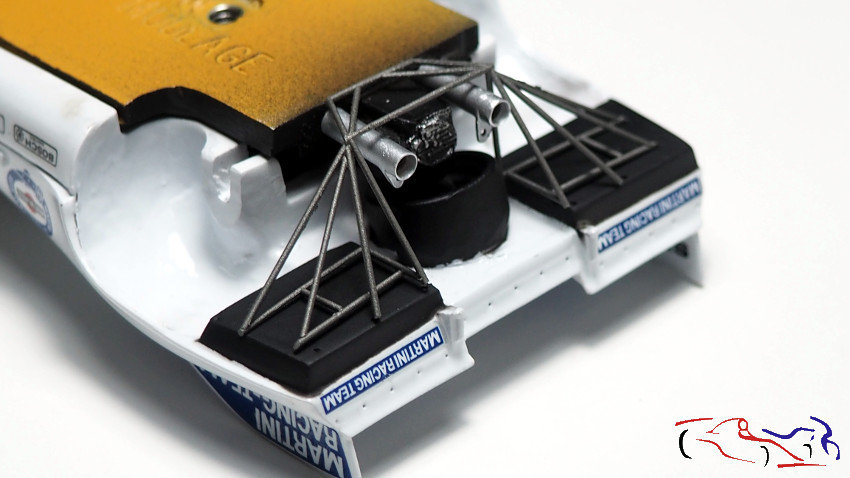
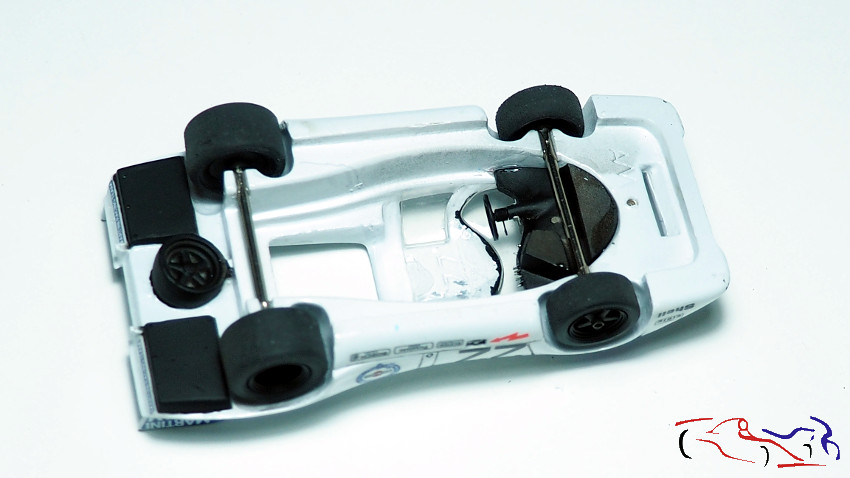
A continuación, pegué los acetatos con pegamento UV, el salpicadero, los ejes y las ruedas, estos ultimos con ciano, y todo por debajo de la carrocería:
Next, I glued the acetate sheets with UV glue, the dashboard, the axles and the wheels, the latter with cyanoacrylate, all underneath the bodywork:
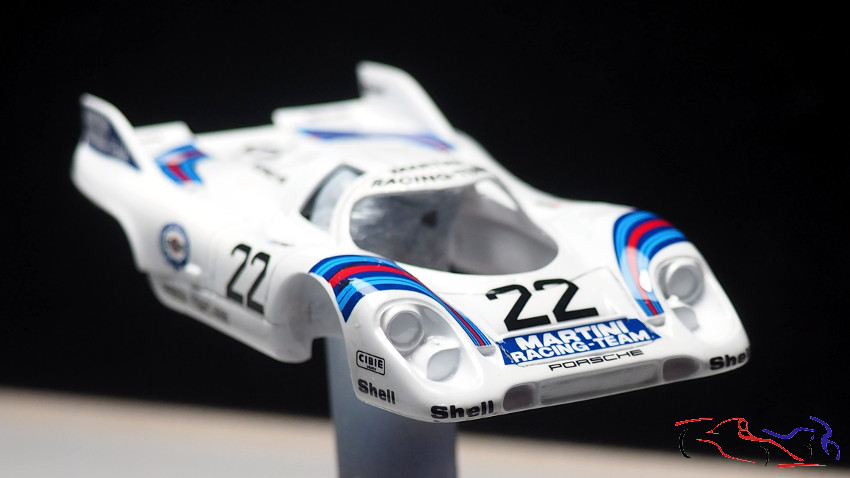
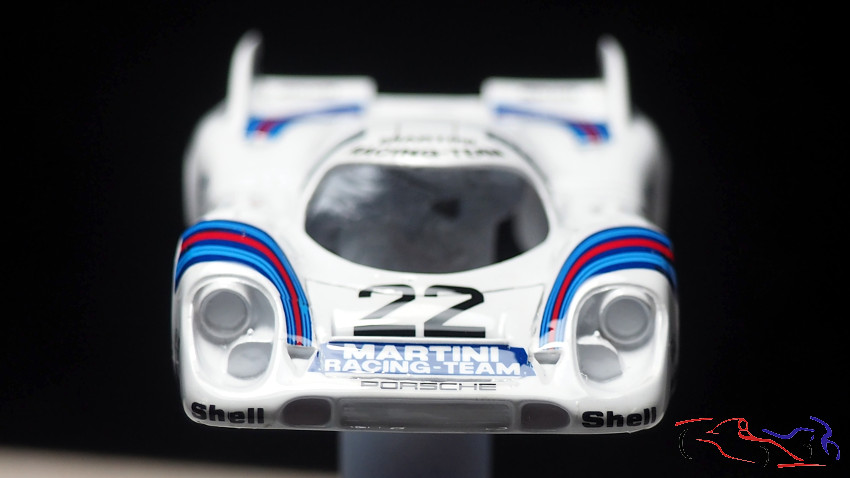
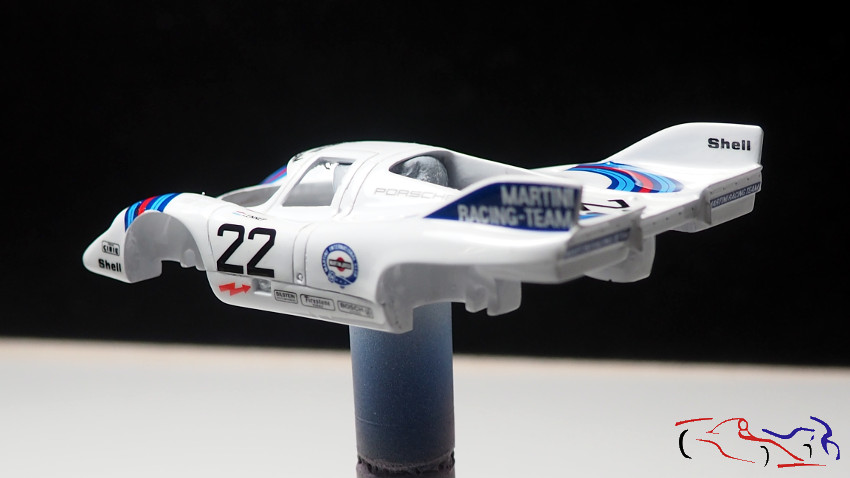
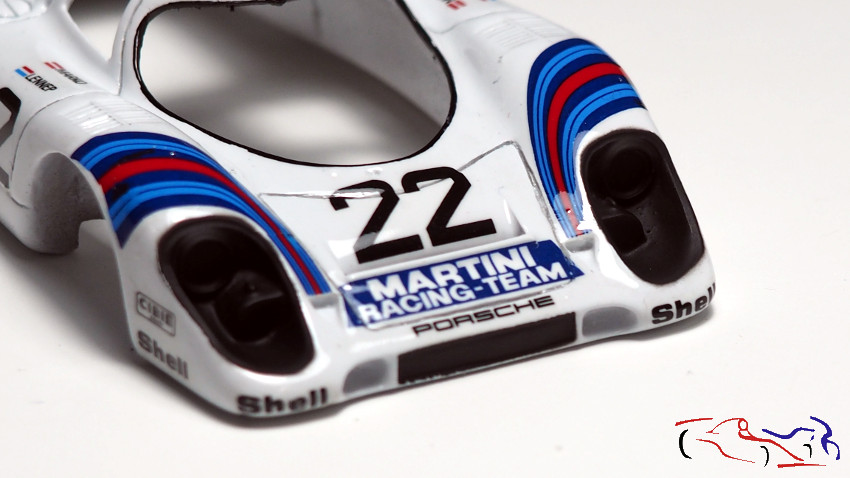
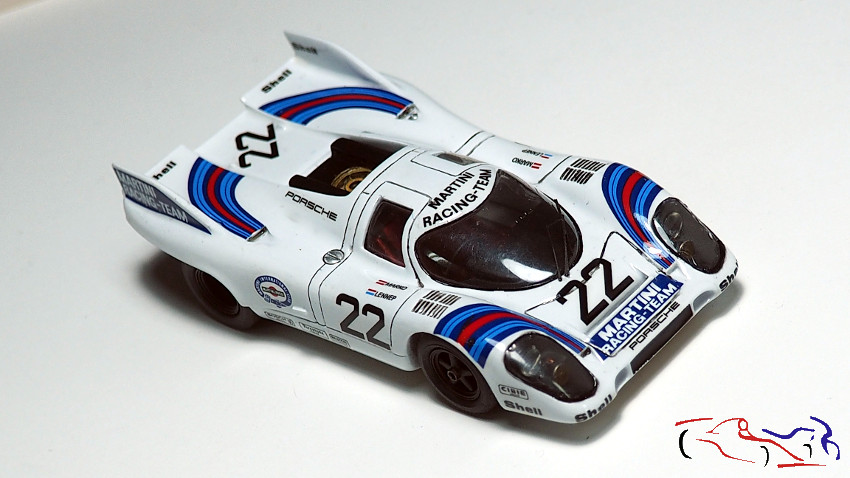
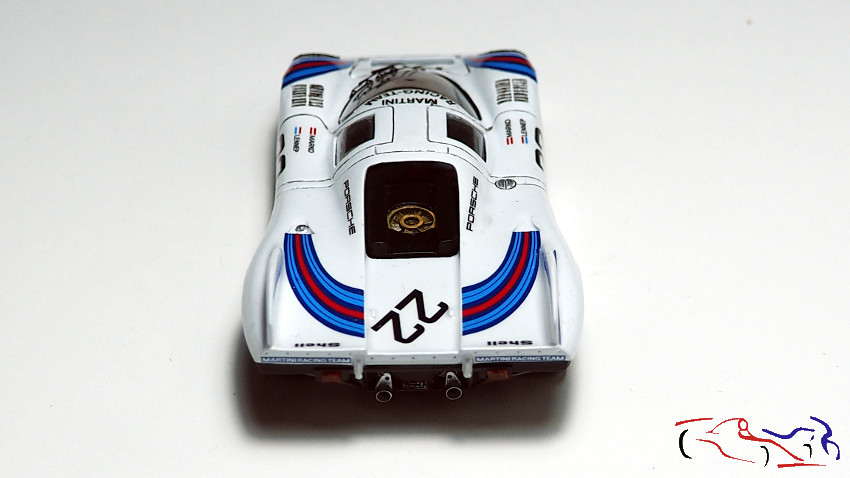
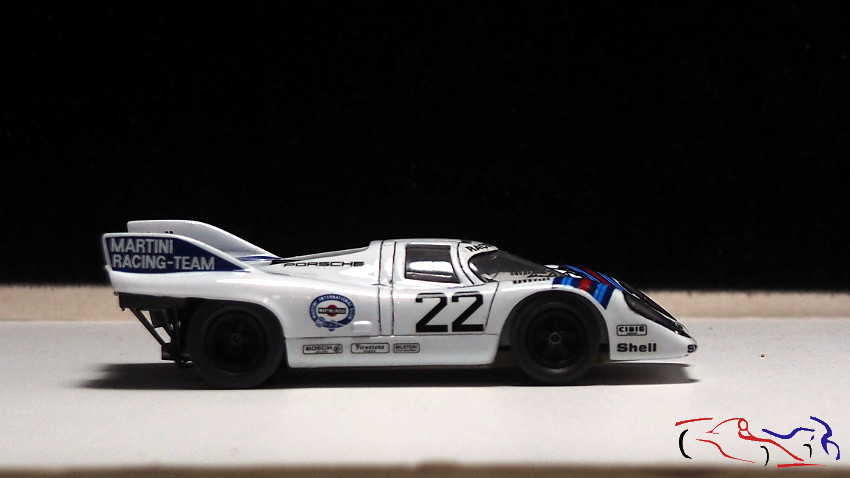
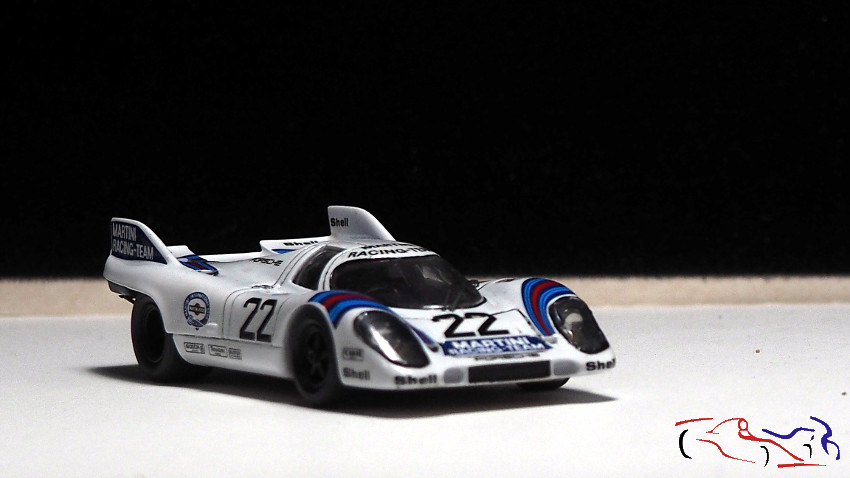
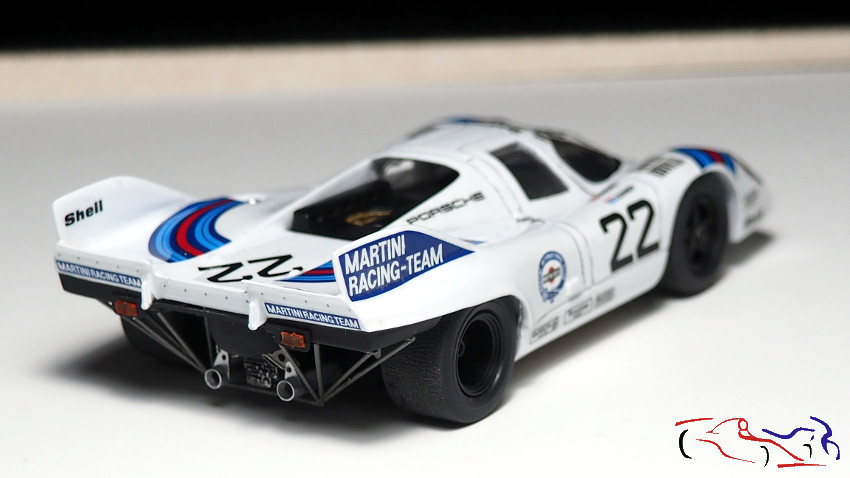
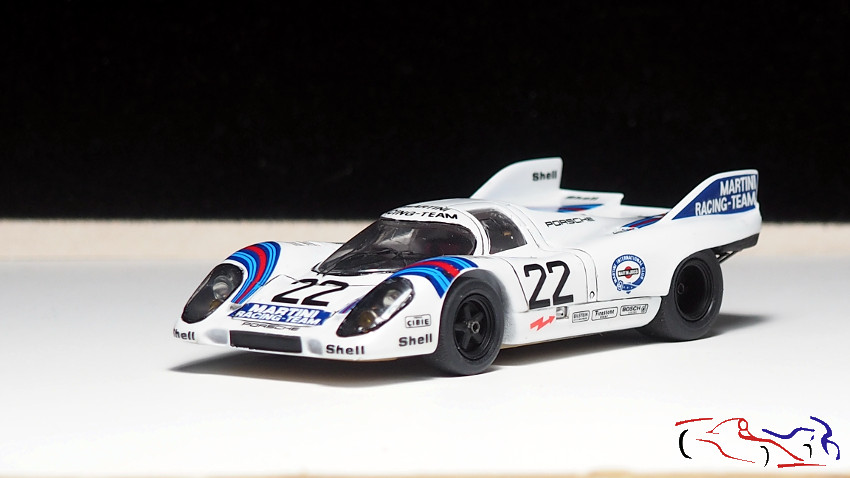
A continuación, pegué y atormille el chasis, puse los faros delanteros con su acetato, los pilotos traseros y el limpiaparabrisas, dando el modelo por terminado:
Next, I glued and screwed the chassis, attached the headlights with their acetate, the taillights and the windshield wiper, thus completing the model:
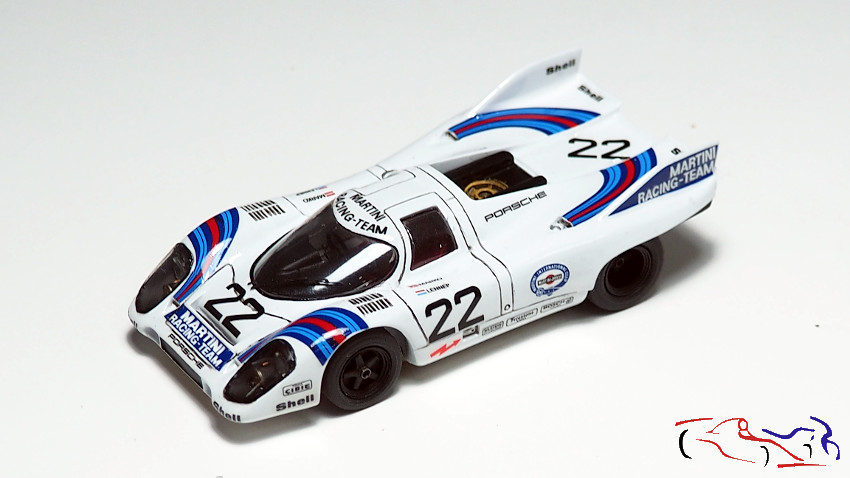
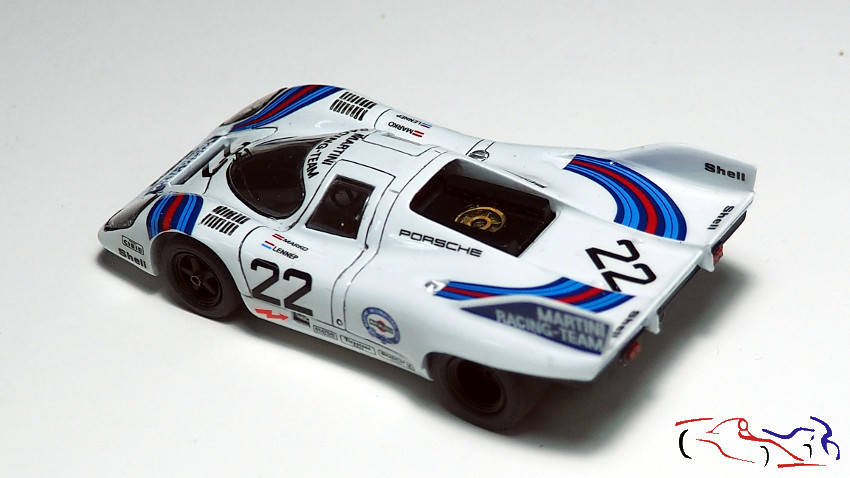
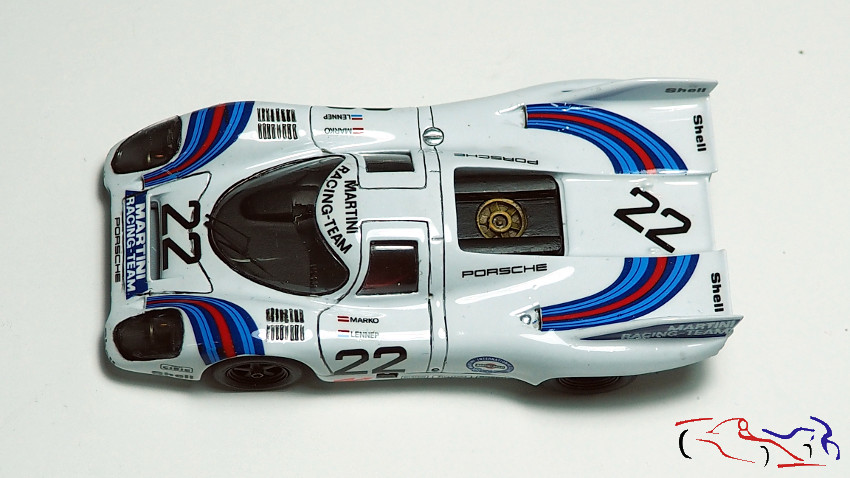
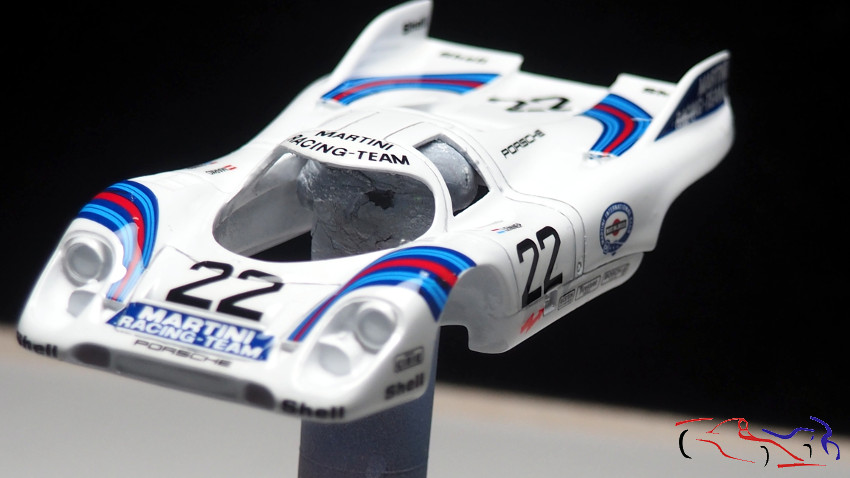
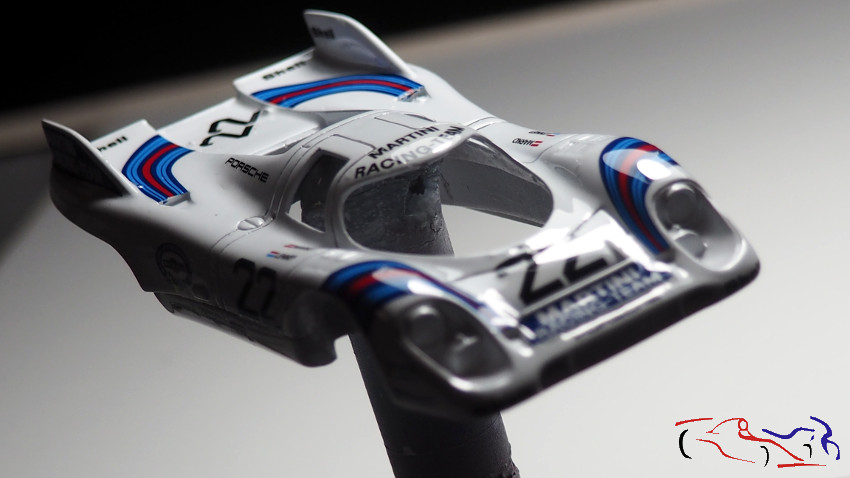
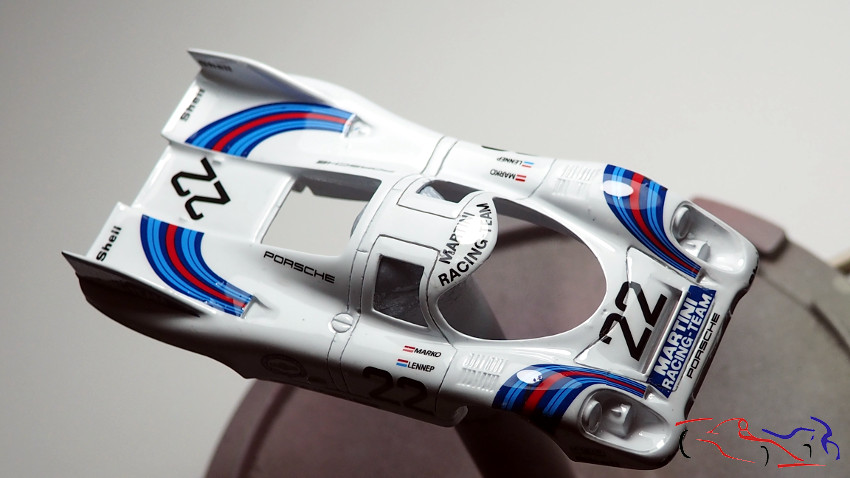
Mi valoración sobre este kit: las piezas en general están bien de formas y proporciones aunque como ya tiene muchos años, las técnicas de hoy en dia superan con creces a estas resinas. Las lineas de los paneles no están bien y es dificil profundizarlas si no las haces de nuevo. Y lo mismo pasa con las calcas, que aunque sean de Cartograph, se rompían por todos lados, además de ser muy duras. La pintura y la laca de Number no me han dado problemas. La pintura del interior se hizo todo con Vallejo, aplicando un rotulador Edding permanente al contorno de los acetatos de los faros delanteros. He intentado hacer un kit rápido para tener la satisfacción de acabar proyectos. Y bueno, ha quedado resultona, siendo un coche mítico con una decoración también mítica!
My assessment of this kit: the parts are generally well-shaped and proportioned, although, being quite old, modern techniques far surpass these resins. The panel lines aren’t good and it’s difficult to deepen them without redrawing them. The same goes for the decals, which, even though they’re from Cartograph, tore everywhere and were also very hard. The Number paint and lacquer didn’t give me any problems. The interior painting was done entirely with Vallejo paints, using a permanent Edding marker to outline the acetate overlays of the headlights. I tried to put together a quick kit to have the satisfaction of finishing a project. And well, it turned out quite well, being a legendary car with a legendary livery!
Esto es todo de esta maqueta. Espero que os haya gustado y gracias por ver y comentar!!
This is all for this model. I hope you liked it and thanks for watching and commenting!!


