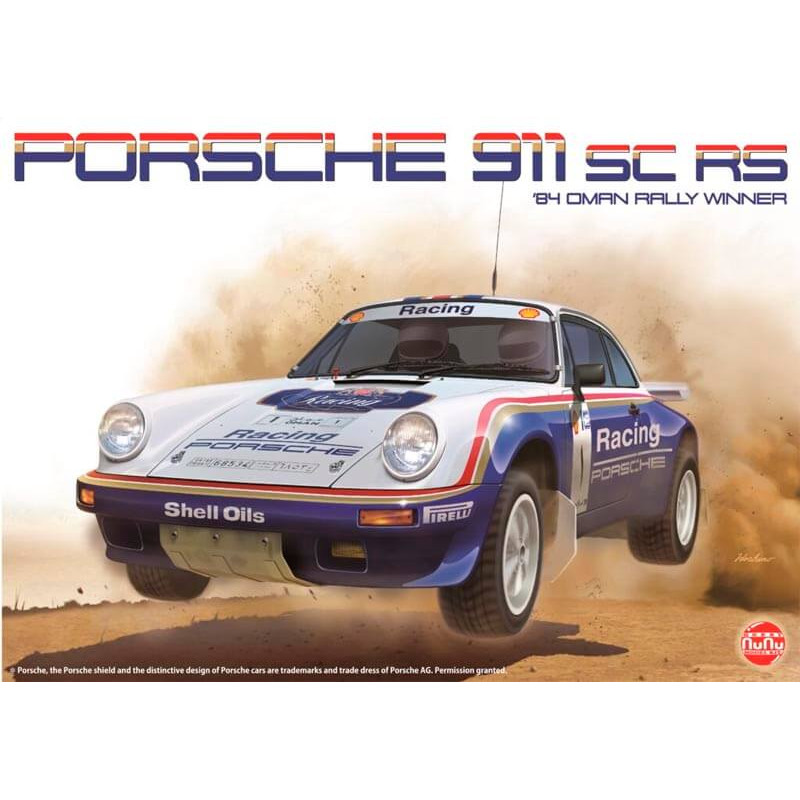
Comenzamos un nuevo proyecto: Porsche 911 SC RS de la marca Nunu a 1/24 la cual, voy a abrirle las puertas y el capo delantero, y todo será funcional!
We start a new project: Porsche 911 SC RS of the brand Nunu to 1/24 which, I will open the doors and the front bonnet, and everything will be functional!
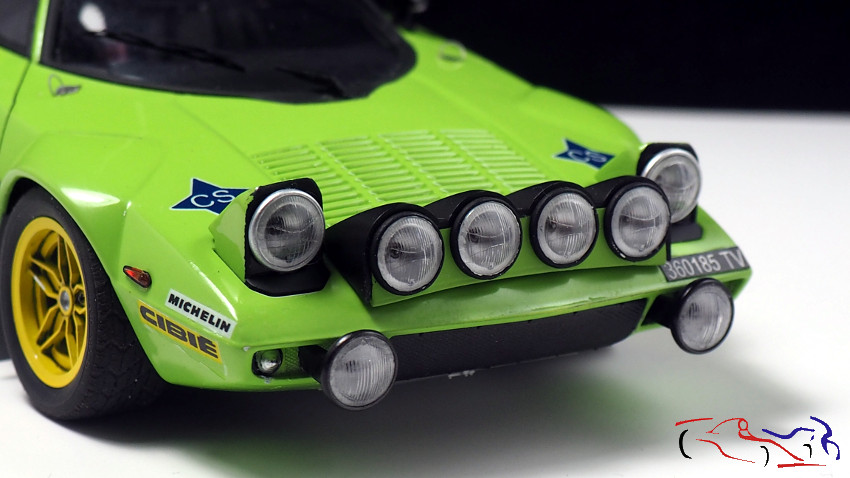
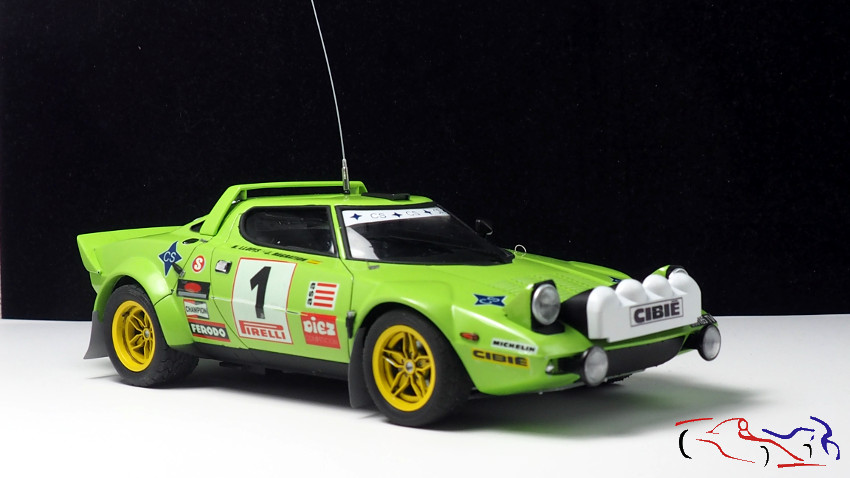
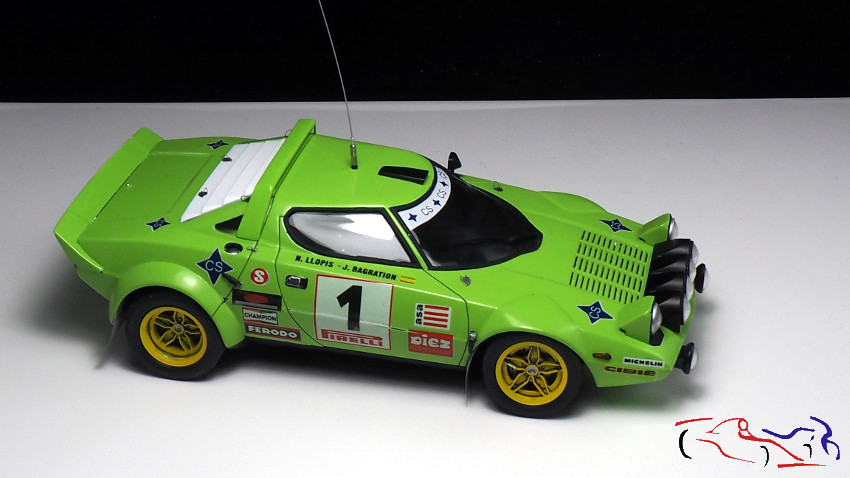
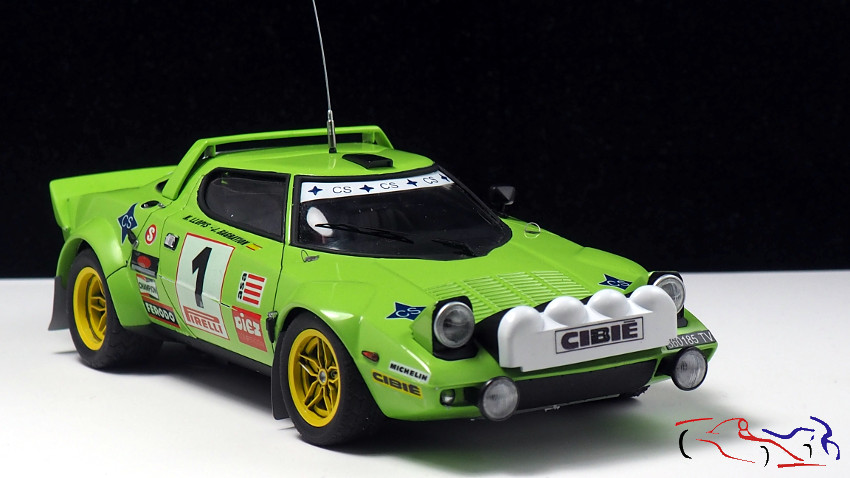
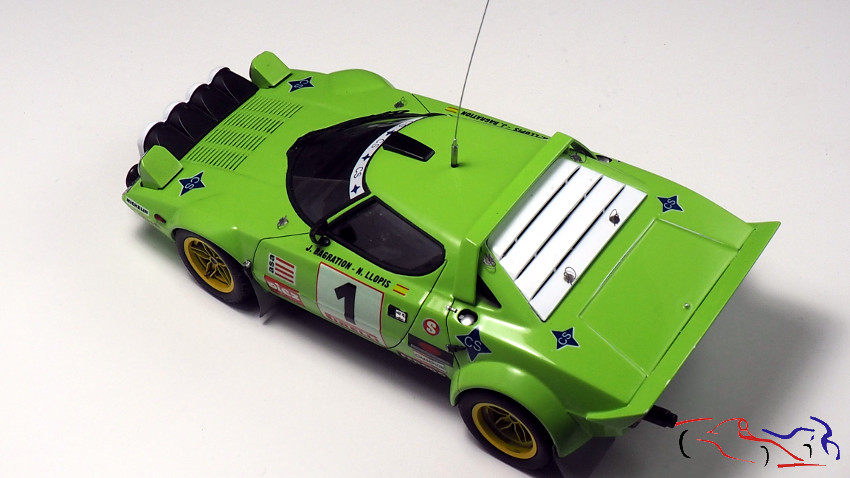
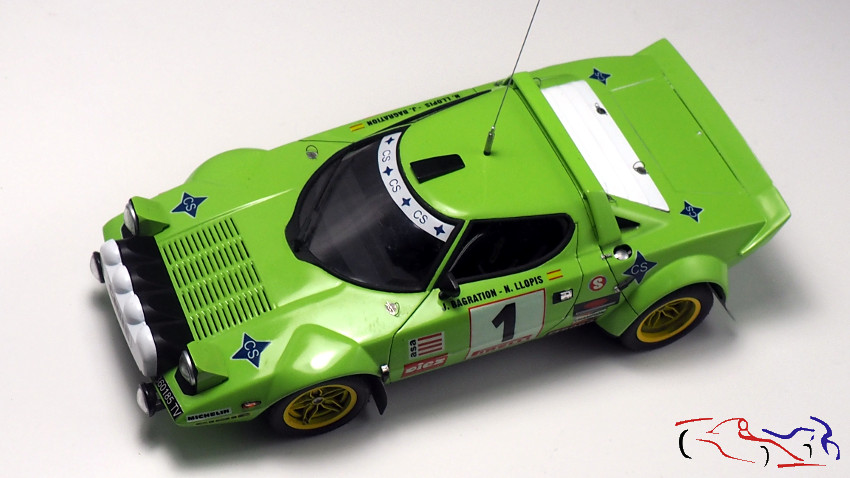
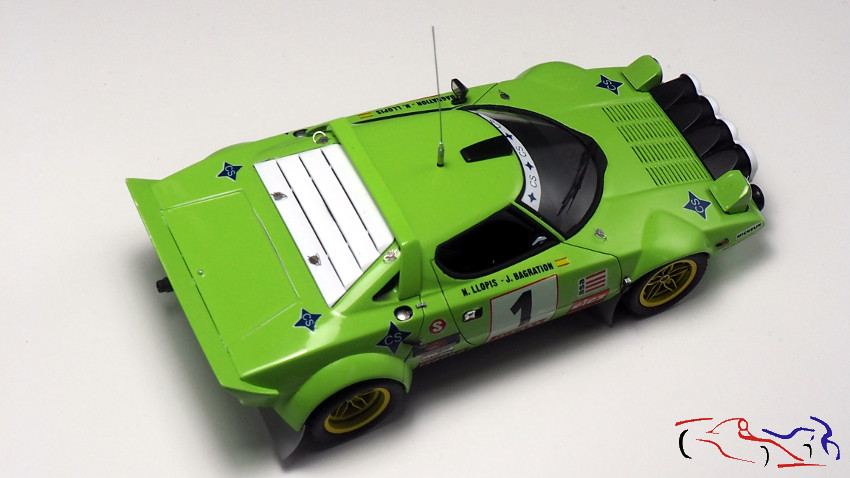
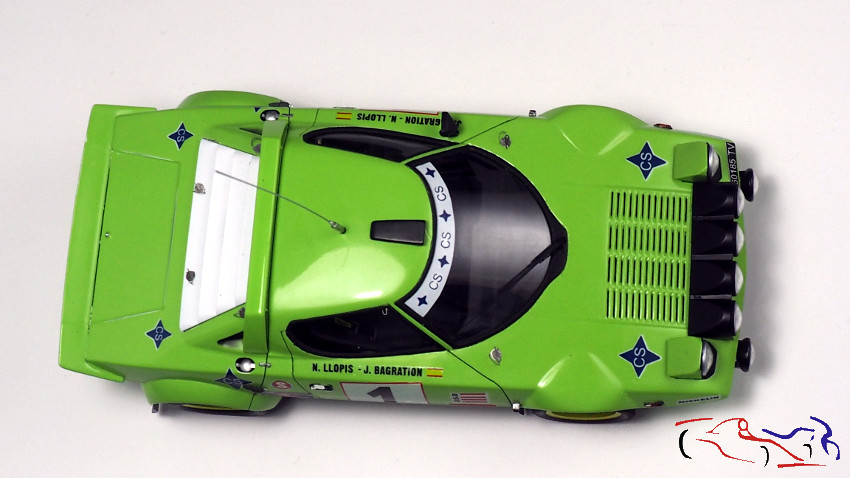
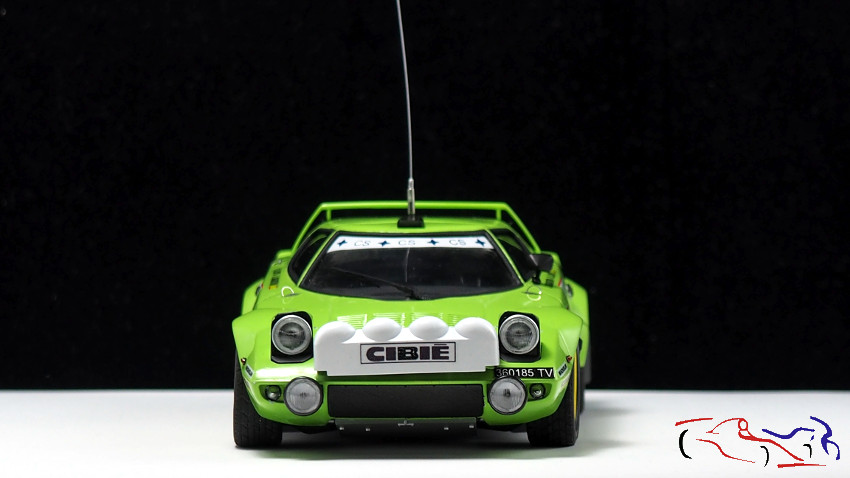
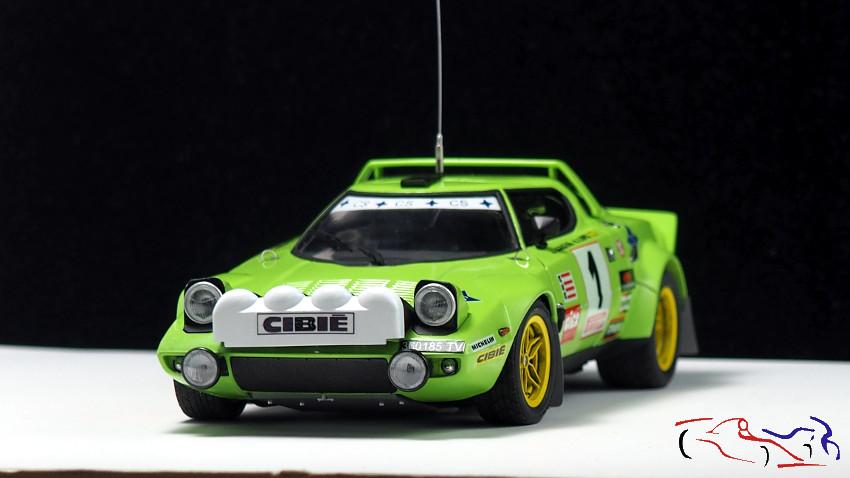
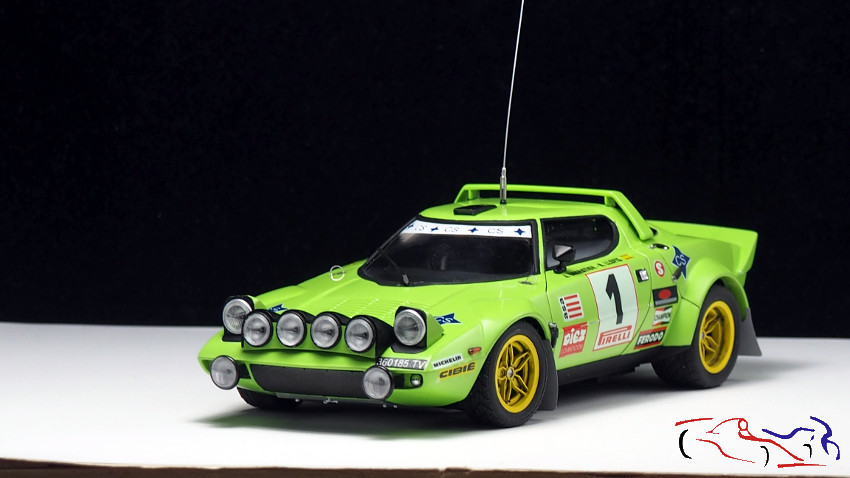
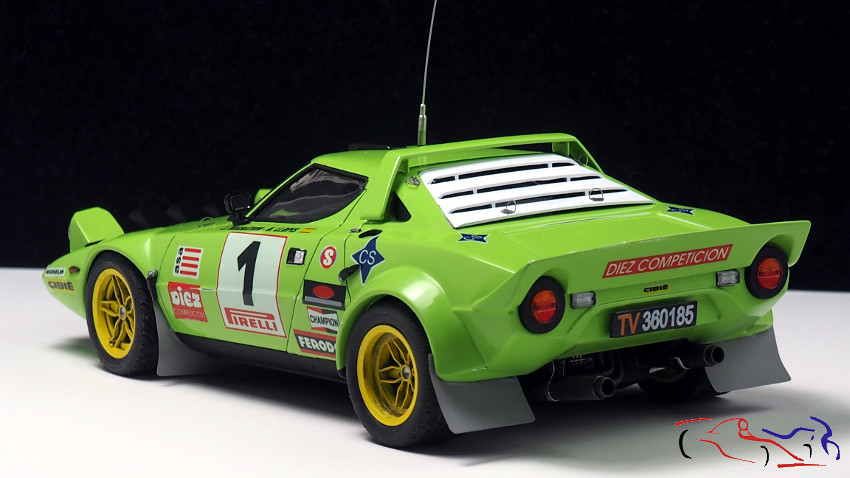
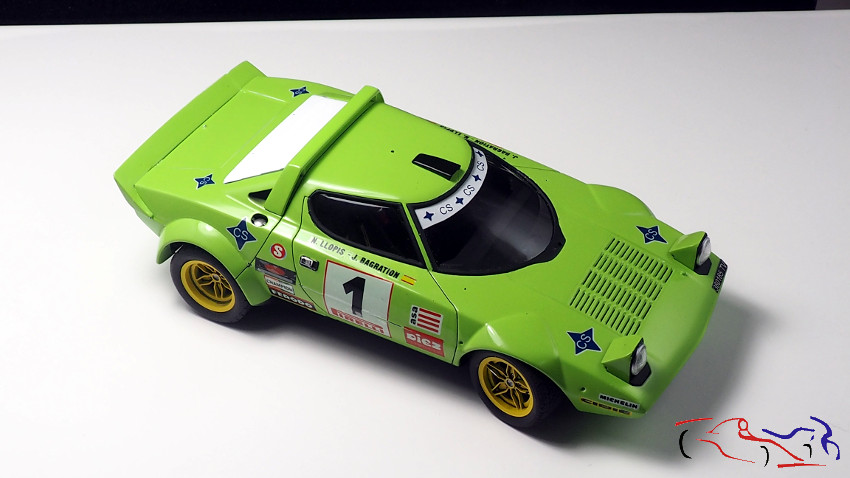
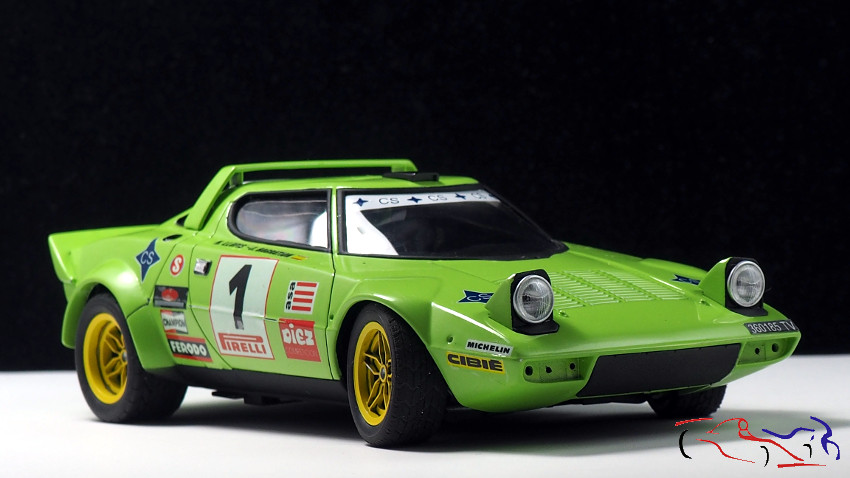
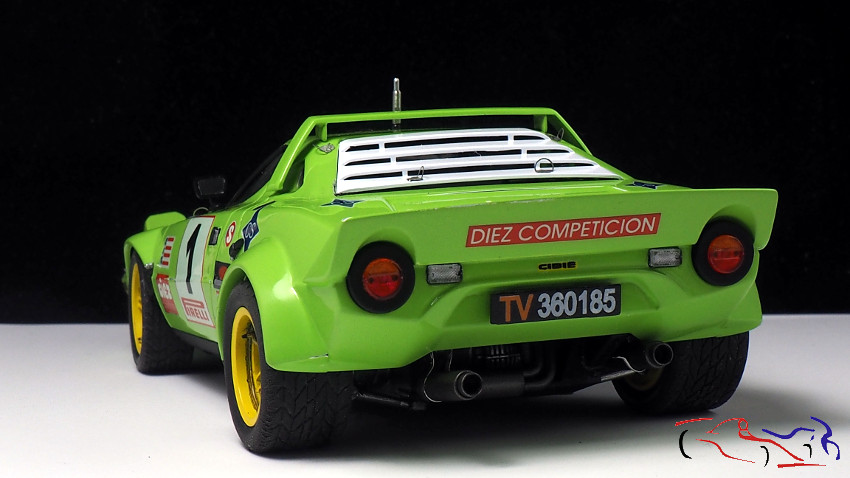
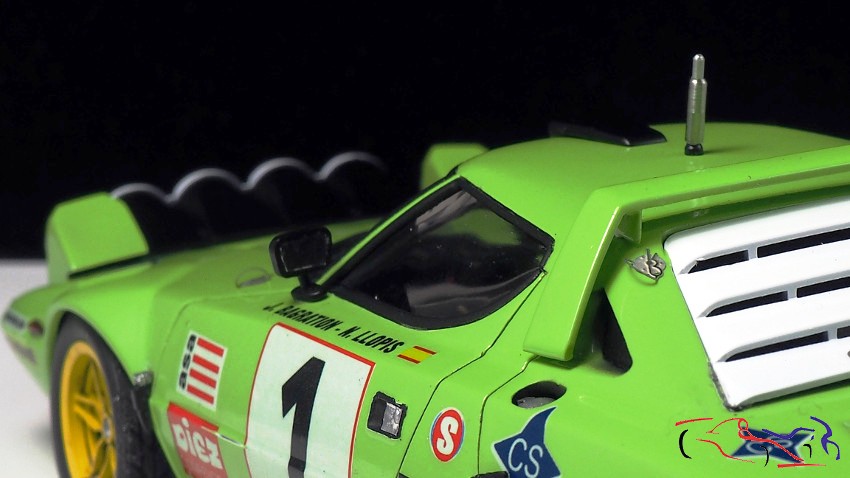
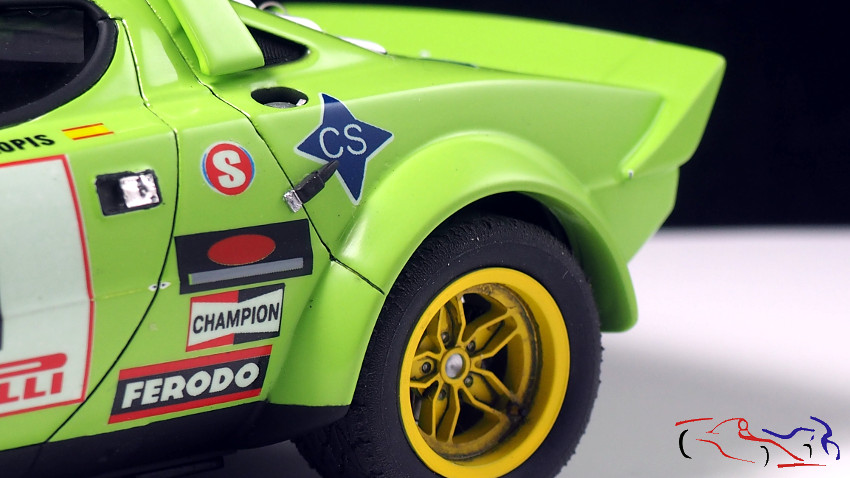
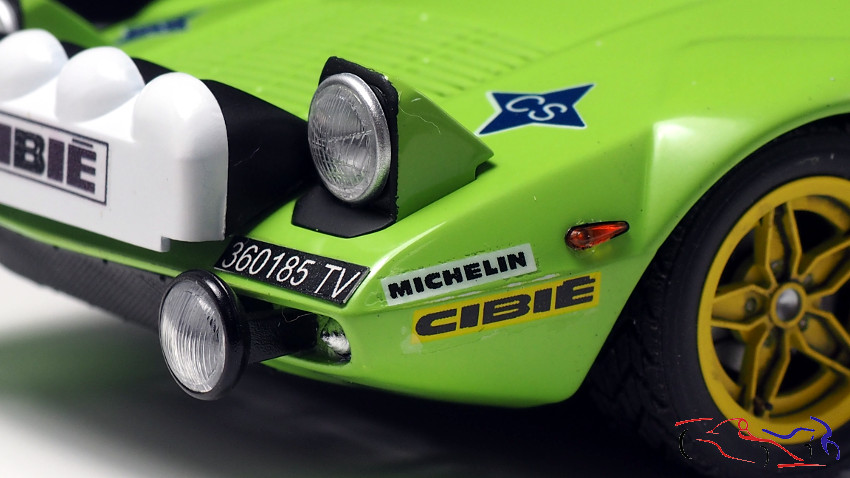
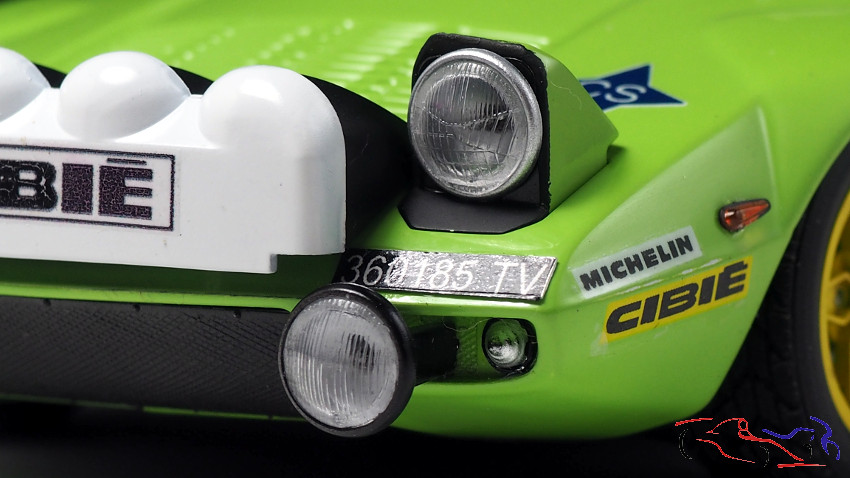
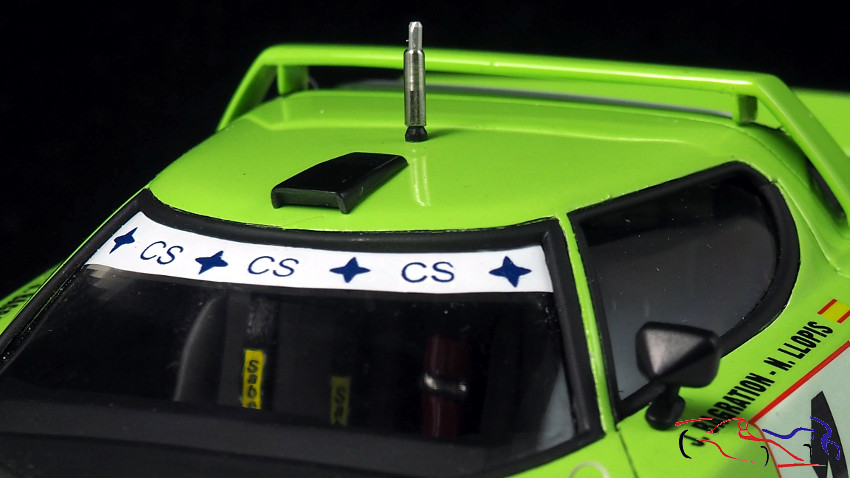
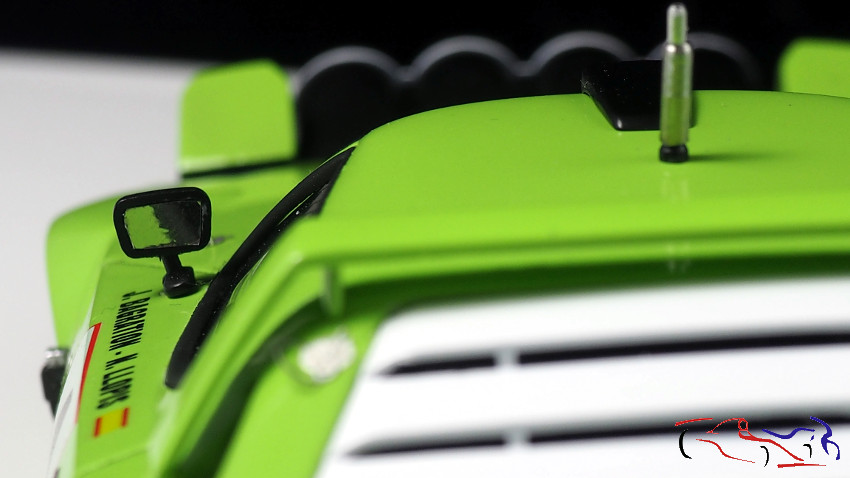
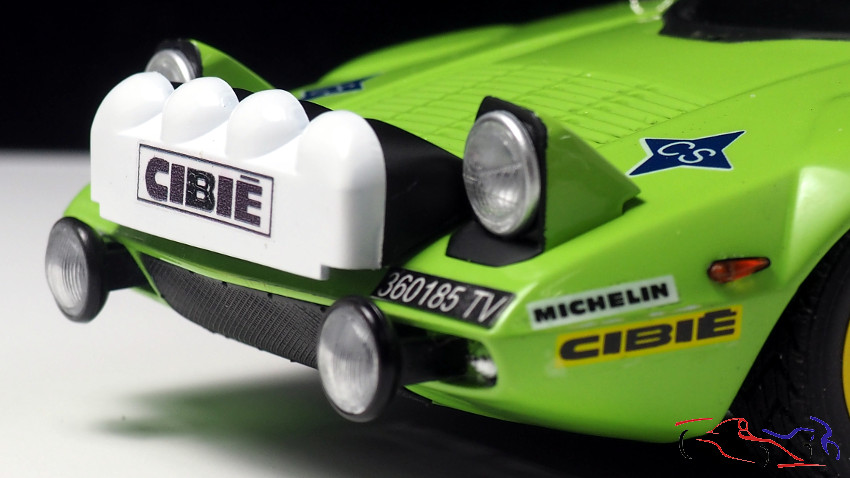
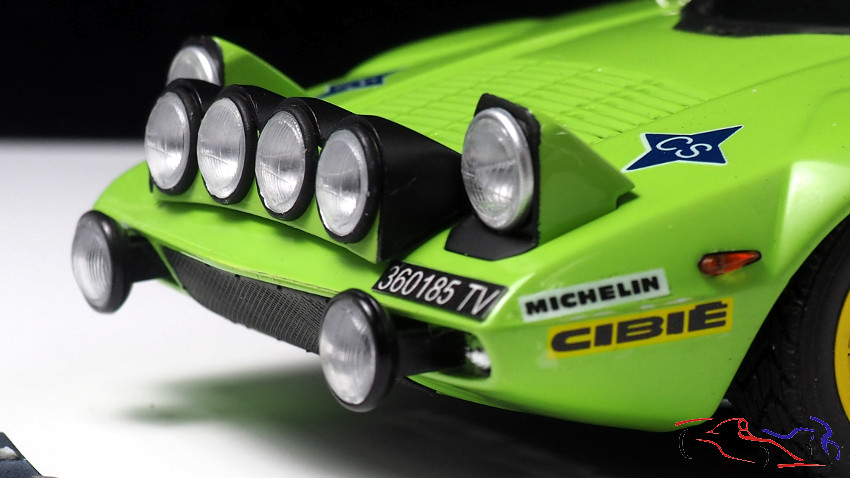
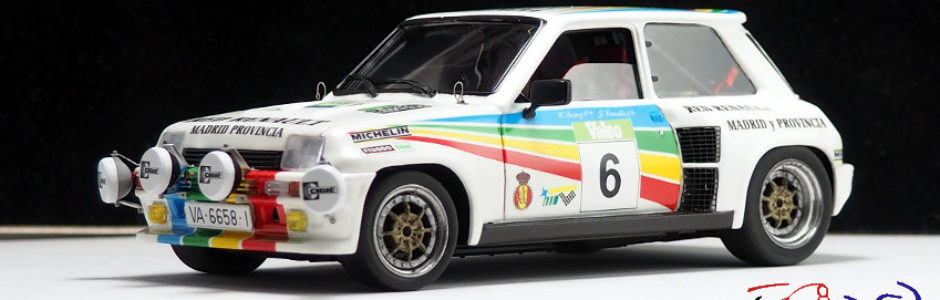
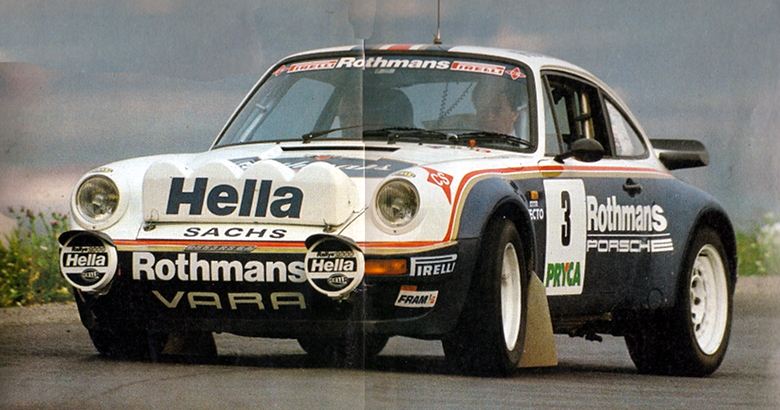
Y la idea es hacer el coche con el que Beny Fernandez corrió en el Rally Valeo de 1984, el cual presencié en vivo. Este es el coche de una prueba realizada para alguna revista:
And the idea is to make the car with which Beny Fernandez raced in the 1984 Valeo Rally, which I witnessed live. This is the car from a test run for some magazine:
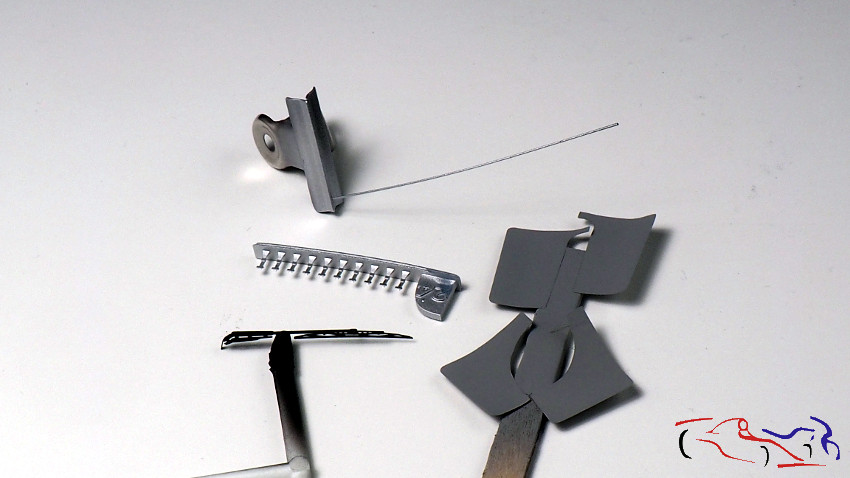
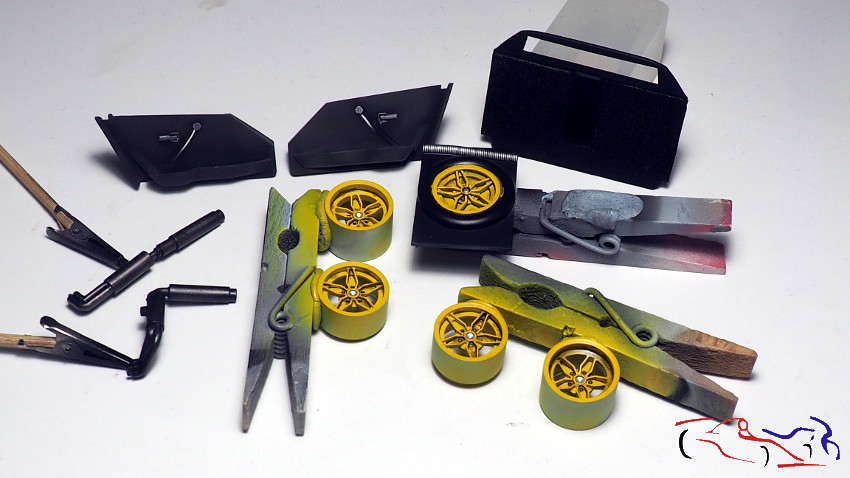
Y qué tenemos de extras para este proyecto:
And what extras do we have for this project?
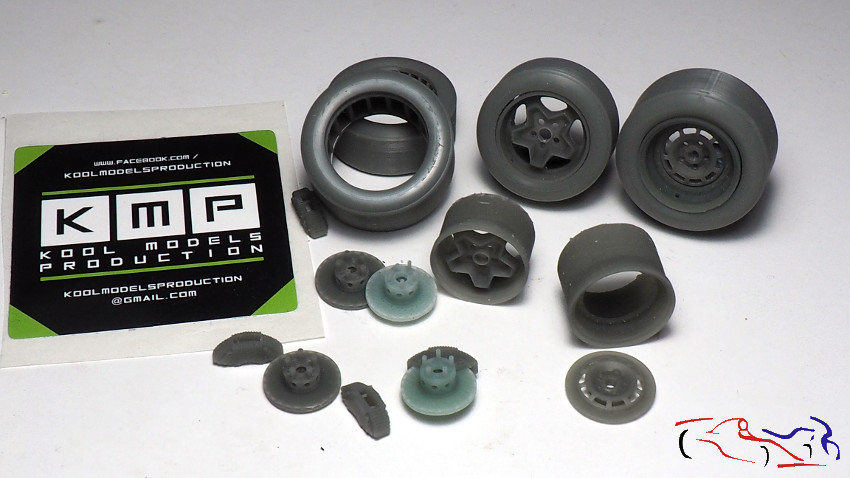
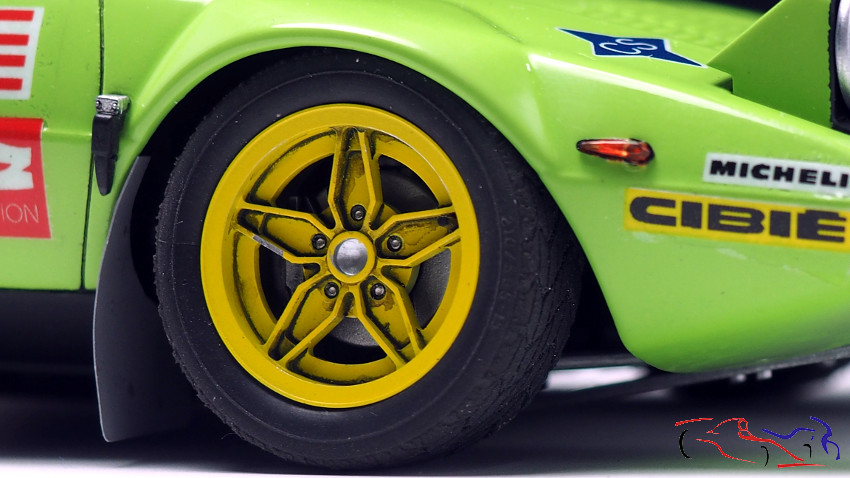
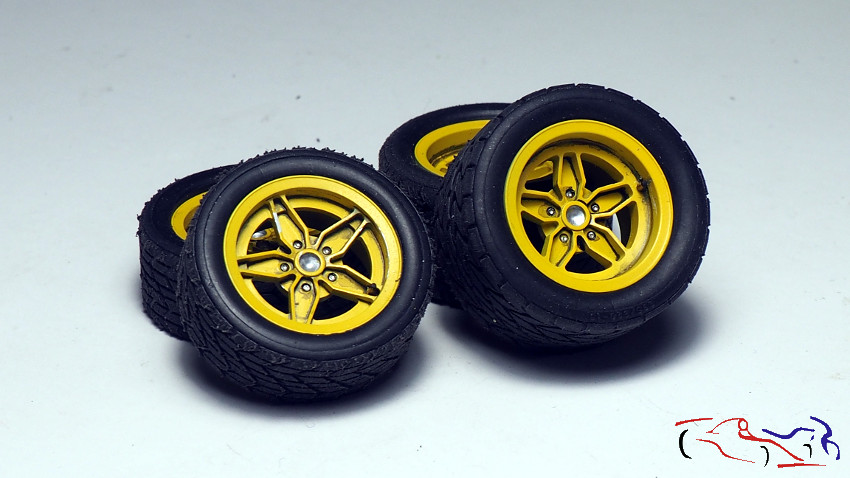
Las llantas y neumáticos que ha hecho KMP para éste coche.
The wheels and tyres made by KMP for this car.
El transkit de la propia Nunu
Nunu’s own transkit
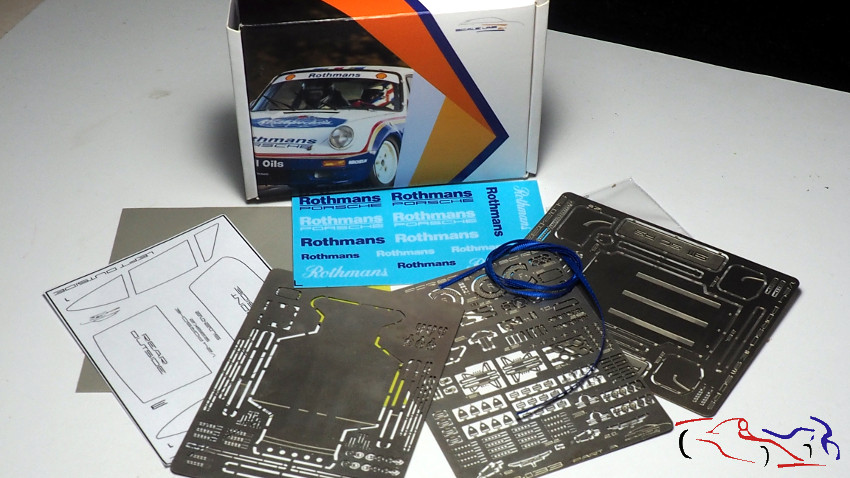
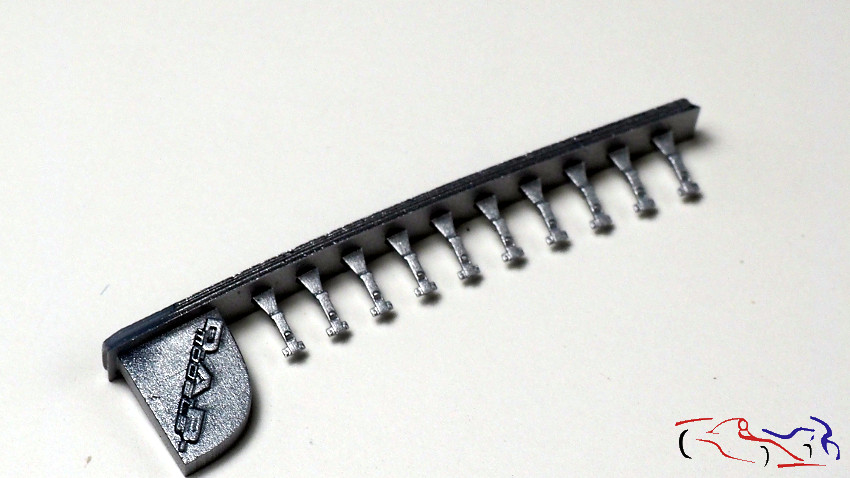
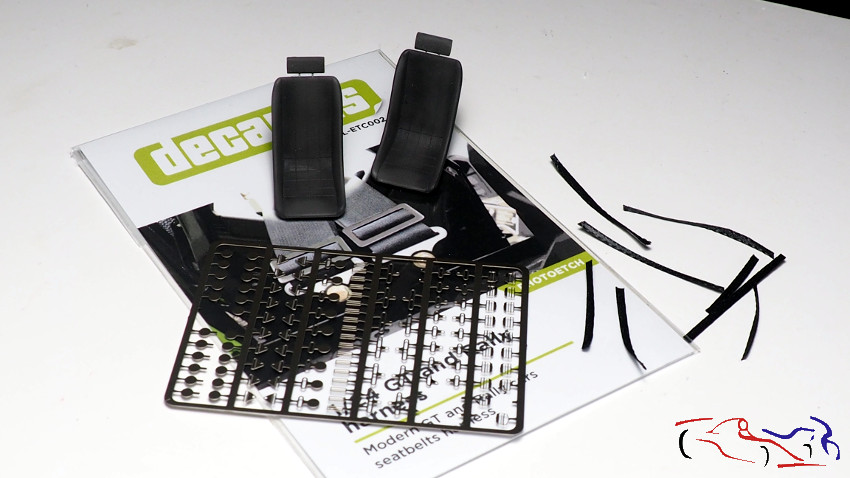
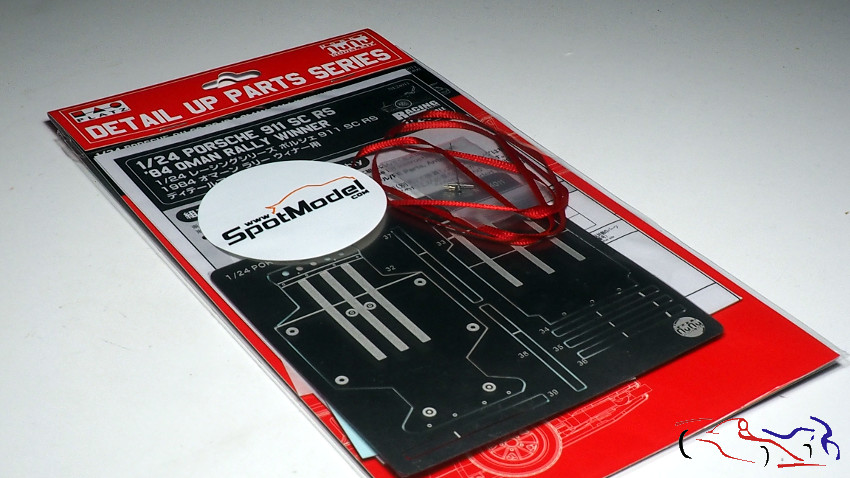
El conjunto de fotograbados que amablemente me proporcionó Scalelab24 (Gracias!!)
The set of photoetched parts kindly provided by Scalelab24 (Thank you!!!)
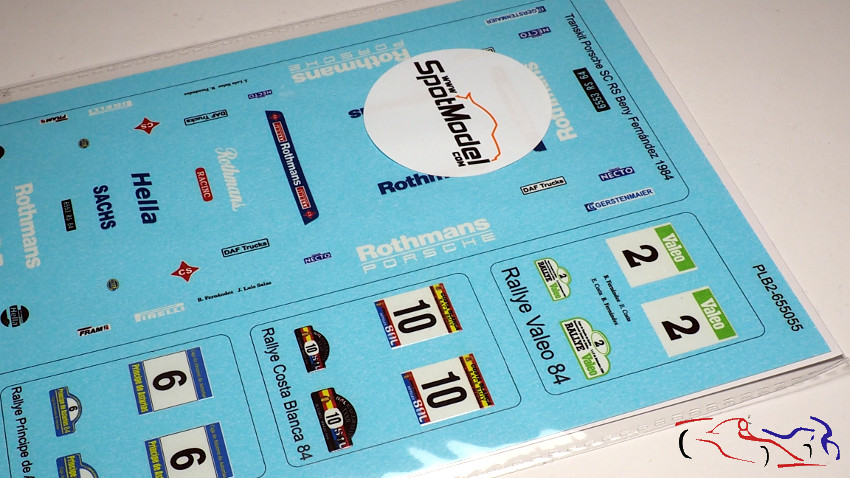
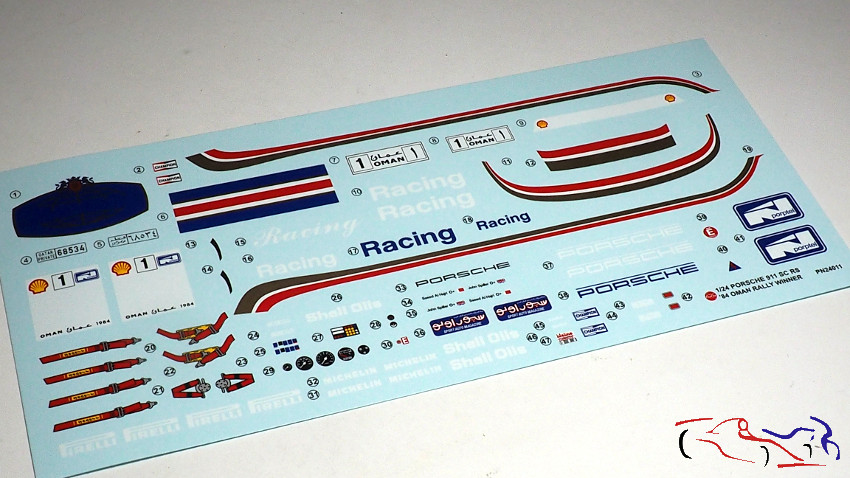
El conjunto de calcas de este coche que inluye varios rallyes de ese año, que felizmente hizo Mario Vallina para Printlab de Spotmodel
The decals set of this car including several rallies of that year, happily made by Mario Vallina for Spotmodel Printlab.
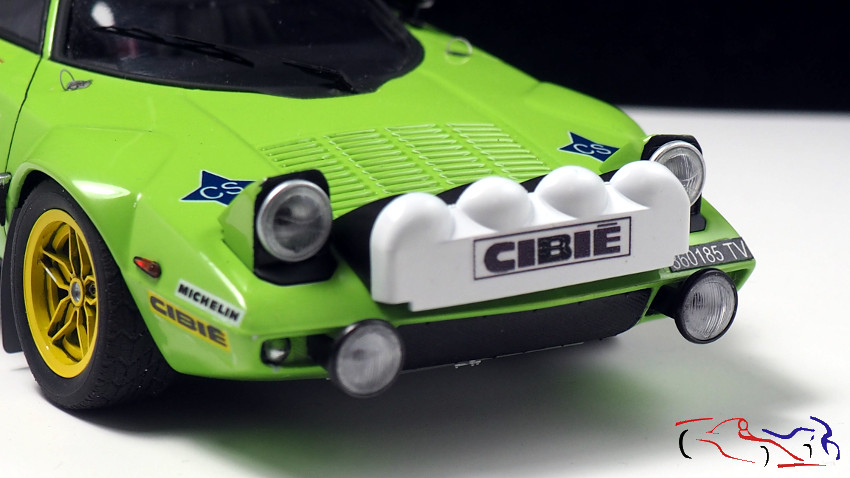
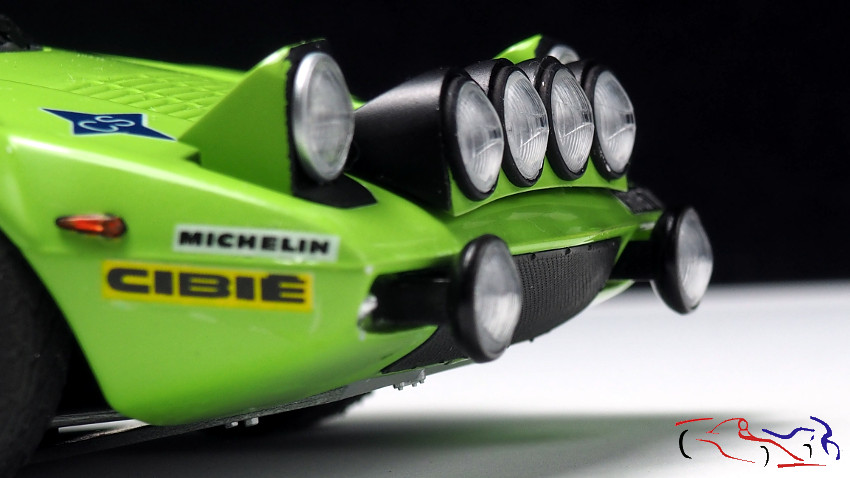
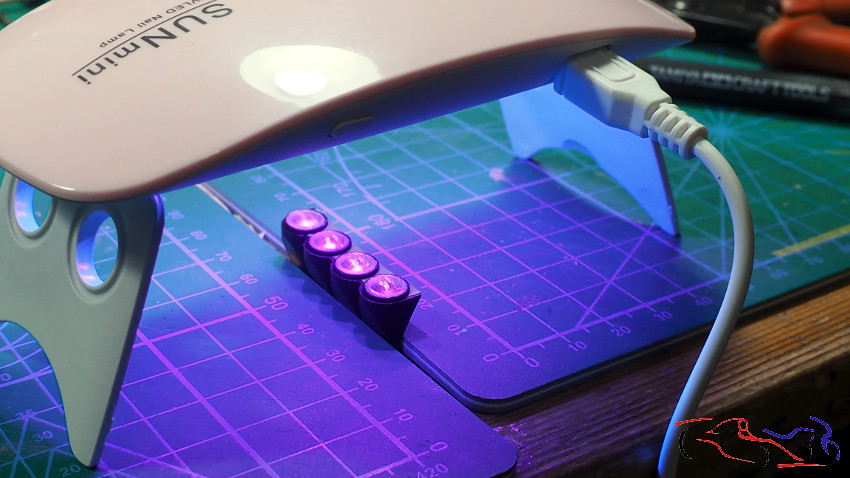
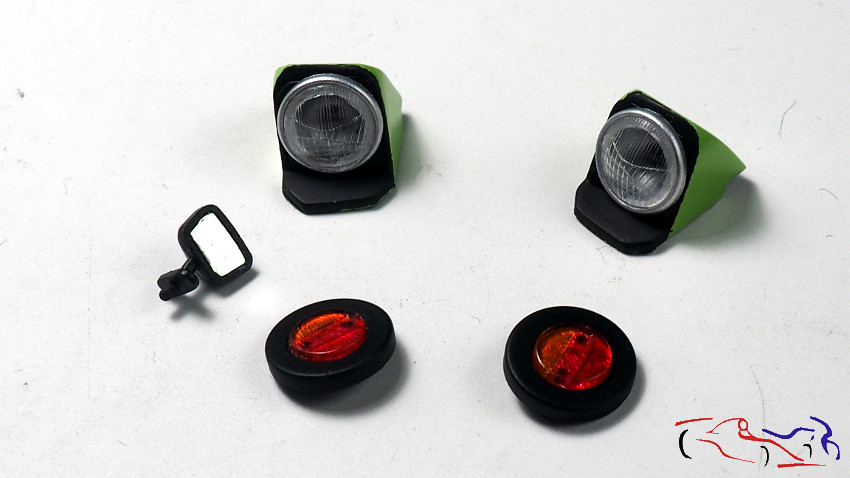
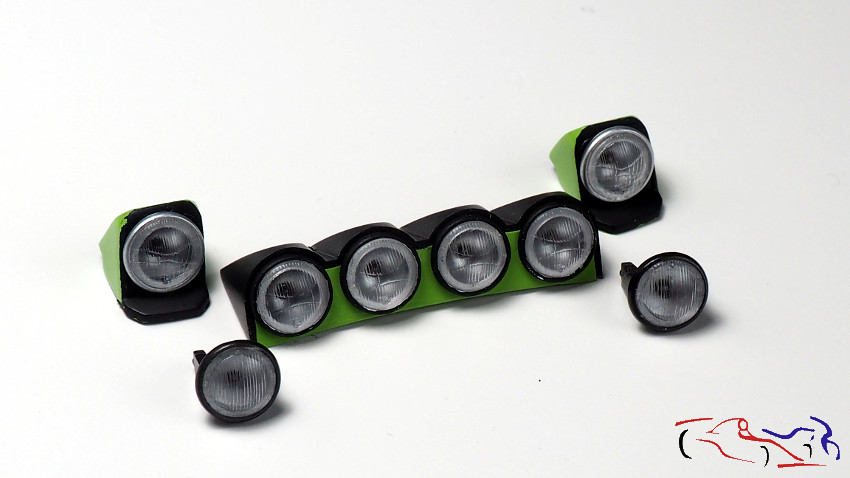
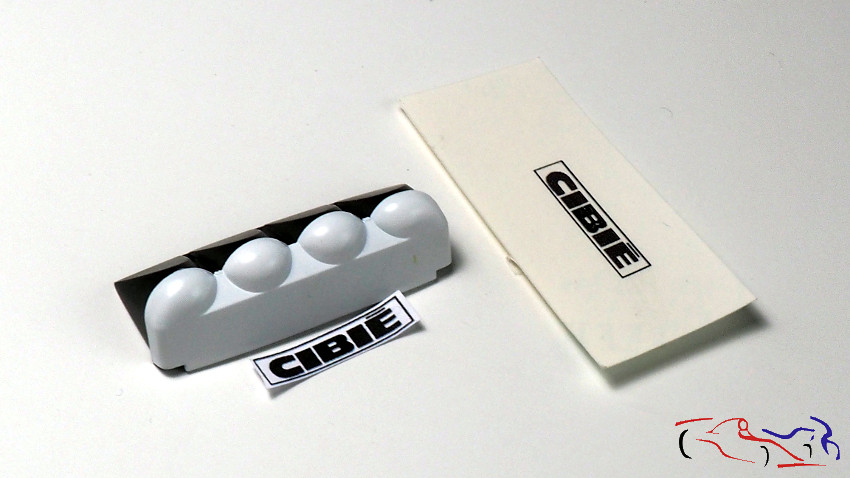
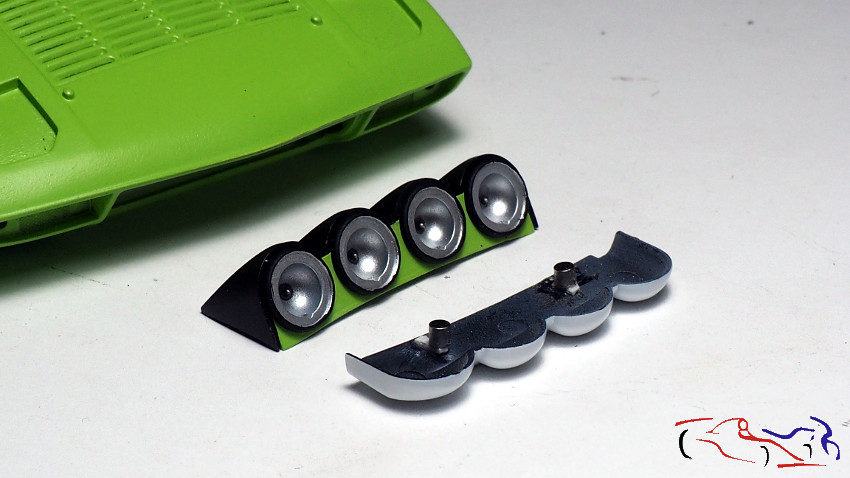
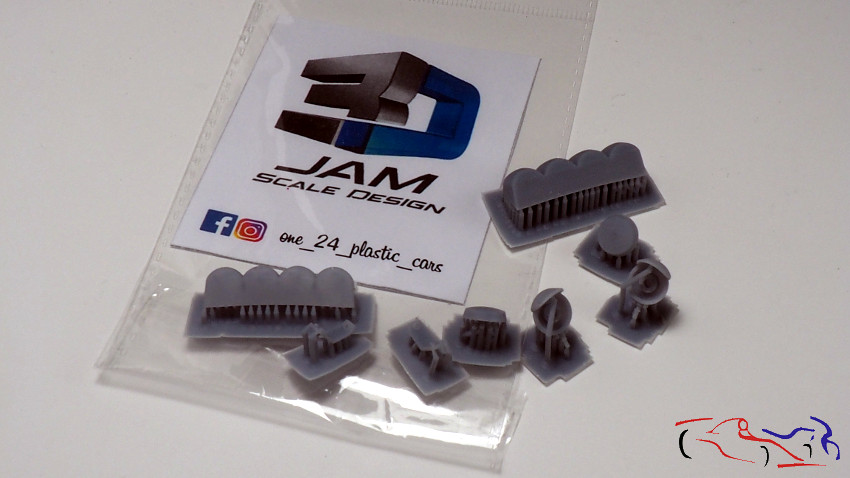
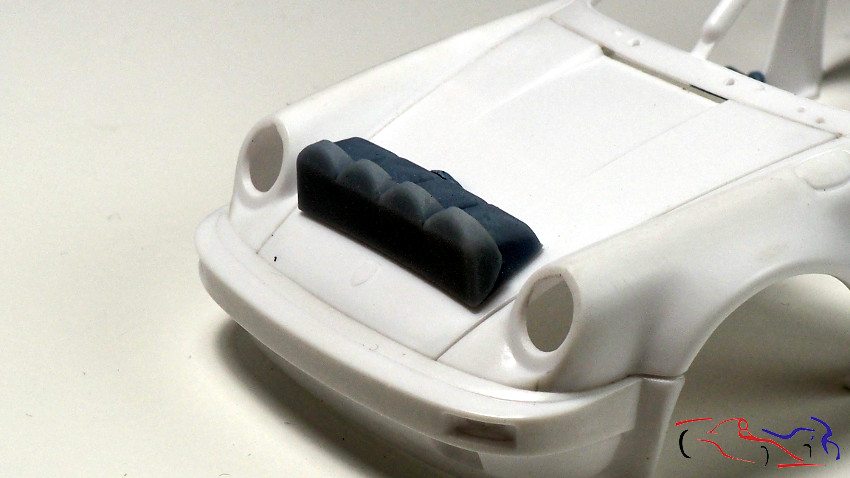
También usaré el conjunto de faros auxiliares que ha producido Ignacio Bas para este coche:
I will also use the auxiliary headlight set that Ignacio Bas has produced for this car:
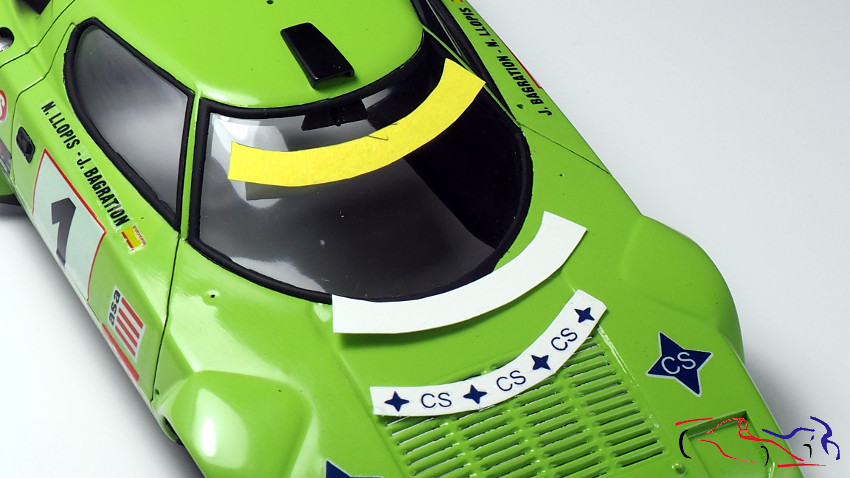
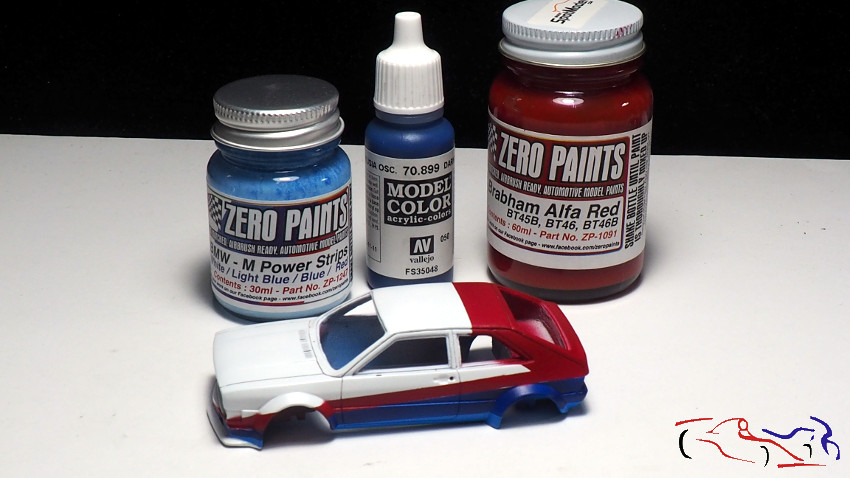
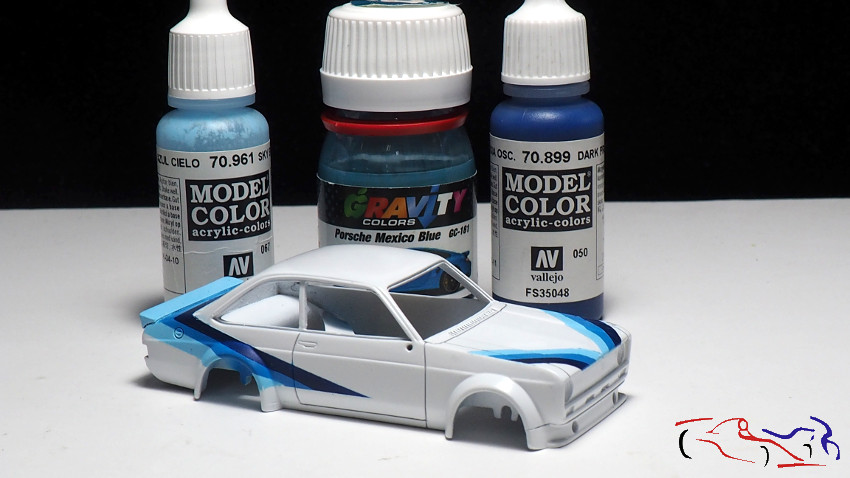
Deciros que si bien usaré parte de la hoja de calcas original, tendré que trabajar un poco las franjas laterales puesto que el kit no reproduce las exactas del coche de Beny, ya que se en la parte trasera, se mantienen con igual grosor. Recortando las calcas originales adecuadamente, podremos reproducir el coche original. Este dato lo tengo que agradecer a Juan Manuel de Diseño Clandestino, que amáblemente me lo comunicó.
I will use part of the original decal sheet, but I will have to work a little on the side stripes as the kit does not reproduce the exact ones from Beny’s car, as they are kept with the same thickness at the rear. Cutting the original decals properly, we will be able to reproduce the original car. I have to thank Juan Manuel from Diseño Clandestino for this information, who kindly communicated it to me.
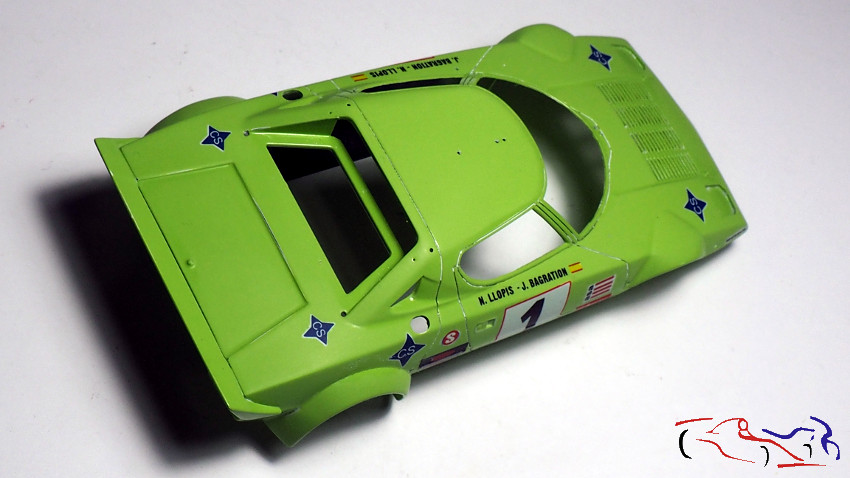
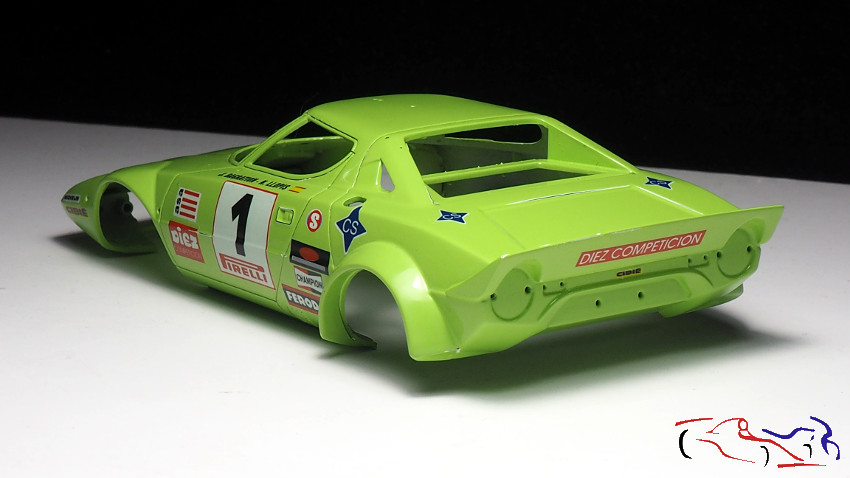
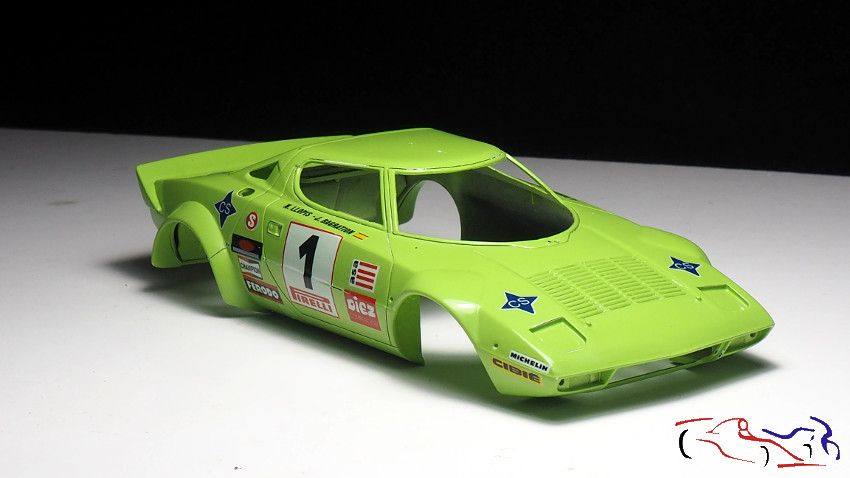
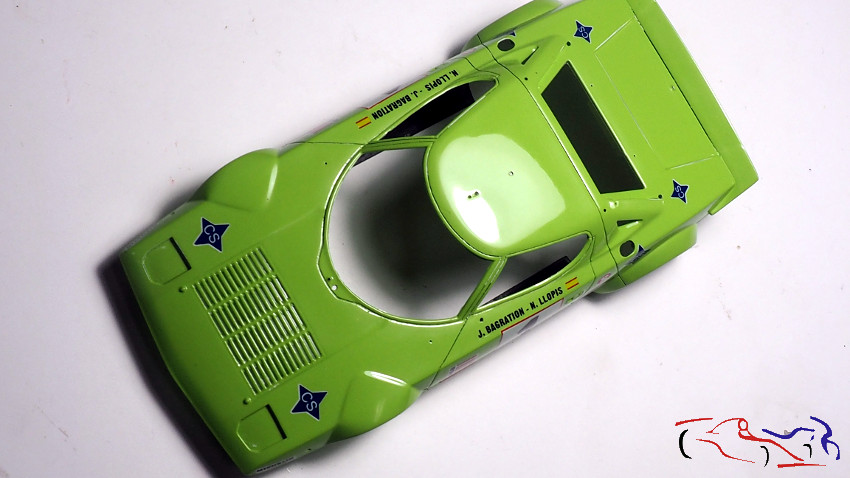
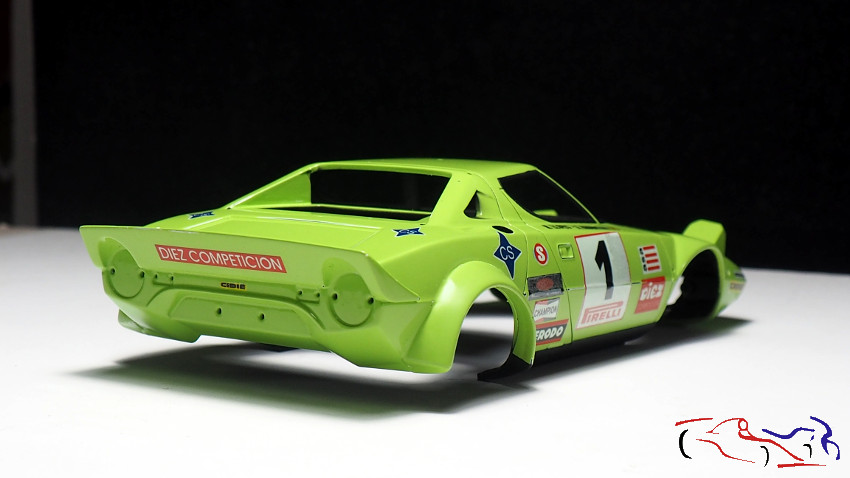
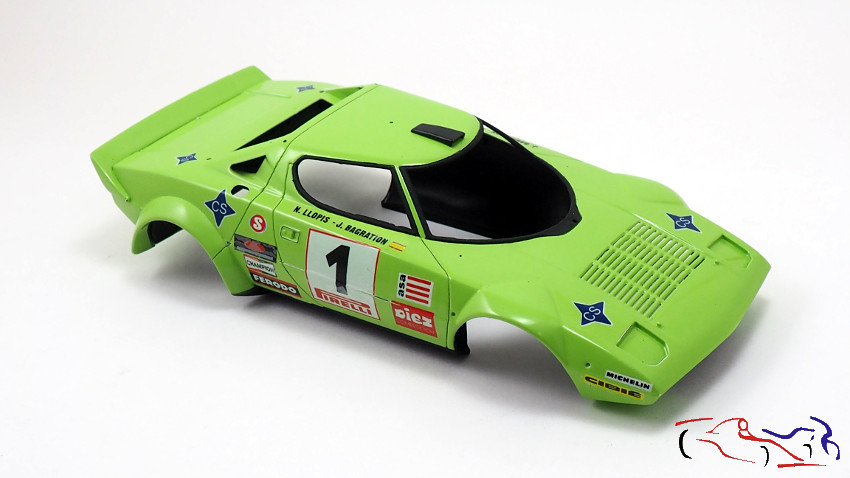
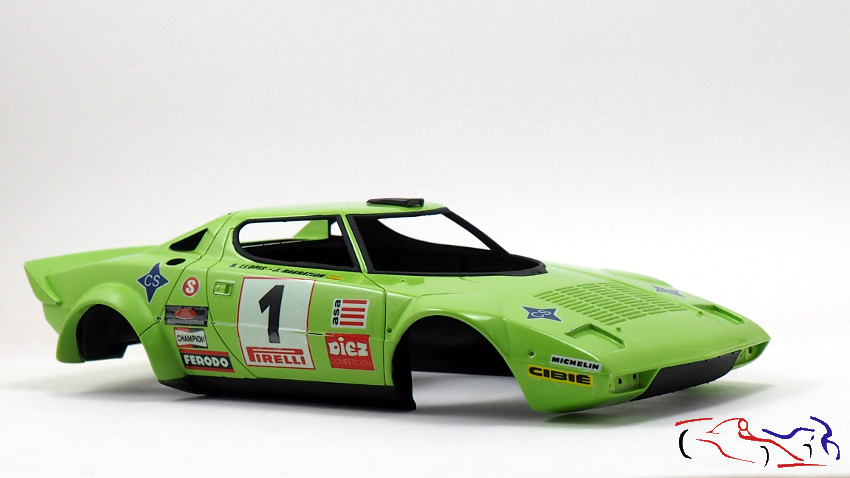
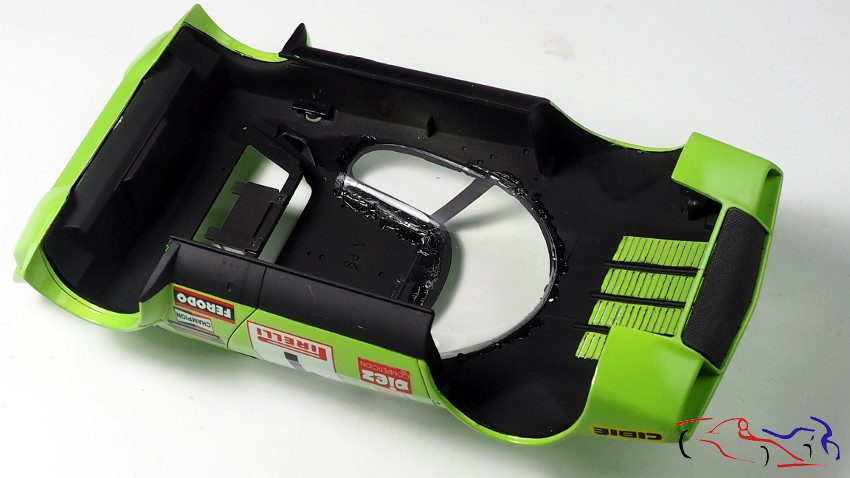
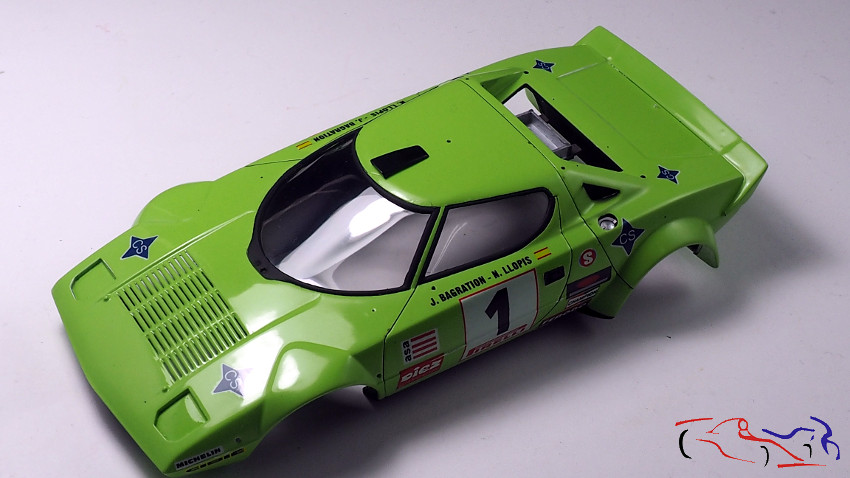
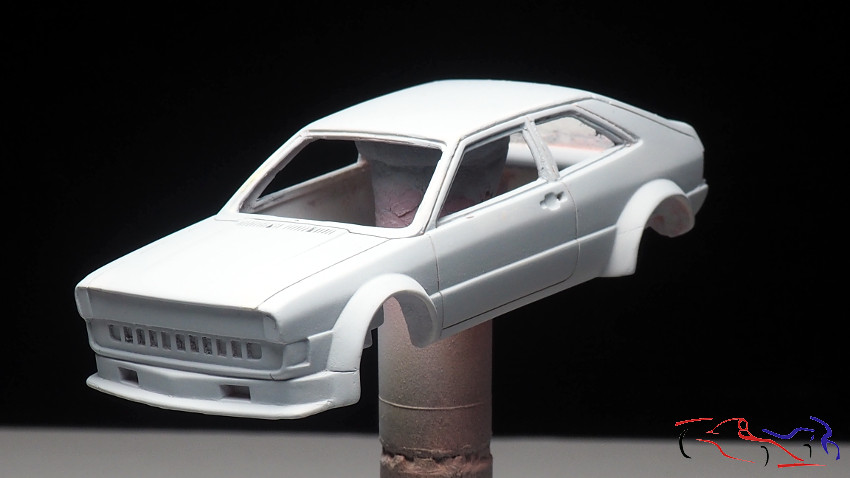
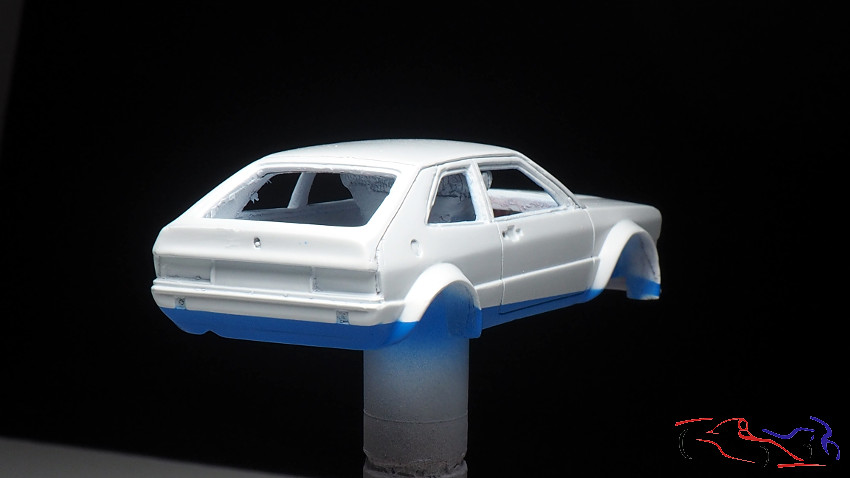
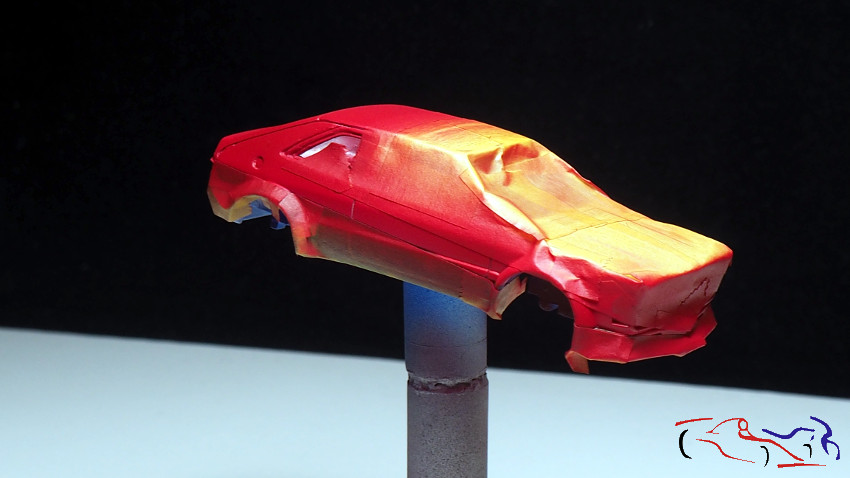
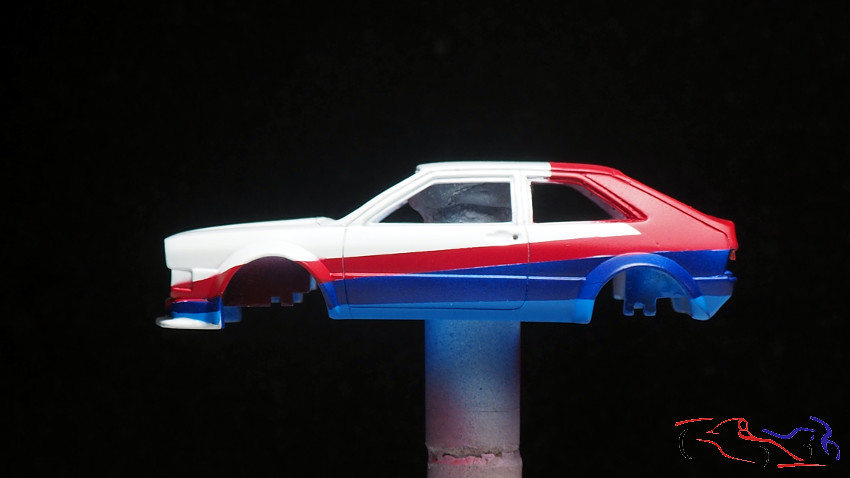
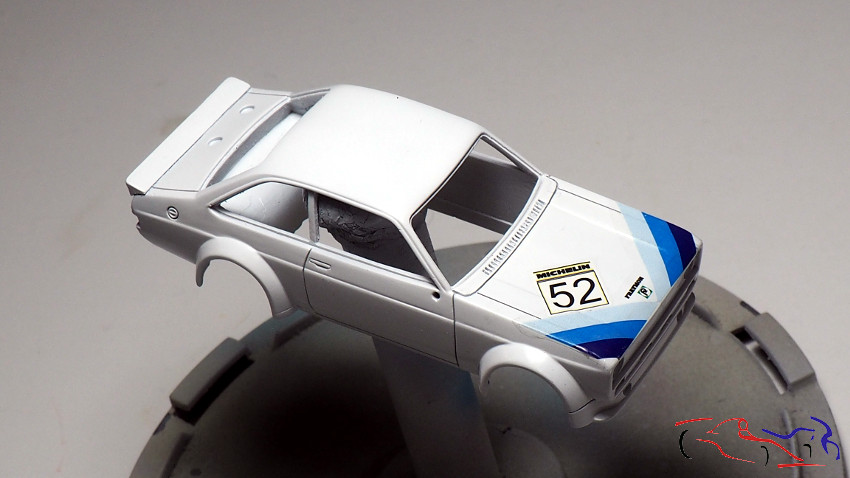
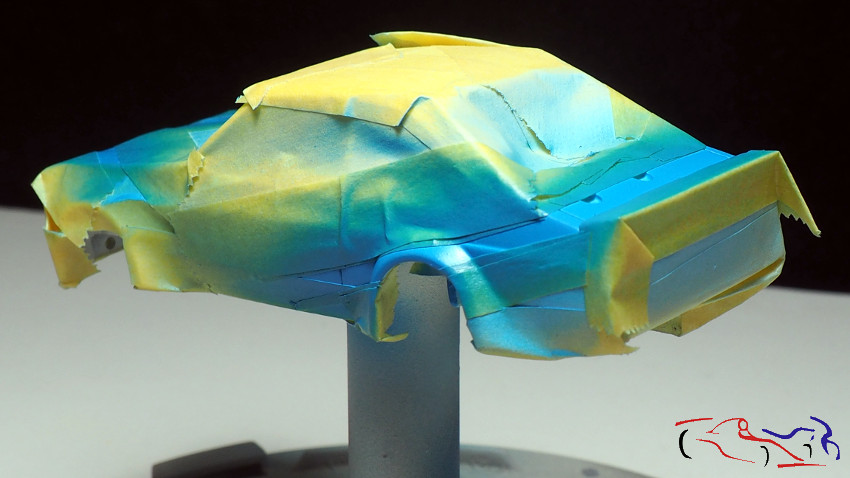
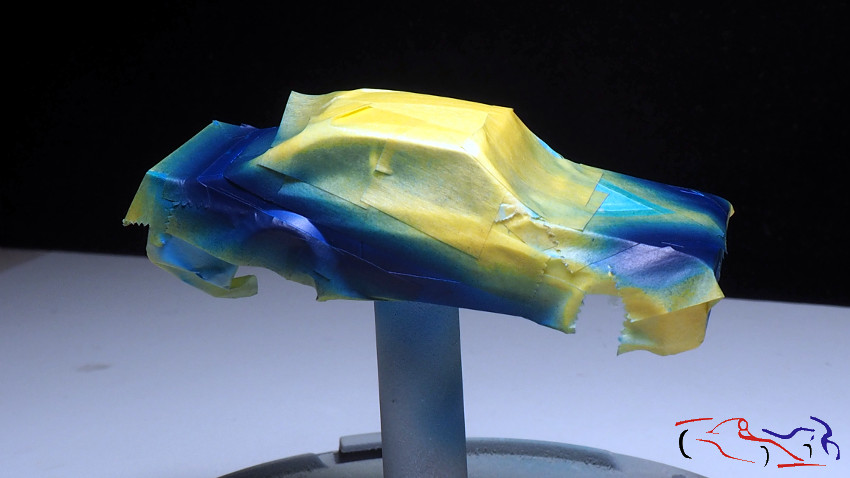
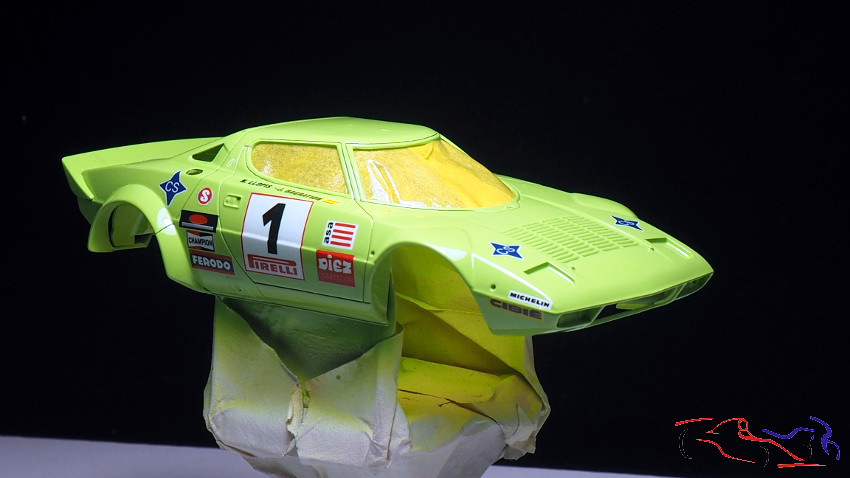
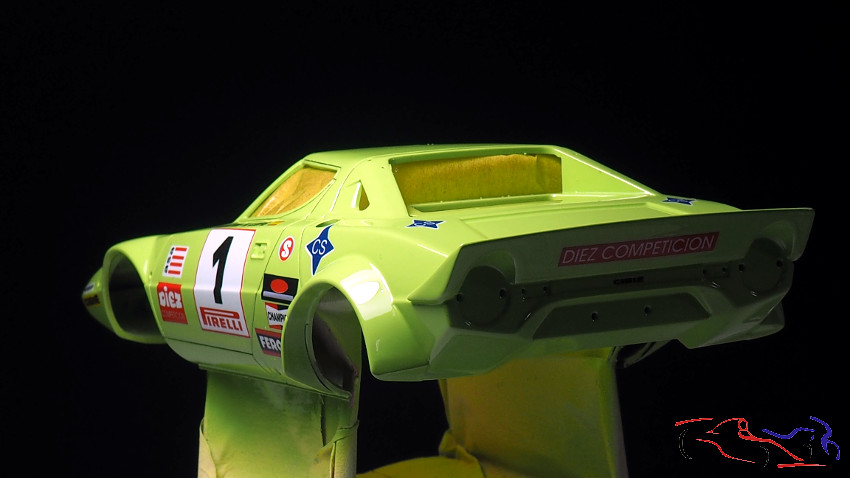
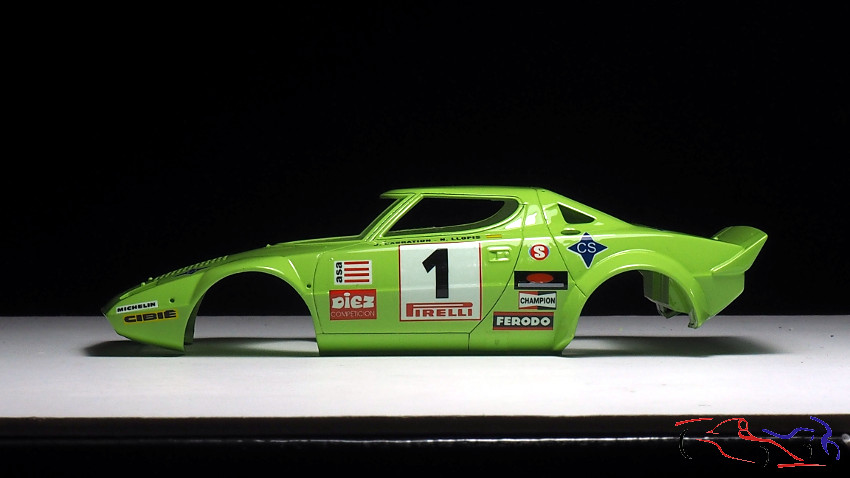
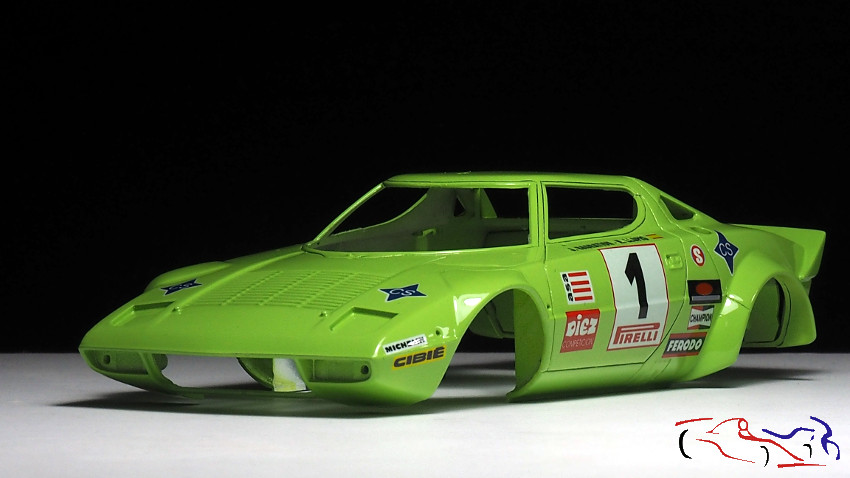
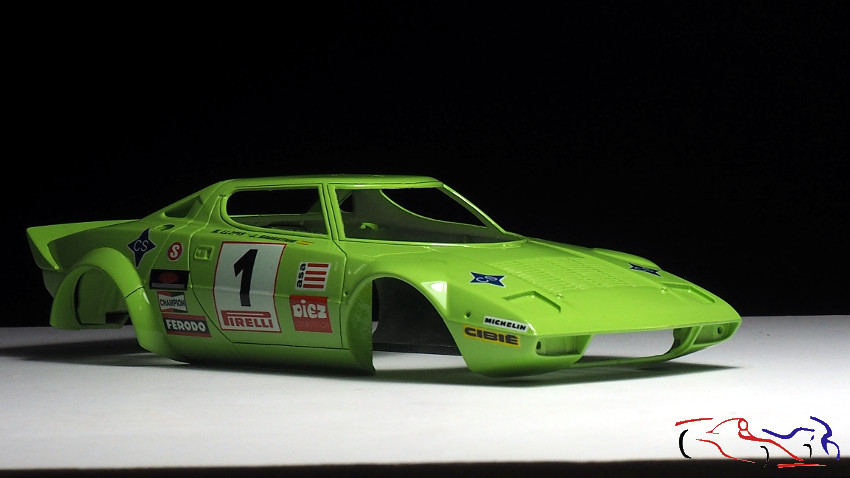
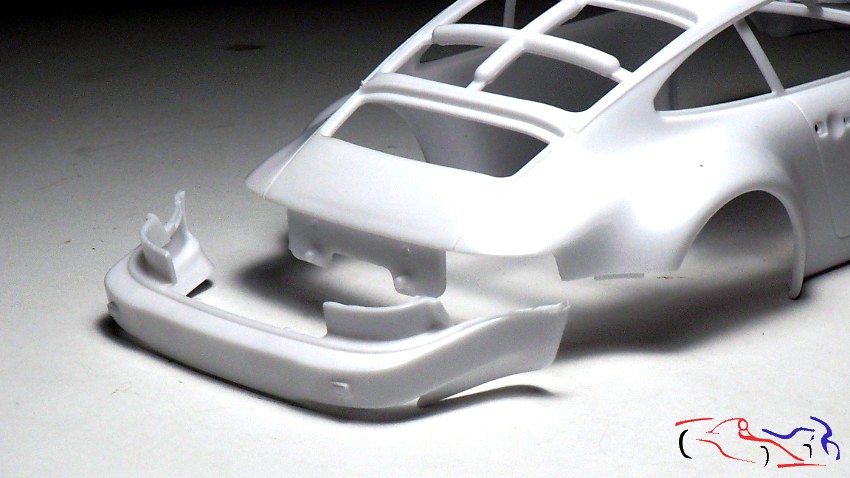
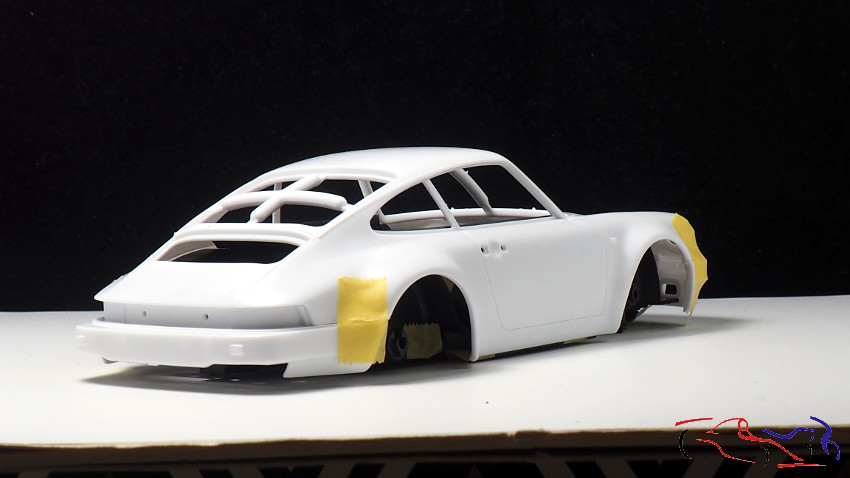
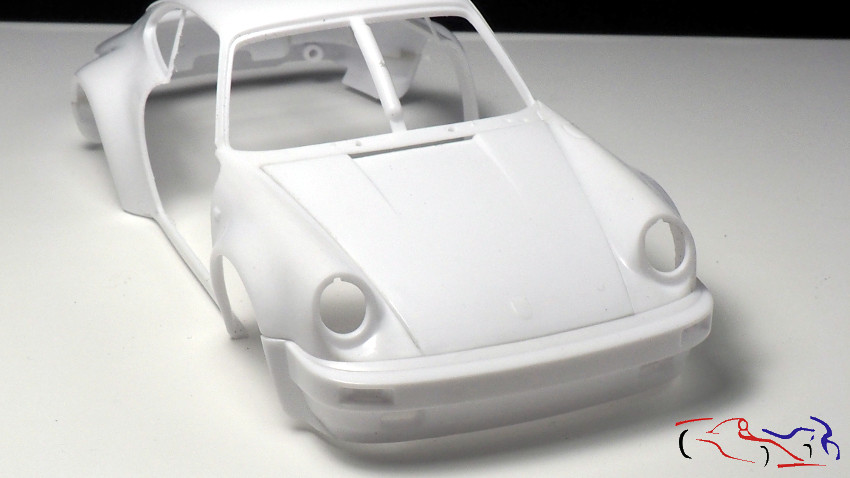
Y empezamos con la carrocería. En las siguiente fotos vemos como vienen los extremos de la carrocería, que habrá que pegar…pero haré algo antes de pegar el delantero!!
And we start with the bodywork. In the following pictures we can see how the ends of the body come, which will have to be glued… but I’ll do something before gluing the front!
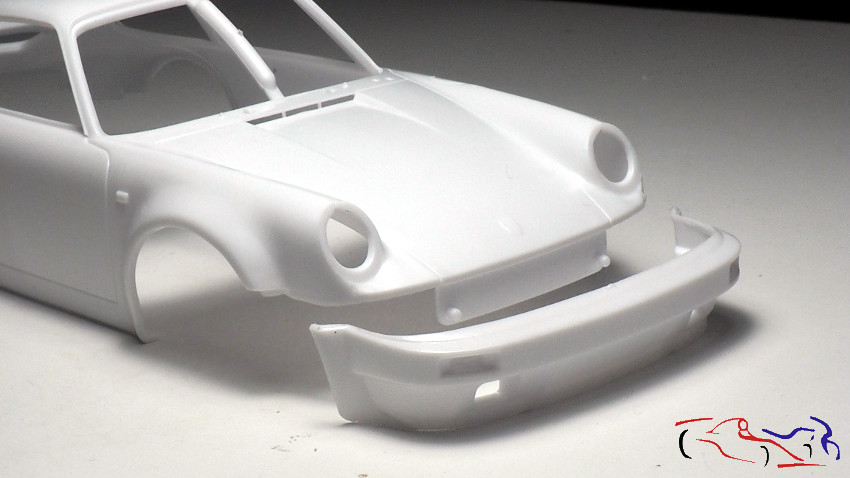
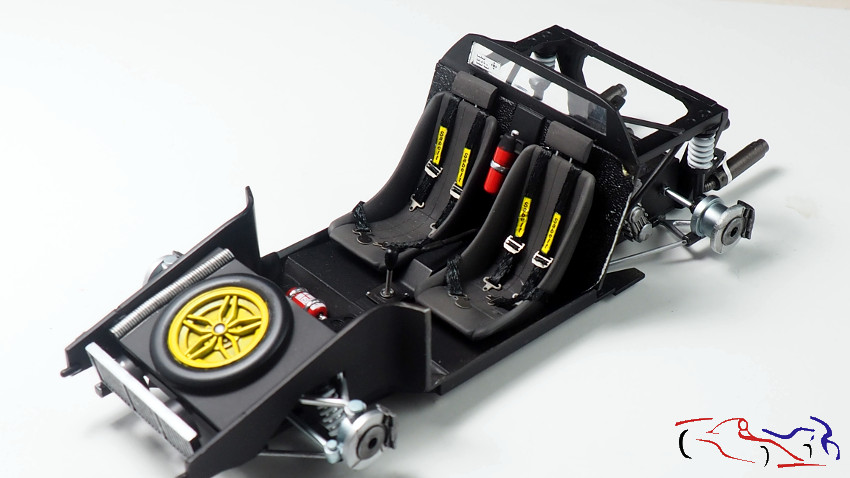
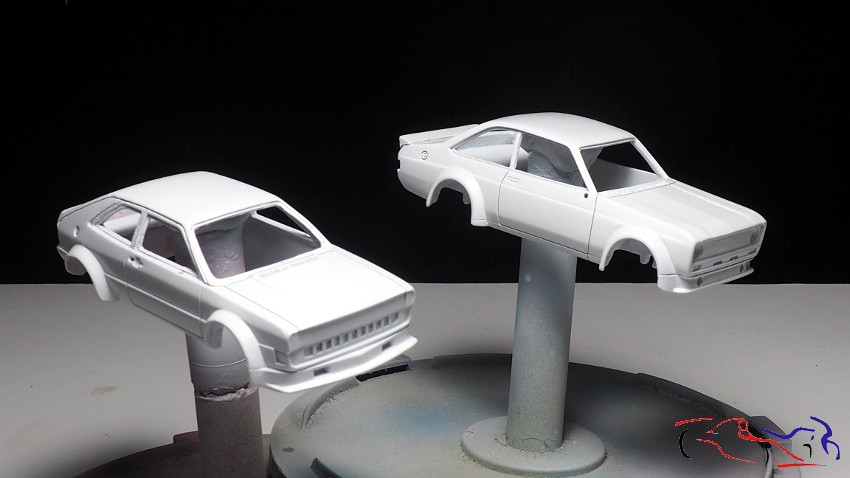
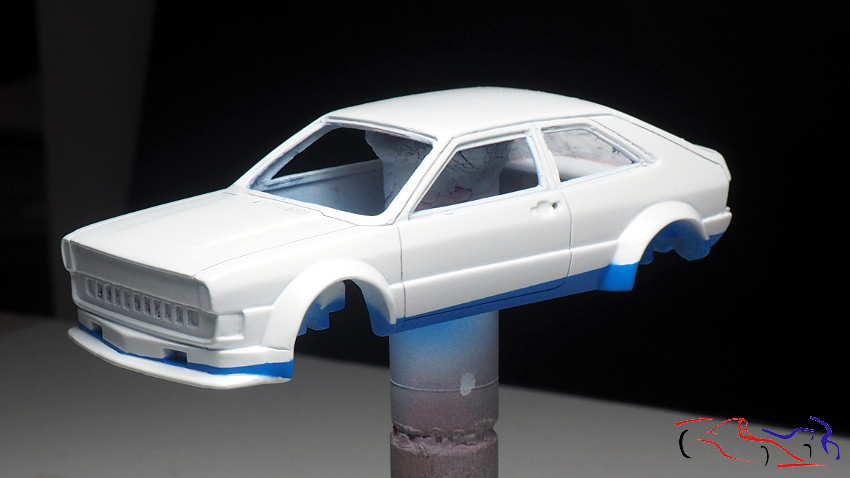
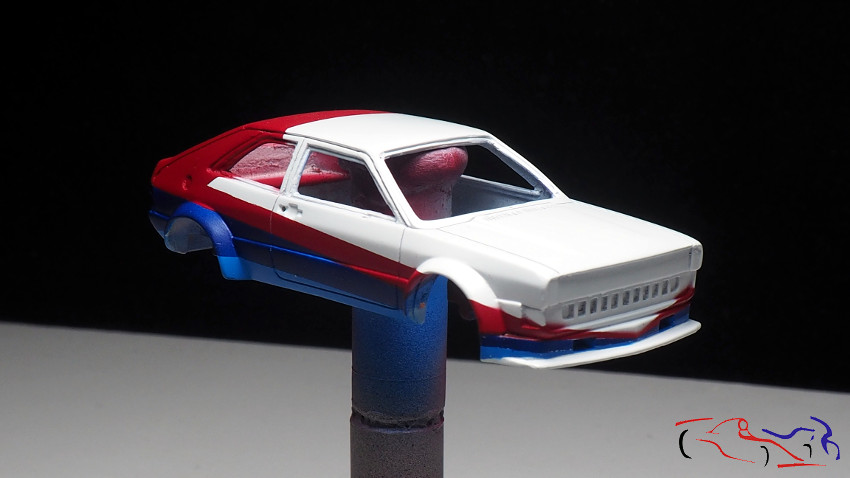
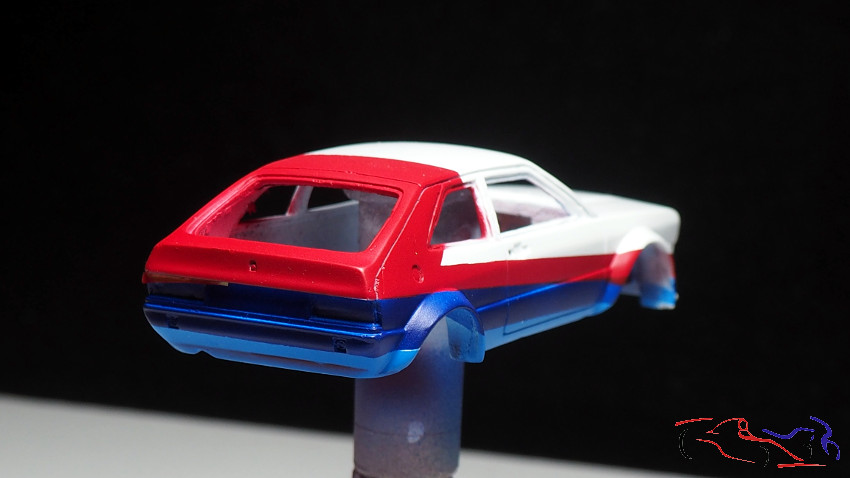
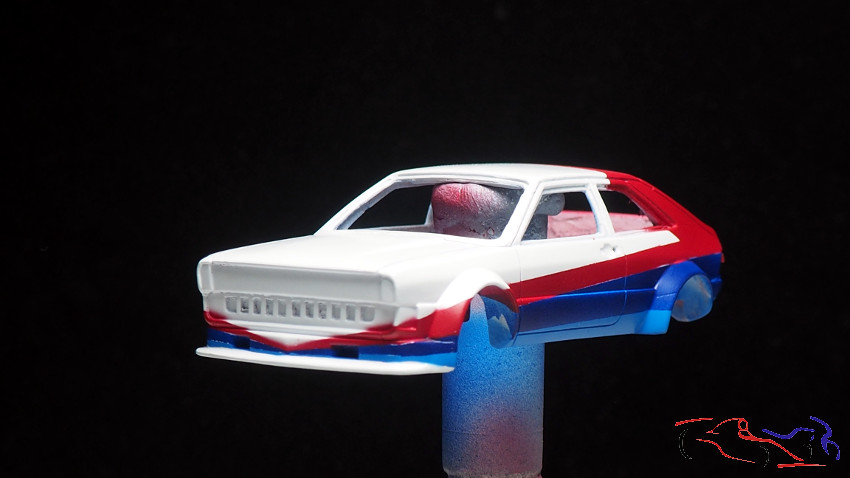
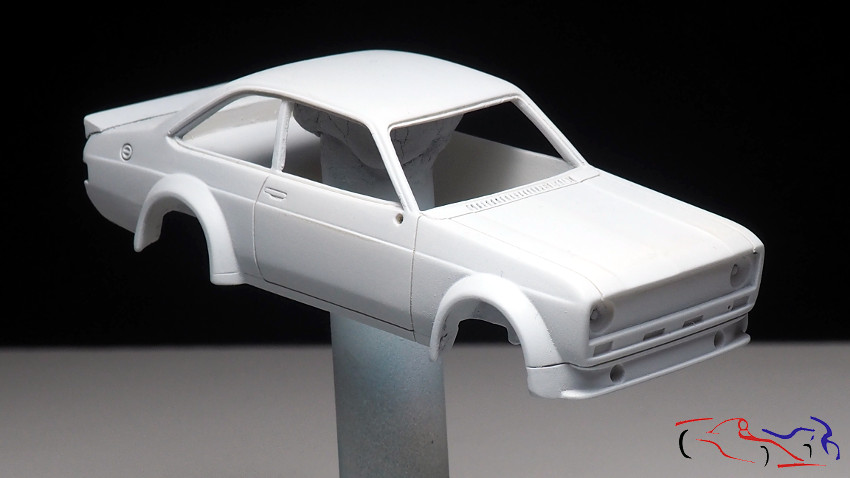
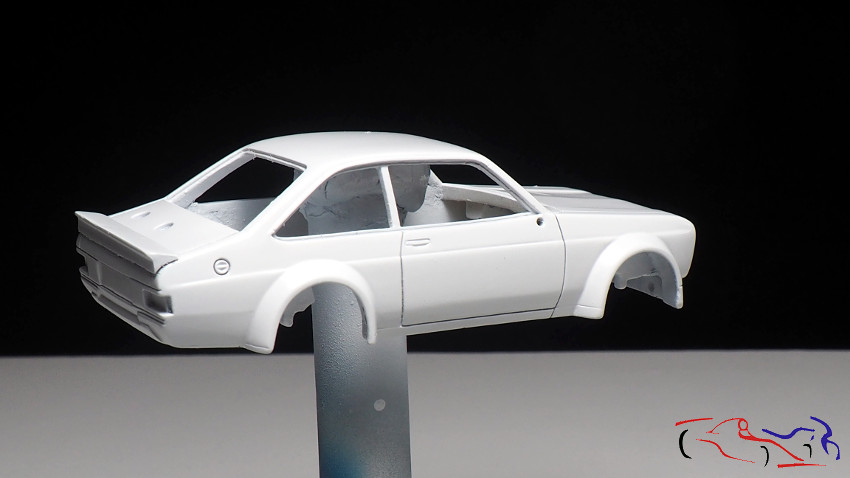
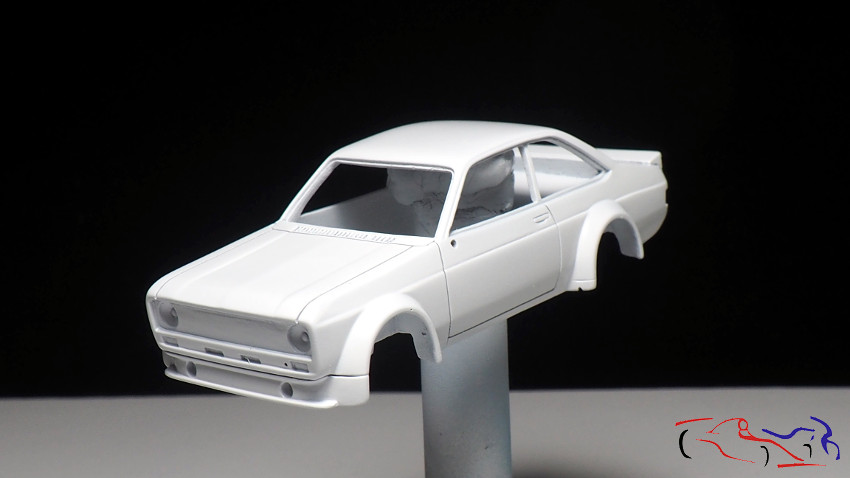
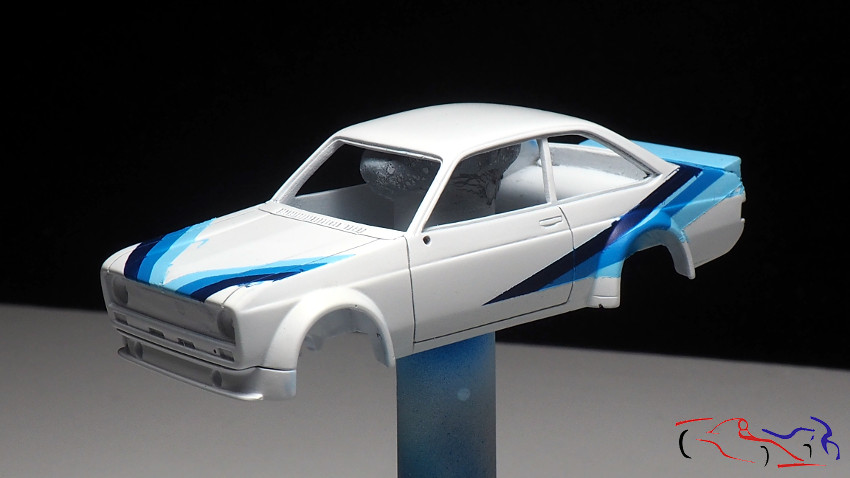
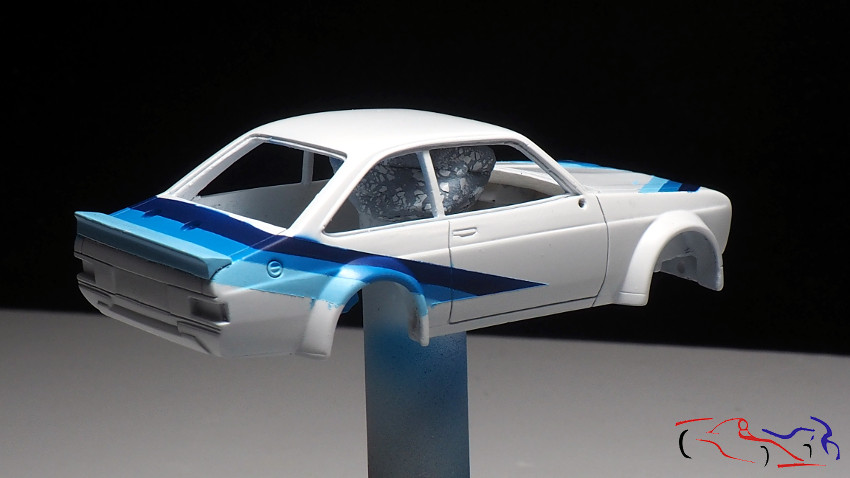
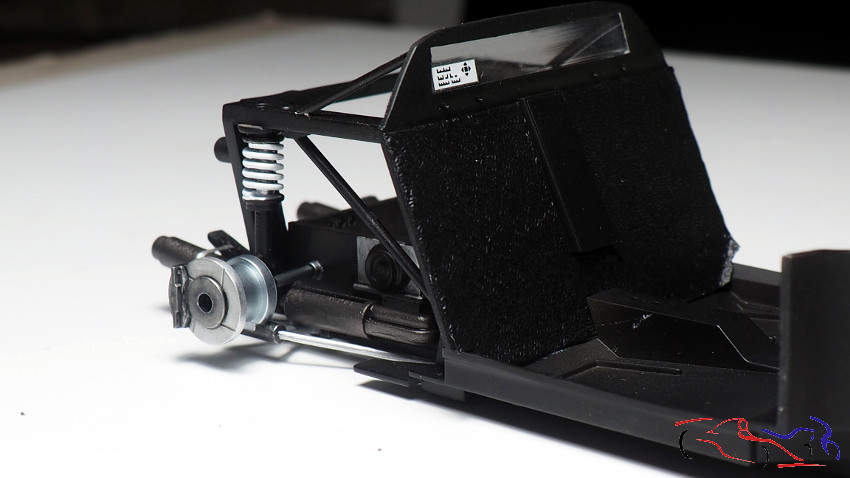
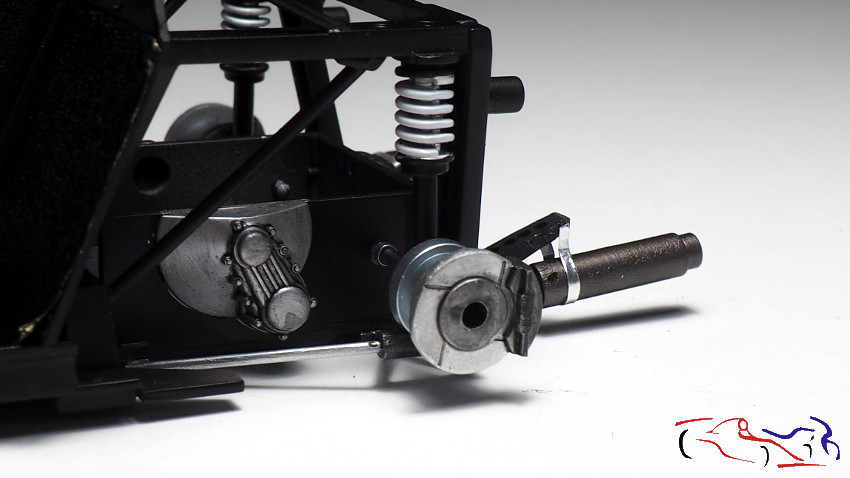
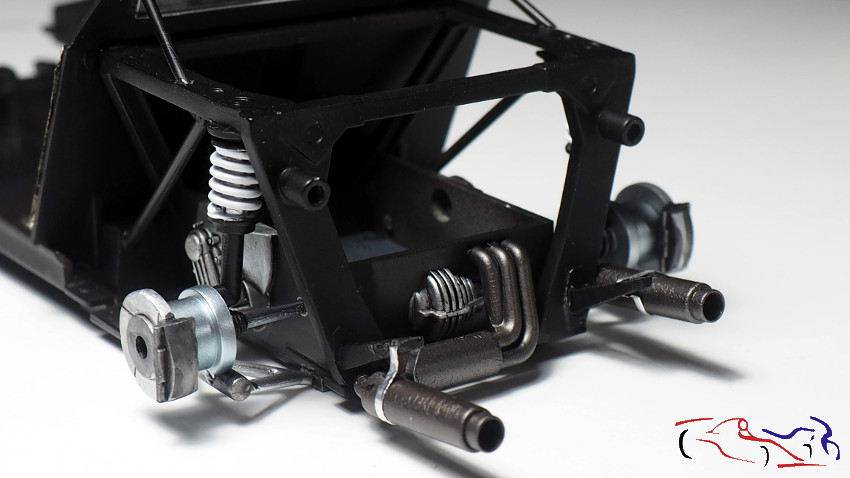
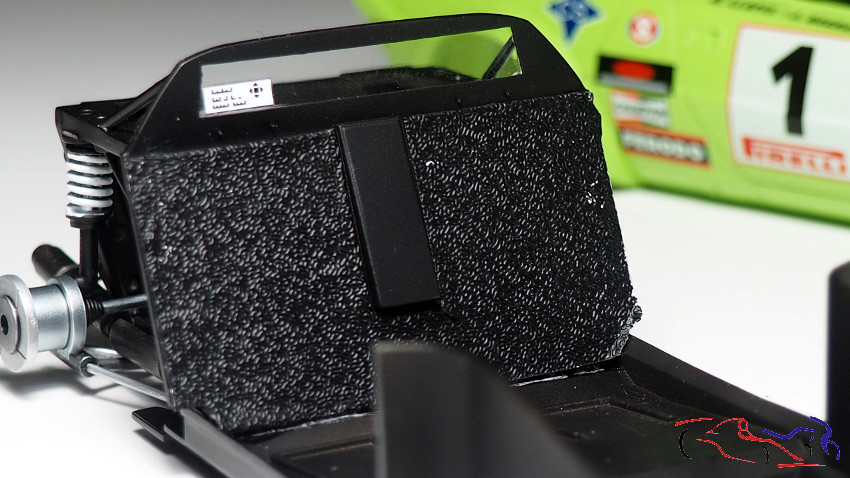
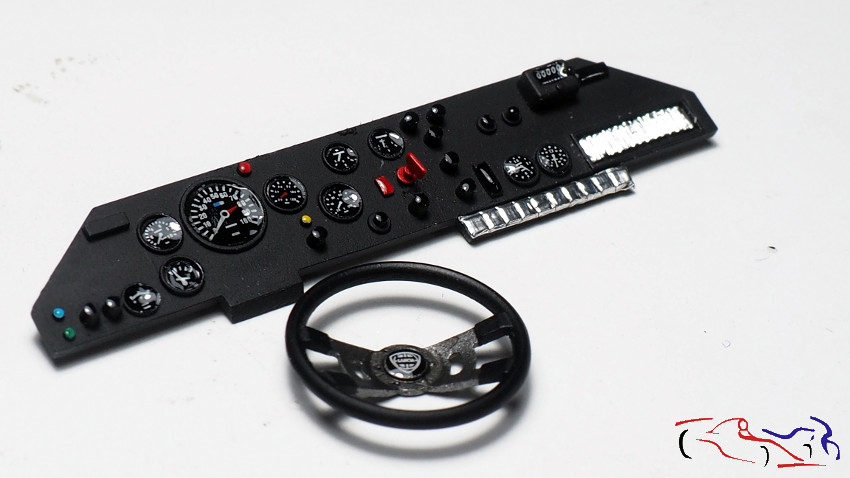
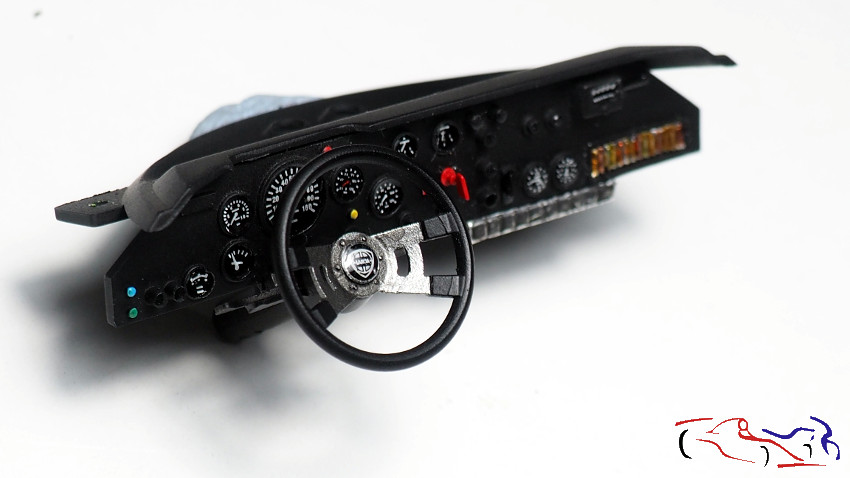
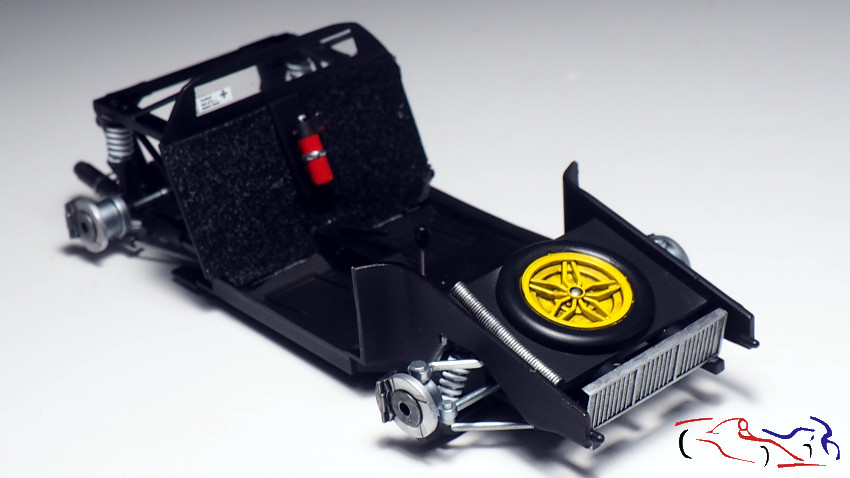
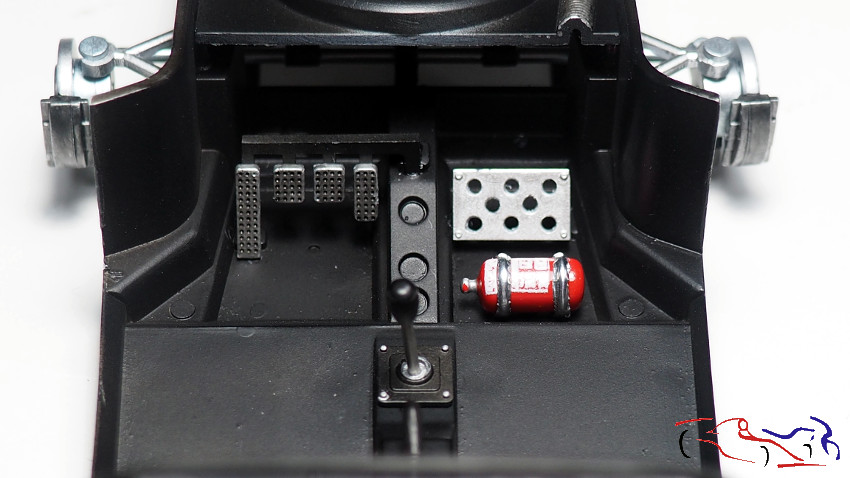
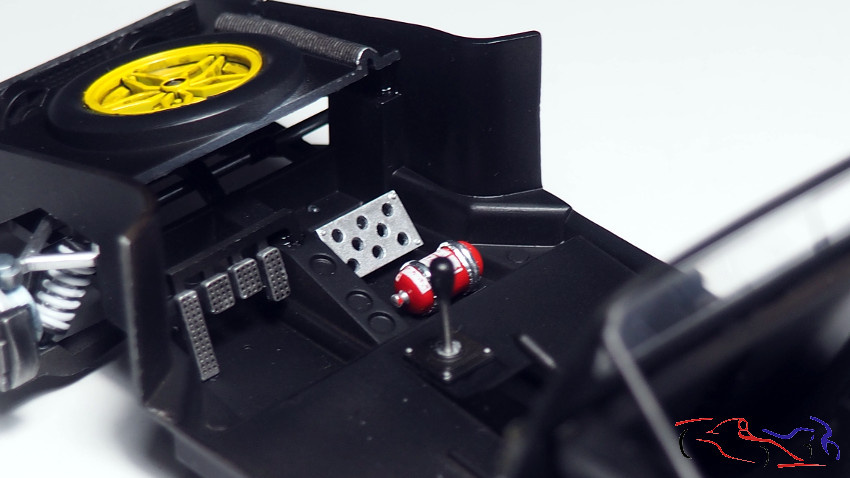
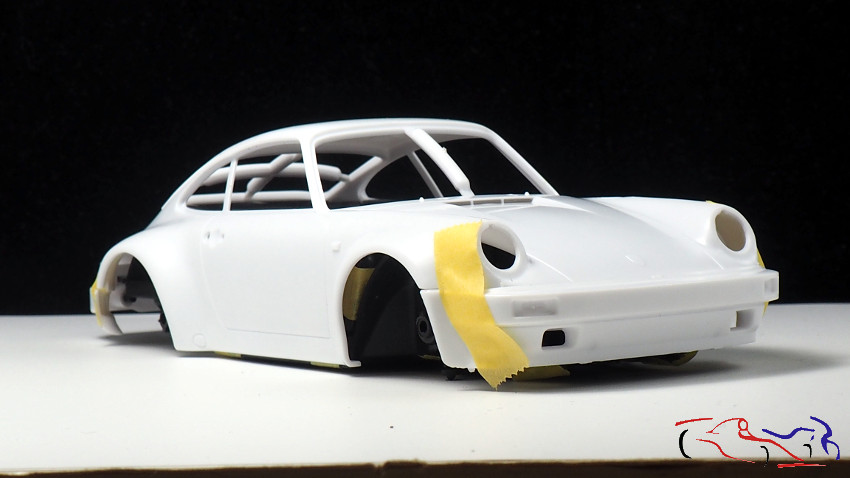
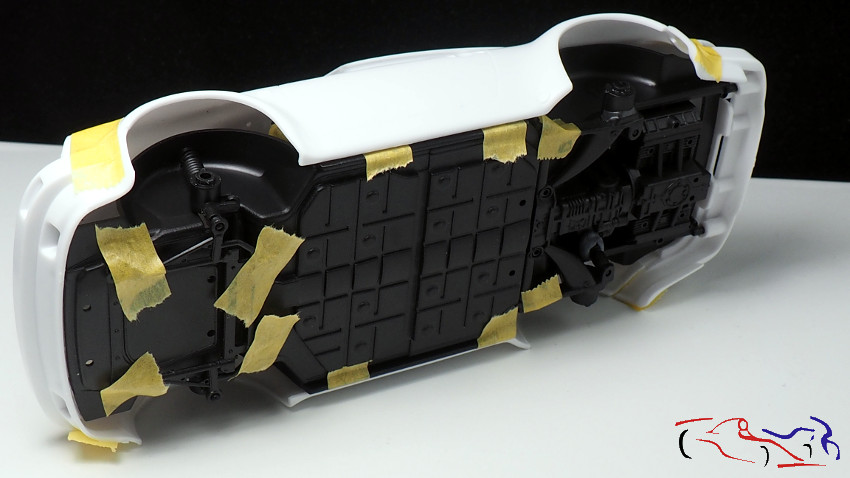
Un paso muy necesario en todos los proyectos: un ensamblaje inicial para ver como encaja lo más importante:
A very necessary step in all projects: an initial assembly to see how the most important things fit together:
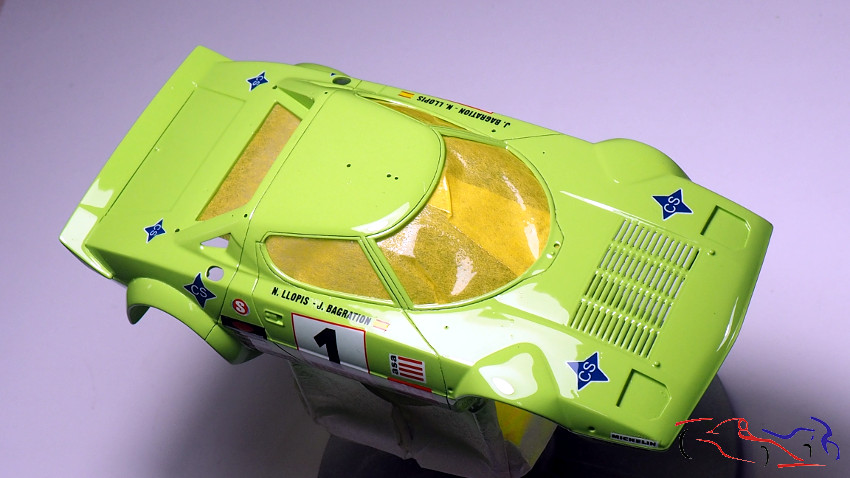
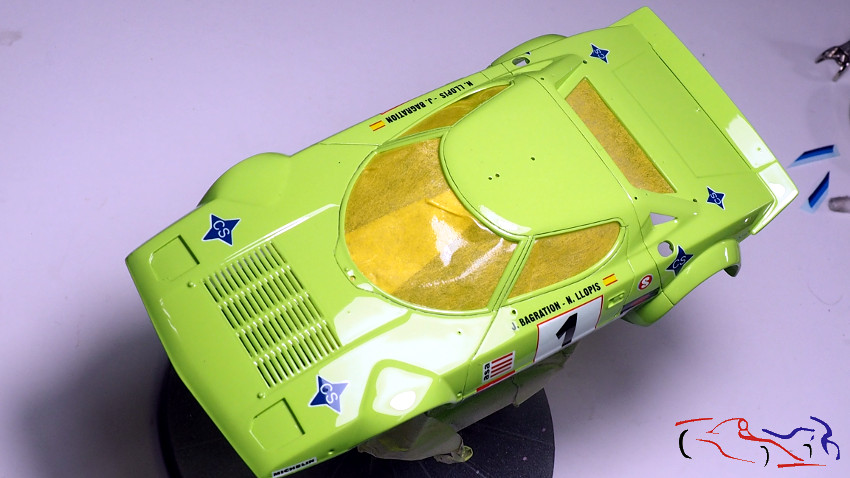
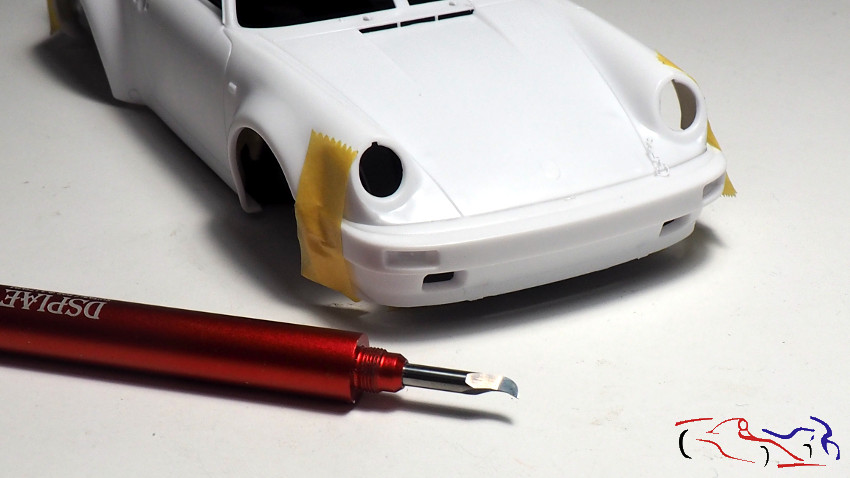
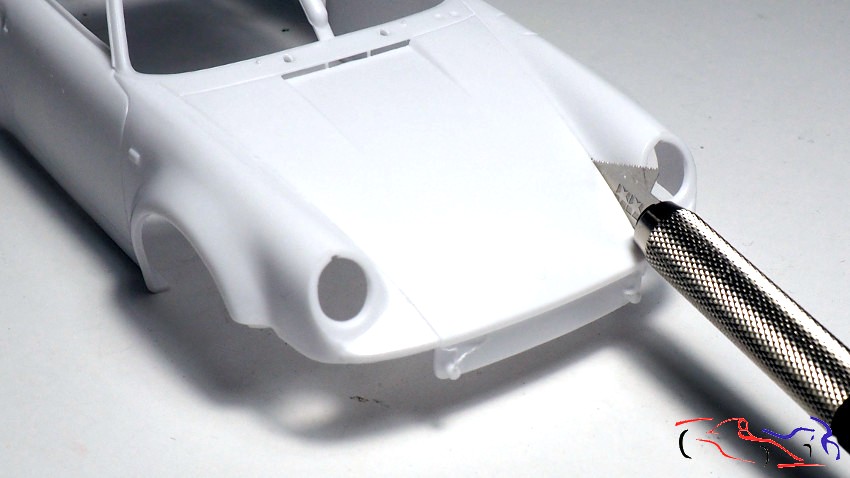
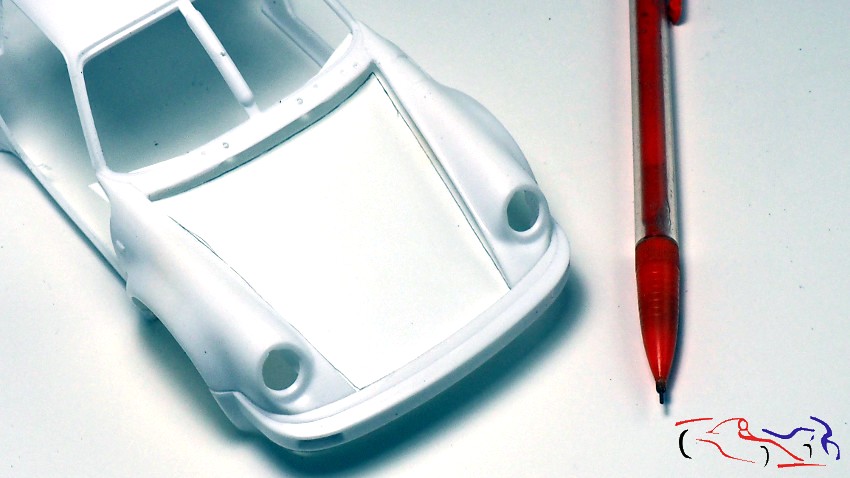
Empezamos a trabajar la carrocería, marcando las lineas de panel del capó delantero con el panelador de DSPIAE de 0,2 mm.
We started to work on the bodywork, marking the front bonnet panel lines with the 0.2 mm DSPIAE panelling tool.
El siguiente paso es recortar el capó con la sierra de Tamiya, pero solo hasta la mitad para que mantenga la posición al pegar el faldón de lantero, que pagaremos solo por los extermos, ya que la parte delantera del mismo tiene que separarse:
The next step is to cut out the bonnet with the Tamiya saw, but only halfway so that it will hold its position when gluing the lantern skirt, which we will pay only for the outer edges, as the front part of the bonnet has to be separated:
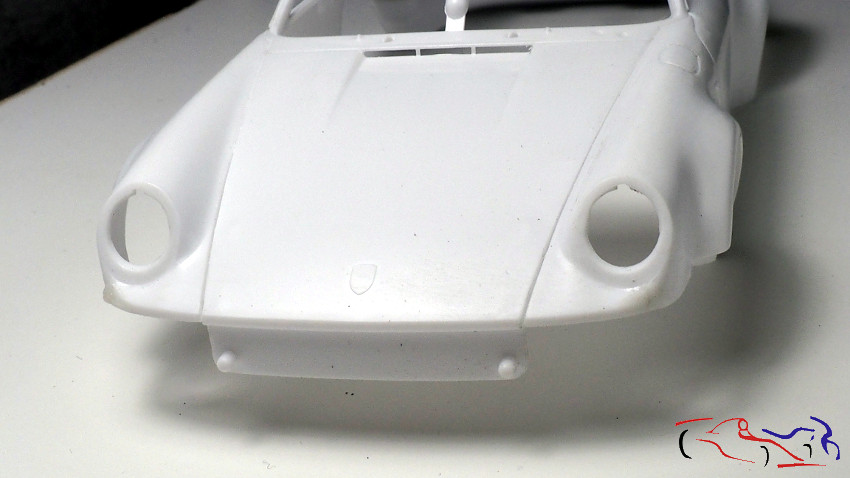

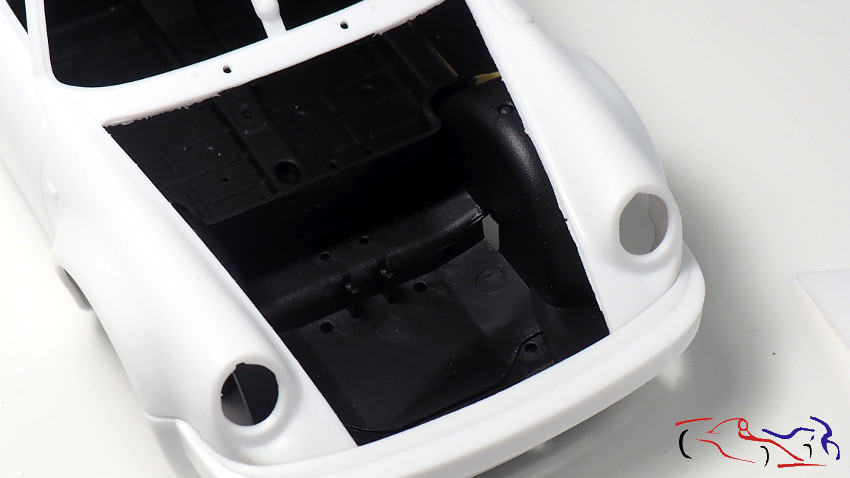
Una vez pegado, seguimos con el resto de los paneles hasta que se separa, dejando el hueco listo para rellenar, siendo posible el abrirlo y cerrarlo cuando esté terminado. Decir que el frente del capó que tiene los dos pivotes desaparecerá:
Once glued, we continue with the rest of the panels until it is separated, leaving the gap ready to be filled, being possible to open and close it when it is finished. The front of the bonnet with the two pivots will disappear:

Y vamos con las puertas. De igual manera, usaremos el marcador de paneles de DSPIAE y la sierra de Tamiya, y como guía para los pilares centrales, uso cinta de la que se usaba para marcar de la empresa Dymo, que corto y pego en su posición para hacer el paso de la cuchilla más preciso, siendo el resultado el que veis en la segunad fotografia:
And let’s move on to the doors. In the same way, we will use the DSPIAE panel marker and the Tamiya saw, and as a guide for the central pillars, I use Dymo marking tape, which I cut and paste in its position to make the blade pass more precise, the result being the one you see in the second picture:

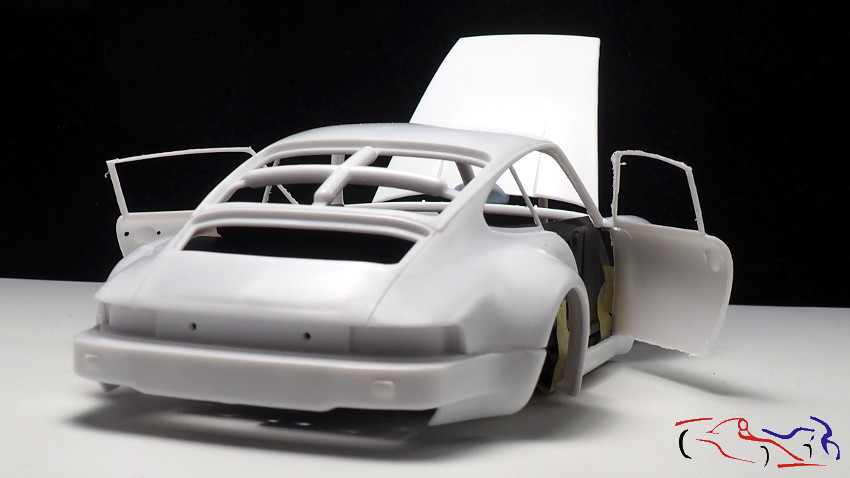
Y el resultado final será como el que muestro ahora:
And the end result will look like the one I show now:

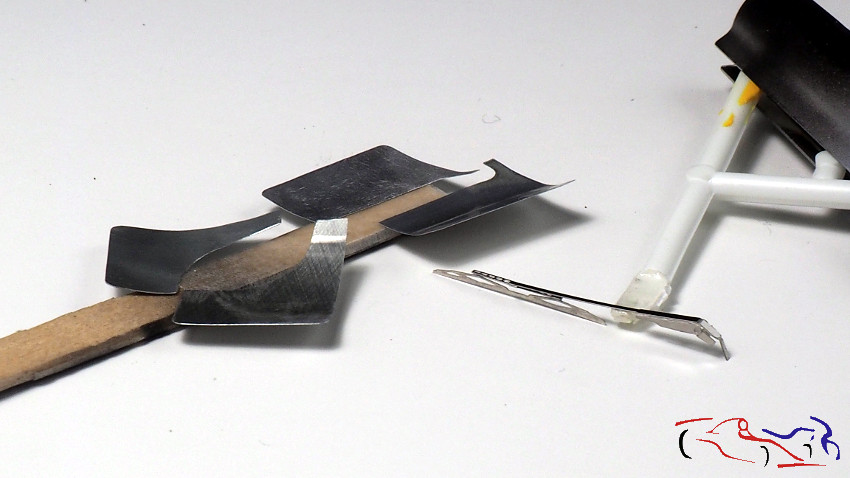
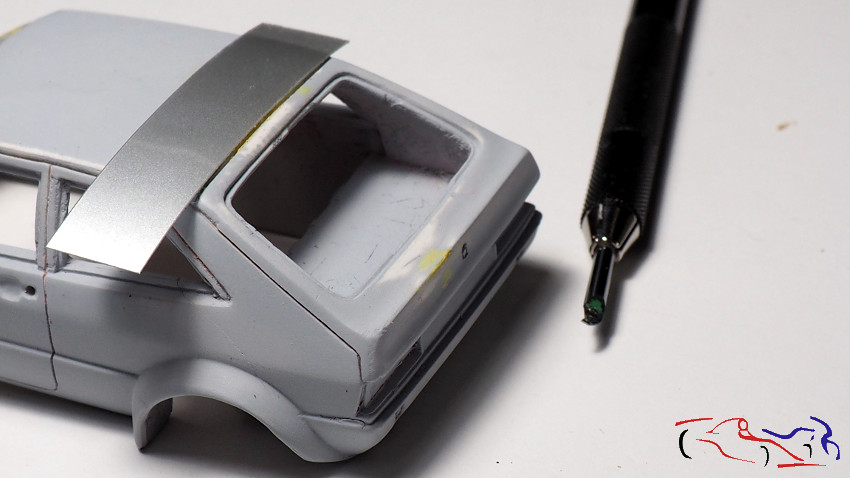
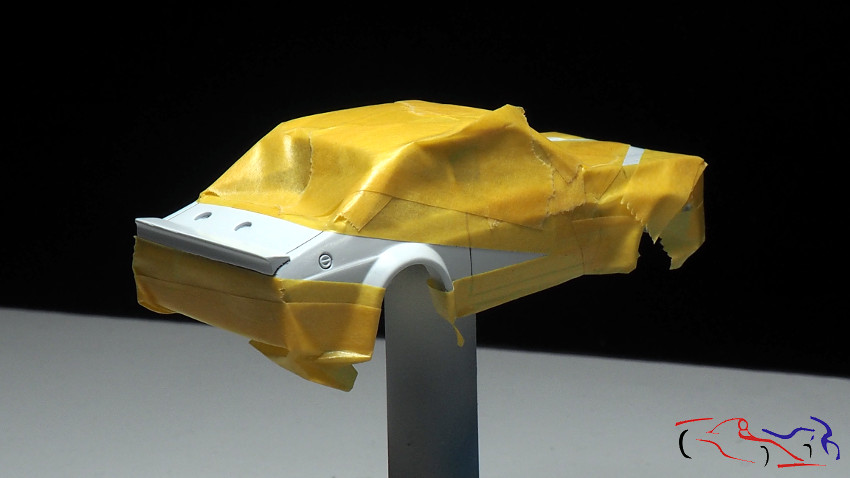
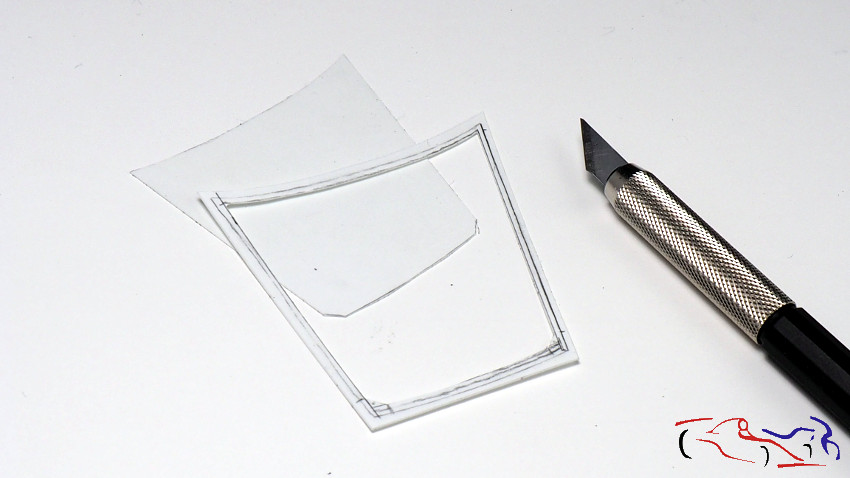
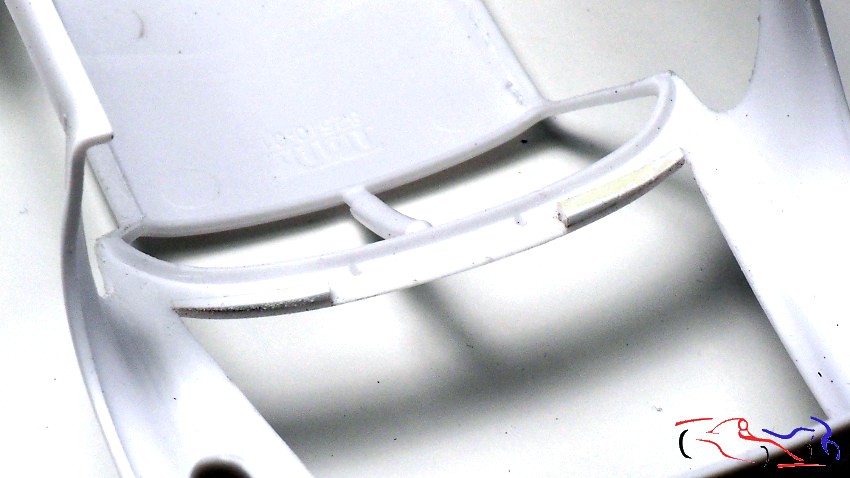
Una vez tengo las puertas abiertas, continuamos con el capó delantero. Vamos a hacer el reborde donde reposa cuando está cerrado. Primero cortamos una lámima de 0,2mm de grosor, y la ponemos por debajo de la carrocería, para que se pueda pintar el contorno por la parte superior, siguiento el borde:
Once I have the doors open, we continue with the front bonnet. We are going to make the ridge where it rests when it is closed. First we cut a 0.2mm thick sheet, and put it under the body, so that the outline can be painted on the top, following the edge:
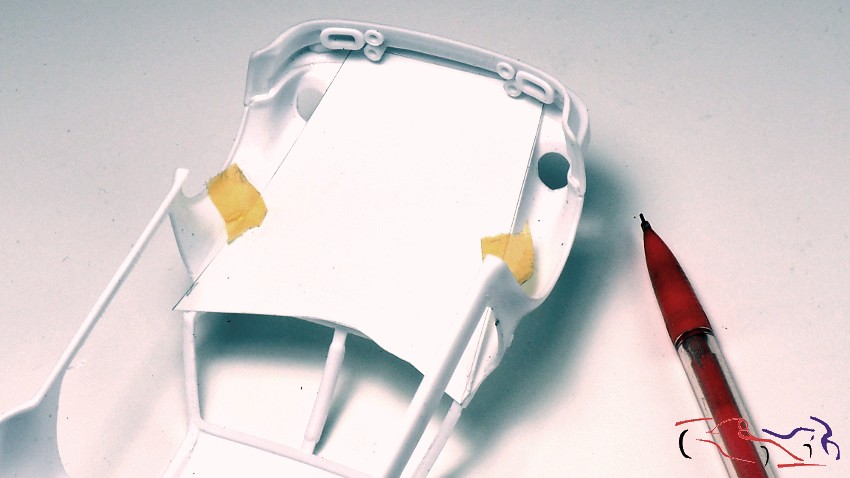
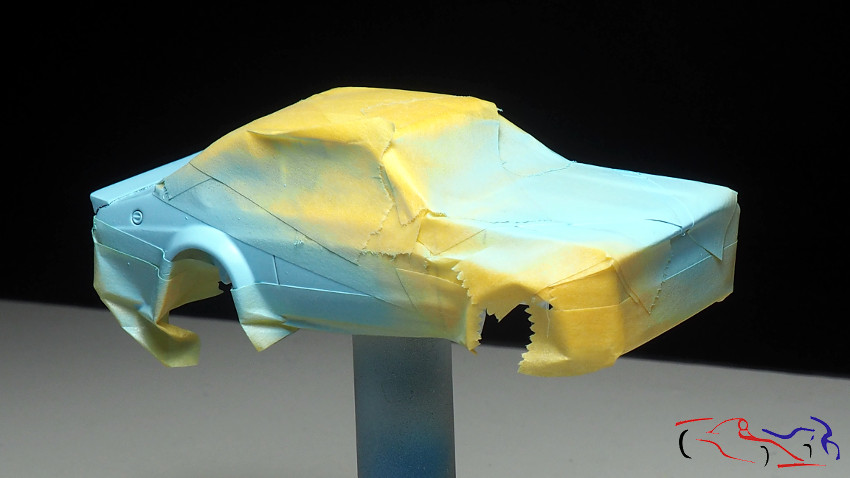
Una vez pintado, le hacemos una segunda linea a unos 2 mm de la anterior, que será donde cortemos
Once painted, we make a second line about 2 mm away from the previous one, which will be where we will cut
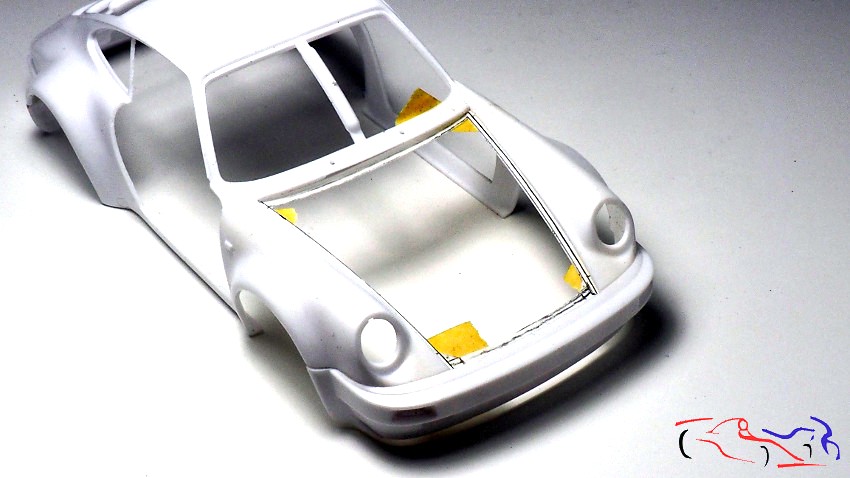
Lo fijamos en la carrocería y comprobamos que el capó se mantiene en su posición sobre el plástico cortado:
We attach it to the body and check that the bonnet remains in position on the cut plastic:
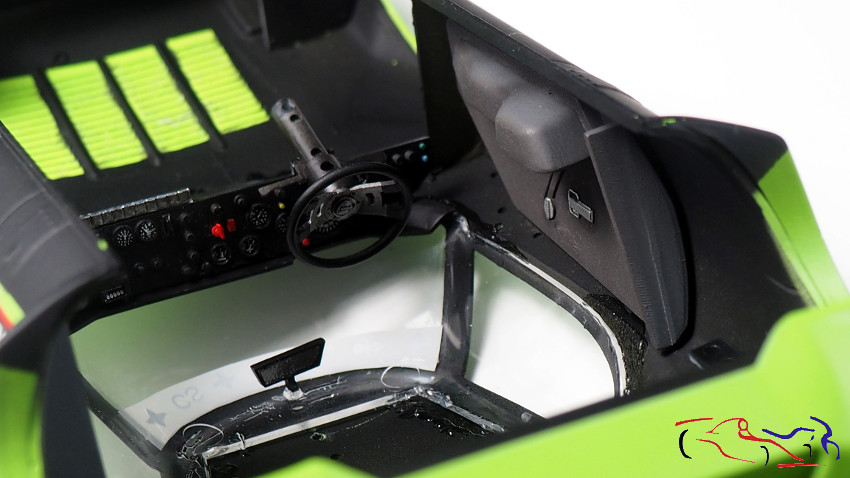
Revisando como queda ese marco en la parte inferior del parabrisas, vemos que tiene olgura. Eso es porque el coche realtiene en medio la entrada de aire característica del 911, con un filtro.
By checking how the frame at the bottom of the windscreen looks, we can see that it has a gap. That’s because the car retains the characteristic 911 air intake in the middle, with a filter.
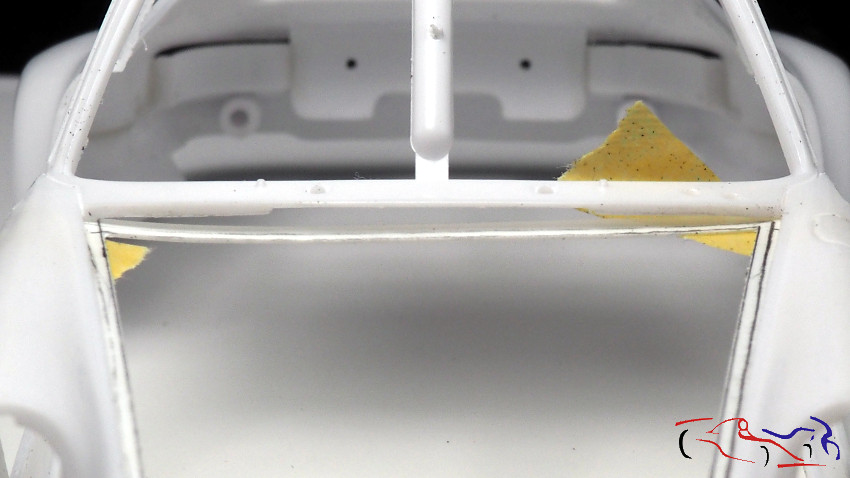
Por tanto, hay que hacer unas piezas en los extremos, que irán separando el marco desde los extremos hasta su parte interior.
Therefore, it is necessary to make some pieces at the ends, which will separate the frame from the ends to the inside.
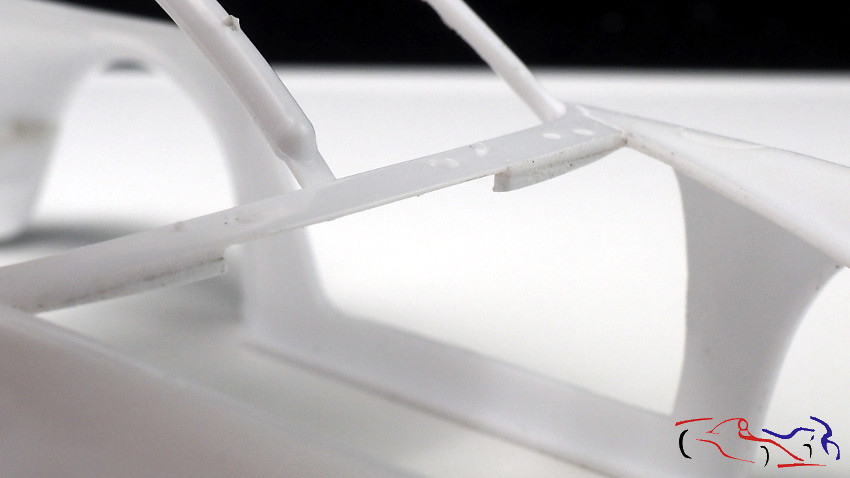
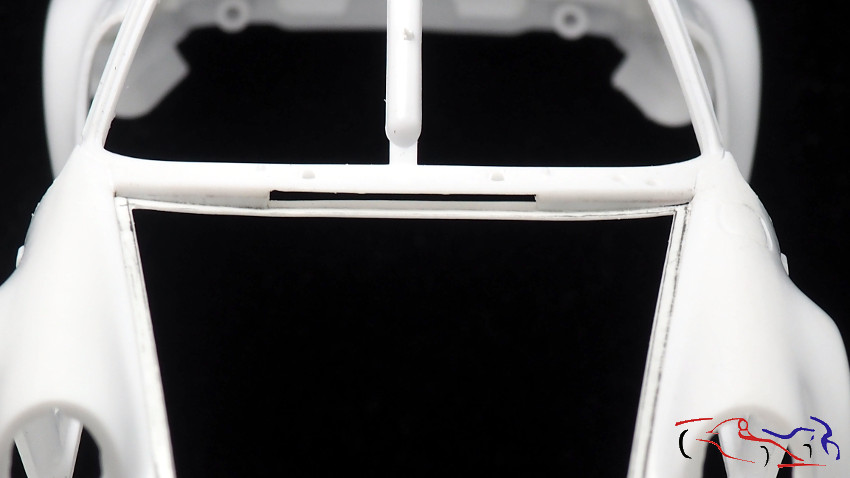
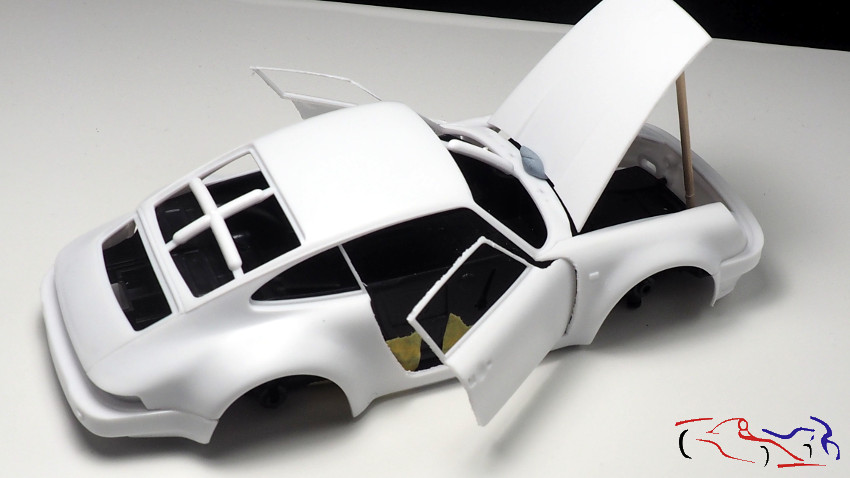
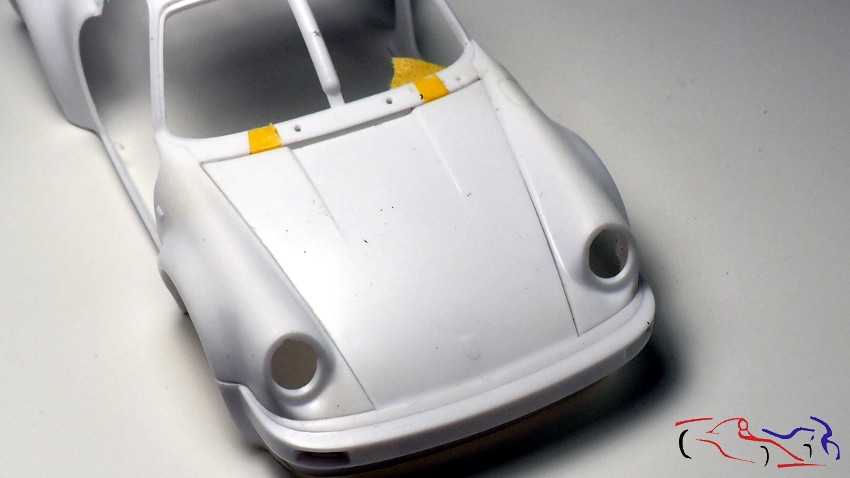
Después pegamos todo y vemos que el capó asienta bien:
Then we glue everything together and see that the bonnet sits well:
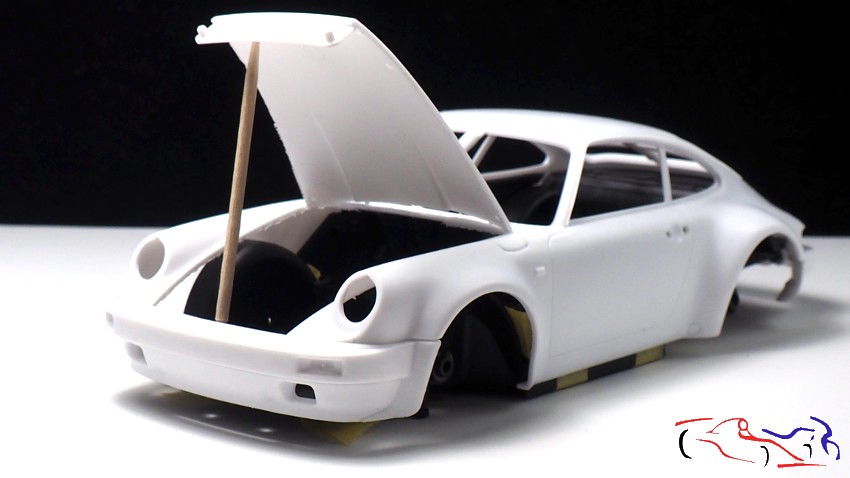
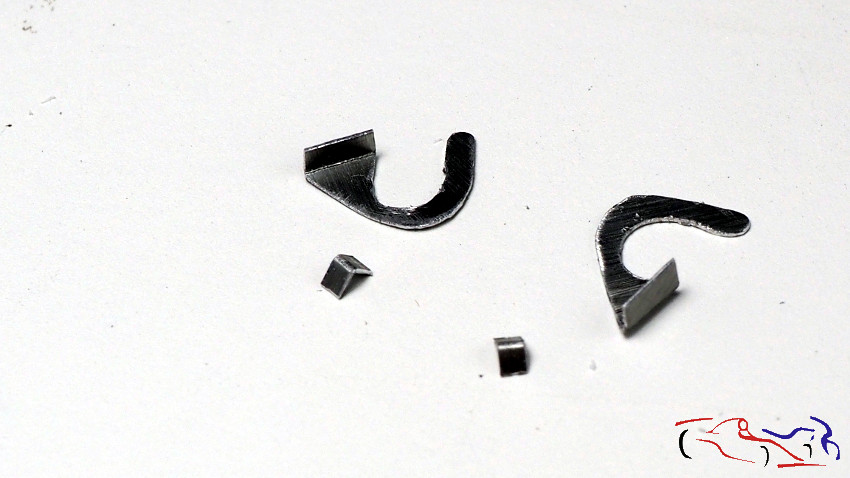
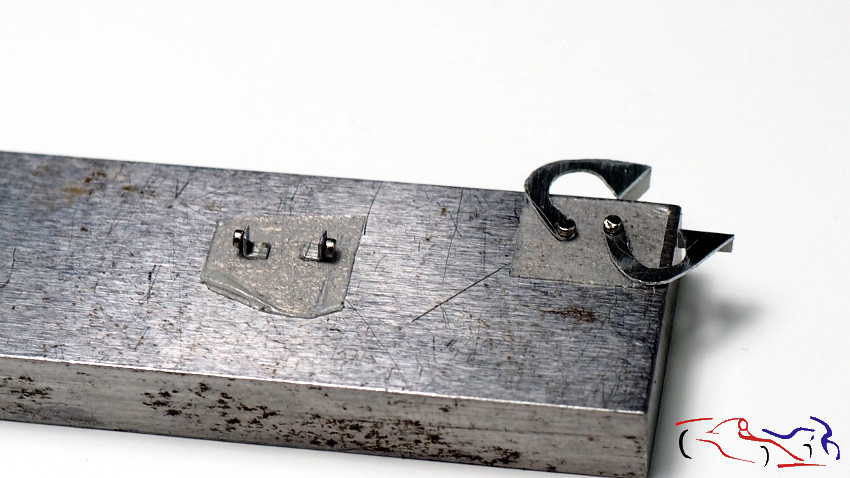
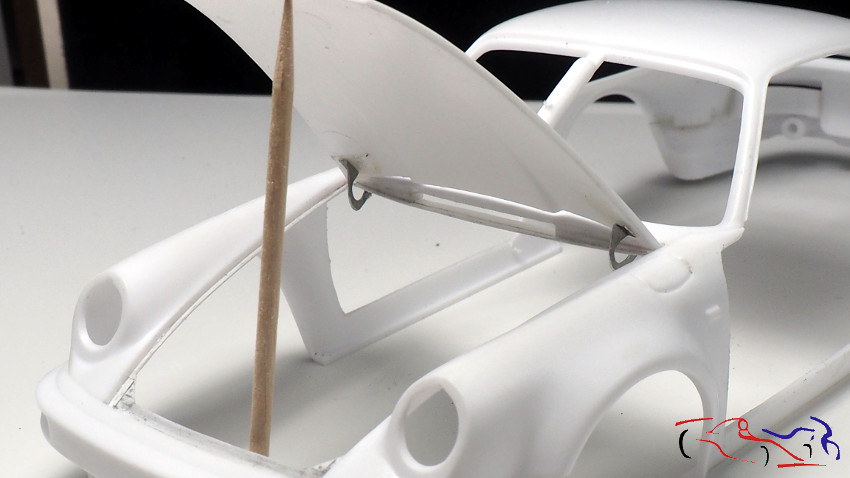
Ahora, tenemos que pensar en las bisagras del capó. Con lámina de diskete, recorto dos bisagras para hacer unas pruebas con imanes. Las dos escuadras pequeñas irán debajo de la parte delantera del parabrisas. Y con cinta adhesiva de doble cara, las sujeto para pegar los imanes con cianocrilato:
Now, we have to think about the bonnet hinges. I cut out two hinges with diskete film to make some tests with magnets. The two small brackets will go under the front of the windscreen. And with double-sided adhesive tape, I attach them to stick the magnets with cyanoacrylate:
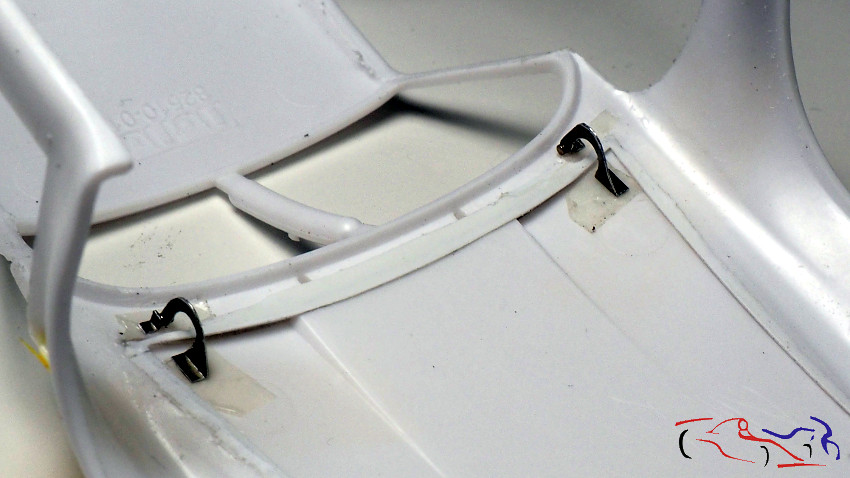
Y con esa misma cinta adhesiva, llas fijo en su lugar para ver como funcionan, siendo el resulta muy bueno!. Ya más adelante, afinaré este mecanismo.
And with the same adhesive tape, I fix them in place to see how they work, and the result is very good! Later on, I will fine-tune this mechanism.
Podeis verlo en este video:
You can see it in this video:
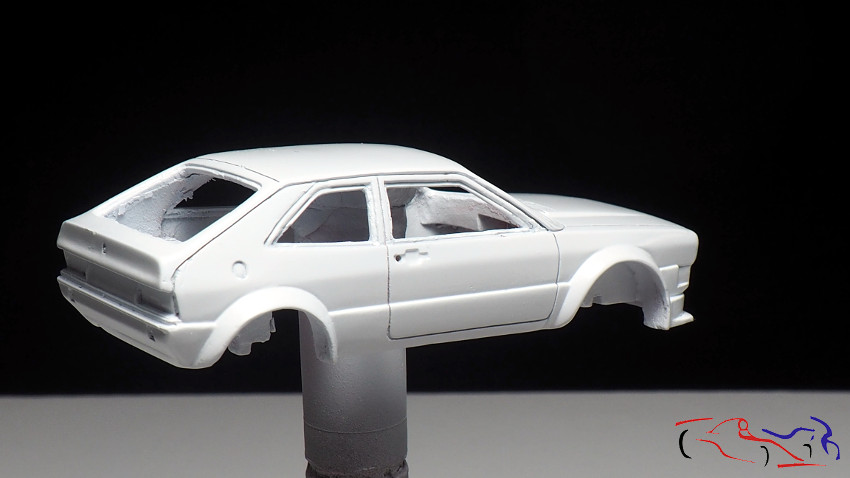
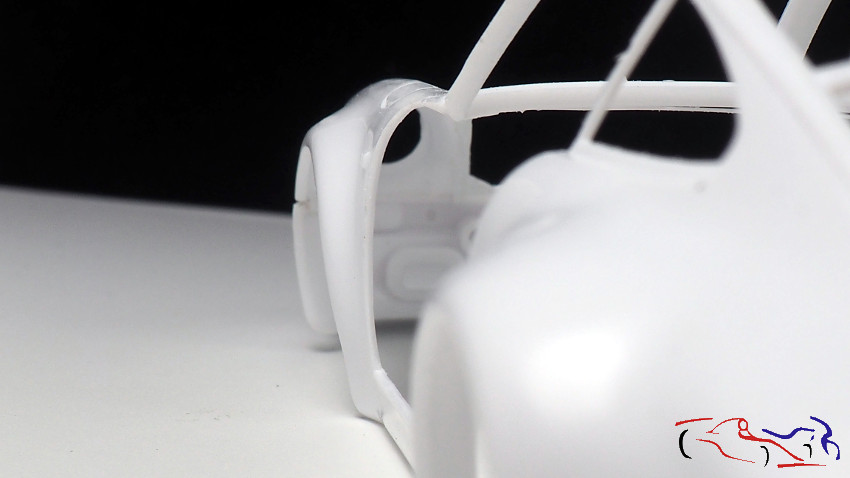
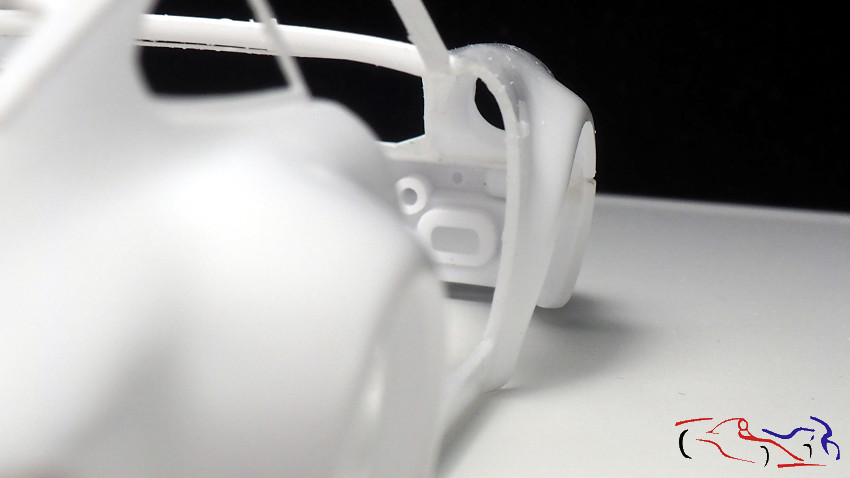
Otro proceso que he hecho es afinar la pared decla carrocería, en la parte delantera de las puertas. Hay que reducir el grosor para que la puerta cuando se abra, tenga el máximo de holgura. Vemos la aprte izquierda ya afinada, y la derecha sin haberse trabajado:
Another process I have done is to thin the body wall at the front of the doors. The thickness has to be reduced so that the door, when it opens, has the maximum clearance. We can see the left side already tuned, and the right side without having been worked on:
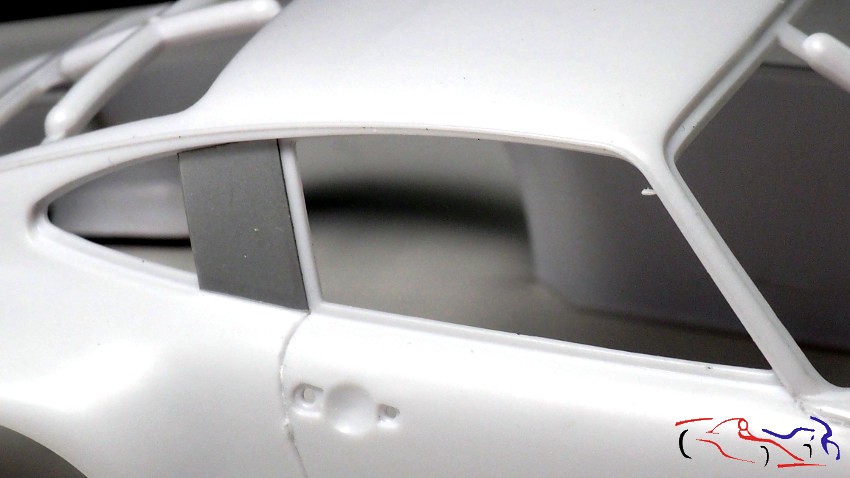
Más cortes!! Ahora es el turno de los cristales laterales. Usamos la misma cinta de Dymo para que haga de linea de corte.
More cuts! Now it’s the turn of the side windows. We use the same Dymo tape to act as a cutting line.

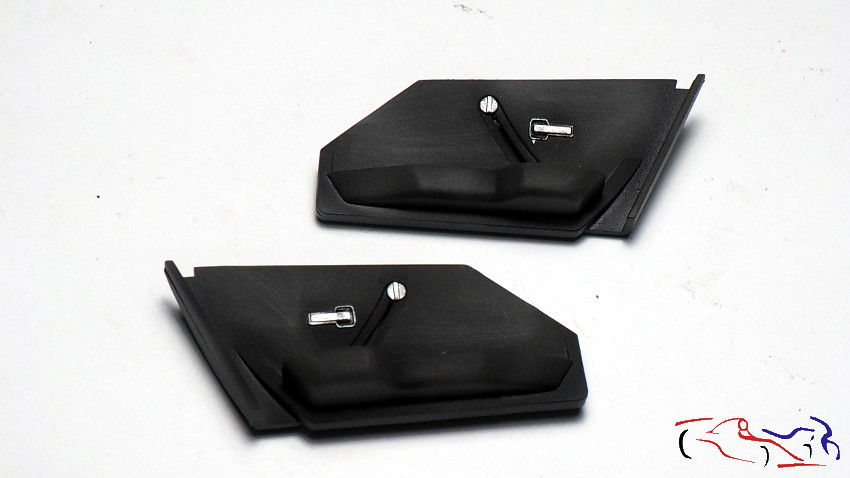
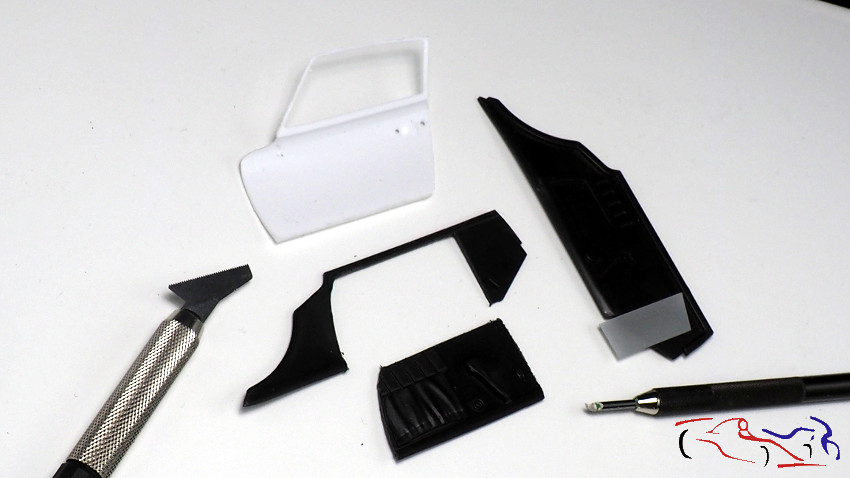
Y lo mismo con los paneles interiores de las puertas, las cortamos con los mismos instrumentos:
And the same with the interior door panels, we cut them with the same tools:
Mucho queda todavía por hacer, pero el proyecto me anima!! Grac ias por ver y comentar!!
There is still a lot to do, but the project encourages me! Thanks for watching and commenting!