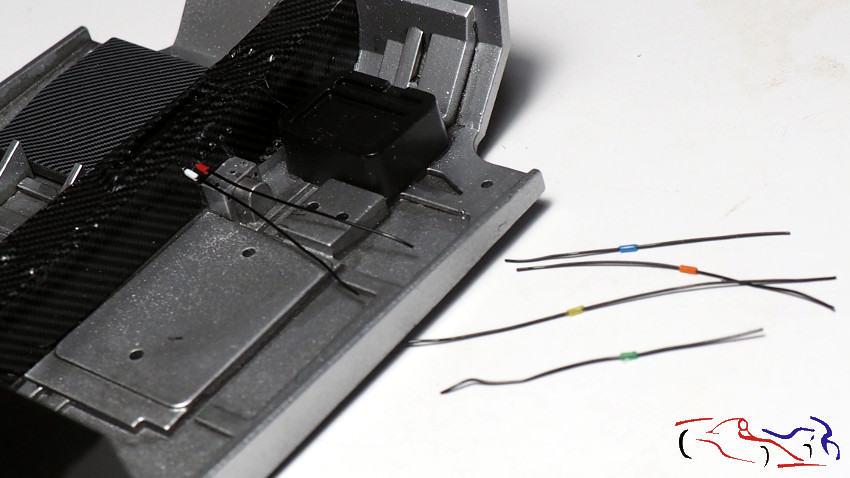
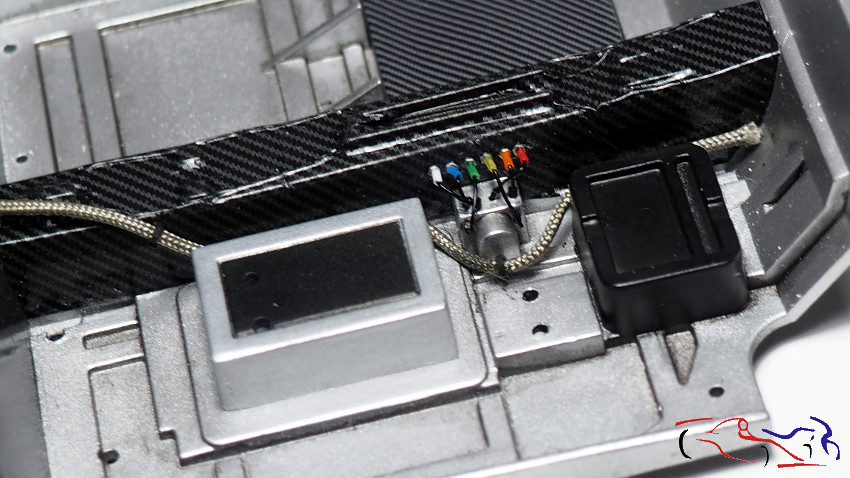
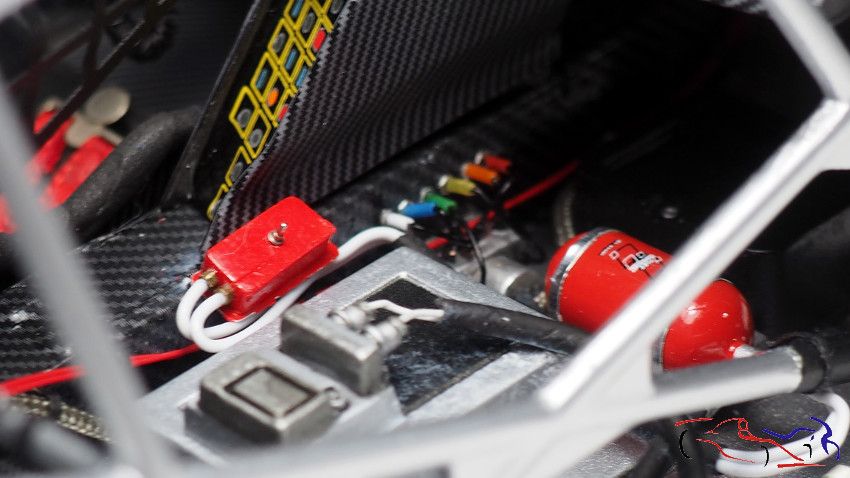
Continuamos con el Audi, y ahora vamos a detallar el interior. Empezamos por unos cables que tienen unos manguitos de colores y van colocados en el tunel central. Los hago con cable negro de 0,3 mm siendo los manguitos de colores, camisas de cable estandar.
We continue with the Audi, and now we are going to detail the interior. We start with some wires that have coloured sleeves and are placed in the central tunnel. I make them with 0,3 mm black cable, being the coloured sleeves, standard cable sleeves.
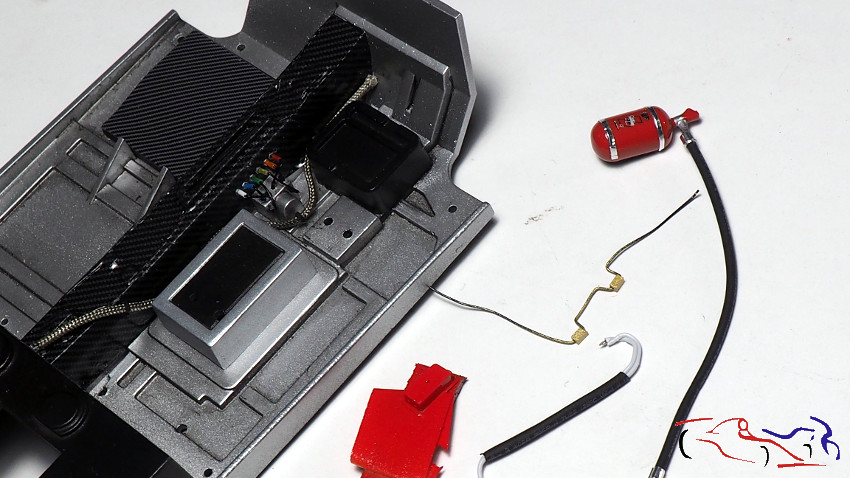
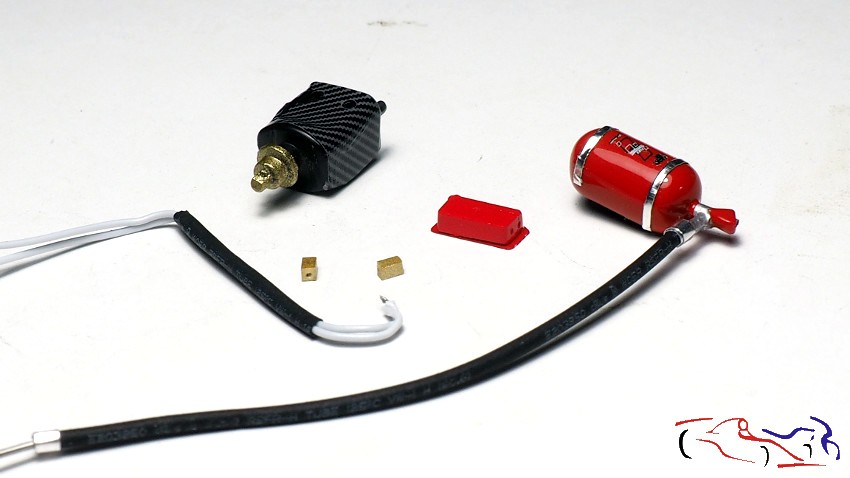
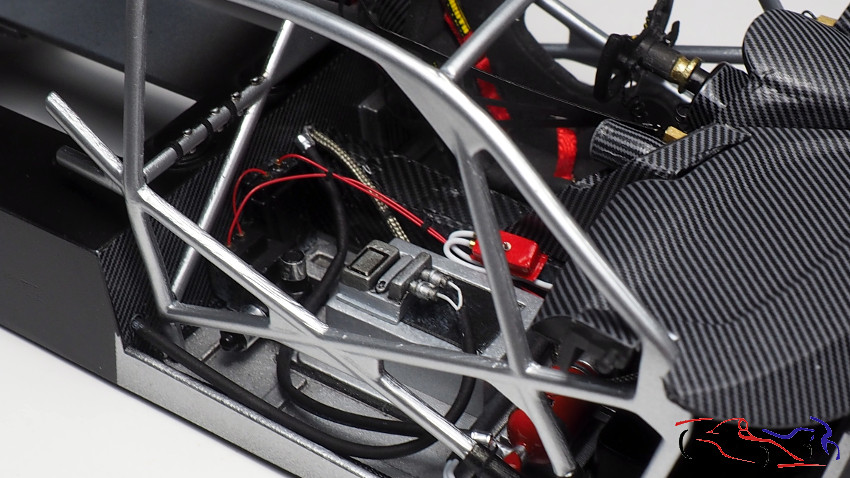
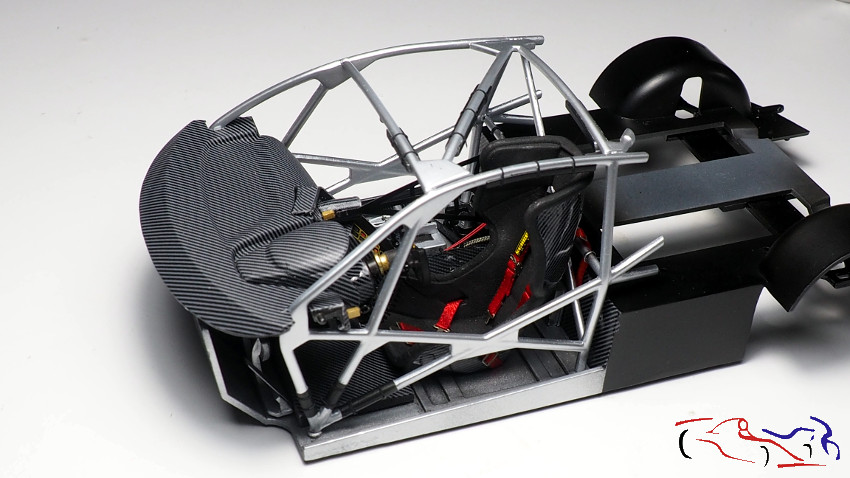
A su vez, también voy pintando piezas, colocando tubos y conexiones. Las dos piezas doradas son las fijaciones de las mallas que tiene el piloto a ambos lados, y la caja roja es el control de extintores:
At the same time, I am also painting parts, placing tubes and connections. The two golden pieces are the mesh fixings that the pilot has on both sides, and the red box is the fire extinguisher control:
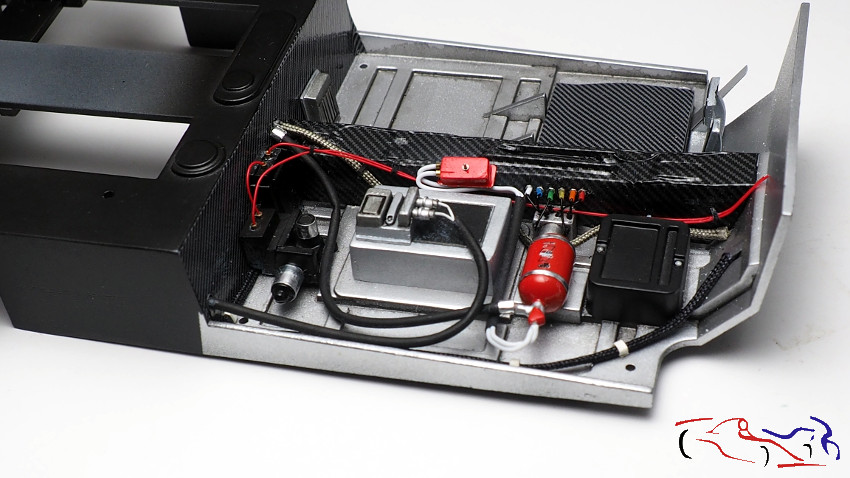
Y aquí vemos la parte de la electronica completada:
And here we see the completed electronics part:
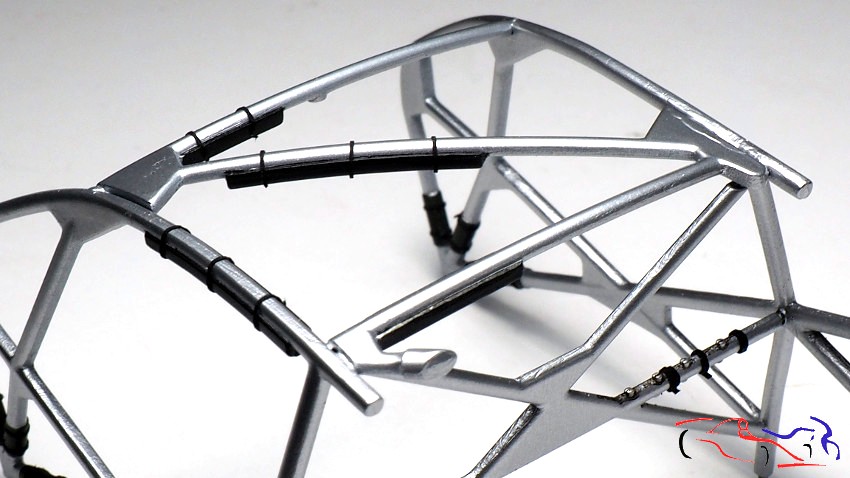
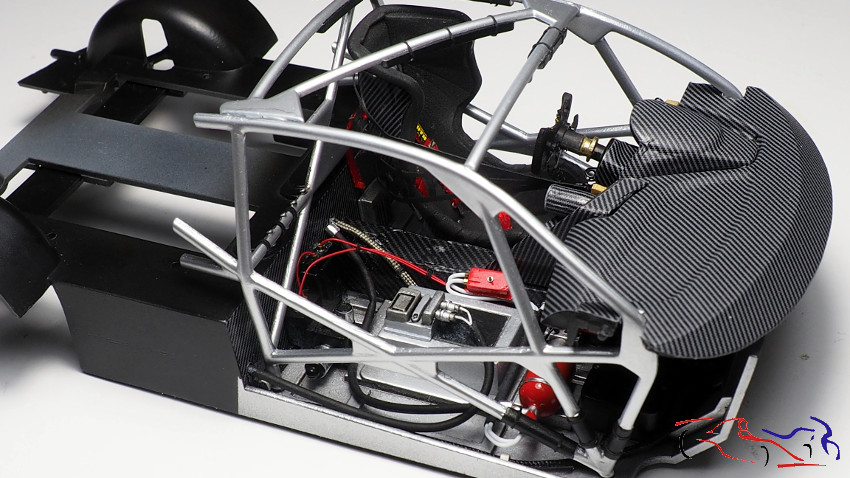
Pasamos al arco de seguridad. Le he puesto las fijaciones a todos los protectores que lleva, habiendo usado la cinta de enmascara negra de 0,2 mm de Hasegawa:
We move on to the roll bar. I have attached the fixings to all the guards on it, having used Hasegawa’s 0.2 mm black masking tape:
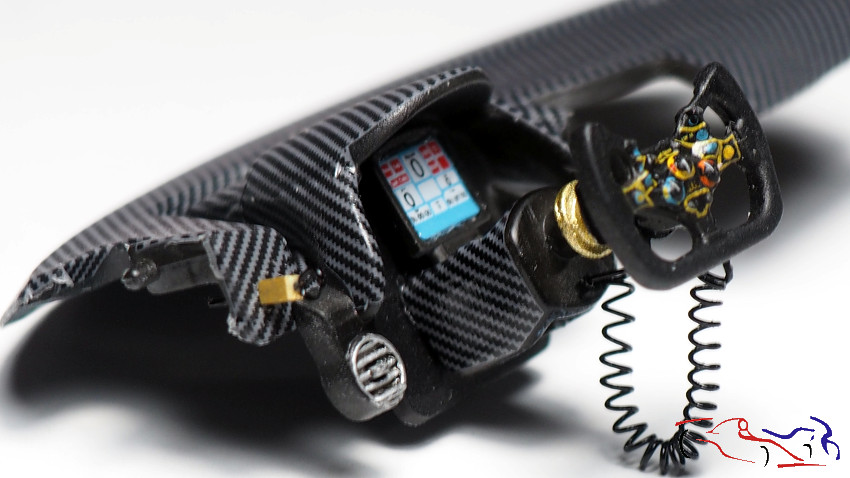
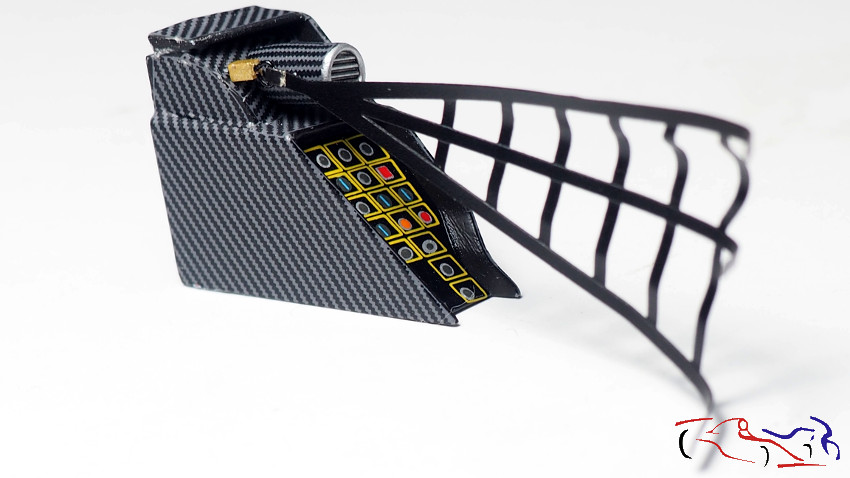
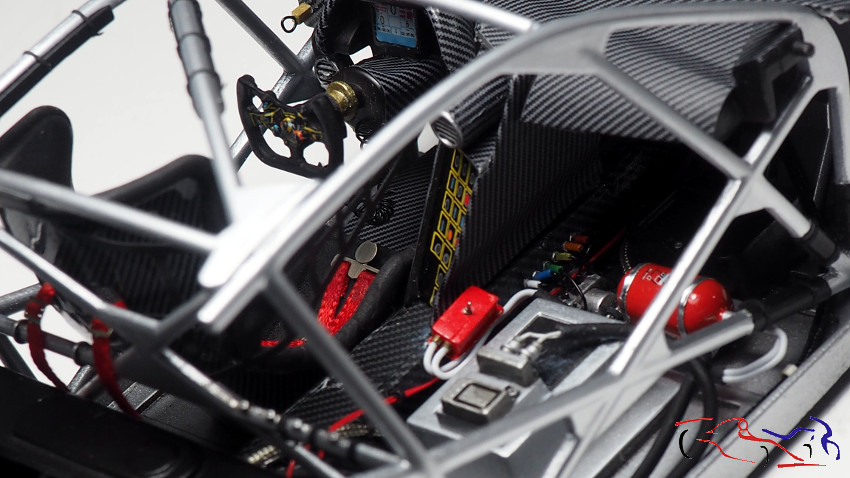
Ahora, os muestro una foto del salpicadero, una vez terminado. Destacar la fijación de la malla protectora izquierda, con una arandela por la que se meterá el extremo de la malla.
Now, I show you a picture of the finished dashboard. I have to point out the fixing of the left protective mesh, with a washer through which the end of the mesh will be inserted.
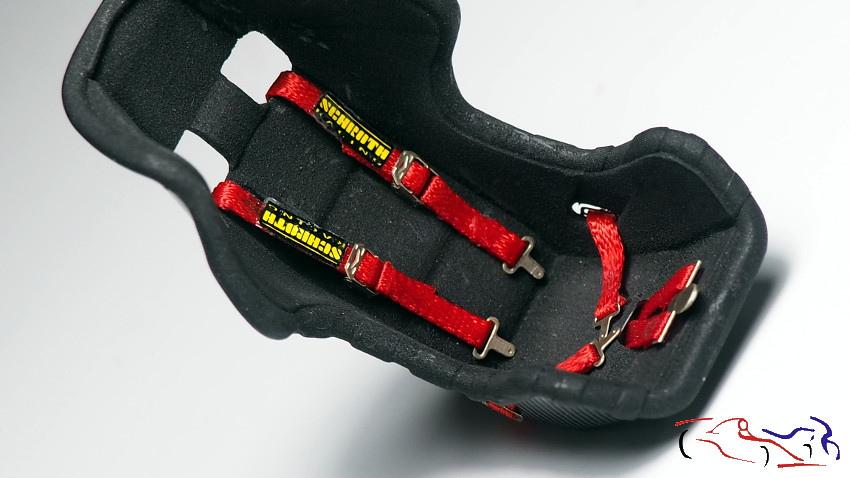
Y el asiento con los cinturones ya colocados.
And the seat with the seat belts already in place.
Aquí vemos como va colocada la malla derecha y su fijación en el salpicadero. Notad que he doblado la malla para que resulte como en la realidad:
Here we can see how the right mesh is positioned and how it is fixed to the dashboard. Note that I have bent the mesh to make it look like the real thing:
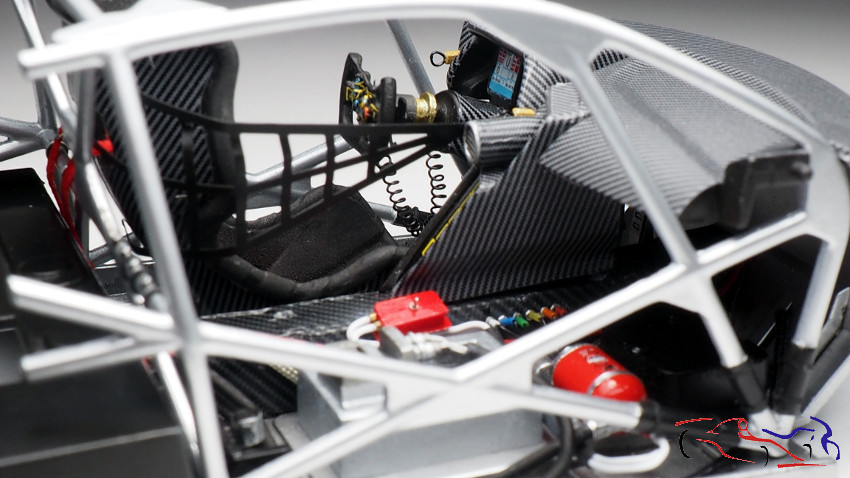
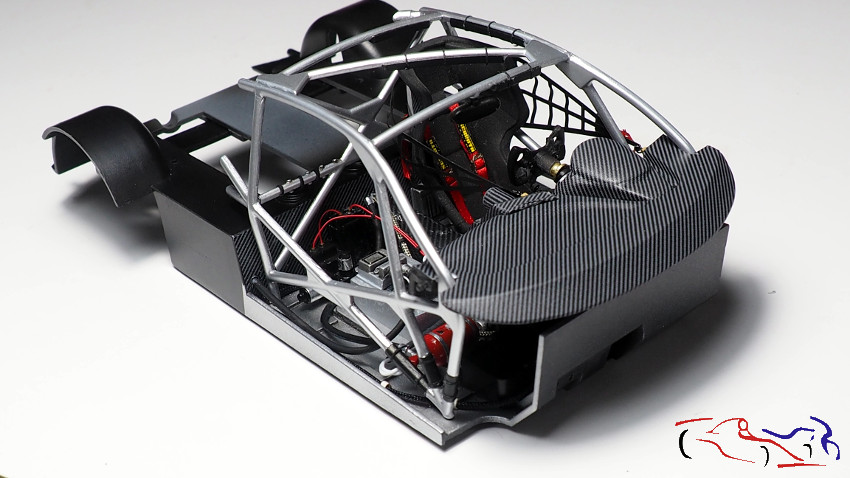
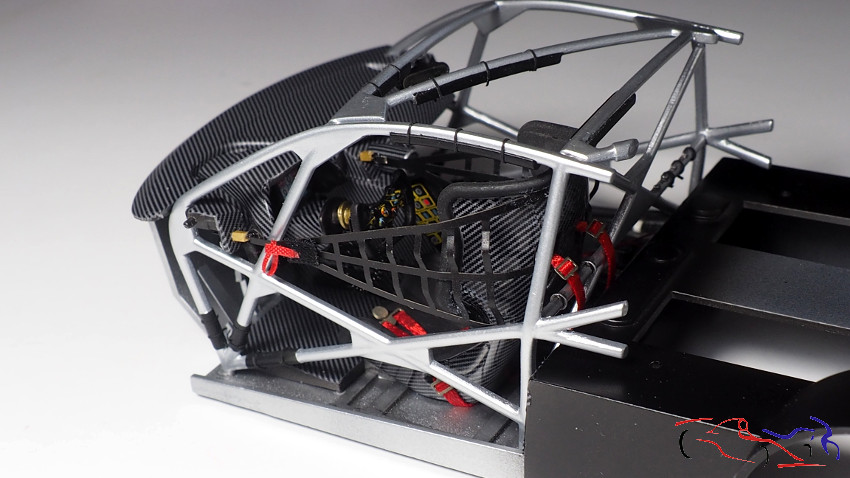
Y una vez montado todo, este es el resultado:
And once everything was assembled, this is the result:

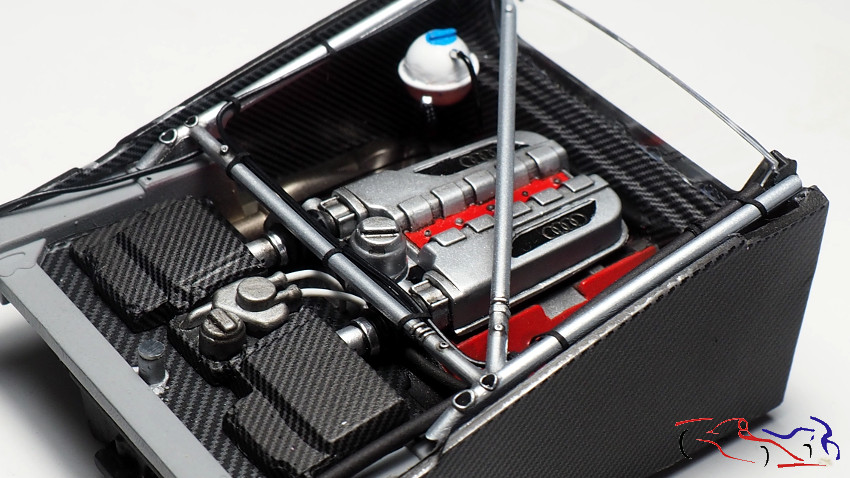
Vamos con el motor. Le añadimos los cables de las bujias, que introduciomos dentro de un tubo termorretractil:
Let’s go to the engine. We add the spark plug wires, which we put into a heat-shrinkable tube:
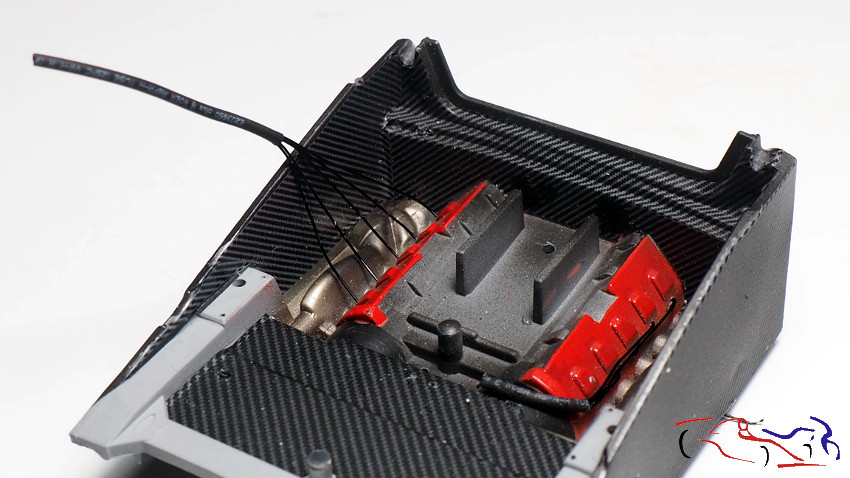
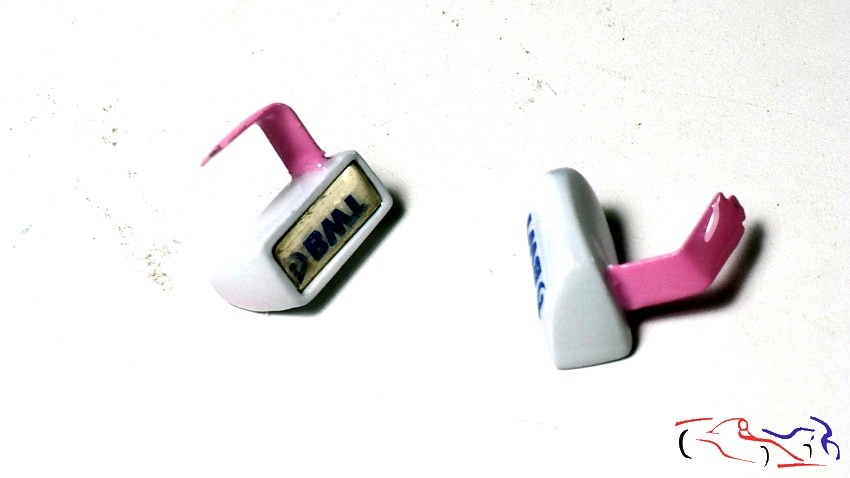
También cableamos la parte del arco de seguridad que lleva el motor, e incluimos el deposito blanco con el tapón azul, típico en los motores del grupo WV.
We also wired the safety arch part of the engine, and included the white tank with the blue cap, typical of the WV group engines.
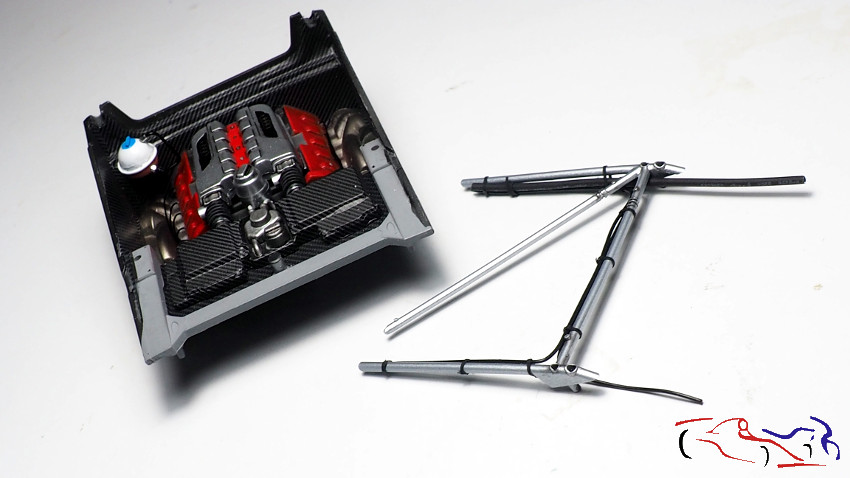
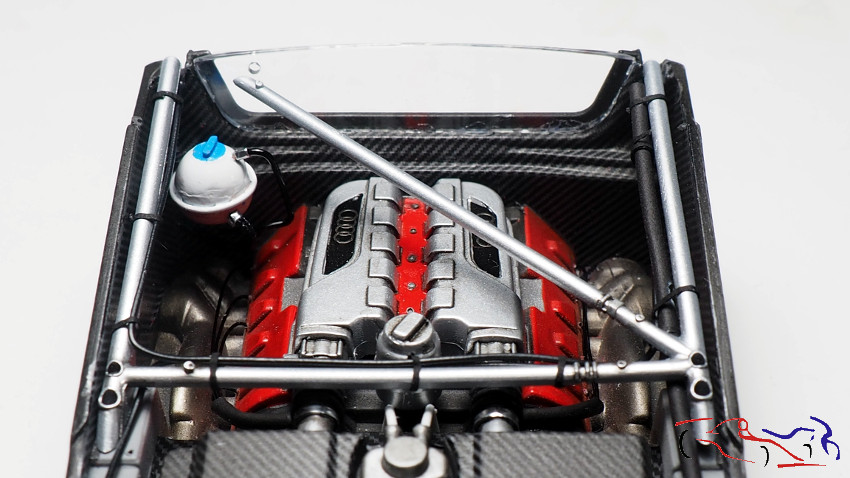
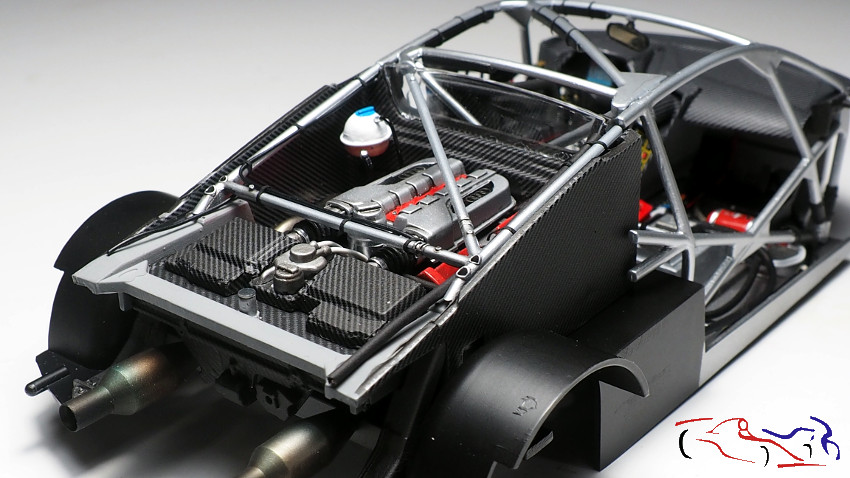
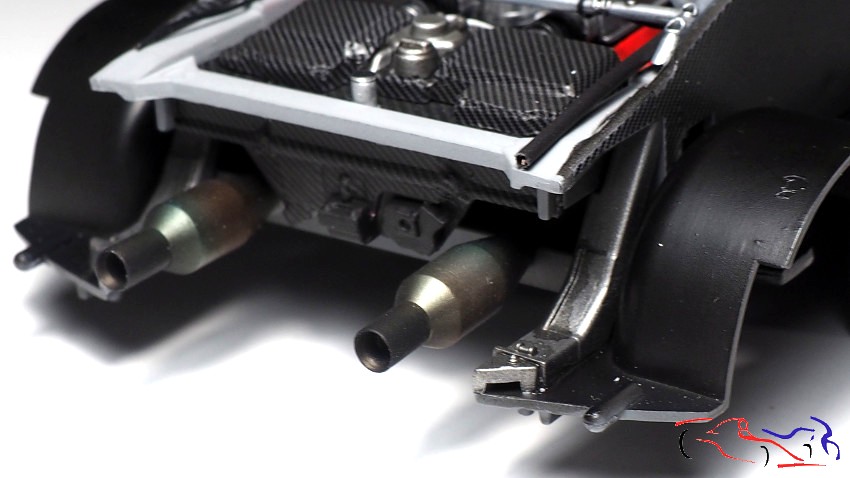
Y un par de fotos del motor terminado:
And a couple of pictures of the finished engine:
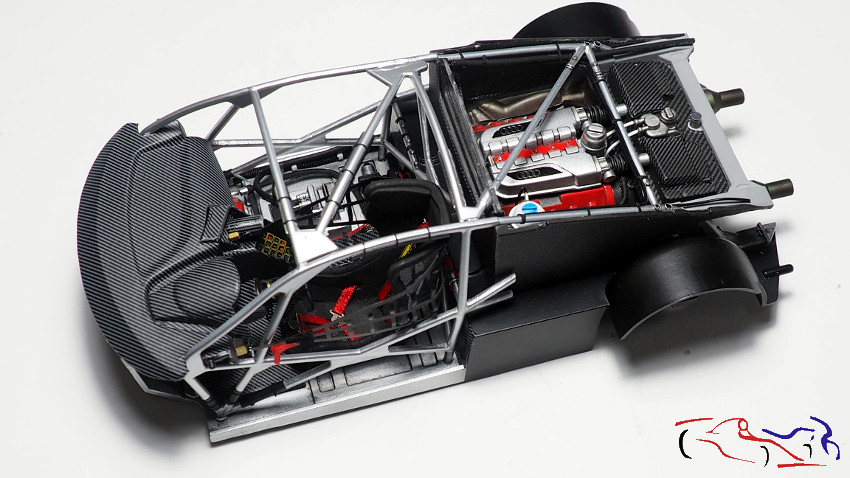
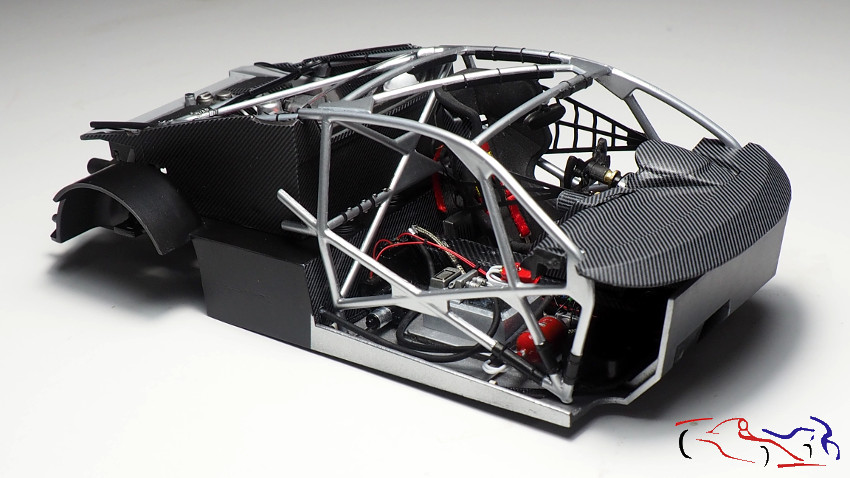
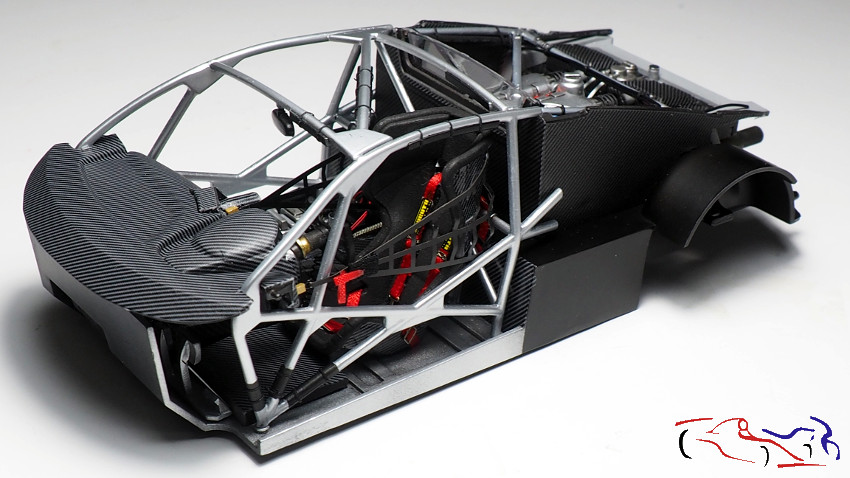
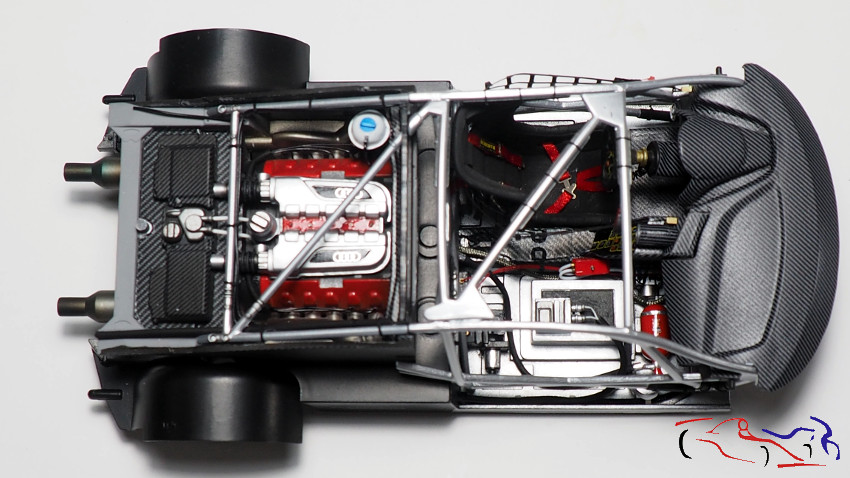
Y si unimos el motor al chasis superior con el cokpit, éste es el resultado:
And if we attach the engine to the upper chassis with the cockpit, this is the result:

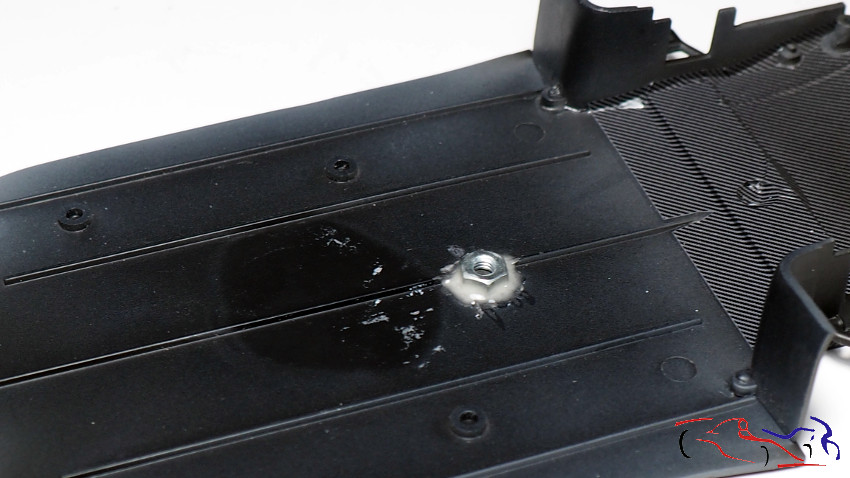
Ahora es momento de iniciar los trabajos en el chasis, y lo primero, es la fijación de la tuerca en el chasis, para fijar la maqueta a la base: ciano con polvos de talco!!
Now it’s time to start working on the chassis, and the first thing to do is to fix the nut on the chassis, to fix the model to the base: CA glue with talcum powder!
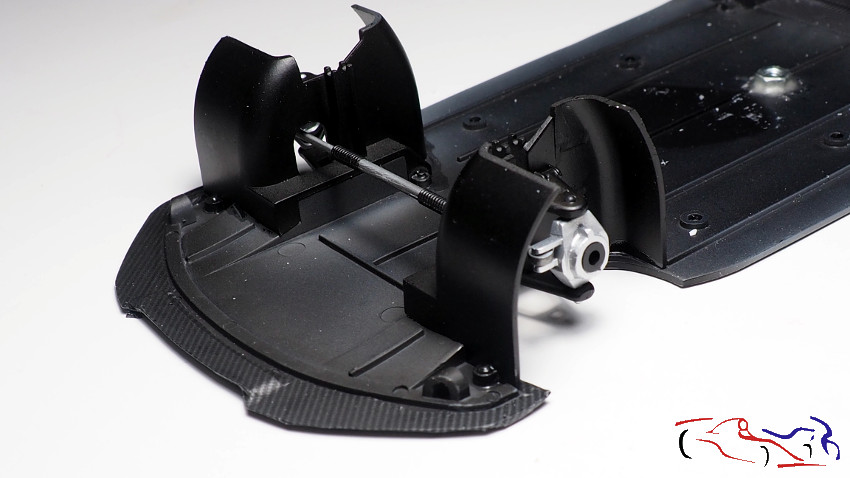
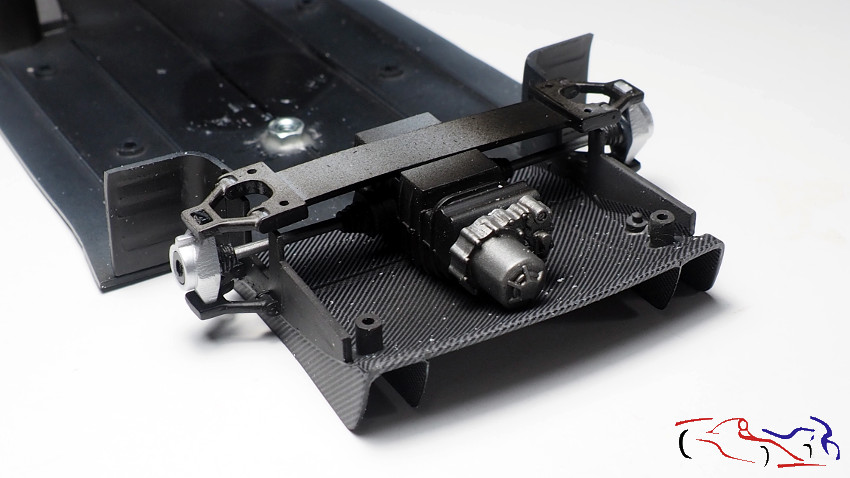
Y ahora es el turno de añadir piezas al chasis correspondinentes al eje delantero y trasero:
And now it’s time to add front and rear axle parts to the chassis:
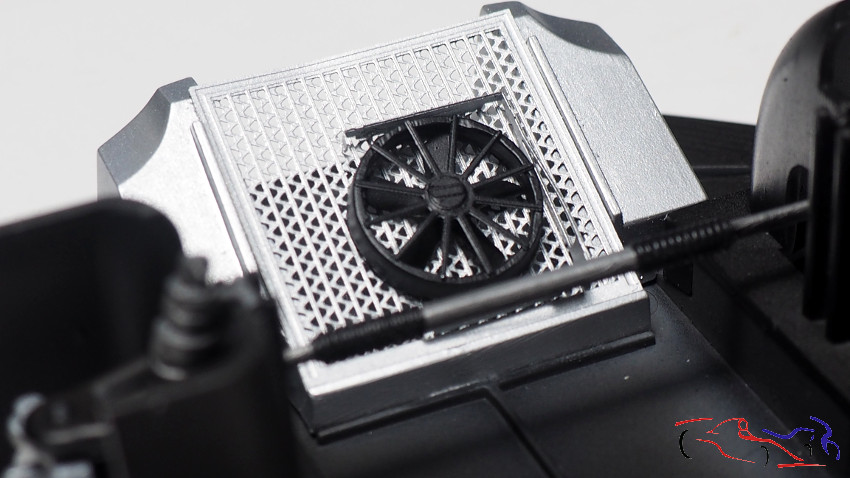
Mas detalles: el filtro del aire con el ventilador, colocado también en el chasis:
More details: the air filter with the fan, also placed in the chassis:
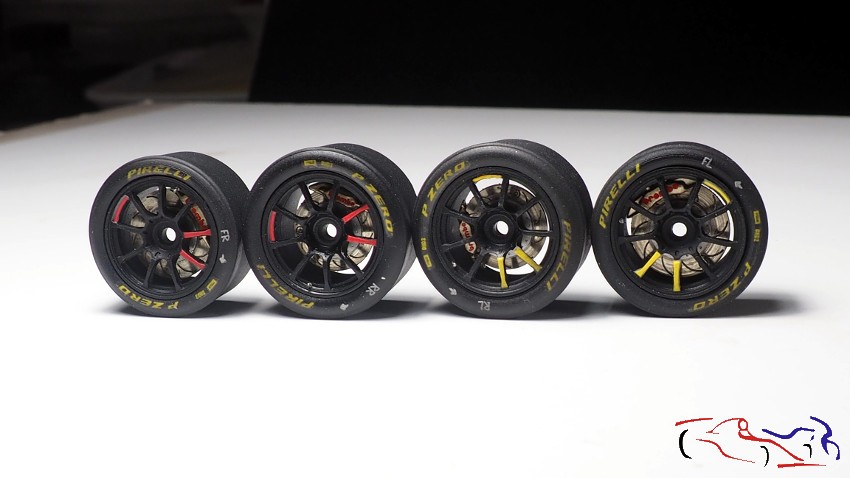
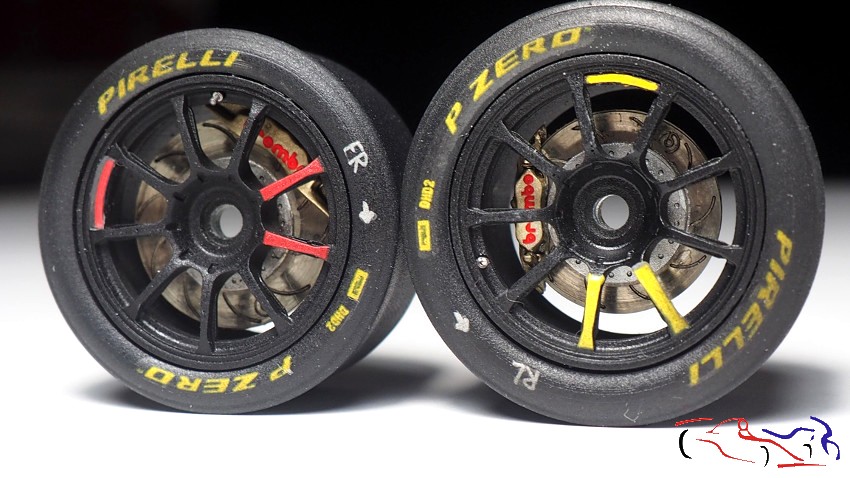
A las ruedas, les he pegado el disco con la pinza de freno:
I have glued the disc with the brake caliper to the wheels:
Y a los retrovisores, les he añadido la pieza de fotograbado que he pulido para que refleje como buen espejo que debe ser (se ve en el retrovisor de la izquierda, el logo del restrovisor derecho). Ese espejo se ve amarillento por la luz existente, pero es un espejo normal.
I have added the photoetched piece that I have polished to the mirrors, so that it reflects like the good mirror it should be (you can see the logo of the right mirror on the left mirror). This mirror looks yellowish because of the existing light, but it is a normal mirror.
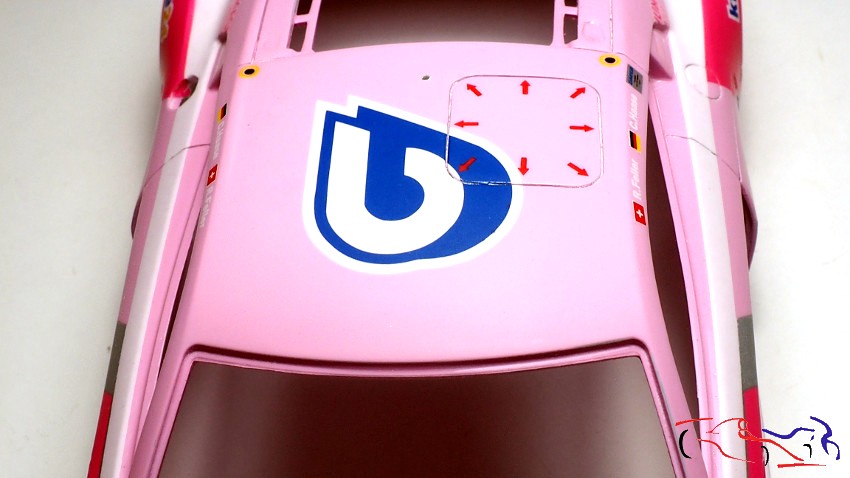
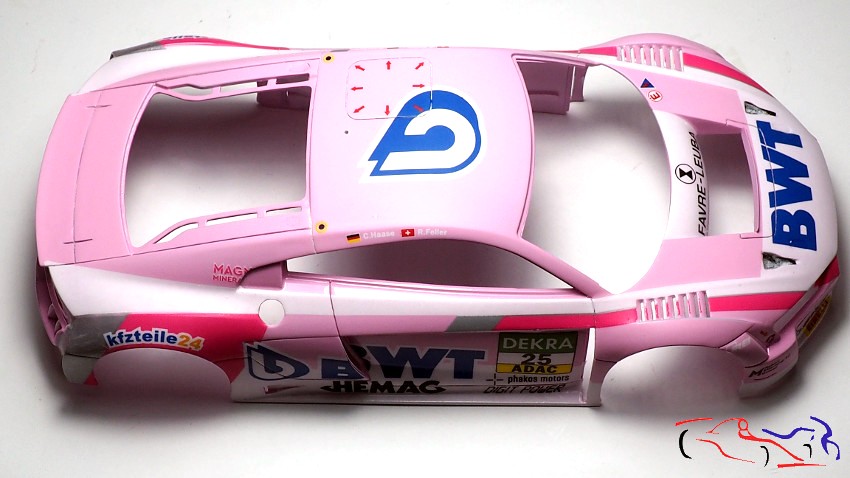
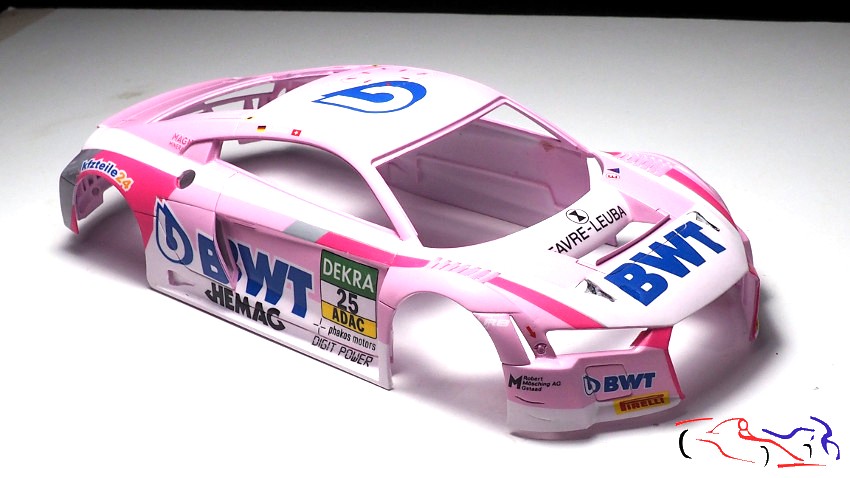
Y para terminar, el paso previo al pulido: lijado de toda la carrocería con lija al agua de grano 1000, y posteriormente con 2000.
And finally, the step prior to polishing: sanding of the entire bodywork with 1000 grit waterproof sandpaper, and then with 2000 grit sandpaper.
Y yo creo, que la siguiente actualización será casi la final, con el pulido y pegado de piezas a la carroceria. Gracias por ver y comentar!
And I think, the next update will be almost the final one, with the polishing and gluing of parts to the body. Thanks for watching and commenting!


