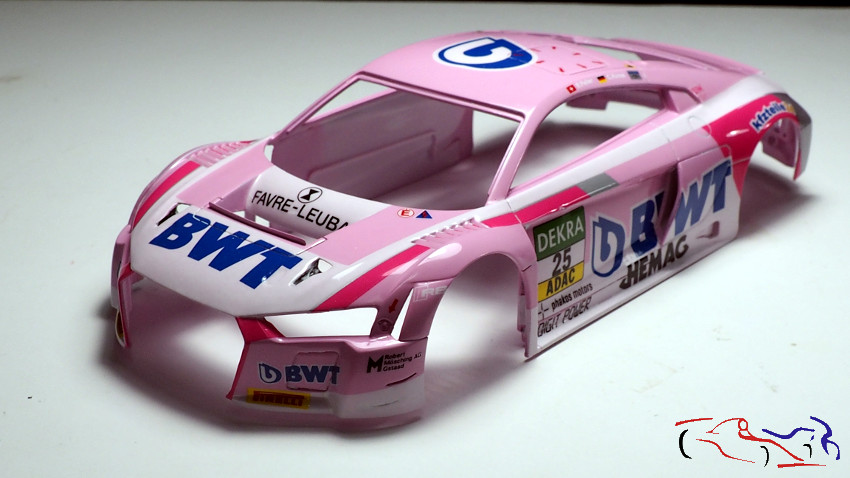
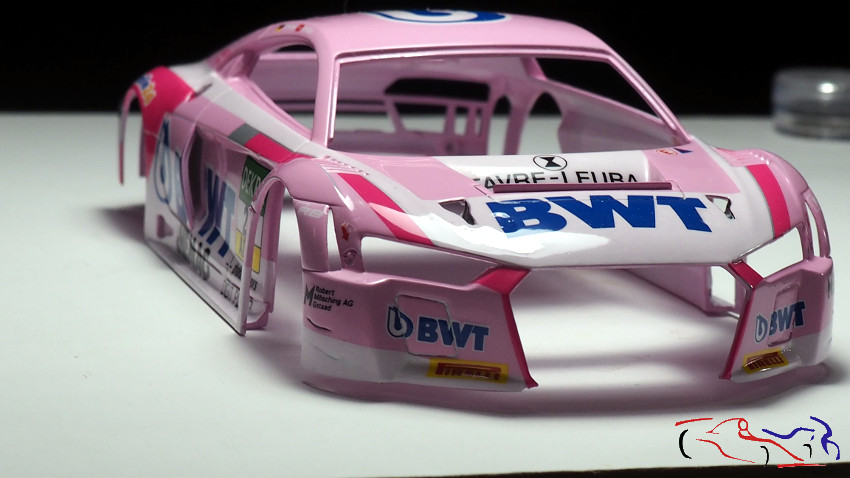
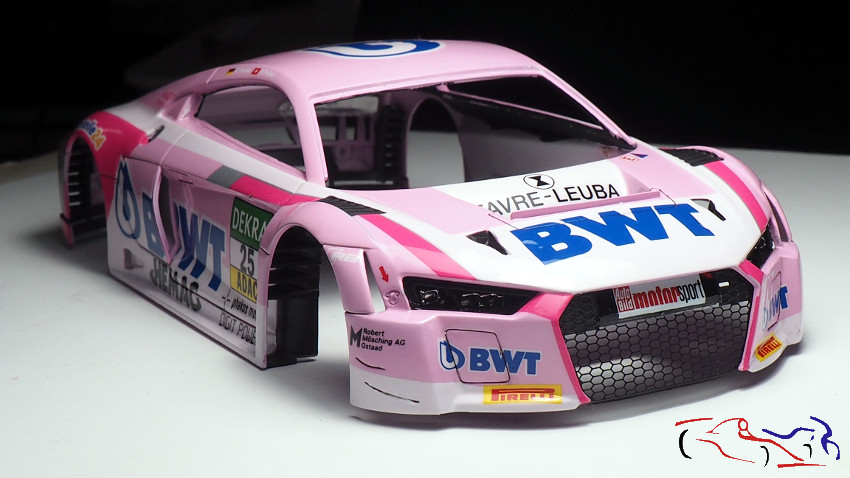
Ya estamos al final del proyecto!! En el post anterior, dejé la carrocería lijada a falta de pulimento, y es desde ahí donde comienzo. Usamos los pulimentos de Number5, primero el “Medium” y después el “Fine”, logrando este acabado:
We are already at the end of the project!! In the previous post, I left the body sanded pending of polishing, and that’s where I start now. I used Number5 polishes, first the “Medium” and then the “Fine”, achieving this finish:
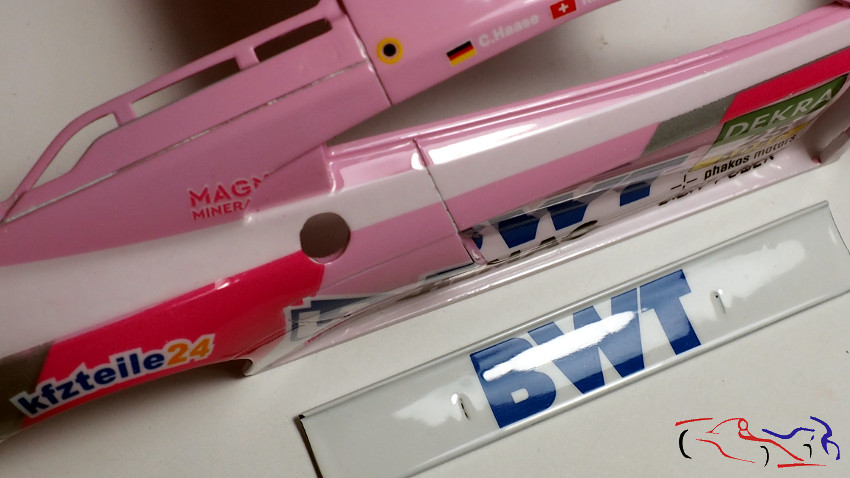
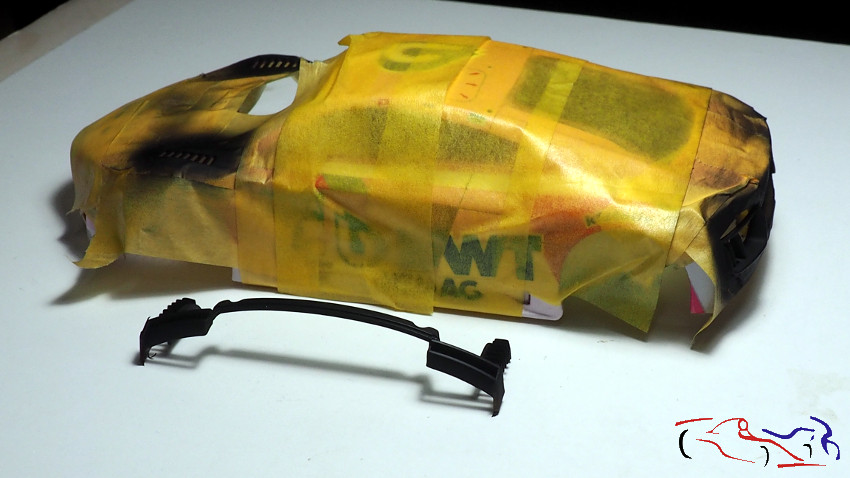
Ahora, toca enmascarar y pintar las partes de negro con LP5 de Tamiya, semi gloss black, es decir, las salidas de aire de las ruedas delanteras, y la parte trasera:
Now, it’s time to mask and paint the black parts with Tamiya LP5, semi gloss black, I mean, the air outlets of the front wheels, and the rear part:
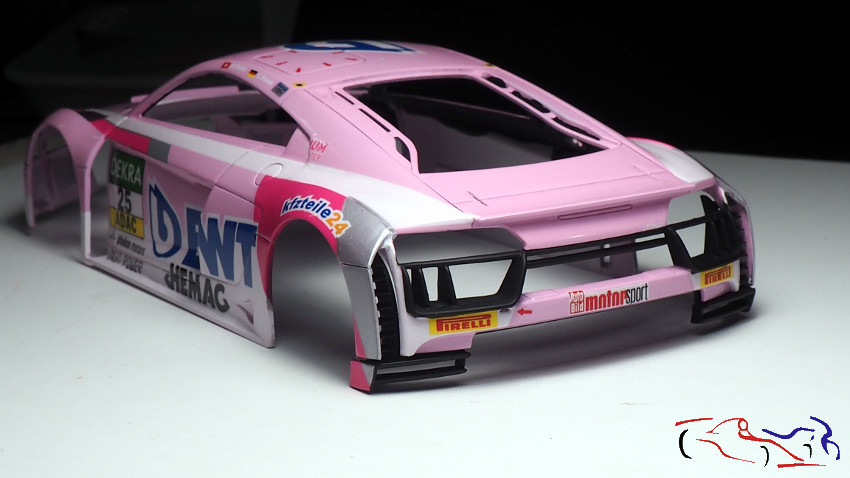
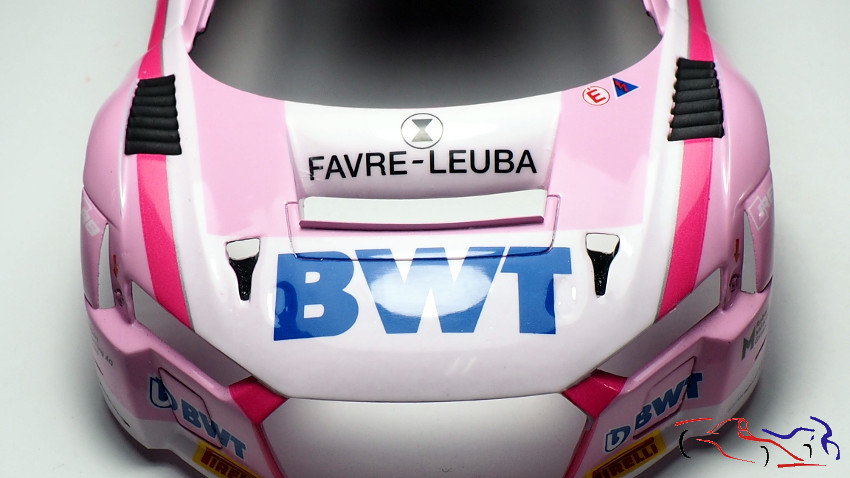
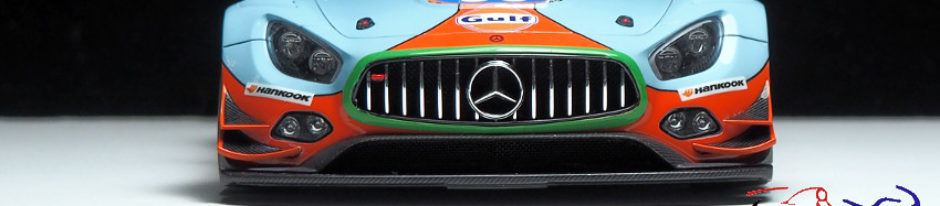
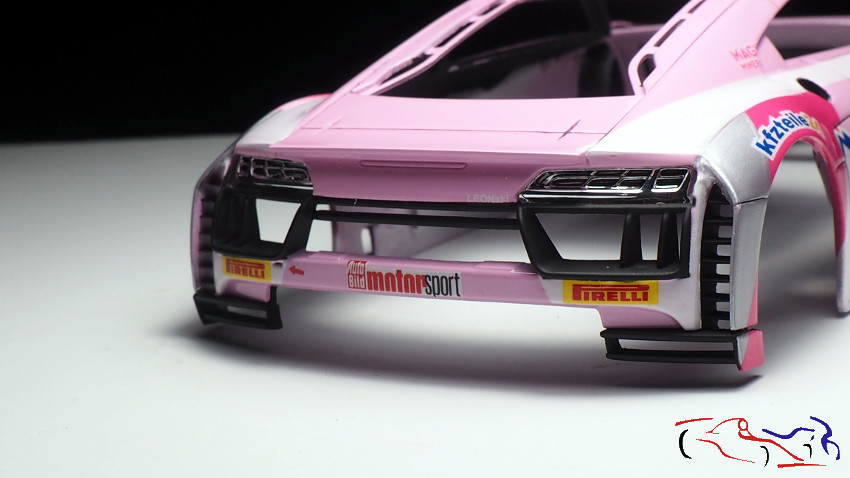
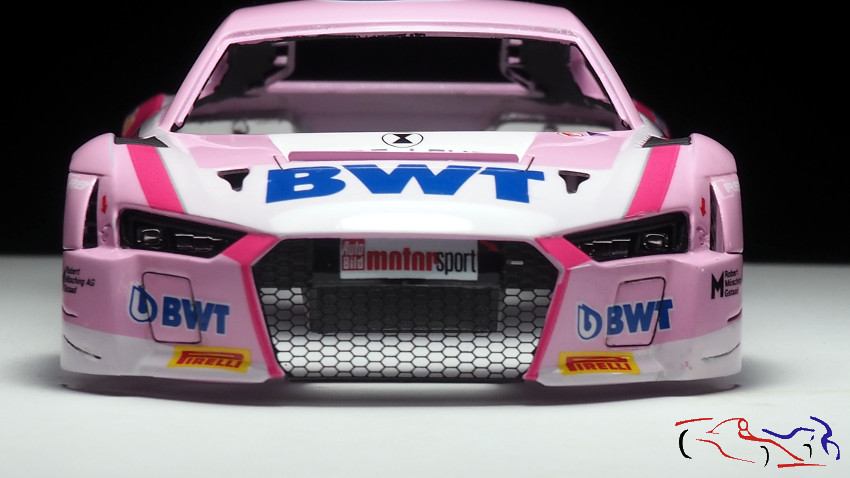
Y empezamos a poner `piezas en la carrocería: faros, rejilla delantera, salidas de aire delanteras tras las ruedas, pieza trasera….todo con pegamento Ultra Glue de Mig:
And we started to add parts on the body: headlights, front grille, front air vents behind the wheels, rear part….all glued with Mig Ultra Glue:
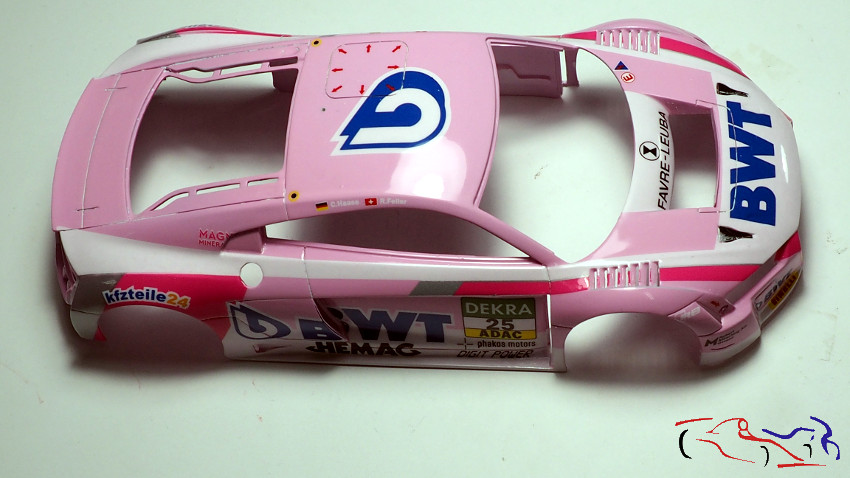
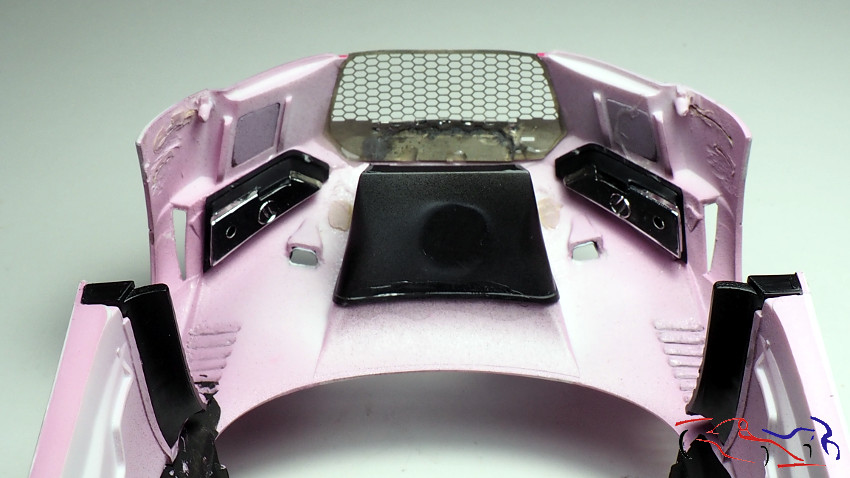
La siguiente foto os muestro como está todo colocado en el interior de la carrocería:
The following photo shows you how everything is placed inside the bodywork:
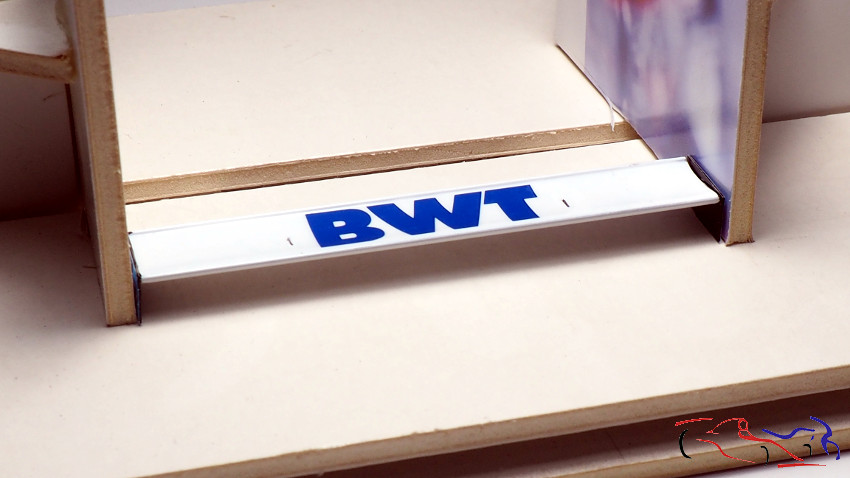
Para pegar las derivas del alerón trasero, utilicé el útil que fabriqué para alinear las ruedas cuando las pegaba. Usçe pegamento epoxy y cuando ya estaba un poco pegado, pero moldeable, puse el alerón en el útil y junté los extremos. Decir que es complicado poner el alerón con las fijaciones de fotograbado: me llevó tiempo y sudores!!
To glue the rear wing stems, I used the tool I made to align the wheels when I glued them. I used epoxy glue and when it was a bit glued, but moldable, I put the spoiler on the tool and joined the ends. Just to say that it is complicated to put the spoiler with the photo-etched fixings: it tooks time and sweat!!
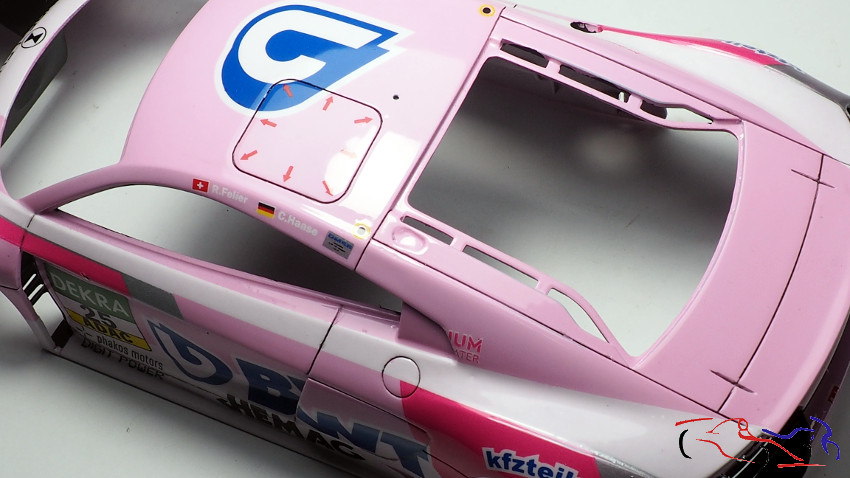
Para terminar la carrocería en este post, un tema muy importante: las líneas de los paneles realizadas con negro del Panel Liner de Tamiya:
To finish the body in this post, a very important topic: the lines of the panels made with Tamiya Panel Liner black:
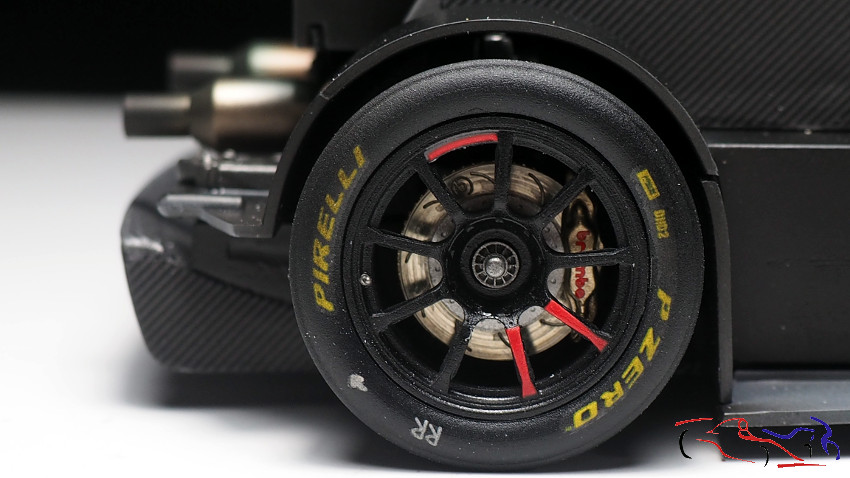
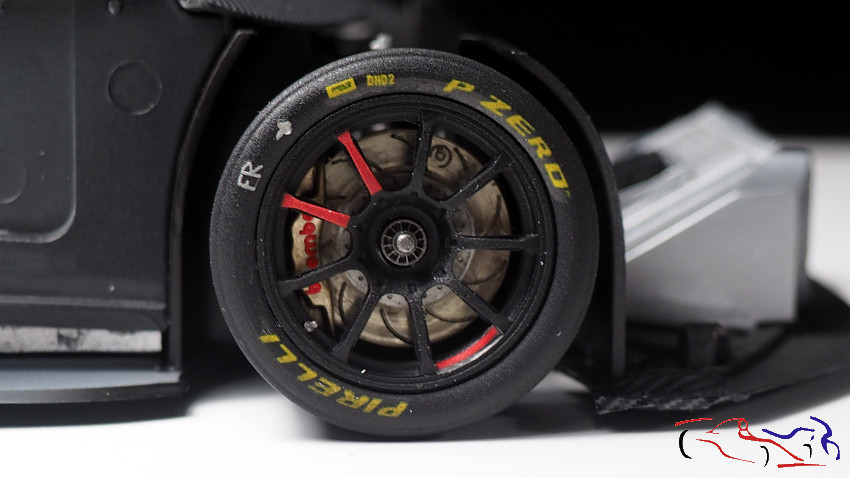
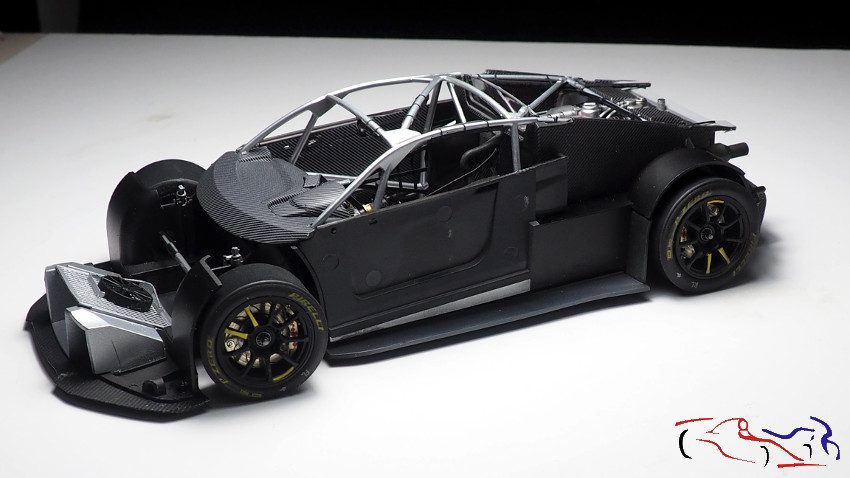
Y terminamos con el chasis: ponemos todas la piezas y lo pegamos:
And we finish with the chassis: we put all the pieces and glue them:
El siguiente post será el último!! Gracias por ver y comentar!!
The next post will be the last! Thanks for viewing and commenting!!


