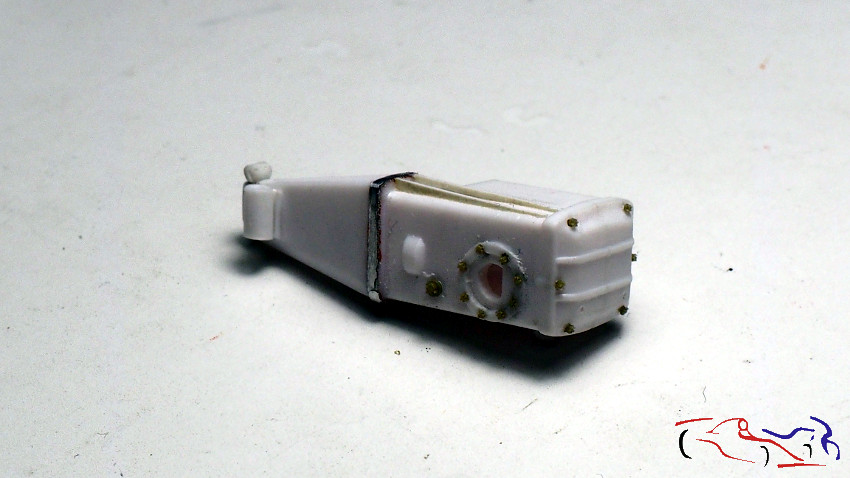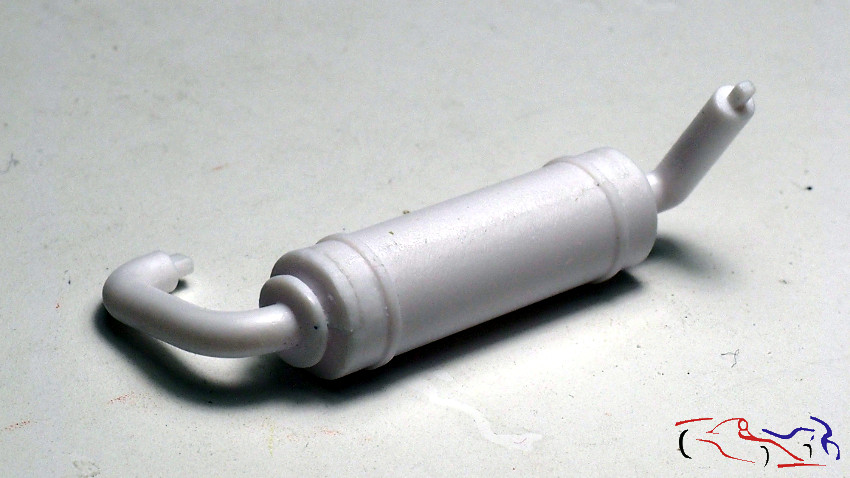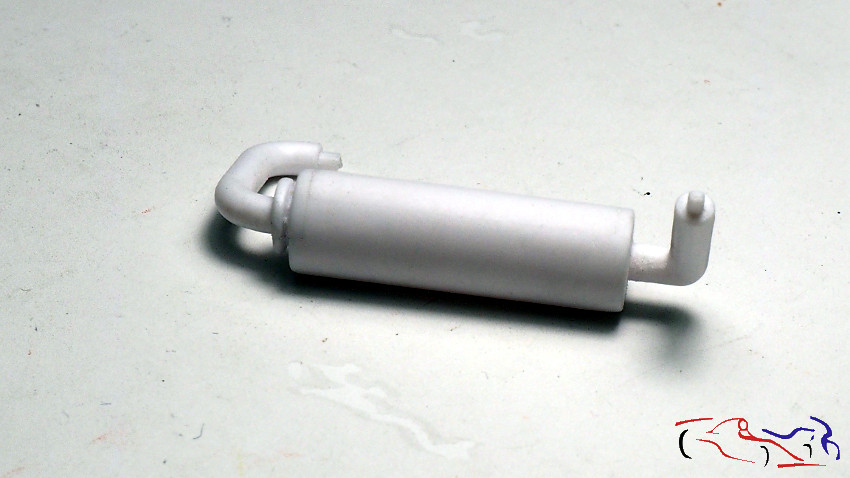
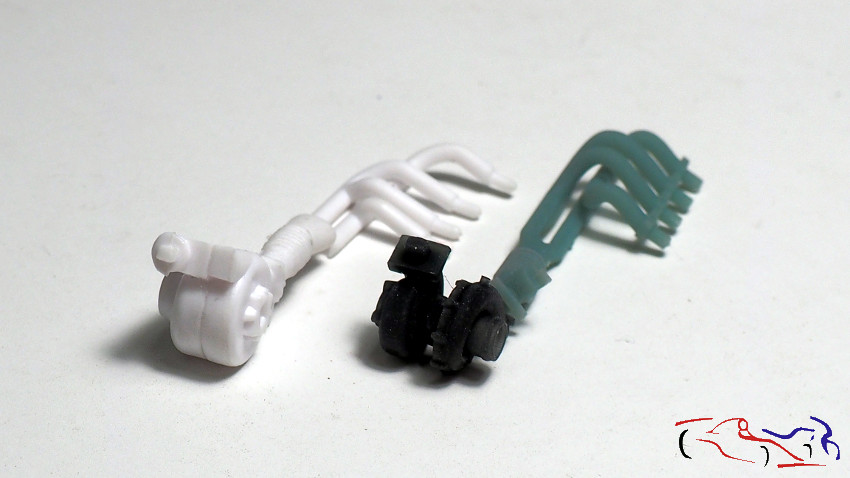
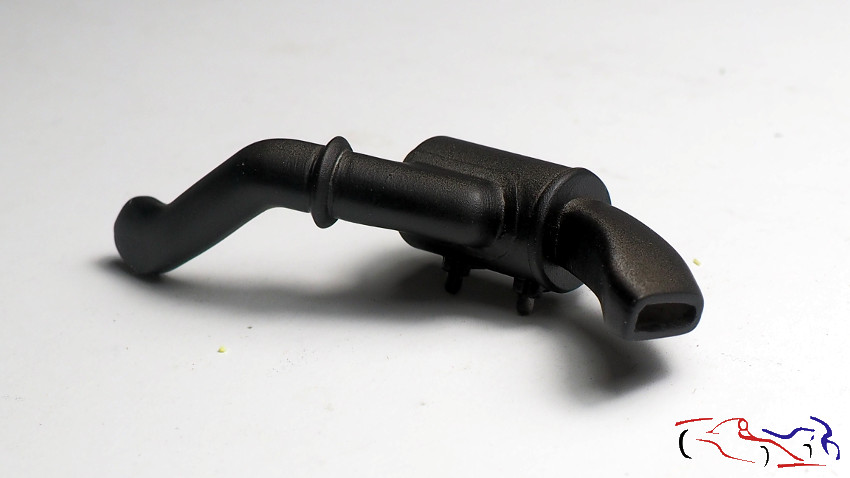
En esta entrada voy a mostrar parte de las piezas del transkit de KMP para este coche. Y empezamos por el conjunto de escapes del motor y el turbo. La diferencia es clara ya que el turbo del kit es muy diferente del real:
In this post I will show part of the KMP transkit parts for this car. And we started with the set of engine and turbo exhaust. The difference is clear since the turbo of the kit is very different from the real one:
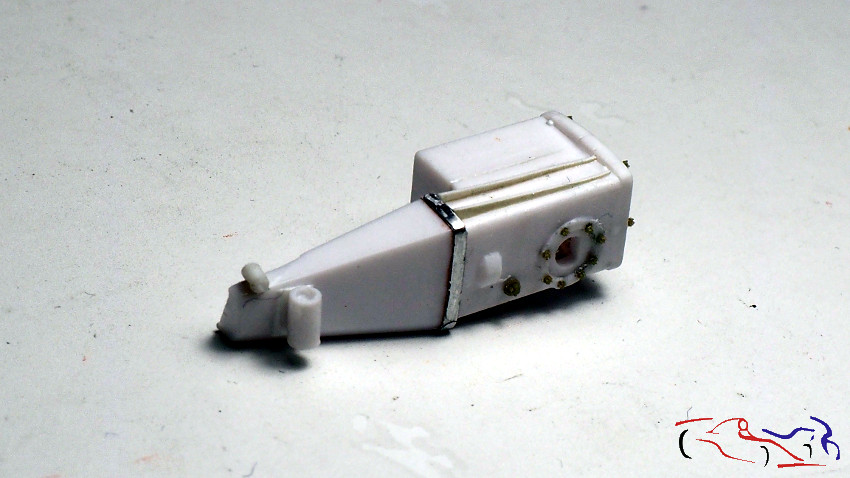
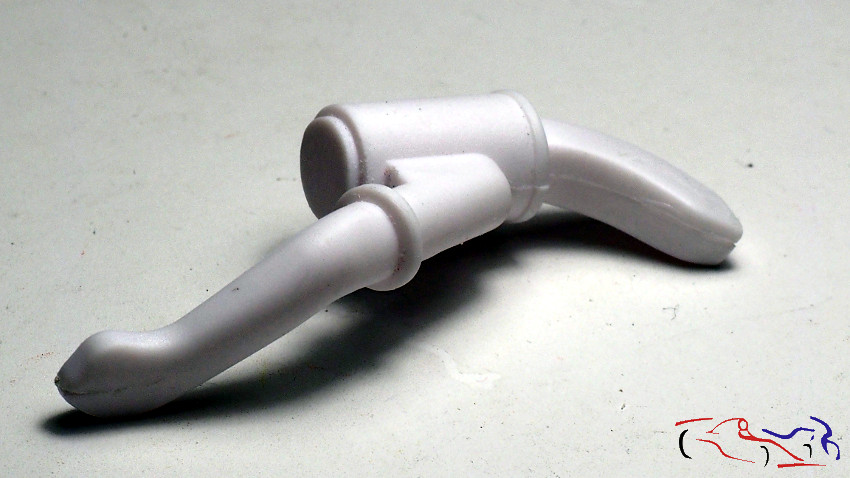
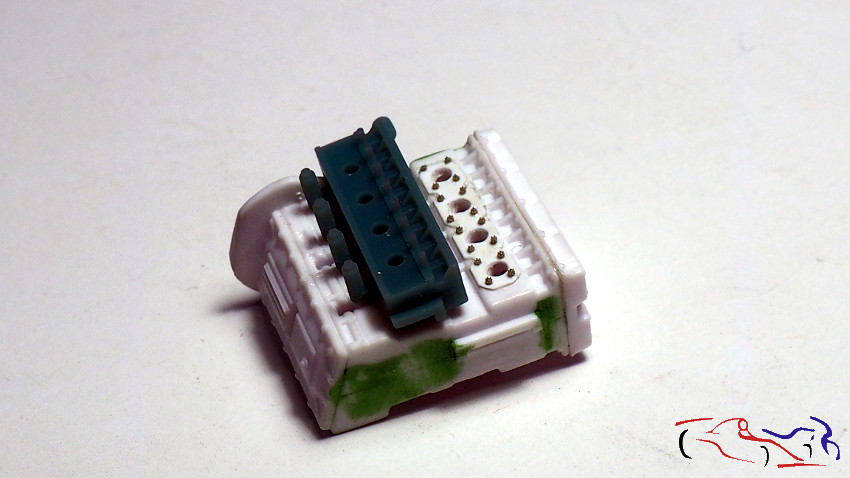
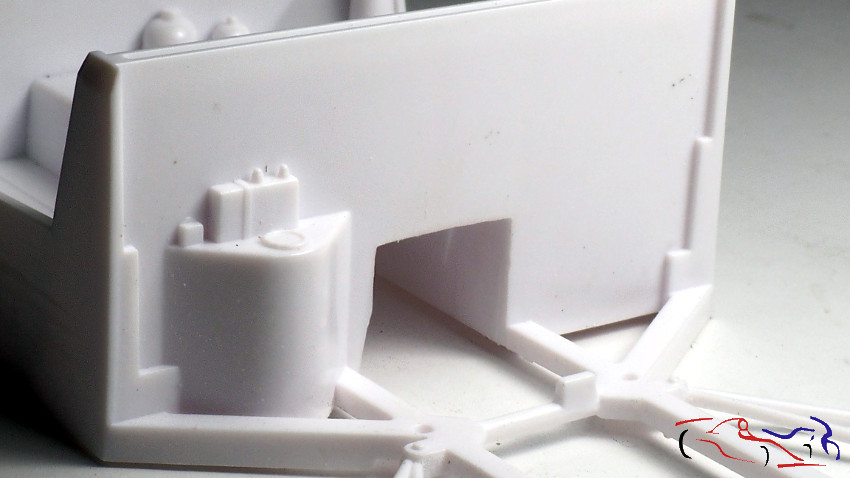
 Pasamos al motor. En blanco, es el original con mis cambios, y encima, la pieza del TK que sustituye al del kit ya que las salidas del kit son erróneas. Como ya las hice yo, la pieza del TK la dejaré para un posible modelo futuro.
We go to the engine. The original with my changes is the white one, and above, the part of the TK that replaces the kit since the outputs of the kit are wrong. As I did, the TK piece will be left for a possible future model.
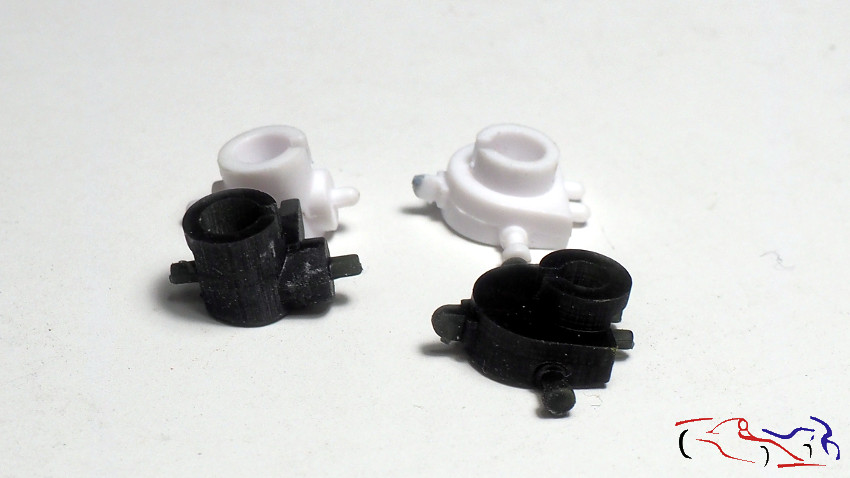
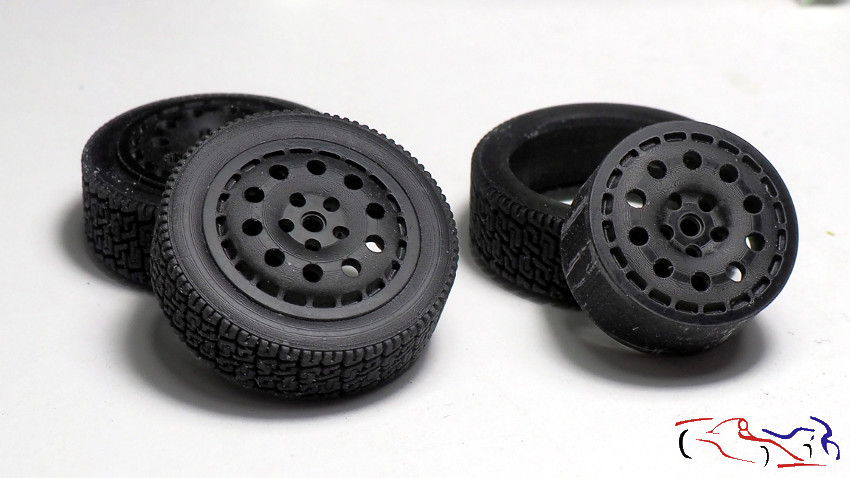
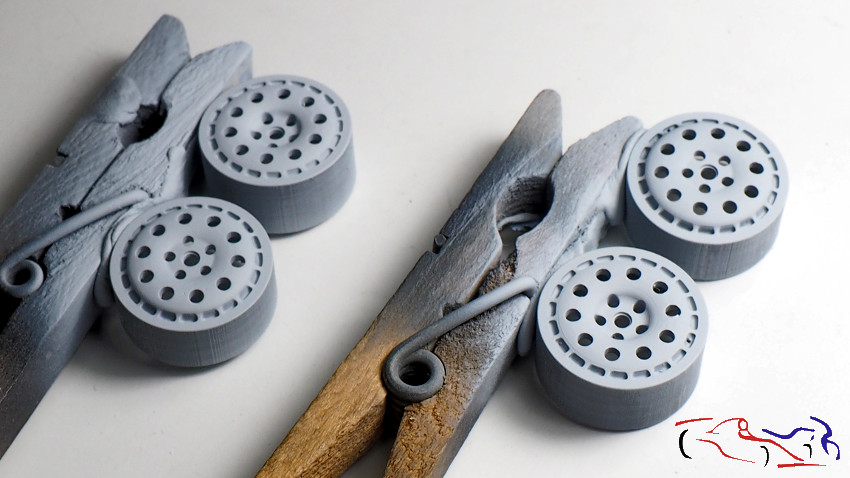
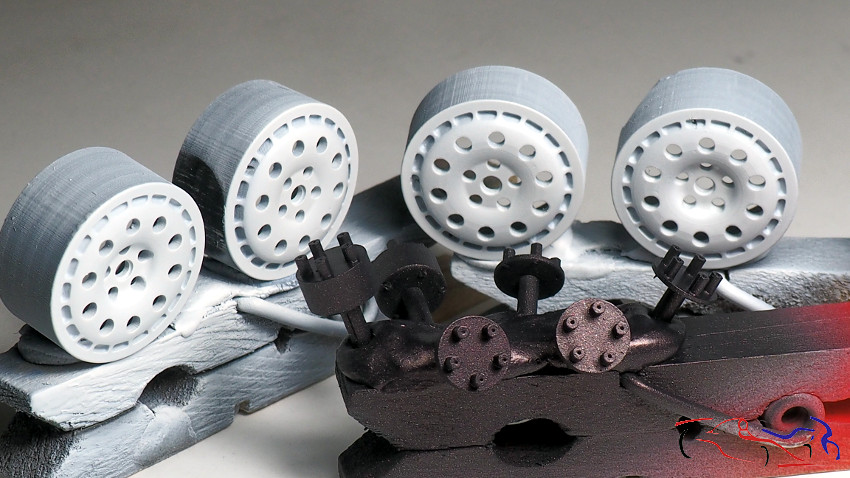
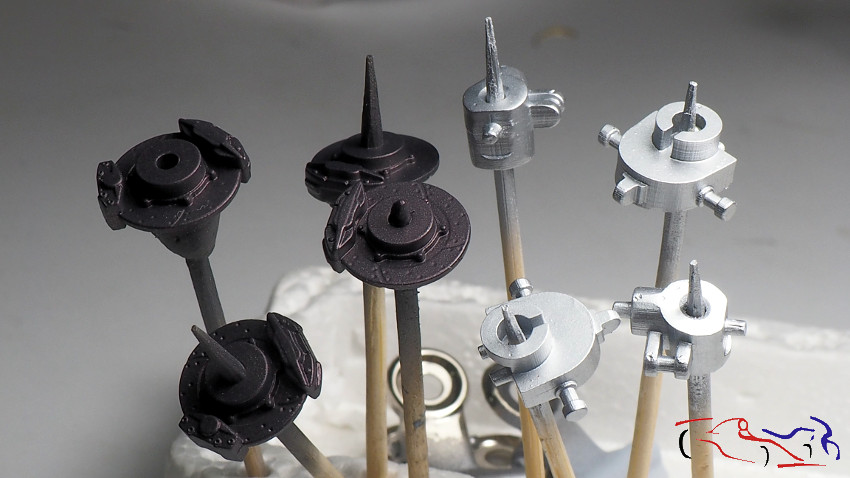
 Los bujes de las ruedas del kit son para una versión de asfalto, y yo quiero hacer la versión de tierra. Por ello, además del TK general del coche , compré el TK de versión de tierra, con las llanta, neumáticos y los bujes. Se aprecia que la parte redonda está desplazada en las piezas negras del TK.
The wheel hubs of the kit are for an asphalt version, and I want to make the ground version. Therefore, in addition to the general TK of the car, I bought the TK version of land, with rims, tires and bushings. It is appreciated that the round part is displaced in the black pieces of the TK.
Aquí os presento la llantas y neumáticos de la versión de tierra:
Here I present the tires and tires of the ground version:
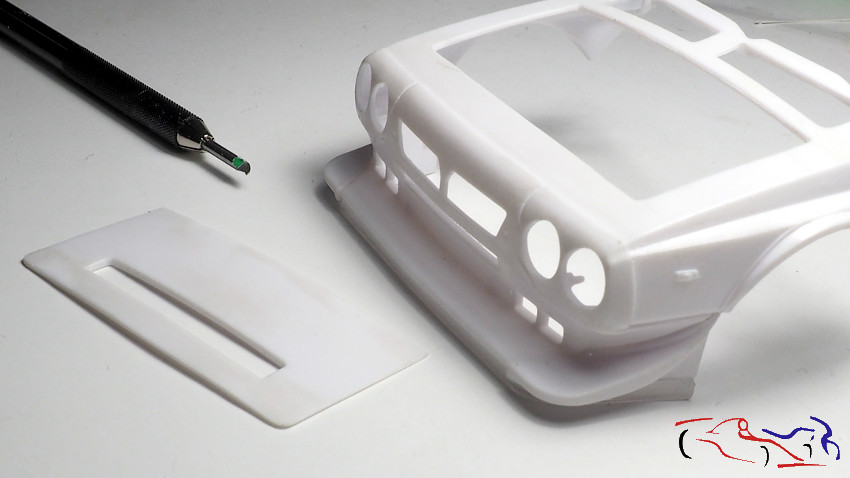
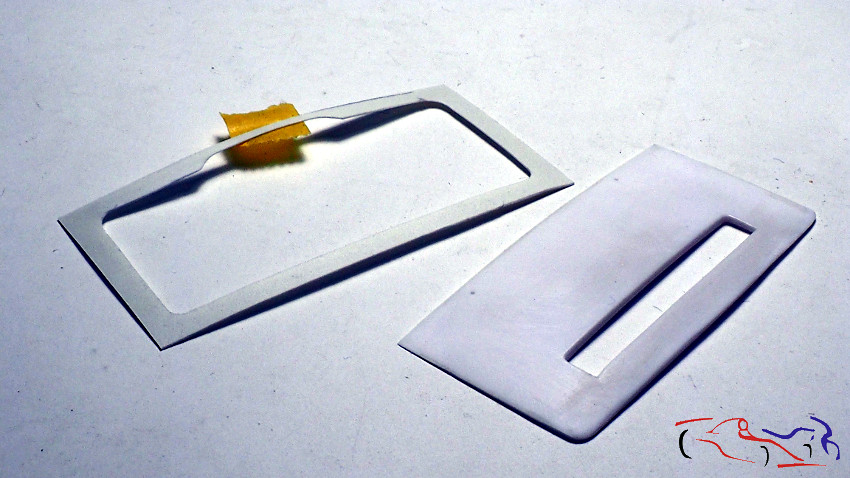
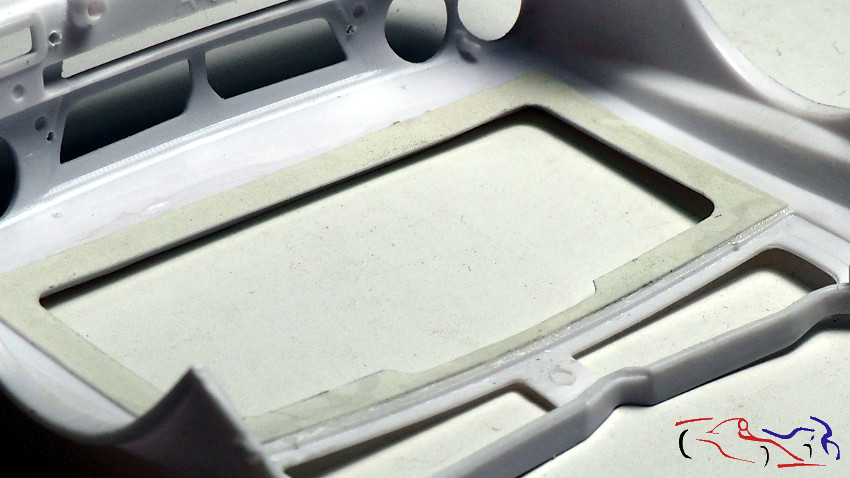
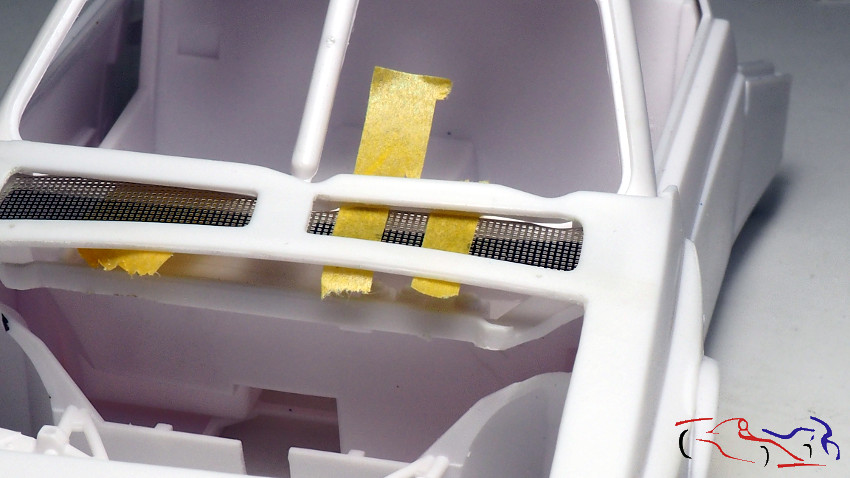
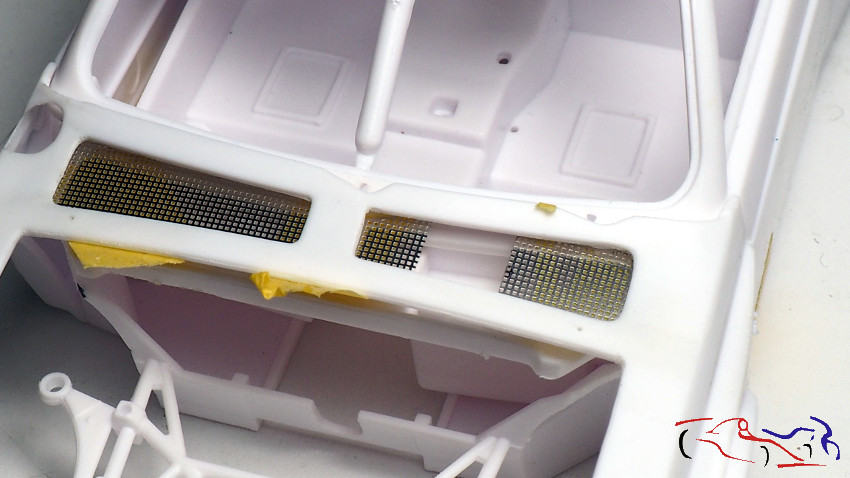
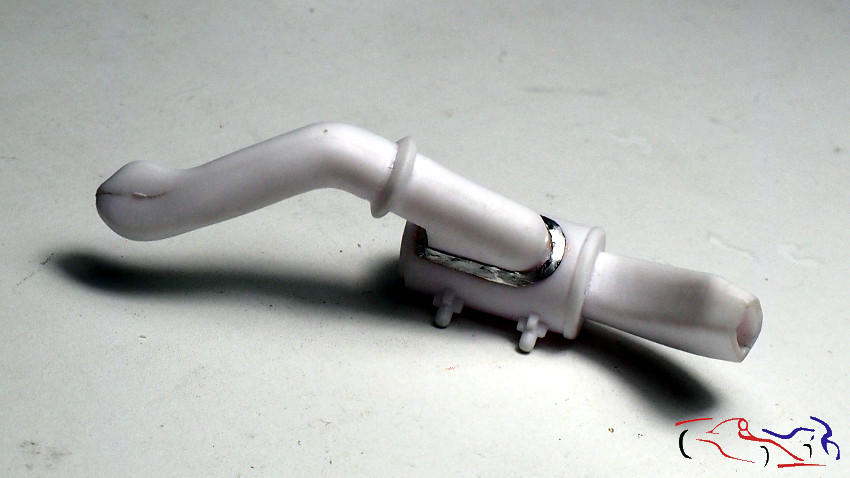
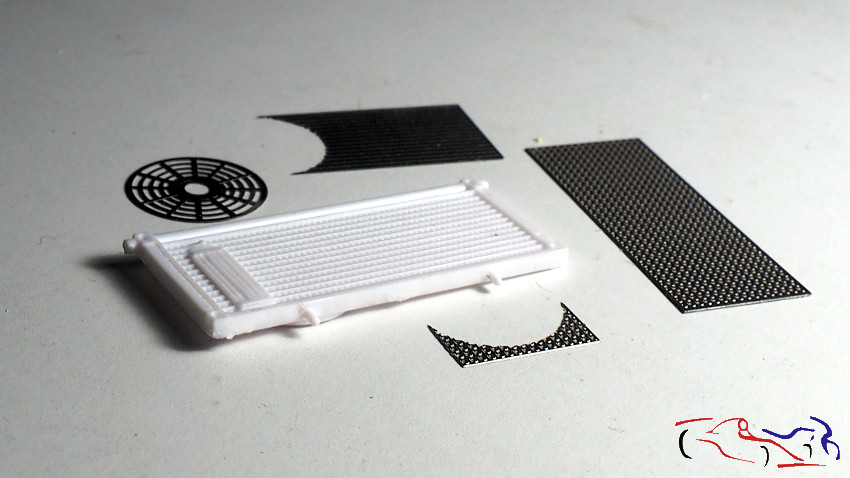
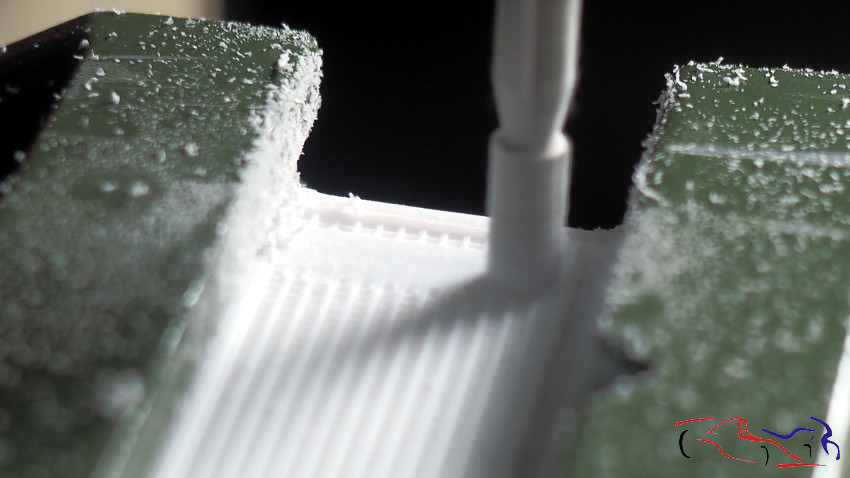
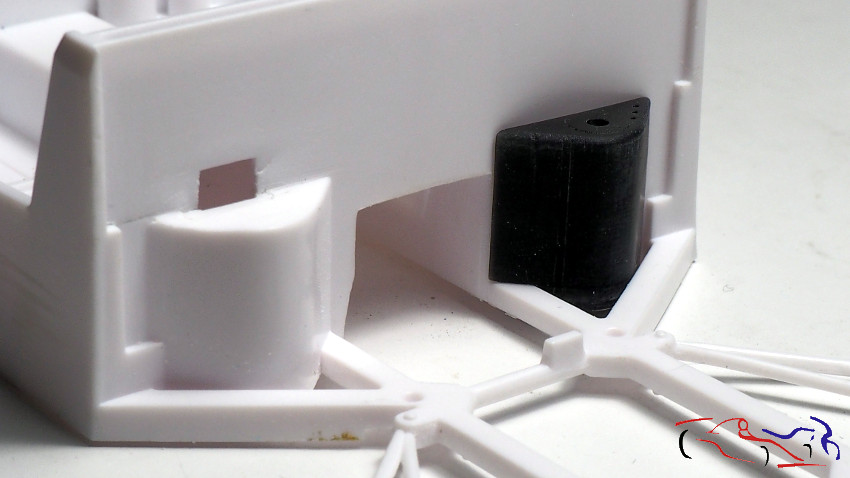
 Otra pieza del TK general es la que va en el capo trasero y canaliza el aire de las entradas laterales a los radiadores del motor. Esta pieza hay que tratarla con masilla para eliminar las conexiones de la impresora 3D.
Another piece of the general TK is the one that goes in the rear hood and channels the air from the side entrances to the radiators of the engine. This piece must be treated with putty to eliminate the connections of the 3D printer.
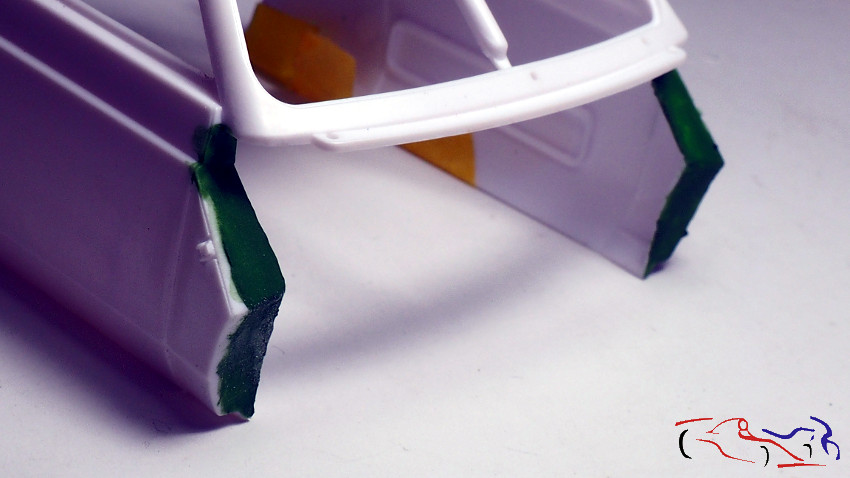
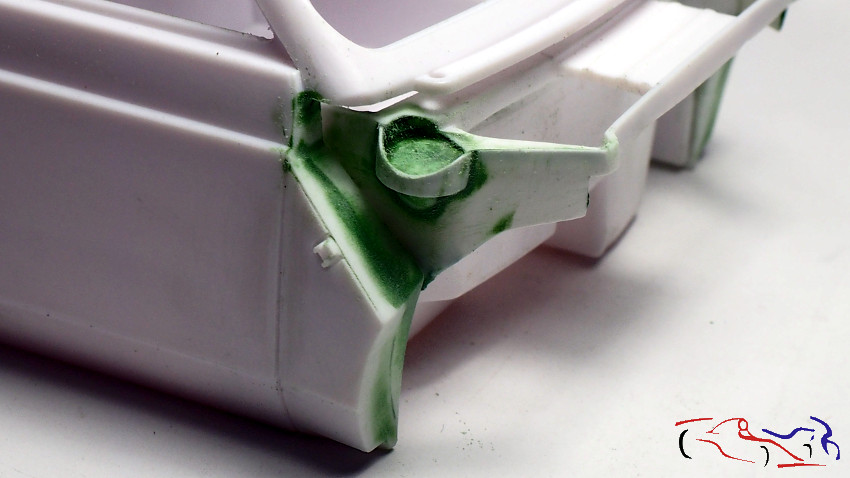
 Más piezas del TK general…. Ayudarán mucho al aspecto del S4:
More pieces of the general TK …. They will greatly help the appearance of the S4:
 Aunque no es de este kit, os muestro las llantas de asfalto del 037: muy buen aspecto!
Although it is not from this kit, I show you the 037 asphalt tires: very good appearance!
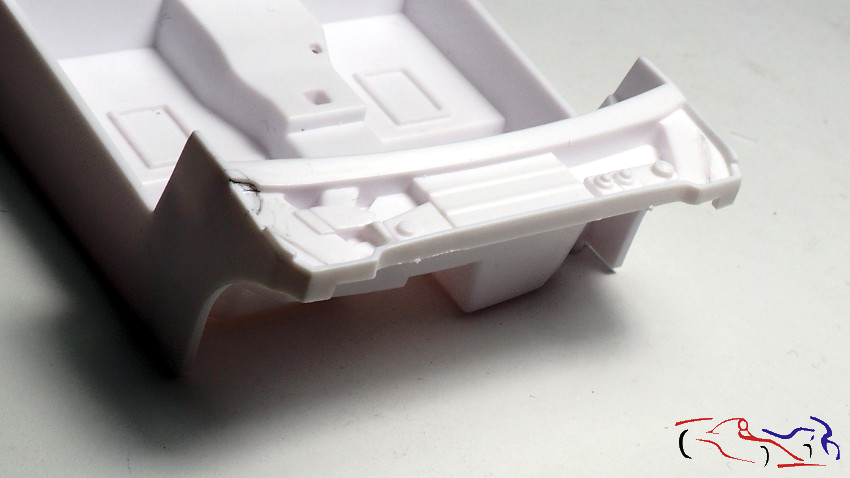
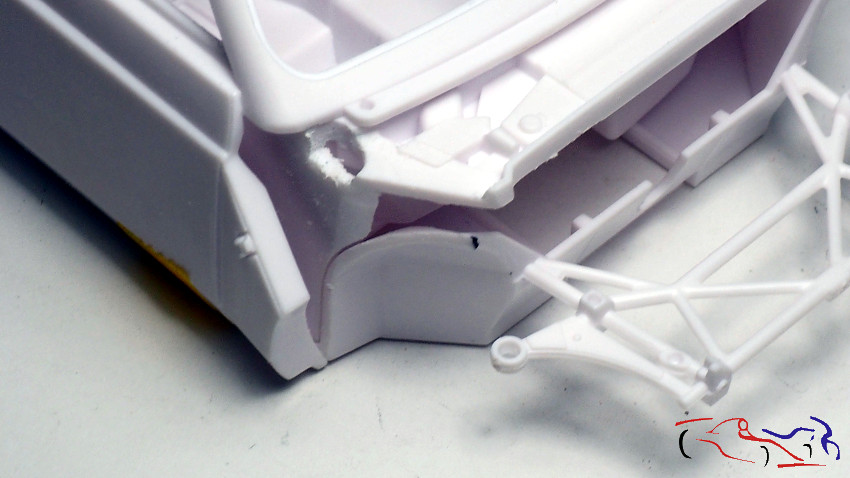
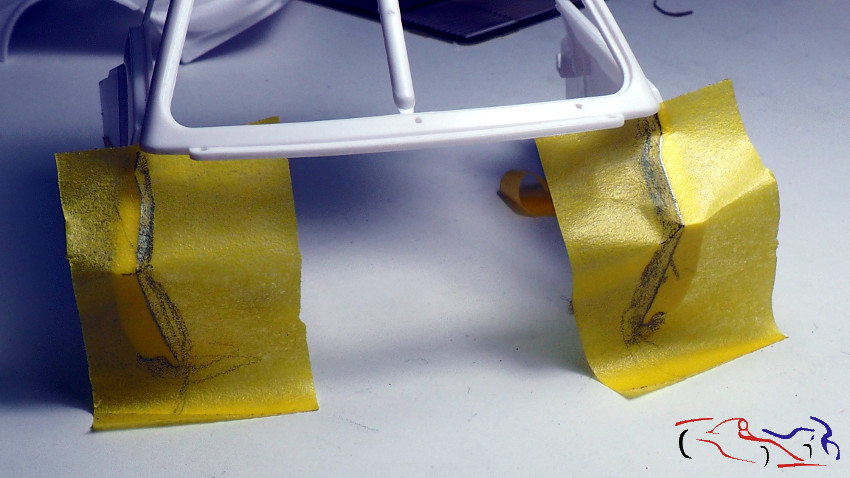
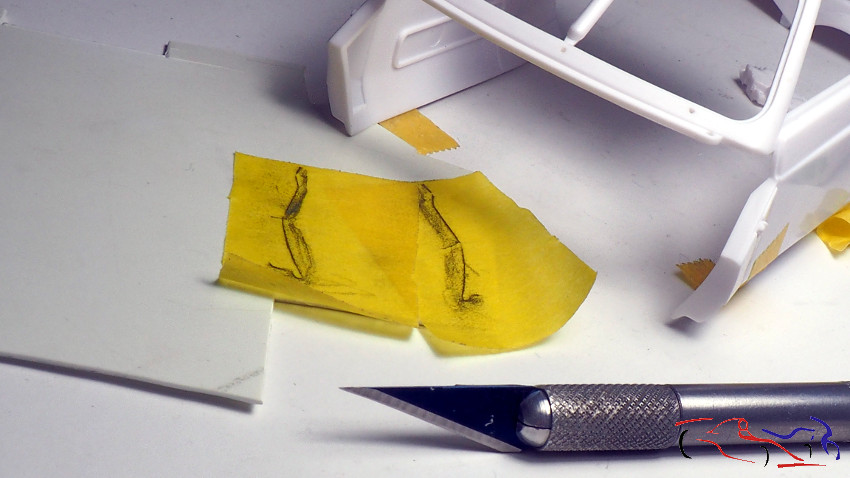
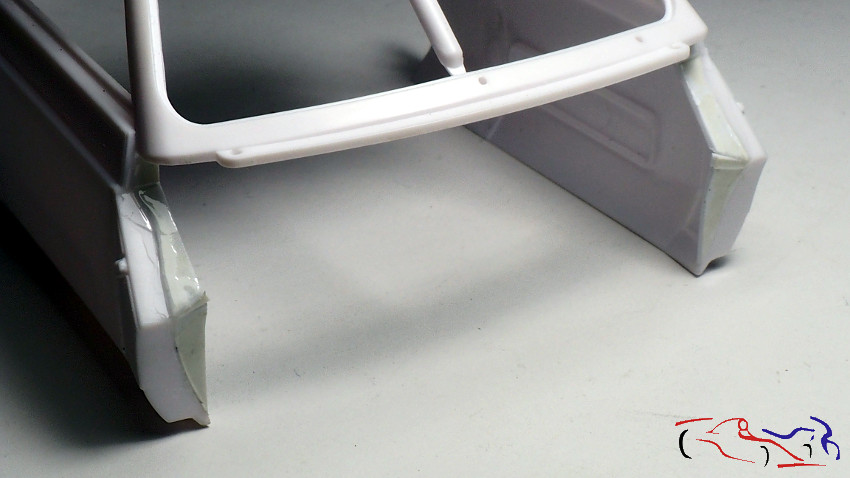
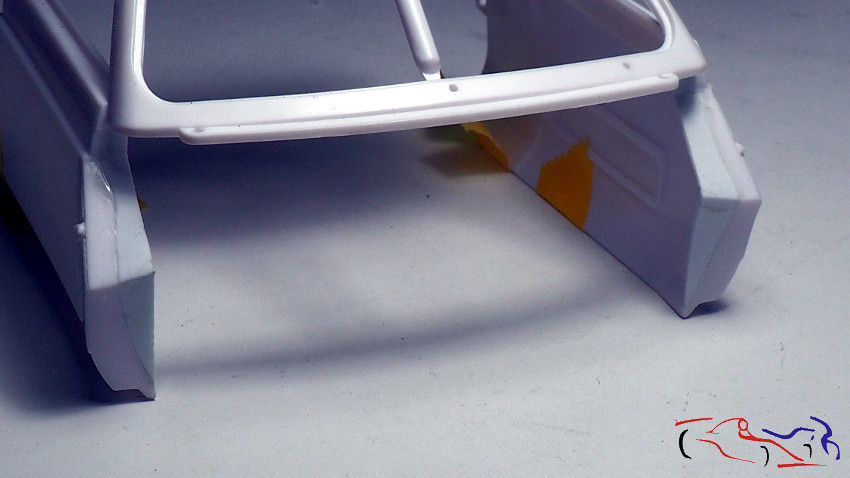
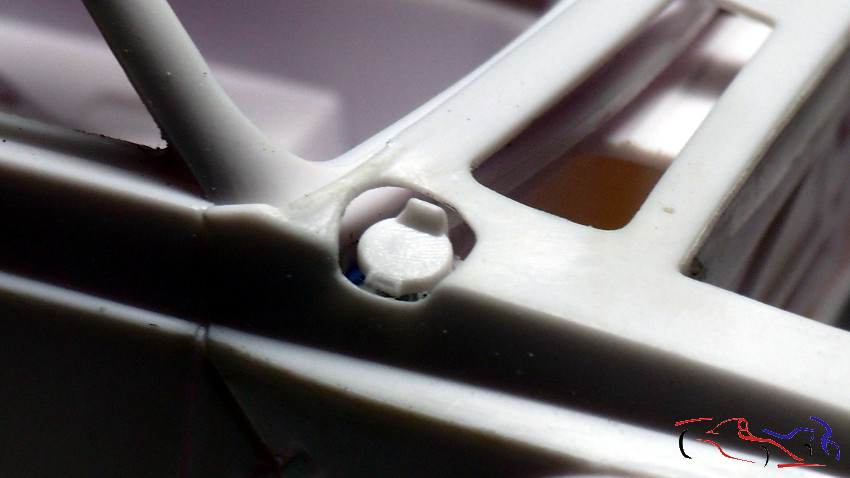
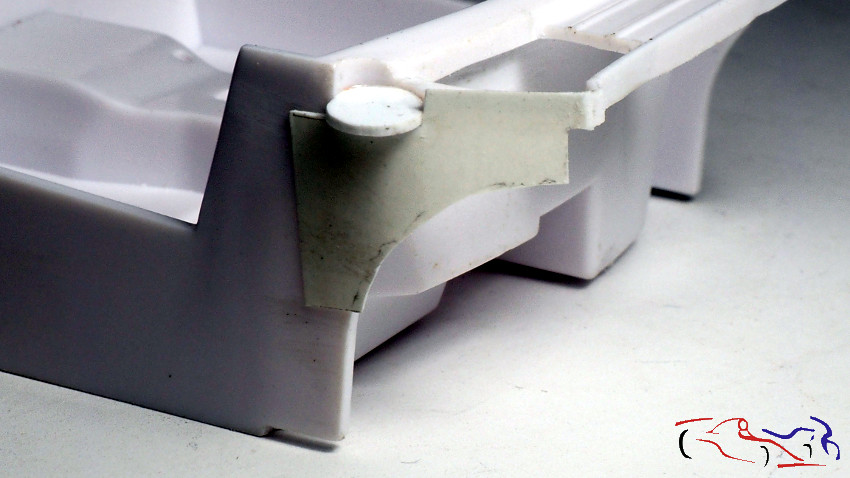
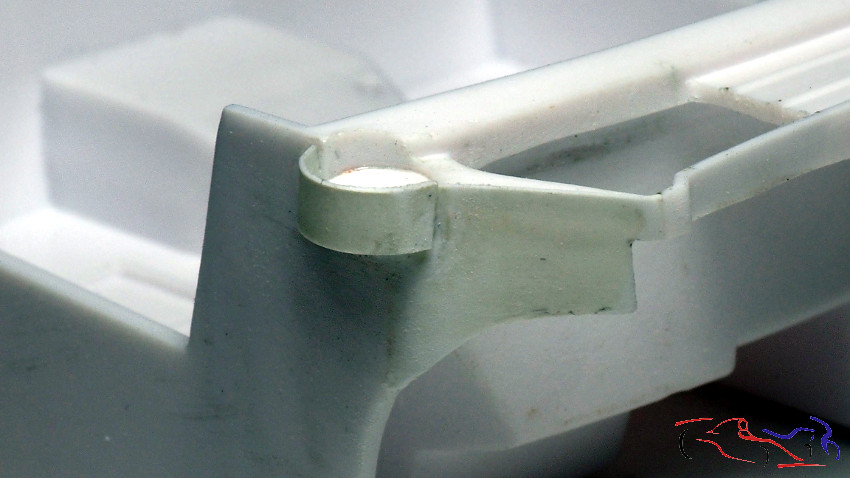
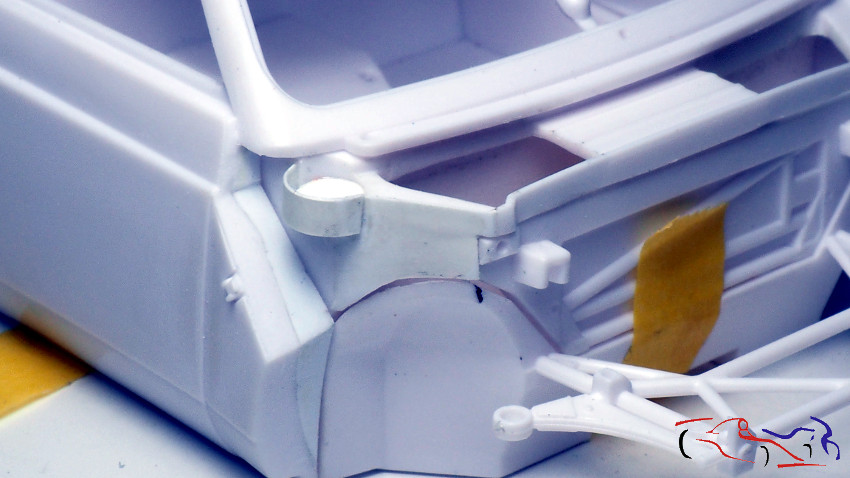
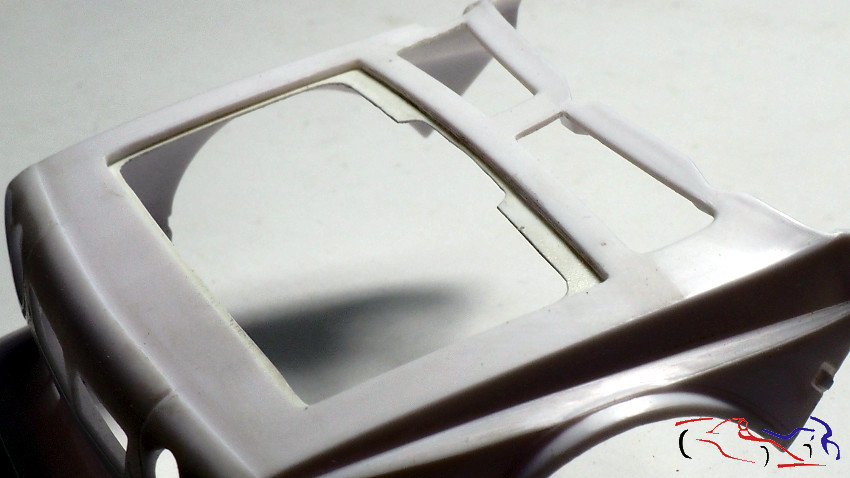
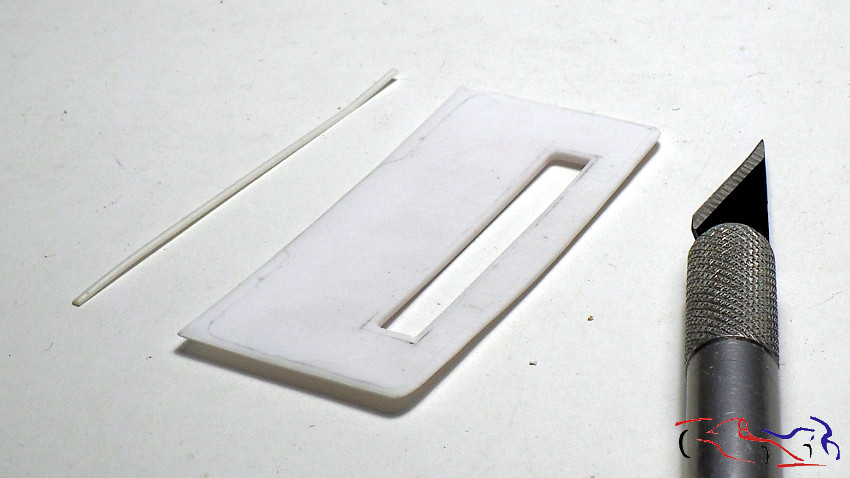
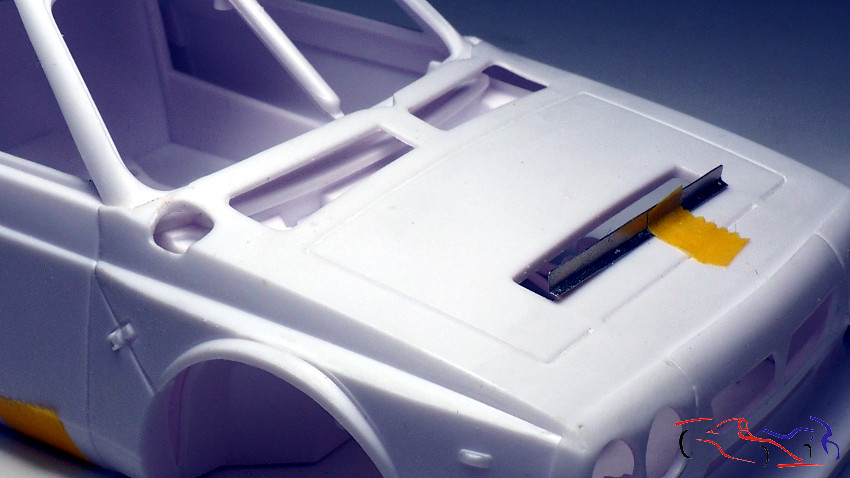
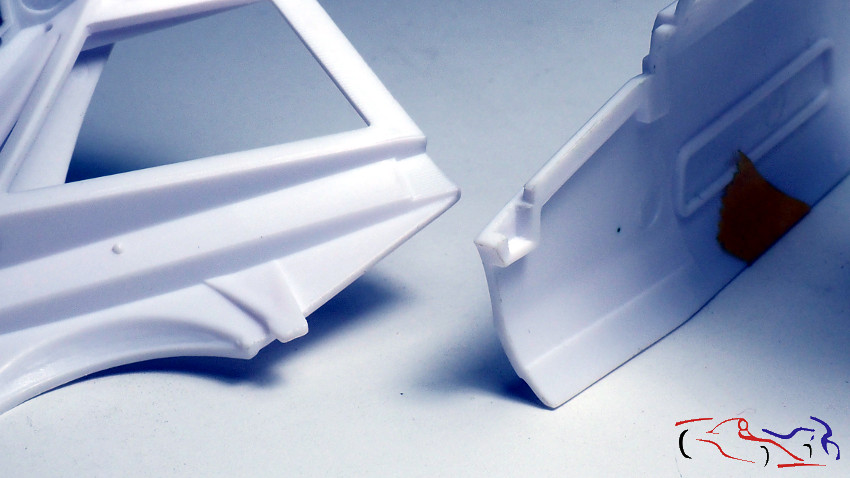
 Seguimos con los cambios en el kit. El portón trasero se fija de una manera que no corresponde con el real. Lo modificaremos…
We continue with the changes in the kit. The tailgate is fixed in a way that does not correspond to the real one. We will modify it …
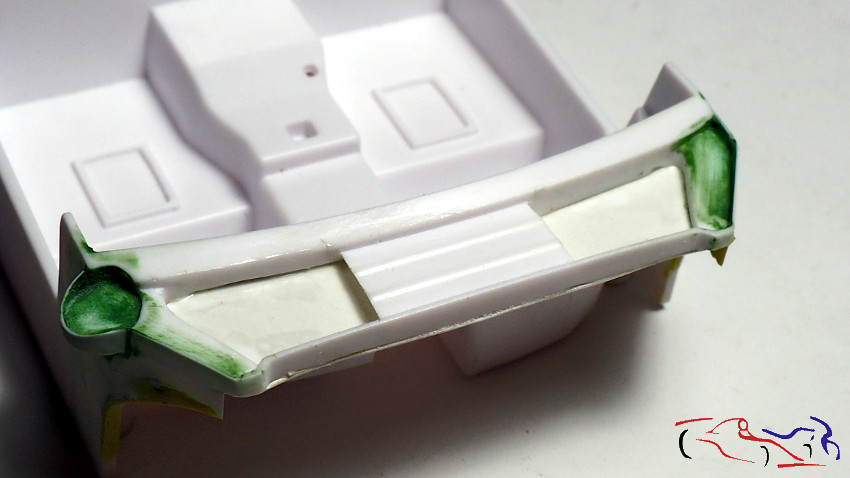
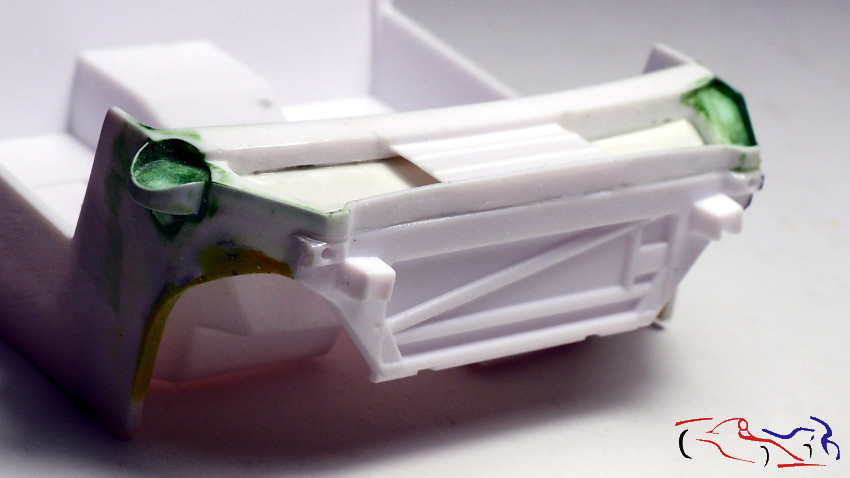
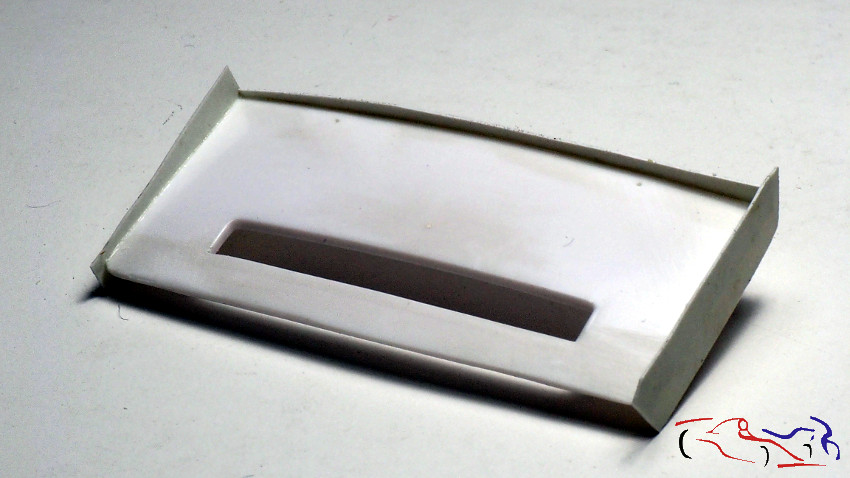
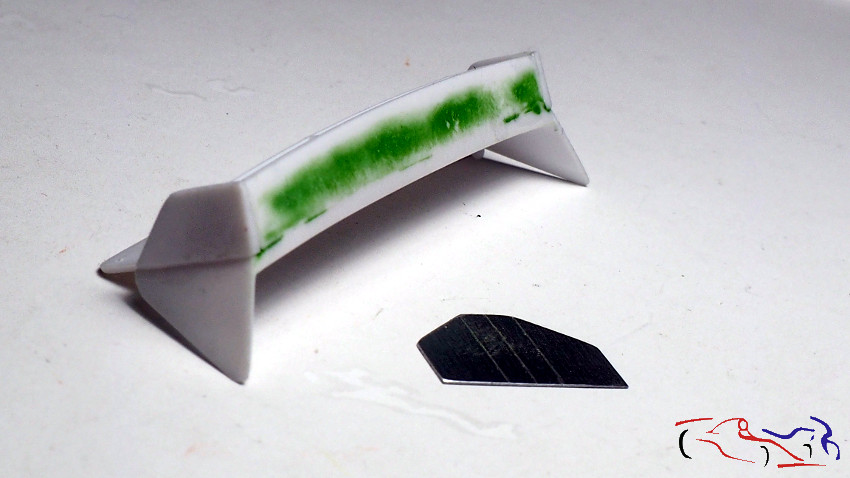
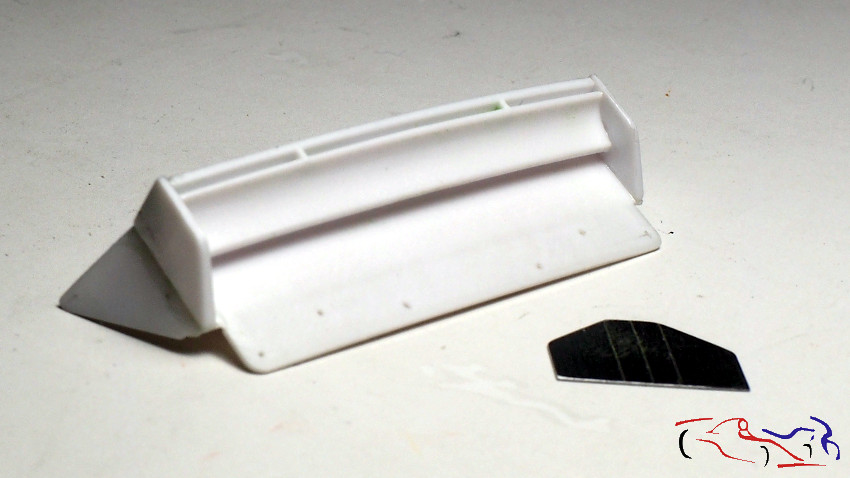
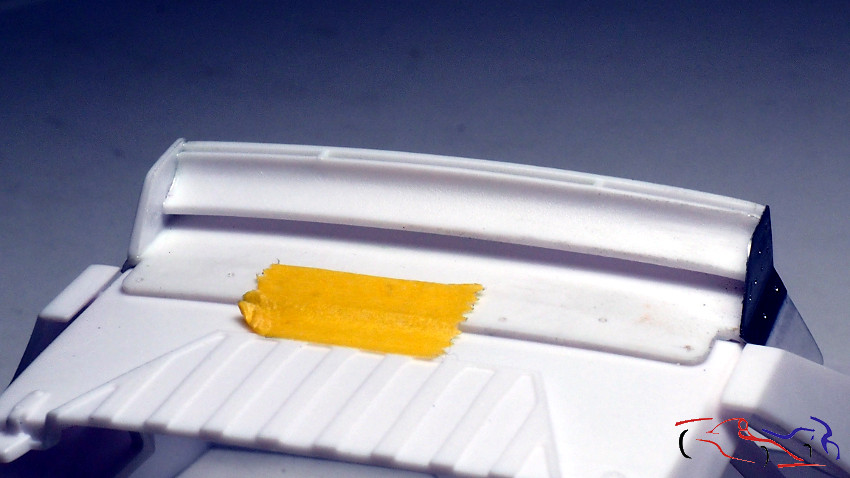
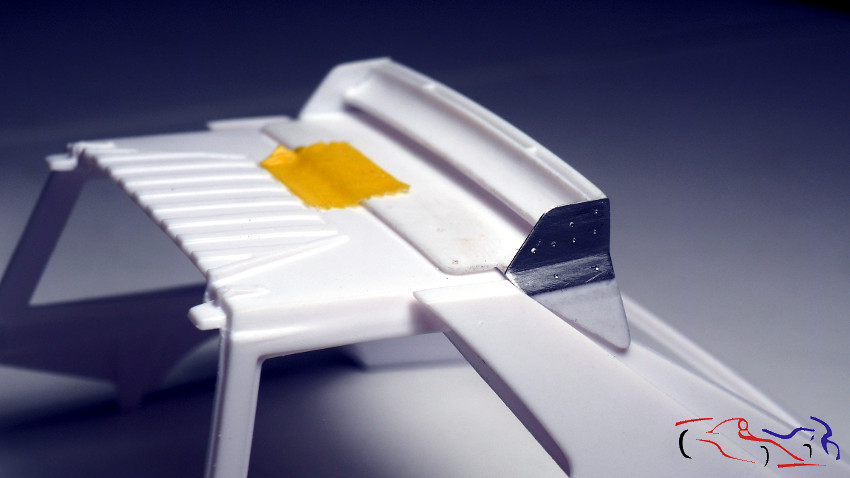
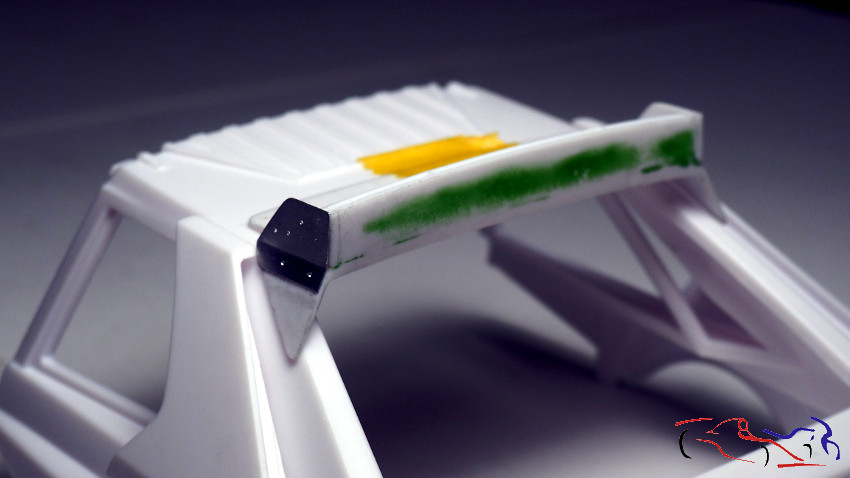
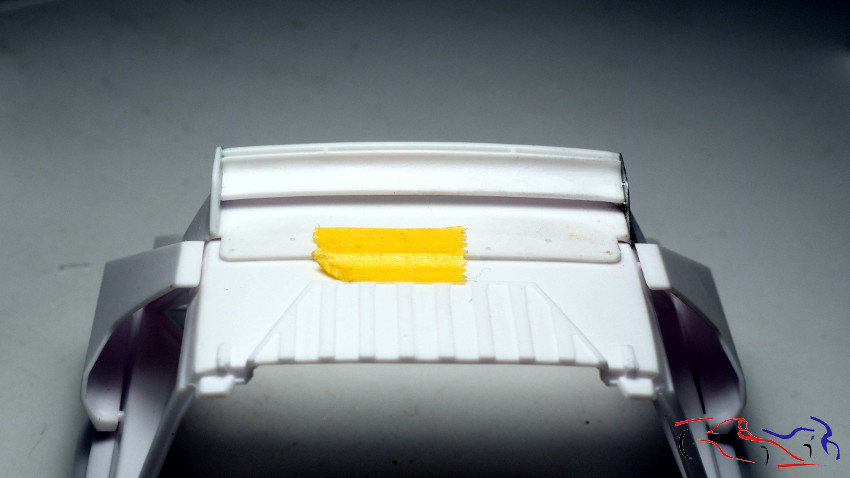
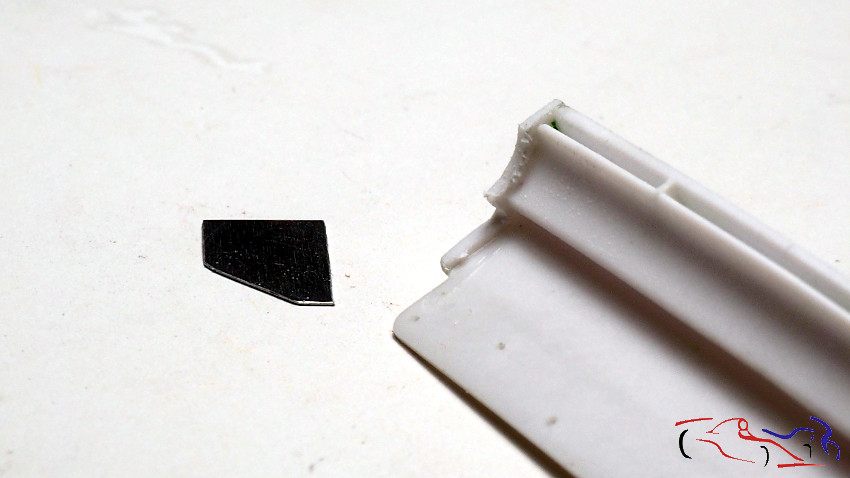
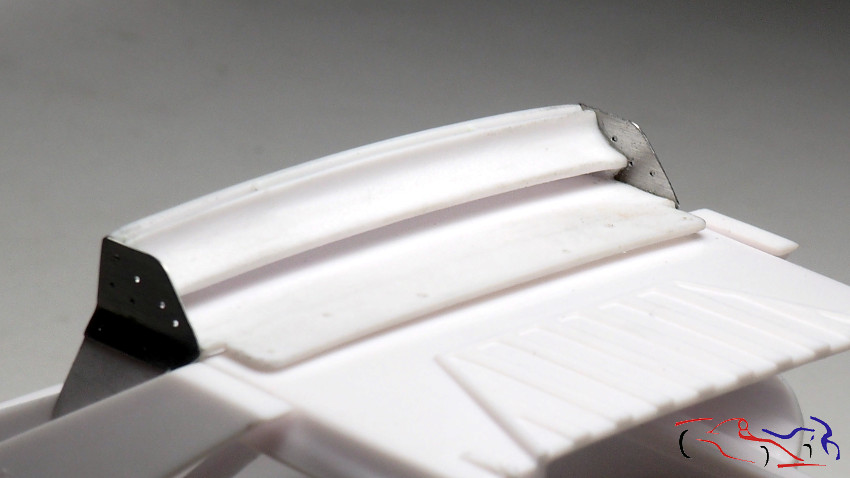
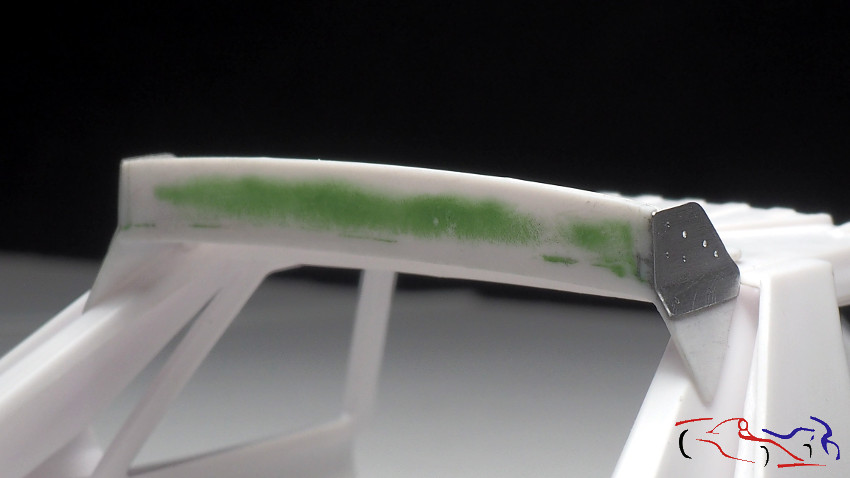
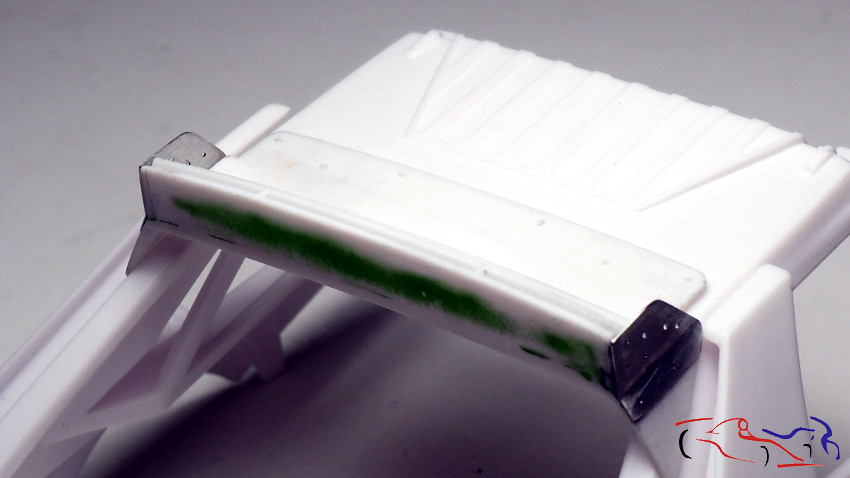
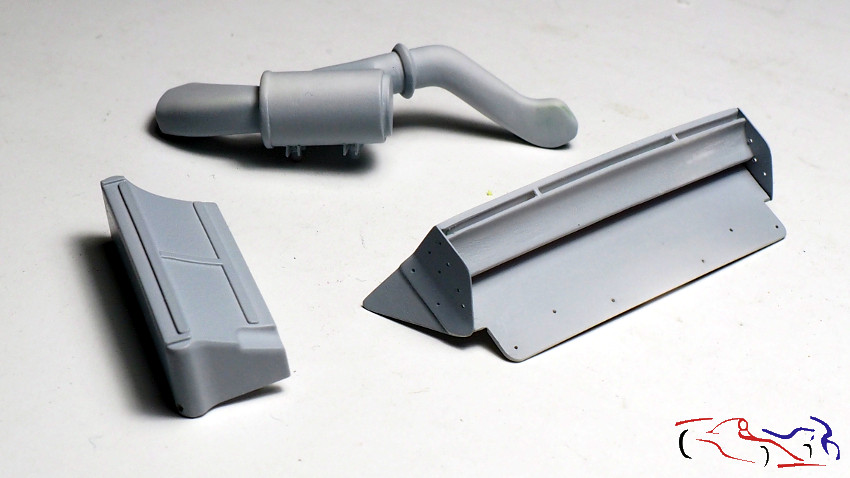
 Más piezas en este caso imprimadas: el alerón, la entrada de aire al turbo y un radiador situado en el techo detrás del cockpit:
Más piezas en este caso imprimadas: el alerón, la entrada de aire al turbo y un radiador situado en el techo detrás del cockpit:
Aquí tenemos la pieza del filtro del aire que va al turbo, pintada de negro semi mate de Zero, a falta de poner las calcas caseras de carbono:
Here we have the piece of the filter of the air that goes to the turbo, painted in black semi matt of Zero, in the absence of putting the homemade carbon decals:
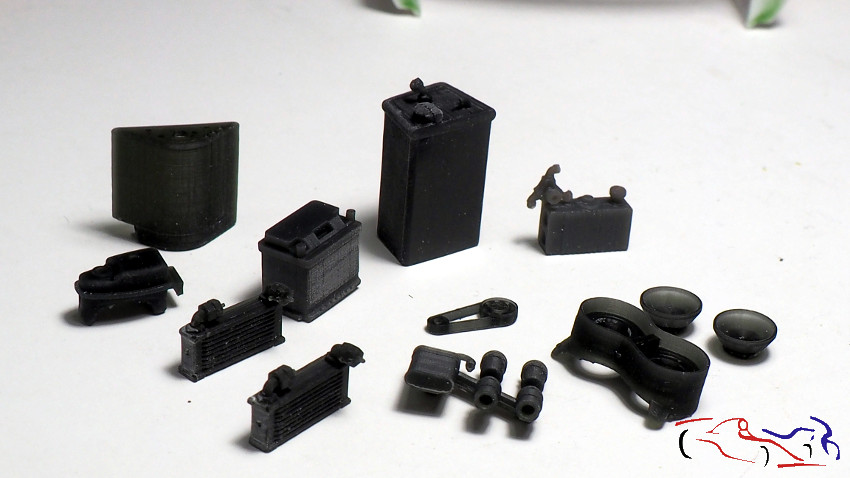
Depósitos de líquidos a la derecha, y sus tapones a la izquierda:
Deposits of liquids on the right, and their plugs on the left:
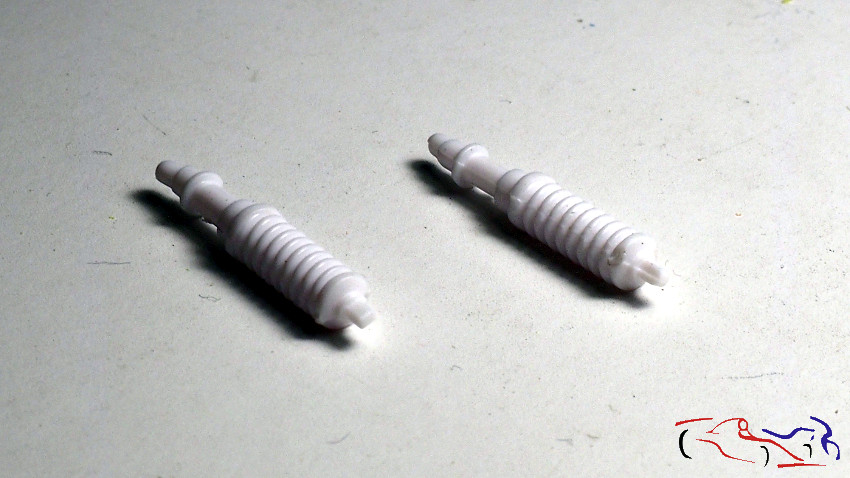
 Amortiguadores delanteros para modificar…
Front shock absorbers to modify …
 El radiador delantero con sus fotograbados:
The front radiator with its photoetched parts:
 Si observáis, tiene un supuesto filtro en relieve, que elimino para poner el del TK. Lo quito con la Proxxon!
If you observe, it has a supposed embossed filter, which I eliminate to put the one of the TK. I take it off with the Proxxon!
El radiador listo para imprimar:
The radiator ready to prime:
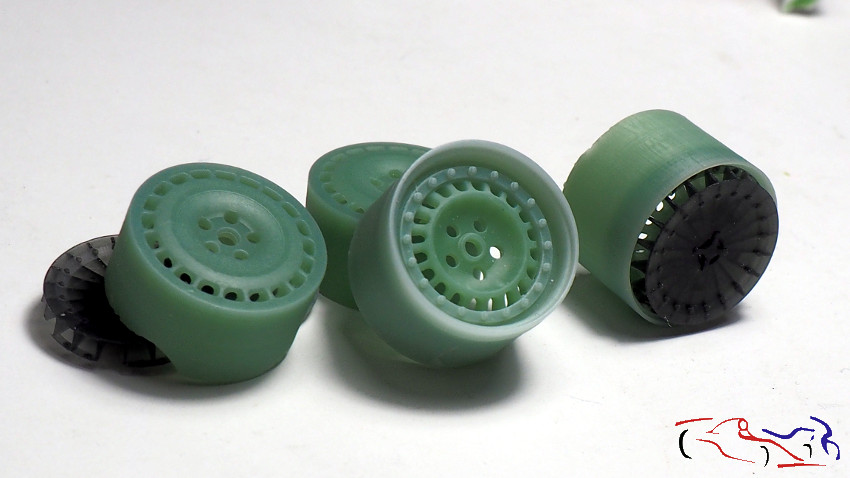
 Las llantas imprimadas..,..
Primed tires .., ..
…y pintadas de blanco, con sus piezas que forman los tornillos:
… and painted in white, with its parts that make up the screws:
Frenos y bujes pintados de GunMetal y Aluminio de Zero:
Brakes and bushings painted in GunMetal and Aluminum Zero:
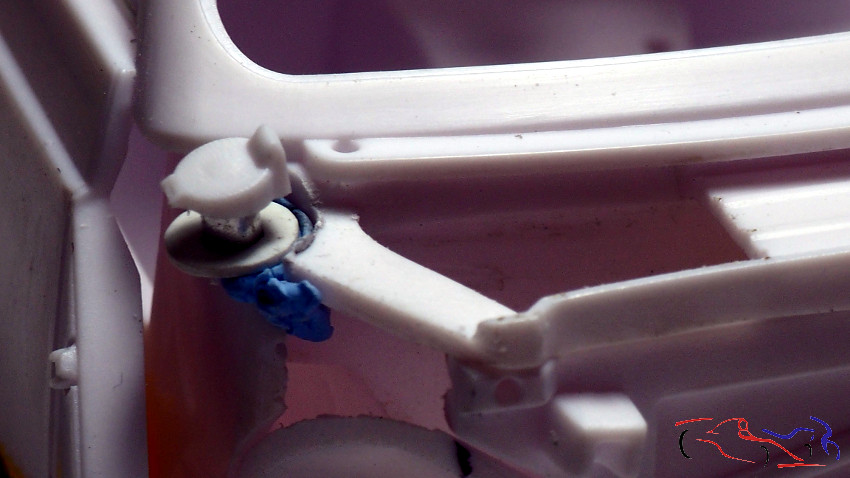
En el chasis, hay dos depósitos detrás del cockpit, pero el kit solo trae uno, y encima de este, una centralita.
In the chassis, there are two tanks behind the cockpit, but the kit only brings one, and on top of this, a switchboard.
 Eliminamos la centralita y ponemos el otro depósito que viene en el TK:
We eliminate the switchboard and put the other deposit that comes in the TK:
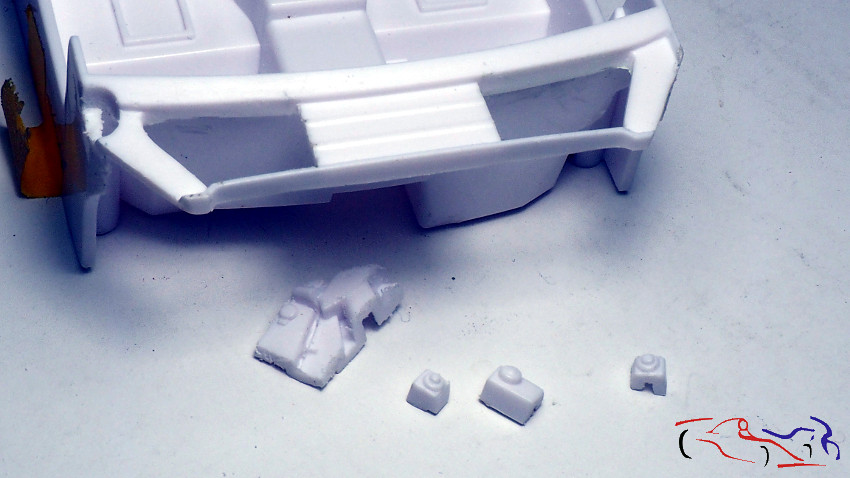
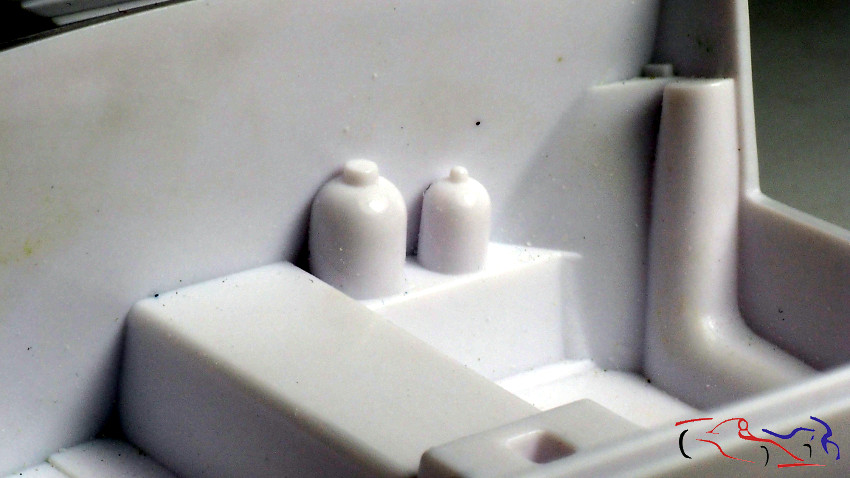
 Para terminar, unos botes que vienen el el cockpit y que dejaré:
To finish, some boats that come in the cockpit and that I will leave:
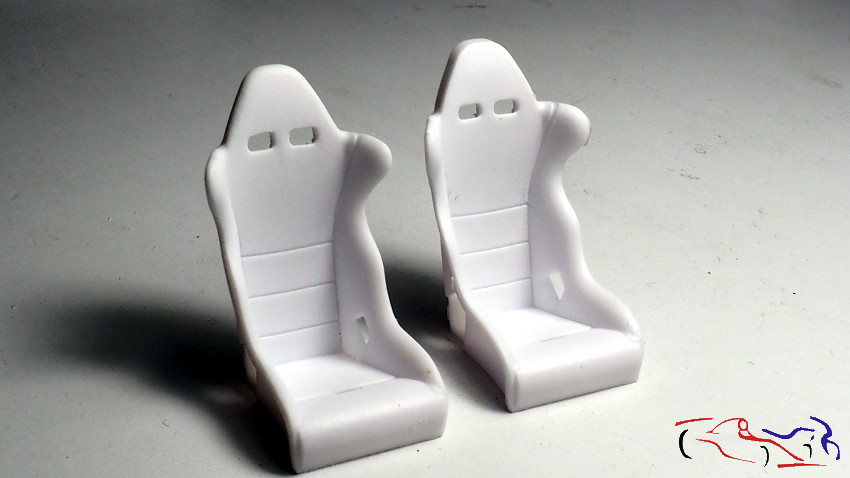
Y los asientos, listos para imprimar:
And the seats, ready to primer:
 Gracias por ver y comentar!!
Thanks for viewing and commenting!!