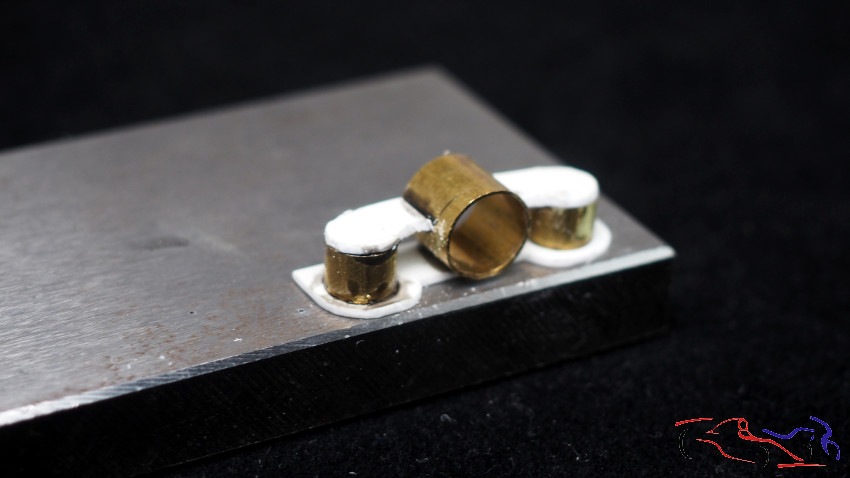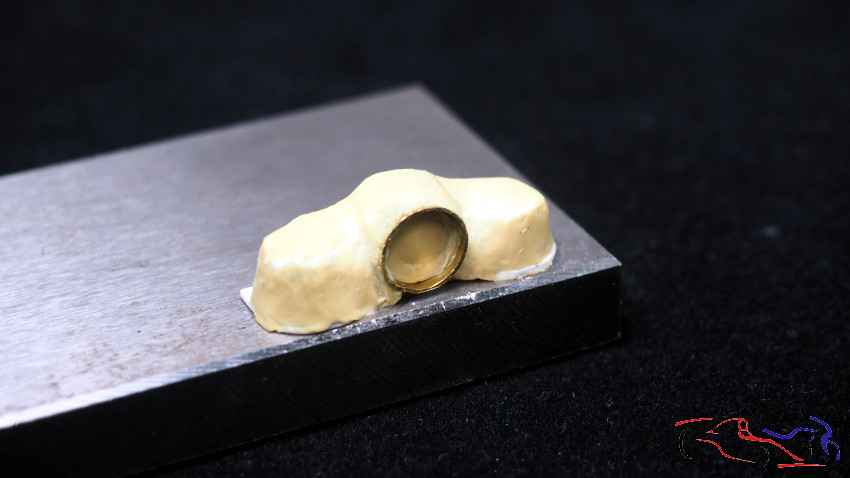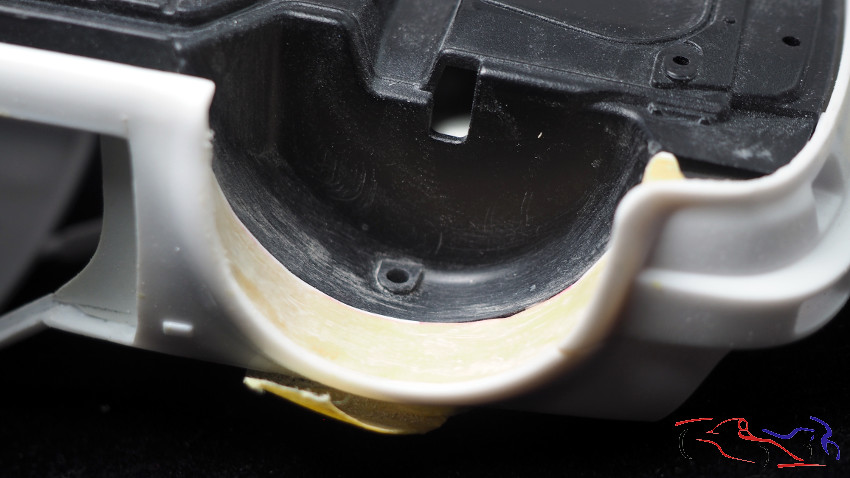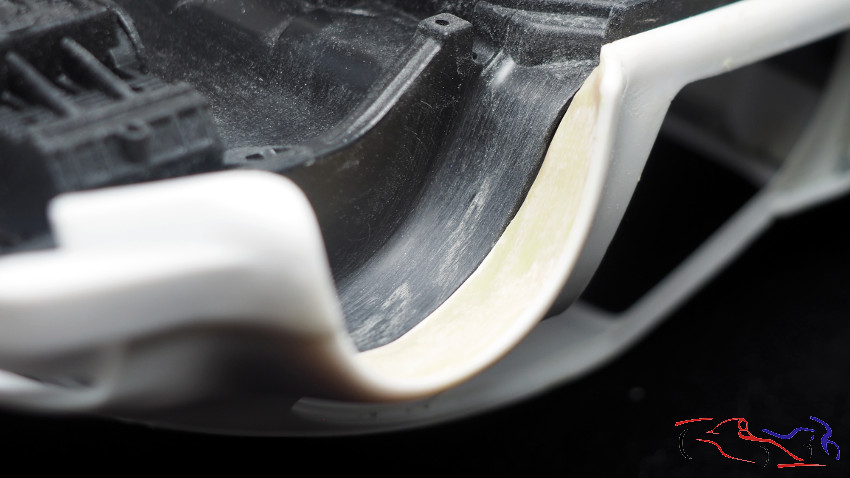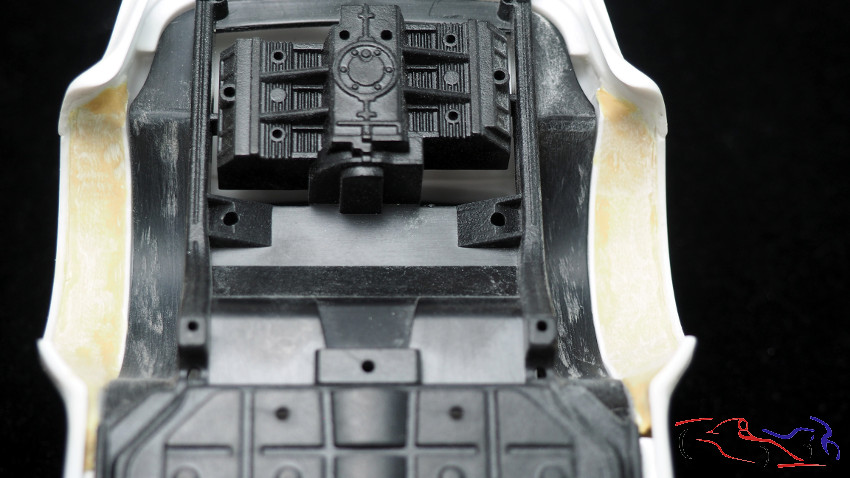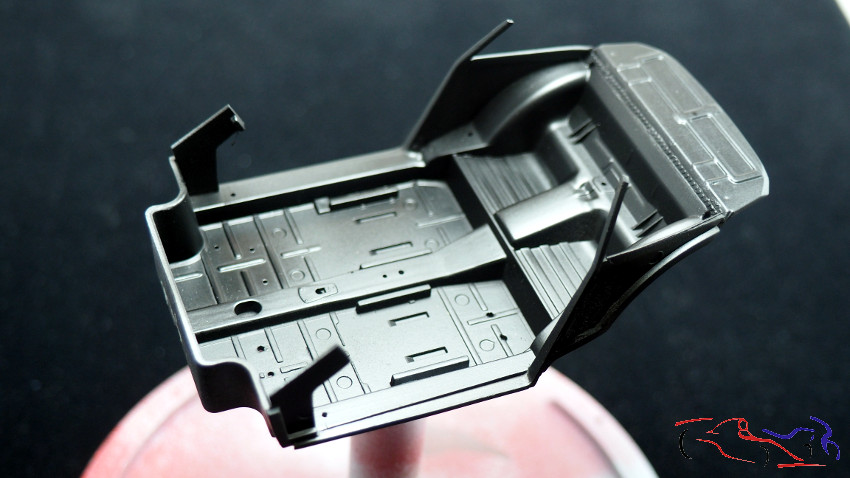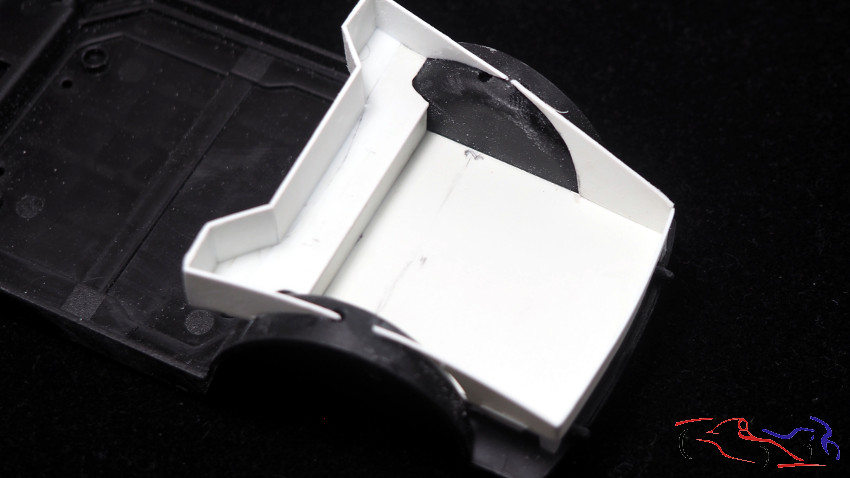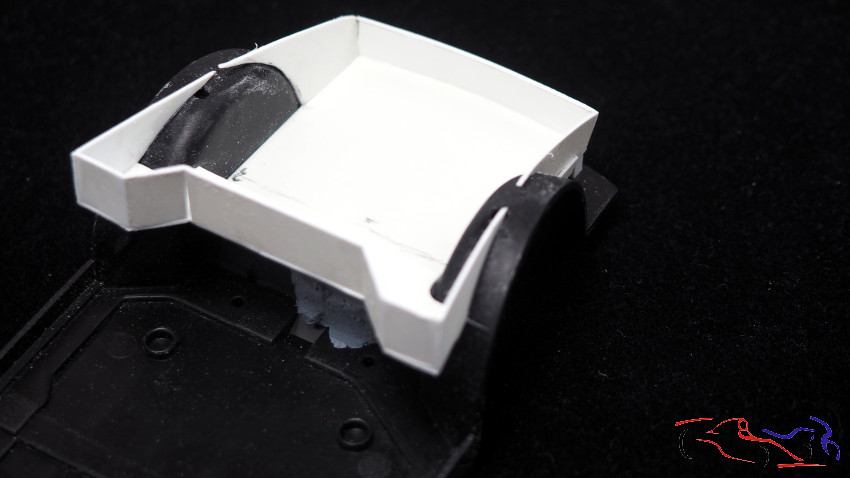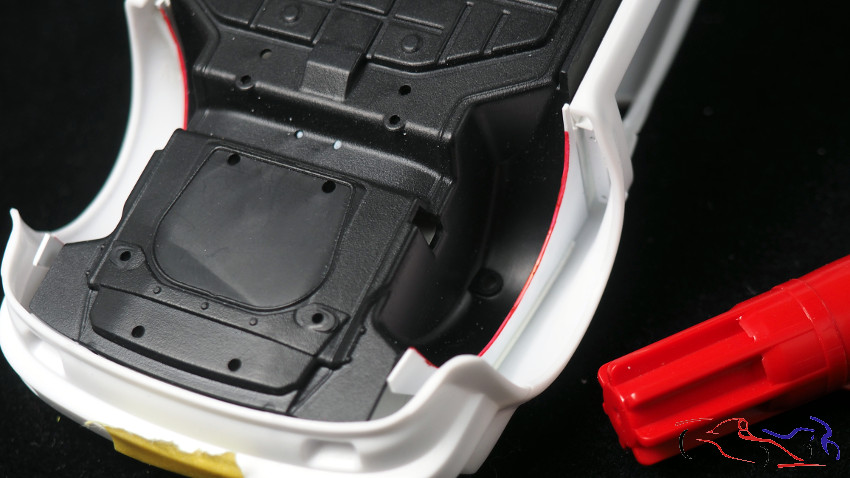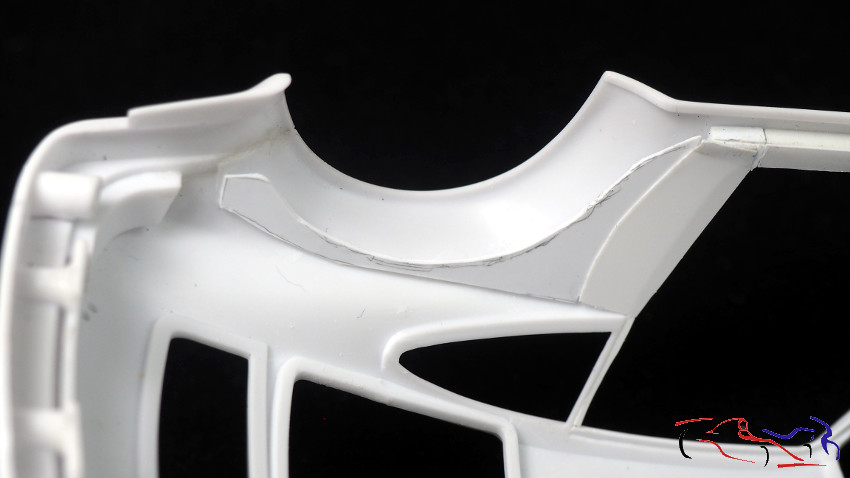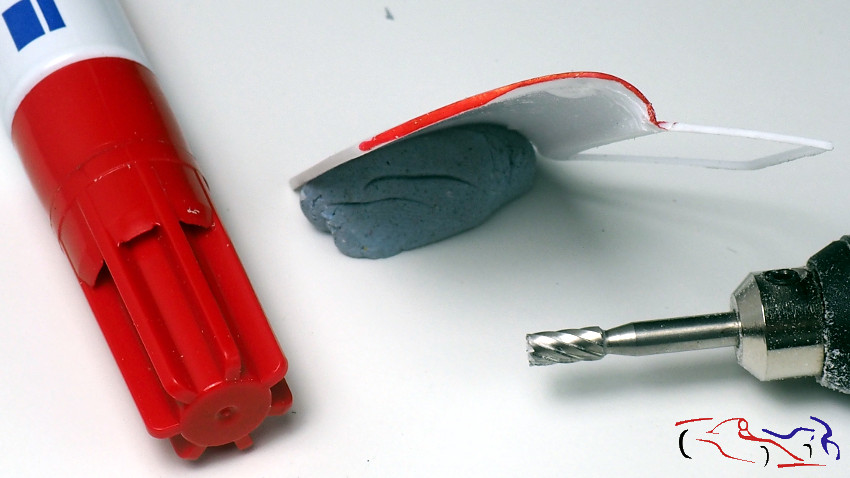
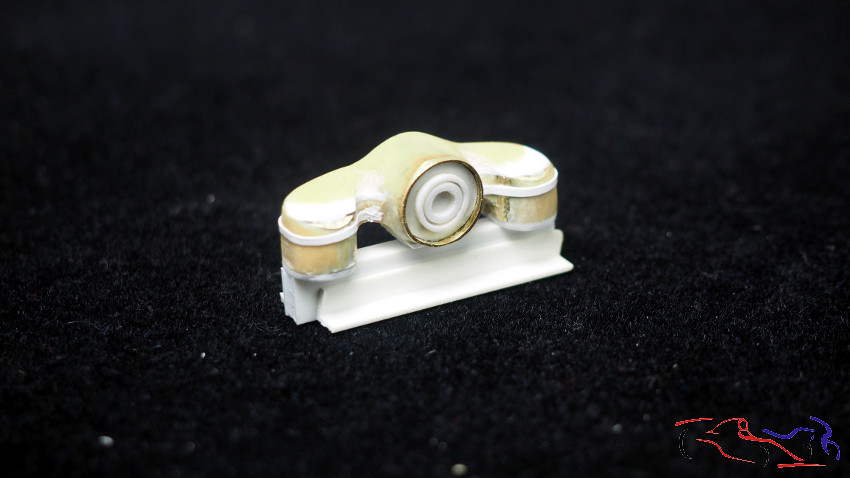
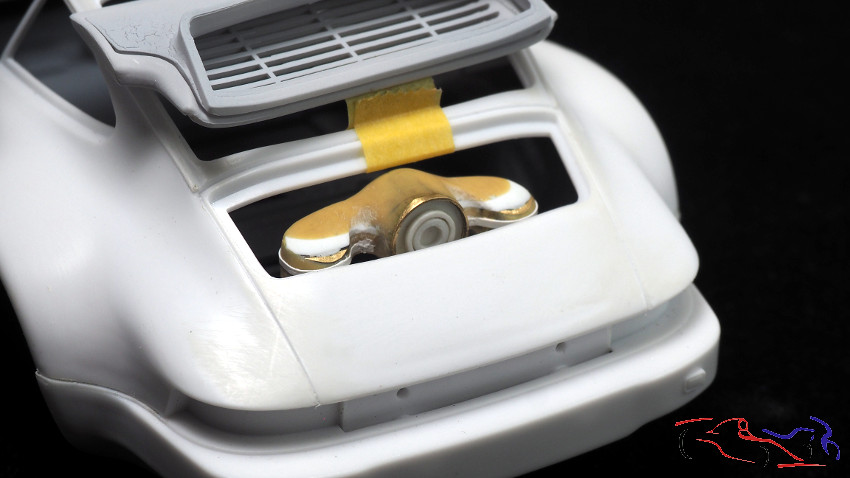
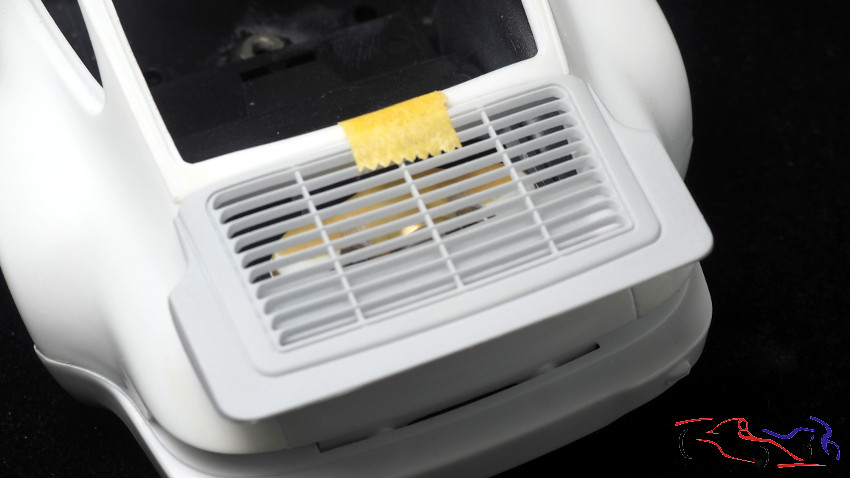
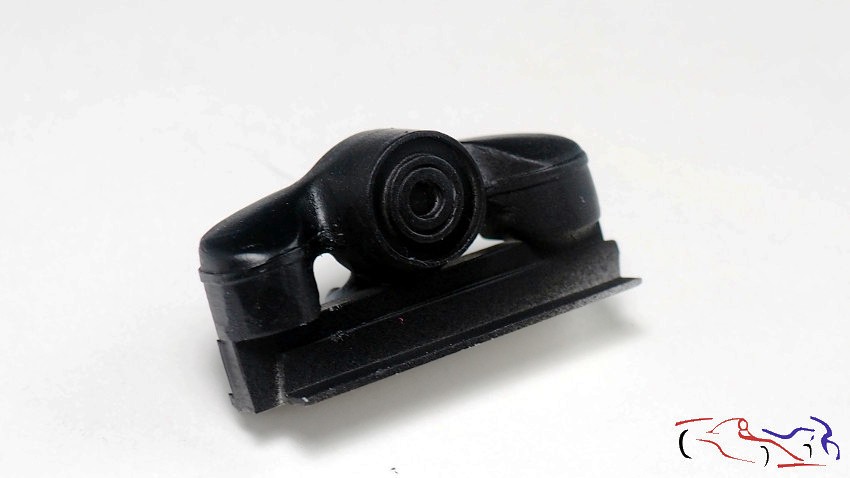
Mas novedades en este proyecto con avances por todos los frentes: motor, habitáculo, capó, carrocería… En la parte trasera, el coche tiene una rejilla por donde el kit viene hueco, y en vez de taparlo, iba a recrear lo que hay, que parece un ventilador de entrada de aire dirijido a las trompetas de admisión. Lo dejé a falta de lijar y detallar un poco. Le he puesto unos aros en la parte del ventilador y una tira de plástico horizontal alo largo de todo el contorno, ya que la parte superior es una taba, que se encaja. Aquí os dejo la pieza, como queda situada en el coche, como se ve, y finalmente, la pieza ya pintada:
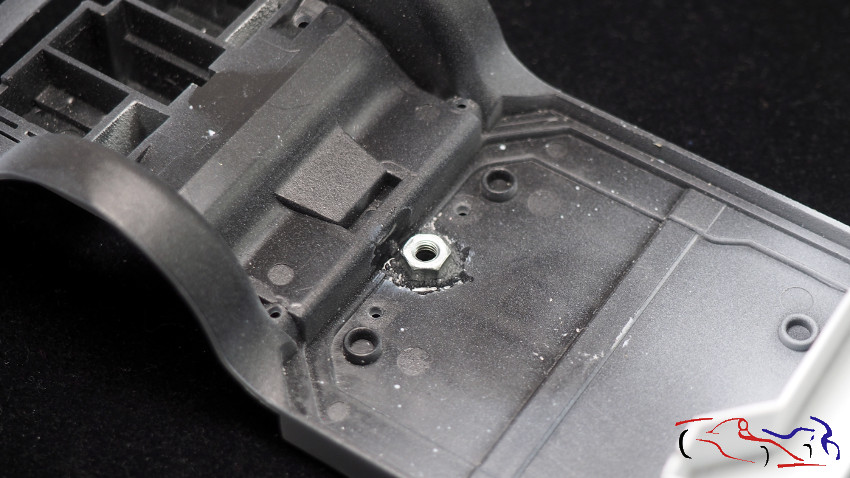
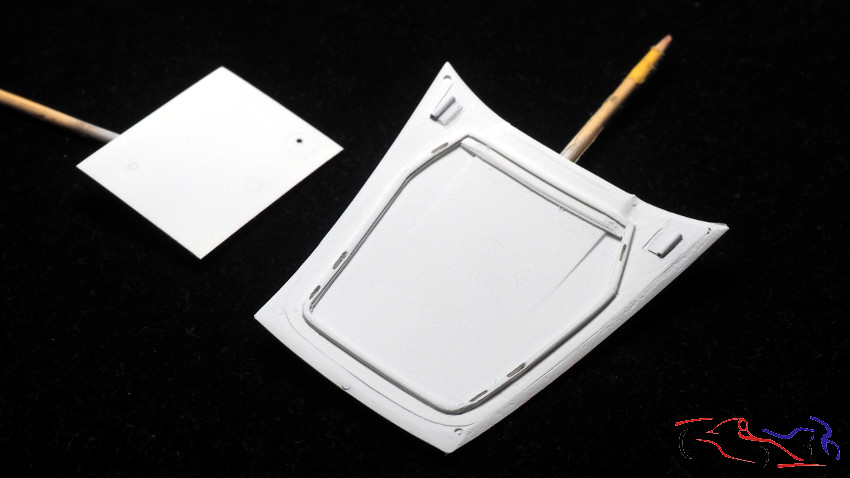
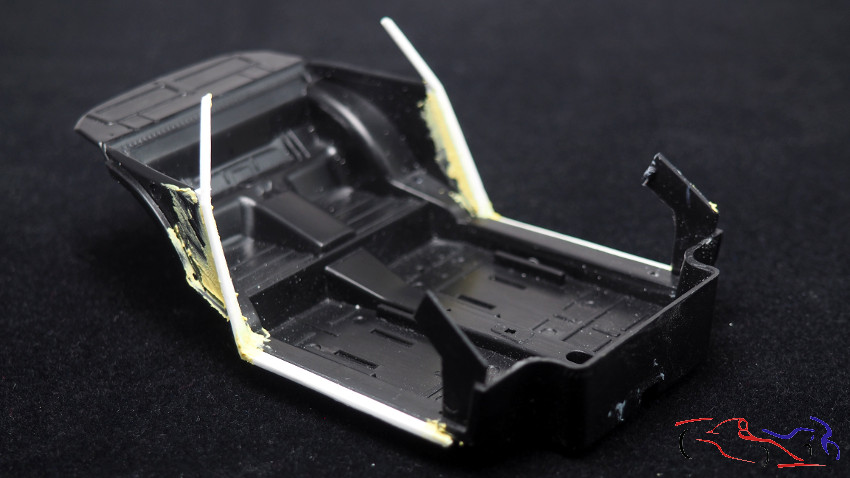
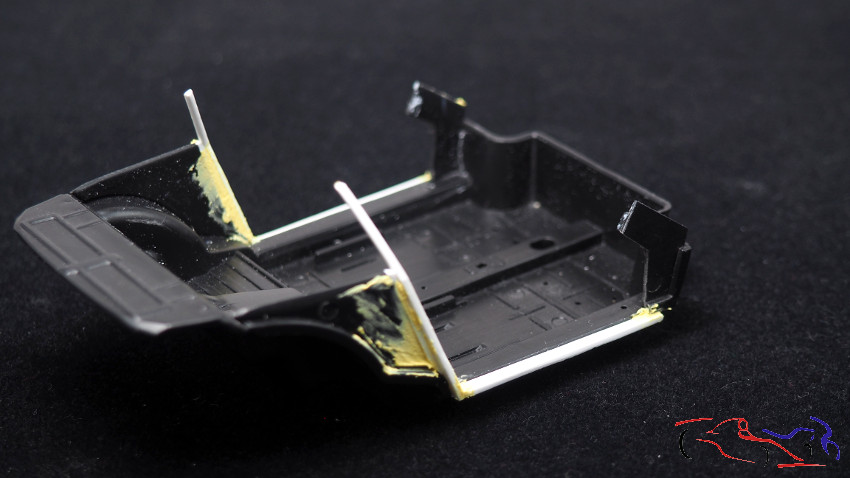
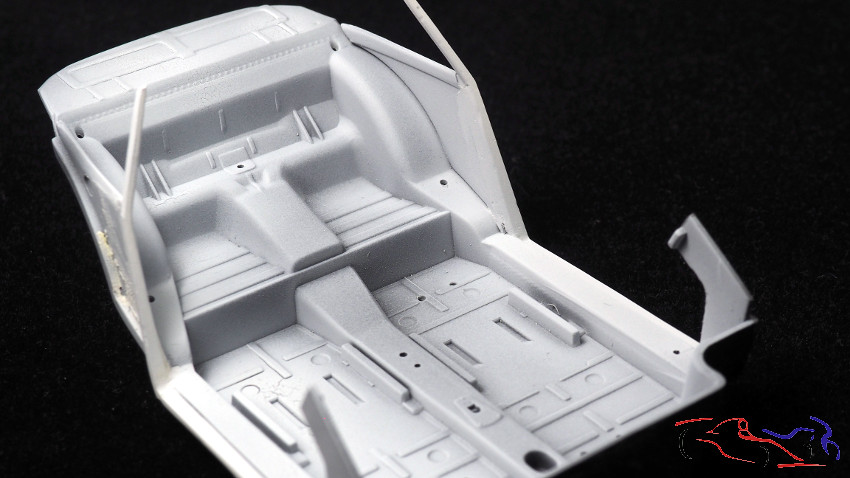
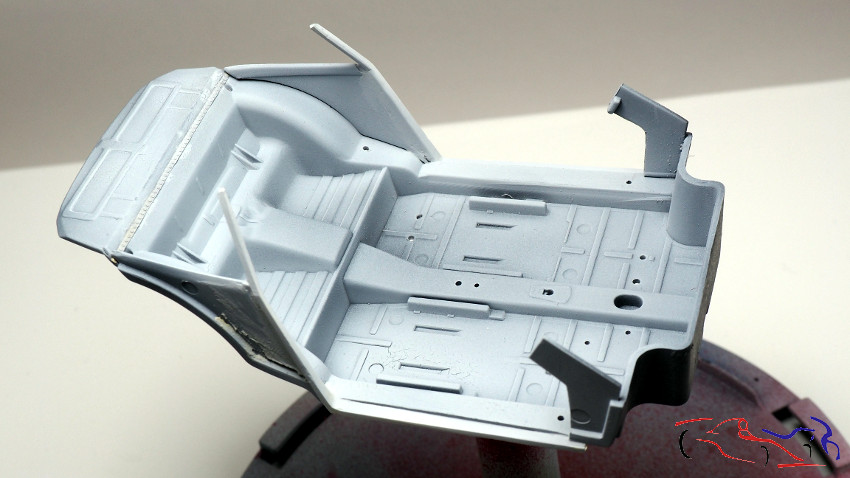
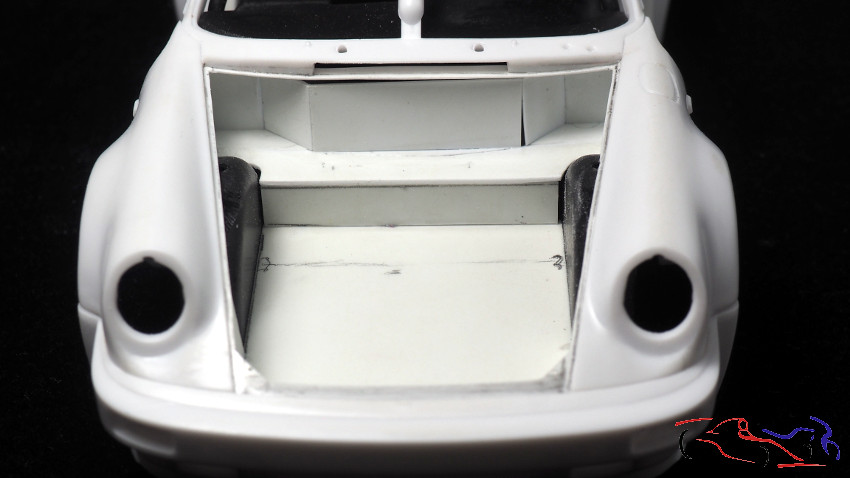
More news in this project with advances on all fronts: engine, passenger compartment, bonnet, bodywork… At the rear, the car has a grille where the kit comes hollow, and instead of covering it, I was going to recreate what is there, which looks like an air intake fan directed to the intake trumpets. I left the piece in my previous post to be sanded and detailed a bit. I put some rings on the fan part and a horizontal plastic strip along the entire contour, since the upper part is a slab, which fits into it. Here you can see the piece, as it is located in the car, as seen, and finally, the piece already painted:
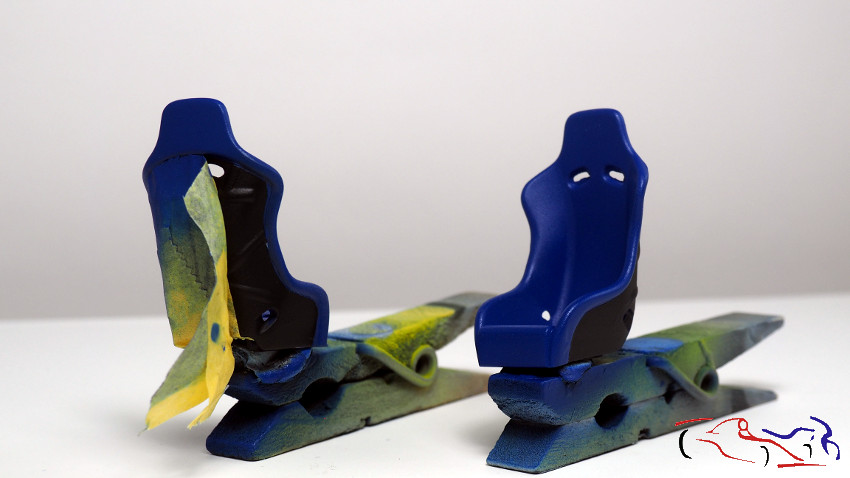
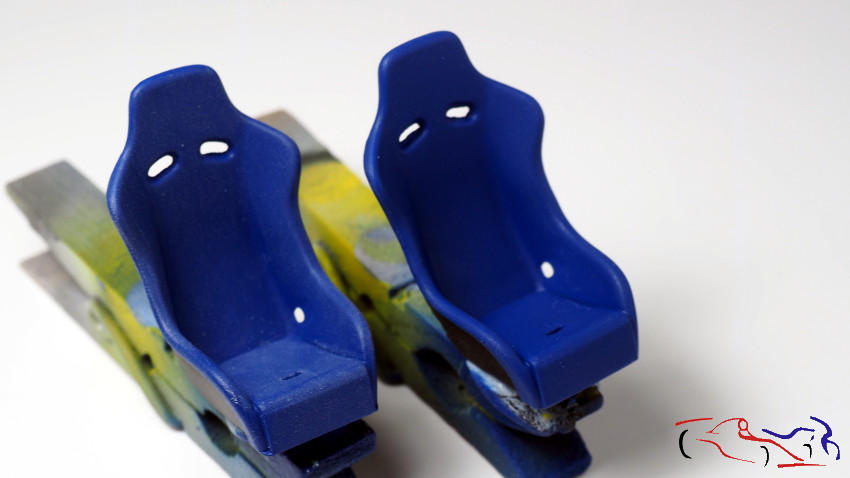
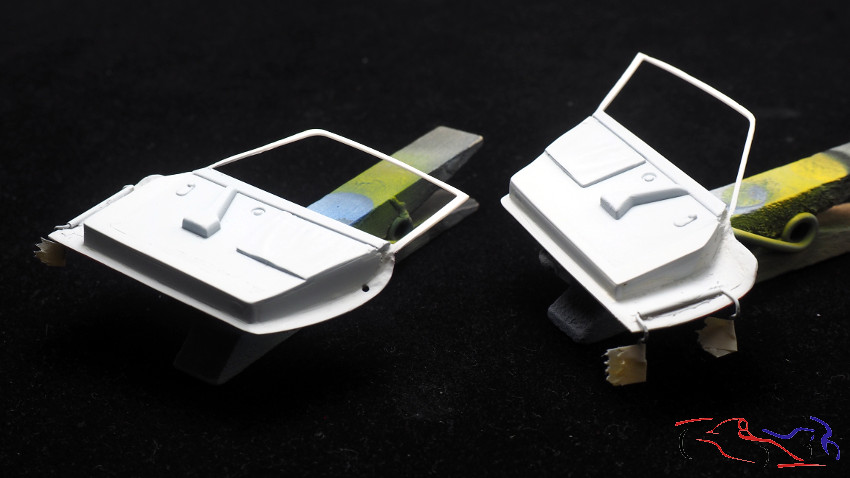
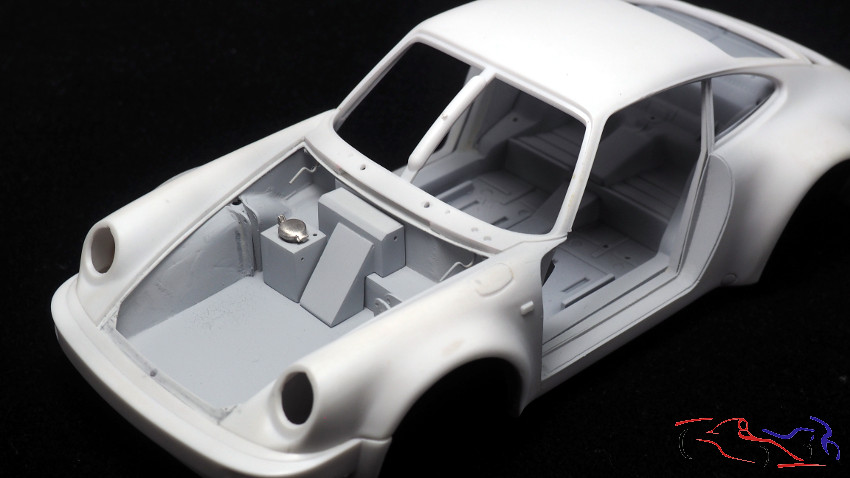
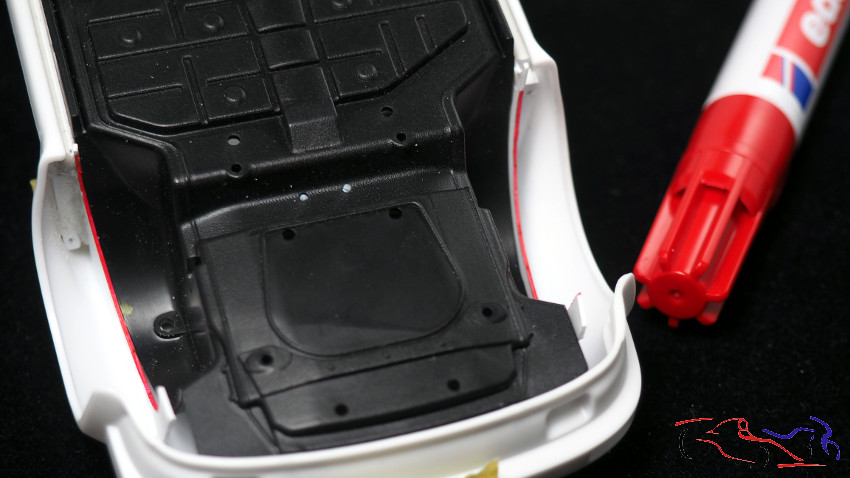
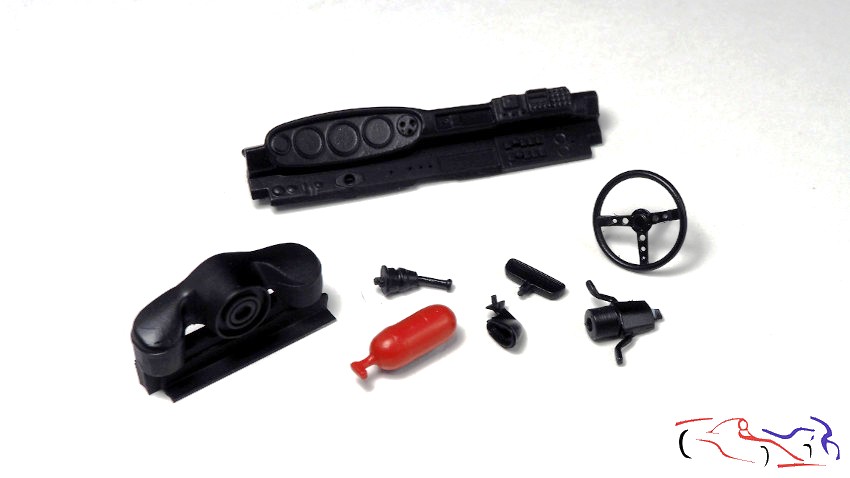
Junto a esta pieza, también pinté varias piezas más del habitáculo como el salpicadero, volante, cambio de marchas, retrovisor (prestado del Lancia Stratos que es muy similar) y extintor, que va en rojo de DS Colors (las piezas negras están pintadas con Negro semi mate de Tamiya LP). Como véis, el salpicadero está listo para trabajarlo!!
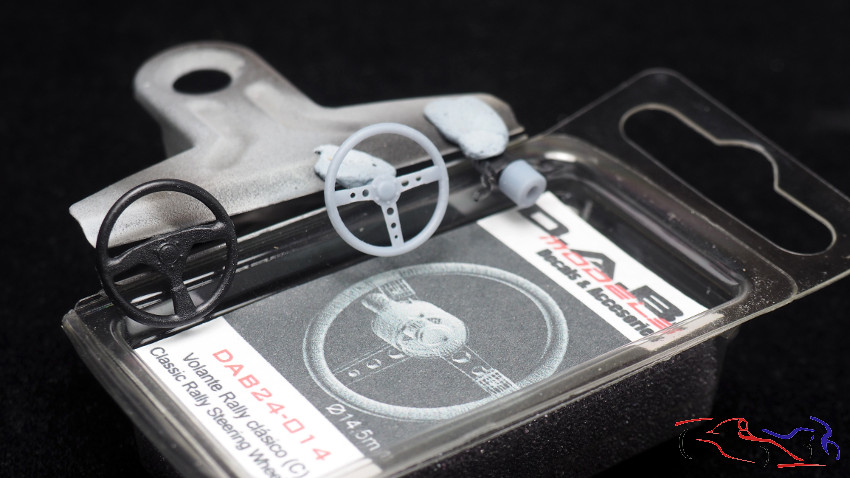
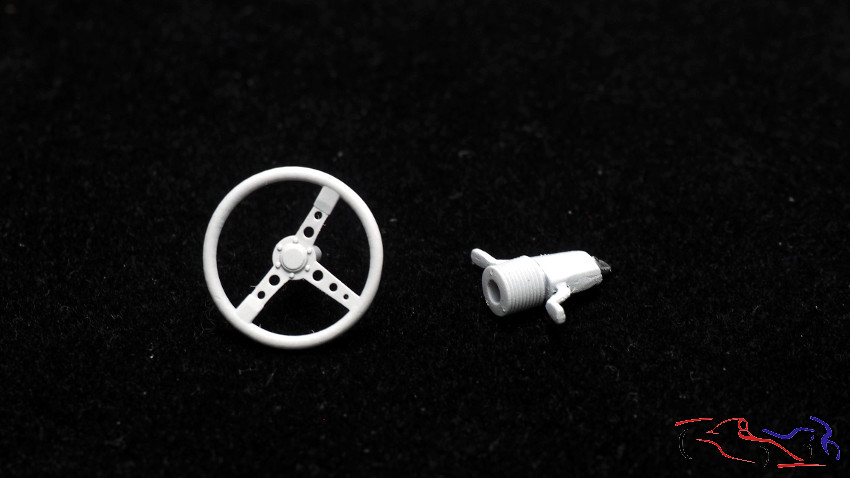
Along with this piece, I also painted several other parts of the cockpit such as the dashboard, steering wheel, gearshift, rearview mirror (borrowed from the Lancia Stratos which is very similar) and fire extinguisher, which is in red from DS Colors (the black parts are painted with semi-matt black from Tamiya LP). As you can see, the dashboard is ready to work on!

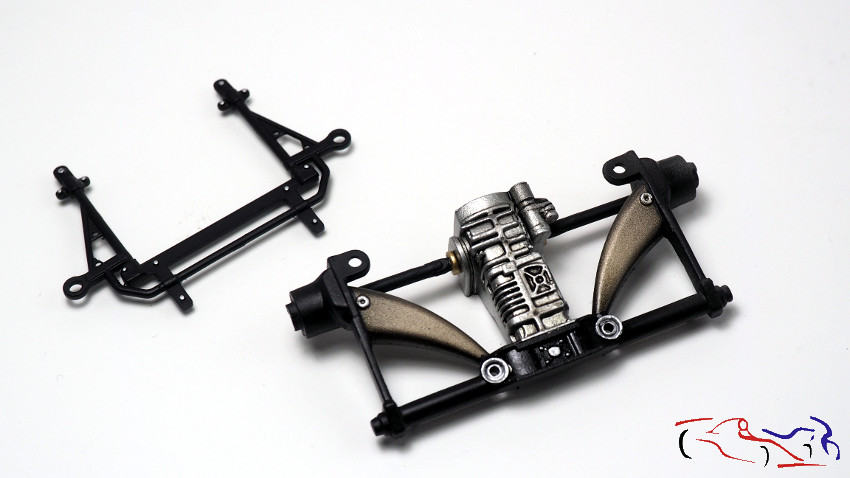
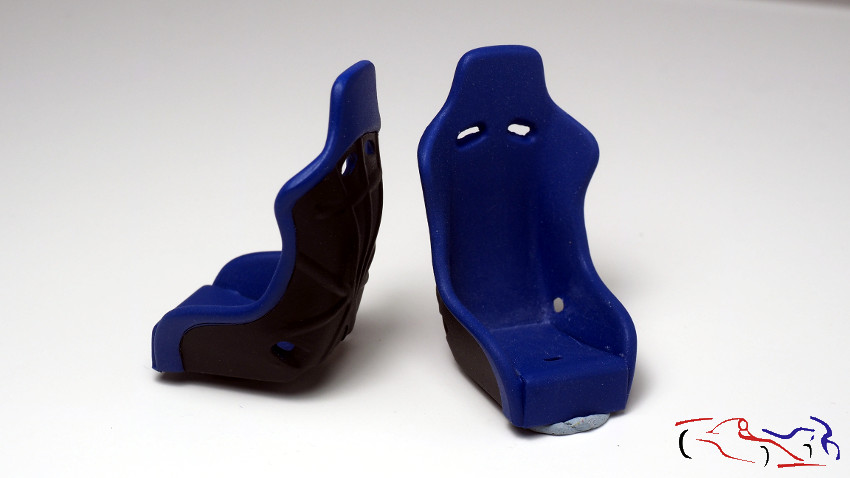
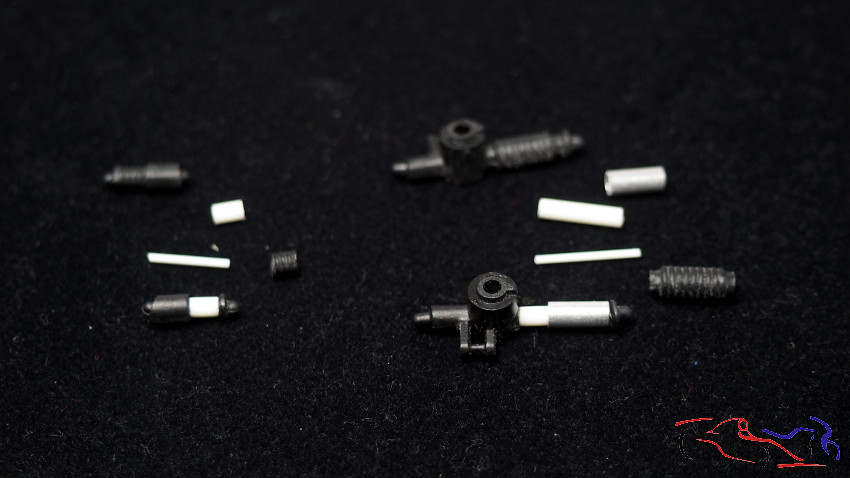
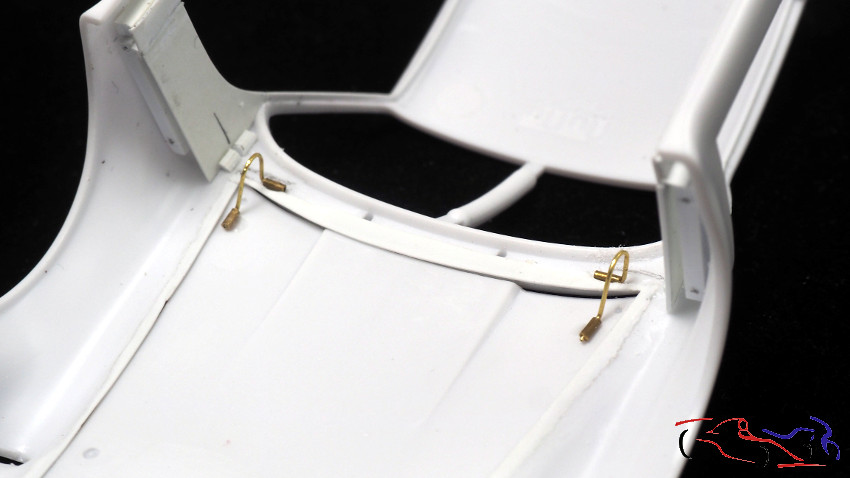
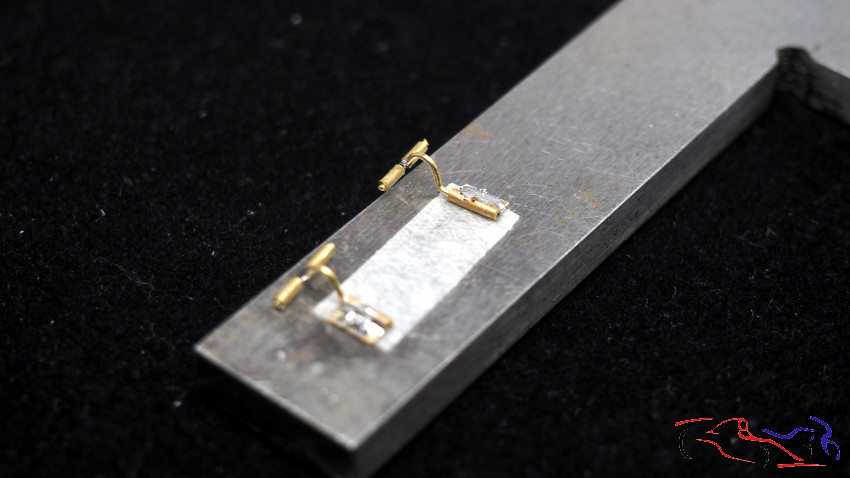
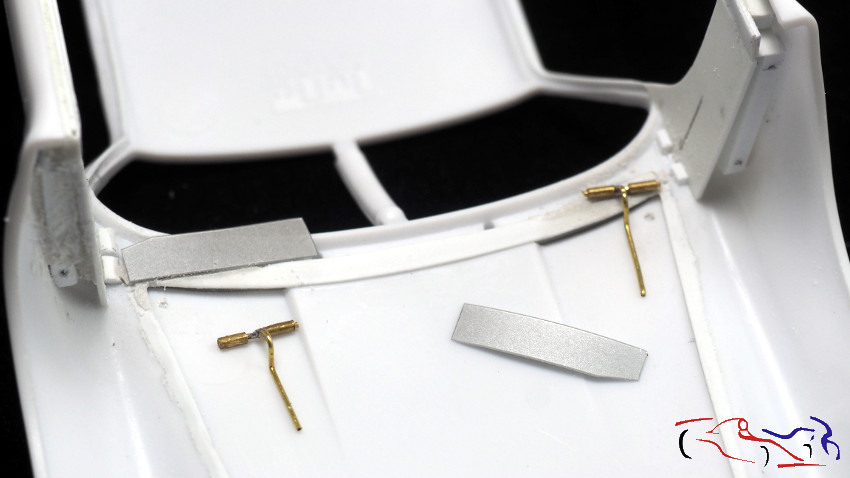
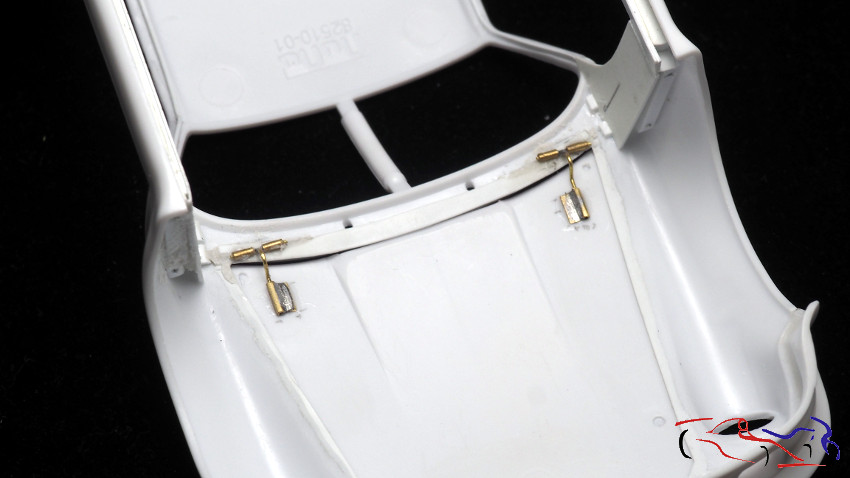
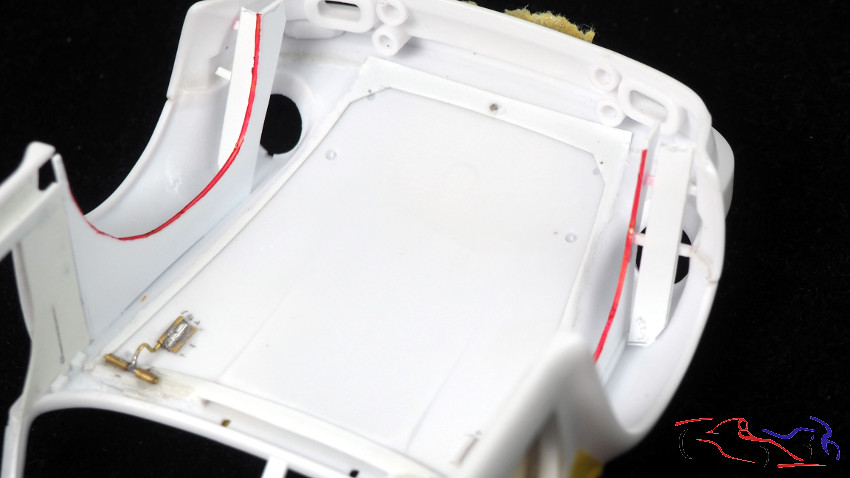
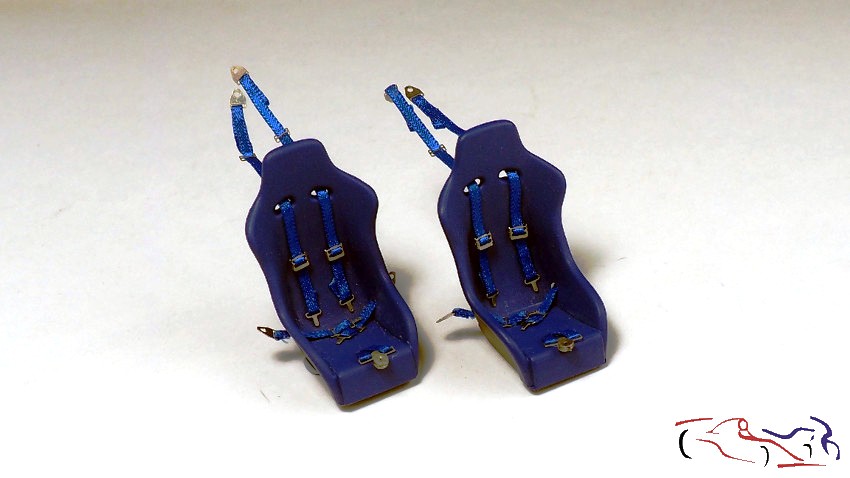
También he puesto los cinturones a los asientos, que vienen en los fotograbados de Scalelab24. Estos irán fijados con tuercas de resina al chasis.
I have also put the belts to the seats, which come in the Scalelab24 photoetched parts. These will be fixed with resin nuts to the chassis.
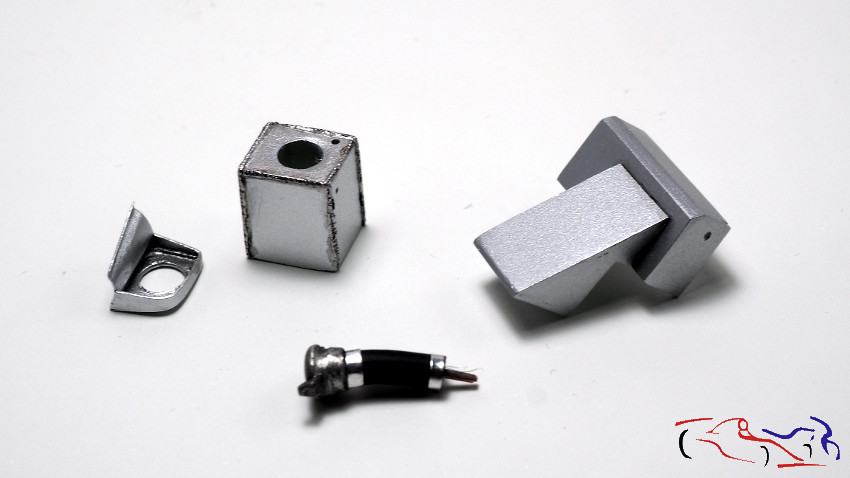
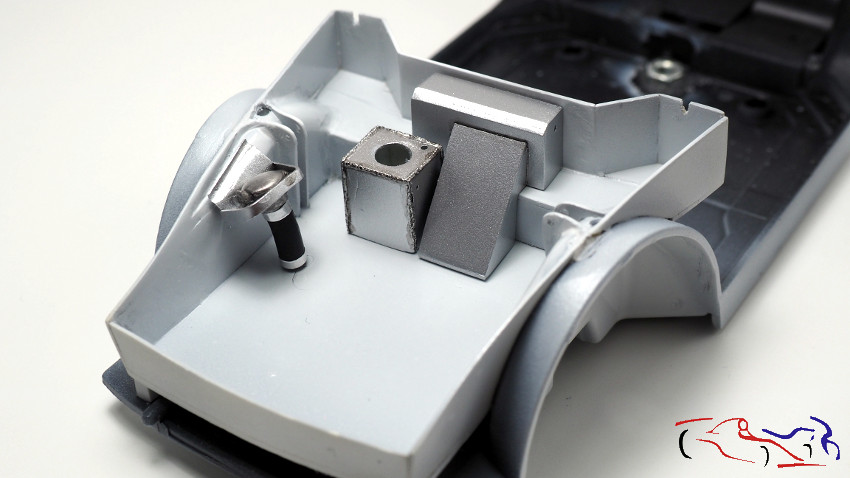
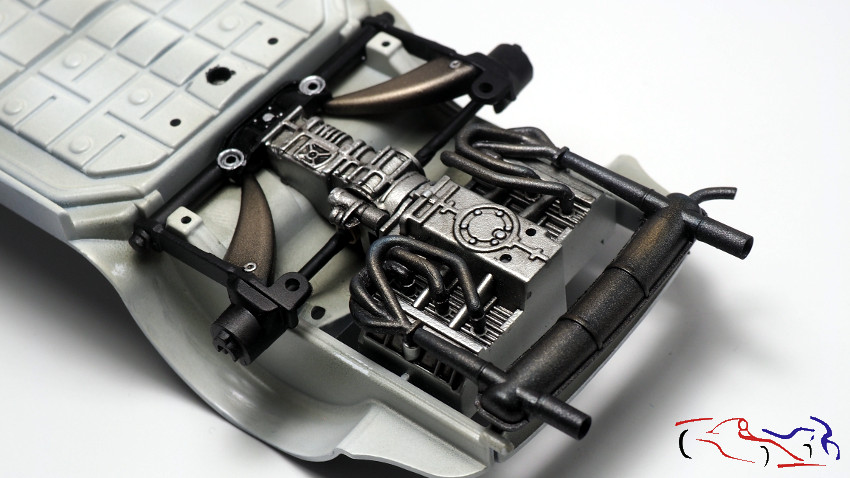
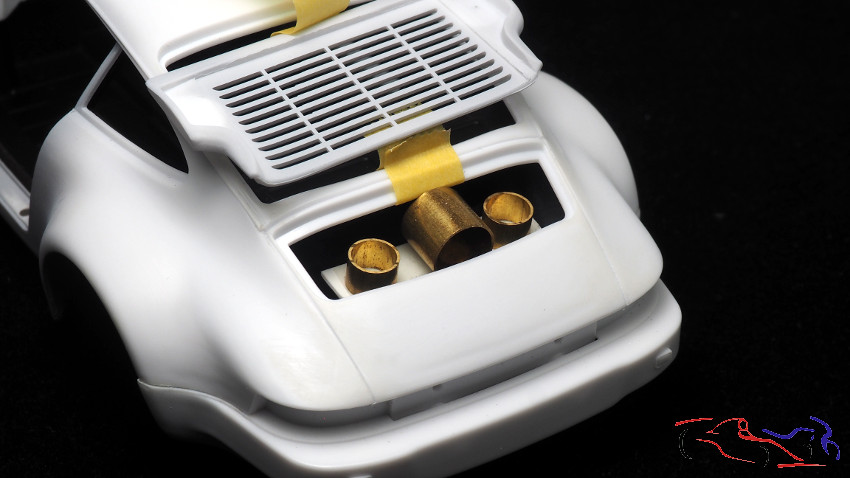
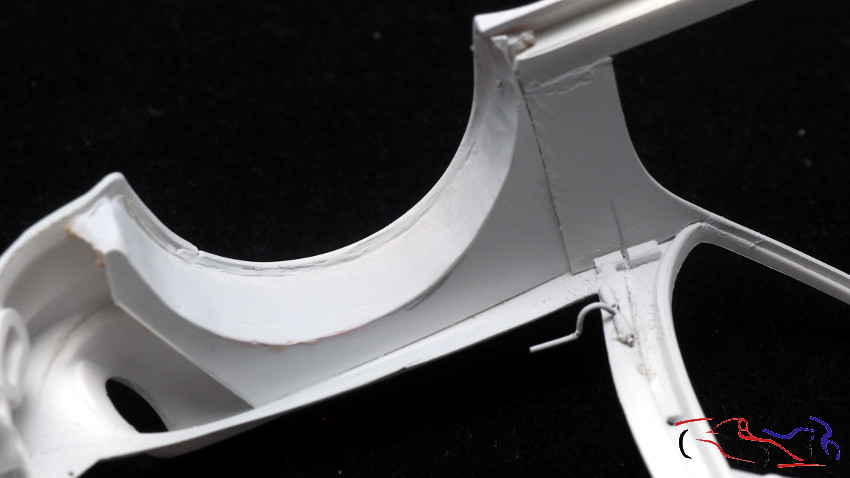
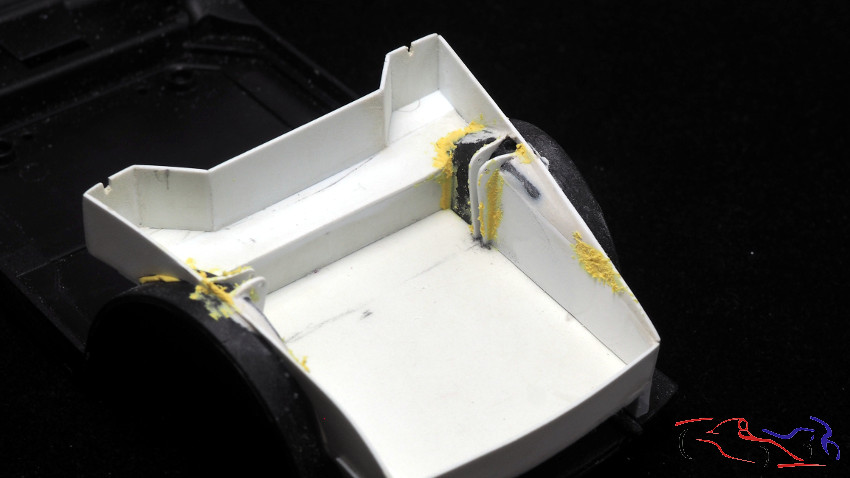
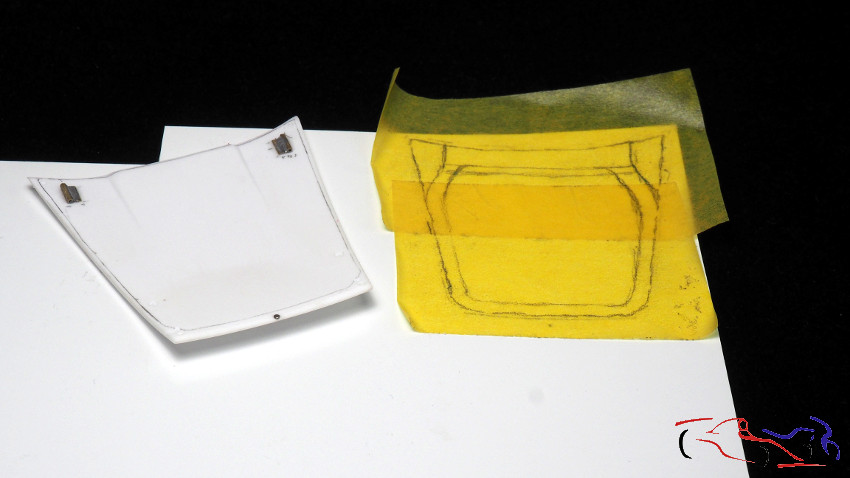
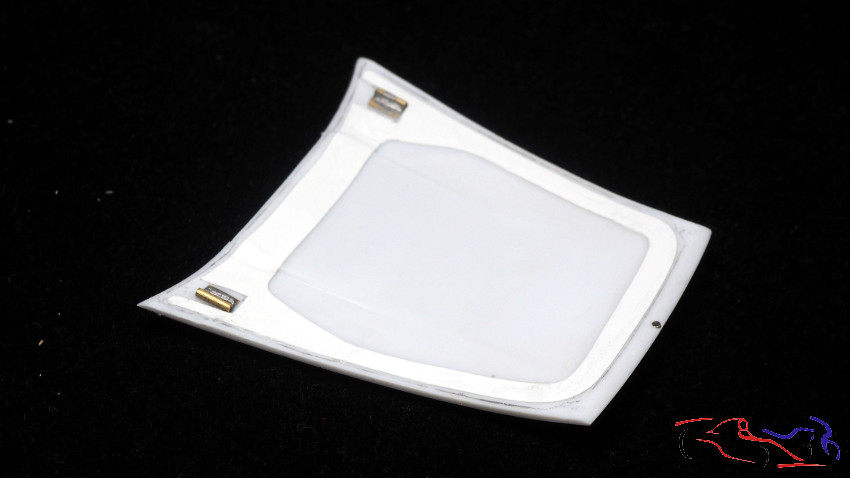
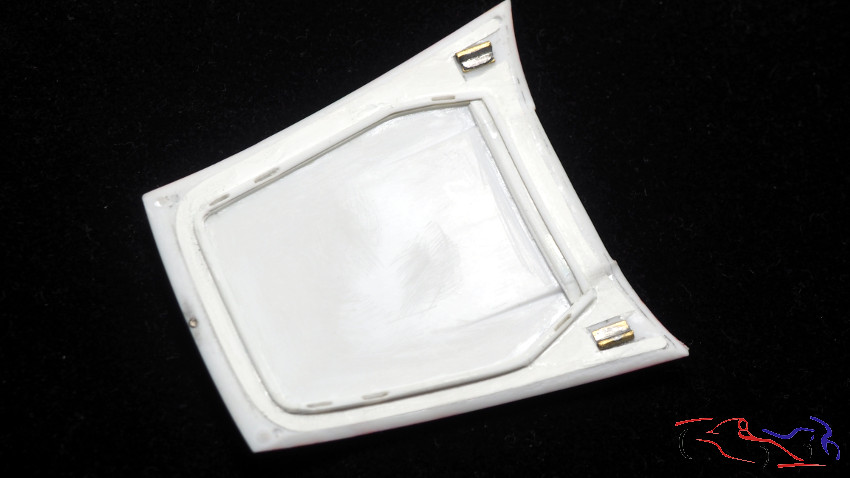
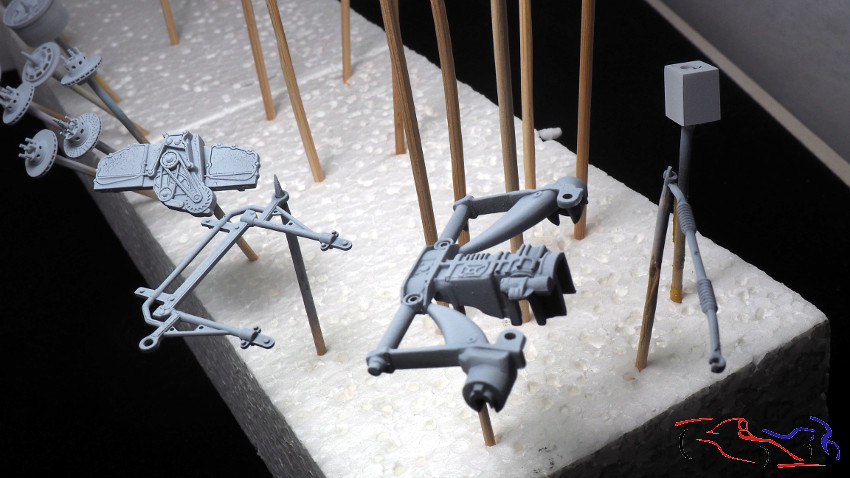
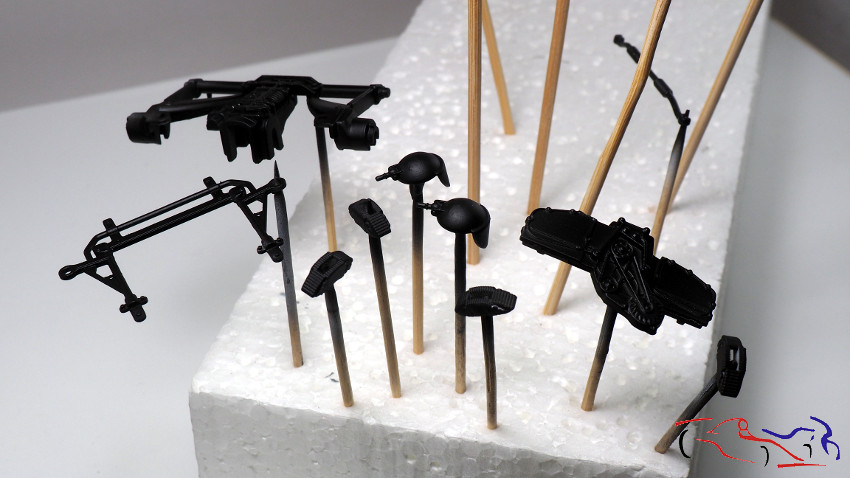
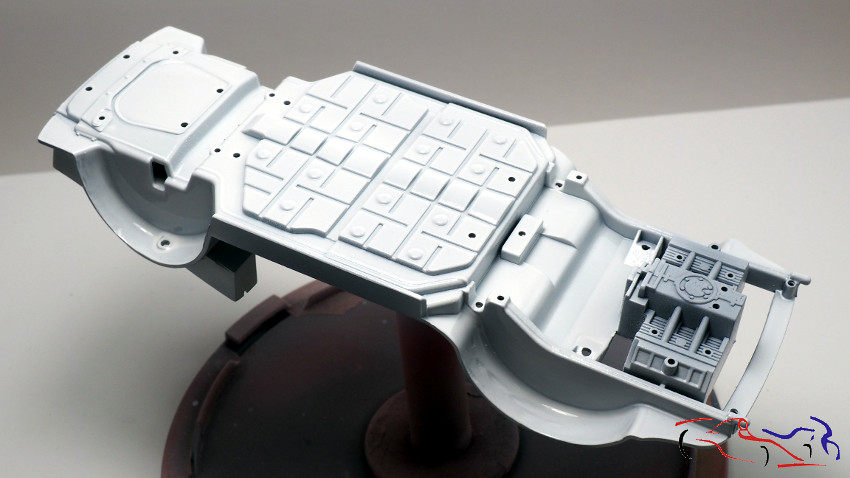
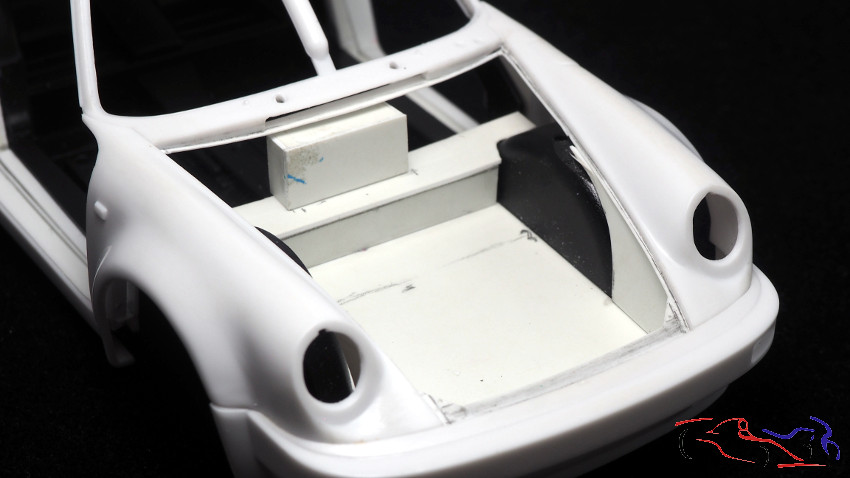
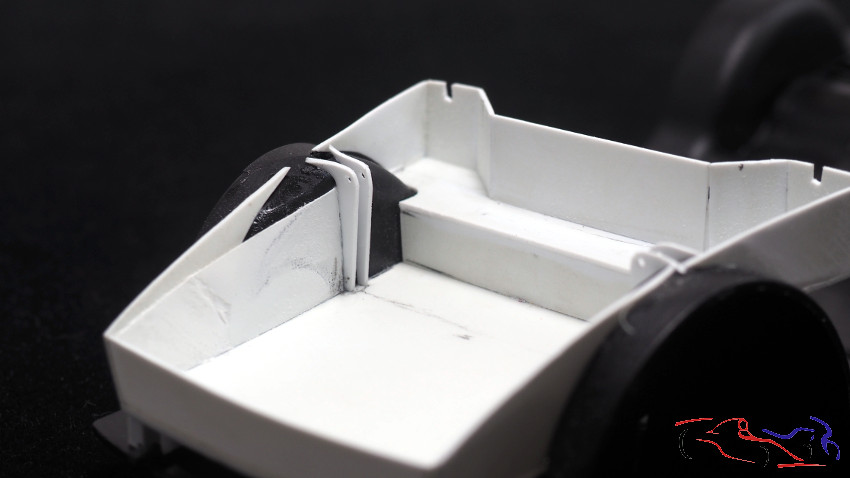
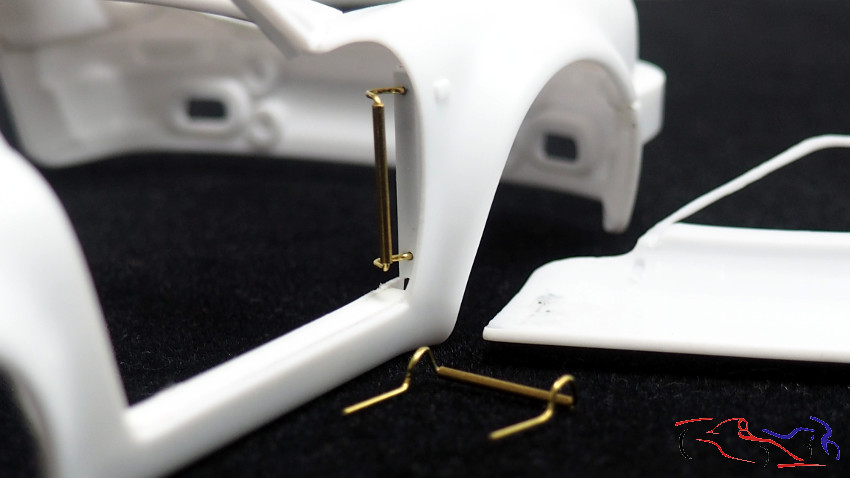
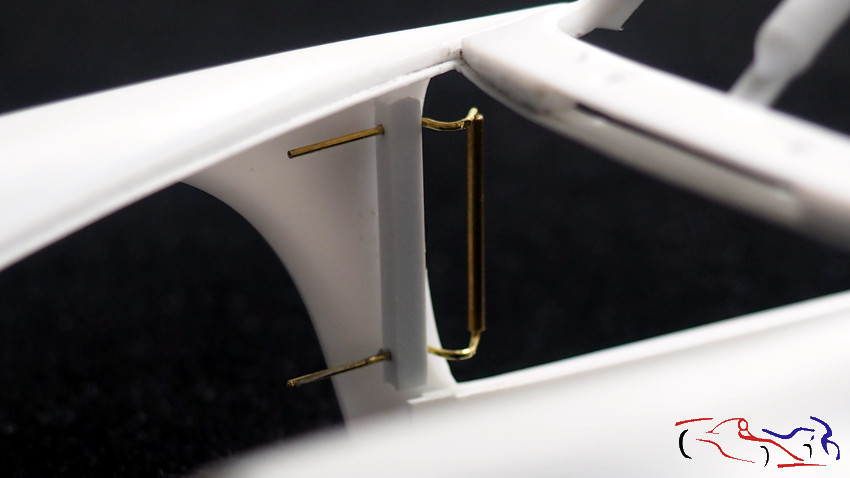
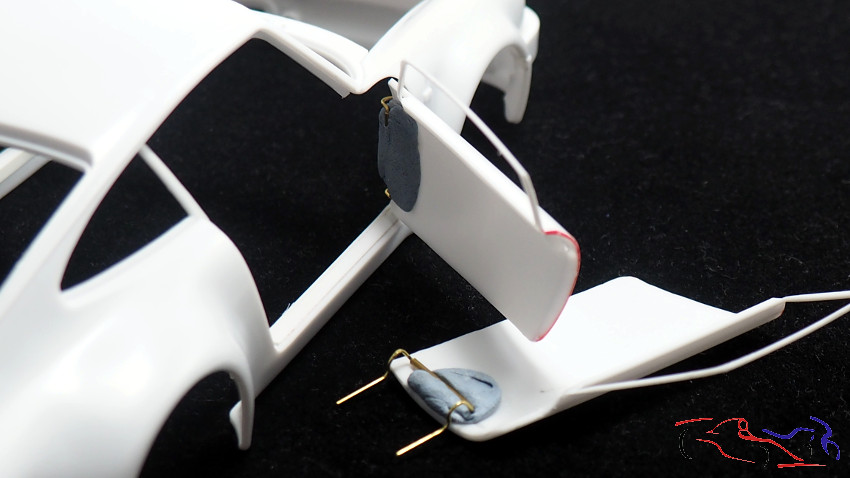
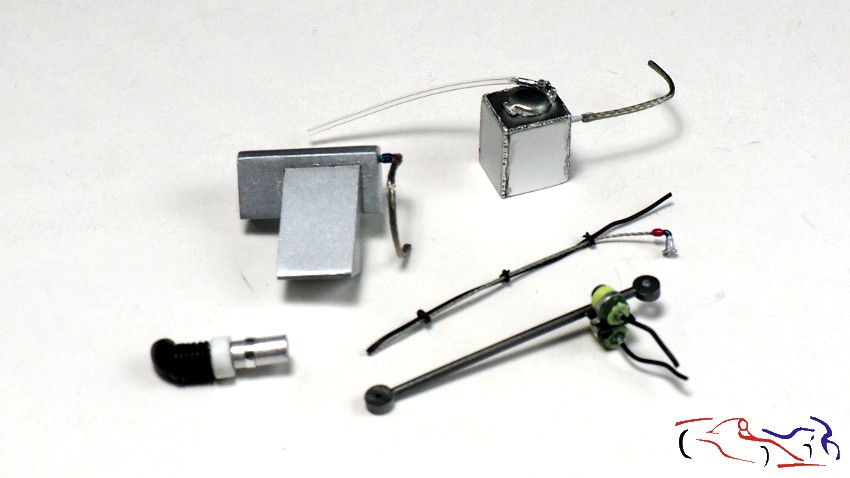
Y también, antes de pasar a la carrocería, diversas piezas del capó, todas realizadas desde cero a scratch, estando entre ellas un depósito con sus tubos, la barra estabilizadora delantera con dos botes de líquido, y cables que van por el interior del capó. Y todas llevan sus tubos/cables.
And also, before moving on to the bodywork, various parts of the bonnet, all made from scratch, including a tank with its tubes, the front anti-roll bar with two cans of liquid, and cables that go inside the bonnet. And all of them have their tubes/cables.
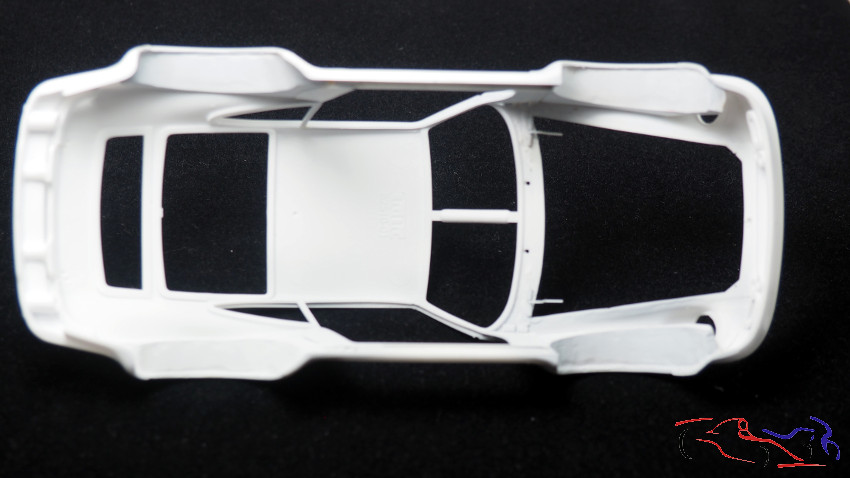
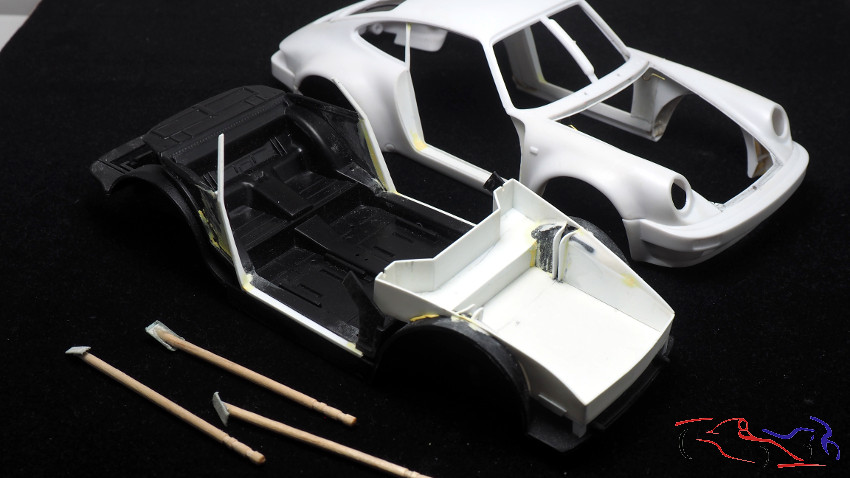
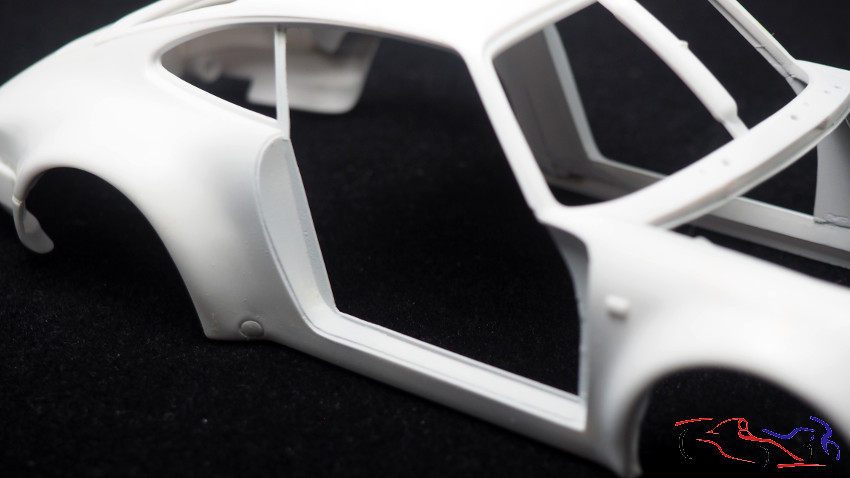
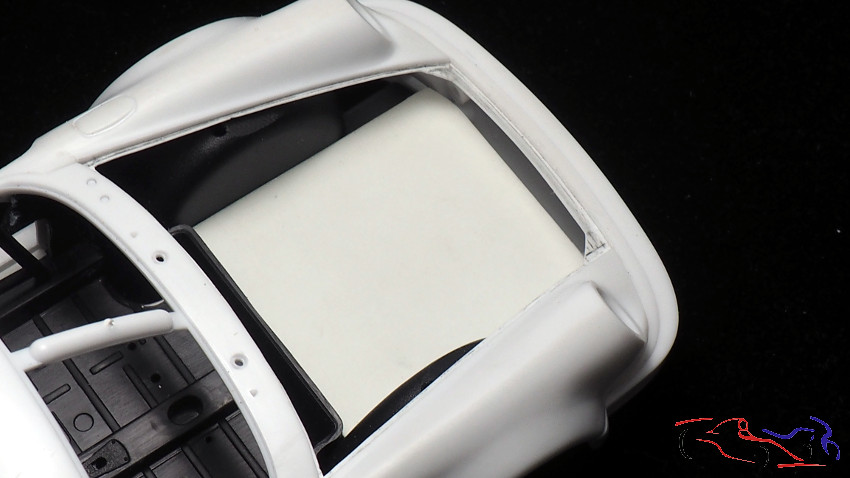
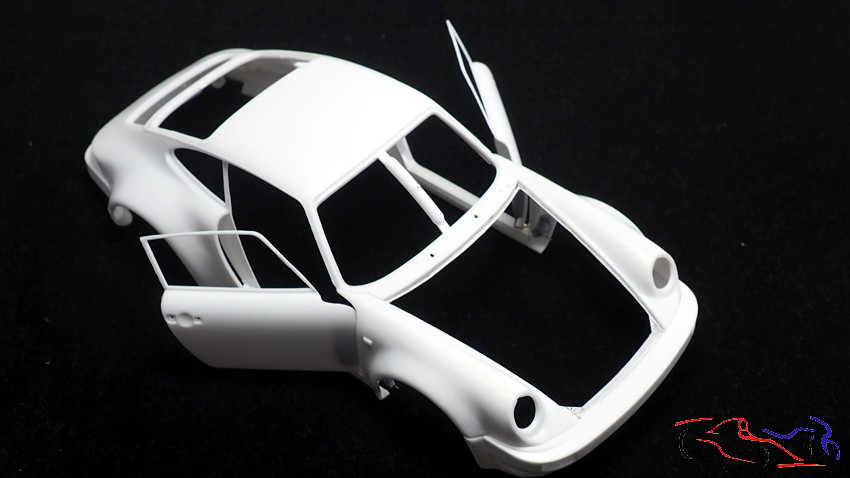
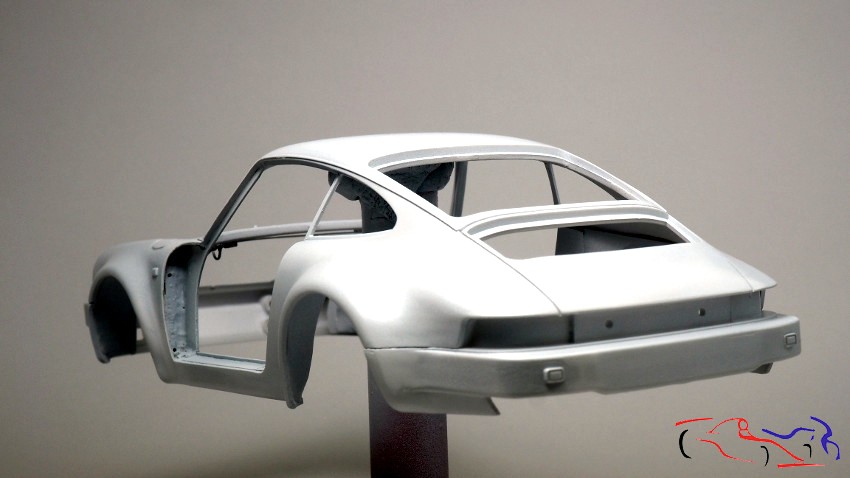
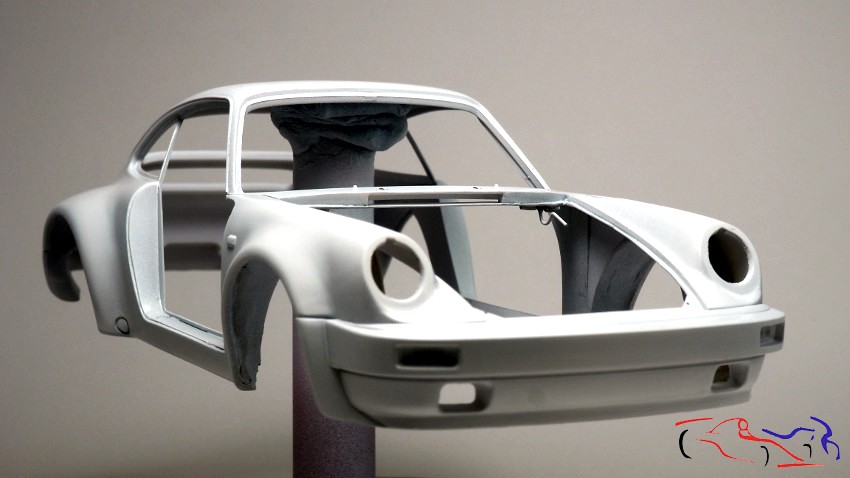
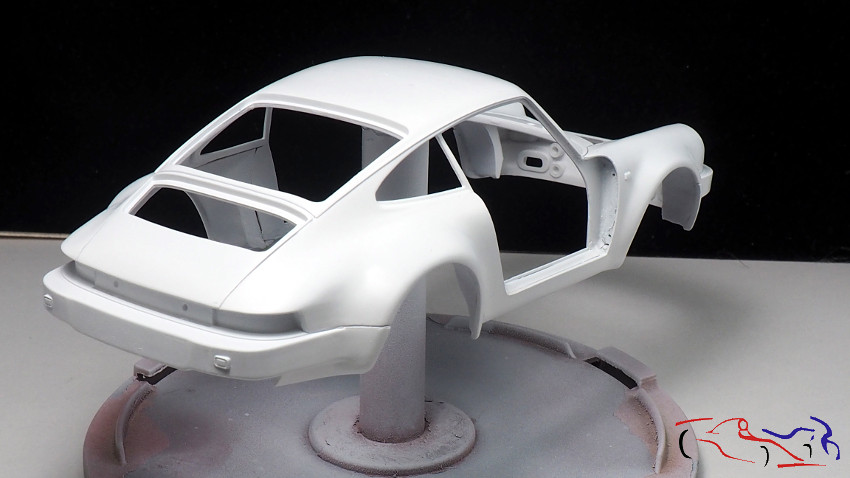
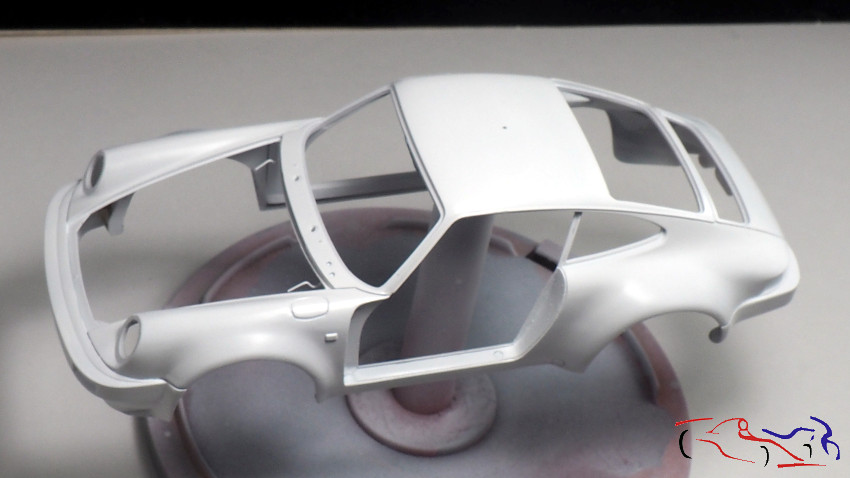
Y ahora pasamos a la carrocería. Lo primero, y depsués de lijar toda la carrocería, la imprimamos con Tamiya directamente del spray. Sigue siendo muy buena imprimación!!
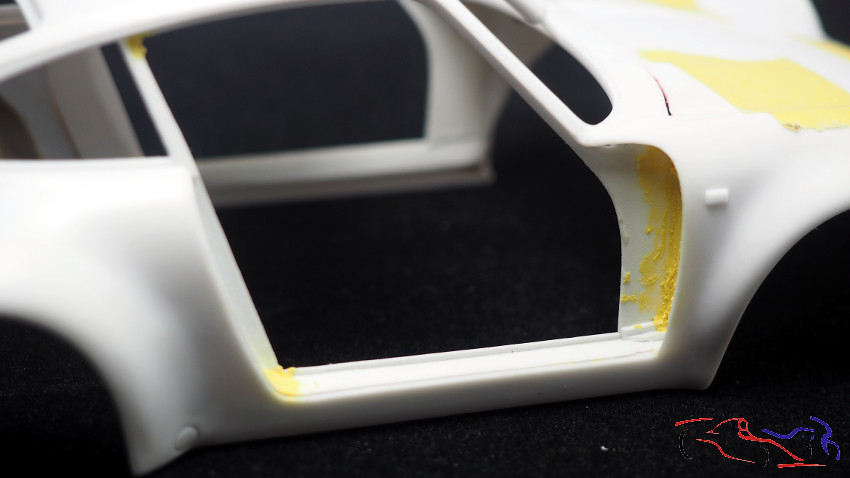
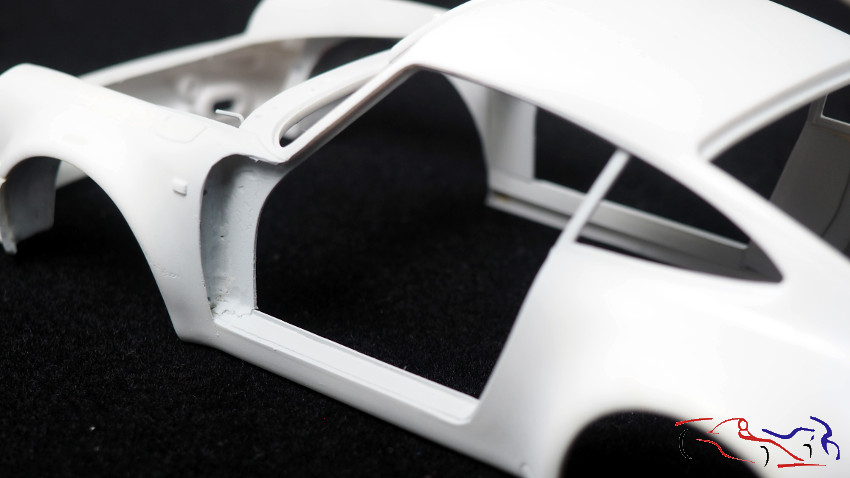
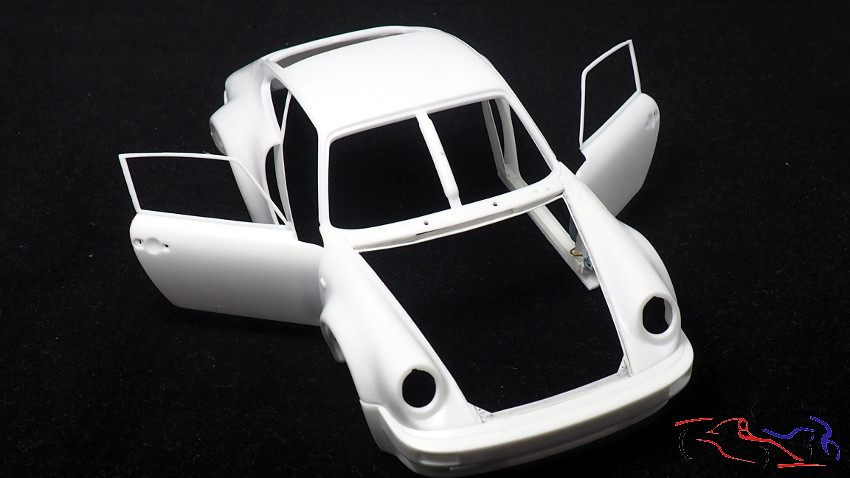
And now we move on to the bodywork. First of all, and after sanding the whole bodywork, we primed it with Tamiya directly from the spray. It’s still a very good primer!
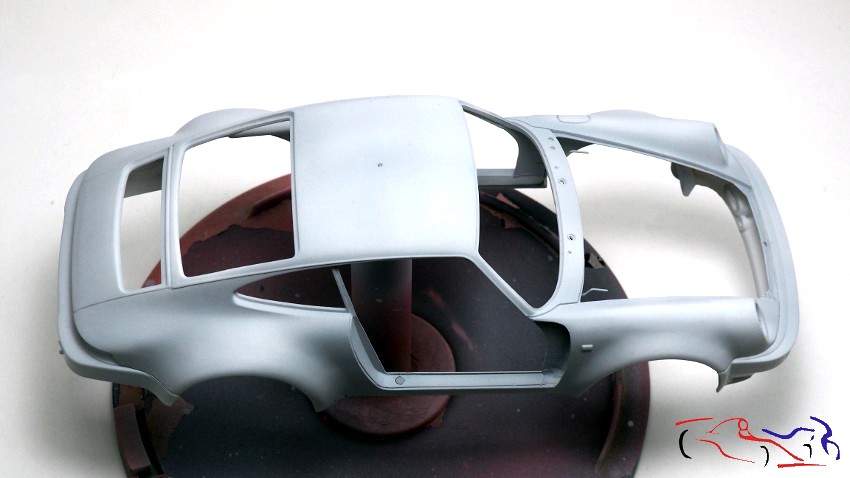
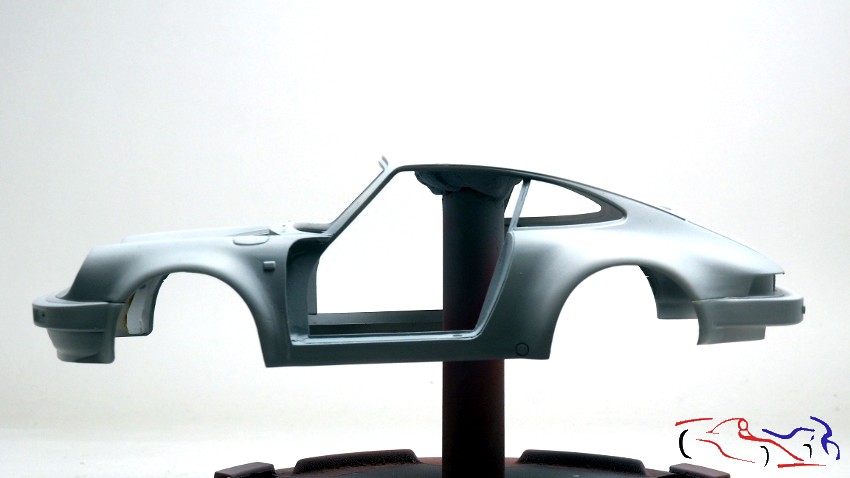
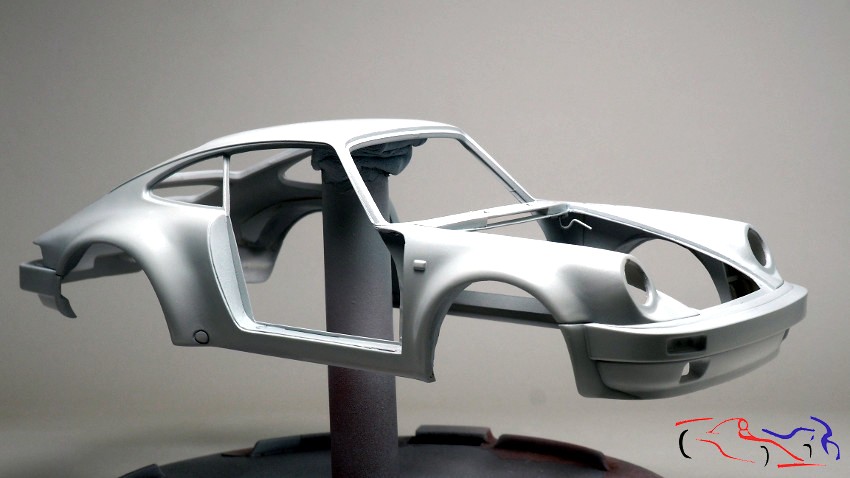
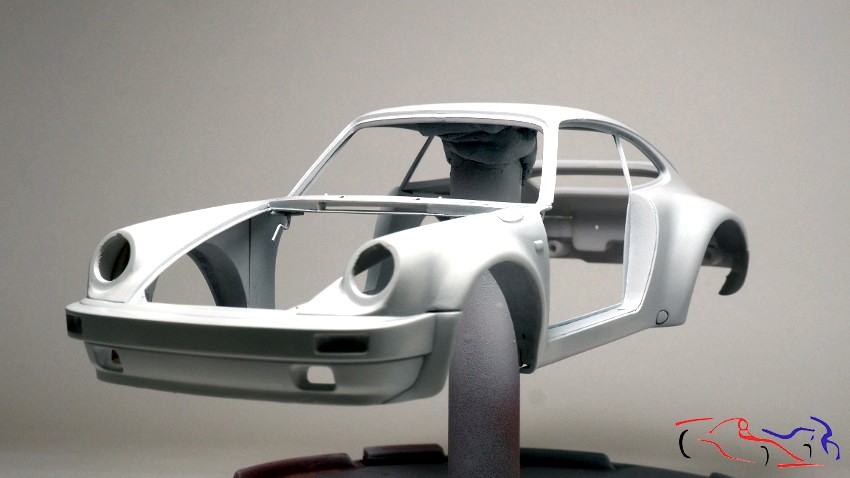
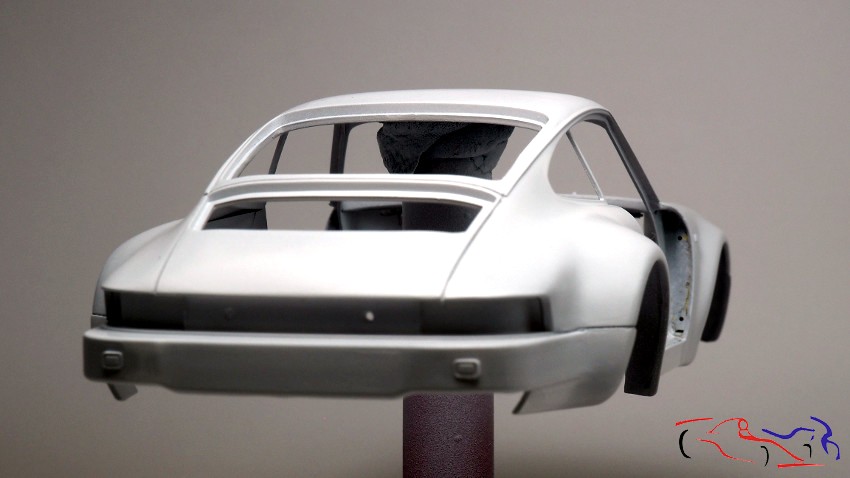
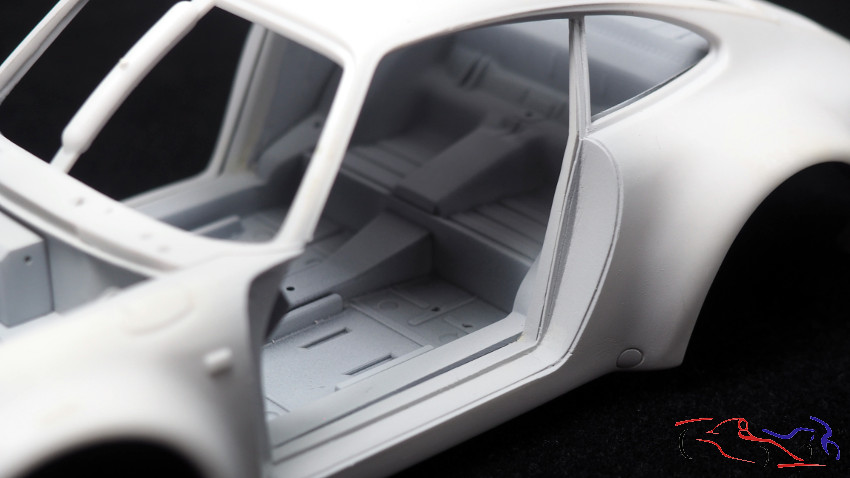
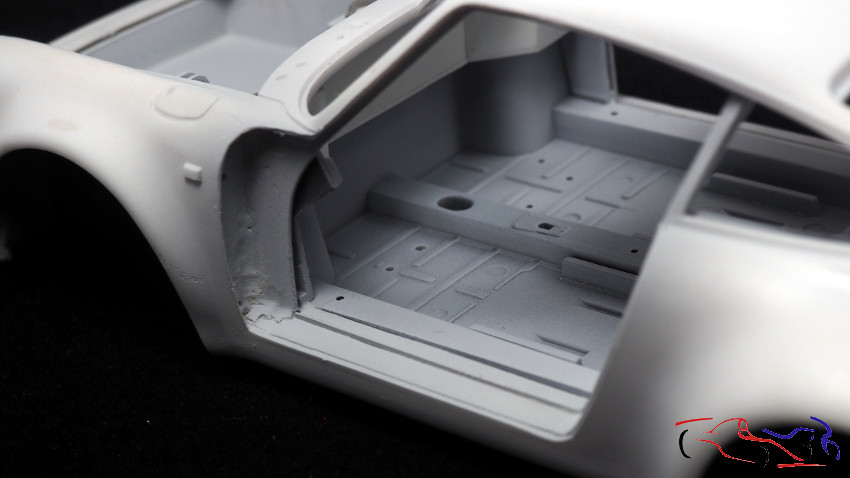
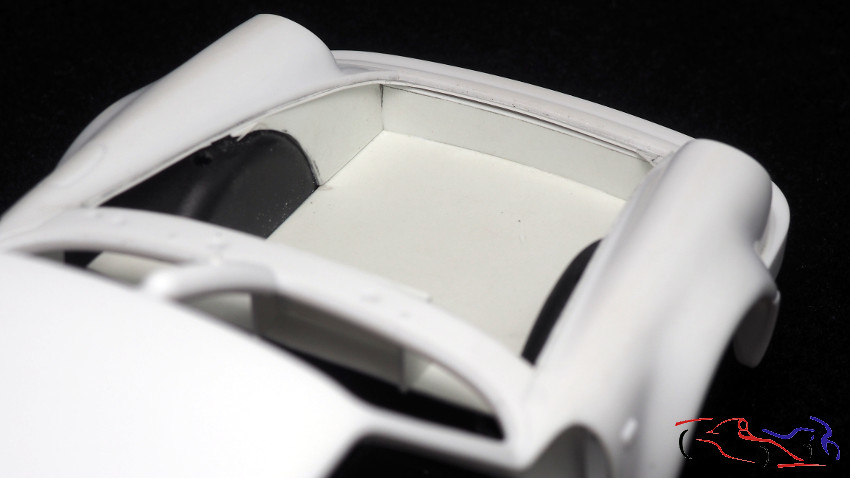
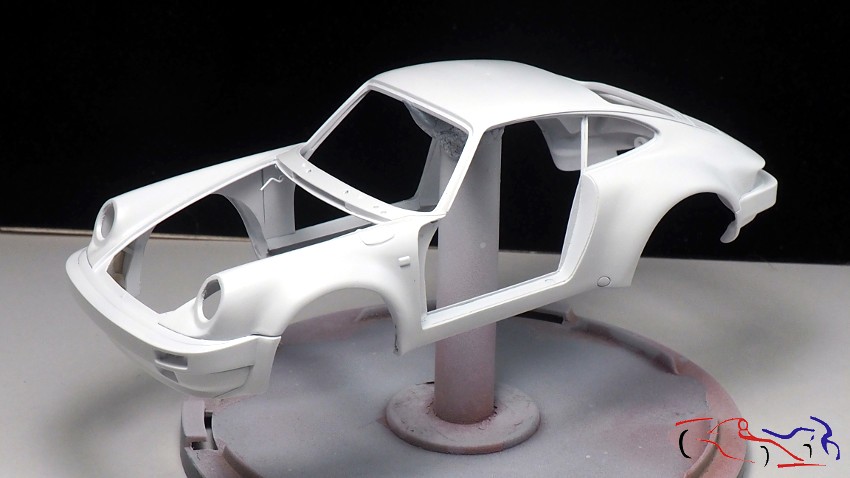
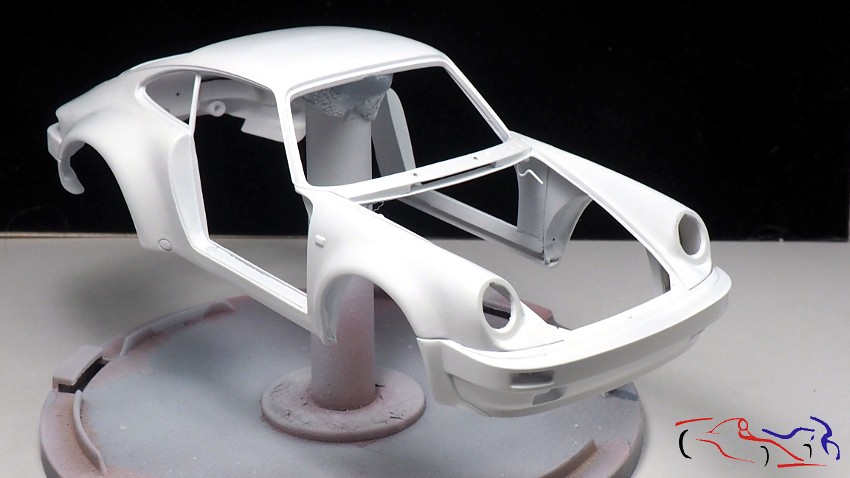
Una vez seca, volvemos a lijar con grano 3000, y pintamos con blanco de DS Colors:
Once dry, we sand again with 3000 grit sandpaper and paint with DS Colors white:
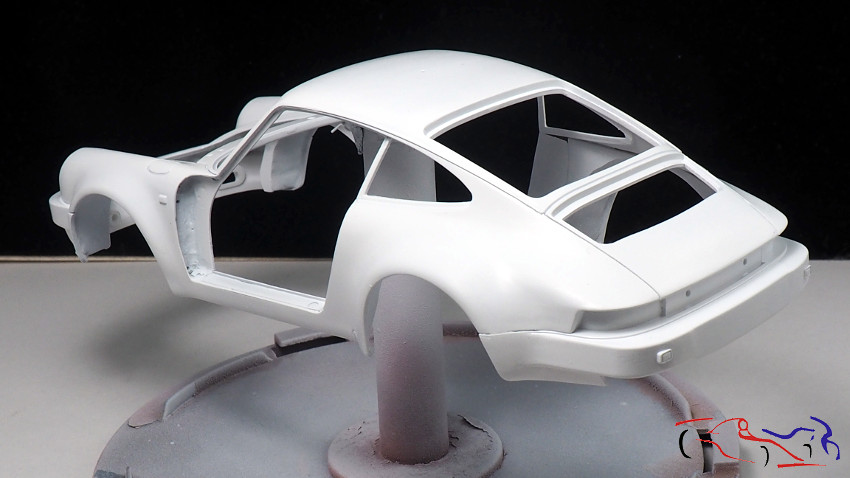
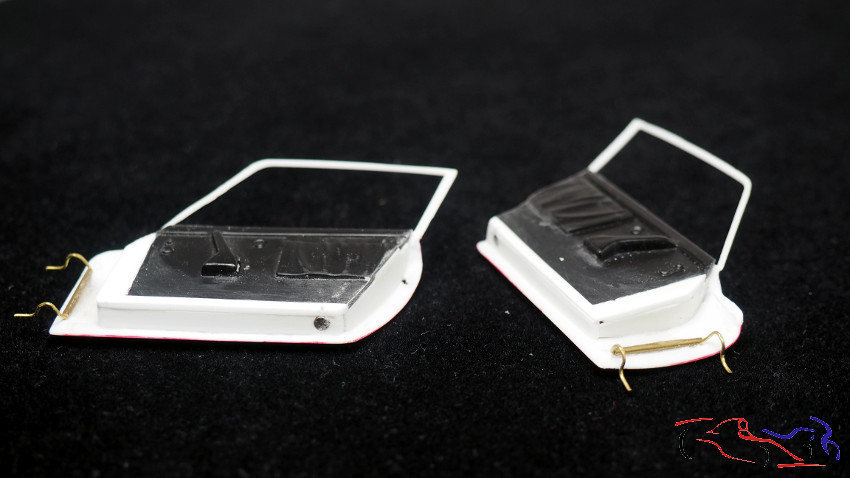
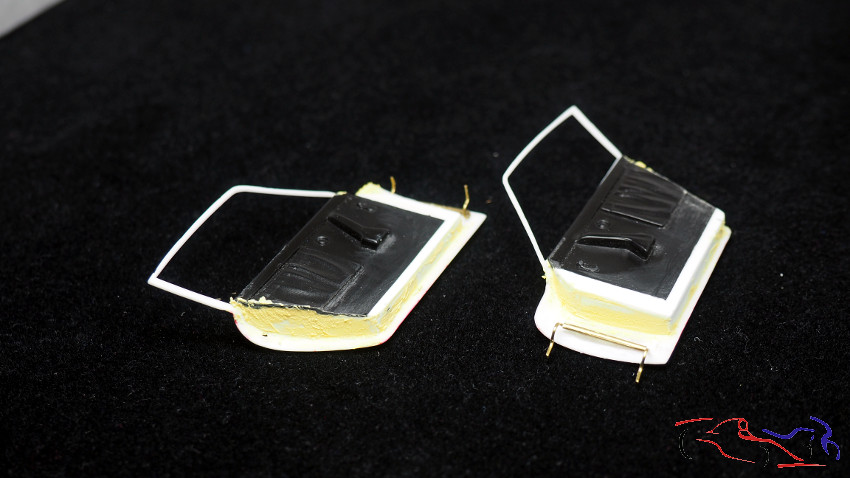
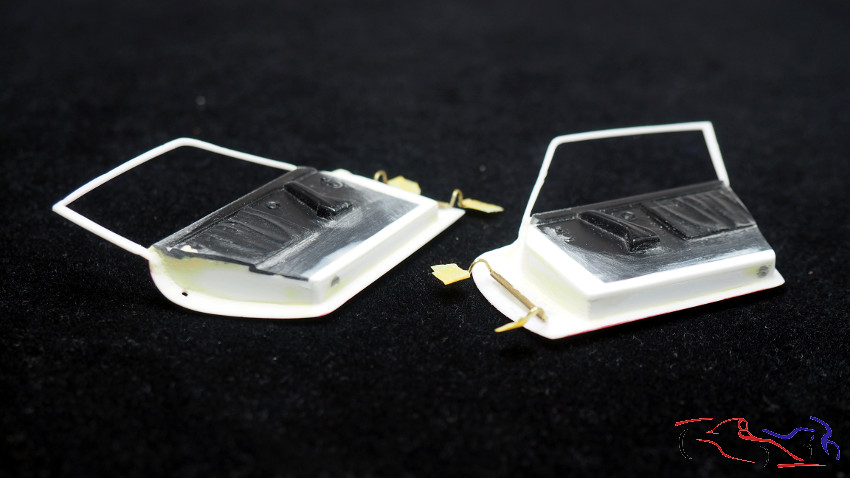
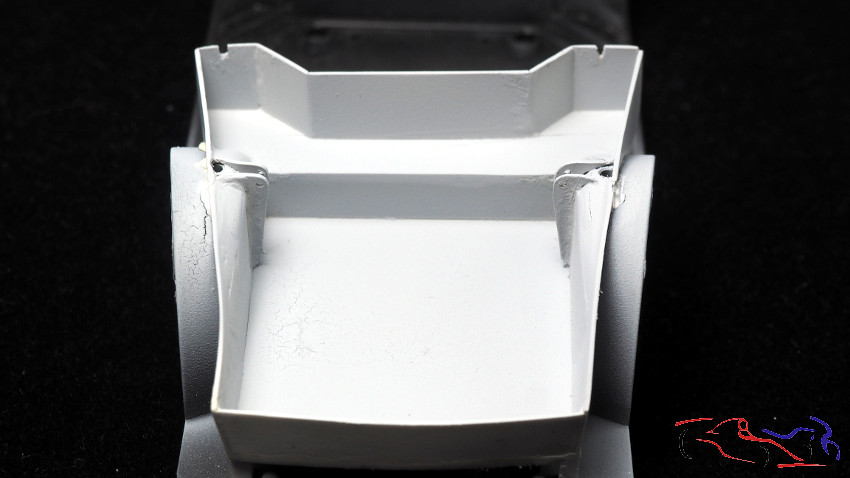
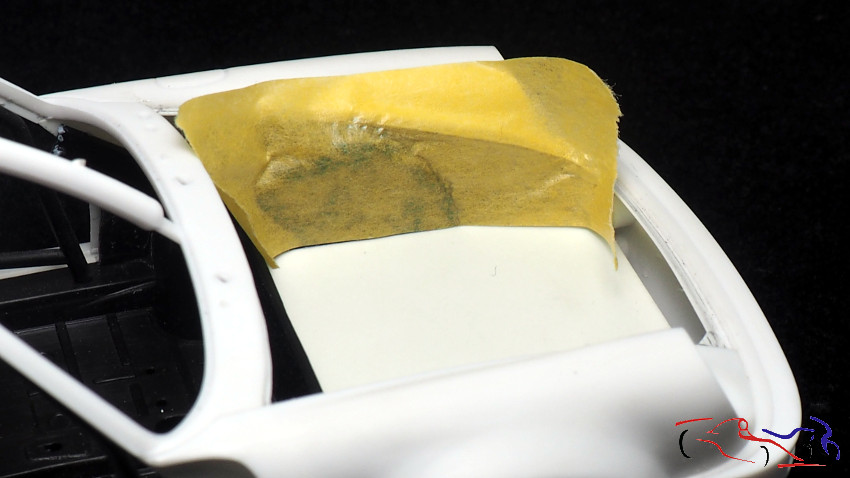
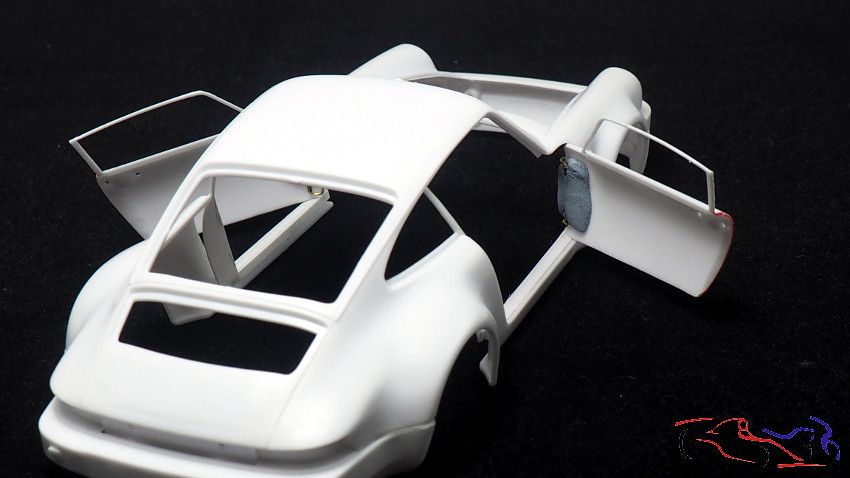
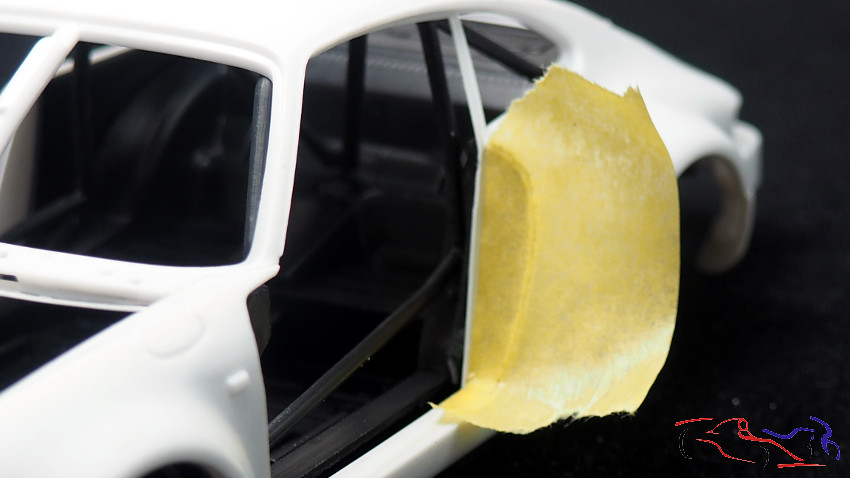
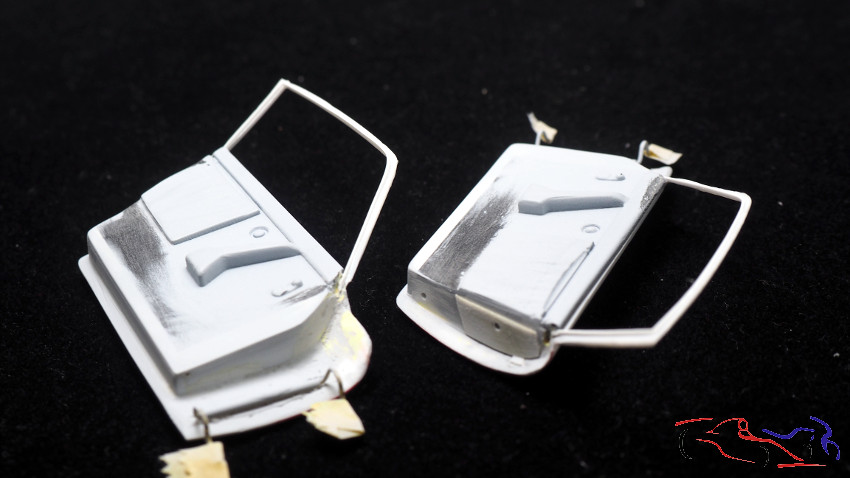
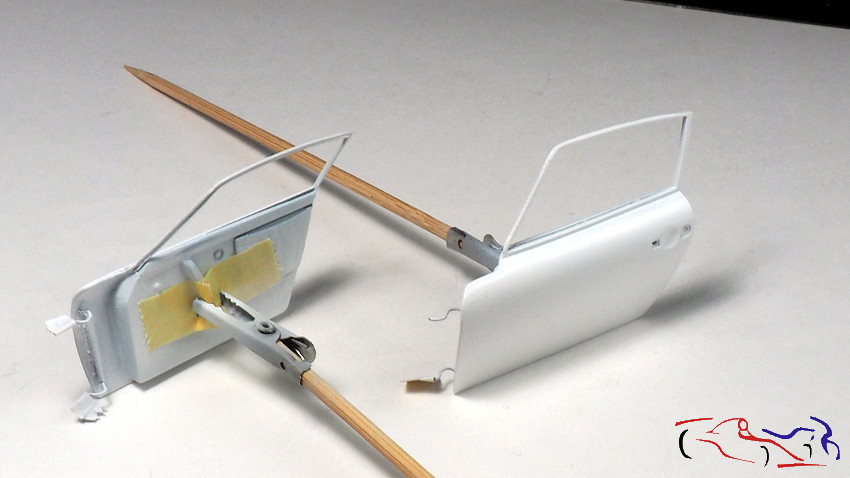
Por supuesto, al mismo tiempo, he imprimado y pintado el resto de piezas que he separado de la carrocería. Con las puertas, tuve que lijar una vez después de imprimar, para reparar algunos desperfectos. Después hubo una segunda imprimación y finalmente la pintura blanca.
Of course, at the same time, I primed and painted the rest of the parts that I separated from the body. With the doors, I had to sand once after priming, to repair some damage. Then there was a second primer and finally the white paint.
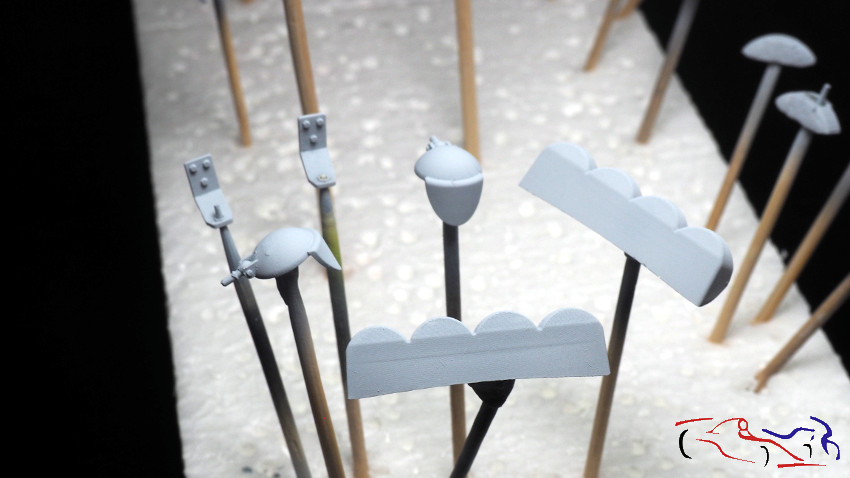
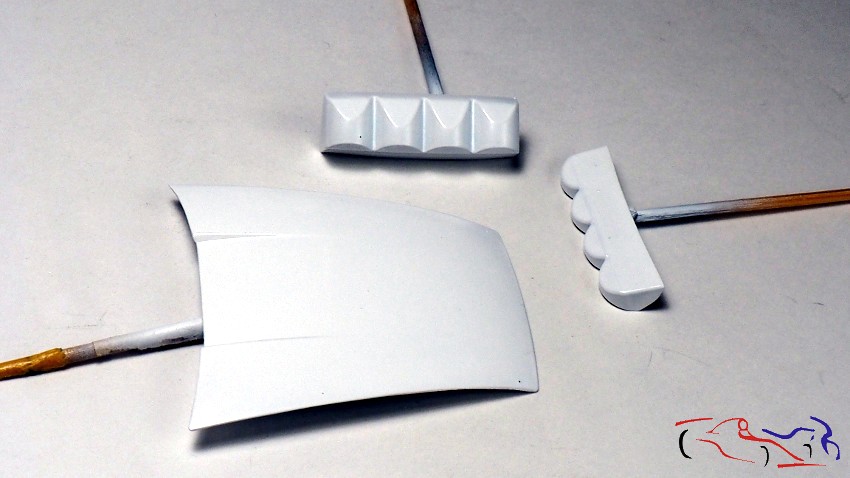
Otras piezas preparadas: el capó y los faros auxiliares….
Other prepared parts: bonnet and auxiliary headlamps ….
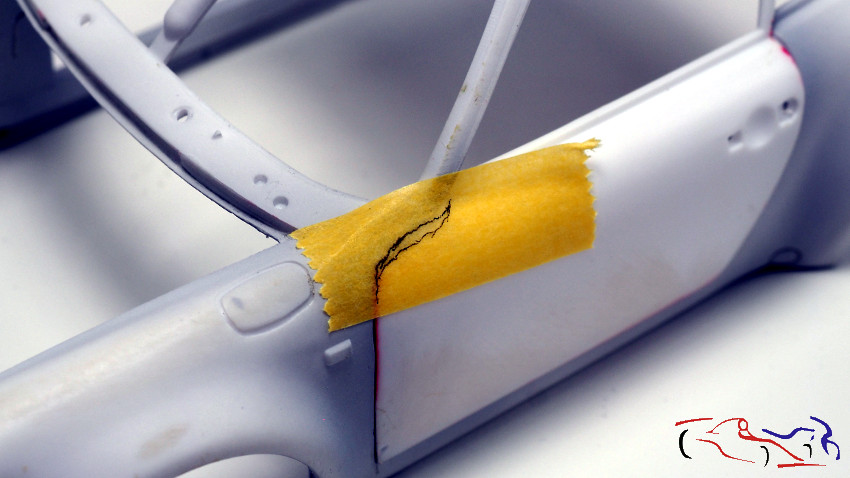
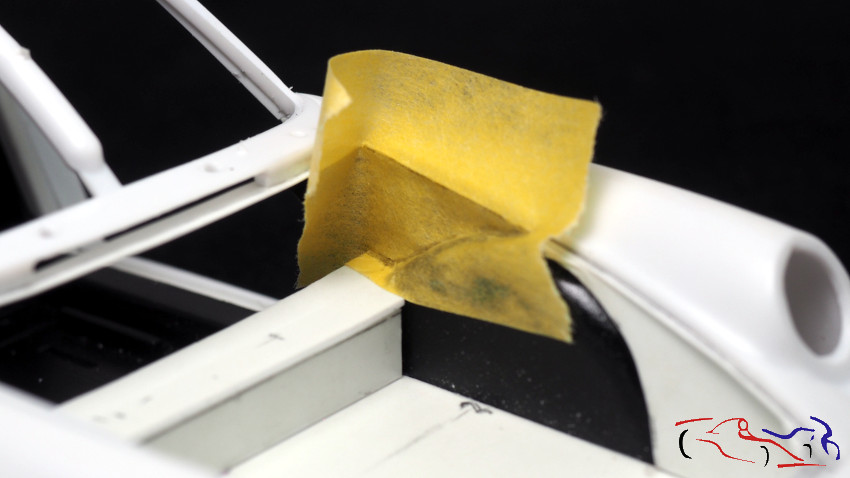
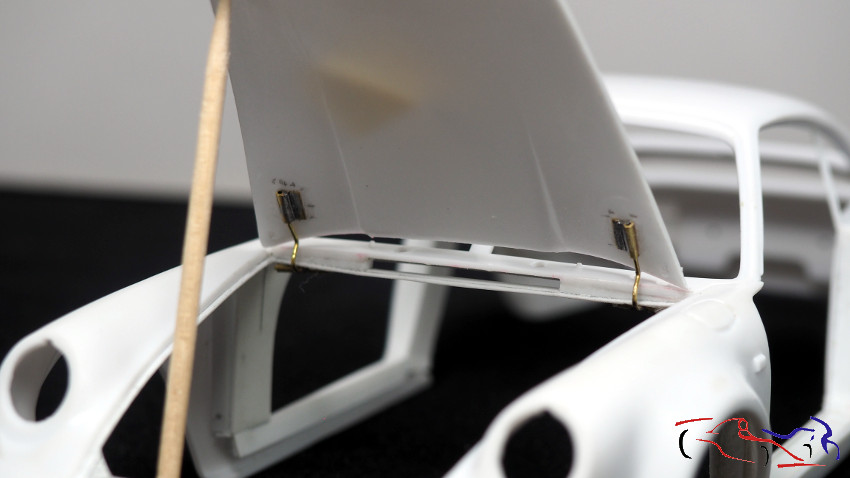
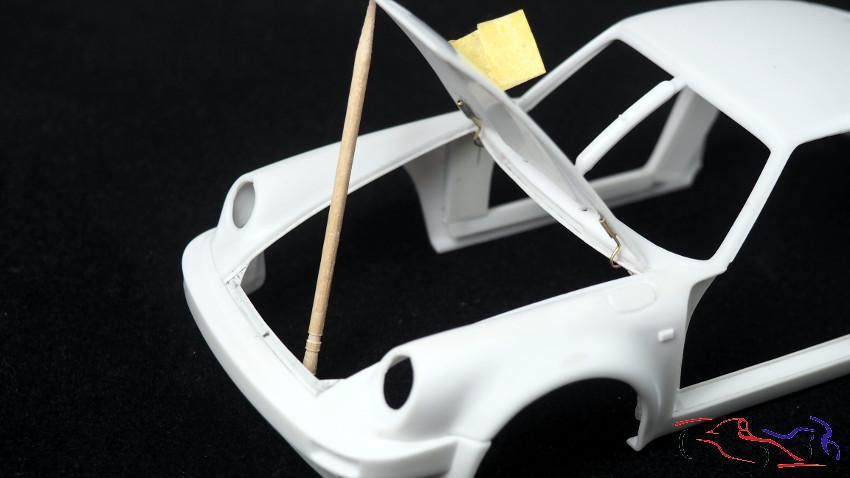
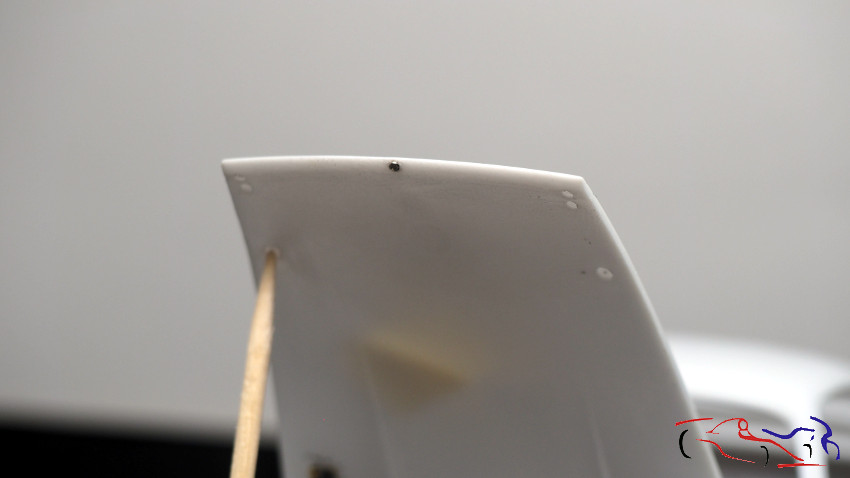
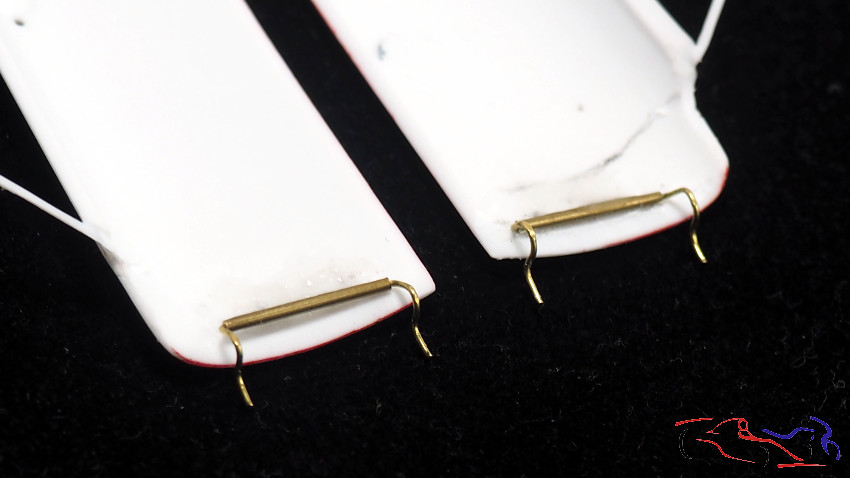
…y el alerón trasero, que ya enmascaré y pinté de negro mate LP
…and the rear spoiler, which I have already masked off and painted matt black LP
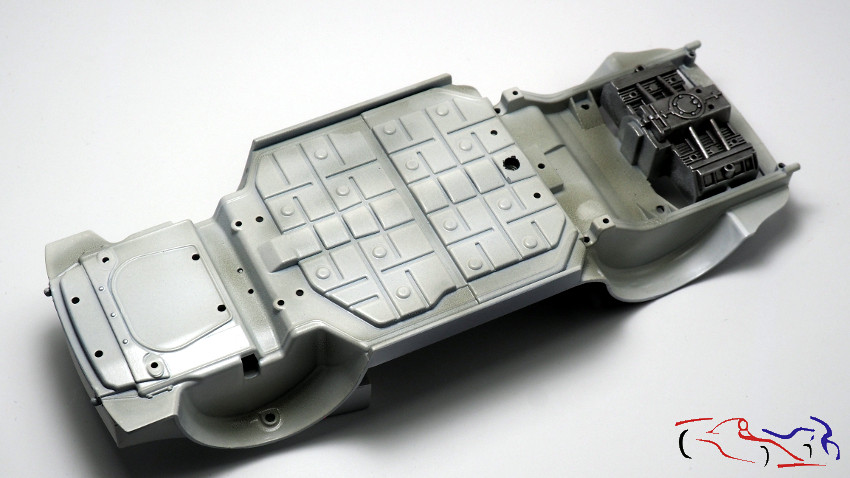
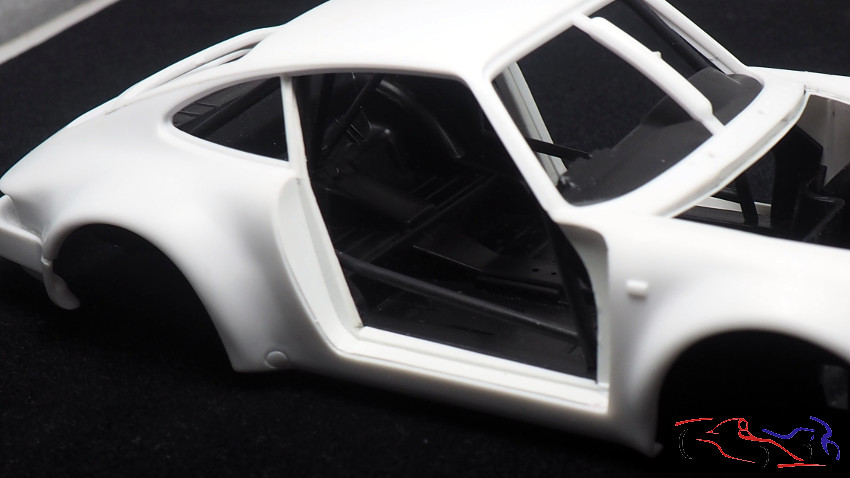
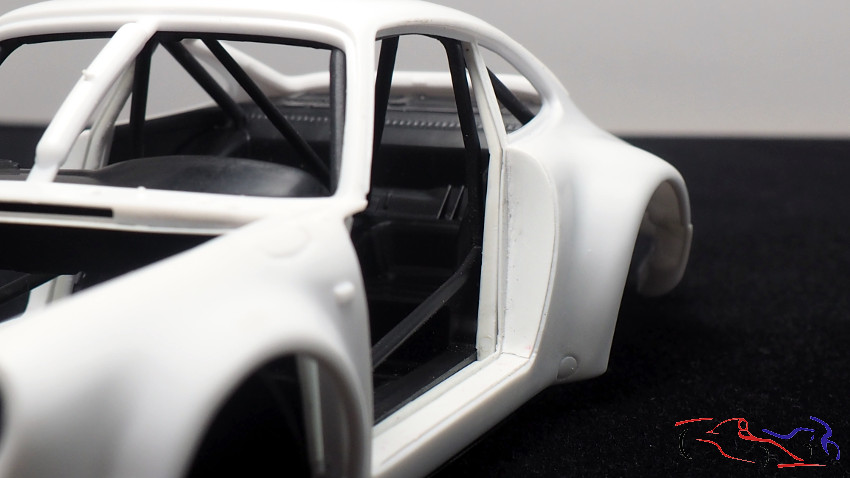
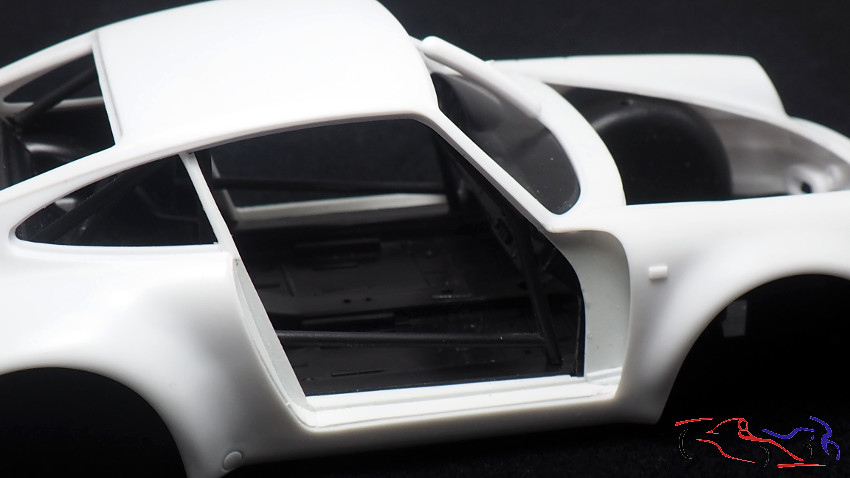
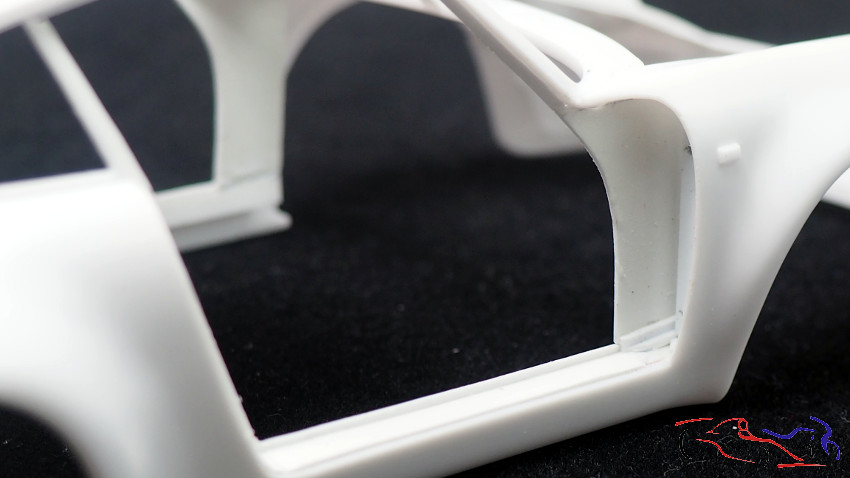
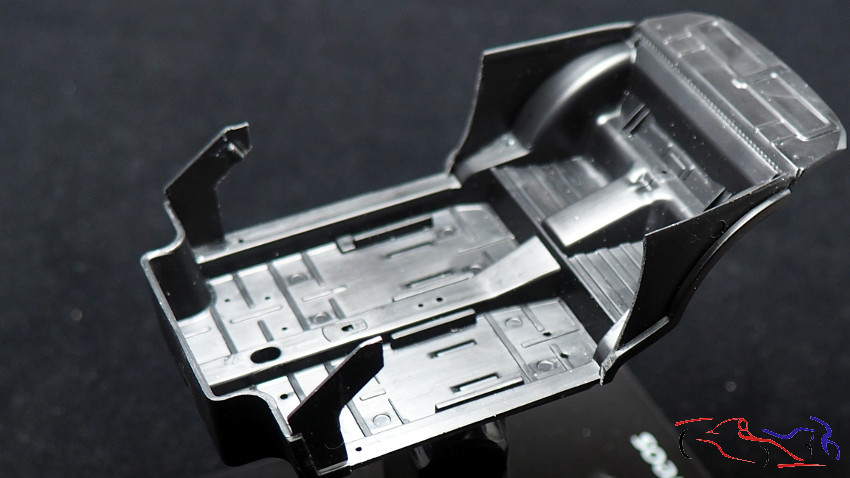
Continuamos trabajando con este kit, con tres frentes: habitáculo, chasis con capó y los bajos, y carrocería, estando esta lista para enmascarar y pintar el azul Rothmans. Gracias por ver y comentar!!
We continue working with this kit, with three fronts: passenger compartment, chassis with bonnet and underbody, and bodywork, ready to be masked and painted in Rothmans blue. Thanks for watching and commenting!