Dejamos el Ferrari GTC4 ya pintado, para continuar con la carrocería del Delta S4 y así poder lacar los dos a la vez. Para dicho cometido, preparamos las fijaciones de las tres partes que forman la carrocería. Primero, el capó delantero, que lleva una pieza que hace balancearlo sobre el eje inferior del radiador. Para fijarlo, ponemos la pieza sin pegar, y los situamos en el chasis. Una vez puesto, y sin moverlo, ponemos cianocrilato para que se pegue en el sitio exacto.
We leave the Ferrari GTC4 already painted, to continue with the bodywork of the Delta S4 and thus be able to lacquer both at the same time. For this purpose, we prepare the fixings of the three parts that make up the body. First, the front hood, which has a piece that balances it on the lower axis of the radiator. To fix it, we put the piece without gluing, and we place them on the chassis. Once put, and without moving it, we put cyanoacrylate so that it sticks in the exact place.
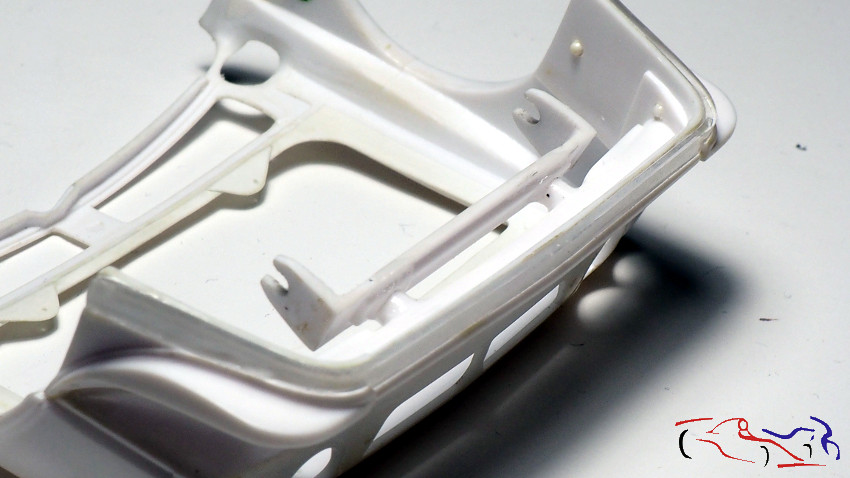
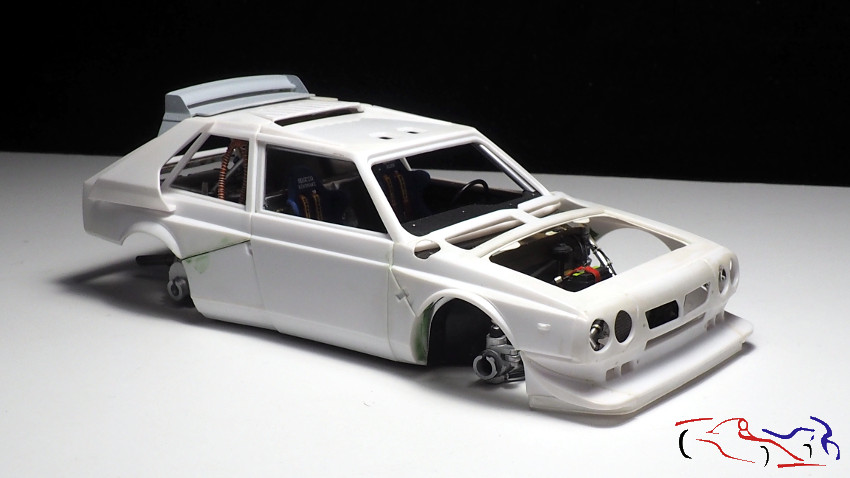
Seguimos con la parte del cockpit. Para fijarlo, tiene dos piezas por el interior de las puertas que encajan con el exterior de los paneles interiores. Pero aunque encajaban, la carrocería no llegaba a enrasarse con el chasis, por lo que rebajé ambas piezas
We continue with the cockpit part. To fix it, it has two pieces on the inside of the doors that fit with the outside of the interior panels. But although they fit, the bodywork did not reach flush with the chassis, so I lowered both pieces
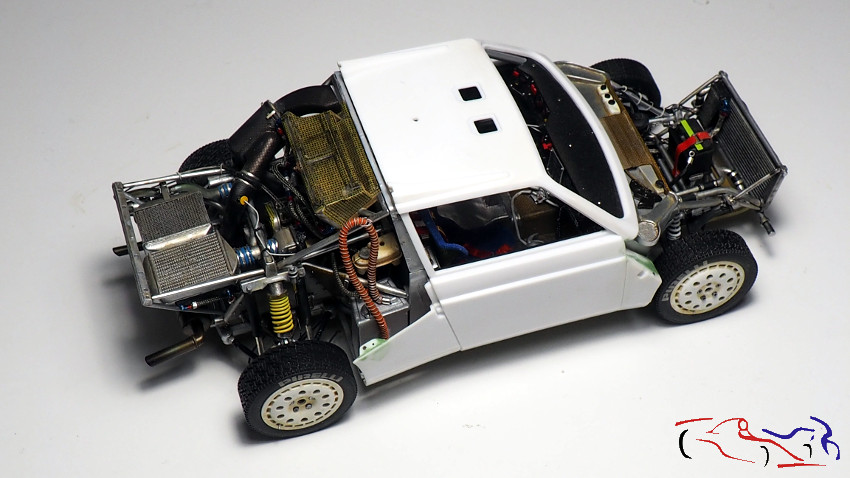
Y el resultado es el siguiente, aun sin pegar nada. He puesto también el aleron para que se vea el coche más acabado!!
And the result is the following, even without glueing anything. I have also put the spoiler so that the car looks more finished !!
Y ahora, es el turno de las ruedas, que siempre pego con epoxy de dos componentes, porque da margen de maniobra, no es muy rápido, pero si es muy efectivo. Una vez pegadas, y aun sin secar, lo dejo en mi soporte creado para alinear las ruedas, usado antes en los F1, en 1/20 con en 1/43:
And now, it is the turn of the wheels, which I always glue with two-component epoxy, because it gives room for maneuver, it is not very fast, but it is very effective. Once glued, and still without drying, I leave it on my support created to align the wheels, used before in F1 cars, in 1/20 and 1/43:
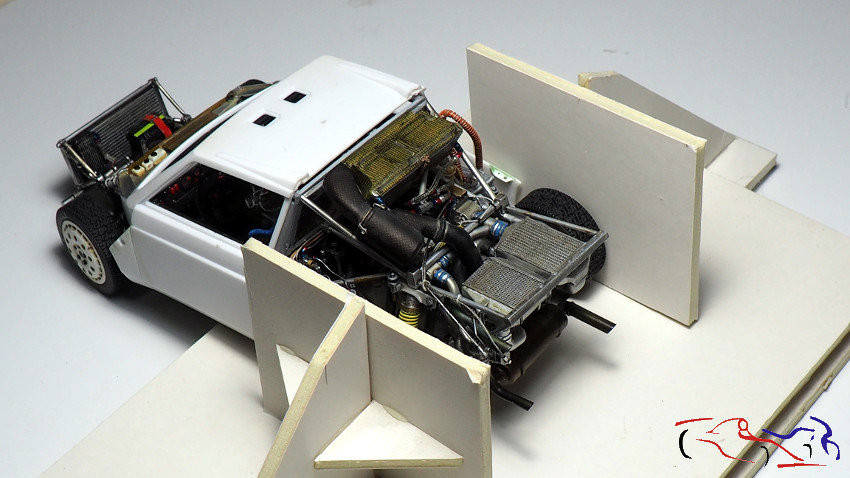
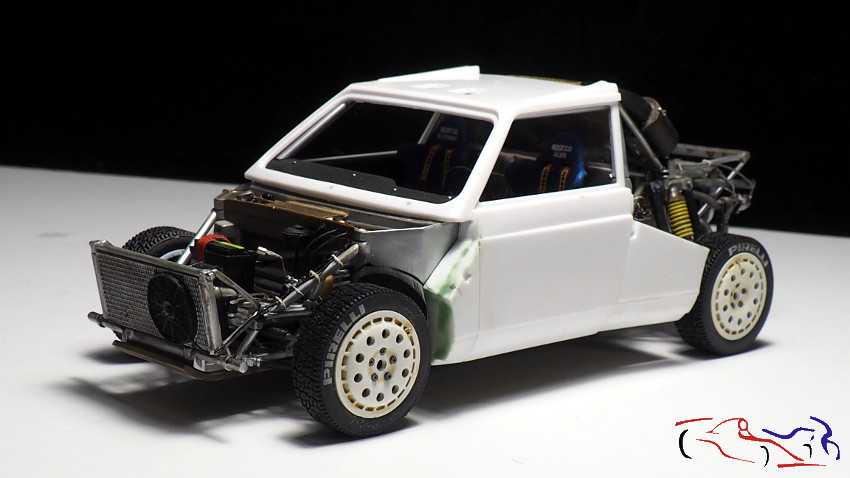
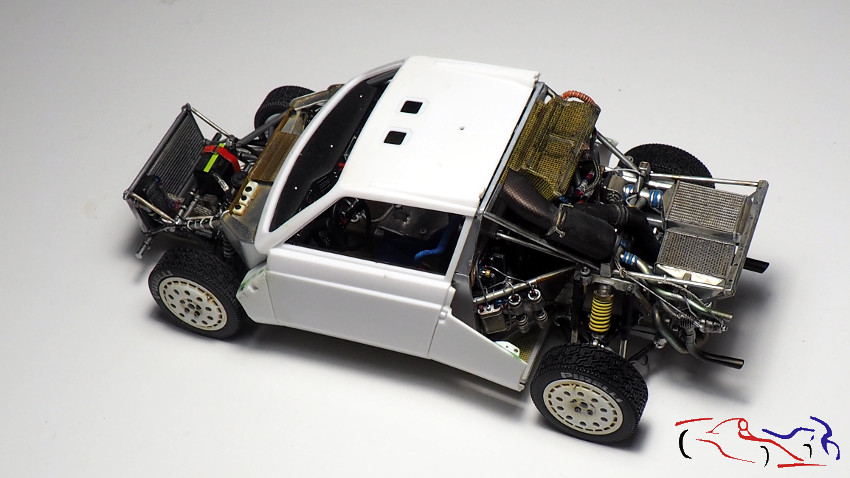
Y este es el resultado con la parte central de la carrocería sin pegar:
And this is the result with the central part of the body without gluing:

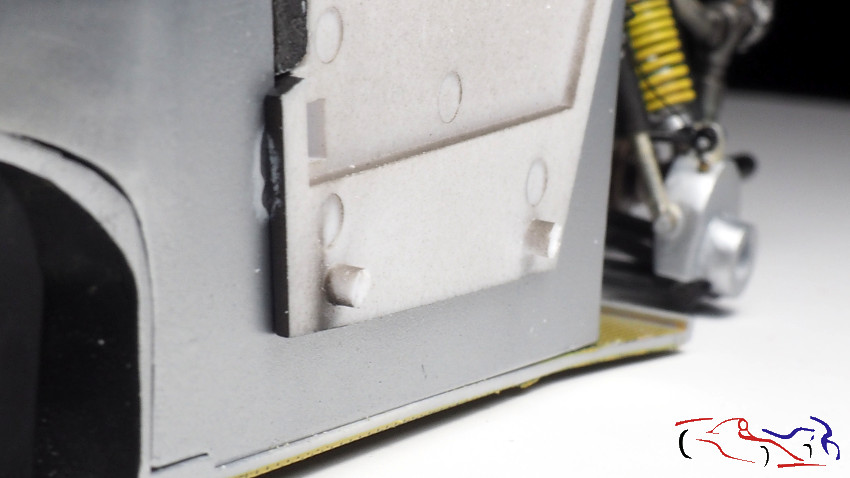
Unas piezas que al final no le voy a poner son los pasos de ruedas delanteros porque, si bien en prinicpio tenían un buen diámetro, el plástico de Actimel es muy malo para estas labores, y la parte horizontal, tenía un ángulo excesivo.
Some parts that in the end I am not going to put on are the front wheel arches because, although they originally had a good diameter, Actimel’s plastic is very bad for these tasks, and the horizontal part had an excessive angle.
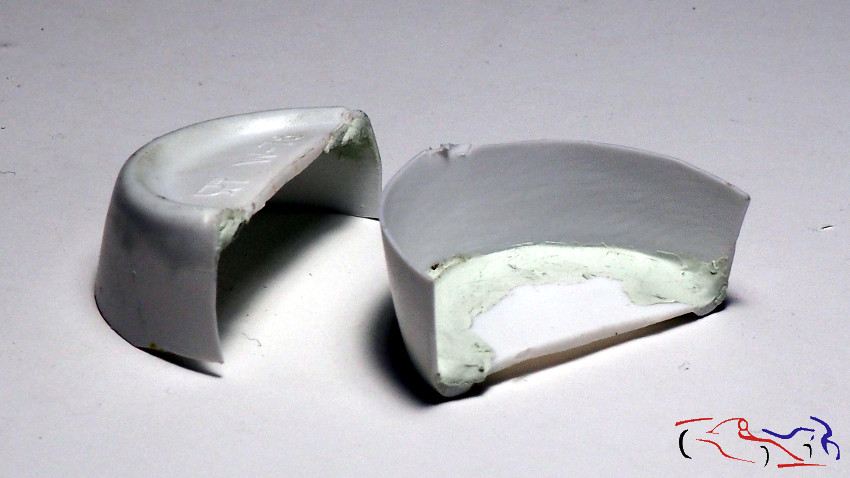
Otra pieza que me ha torturado: la trampilla del caó delantero. Como le adelgacé los bordes, las esquinas se quedaron muy frágiles y se me rompían, por lo que decidí ponerles unas bolas de masilla epoxy, para lijar cuando secase:
Another piece that has tortured me: the front hood hatch. As I thinned the edges, the corners were very fragile and broke, so I decided to put some balls of epoxy putty on them, to sand when dry:
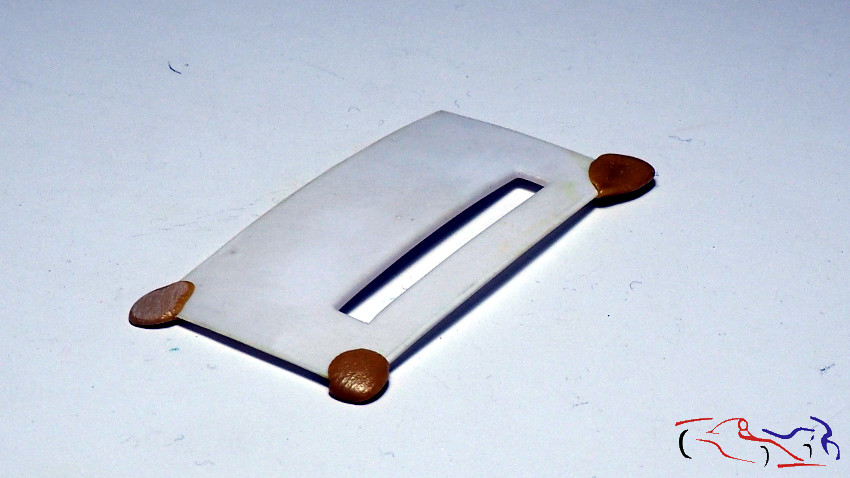
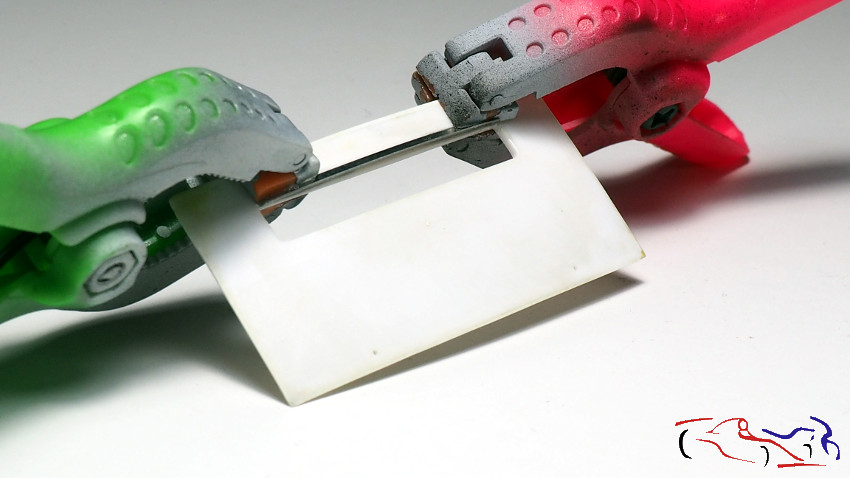
Pero además de la masilla epoxy, le puse ciano mezclado con polvos de talco, que puse en las esquinas con un palillo. Y eso es verdaderamente loq ue me solucionó porque quedó realmente duro. EL siguiente paso, era pegar la pequeña deriva que tiene esa trampilla para desviar el aire. Es un forograbado que pegué con pegamento epoxy, y presionando por los extremos con dos pinzas, dejándolo que se secara varios días. Aun así, se despegó por un lado que tuve que volver a pegar.
But in addition to the epoxy putty, I put cyano mixed with talcum powder, which I put in the corners with a toothpick. And that’s really what it solved it for me because it was really hard. The next step was to glue the small drift that this hatch has to divert the air. It is a picture engraving that I glued with epoxy glue, and pressing the ends with two tweezers, letting it dry for several days. Even so, it came off one side that I had to re-glue.
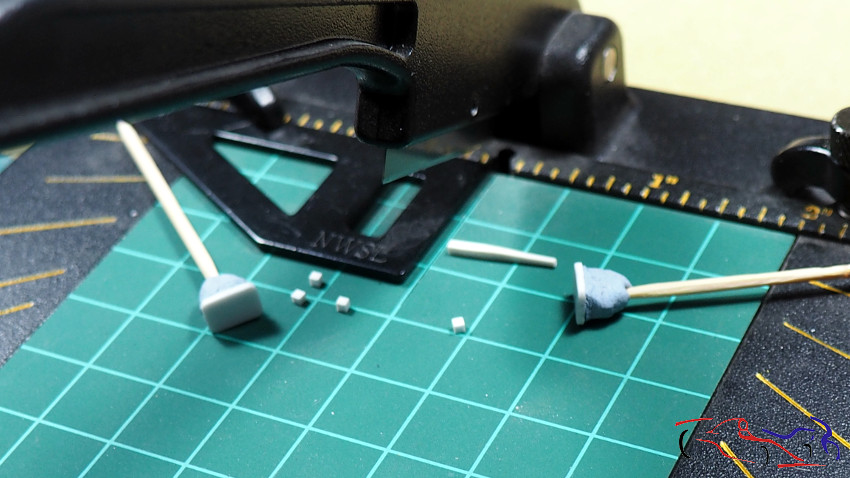
Más tareas realizadas: las conexiones eléctricas de las luces. Una vez eliminado el cromo de la parte de detrás de las luces (delanteras y traseras), lijándolo y dejando la parte del foco con el cromado de origen, corté unos trozos de Evergreen para pegar en la parte de detrás, la que va dentro de la carrocería, y donde irán los cables de las luces. Los trocitos son cúnicos en las luces traseras, como se ve en la siguiente foto, y cilíndricas en las delanteras:
More tasks performed: the electrical connections of the lights. Once the chrome was removed from the back of the lights (front and rear), sanding it and leaving the part of the bulb with the original chrome, I cut some pieces of Evergreen to stick on the back, the one that goes inside the bodywork , and where the light wires will go. The bits are cone-shaped on the taillights, as you can see in the following photo, and cylindrical on the front ones:
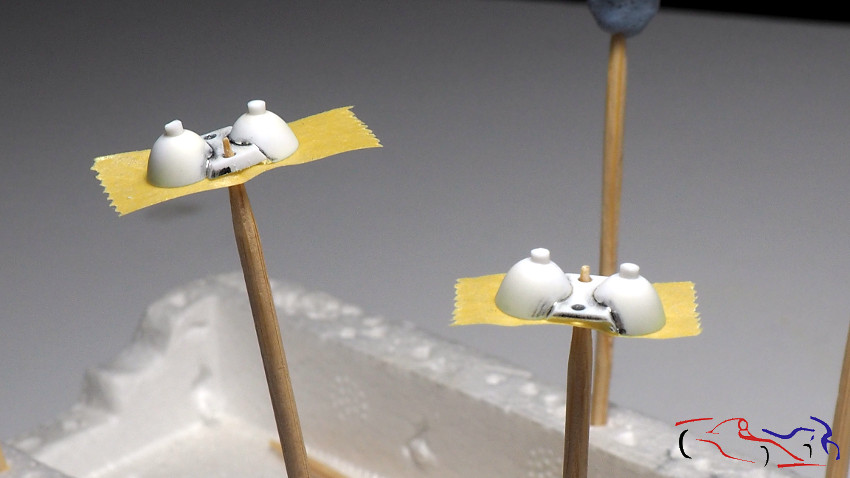
Y para pintarlas, necesitaba tapar el cromado, haciéndolo con cinta de enmascarar para las delanteras y blue tack para las tarseras:
And to paint them, I needed to cover the chrome, doing it with masking tape for the front ones and blue tack for the rear ones:
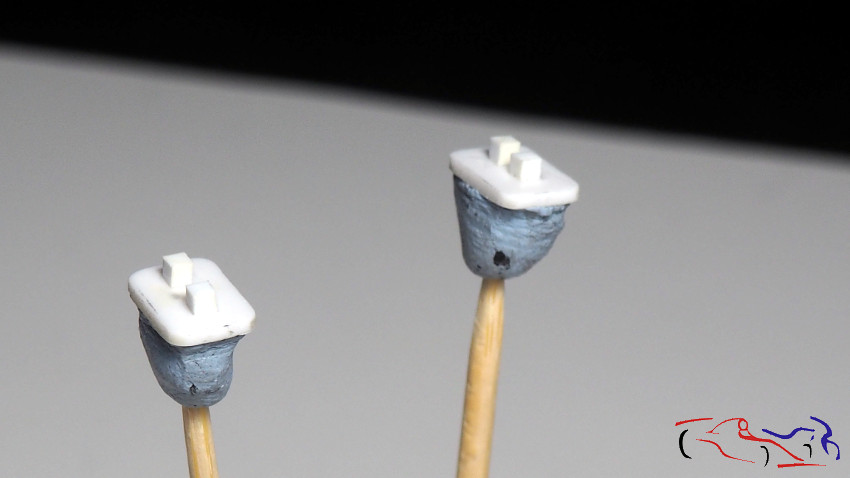
Aquí las vemos ya imprimadas con Gravity:
Here we see them already primed with Gravity:
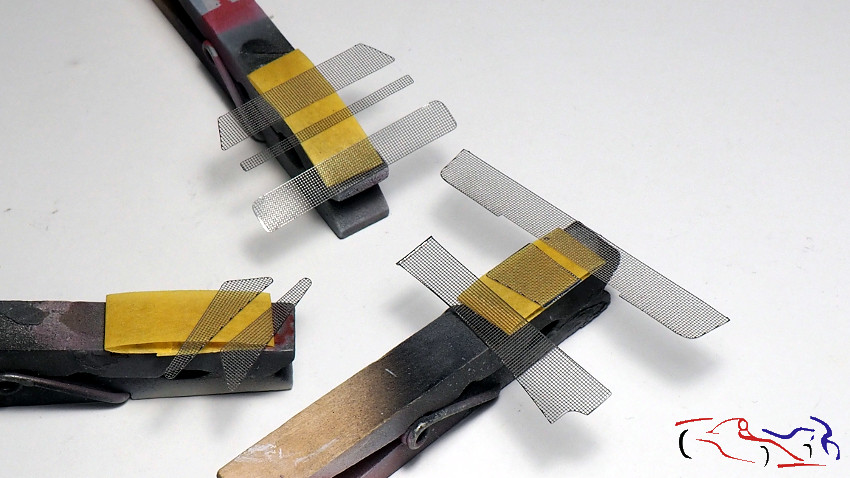
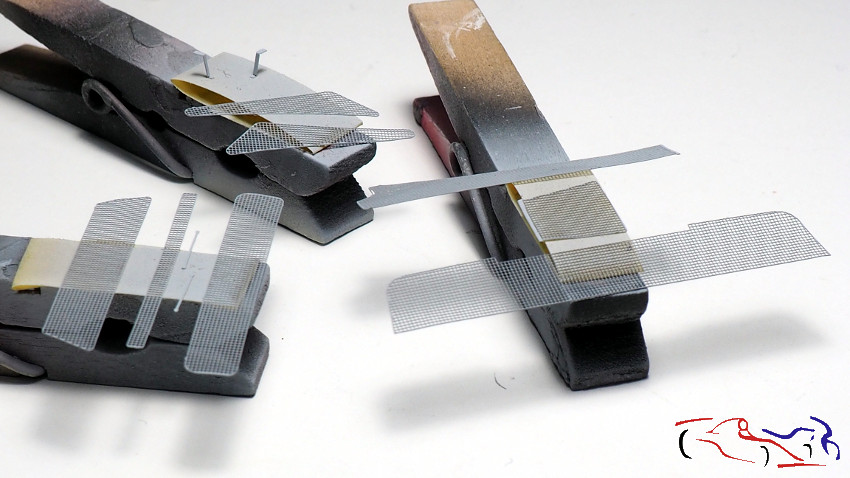
También preparamos las rejillas para su proceso de pintura, que irán en negro, blanco y rojo Marlboro:
We also prepare the grilles for your painting process, which will go in black, white and Marlboro red:
Y las imprimamos!!
And we prime them!!
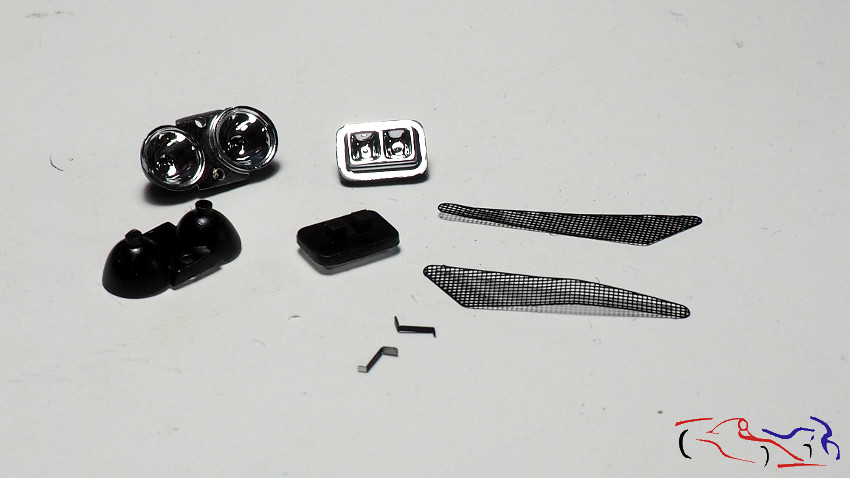
Aquí vemos el resultado de lo pintado en negro satinado X-18: los focos y las rejillas. Las dos piezas pequeñas son los dos tiradores que tienen las trampillas del techo, por donde entra aire al cockpit.
Here we see the result of the X-18 satin black paint: the spotlights and the grilles. The two small pieces are the two handles that have the roof hatches, through which air enters the cockpit.
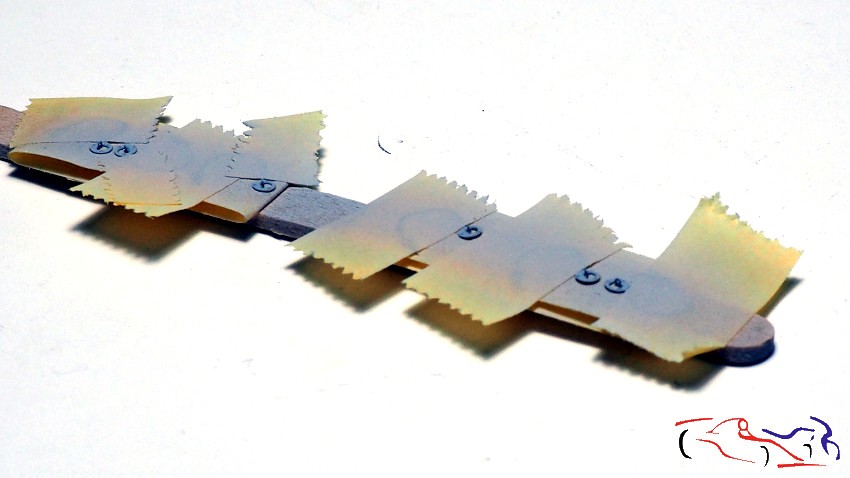
Más piezas. Estos son los 6 cierres de los portones que tiene la carrocería. Van pintados en rojo, pero solo la ebilla. El resto del fotograbado, es decir, el cable y el pasador, los tuve que enmascarar porque esos no se pintan en rojo. Aquí tienen la imprimación Gravity. Más adelante los pintaré de blanco y después de rojo, como la carrocería, y algunas rejillas.
More pieces. These are the 6 closures of the doors that the body has. They are painted red, but only the buckle. I had to mask the rest of the gravure, that are the cable and the pin, because those are not painted in red. Here are with the Gravity primer. Later I will paint them white and then red, like the bodywork, and some grilles.
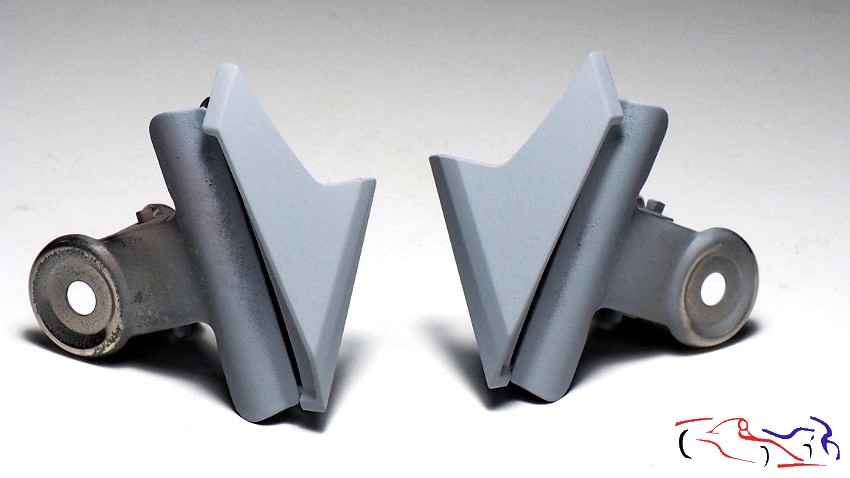
Las tomas de aire laterales y traseras. Imprimadas también con Gravity.
The side and rear air intakes. Also primed with Gravity.
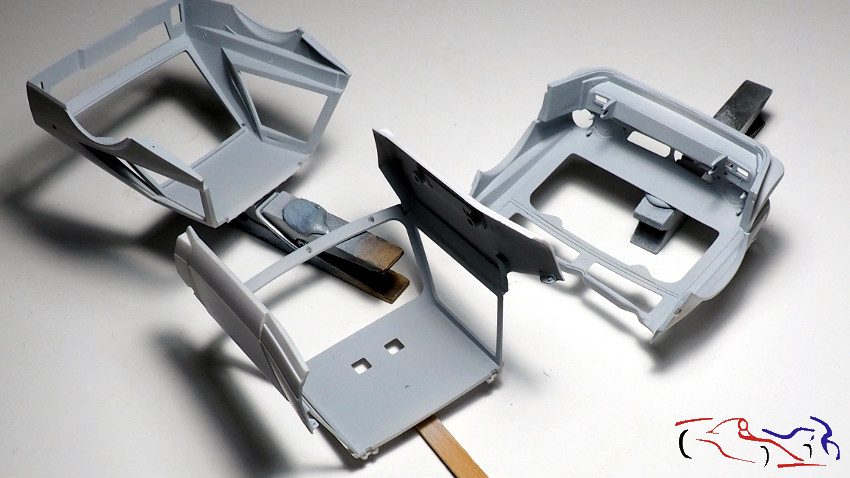
Y como no, ya están imprimados los interiores de la carroceria…
And of course, the interiors of the body are already primed …
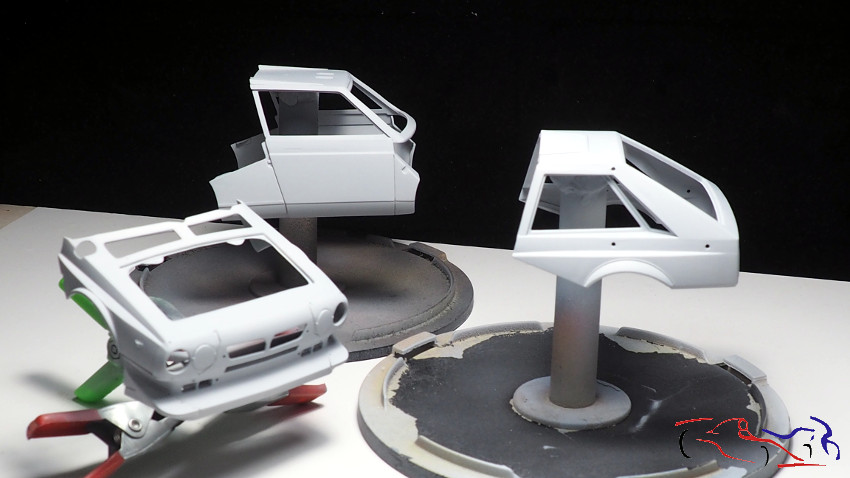
…y el exterior:
… and the exterior:
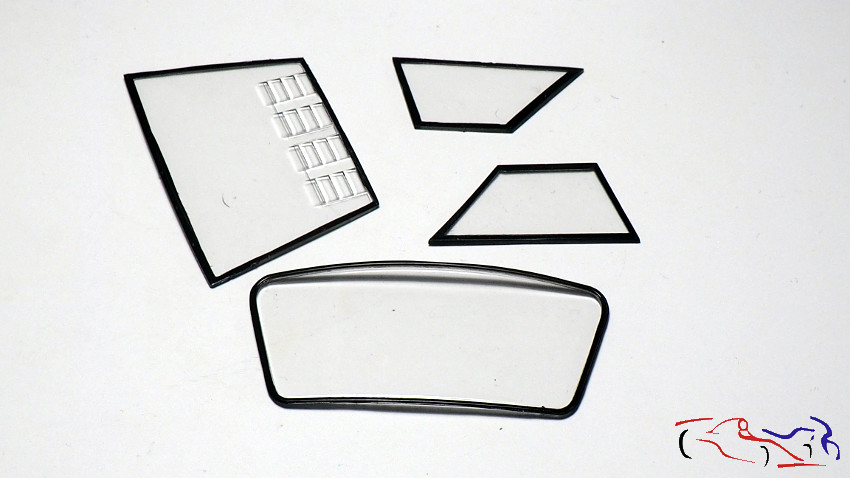
Para finalizar, los cristales ya pintados con negro semimate X-18 de Tamiya.
Finally, the crystals already painted with Tamiya X-18 semi-matt black.
El siguiente post tendrá un poco de color!! Gracias por ver y comentar.
The next post will have a bit of color !! Thanks for viewing and commenting.
Great work, amazing congratulations, I’m following.
Thanks Emerson!! Happy you like it!!
Estupendo!!! que detalles!!!