Continuamos con el Lancia Delta S4, en un punto que ya estaba queriendo llegar: la pintura de la carrocería! Y analizando el proceso, tenía que tener en cuenta que el interior también va pintado por lo que cual tendría que pintar antes? Que ocurre si pinto la carrocería exterior y después sale algo mal al pintar el interior? Que es preferible arreglar: el interior o el exterior? Cláramente, si tengo algo que arreglar, que sea en el interior, por lo que empiezo por ahí, y termino con el exterior.
We continue with the Lancia Delta S4, at a point that was already wanting to reach: the paint of the body! And analyzing the process, I had to take into account that the interior is also painted so which one would I have to paint first? What happens if I paint the exterior bodywork and then something goes wrong when painting the interior? Which is preferable to fix: the interior or the exterior? Clearly, if I have something to fix, let it be inside, so I start inside, and I will end with the outside.
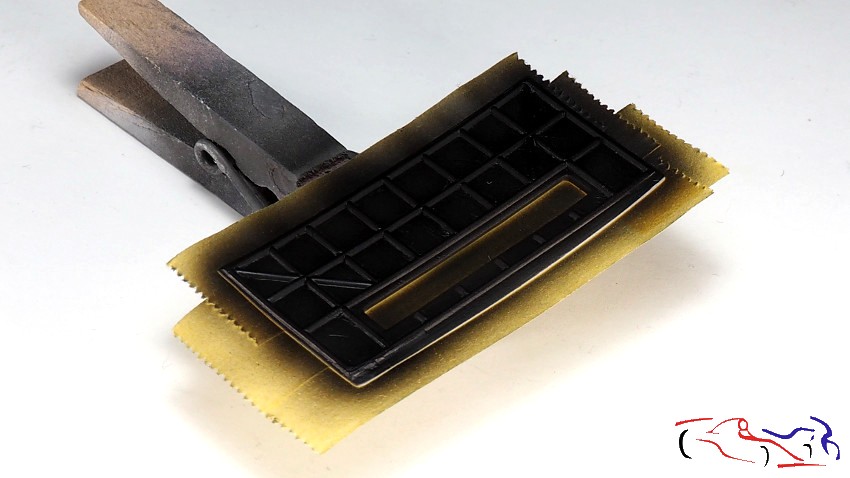
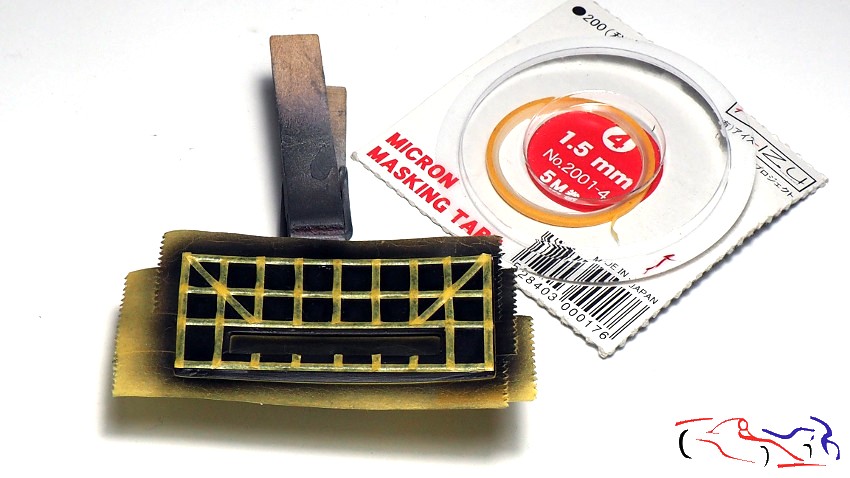
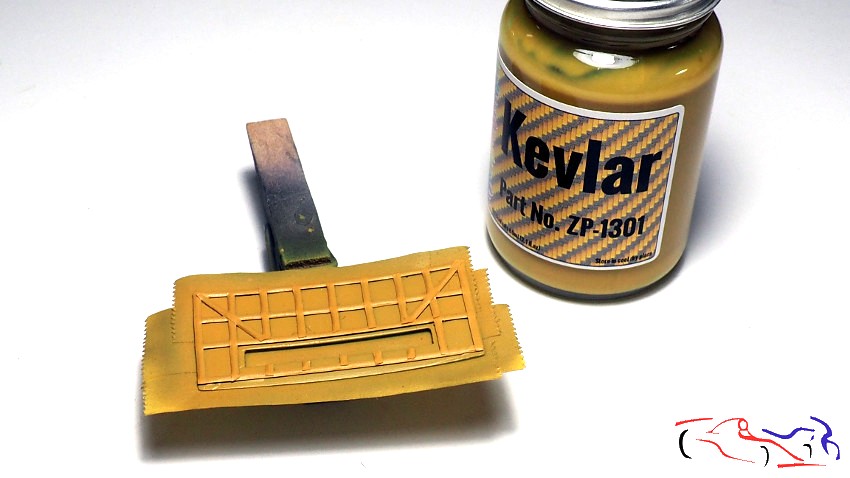
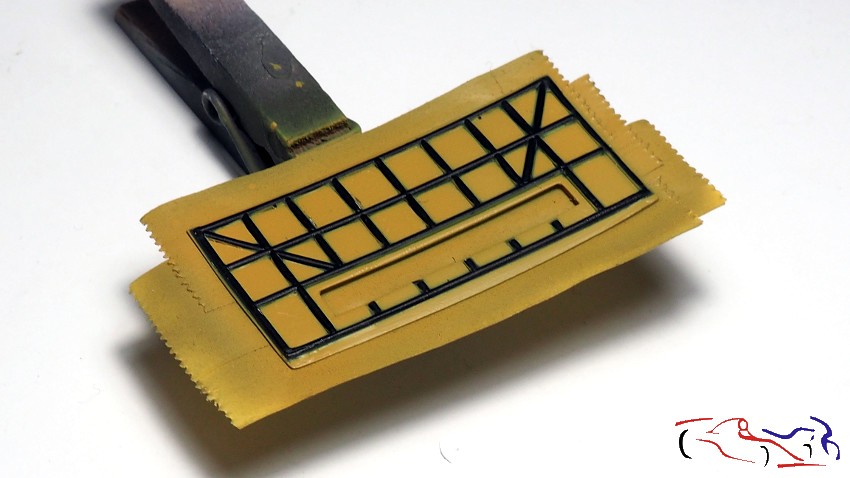
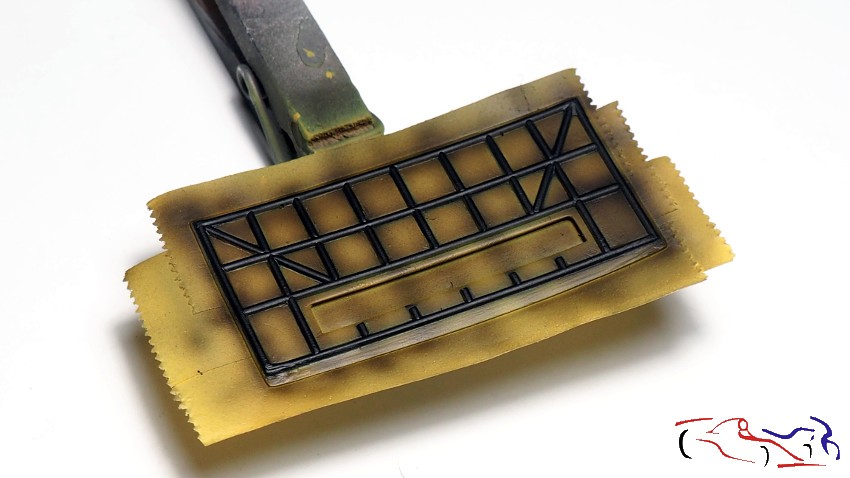
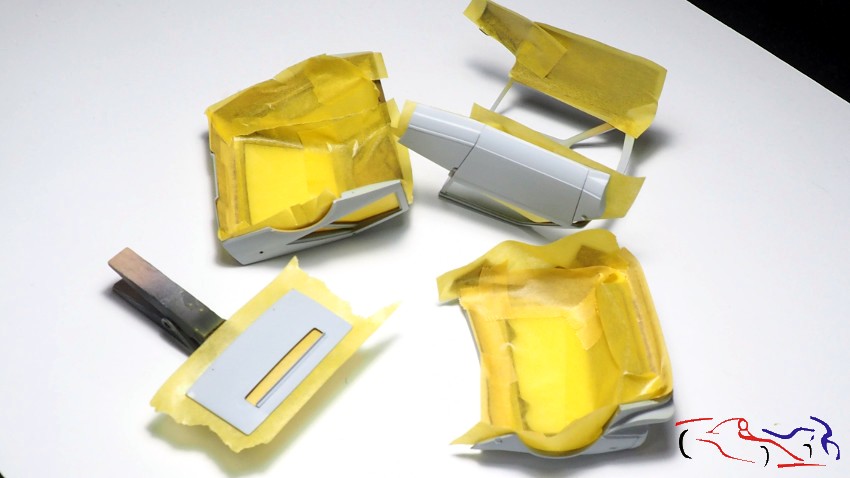
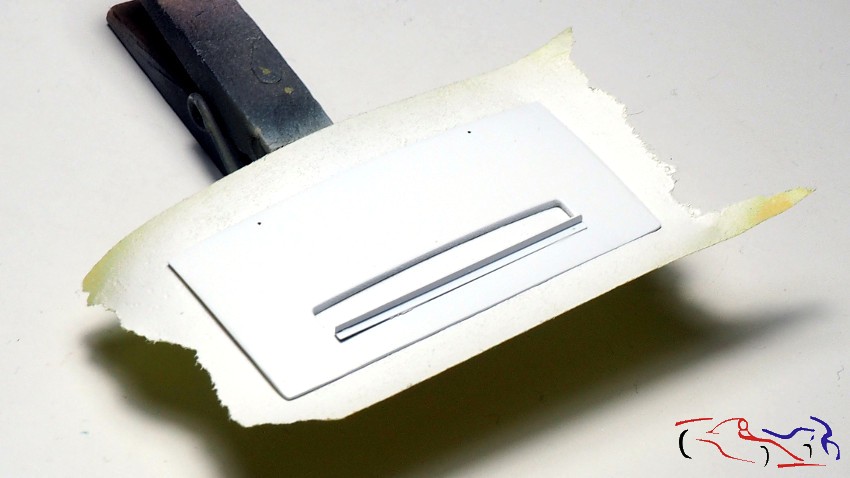
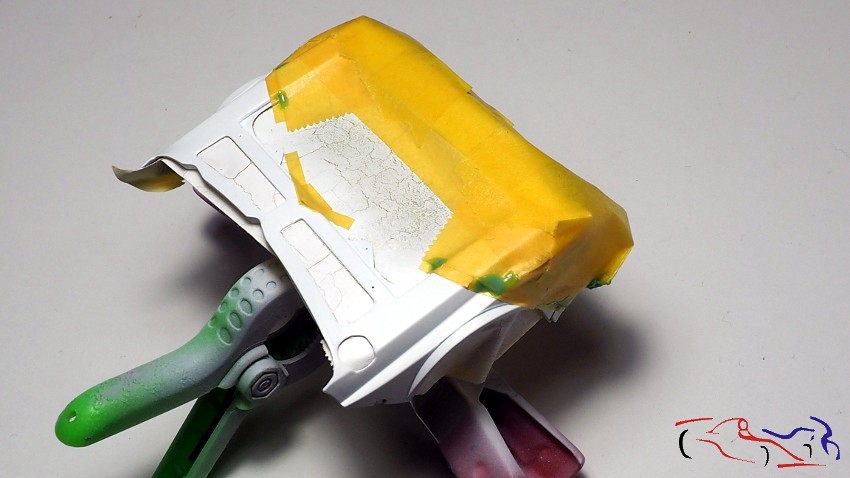
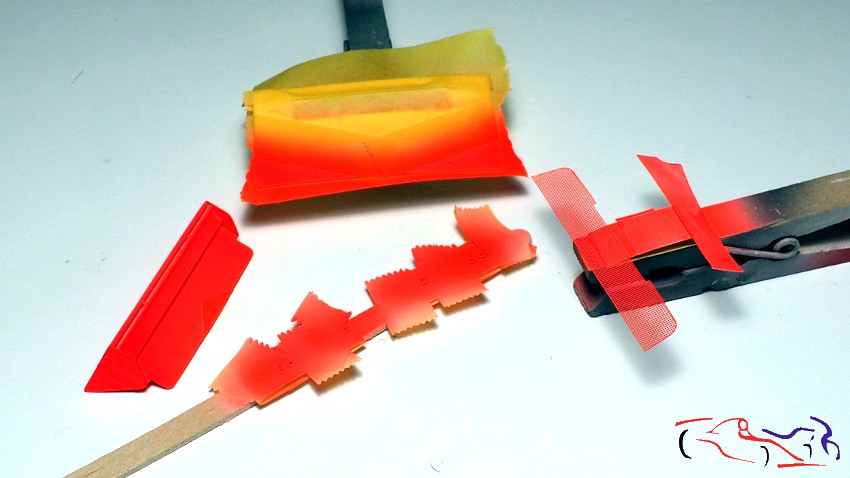
Empezamos por la trampilla que hay en el capo delantero, que va en color kevlar con sus nervios en negro. La siguiente secuencia de fotos, muestro su proceso: Una vez enmascarada la imprimación de la parte exterior, decido pintar todo de negro semimate de Zero.. A continuación, enmascaro los nervios con IZU de 1,5mm. Pintamos todo con color Kevlar de Zero Paint. Retiramos la máscara y sombreamos con el mismo negro semimate de Zero:
We start with the hatch on the front bonnet, which is Kevlar with black nerves inside. I show you this process in the following sequence of photos: Once the primer on the outside is masked, I decide to paint everything in Zero’s semi-matt black. Next, I mask the nerves with 1.5mm IZU. We paint everything with Kevlar color from Zero Paint. We remove the mask and shade with the same semi-matte black as Zero:
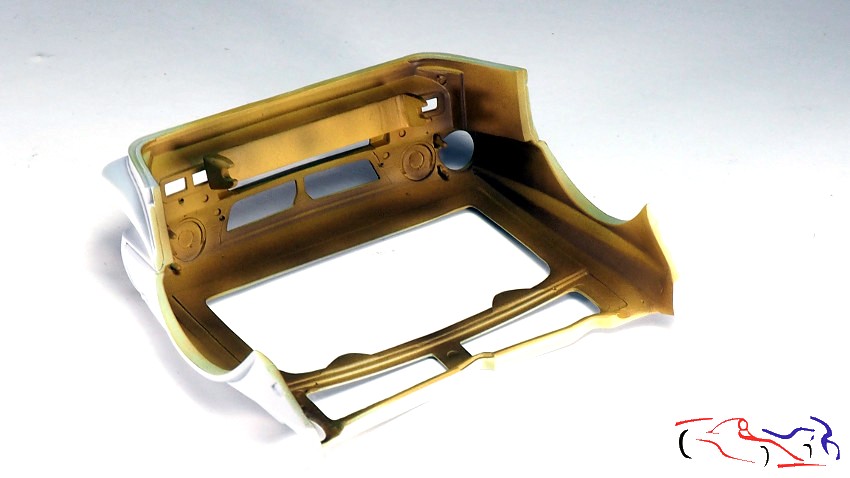
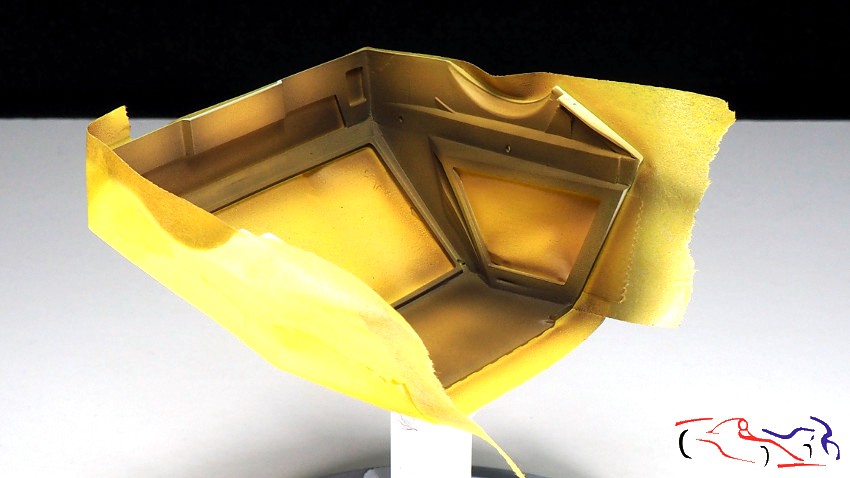
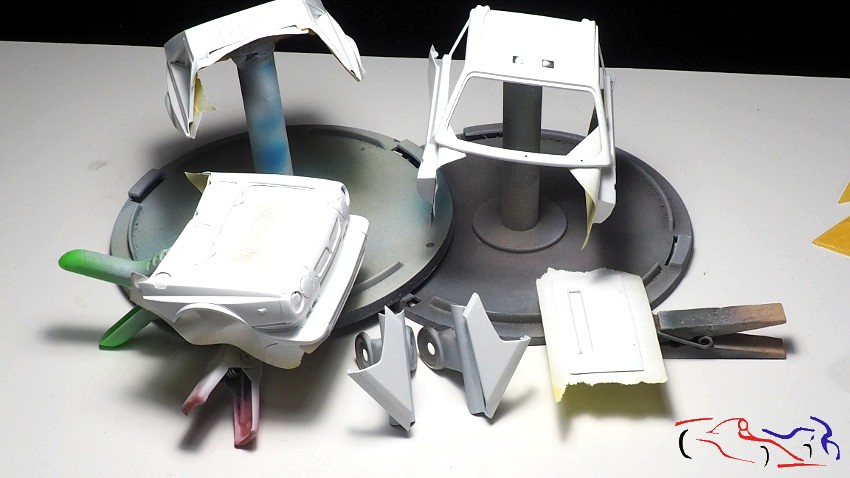
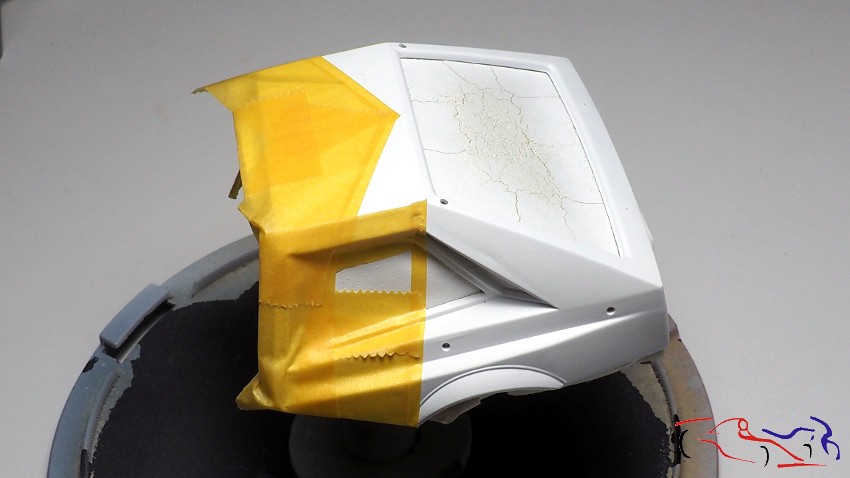
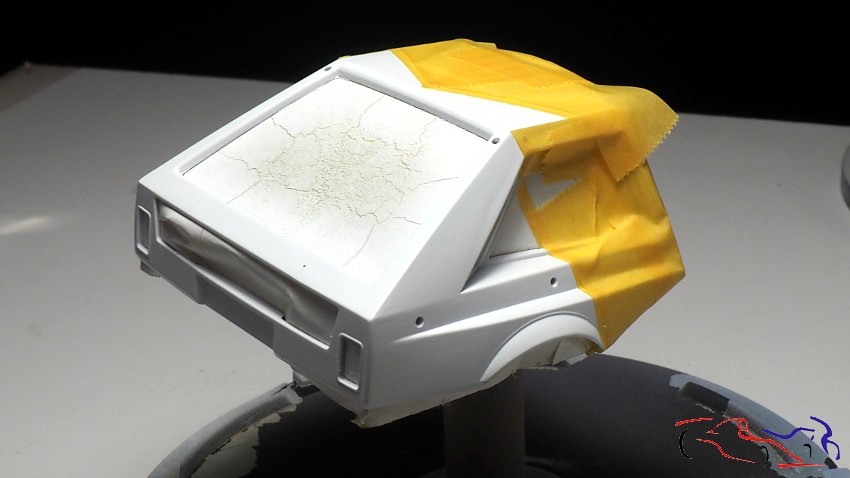
En el resto de la carrocería, hacemos solo los pasos finales, es decir, pintamos en Kevlar y sombreamos con el negro semimate de Zero, siempre muy flojo para ir cubriendo poco a poco, incidieendo el las aristas y dejando sin aplicar en el centro de los paneles:
In the rest of the bodywork, we only do the two previous final steps, I mean, we paint in Kevlar first and shade with Zero’s semi-matte black, always very loose to cover little by little, affecting the edges and leaving the center of the panels:

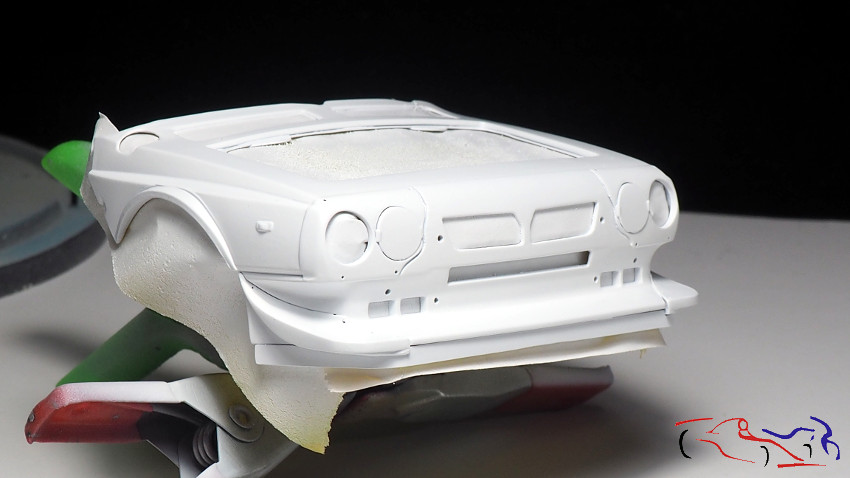
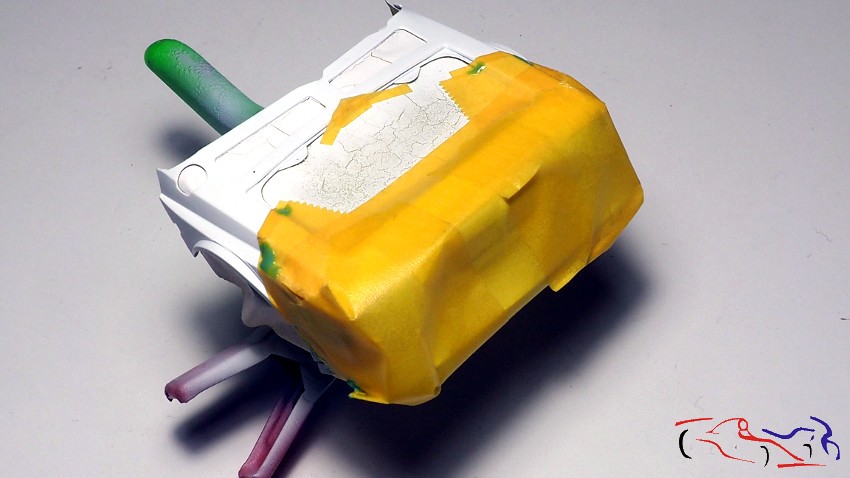
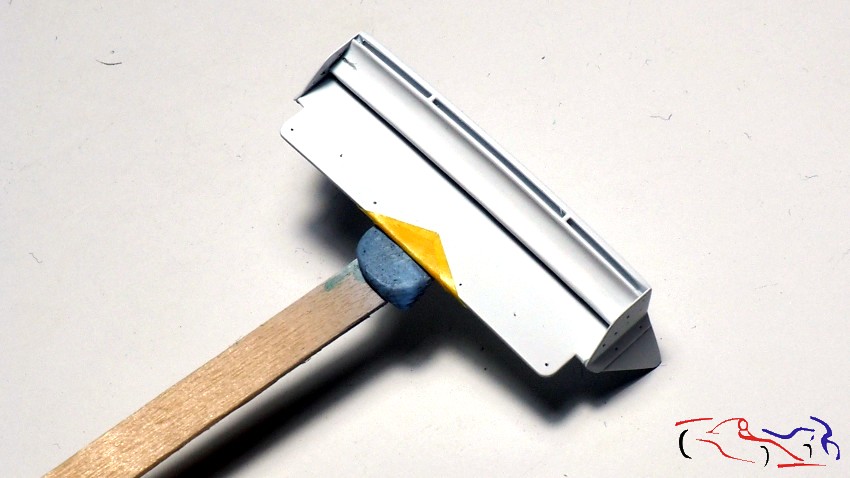
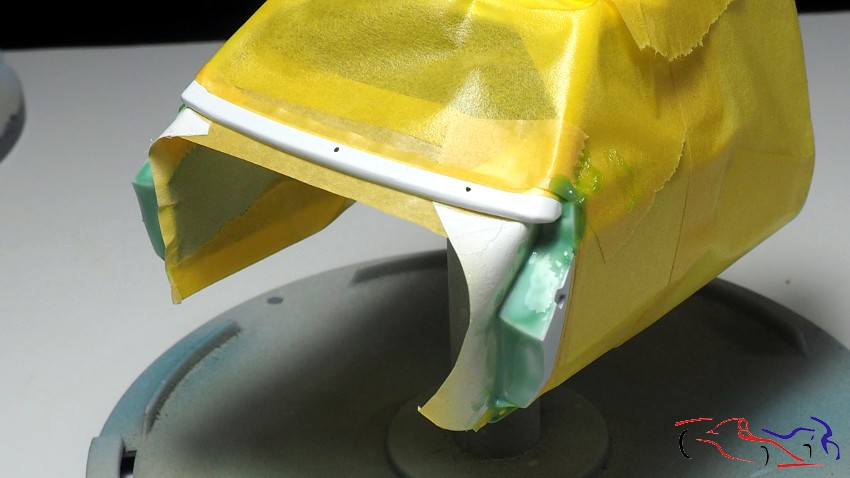
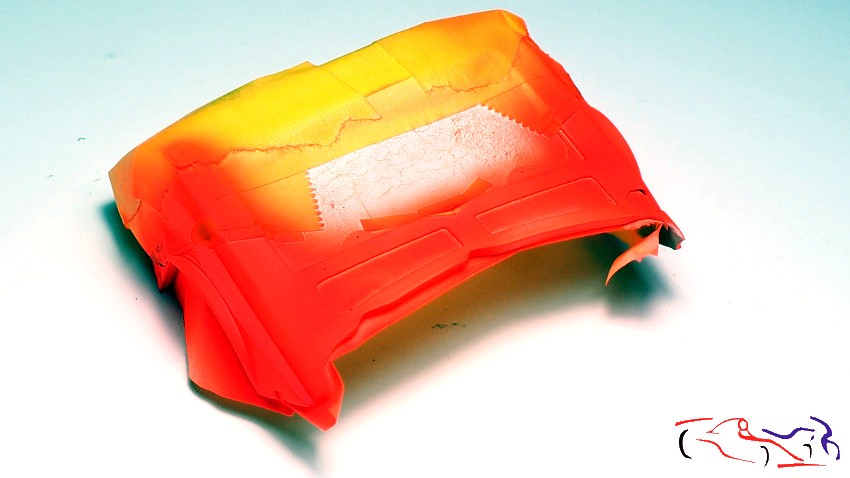
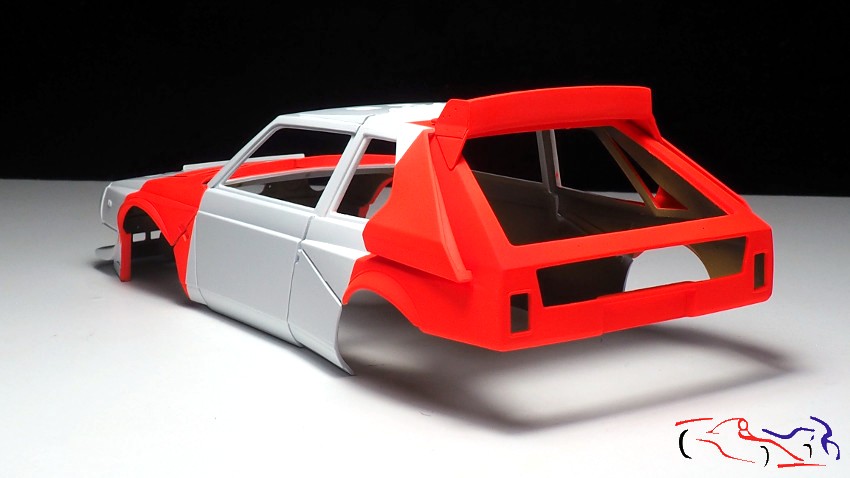
Una vez seco el interior, lo enmascaramos para pintar el exterior:
Once the interior is dry, we mask it to paint the exterior:
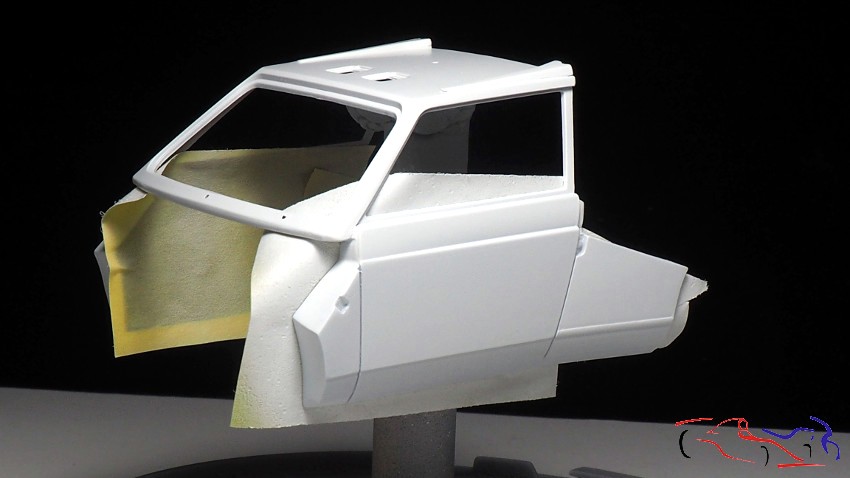
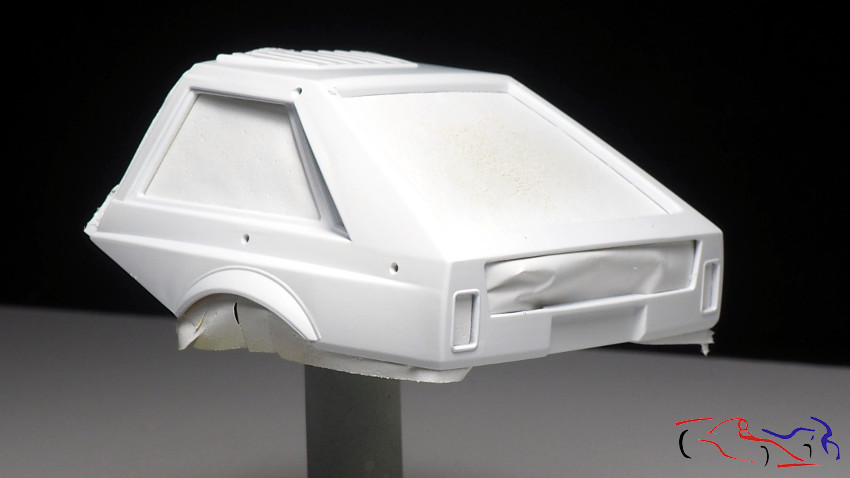
Y aquí está, con 3 manos de blanco brillante de Zero Paints:
And here it is, with 3 shiny white coats from Zero Paints:
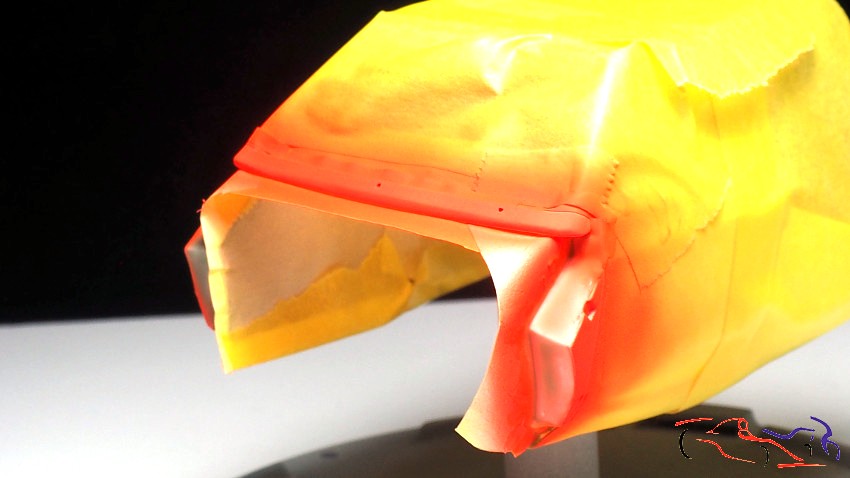
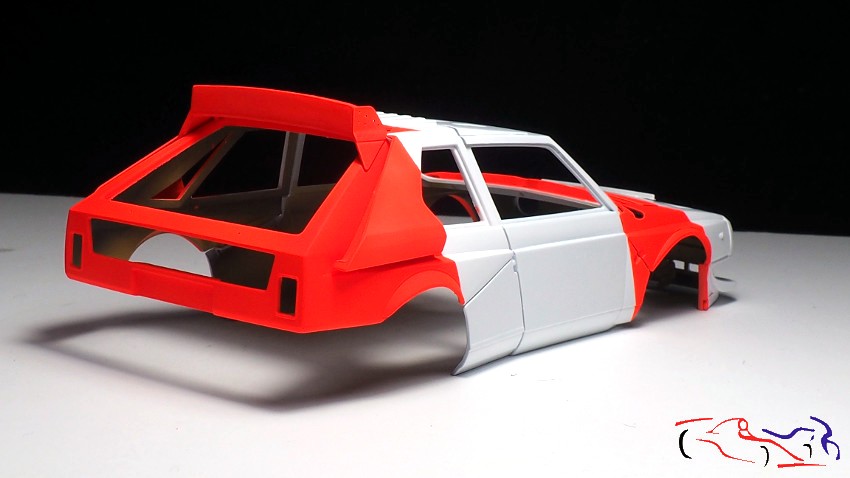
Y después del blanco, viene el enmascarado para el rojo Marlboro. Aquí tardé cerca de 3 horas porque las lineas atravesaban partes de la carrocería que se separaban y había que mantenerlas rectas. Un ejemplo, es la marca enmascarada del alerón trasero que irá de blanco, siendo el resto rojo:
And after the white, it comes the masked for the Marlboro red. Here it took me about 3 hours because the lines were going through parts of the body that were separated and they had to be kept straight. An example is the masked mark on the rear wing that will be white, being the rest red:
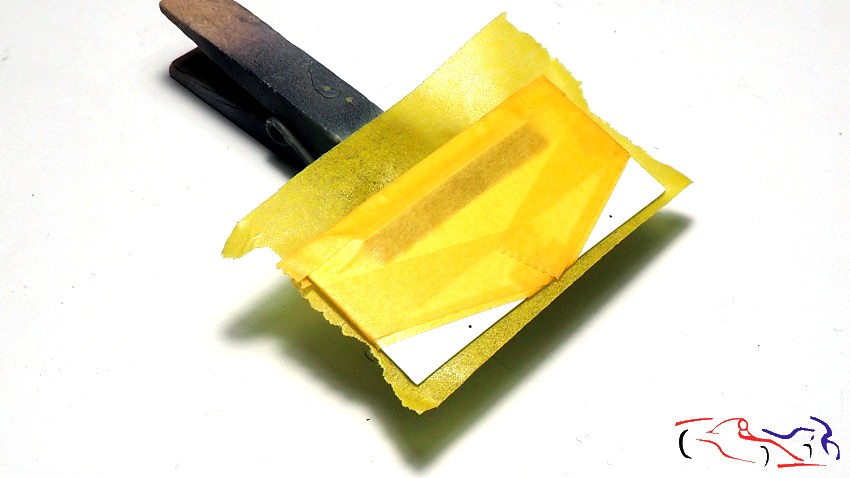
Solo deciros, que en esta pieza, en vez de enmascarar con cinta, le puse líquido para enmascarar Vallejo por su forma tan complicada:
Just tell you that in this piece, instead of masking with tape, I put liquid to mask Vallejo because of its complicated shape:
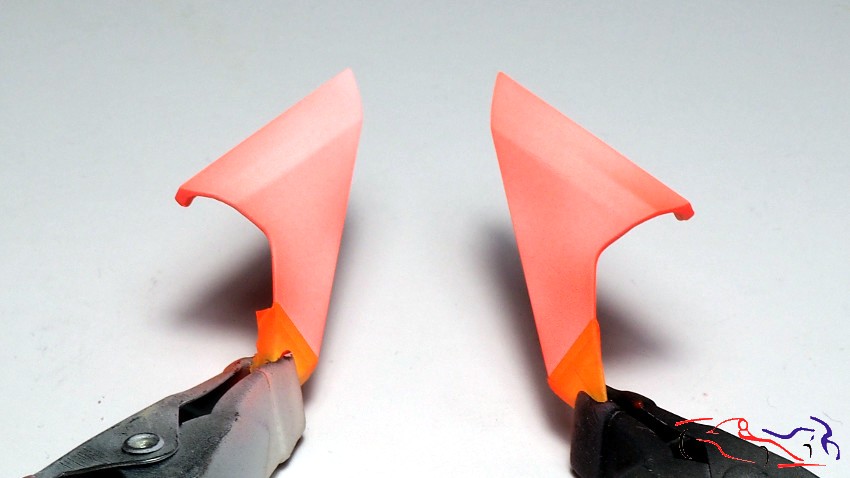
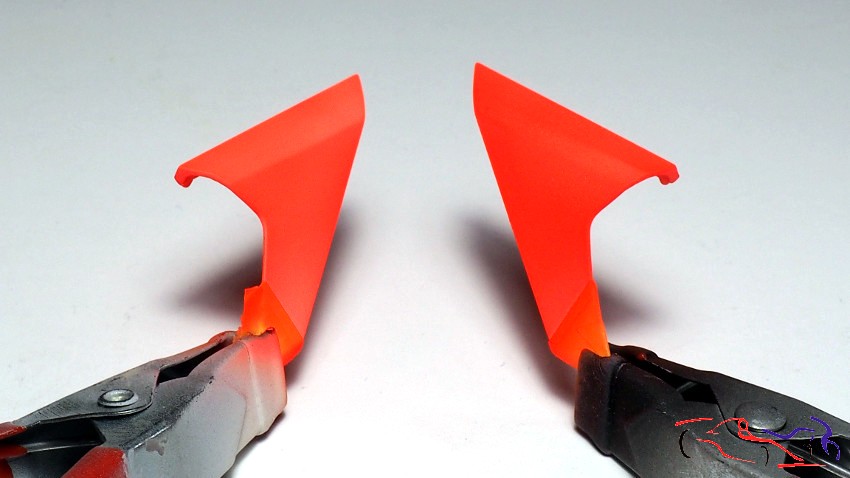
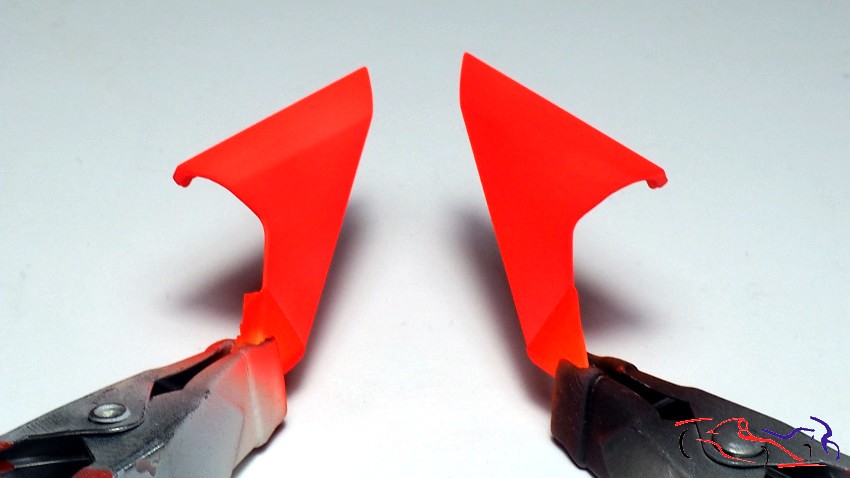
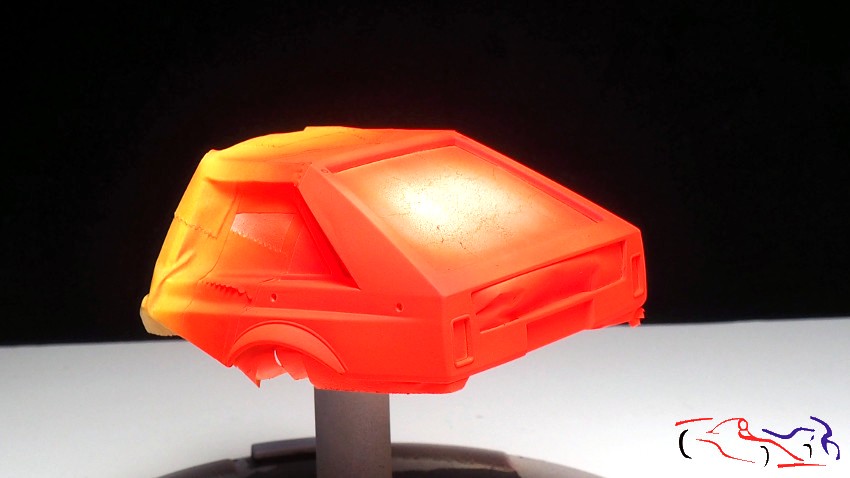
Y vamos a por la pintura. Ya está todo enmascarado y con ganas de usar el Rojo Marlboro de Gravity-Spain. Les he dado a todas las piezas 3 manos de pintura, desde una primera capa muy ligera hasta la tercera en que cubría ya todo. Entre cada mano, he dejado esperar el tiempo en que pintaba el resto de las piezas, entre 5 y 10 minutos. Y la variación entre capas, la podéis ver en esta secuencia, realizada en las tomas de aire laterales:
And let’s go for the paint. Everything is already masked and wanting to use the Marlboro Red from Gravity-Spain. I have given 3 coats of paint to all the pieces, from a very light first coat to the third one in which it was already covered everything. Between each coat, I have allowed the time in which I painted the rest of the pieces to wait, between 5 and 10 minutes. And you can see the variation between layers in this sequence, done in the side air intakes:
A continuación os muestro las piezas pintadas: trampilla delantera del capó, alerón y fotograbados.
Next, I show you the painted parts: front hood hatch, spoiler and photo-etched parts.
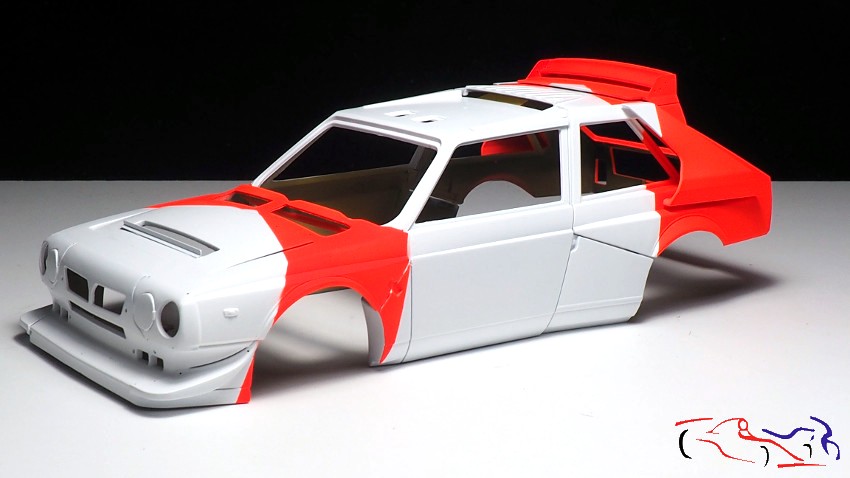
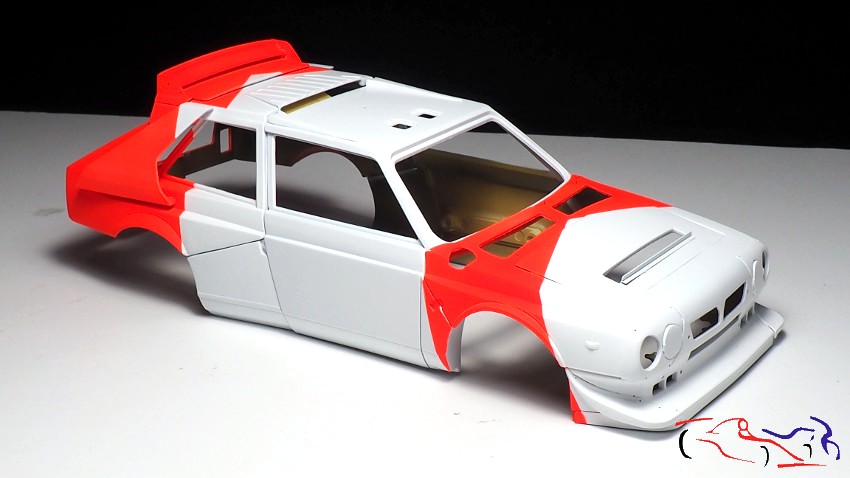
Y las tres piezas que componen la carrocería:
And the three parts that make up the body:
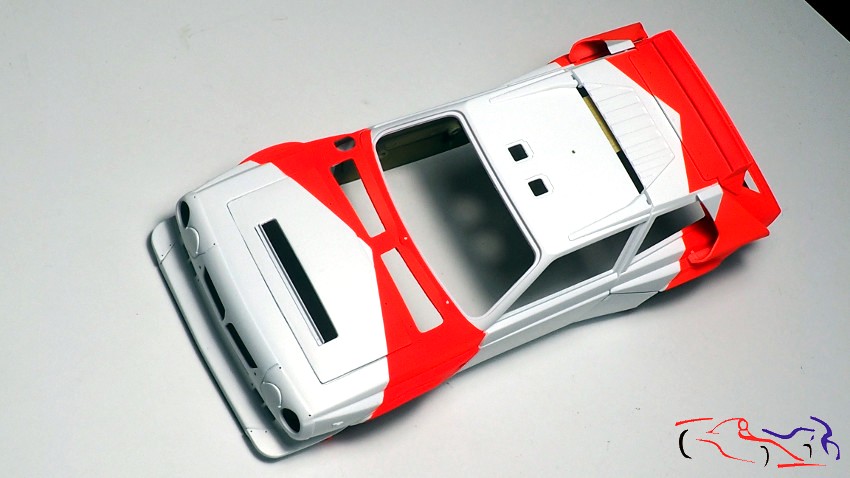
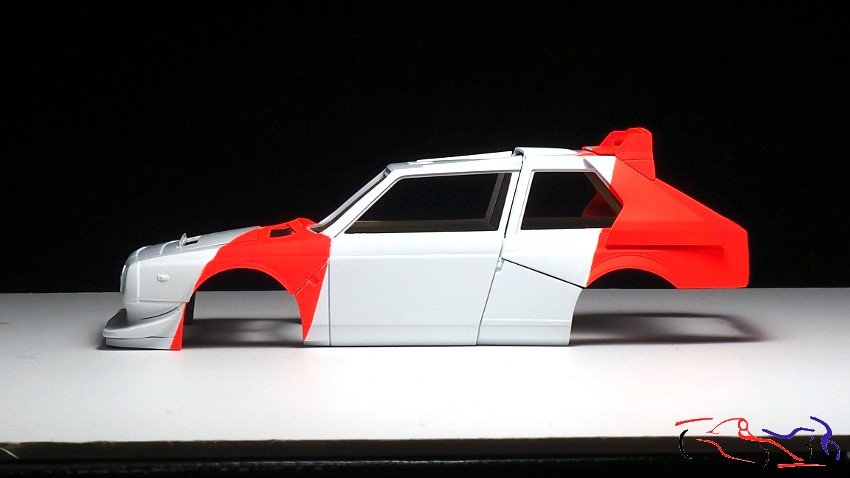
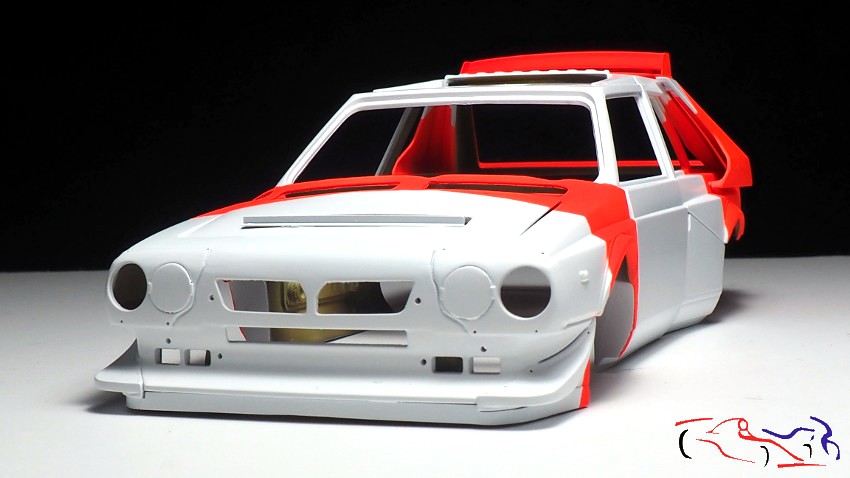
Una vez seco, con mucha impaciencia, eliminé el enmascarado siendo éste es el resultado, con las piezas superpuestas: un resultado del que estoy muy contento!!
Once dry, with great impatience, I eliminated the masking, this being the result, with the overlapping pieces: a result that I am very happy with !!
Ahora es turno de pintar los dos logos de Marlboro de las puertas, barnizar, poner calcas y…lacar! Pero todo eso en el próximo post!. Gracias por ver y comentar!
Now it’s time to paint the two Marlboro logos on the doors, varnish, put decals and … lacquer! But all that in the next post! Thanks for viewing and commenting!


