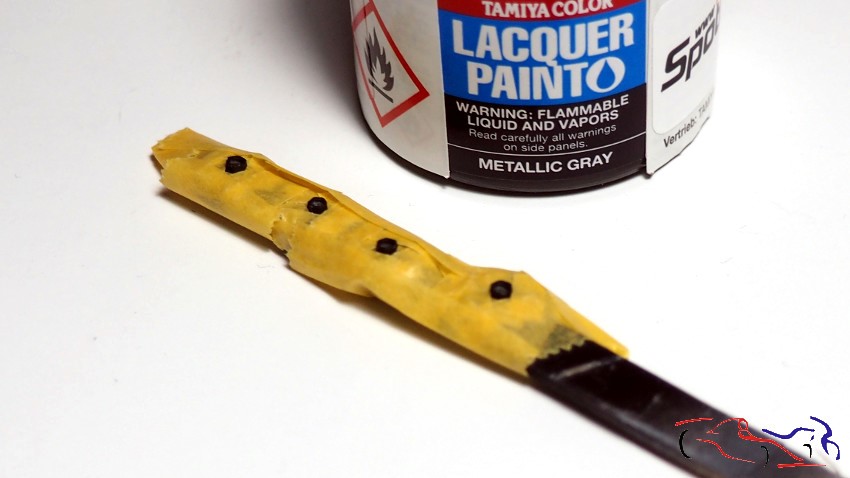
Hola a todos. Continuamos con este kit, que estoy haciendo al mismo tiempo que el otro Porsche 917 y que el March 701. En primer lugar, os muestro el trabajo realizado con las llantas. Una vez pintadas de negro semi mate LP de Tamiya, enmascaro las tuercas y las pinto con el gris metálico LP de Tamiya. El resultado lo veremos en el siguiente post:
Hello everyone. We’re continuing with this kit, which I’m working on at the same time as the other Porsche 917 and the March 701. First, I’ll show you the work I’ve done on the wheels. Once painted with Tamiya LP semi-matte black, I masked off the lug nuts and painted them with Tamiya LP metallic gray. We’ll see the result in the next post.

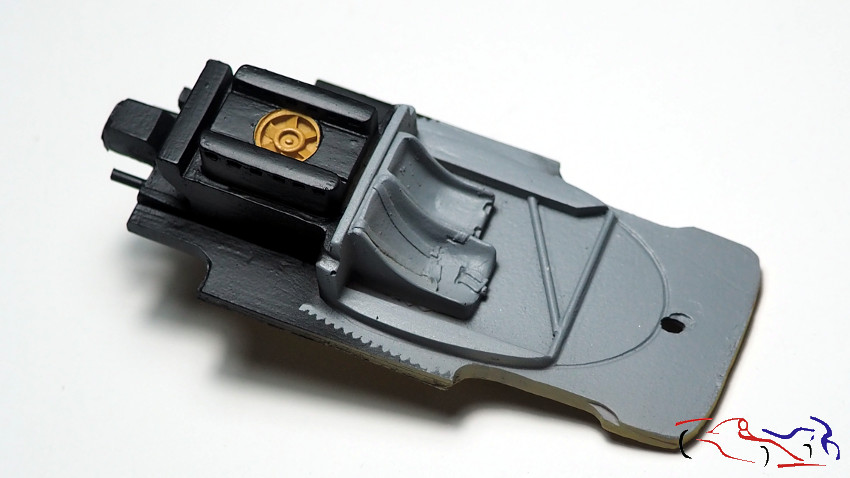
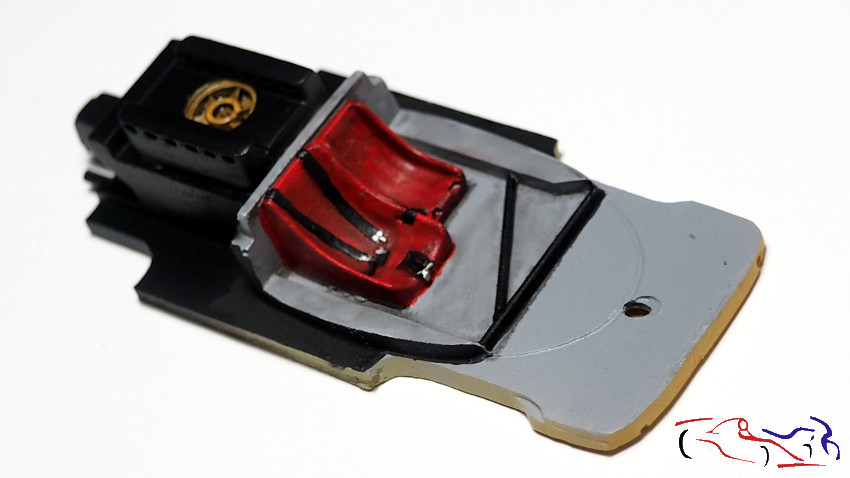
Pasamos al chasis. Esta pieza la vamos a pintar de gris, con el ventilador en color Kevlar de Zero, y el negro semi mate LP de Tamiya. Los asientos, los cinturones y las barras están pintados a pincel con colores Vallejo, y le he aplicado a todo el conjunto, unos lavados de Panel Liner negro de Tamiya:
Now we move on to the chassis. We’re going to paint this part gray, with the fan in Zero Kevlar paint and Tamiya LP semi-matte black. The seats, seatbelts, and bars are hand-painted with Vallejo colors, and I’ve applied washes of Tamiya Panel Liner black to the whole assembly.
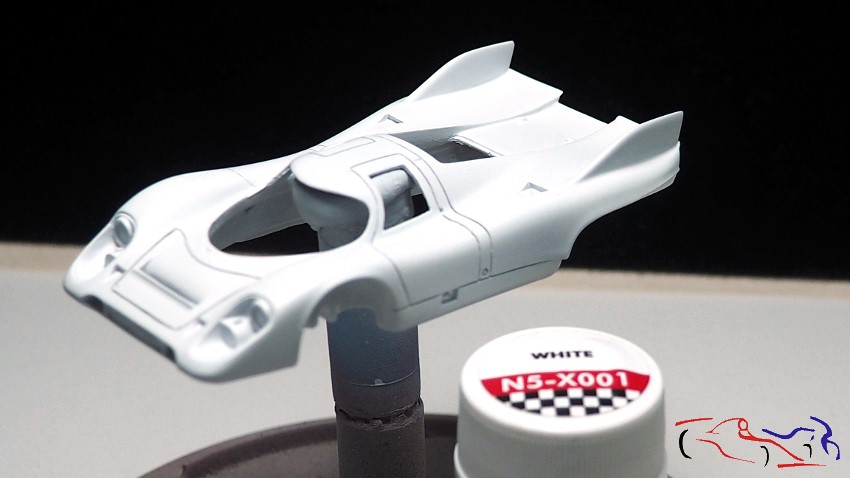
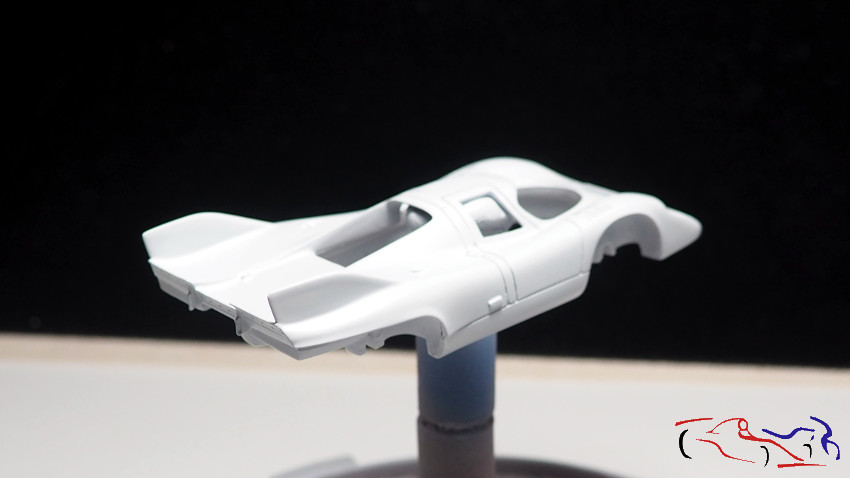
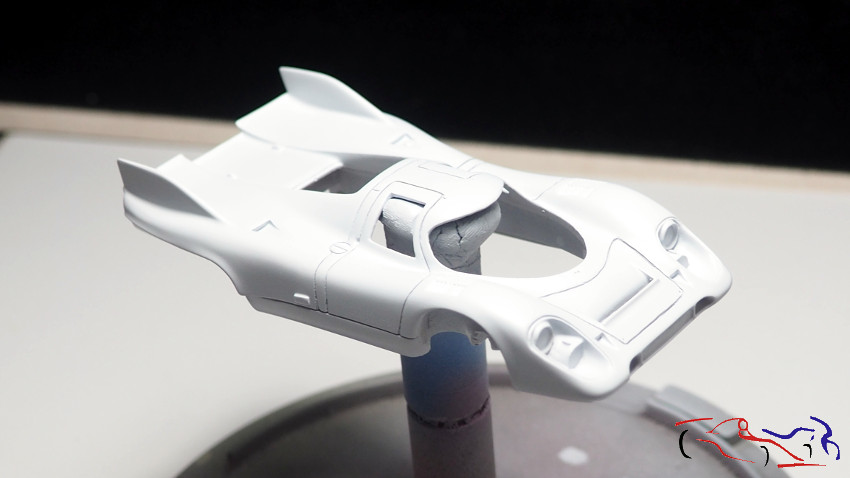
Y ahora, es el turno de la carrocería. La pintamos con el blanco Numer5 sobre la imprimación de Gravity:
And now, it’s the body’s turn. We painted it with Numer5 white over Gravity primer:
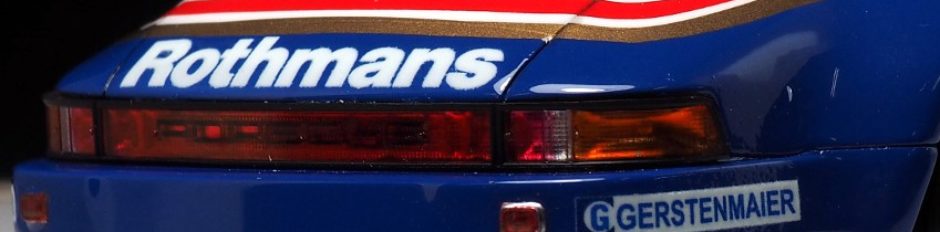
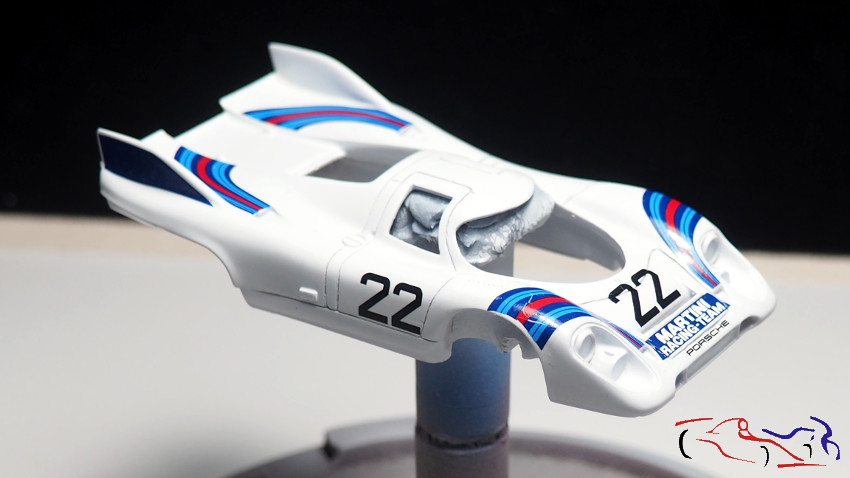
Y después de una capa de Future, empiezo a aplicar las calcas, con mucho cuidado, con mucho líquido, y mucho calor, porque son muy duras y viejas. También le aplico el pegamento de calcas de Tamiya.
After applying a coat of Future primer, I start applying the decals very carefully, using plenty of fluid and a lot of heat, because they are very hard and old. I also apply Tamiya decal adhesive.
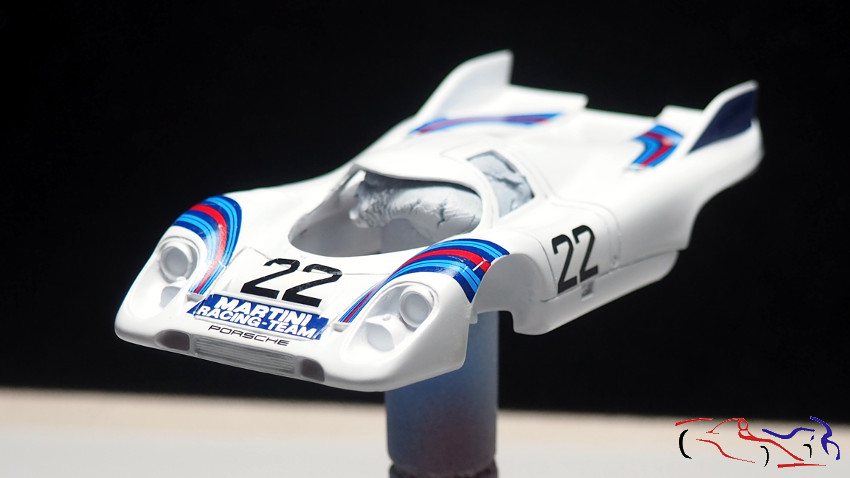

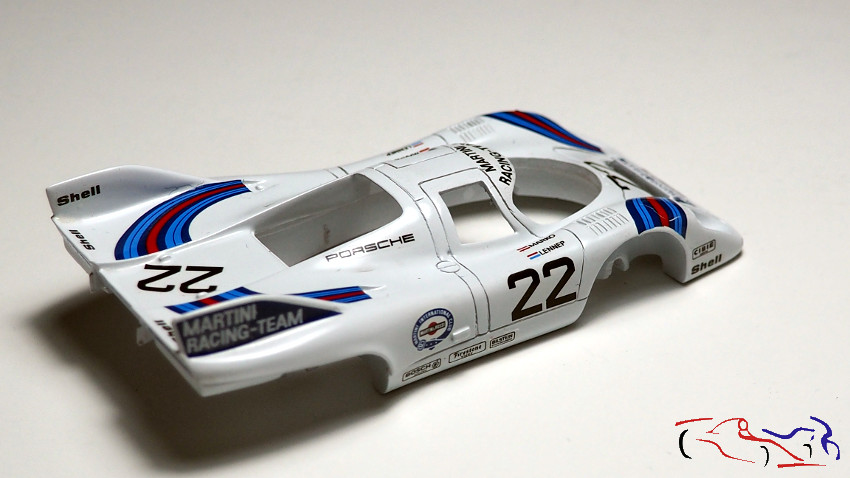
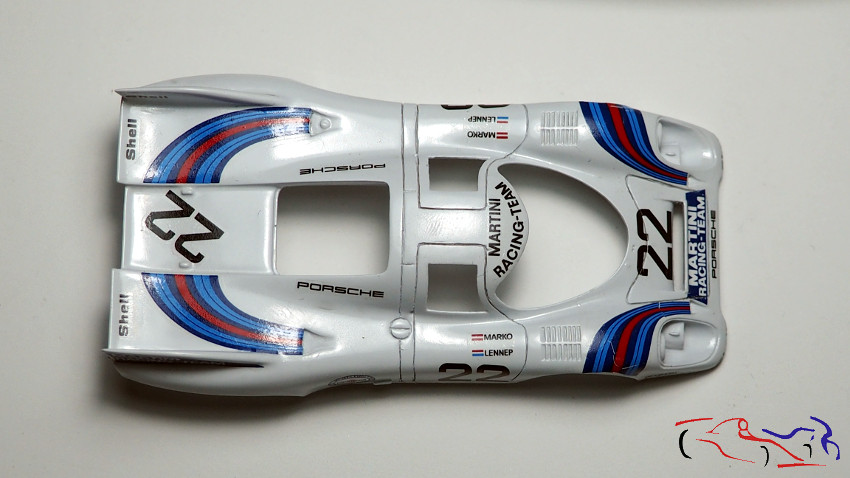
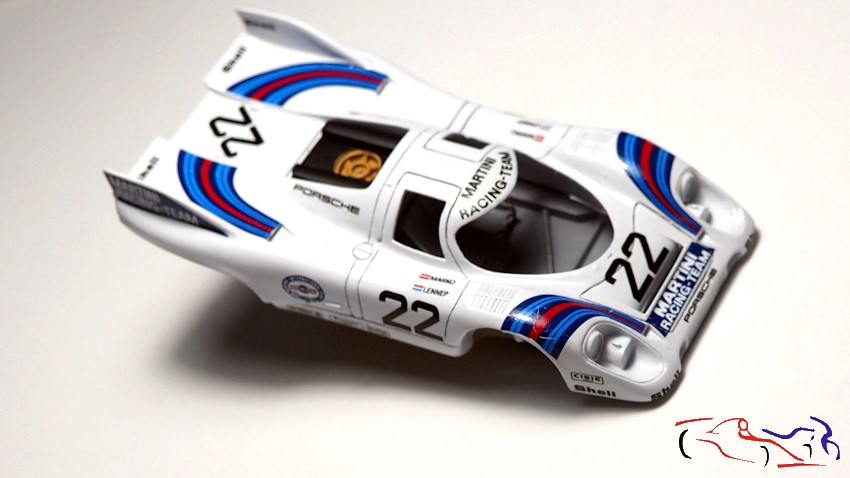
Y después de pasar mucho tiempo con estas pocas calcas, tenia que ver la carrocería con el chasis!!
And after spending a lot of time with these few decals, I had to see the bodywork match the chassis!
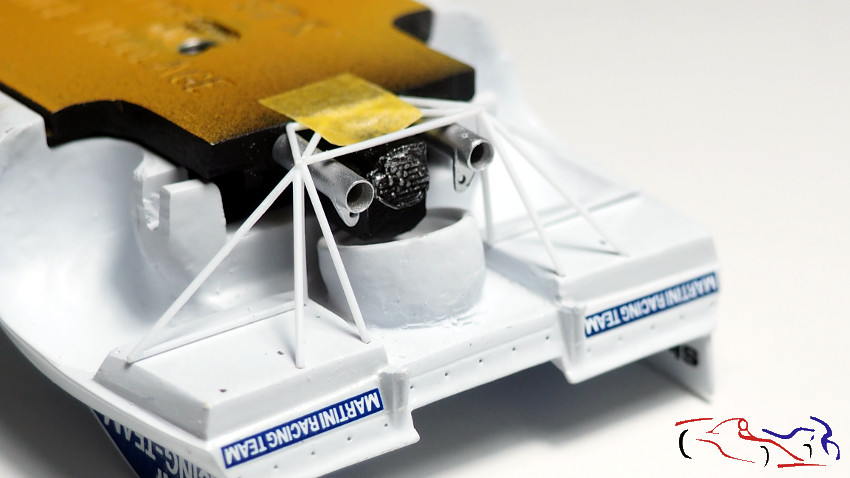
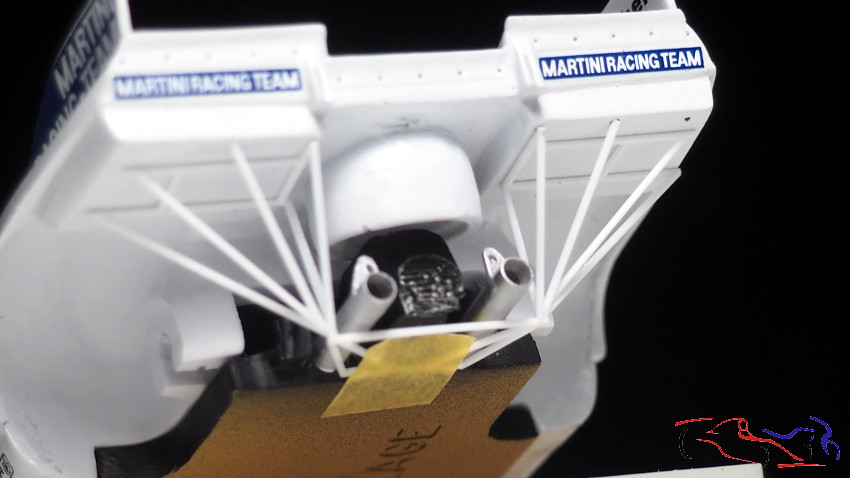
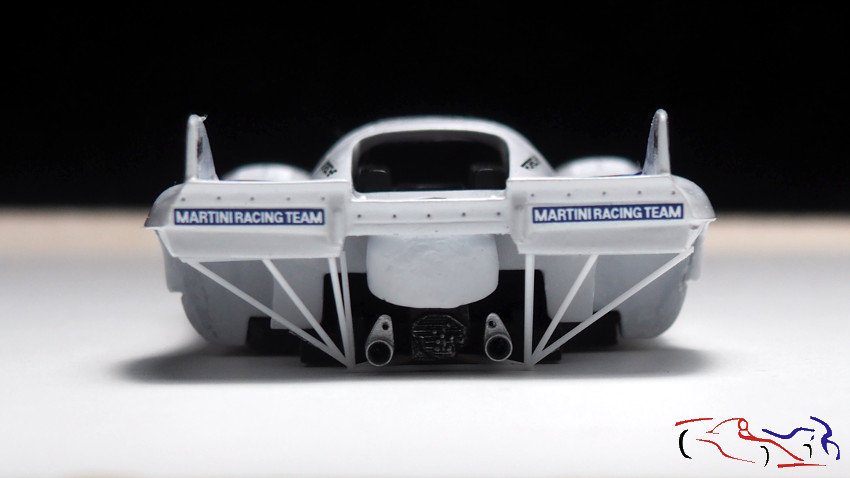
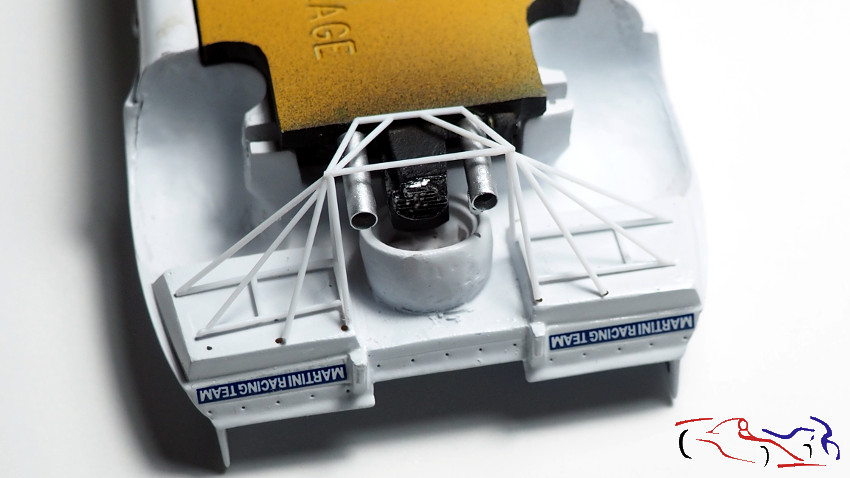
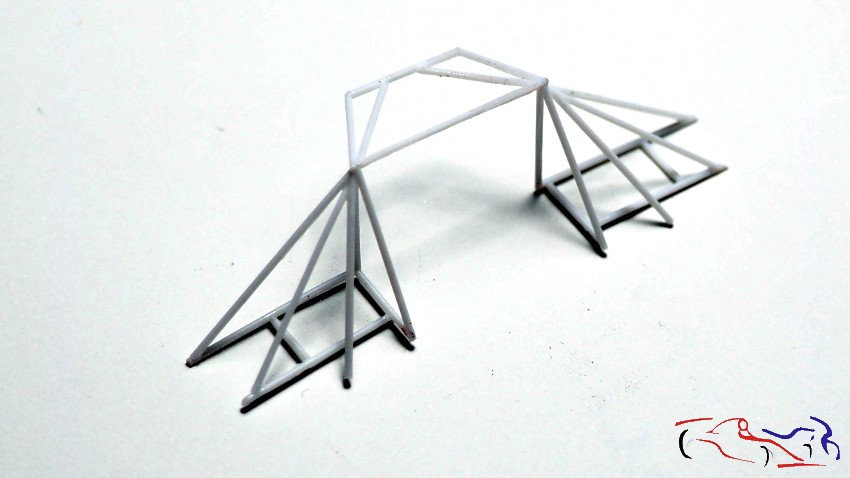
En la parte trasera, el entramado tubular que tare el kit es un poco escaso y complicado, con 3 fotograbados. Los desecho y decido hacerlo yo con varilla de 0,5 mm. El proceso empezó con las varillas que están debajo de la cinta de enmascarar en la primera foto, y continuó pogando el resto de varillas. Lo hice sobre una base de cristal, ya que el pegamento de Tamiya del tapón verde claro, no le afecta, y se puede separar sin problema. En la primera foto, también podéis ver los tubos de escape metálicos, con sus fijaciones realizadas posteriormente con plástico.
At the rear, the tubular frame included in the kit is a bit sparse and complicated, with only three photo-etched parts. I discarded them and decided to make it myself using 0.5mm rod. The process began with the rods visible under the masking tape in the first photo, and continued with the remaining rods. I worked on a glass base, as the Tamiya glue on the light green cap doesn’t affect it, and it can be easily removed. In the first photo, you can also see the metal exhaust pipes, with their mountings added later using plastic.
Esta pieza irá pintada en negro semi mate, pero eso será en el próximo post. Gracias por ver y comentar!!
This piece will be painted in semi-matte black, but that will be in the next post. Thanks for watching and commenting!


