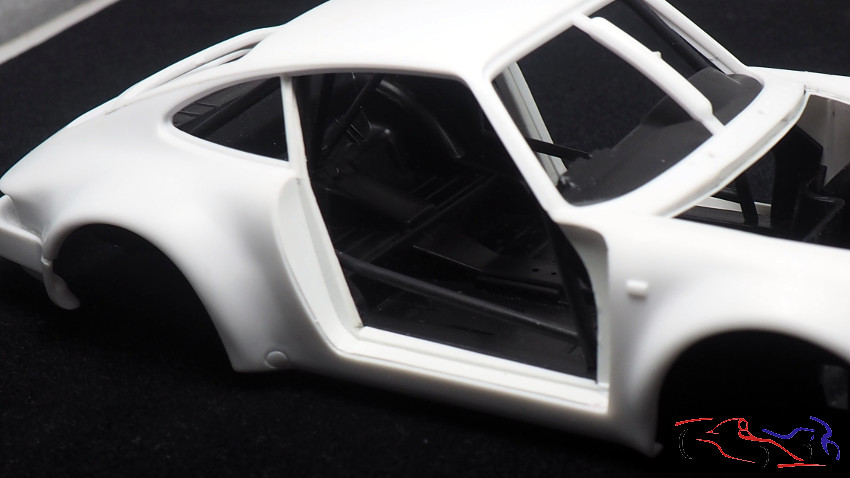
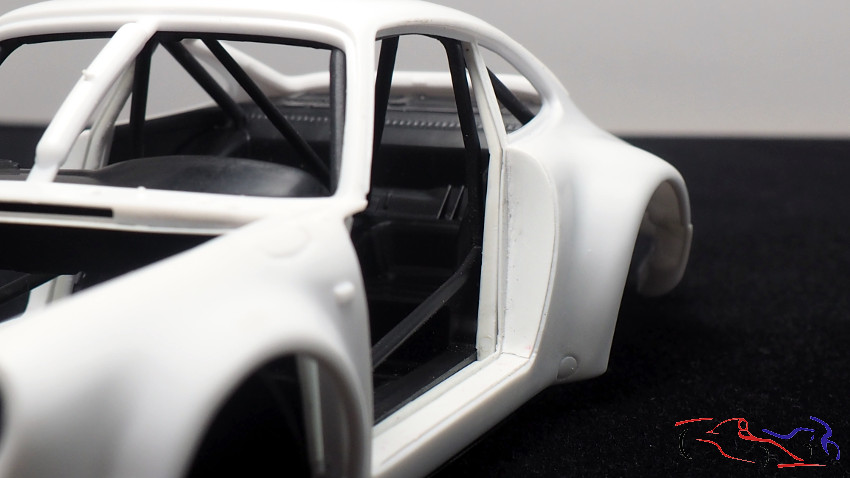
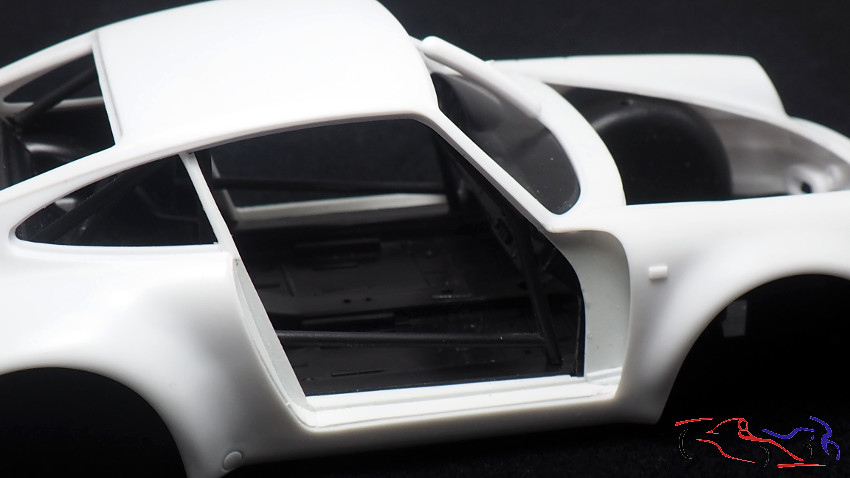
Continuamos con el Porsche, modificando las partes que se ven ahora después de cortar, en este caso, las puertas. En las siguientes fotos, podéis ver las piezas de plástico que he puesto en el interior de la carrocería, donde va encajada la puerta. Falta enmasillar y afinar con lija.
We continue with the Porsche, modifying the parts that are seen now after cutting, in this case, the doors. In the following photos, you can see the plastic pieces that I have put inside the body, where the door is fitted. Need to putty and refine with sandpaper.
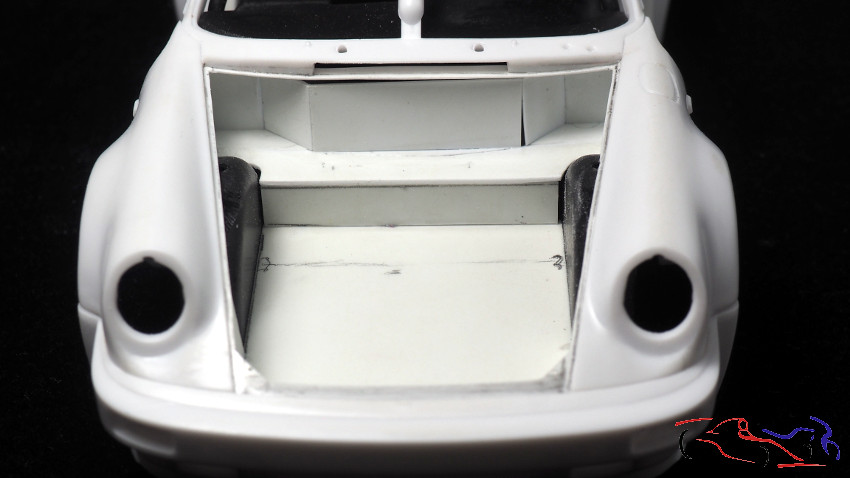
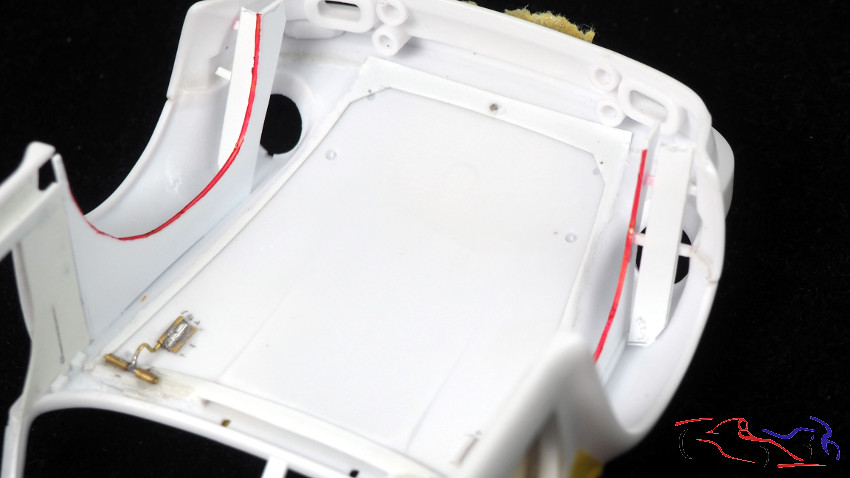
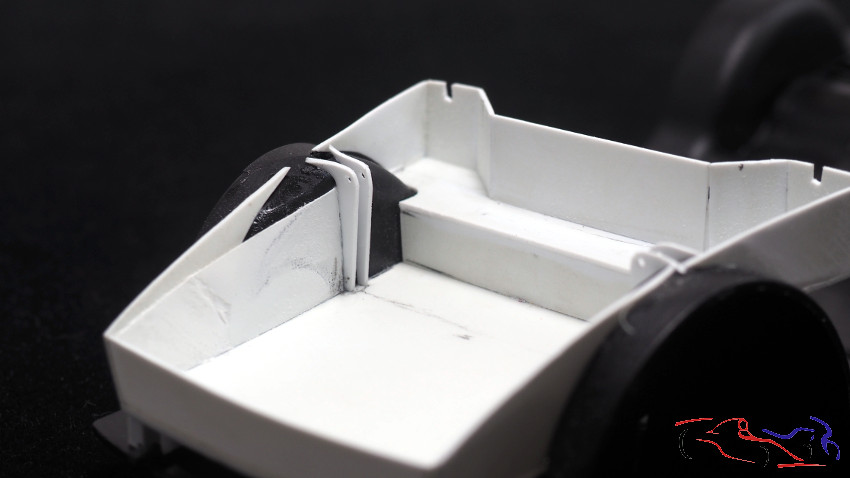
Y de igual forma, lo hacemos con el capó delantero. La idea es pegar todo al chasis para que la carrocería entre y salga sin problema. Y lo primero que hacemos es colocar una pieza plana en el fondo, calzada para que sea lo más horizontal posible:
And in the same way, we do it with the front hood. The idea is to glue everything to the chassis so that the body can go in and out without a problem. And the first thing we do is place a flat piece on the bottom, wedged to make it as horizontal as possible:
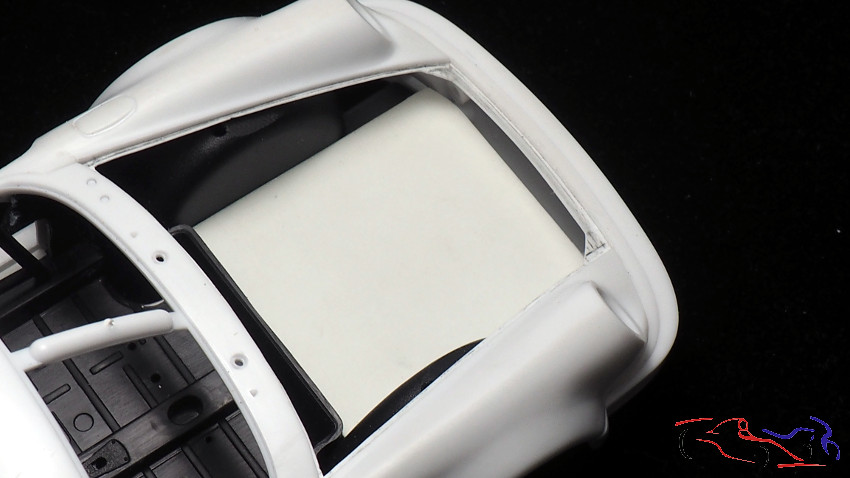
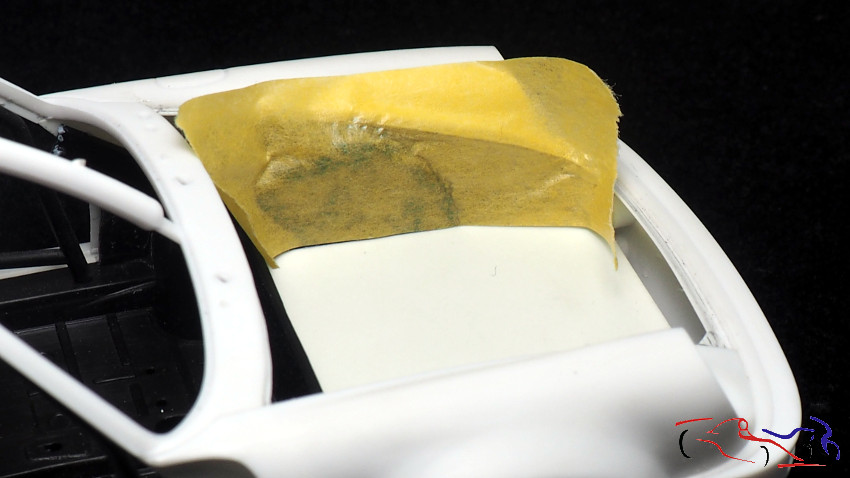
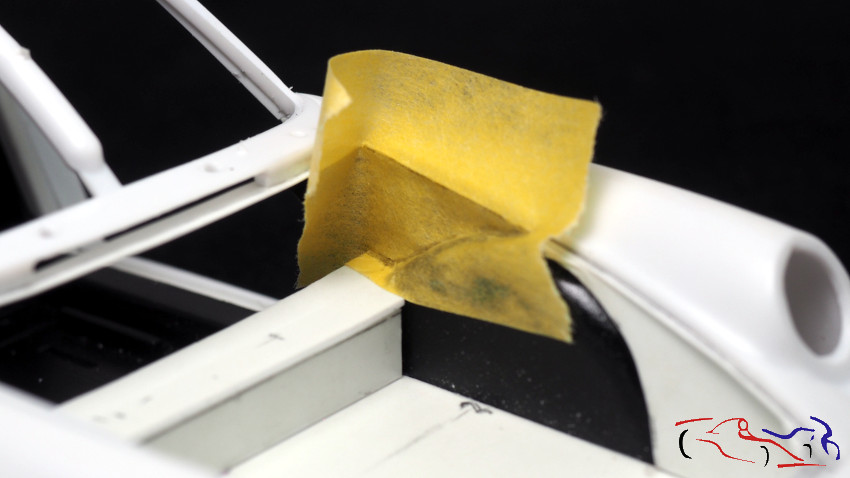
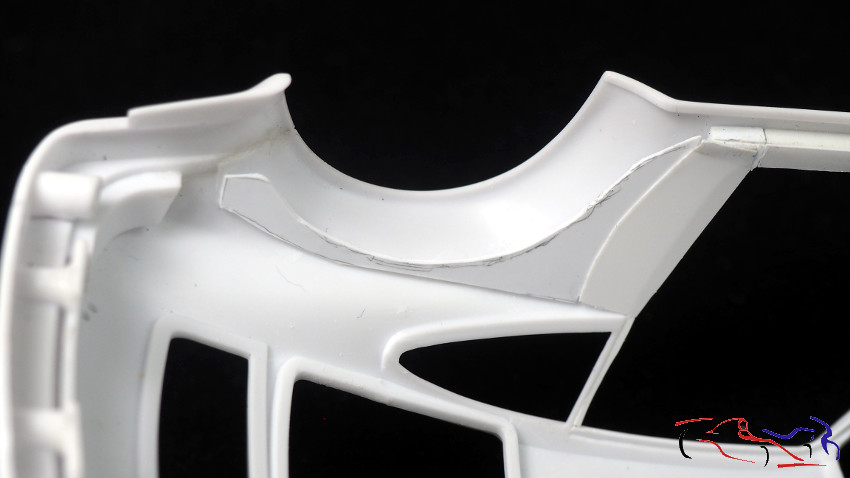
En ese punto, empezamos a hacer la cuna del capó, subiendo las paredes. Ponemos cinta de enmascarar y pintamos la forma. Lo pasamos al plantico, recortamos y pegamos. Ya tenemos el frente y un lateral:
At that point, we started making the hood cradle, going up the walls. We put masking tape and paint the shape. We pass it to the plant, cut and paste. We already have the front and a side:
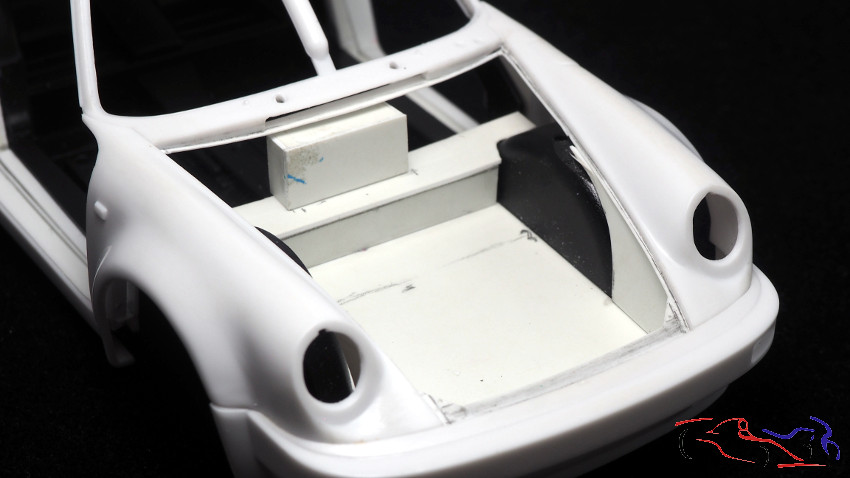
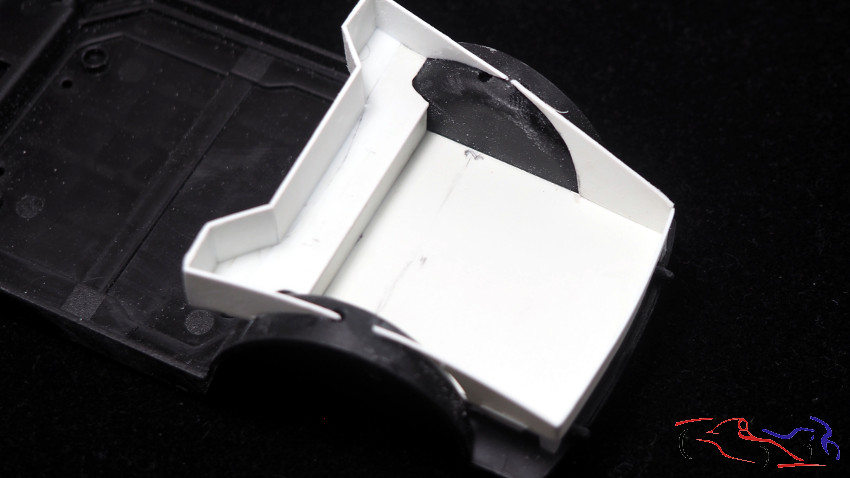
Para seguir con el lateral, planifico la parte del cortafuegos entre el cockpit y el capó. Subo un escalón que hay en el chasis, y le doy esa forma vertical con los laterles más hundidos para que se puedan poner las bisagras, que por cierto, he modificado (más adelante veréis las nuevas!):
To continue with the side, I plan the part of the firewall between the cockpit and the hood. I go up a step that is in the chassis, and I give it that vertical shape with the sides more sunken so that the hinges can be placed, which by the way, I have modified (later you will see the new ones!):
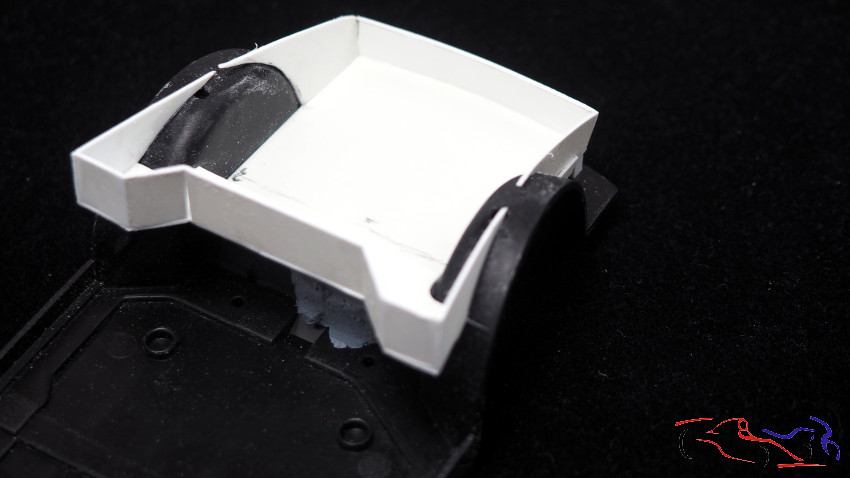
Para la parte tarsera del panel lateral, procedo de la misma manera: cinta de enmascarar, pinto el contorno, recorto y pego:
For the back of the side panel, I process in the same way: masking tape, paint the outline, cut and paste:
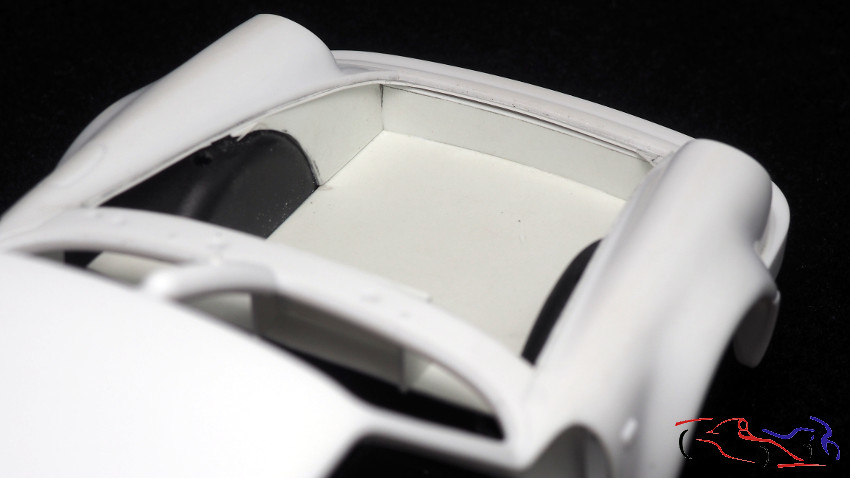
Y aquí, ya tenemos la cuna hecha del capó, a falta de enmasillar y lijar:
And here, we already have the cradle made of the hood, in the absence of caulking and sanding:
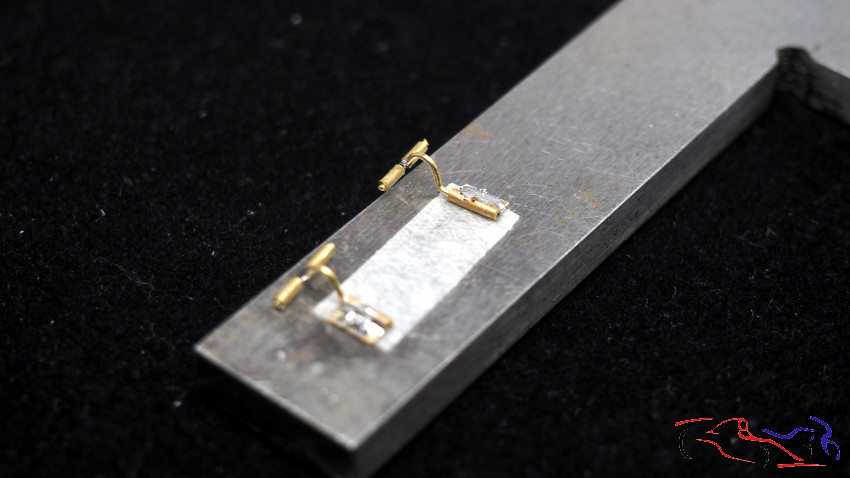
Antes hablé de las bisagras, que las tenía hechas con imanes, pero no dejaba un cierre muy limpio y fino. Por lo que decido hacerlas ocn reondo y tubo de cobre, tal y como aparecen en la siguiente fotografía. Pero tampoco resultó porque la bisagra erá muy frágil y se podía salir de ambos tubos:
Before I talked about the hinges, which were made with magnets, but they did not leave a very clean and fine closure. So I decide to make them round and with a copper tube, as they appear in the following photograph. But it didn’t work either because the hinge was very fragile and could come out of both tubes:
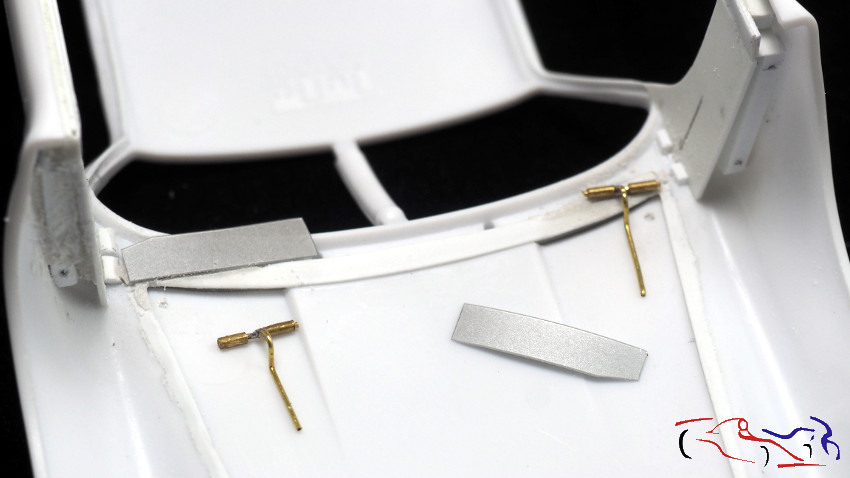
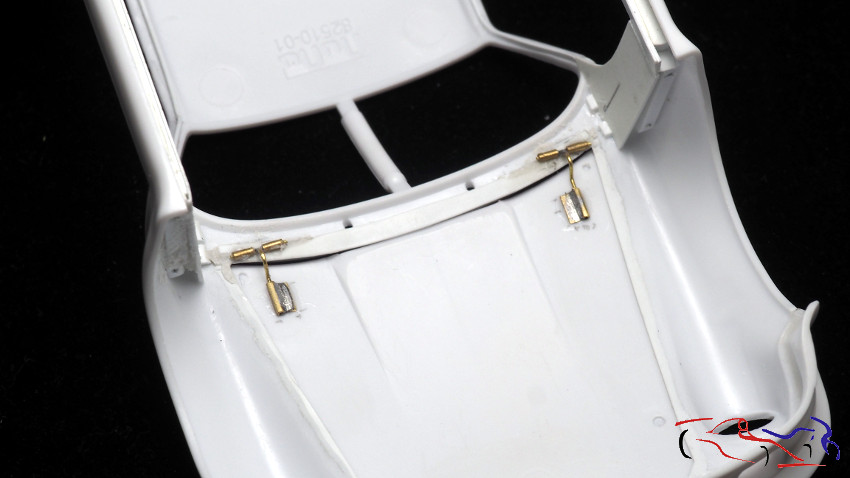
Por lo que decido hacer la base d ela carrocería en forma de T para que su giro sea más exacto. A su vez, lo hago unos rebajes en la carrocería para lo que me ayudo de una tira que tengo de la máquinas Dymo, pera rotular, y de cinta adhesiva de doble cara para soldar los tubos, Decir que la bisagra está hecha con redondo de latón de 0,4mm, que gira sobre tubo con 0,4mm de interior:
So I decide to make the base of the body in the form of a T so that its rotation is more exact. At the same time, I make some recesses in the body for which I use a strip that I have from the Dymo machines, to label it, and double-sided adhesive tape to weld the tubes. Say that the hinge is made with round 0.4mm brass, which rotates on a tube with 0.4mm interior:
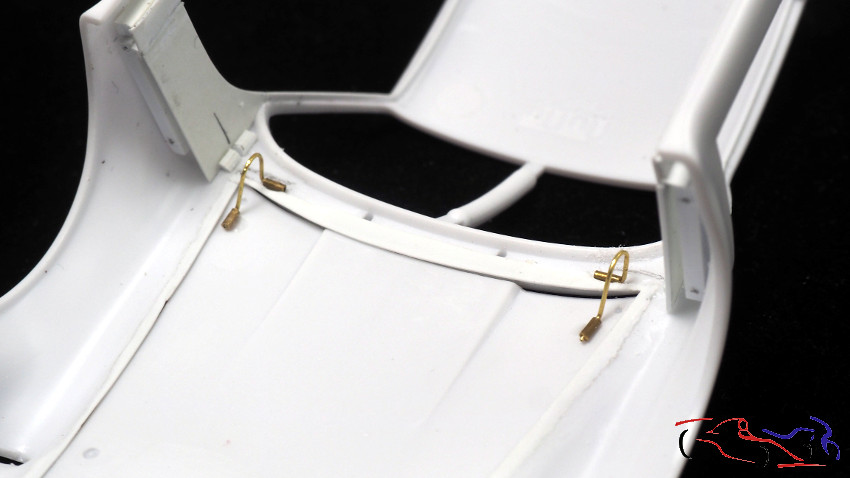
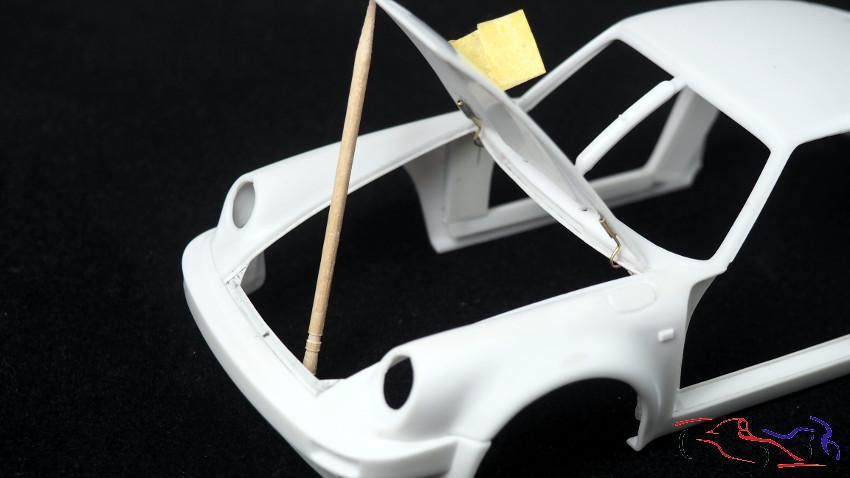
Y aquí ya las tenemos pegadas. La parte del capó, al ser un tubo, se puede sacar y meter cuando se quiera:
And here we already have them glued. The hood part, being a tube, can be removed and inserted whenever you want:
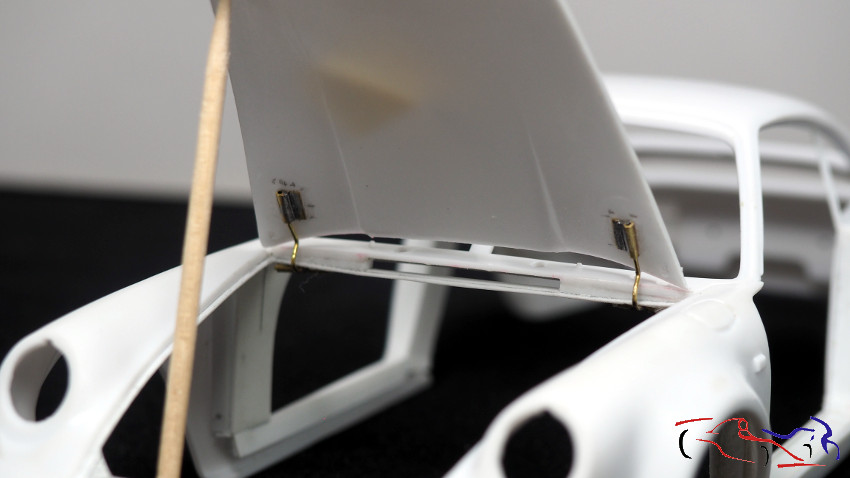
Pero no quedaba bien fijo, por lo que puse unos imanes en la carrocería y en acpó, para que su cierre fuera perfecto… y así fue!!
But it didn’t fit well, so I put some magnets on the body and on the acpó, so that it closed perfectly… and that’s how it was!!
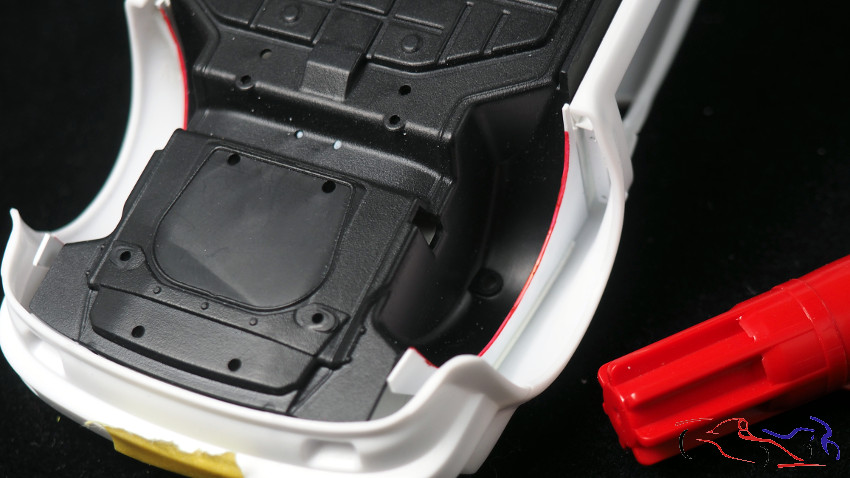
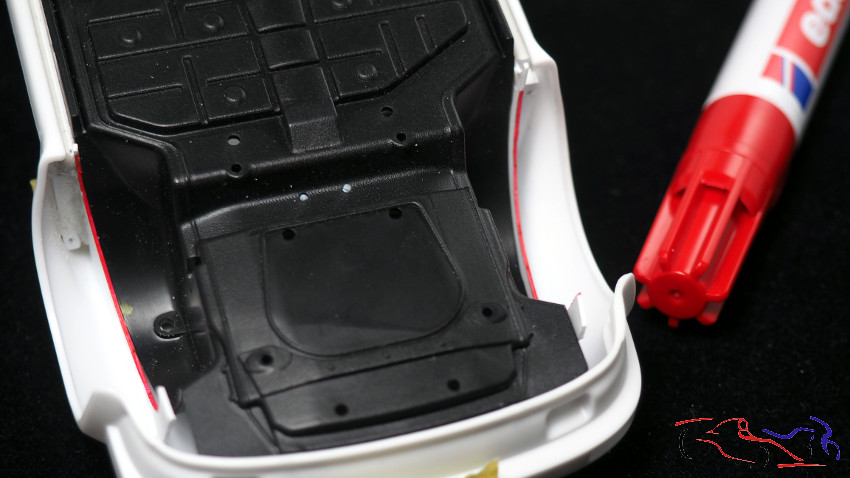
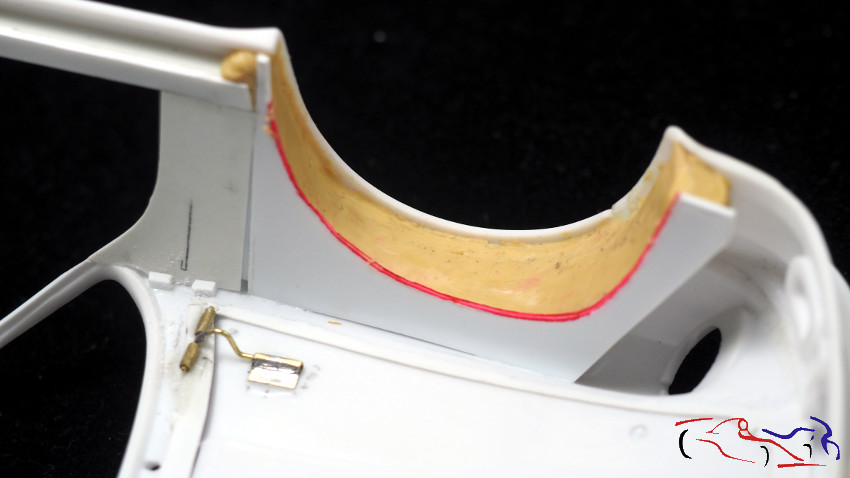
Ahora nos vamos a los pasos de rueda. Como en el chasis van rectos, si pongo una trozo de plastico a lo largo del chasis y lo pego a la carrocería, ya solo tendré que rellenar ese hueco con masilla epoxy. Aquí veis los añadidos en la parte tarsera, en los que he pintado el borde de rojo para diferenciarlos:
Now we go to the wheel arches. Since they are straight on the chassis, if I put a piece of plastic along the chassis and stick it to the body, I will only have to fill that hole with epoxy putty. Here you can see the additions on the back, in which I have painted the border in red to differentiate them:
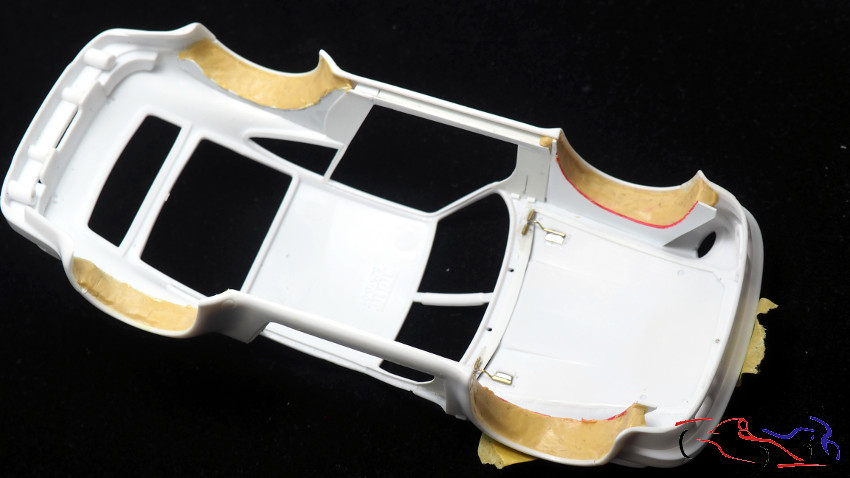
Si quitamos el chasis, vemosel tamaño de los añadidos:
If we remove the chassis, we see the size of the additions:
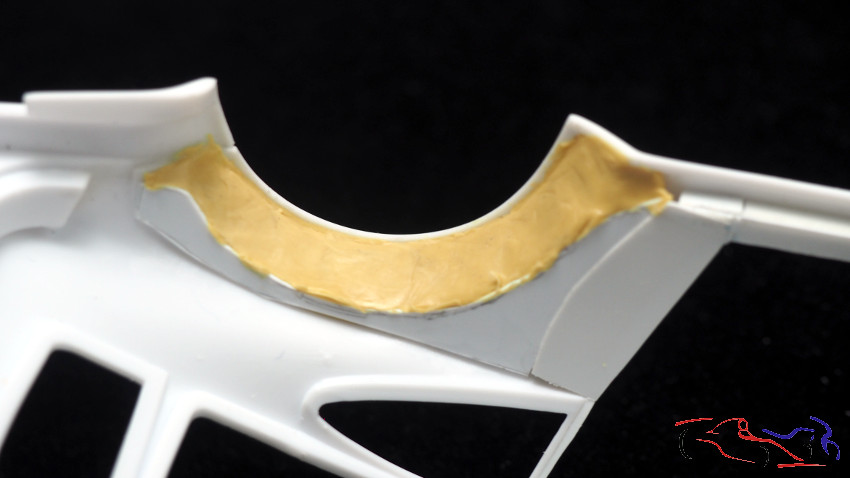
Y no que da más que poner la masilla epoxy, que manejo mojádome un poco los dedos con agua.
And not that it gives more than putting the epoxy putty, which I handle by wetting my fingers a little with water.
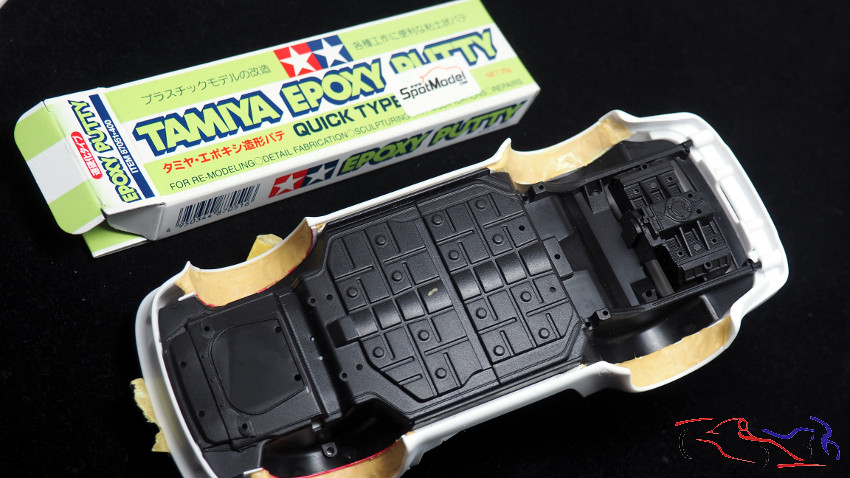
Aquí los veis ya lijados, y no los voy a dar un acabado perfecto ay que esas fonas, no estaban muy perfectas!
Here you can see them already sanded, and I’m not going to give them a perfect finish, oh, those shapes weren’t very perfect!
Solo queda ir rellenado la cuna del capó con las diferentes piezas que ahi seencuantran, como son las fijaciones de la barra estabilizadora:
It only remains to fill the cradle of the hood with the different pieces that are found there, such as the stabilizer bar fixings:
Lo siguiente es enmasillar, lijar, limpiar e imprimar! Gracias por ver y comentar!!
Next is to putty, sand, clean and prime! Thanks for viewing and commenting!!


