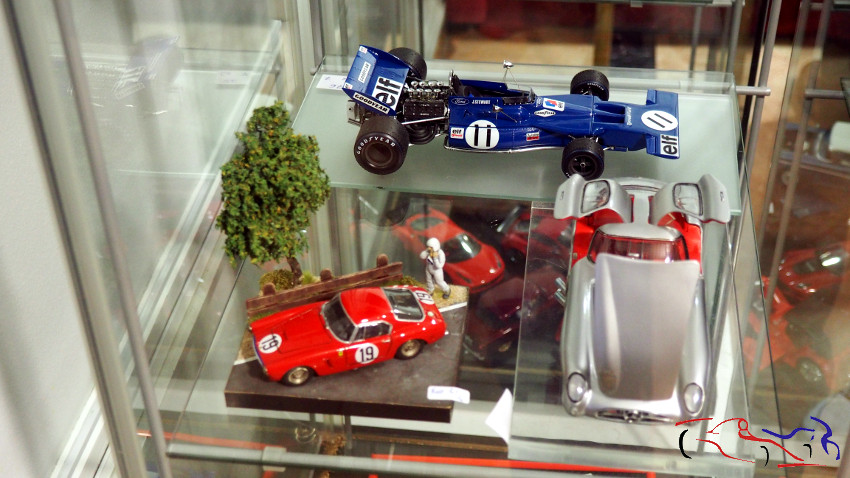
Mientras sigo con el Delta S4, necesito hacer algo rápido y acabarlo para que ayude a seguir con las modificaciones del Lancia. Y para ello cojo este kit, escala 1/43 de la marca Renaissance: el Ferrari 875 S.
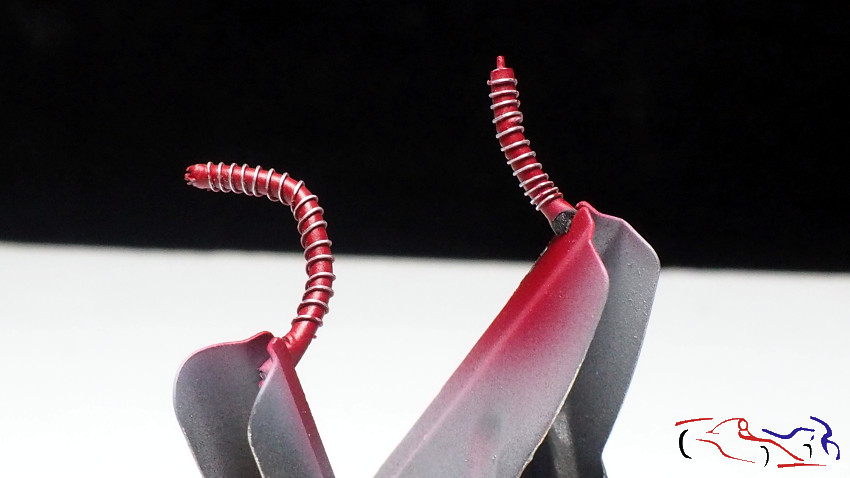
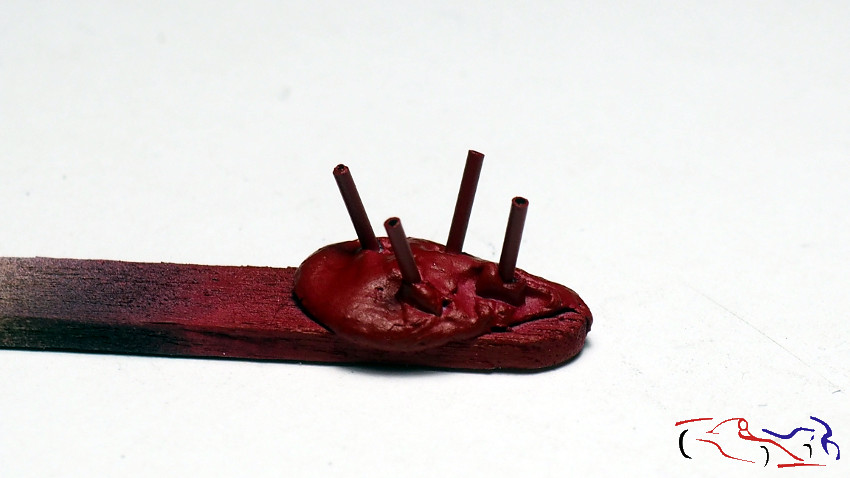
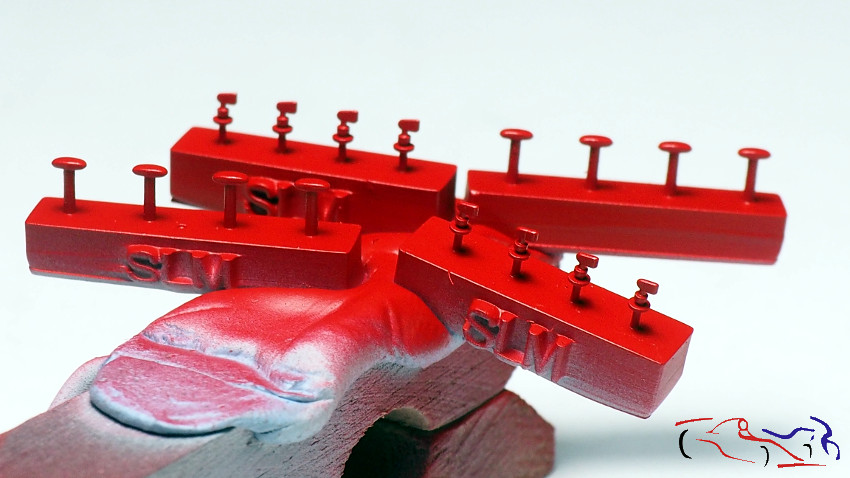
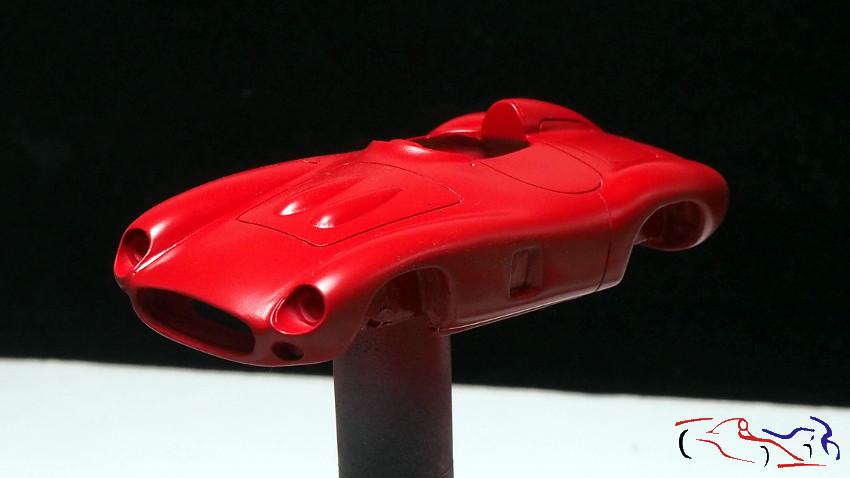
Y como siempre, os muestro como está el proceso, ya pintado de rojo!!
While I continue with the Delta S4, I need to do something fast and finish it to help keep up with the modifications of the Lancia. And for this I take this kit, 1/43 scale of the Renaissance brand: the Ferrari 875 S.
And as always, I show you how the process is, already painted red!
 Pero vamos para atras a explicar lo que contiene el kit y lo que he realizado.
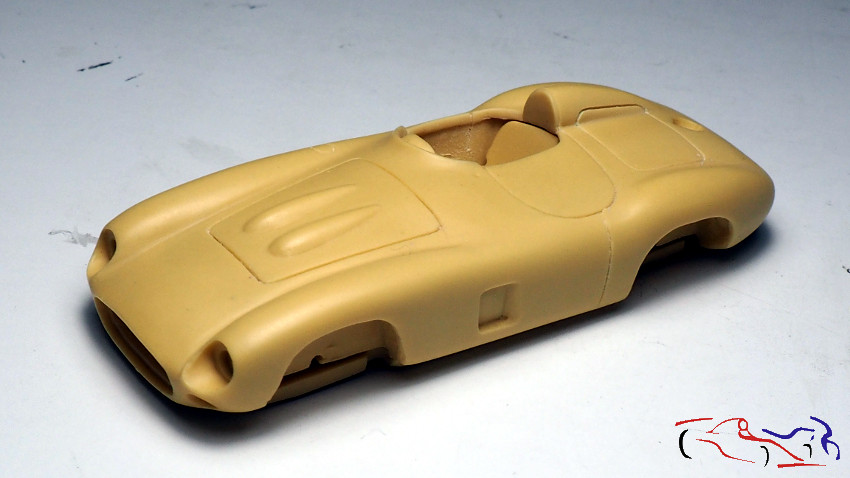
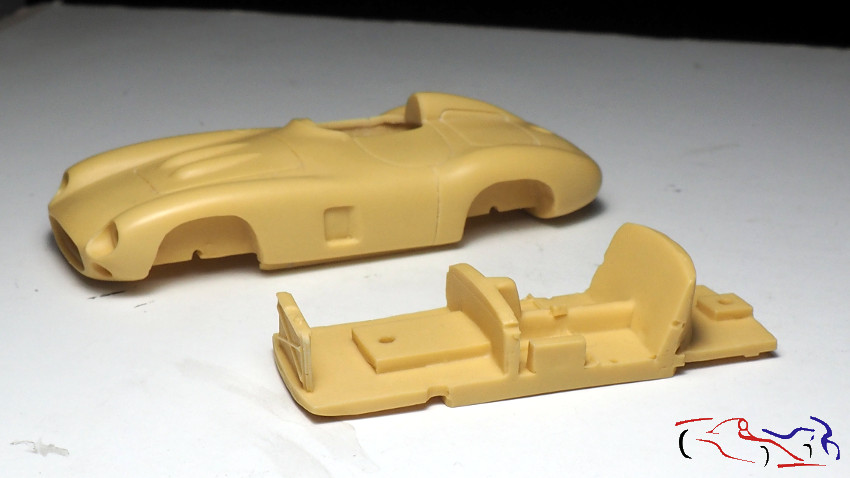
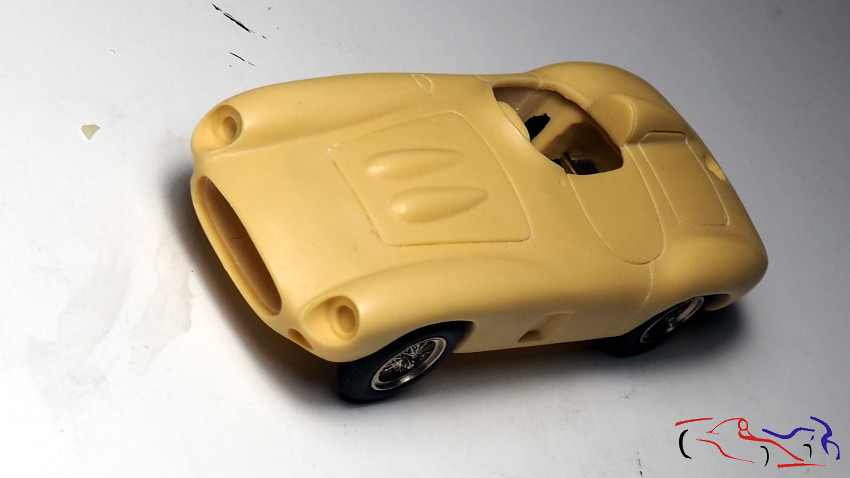
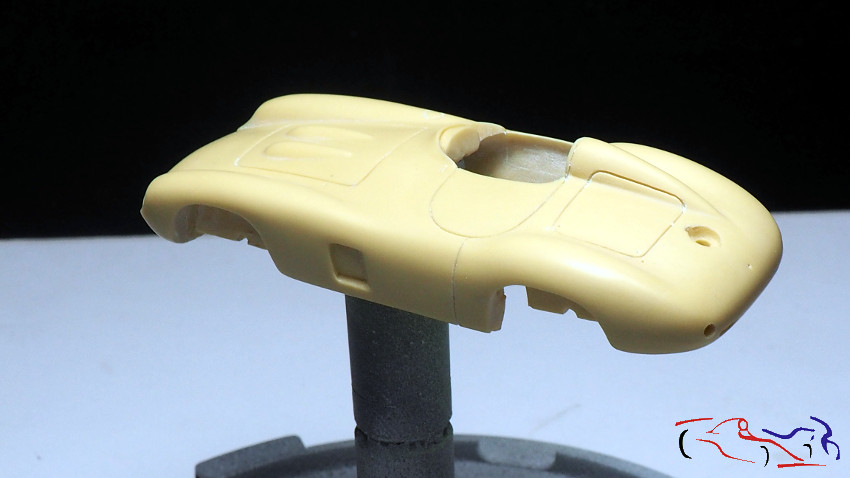
Empezamos por la carrocería, en resina sin ningún poro, como corresponde a Renaissance. Solo hay que profundizar los paneles, limar la rebabas y una lijada fina a toda la carrocería.
But we go back to explain what the kit contains and what I have done.
We start with the body, in resin without any pores, as corresponds to Renaissance. You just have to deepen the panels, file the burrs and a fine sanding to the entire body.
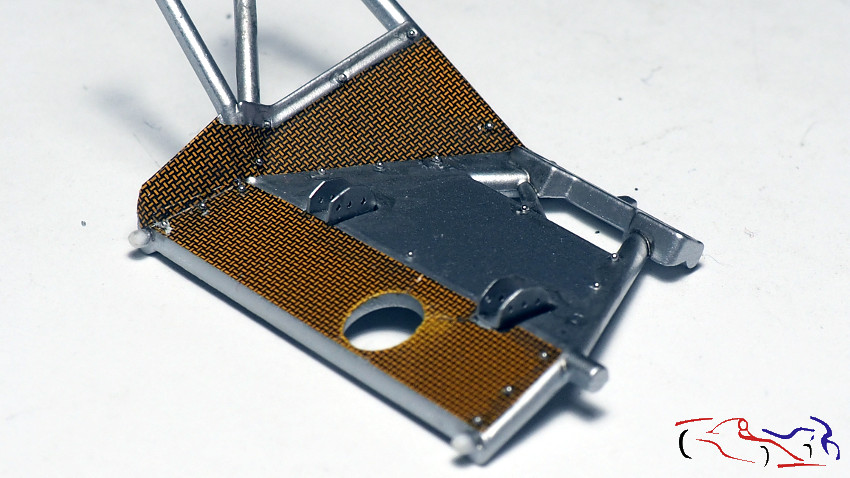
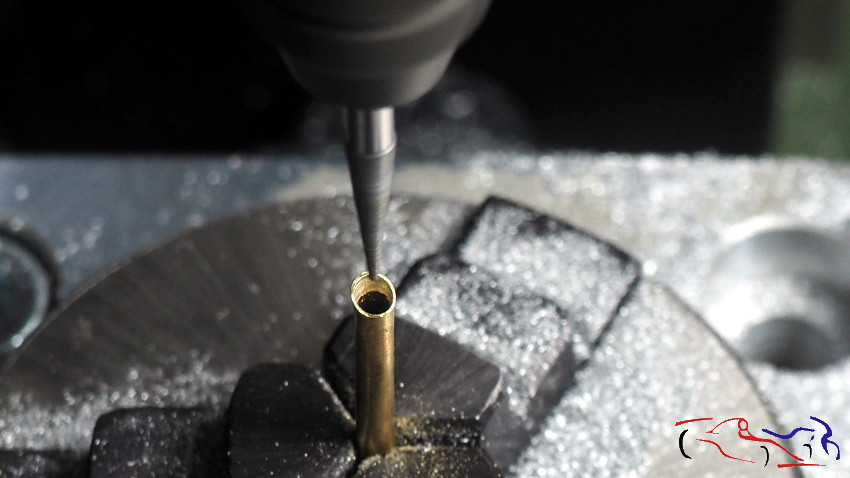
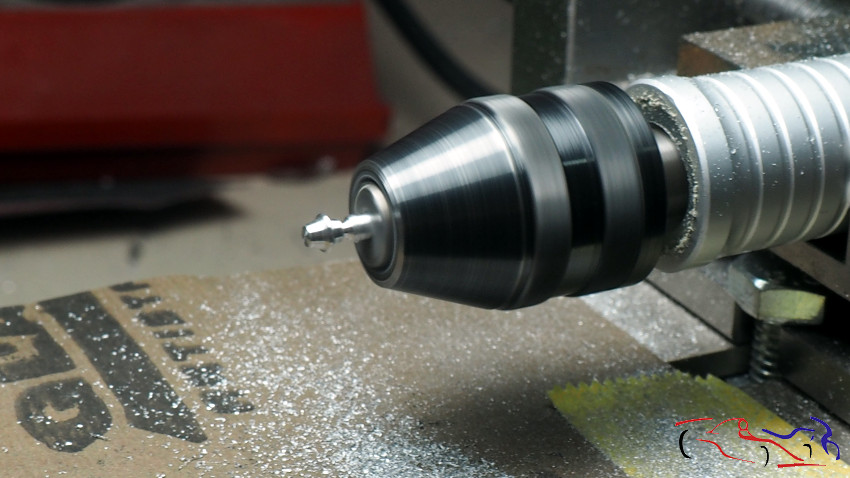
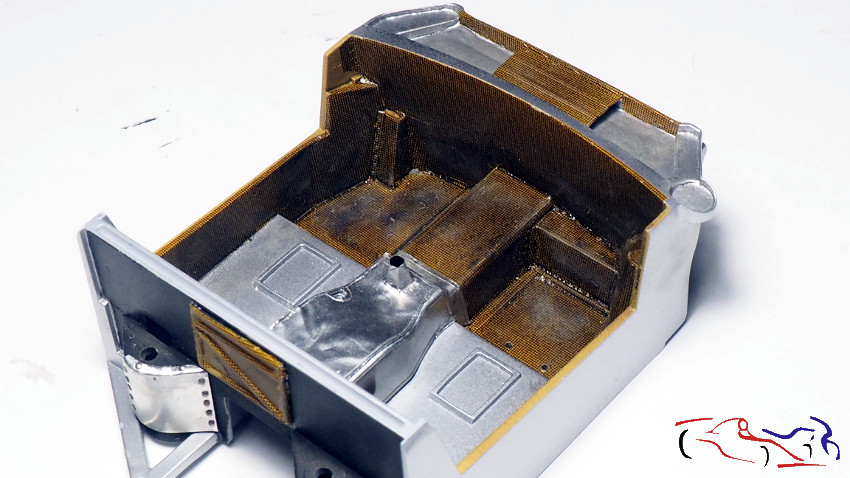
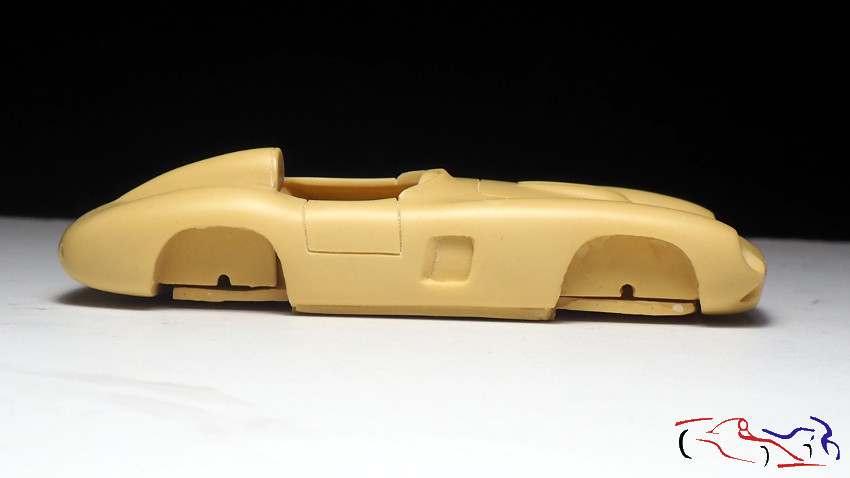
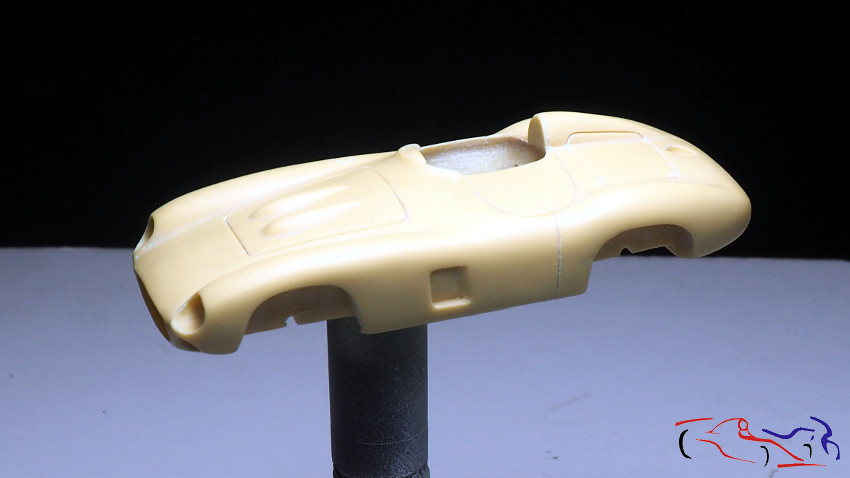
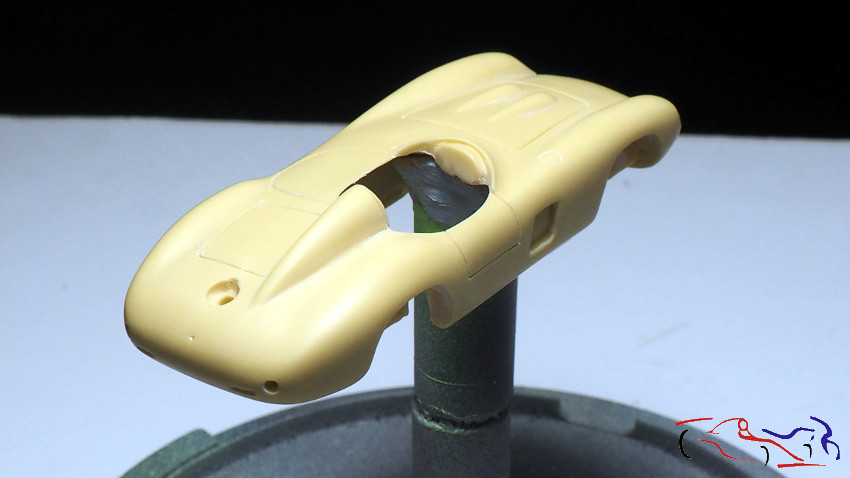
 Otra vista de la carrocería junto al chasis… Decir que otro punto que rebajé fue el borde de la carrocería en el habitáculo. Ese lo hice con el minitaladro.
Another view of the body next to the chassis … To say that another point that I lowered was the edge of the body in the cabin. I did that with the mini drill.
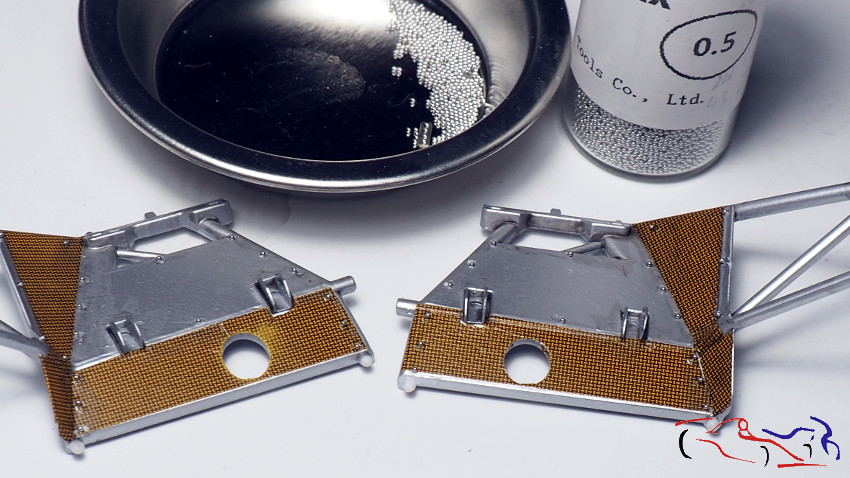
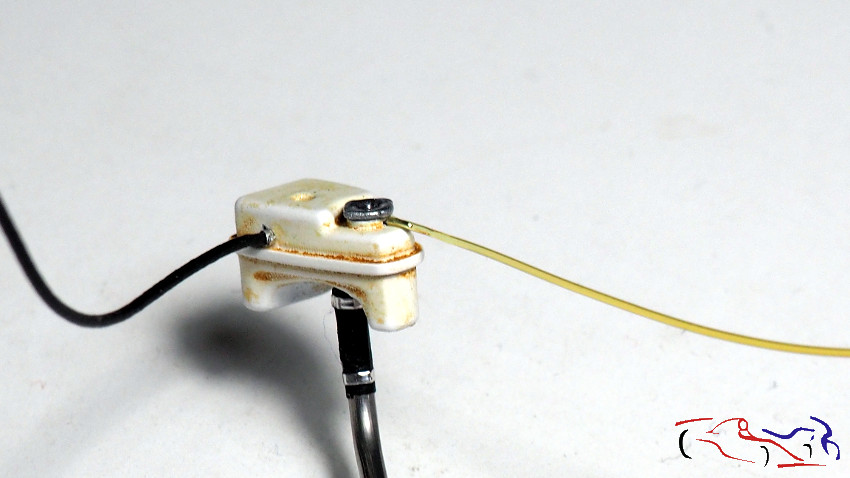
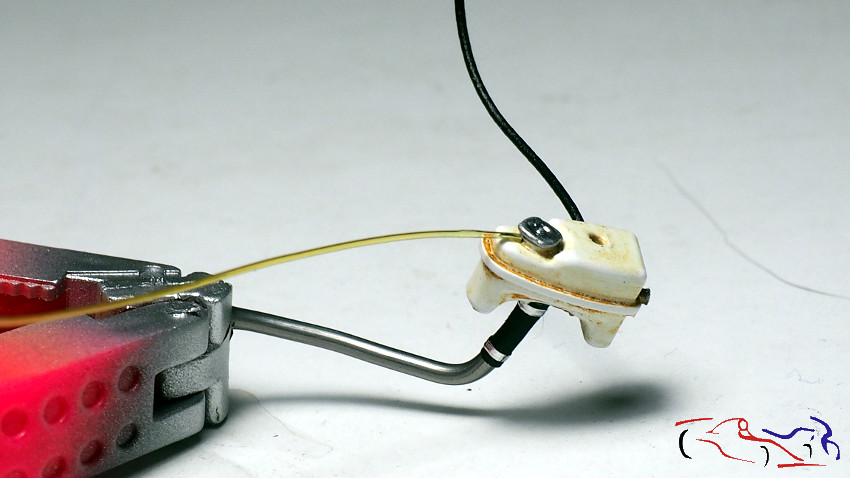
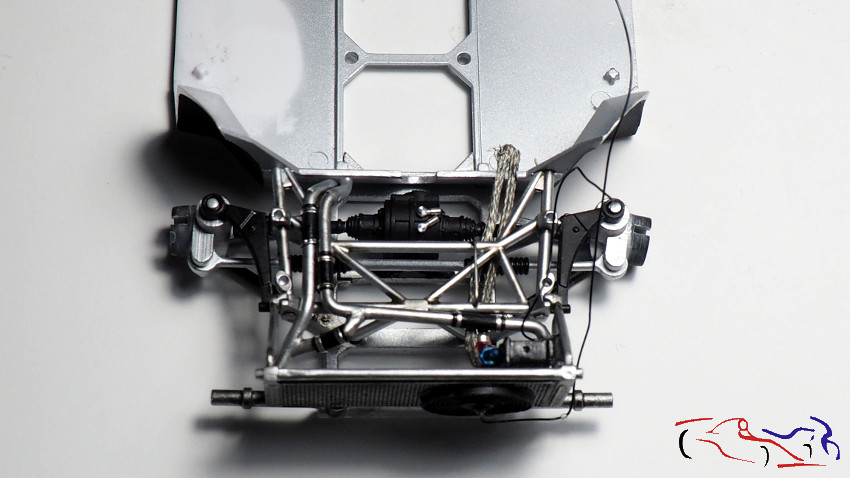
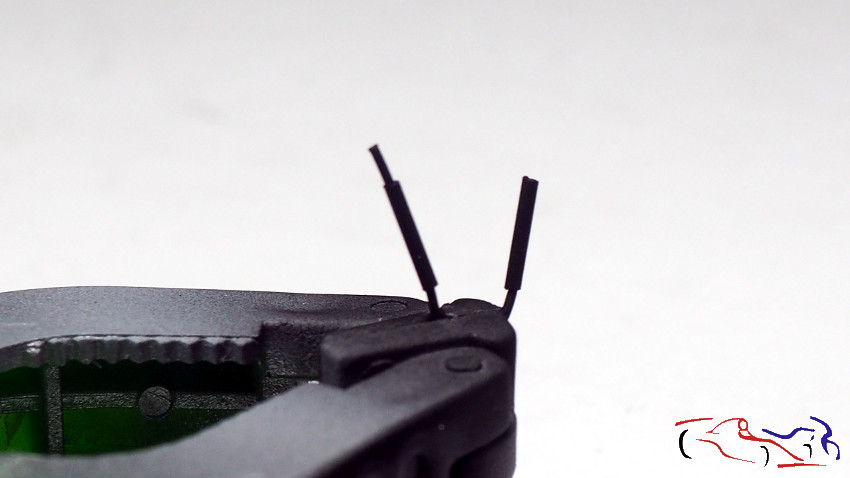
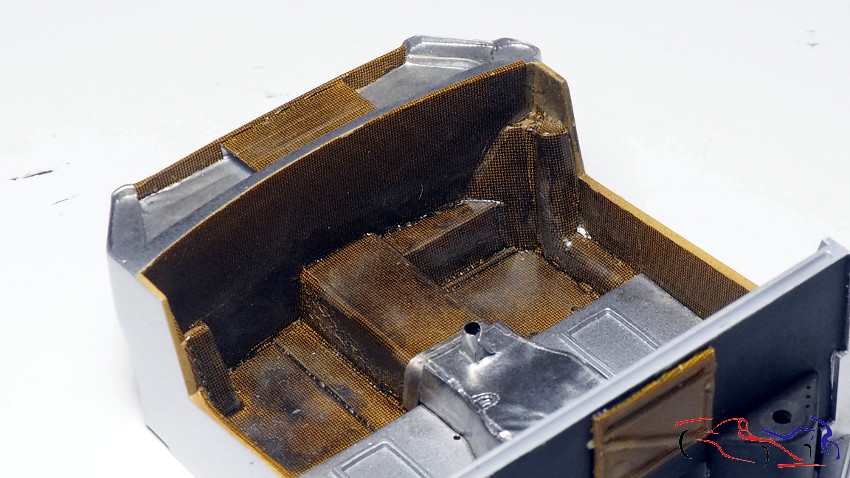
 En la siguiente foto, vemos el encaje del chasis, que es incorrecto, y que he enderezado un poco metiéndolo en agua caliente, y después doblándolo mientras se pueda.
In the following photo, we see the chassis fit, which is incorrect, and that I have straightened a little by putting it in hot water, and then bending it while I can.
 Y ahora, la carrocería junto al chasis:
And now, the body next to the chassis:
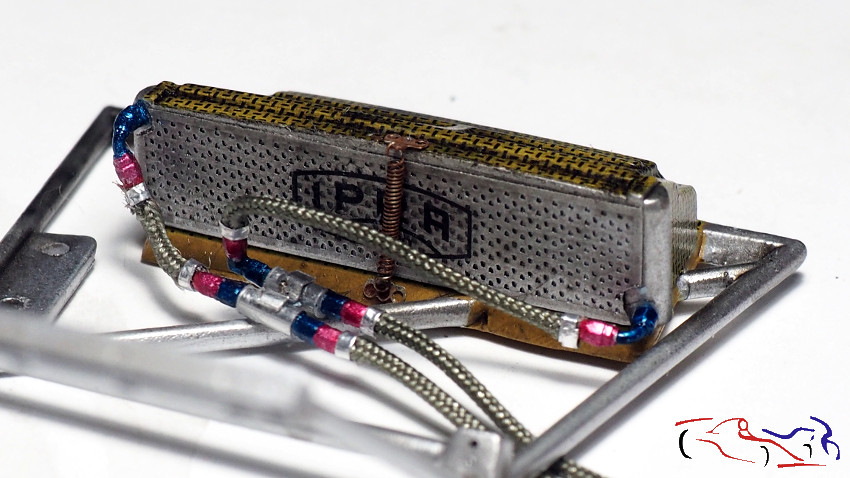
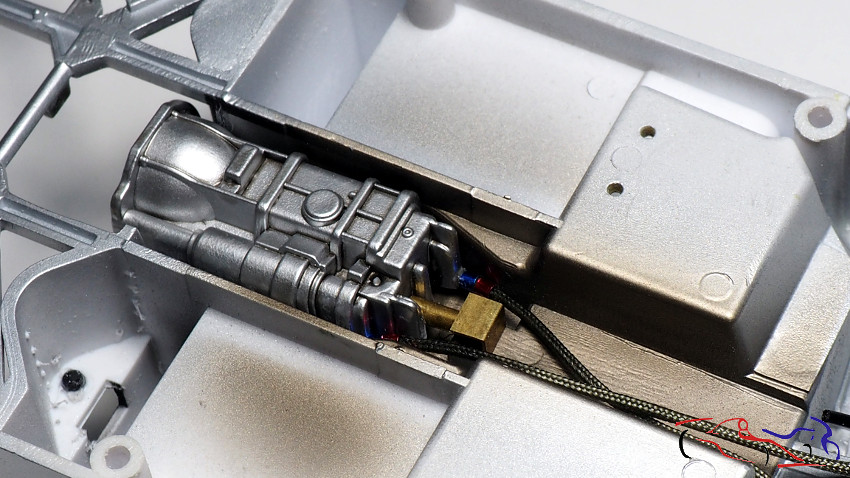
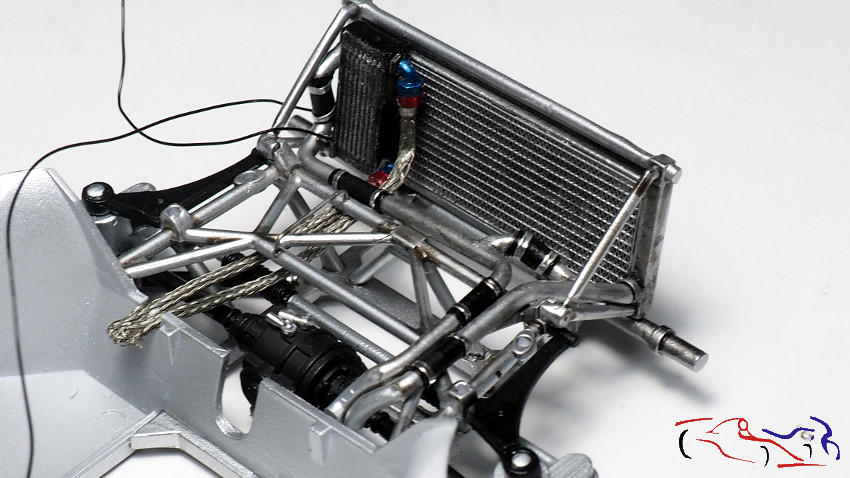
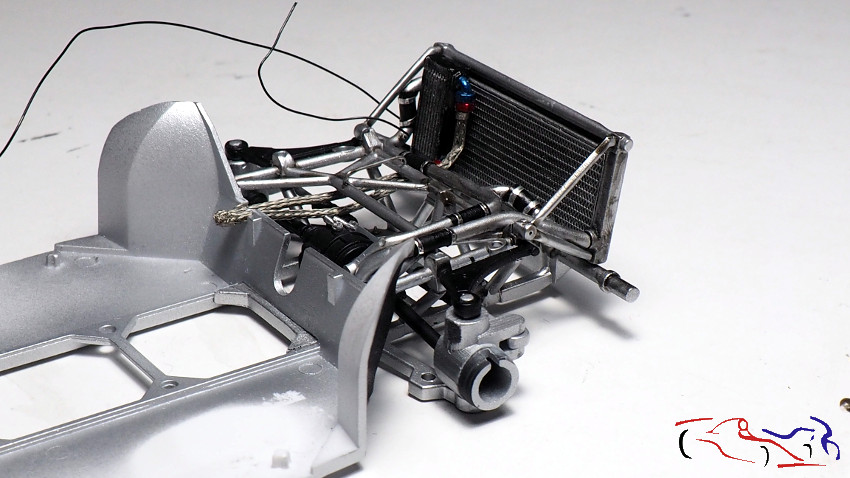
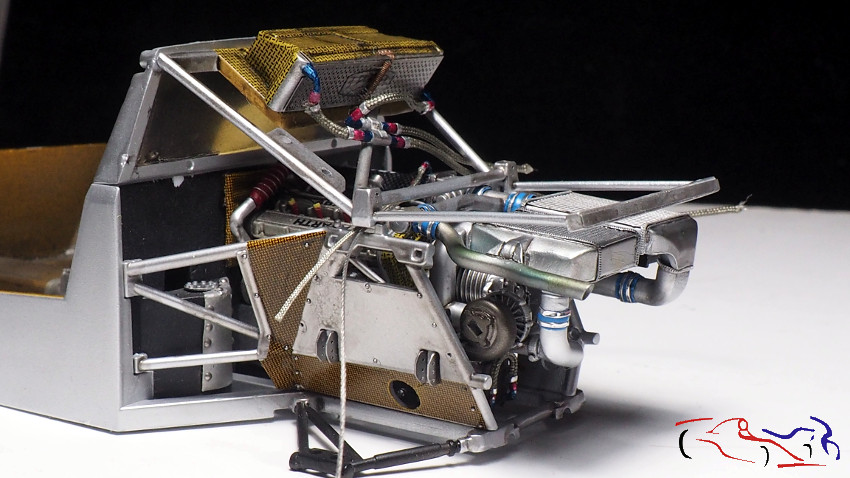
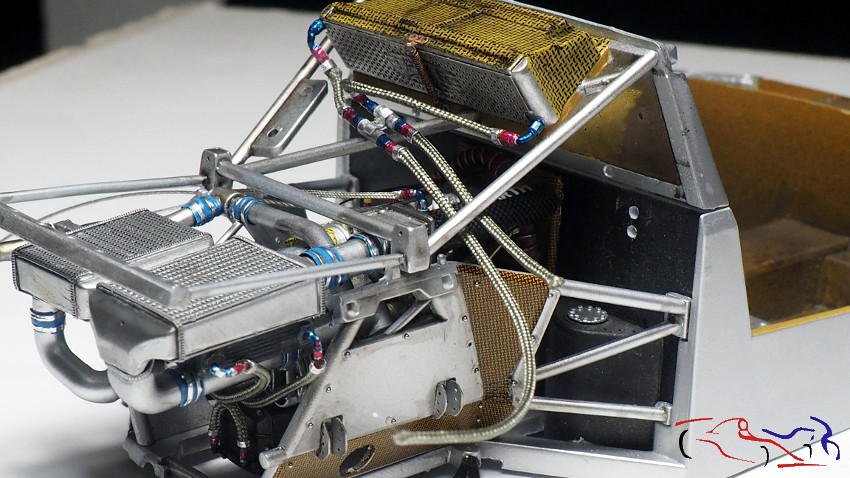
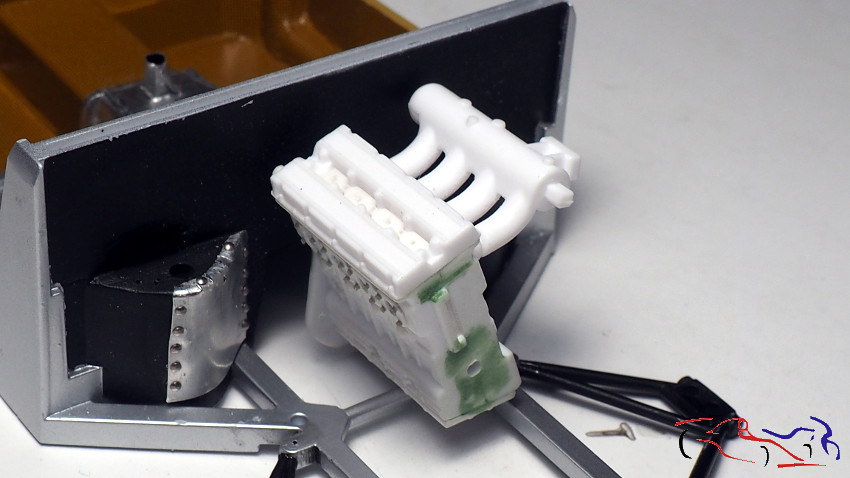
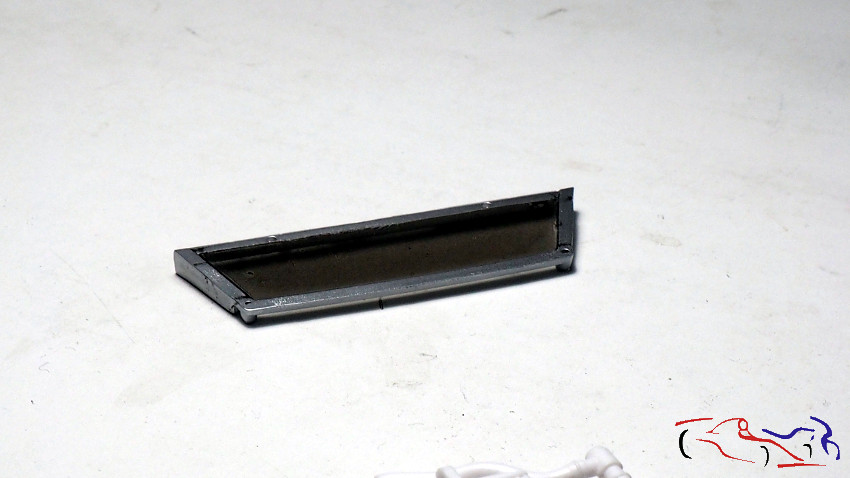
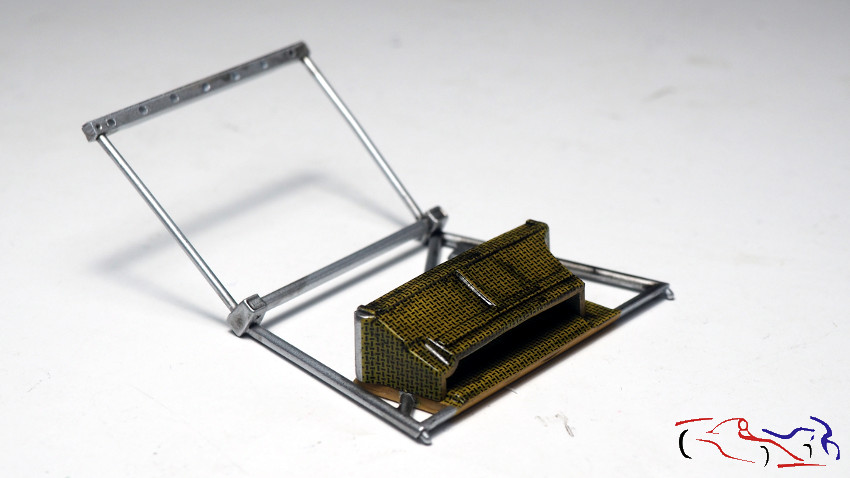
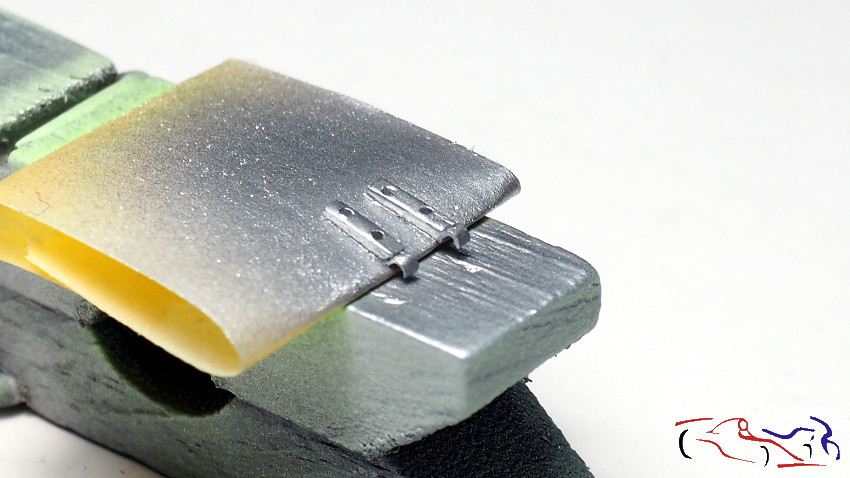
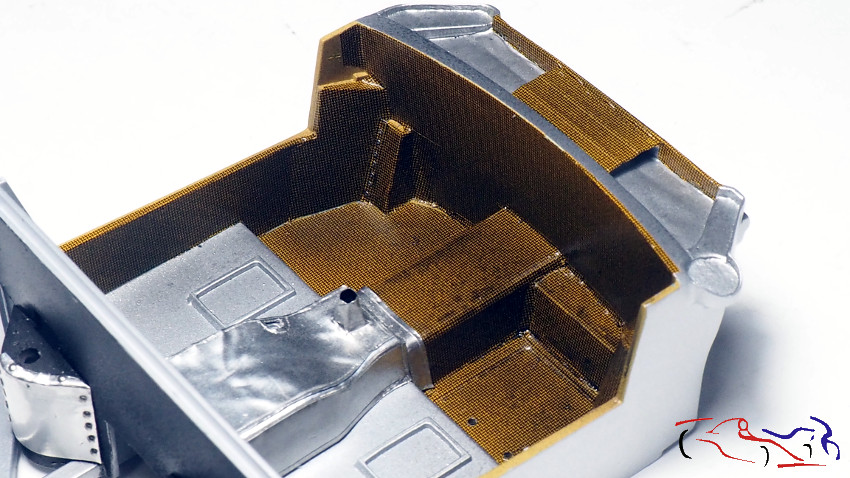
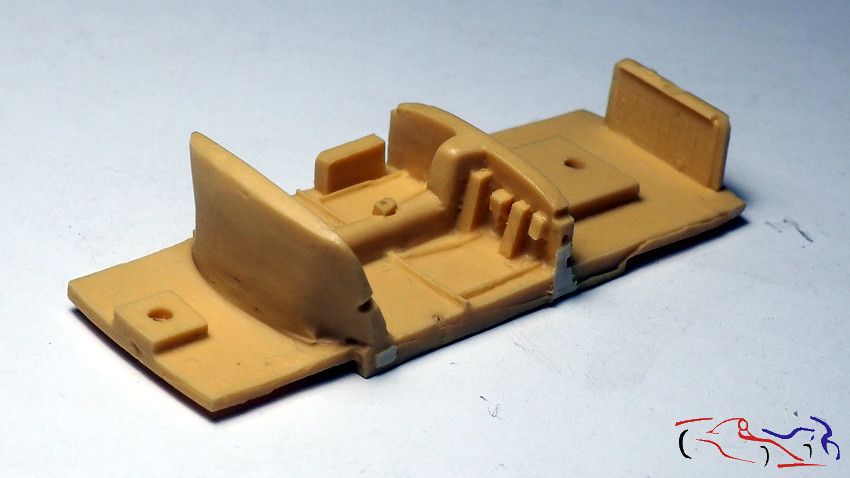
 Esta vista del chasis nos muestra el interior que no es nada fino, pero con la pintura y los pocos detalles que tenga, realzarán el mismo:
This view of the chassis shows us the interior that is not fine at all, but with the paint and the few details it has, they will enhance it:
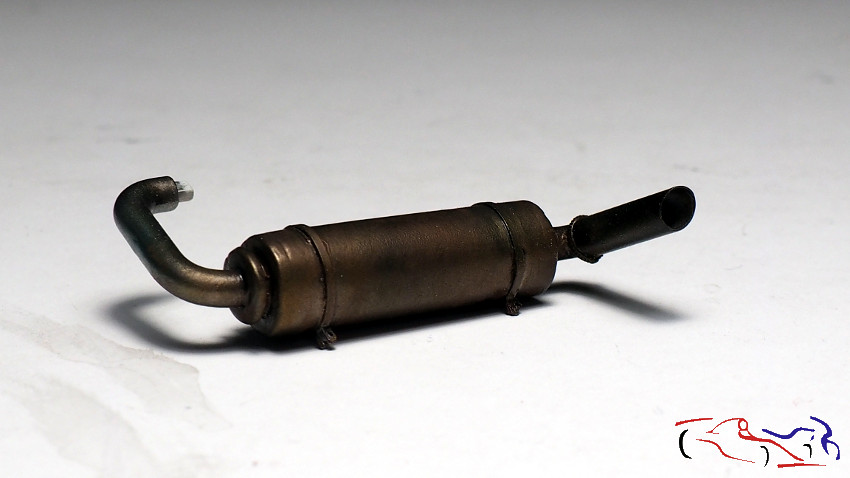
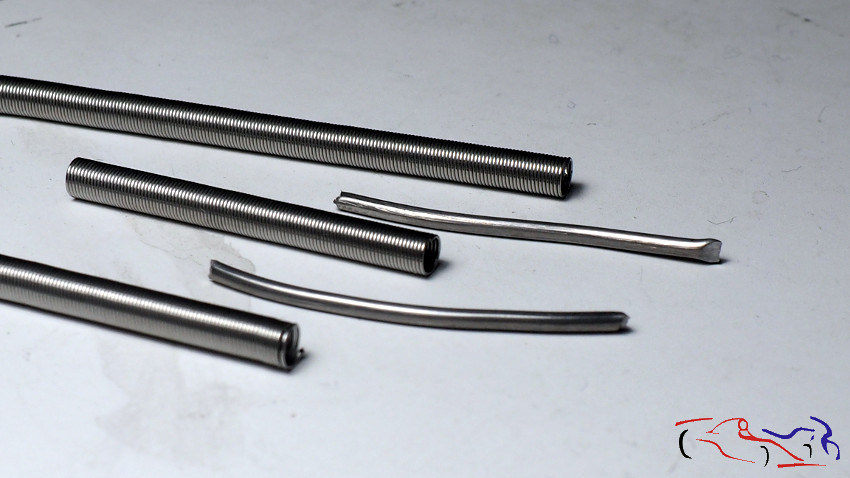
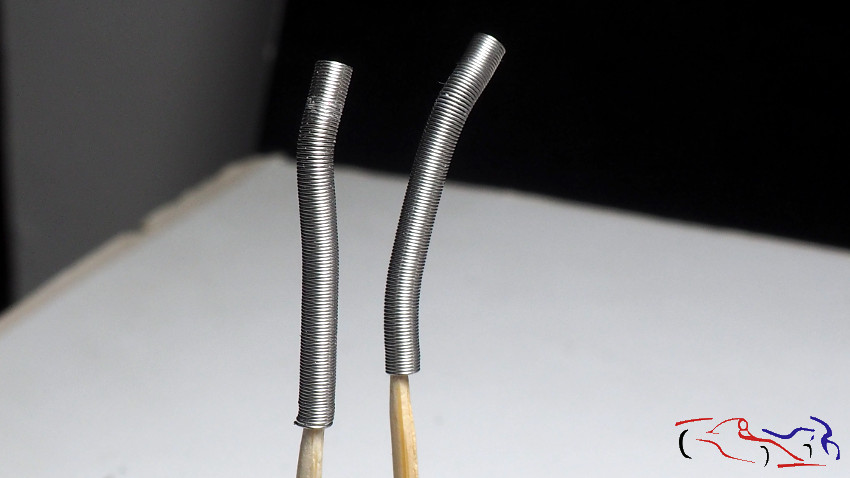
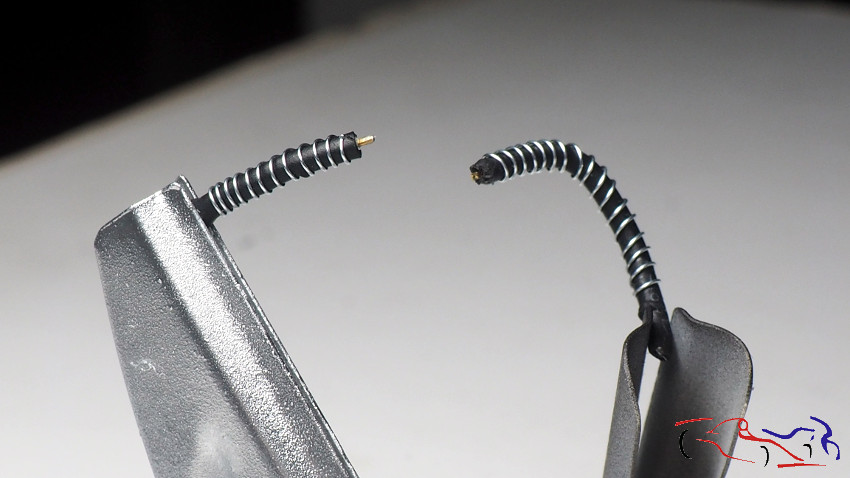
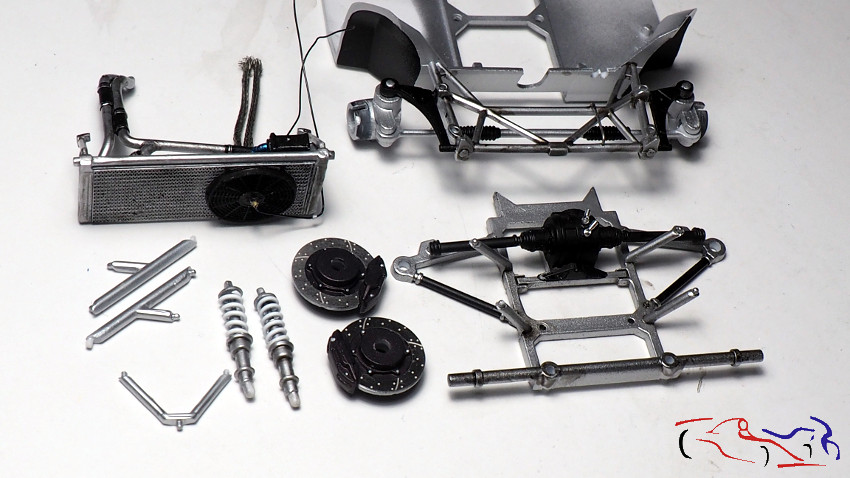
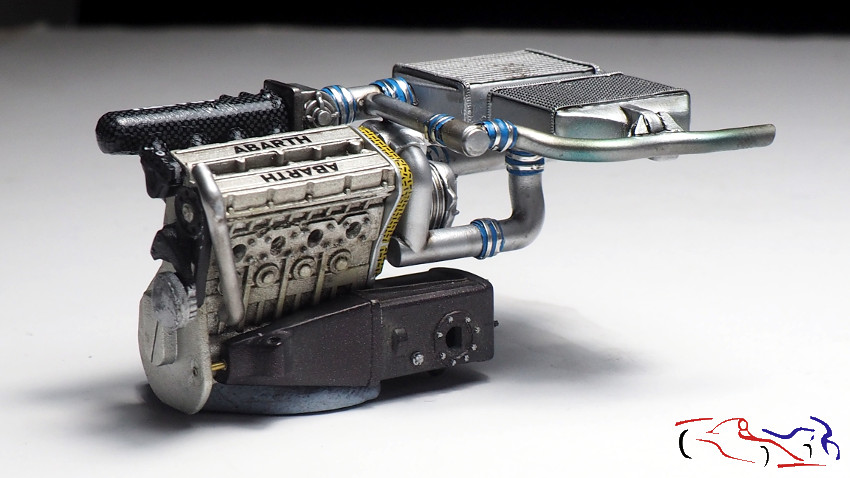
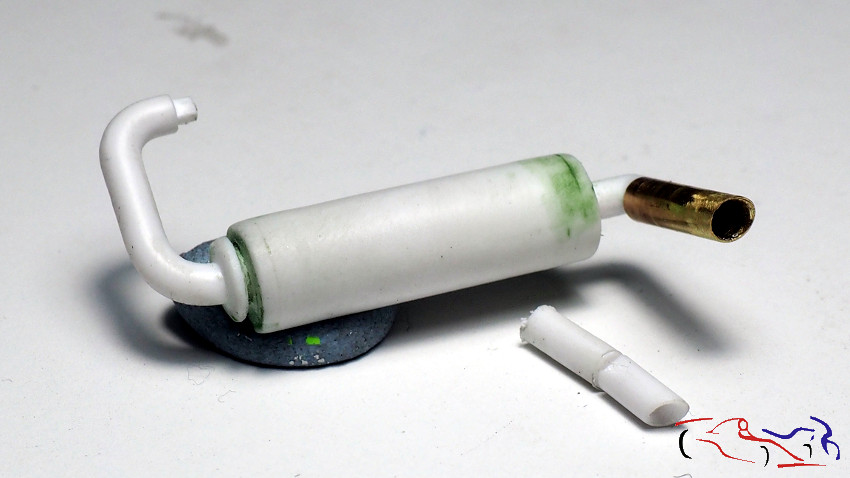
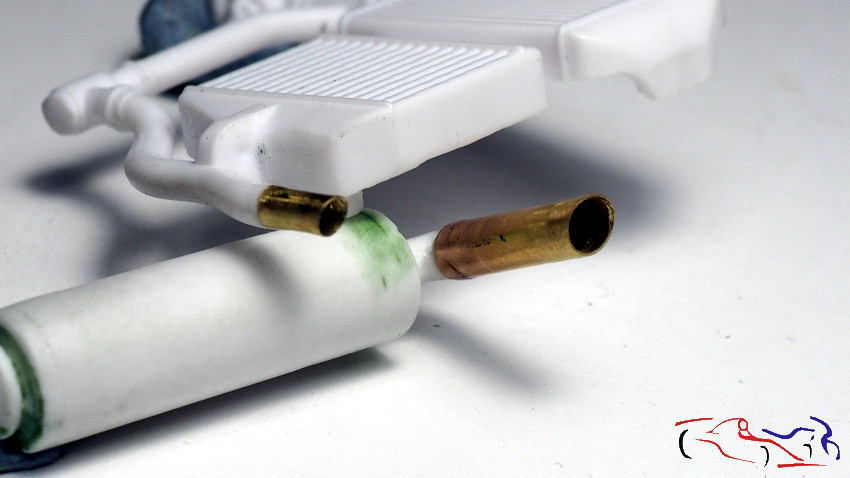
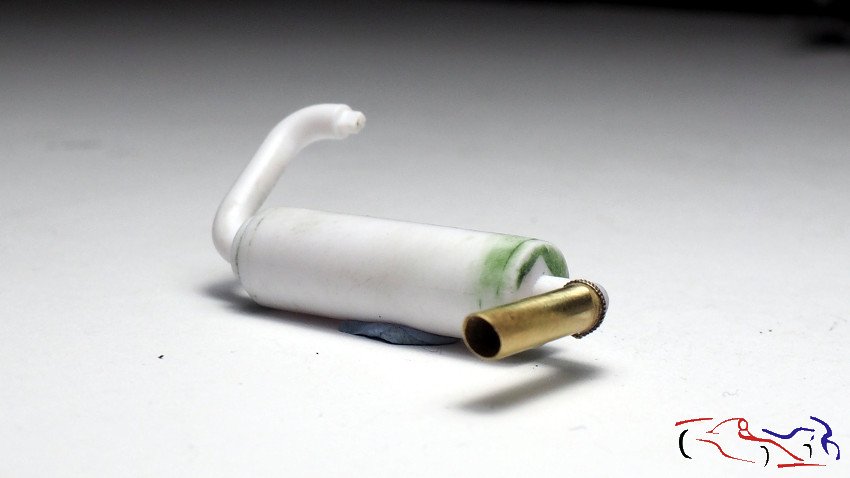
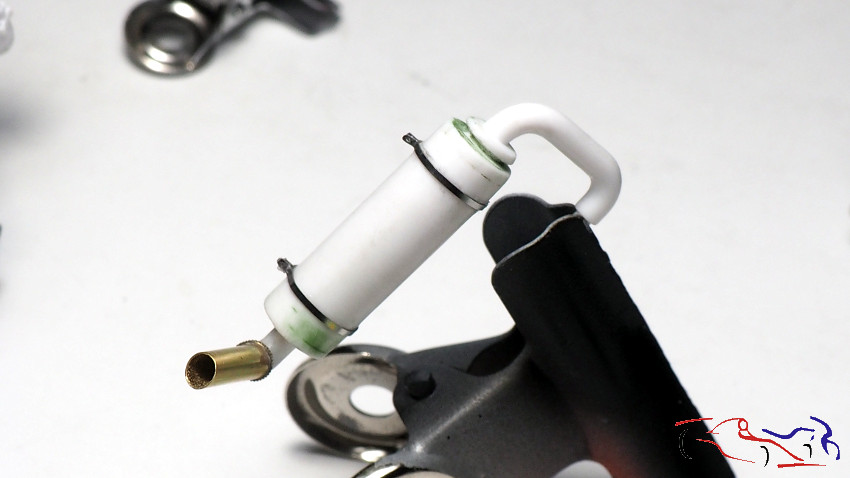
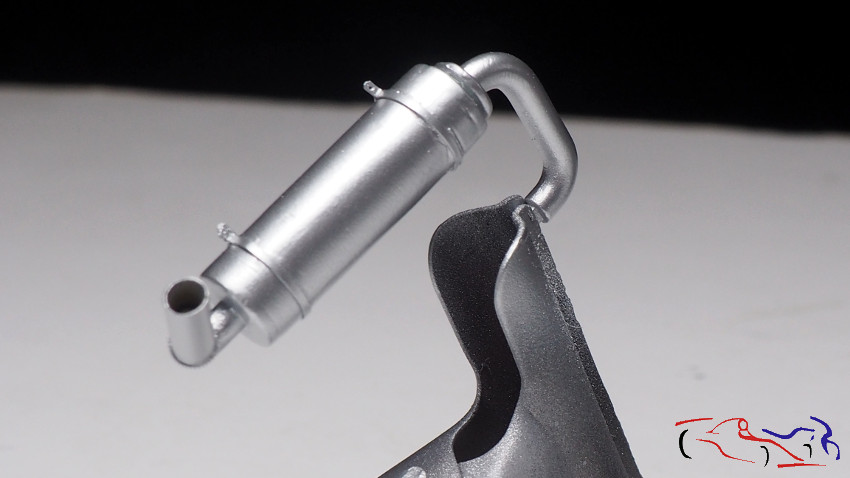
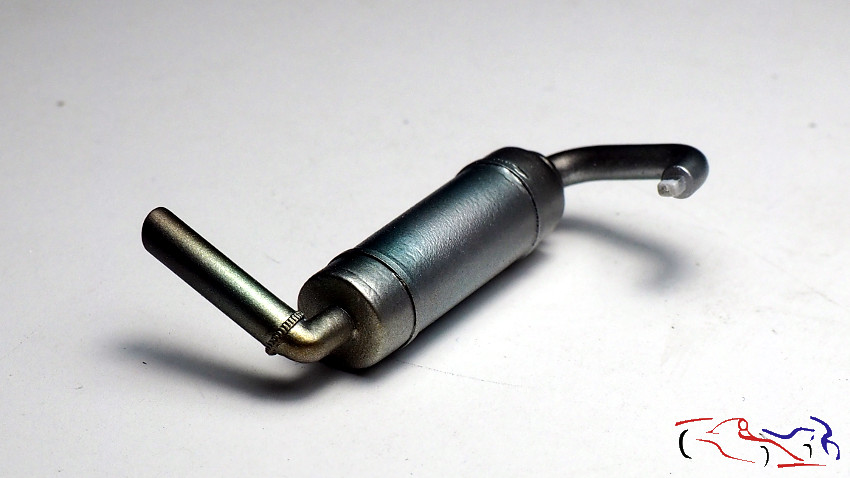
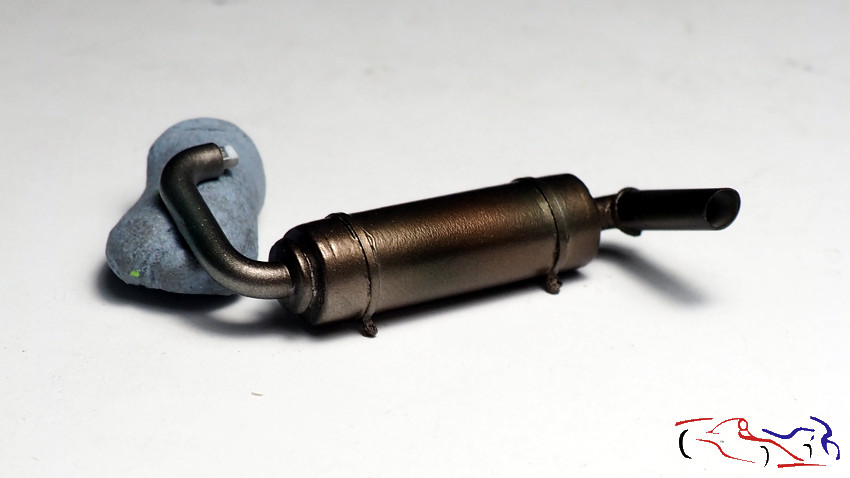
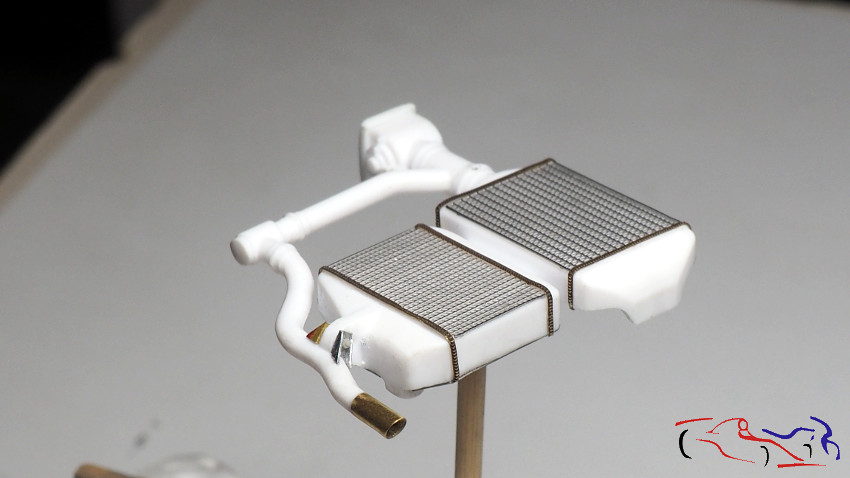
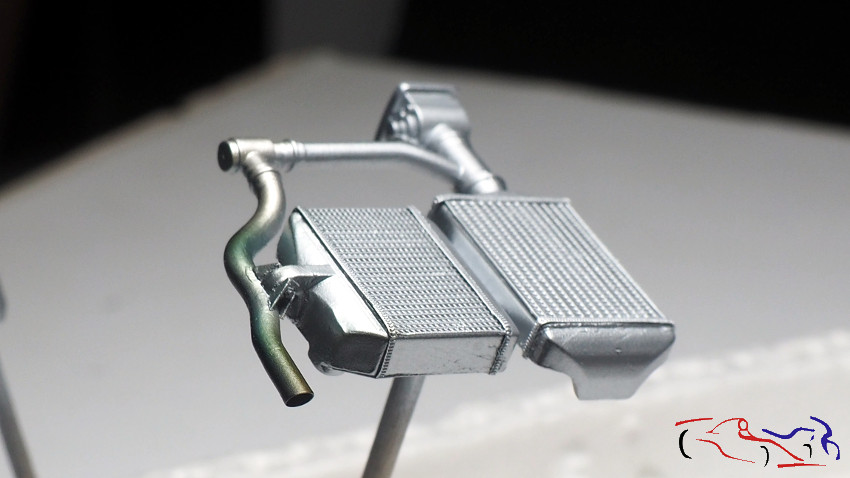
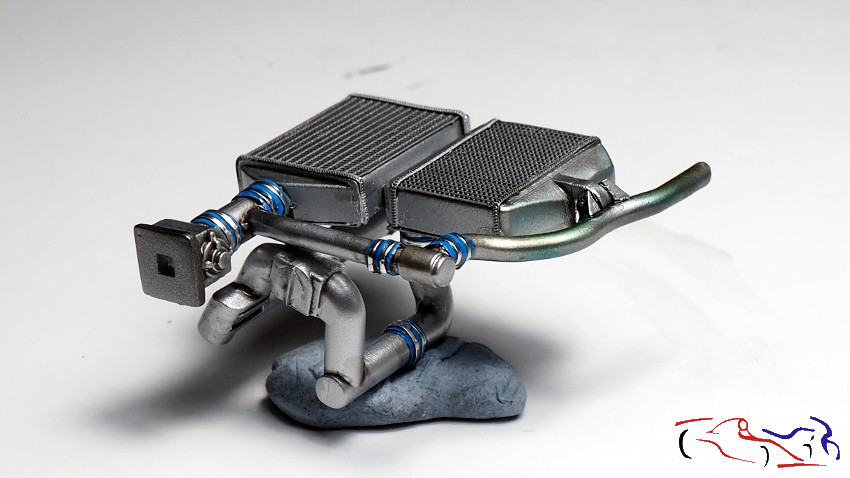
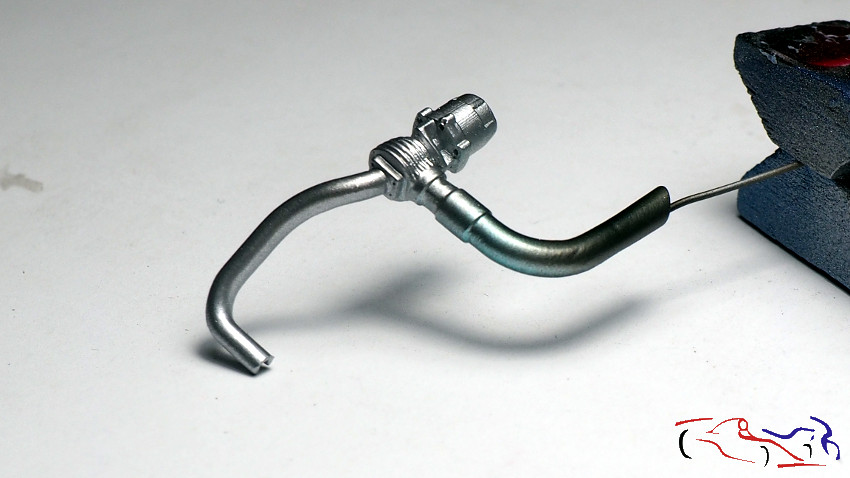
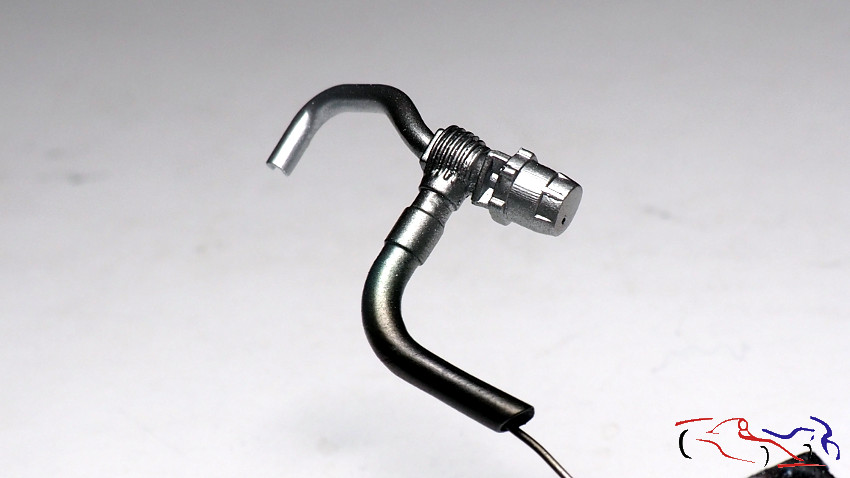
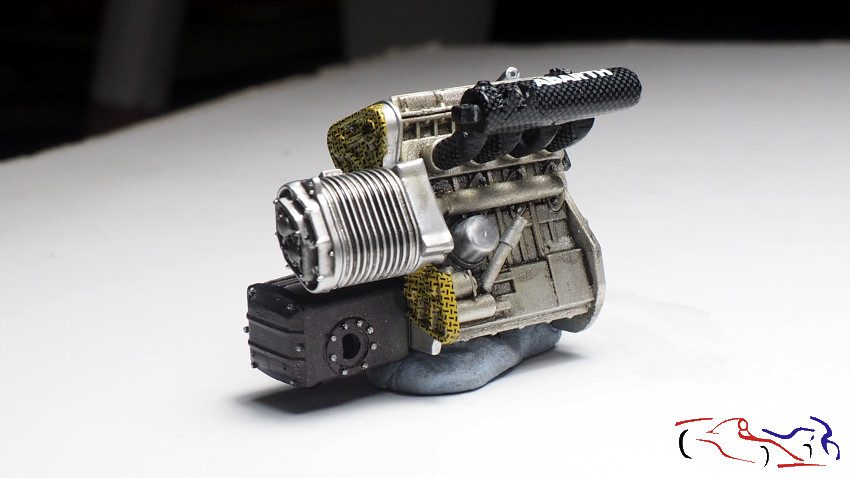
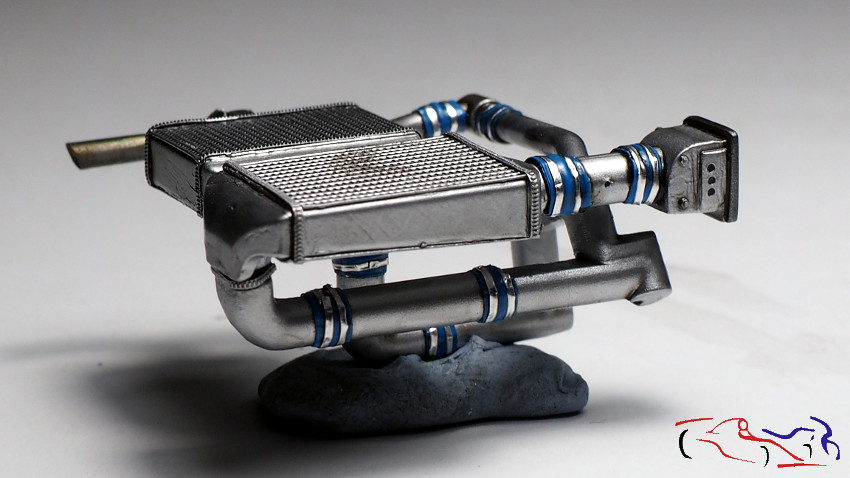
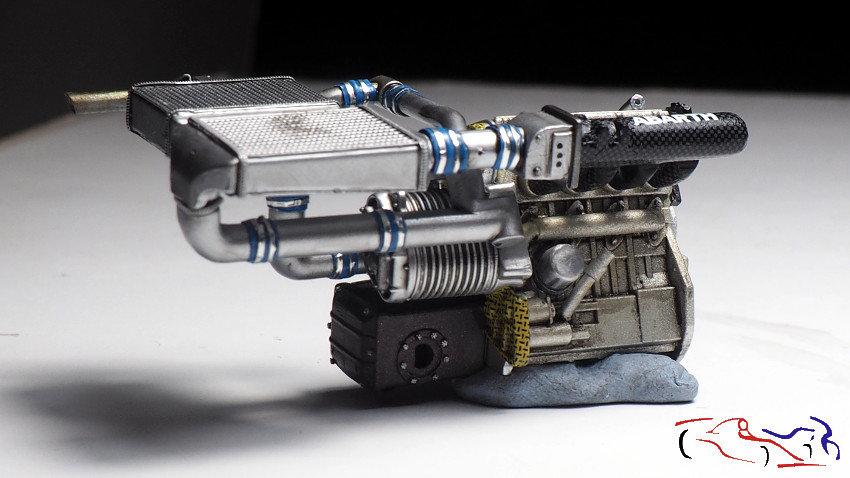
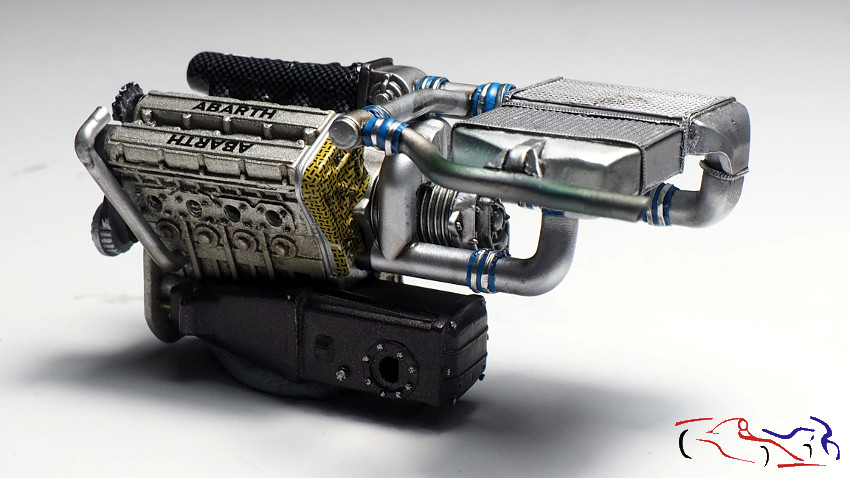
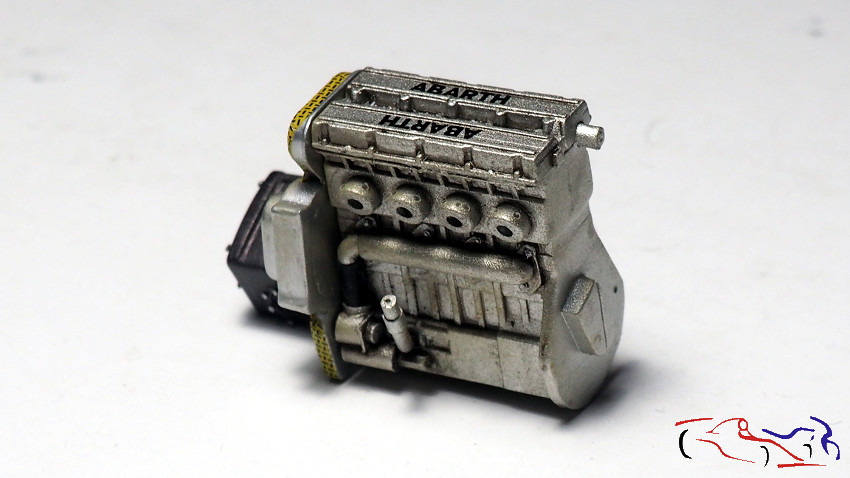
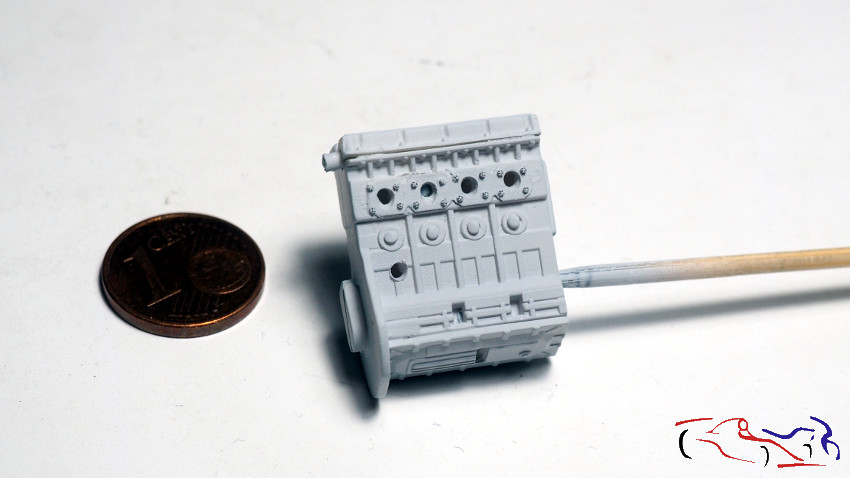
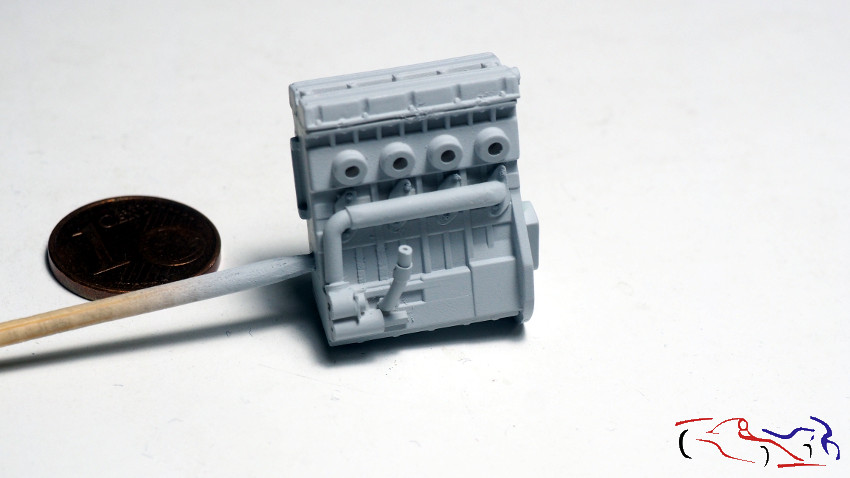
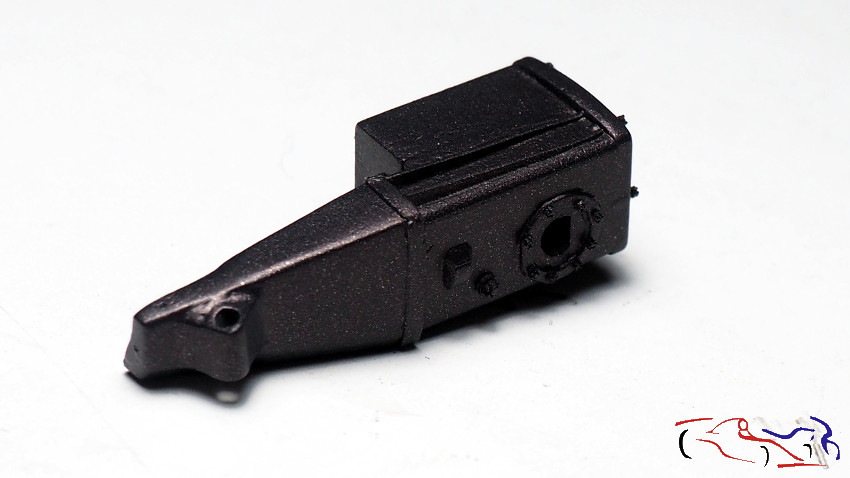
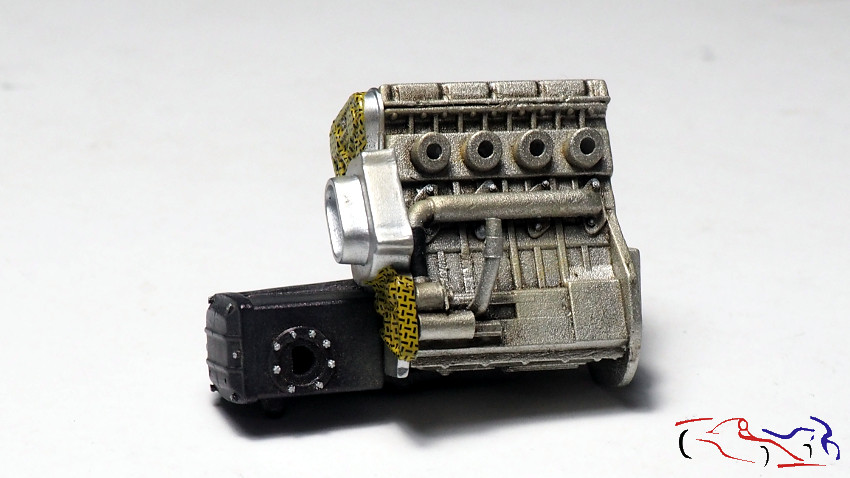
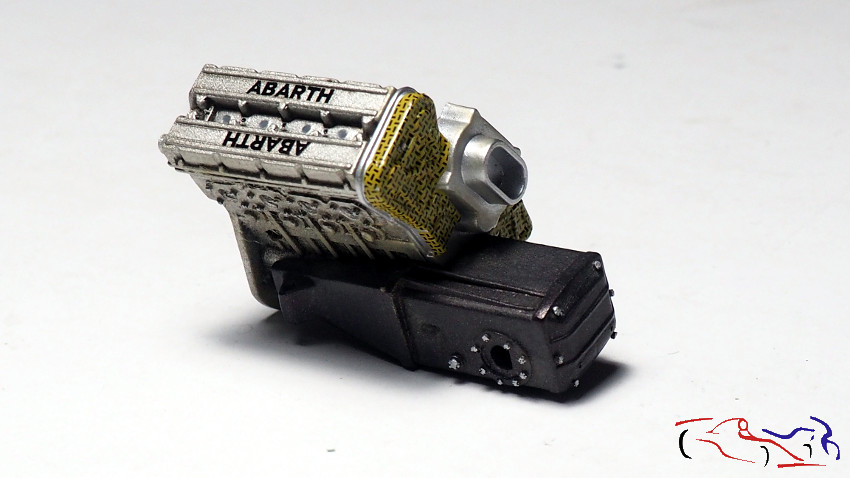
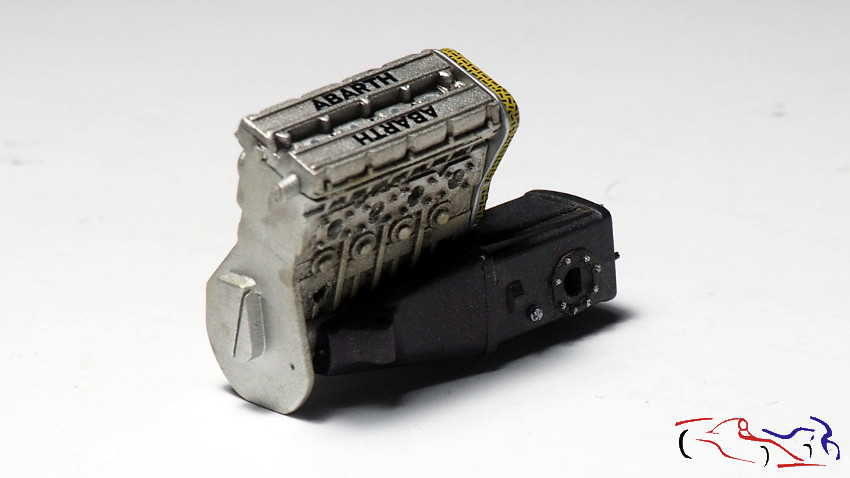
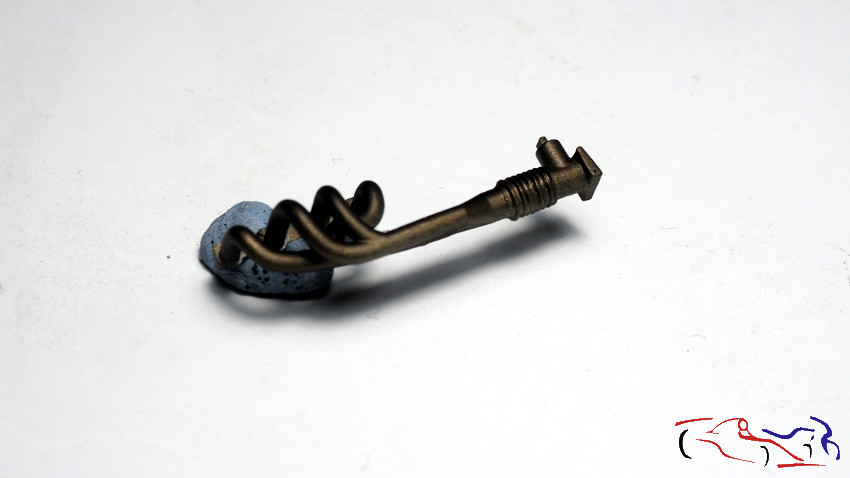
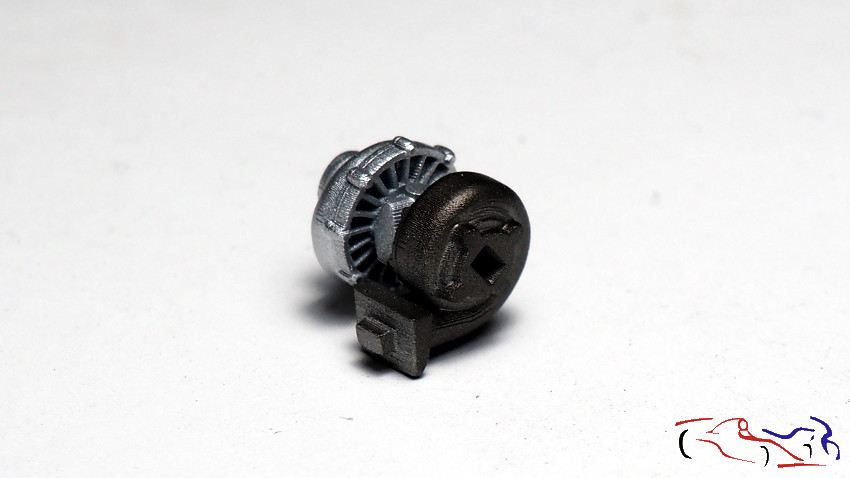
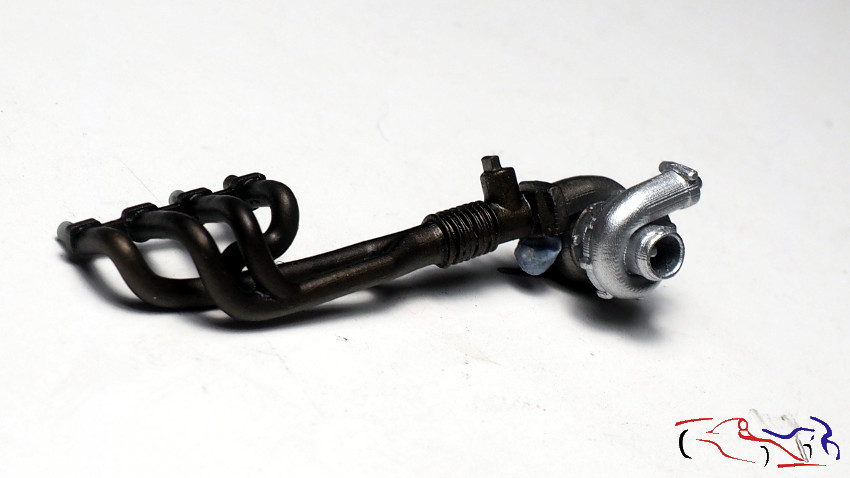
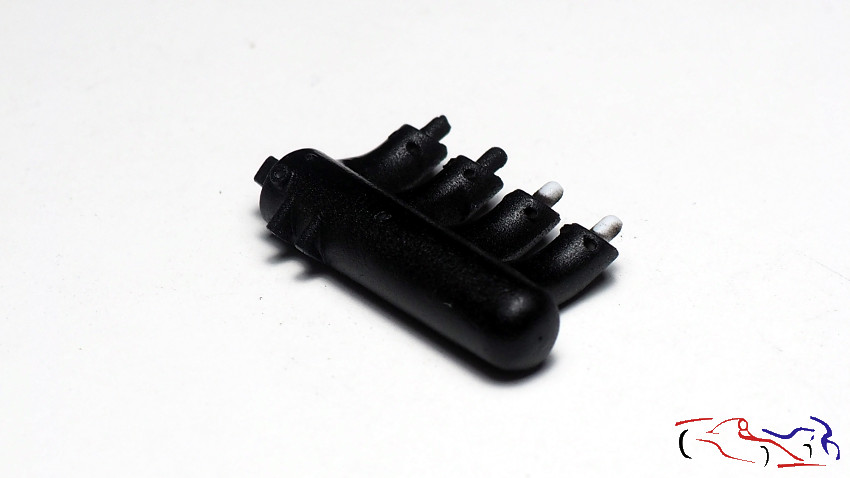
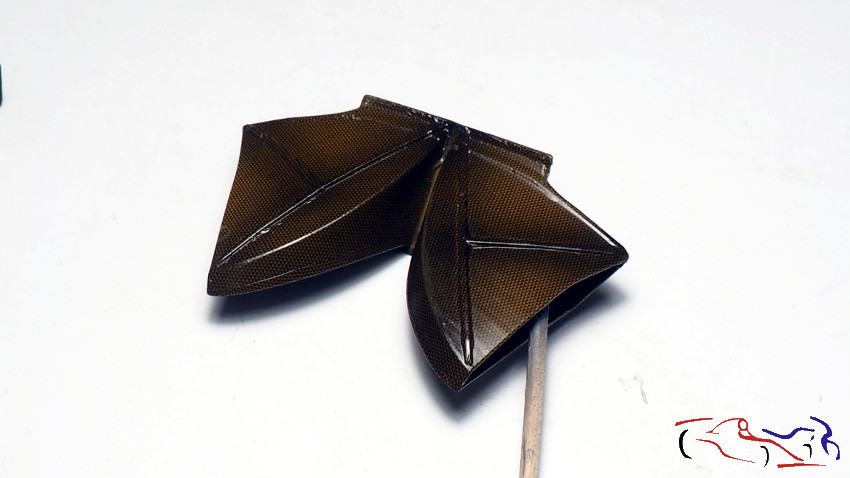
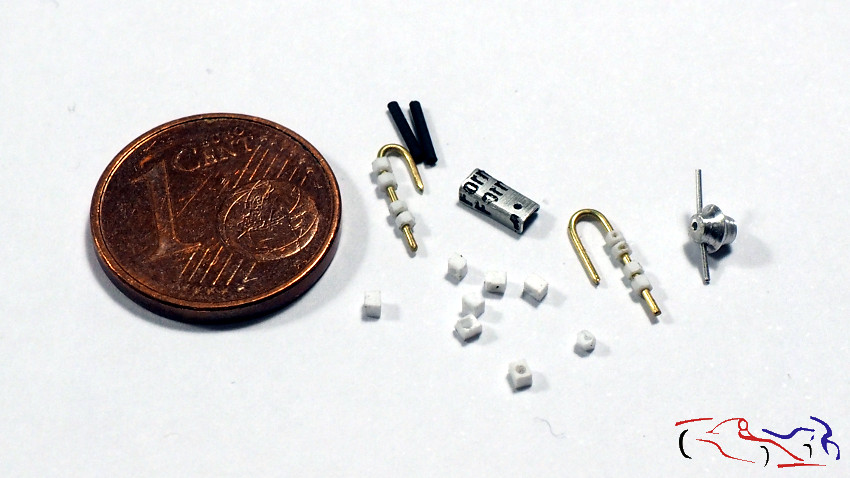
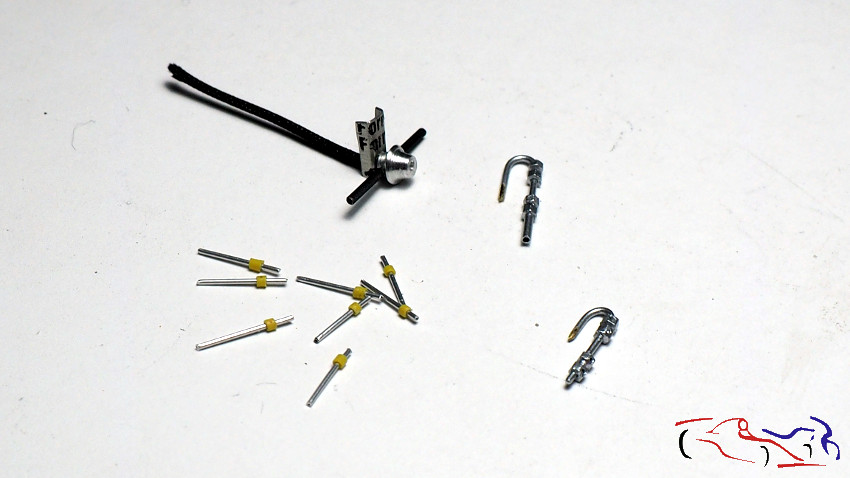
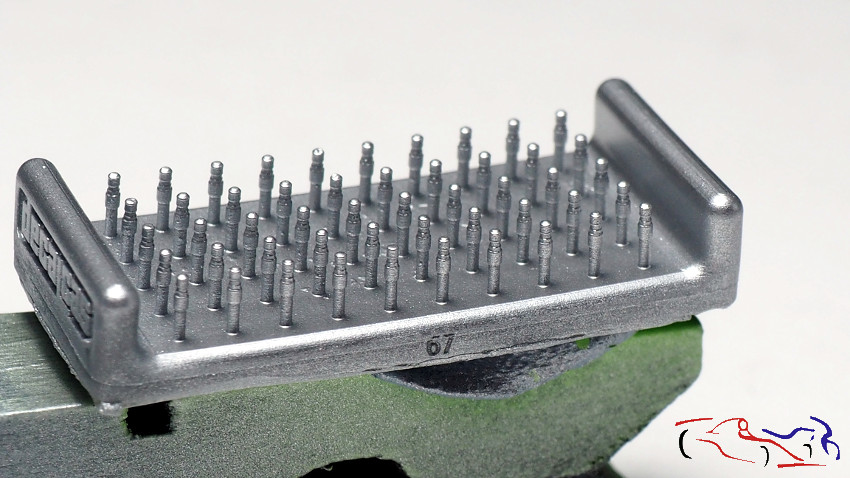
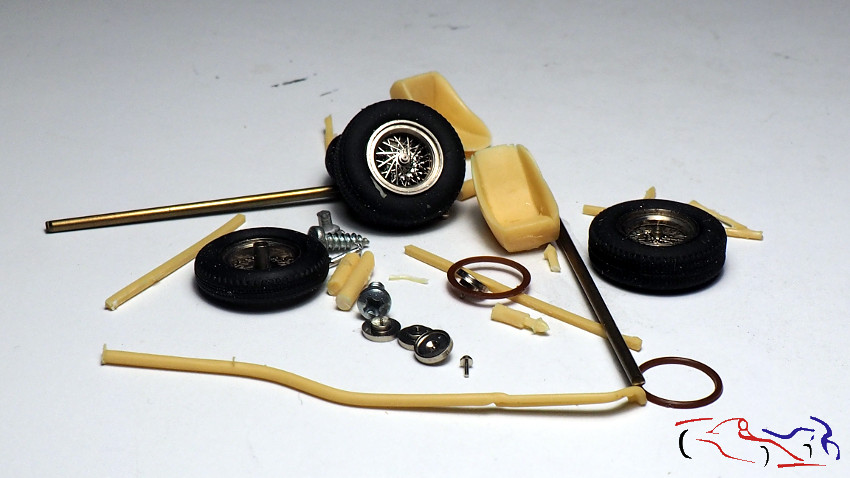
 En cuanto a las piezas, vemos que aparte de los asientos y ruedas, están los faros, volante y unas piezas de resina correspondientes a los tubos de escape y a la barras del chasis que se verán pegados a la puerta del piloto. Estas piezas las reharé desde cero.
As for the pieces, we see that apart from the seats and wheels, there are the headlights, steering wheel and some resin parts corresponding to the exhaust pipes and the chassis bars that will be glued to the pilot’s door. I will remake these pieces from scratch.
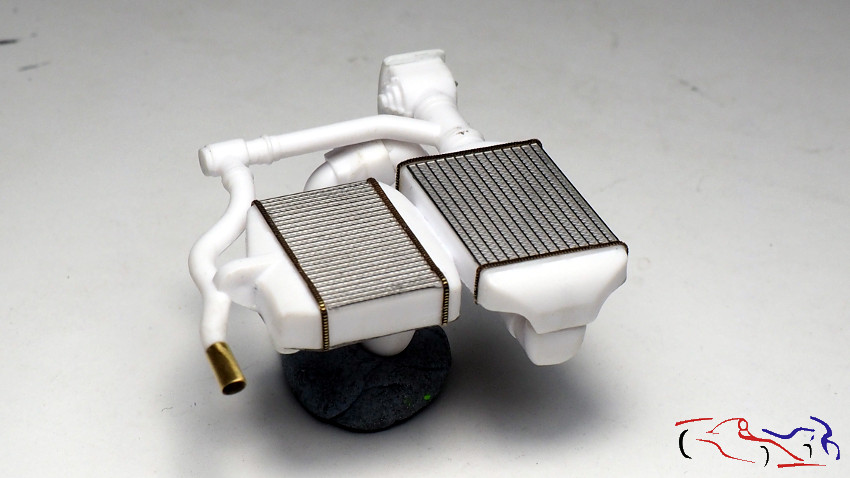
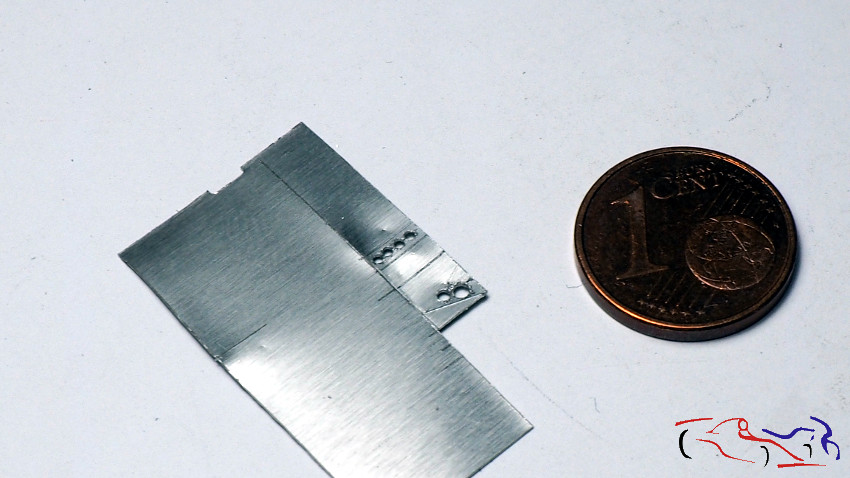
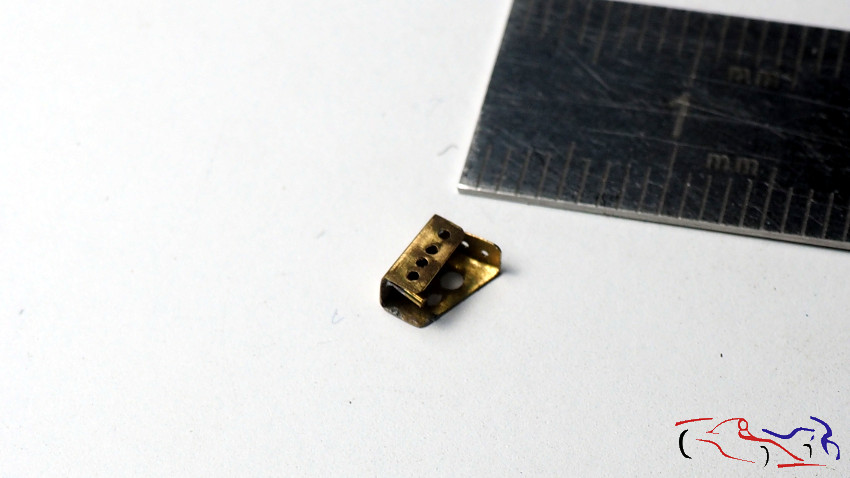
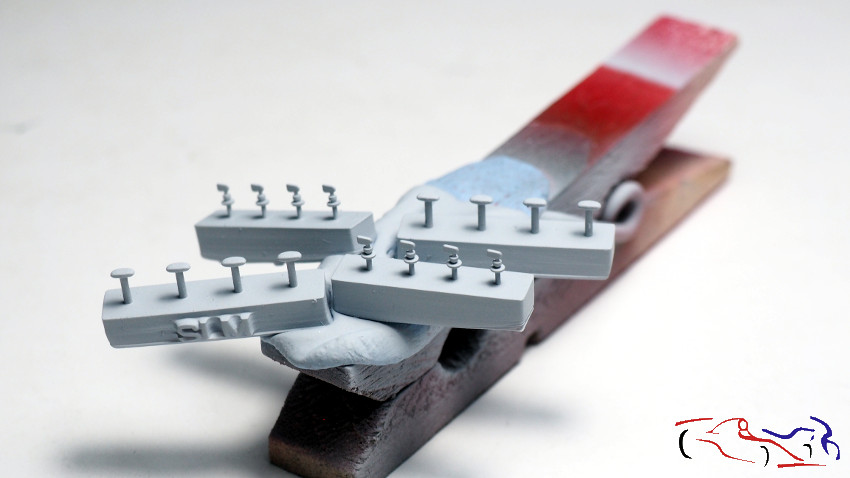
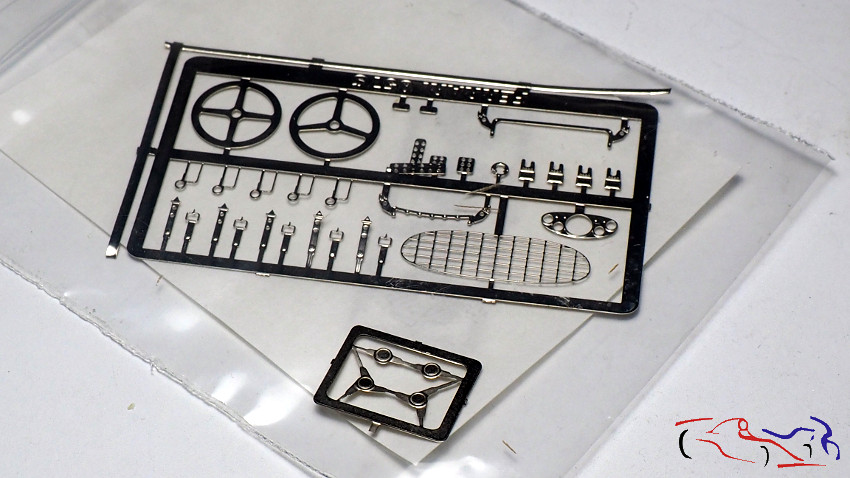
Pasamos a los fotograbados. Son lo suficientes para mejorar el kit:
We turn to photogravures. They are enough to improve the kit:
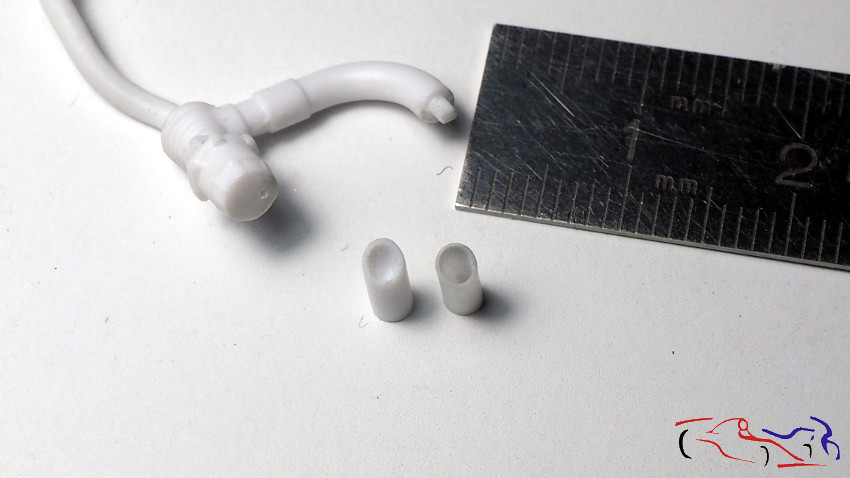
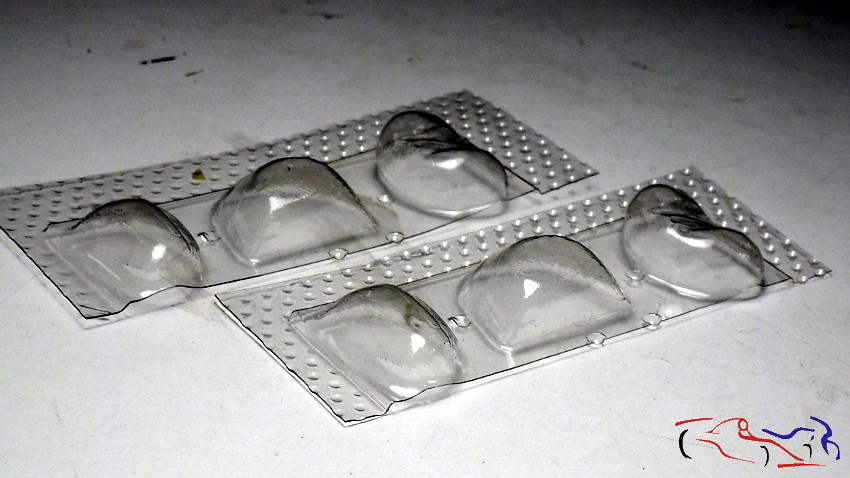
 Ahora vamos a por el cristal y faros. Un detalle del fabricante que ponga dos unidades por si alguno se rompe!!
Now let’s go for the glass and headlights. A detail of the manufacturer that puts two units in case any breaks!
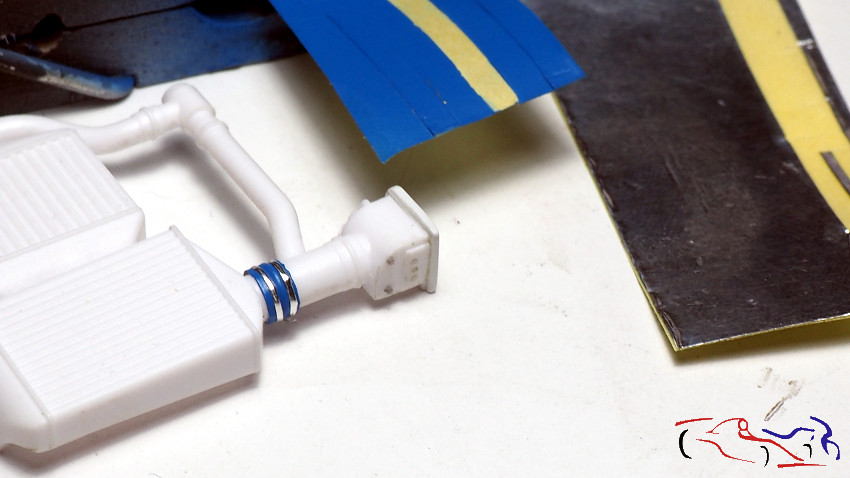
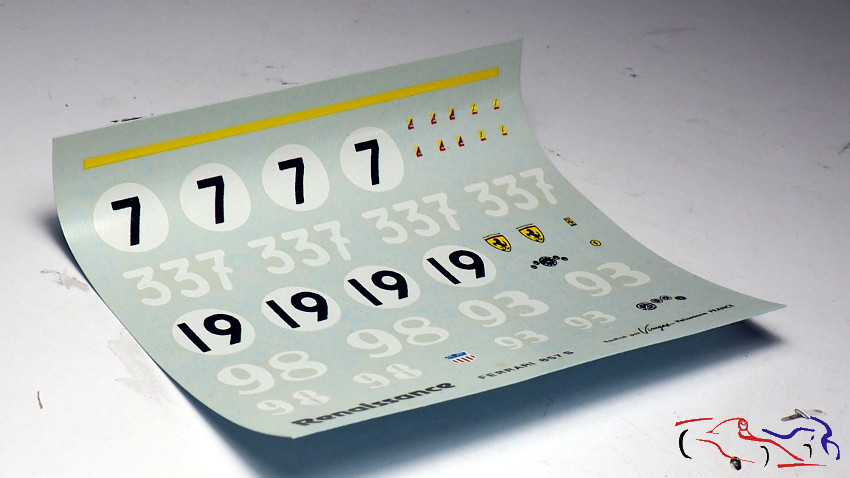
 Las calcas están en buen estado, teniendo la linea amarilla por si se quiere hacer la versión con el frontal en ese mismo color. Yo voy a usar la versión pintada completamente de rojo.
The decals are in good condition, having the yellow line in case you want to make the version with the front in that same color. I am going to use the red painted version.
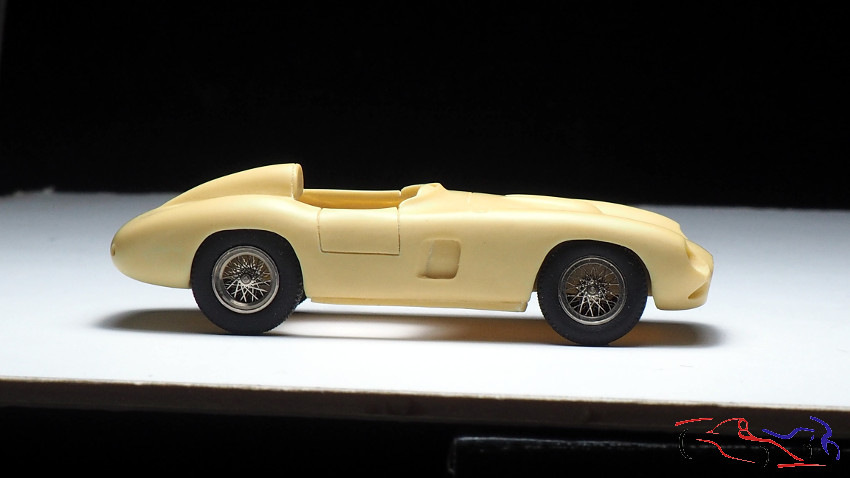
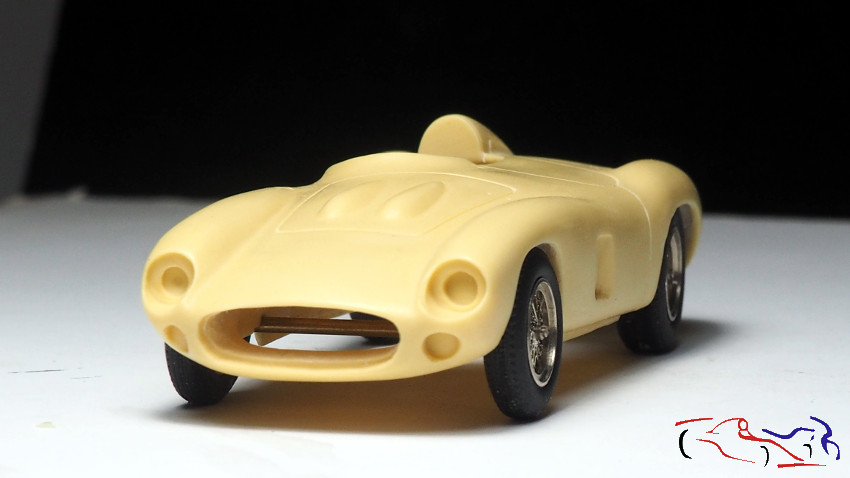
 Y lo primero que hacemos es cortar los ejes, para ver como queda el coche con las ruedas. Y parece que está bien!!
And the first thing we do is cut the axles, to see how the car looks with the wheels. And it seems fine!
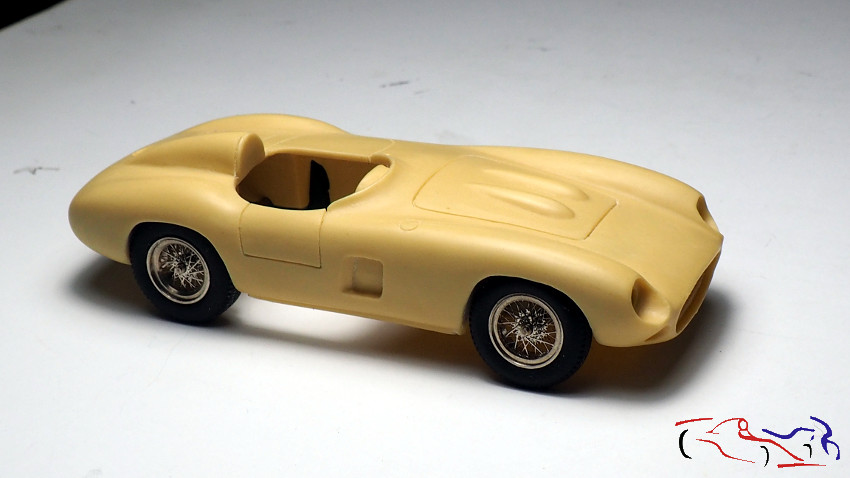
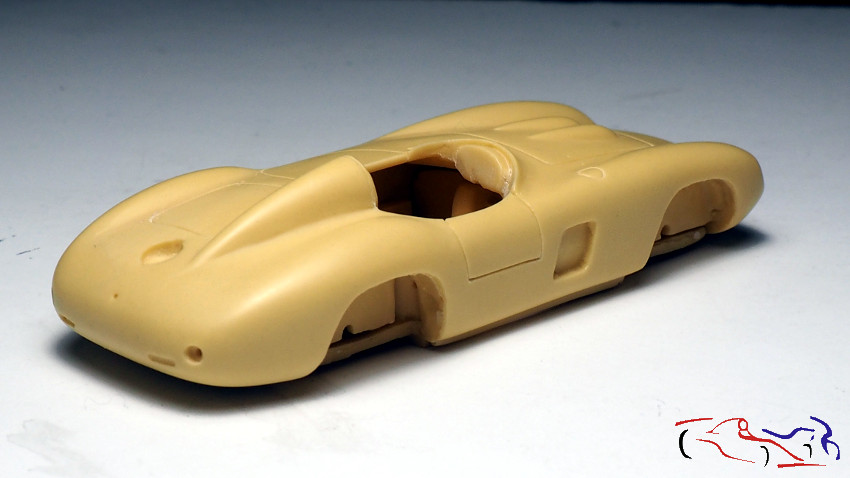
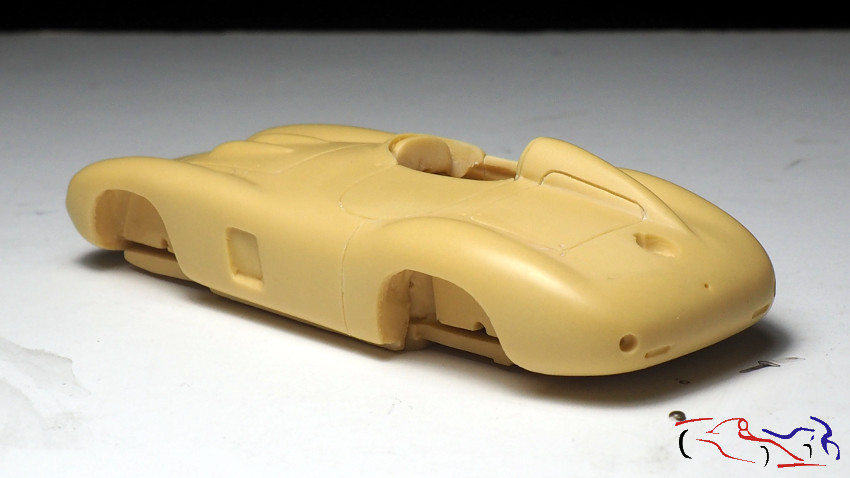
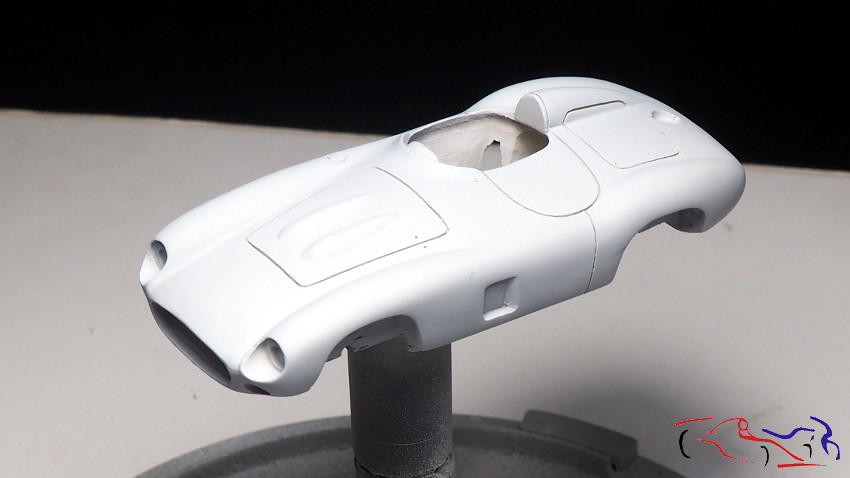
 Ya puestos en tarea con la carrocería, vemos que los bordes interiores del habitáculo están ya reducidos, así como las rebabas, lineas de paneles y lijado completo.
Already put into task with the body, we see that the interior edges of the cabin are already reduced, as well as burrs, panel lines and complete sanding.
 Y pasamos a imprimar con Gravity. Dos capas para ver imperfecciones.
And we start priming with Gravity. Two layers to see imperfections.
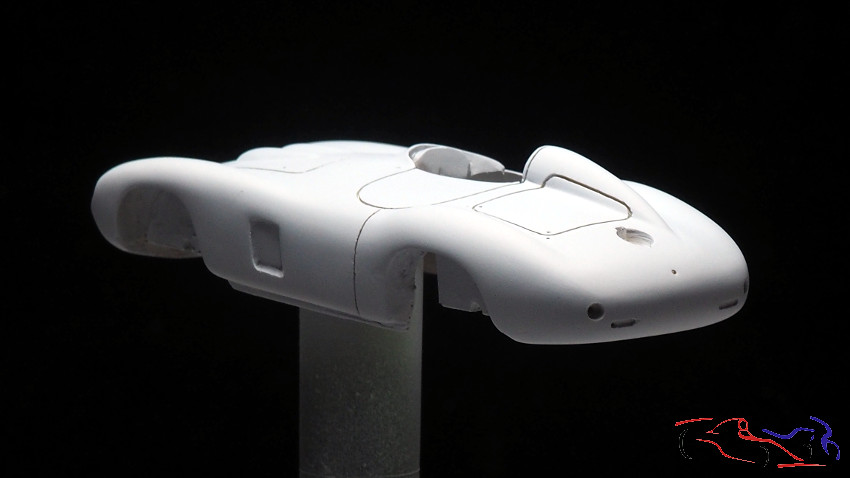
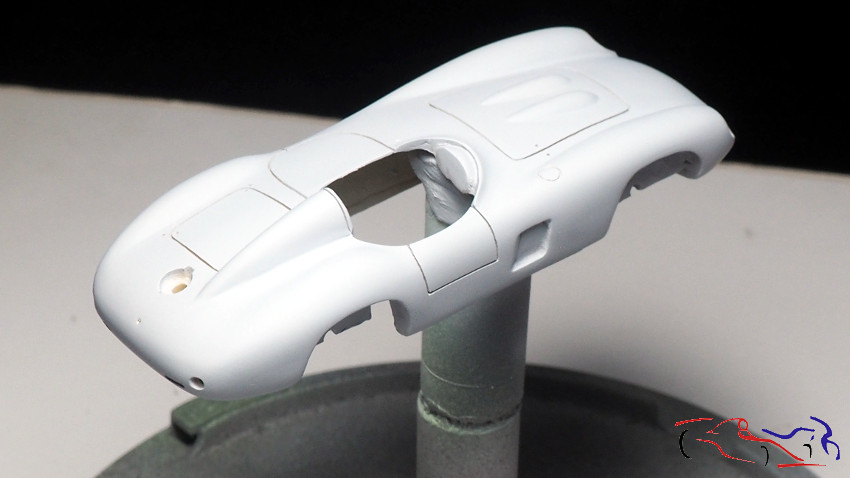 Se corrigen algunos puntos y aplico otras dos manos de imprimación. Después, revisamos los paneles y lijamos con grano 2000.
Some points are corrected and I apply two other coats of primer. Then, we check the panels and sand with 2000 grit.
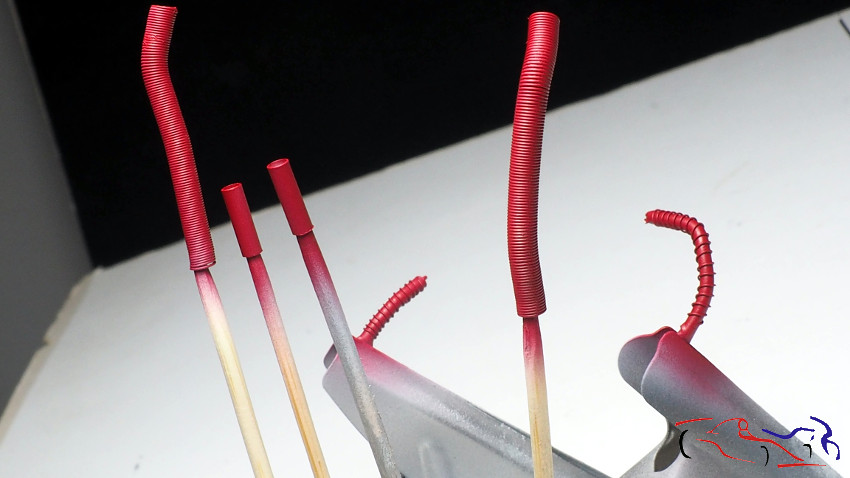
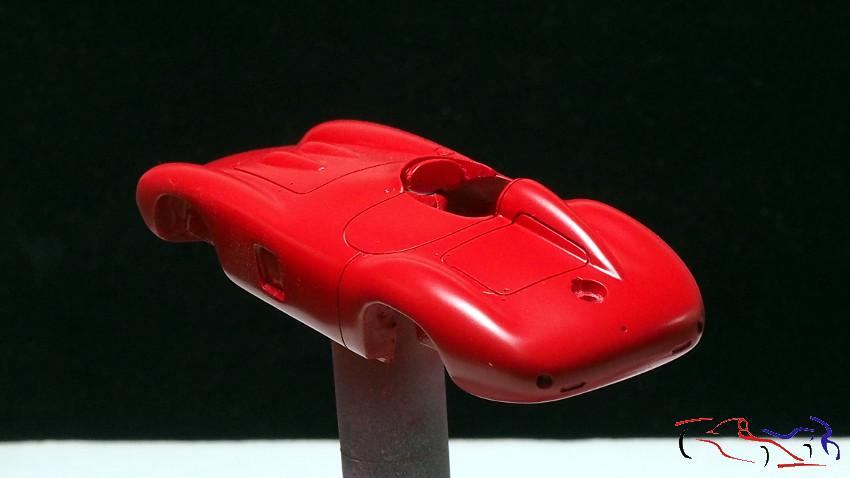
 Para finalmente, dar 3 capas de Rosso Corsa de Gravity!!
Finally, give 3 layers of Rosso Corsa de Gravity !!
 La otra foto la visteis al principio del post!
Gracias por ver y comentar!!
You saw the other photo at the beginning of the post!
Thanks for viewing and commenting!!