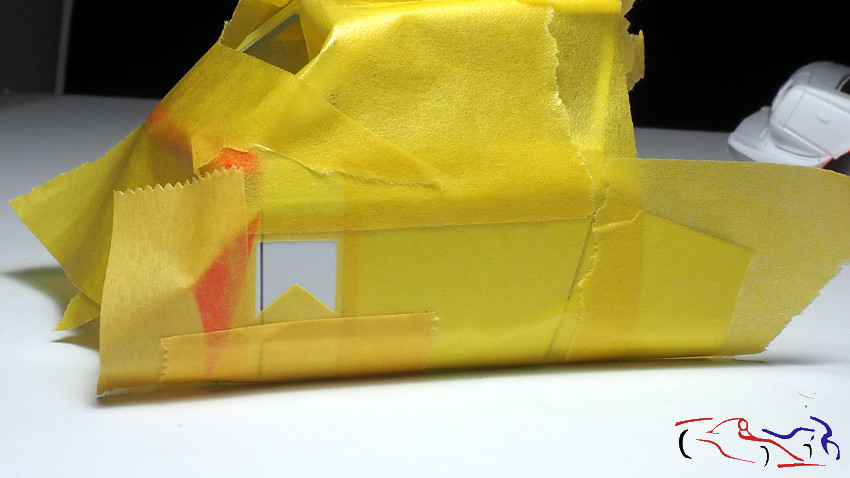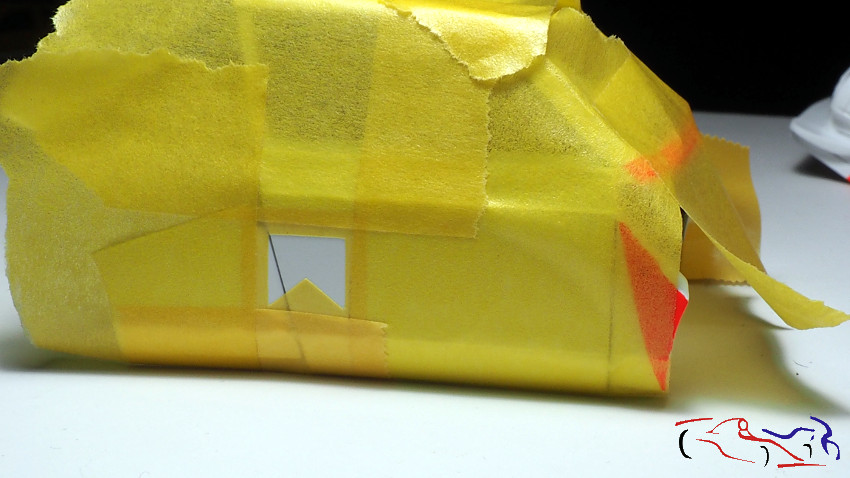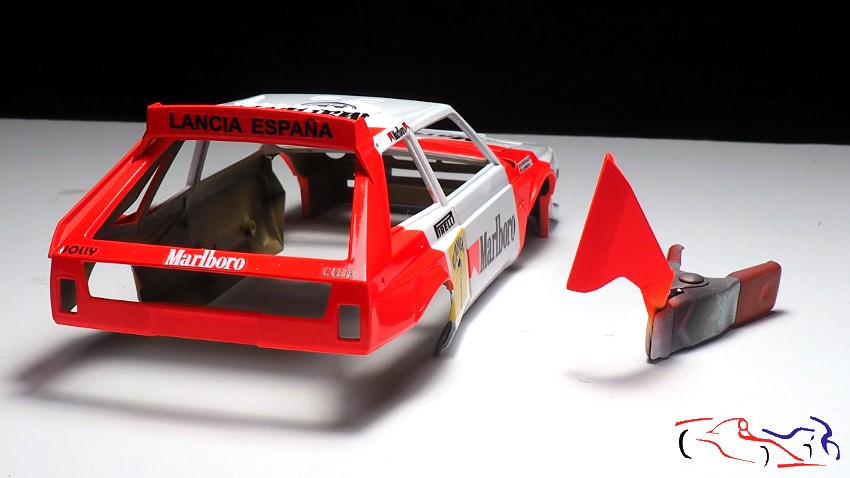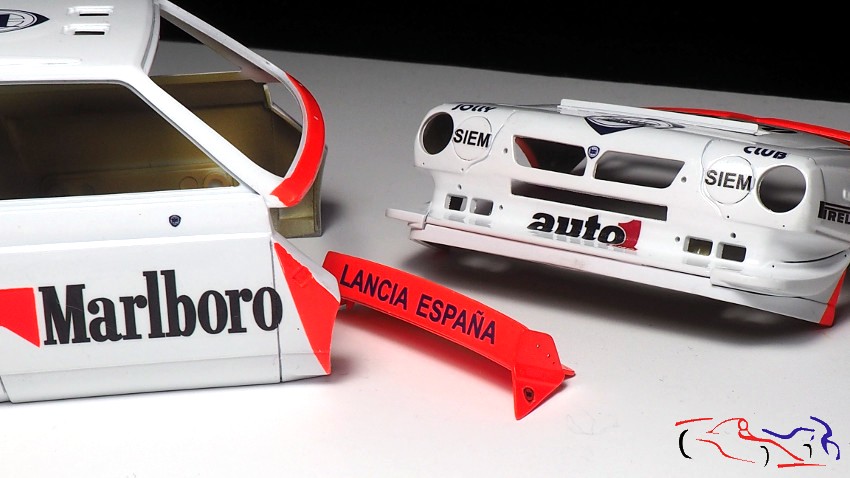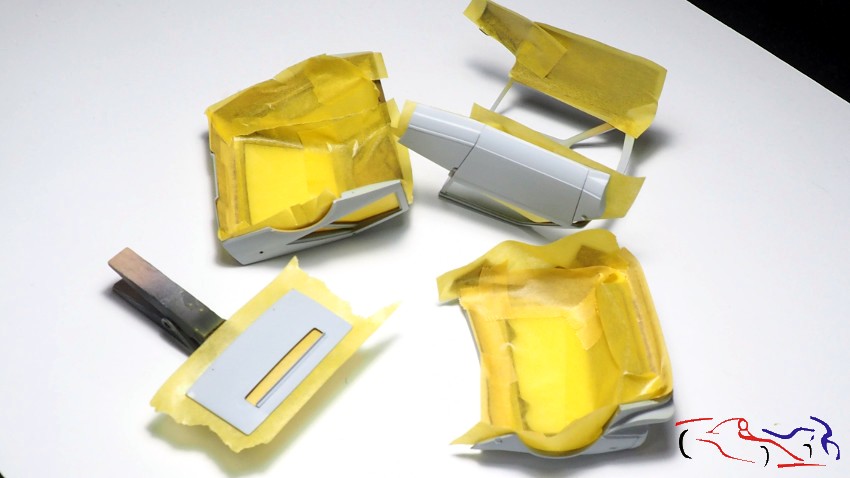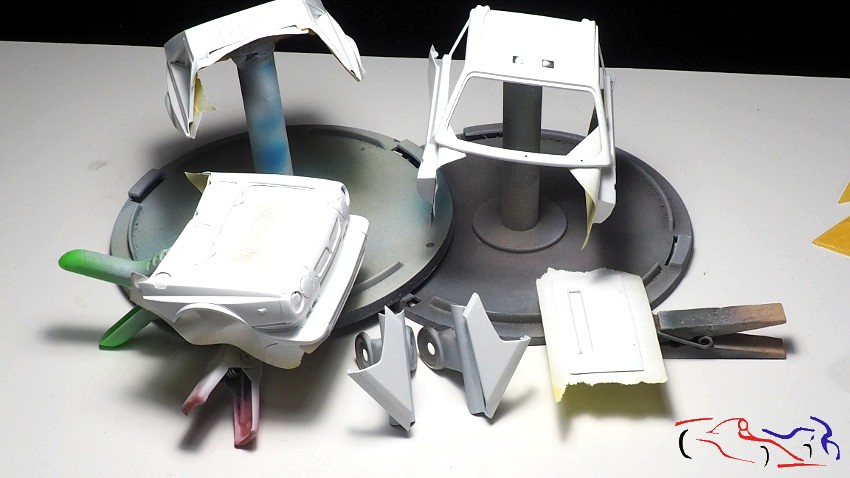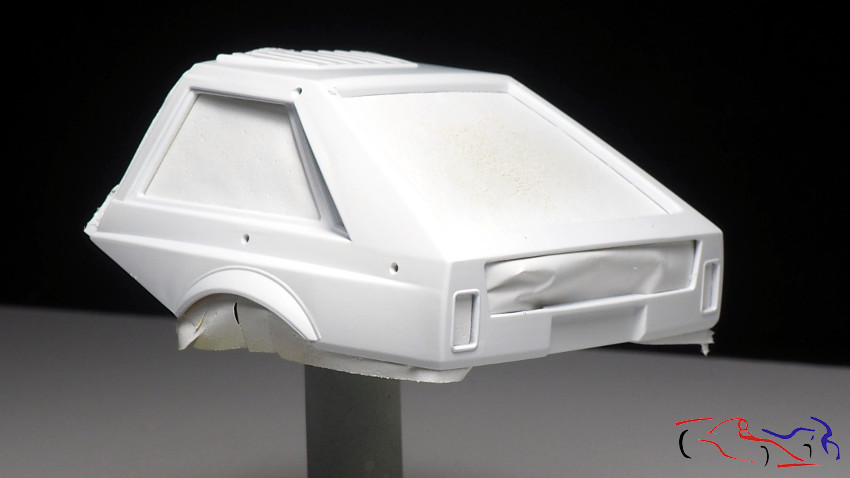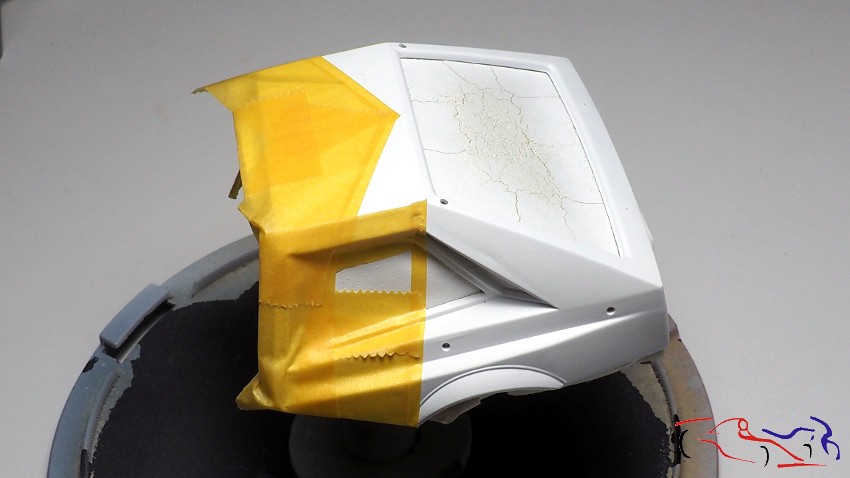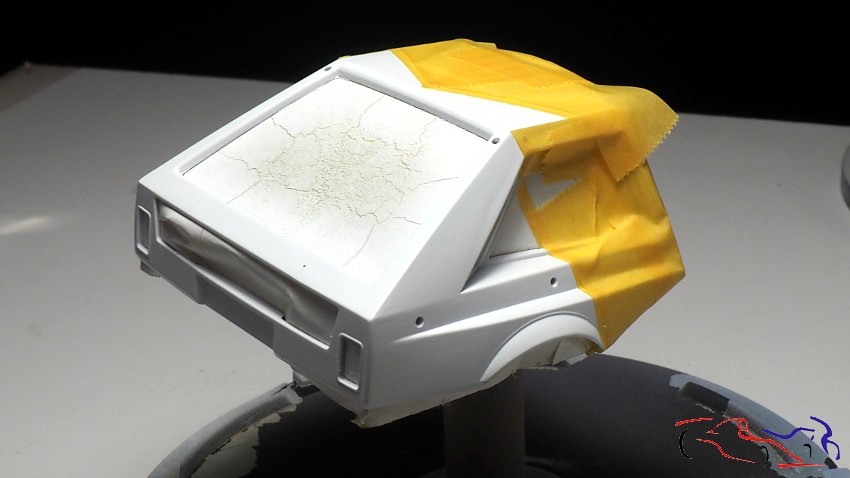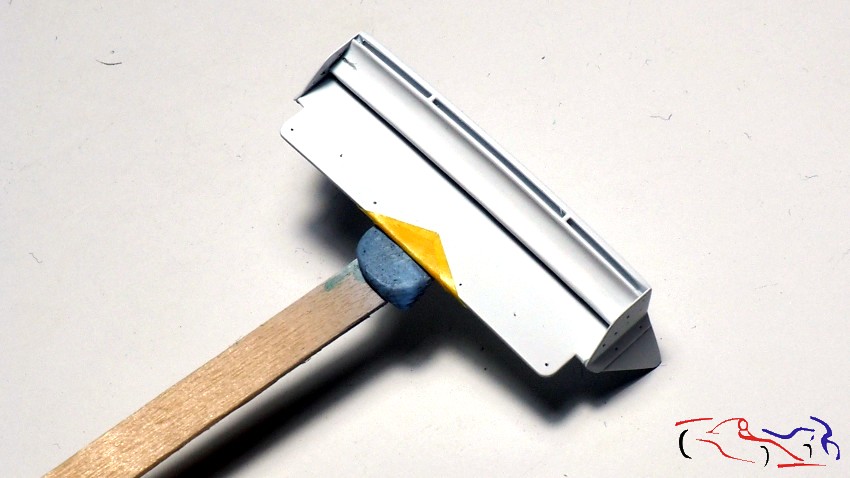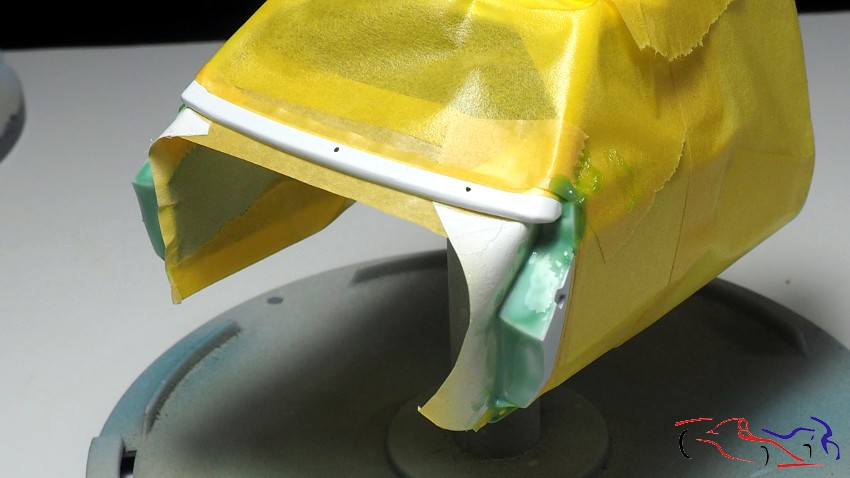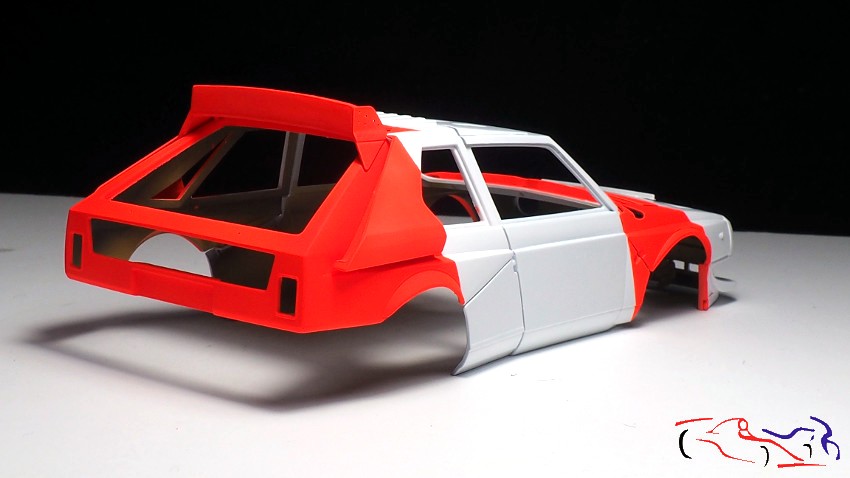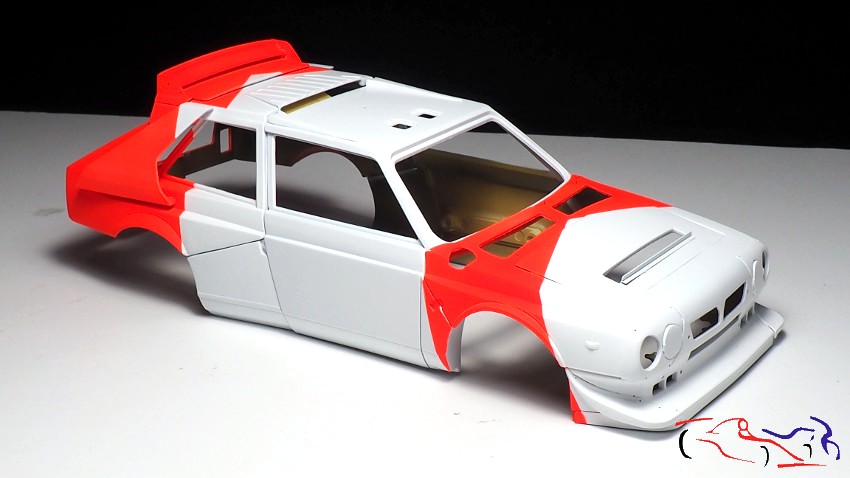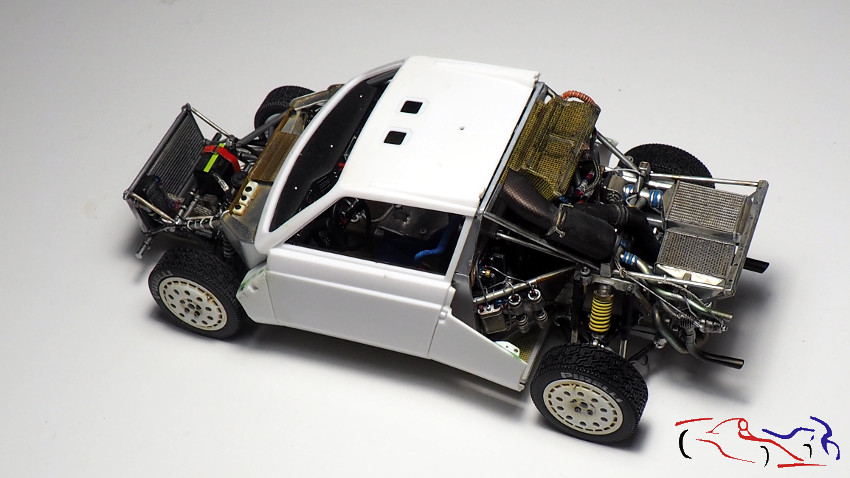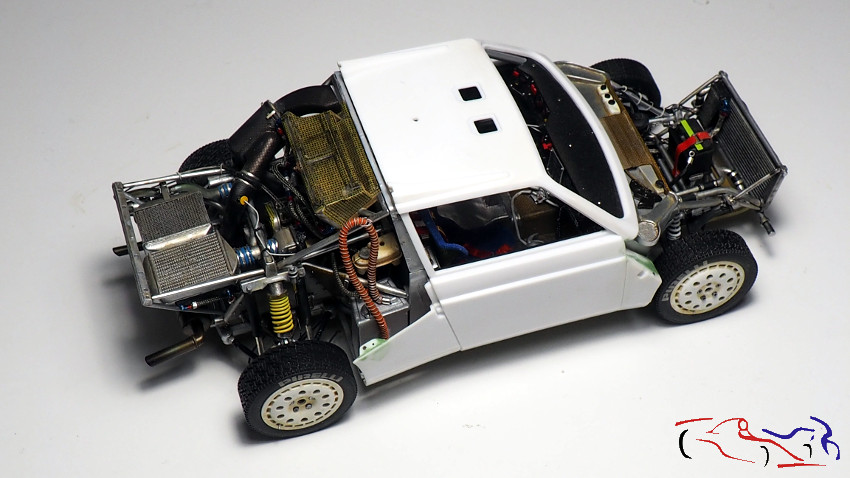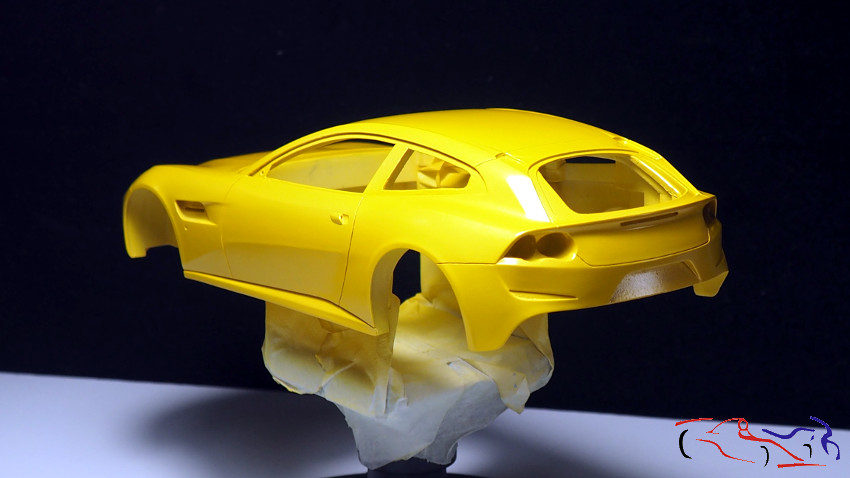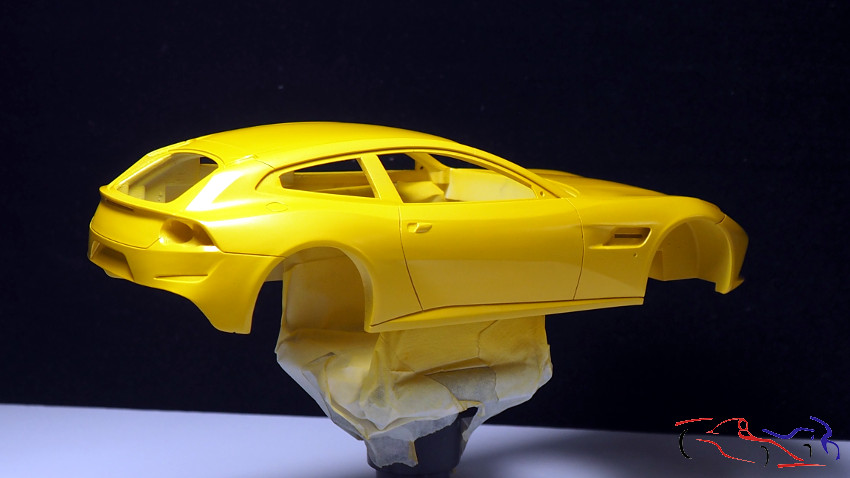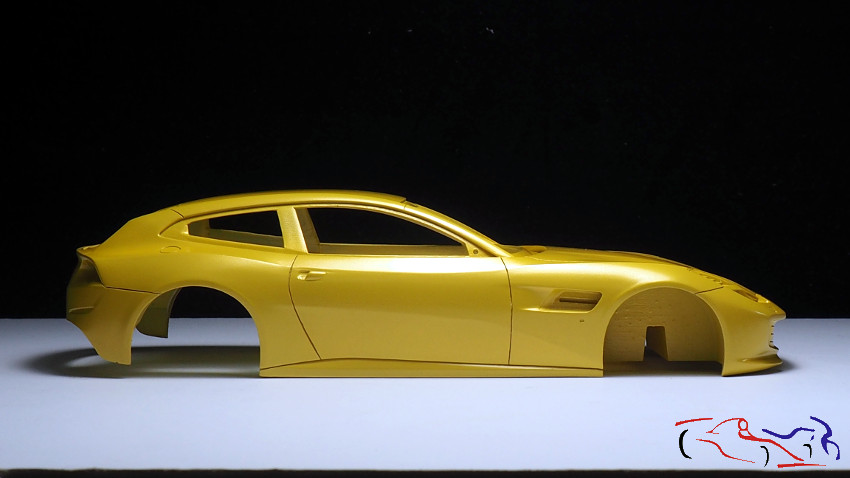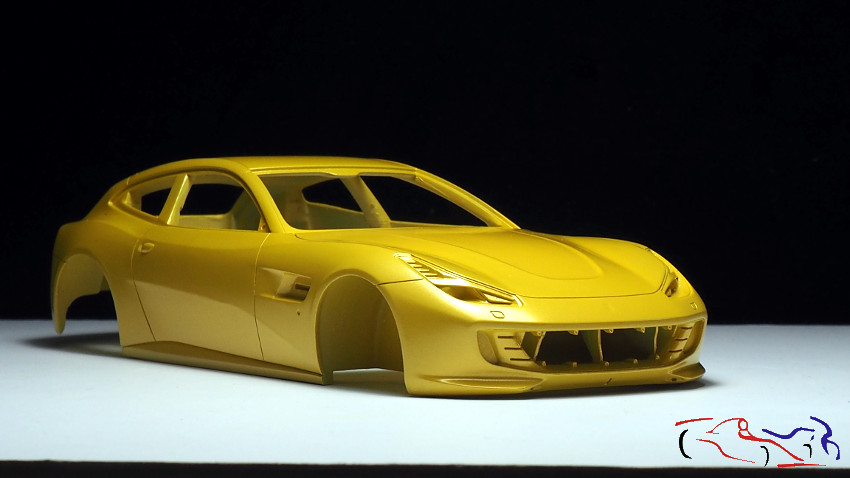
Una vez que la carrocería está lacada, lo siguiente es empezar a detallarla tanto por dentro como por afuera. Y lo primero que hago es enmascarar para pintar de negro semimate de Tamiya X18, los laterales inferiores de las puertas, los intermitentes y los faros traseros, ya que ambos, llevan un reborde negro.
Once the bodywork is lacquered, the next thing to do is to start detailing it both inside and out. And the first thing I do is to mask for painting in Tamiya X18 semi-matt black, the lower sides of the doors, the indicators and the rear lights, as both have a black rim.
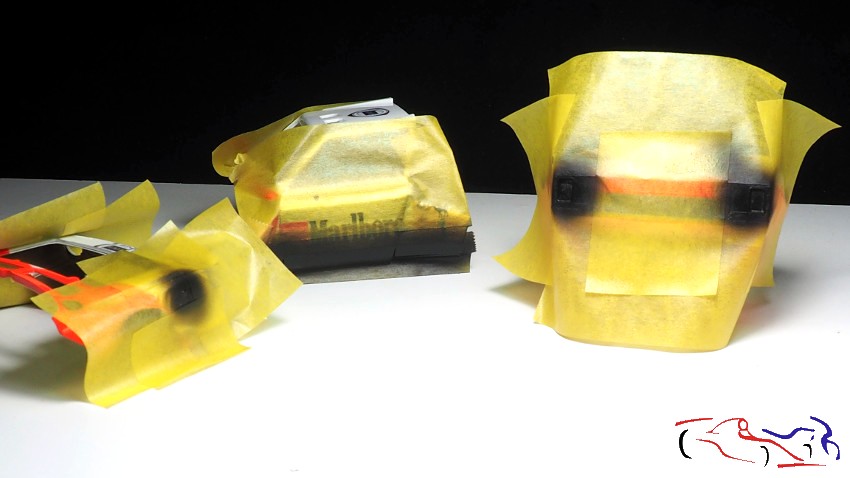
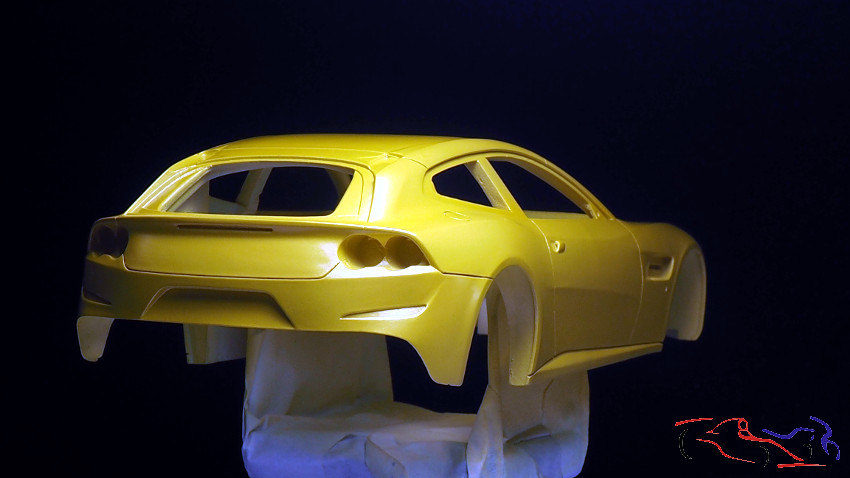
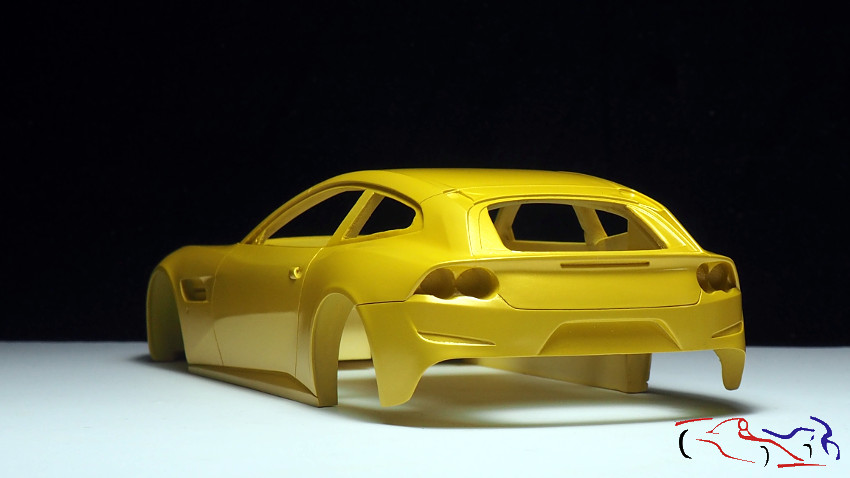
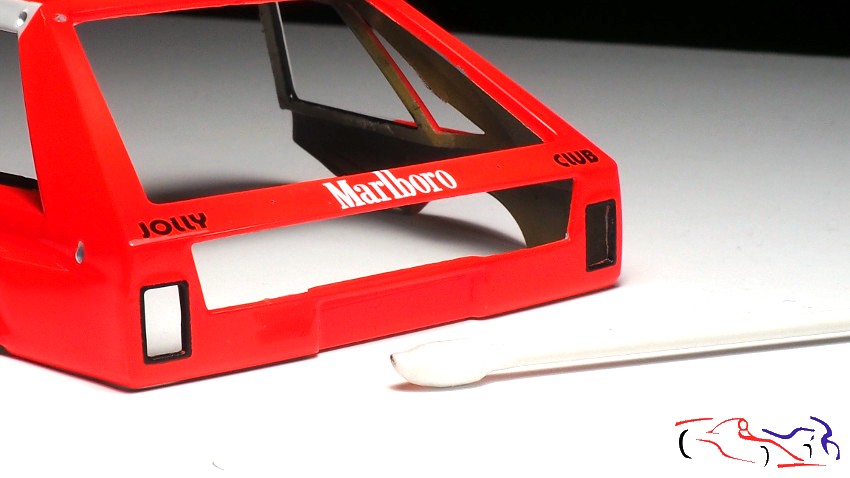
Si quitamos la máscara, los faros traseros tienen los bordes con las esquinas rectas del color negro, siendo en real redondeadas. Para conseguirlo, cojo un bastoncillo de Mr. Hobby, lo mojo en diluyente X20A y lo escurro. Y con él, froto las esquinas para redondear el borde poco a poco.
If we remove the mask, the taillights have the edges with the straight corners of the black colour, being in real rounded. To achieve this, I take a Mr. Hobby swab, dip it in X20A thinner and wring it out. And with it, I rub the corners to round the edge little by little.
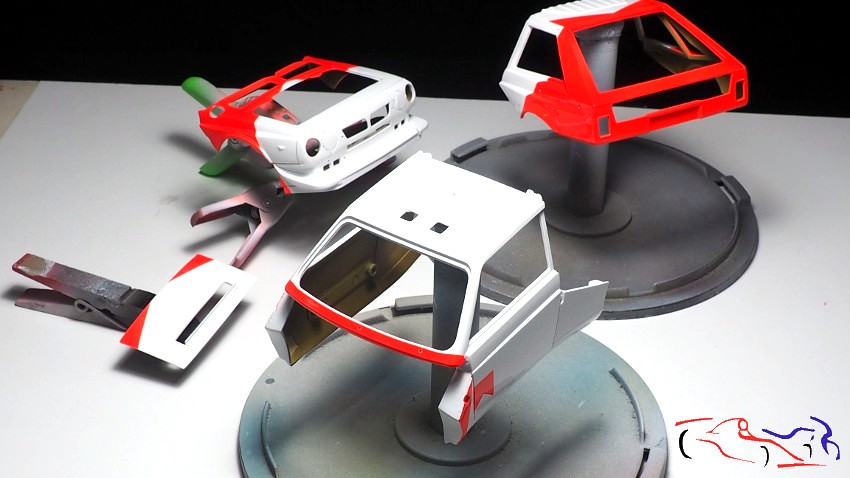
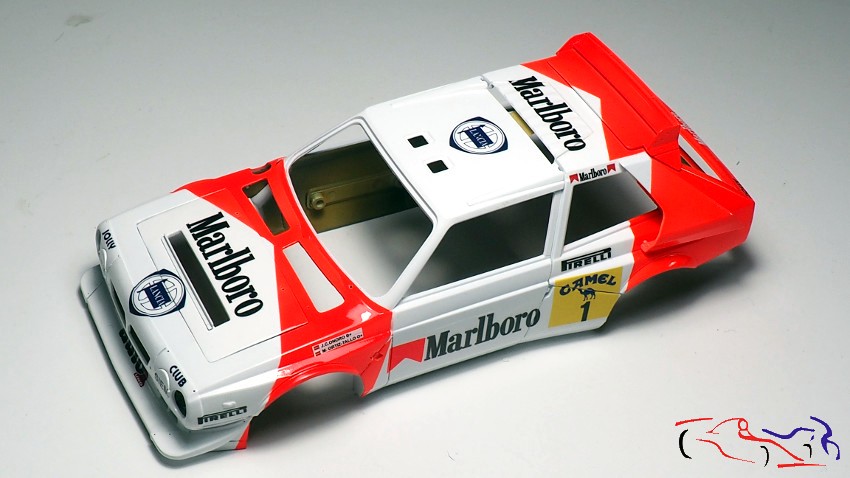
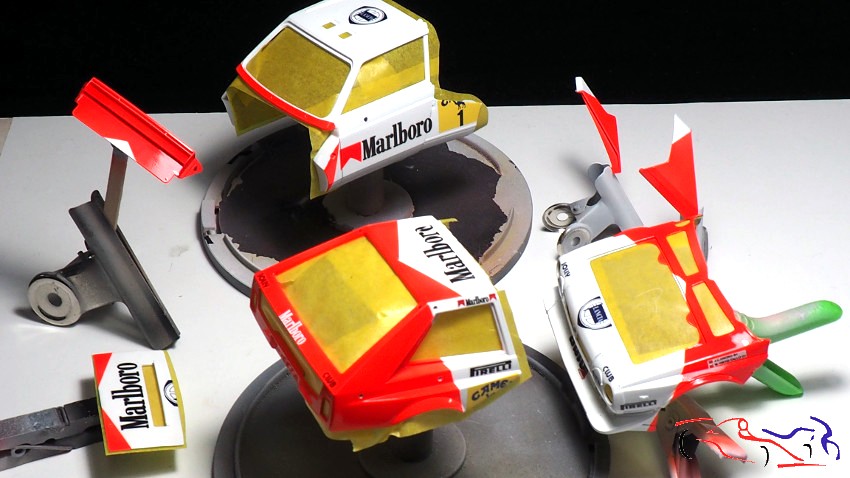
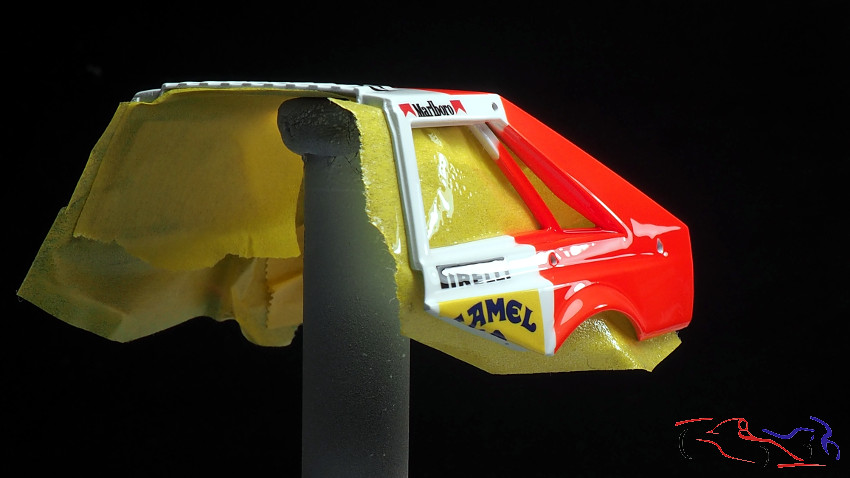
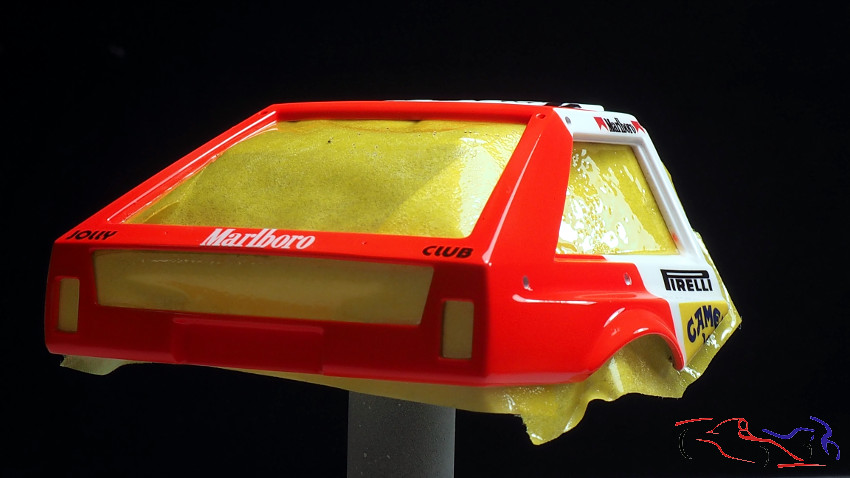
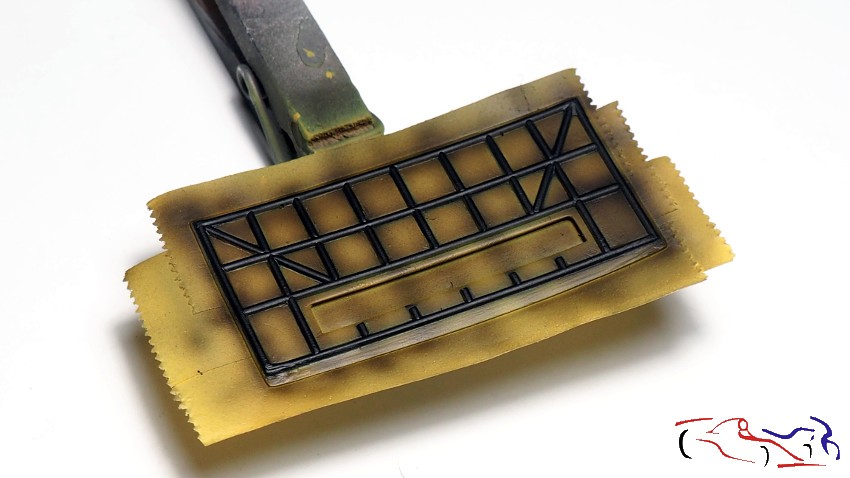
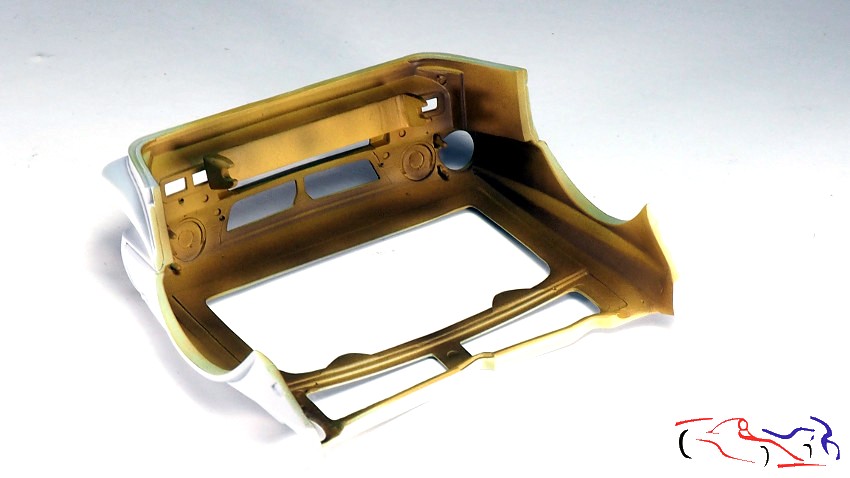
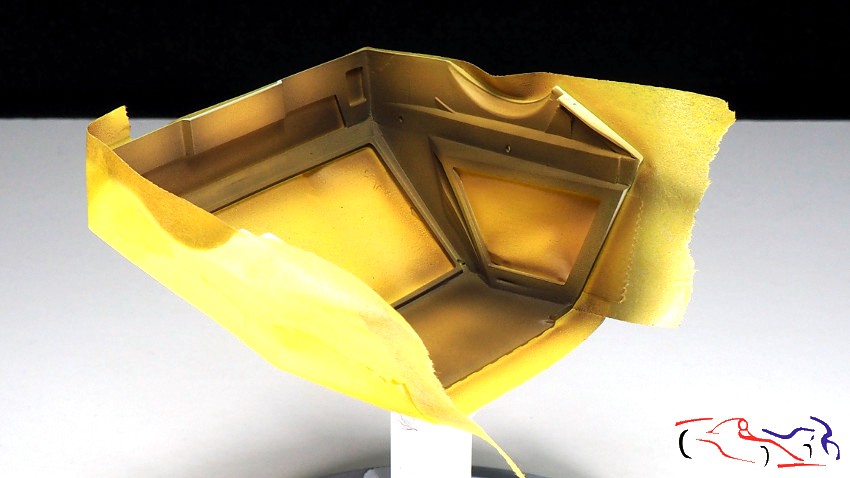
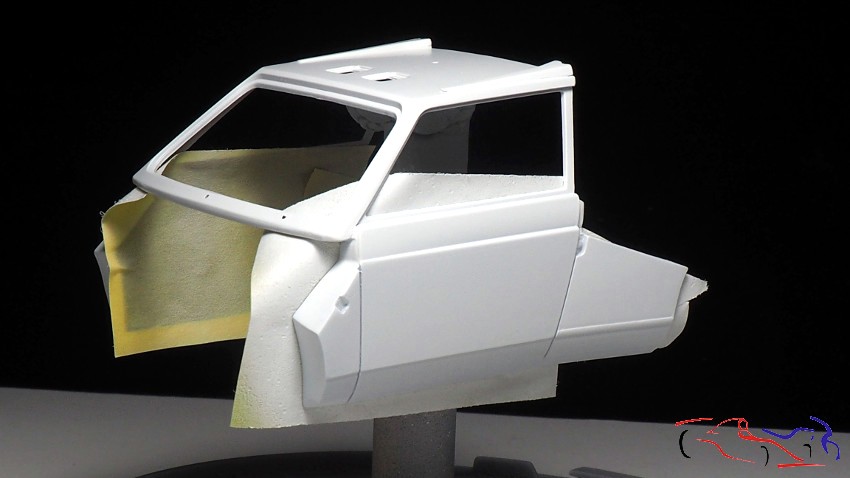
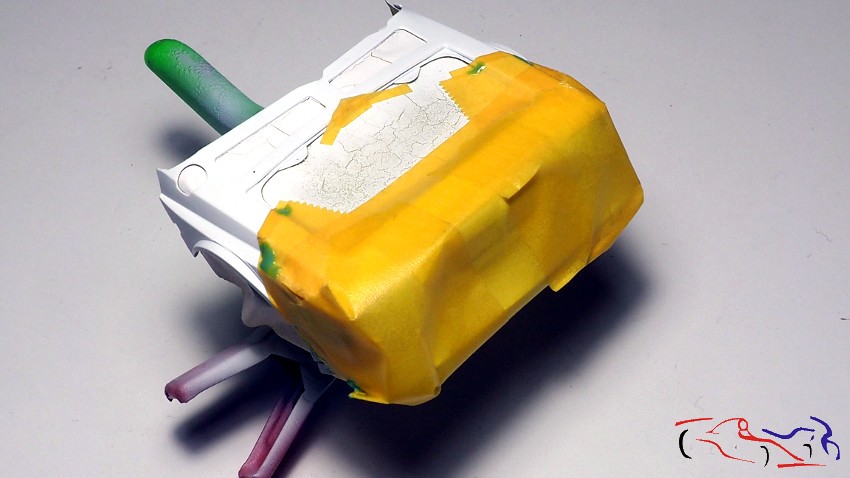
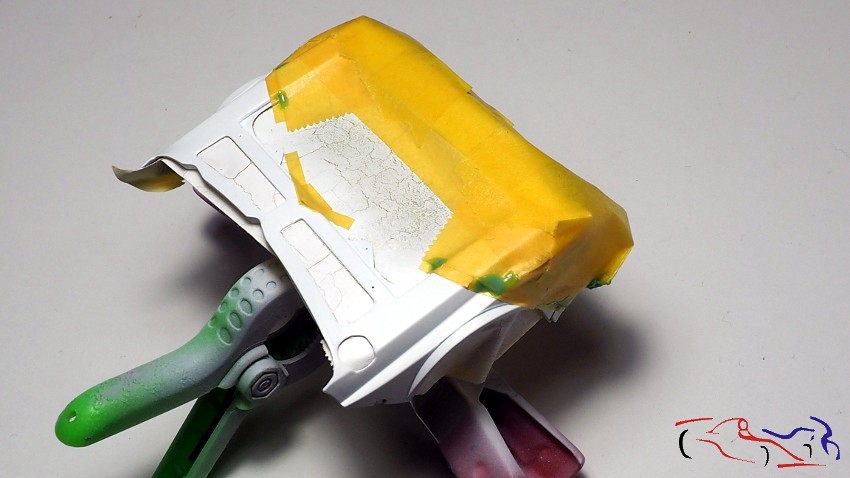
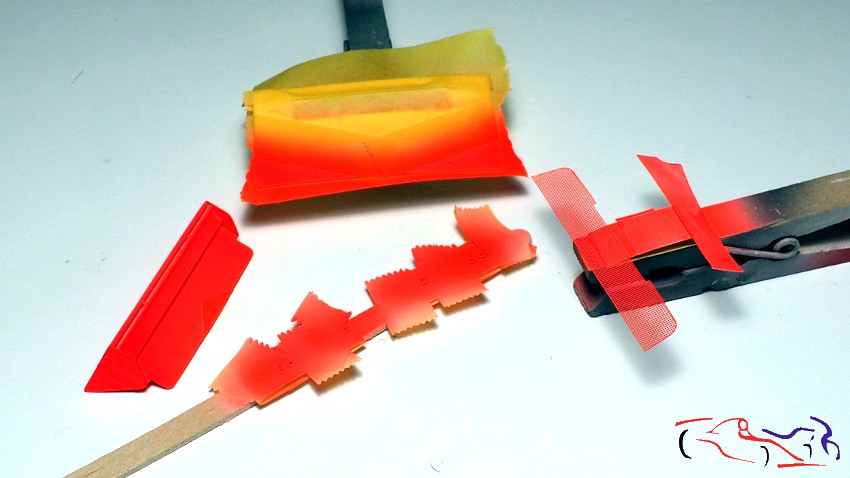
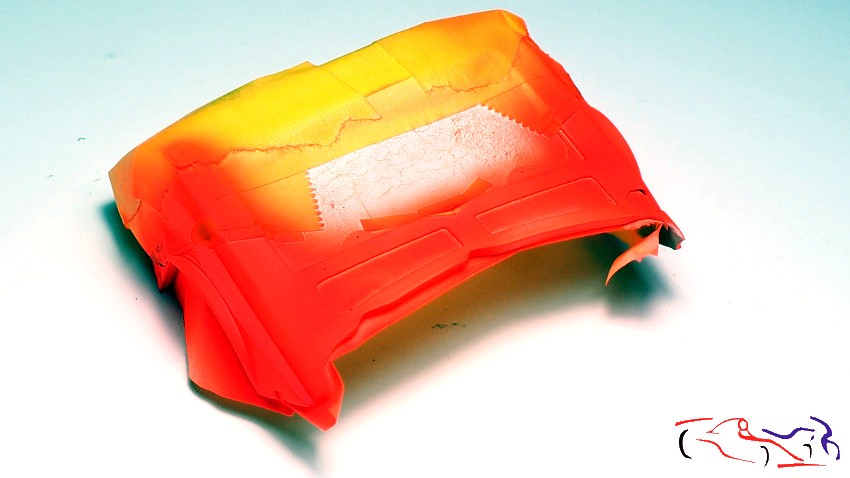
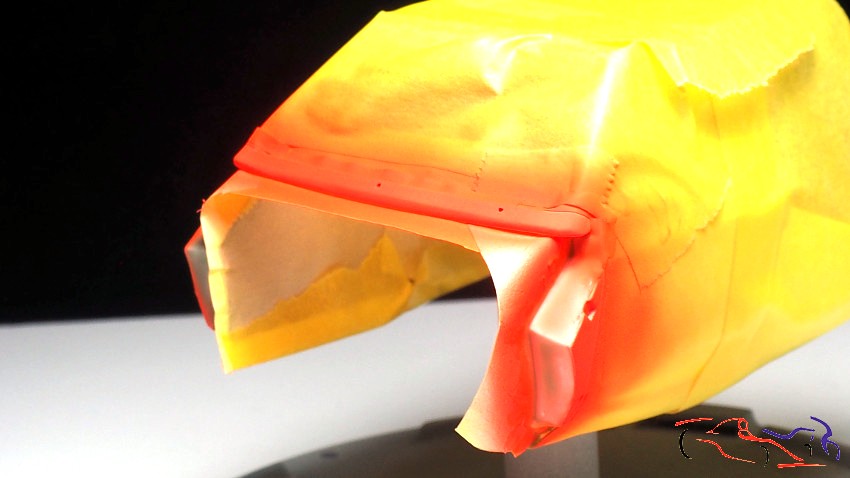
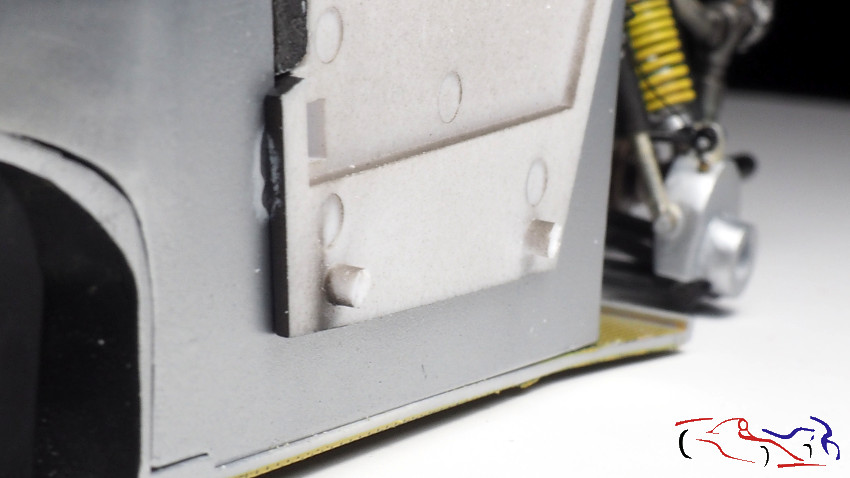
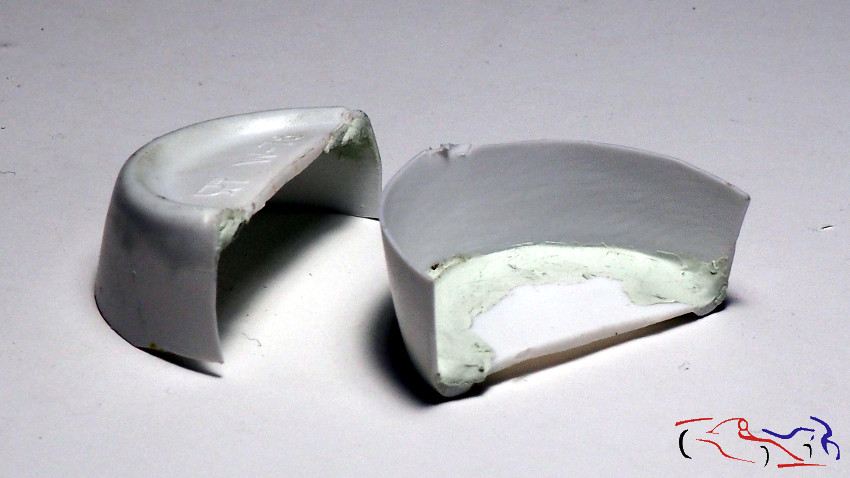
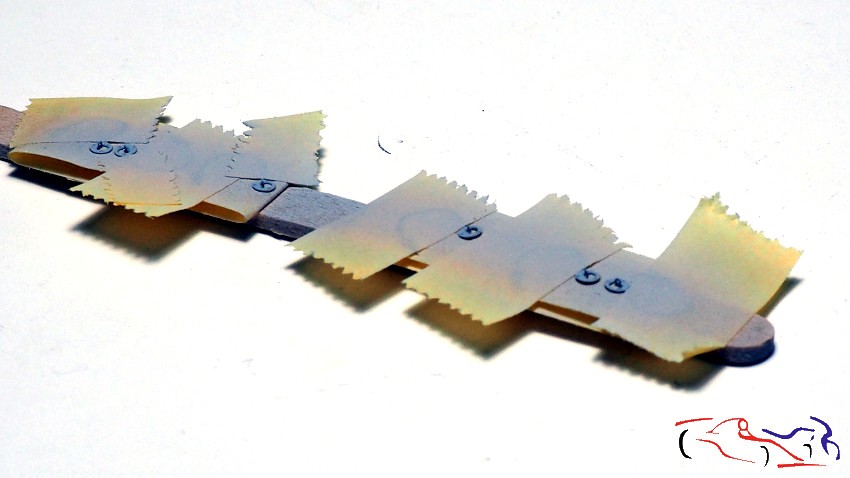
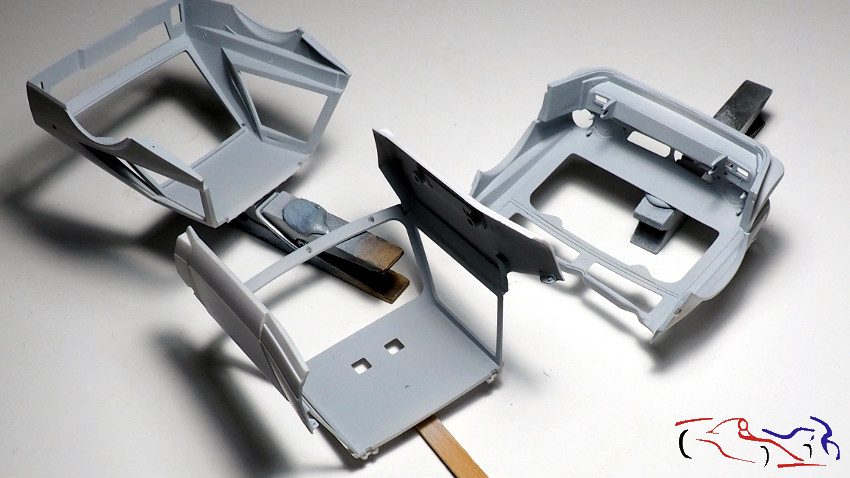
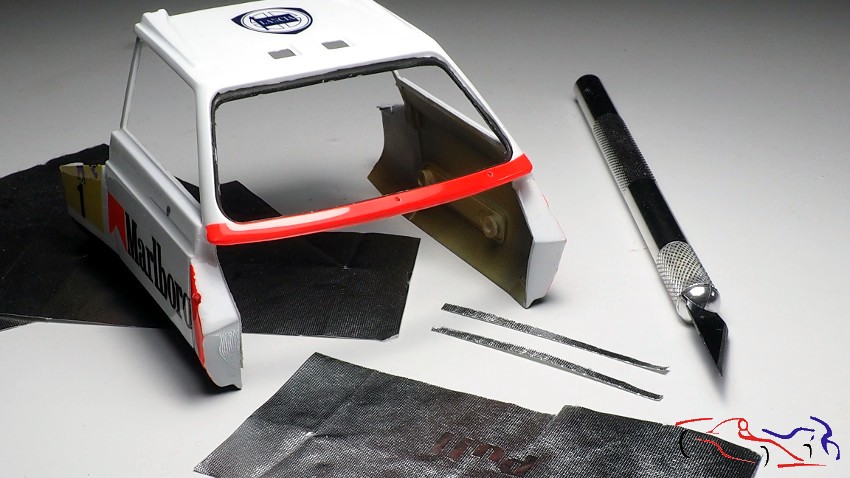
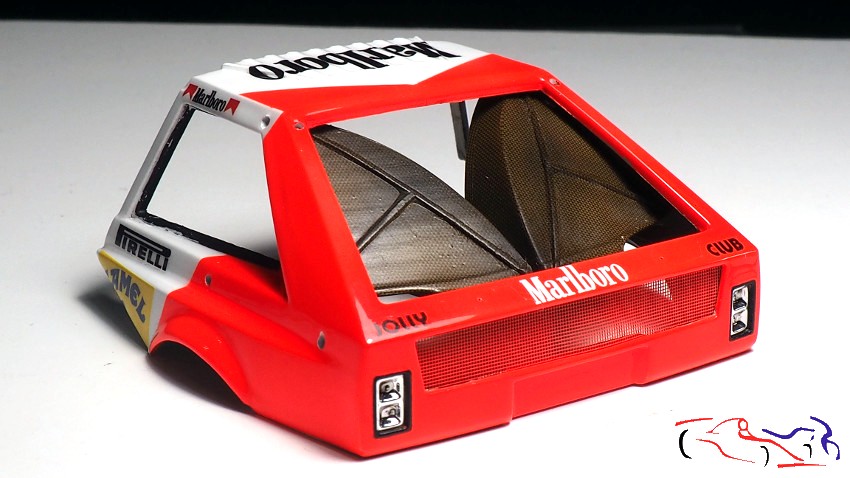
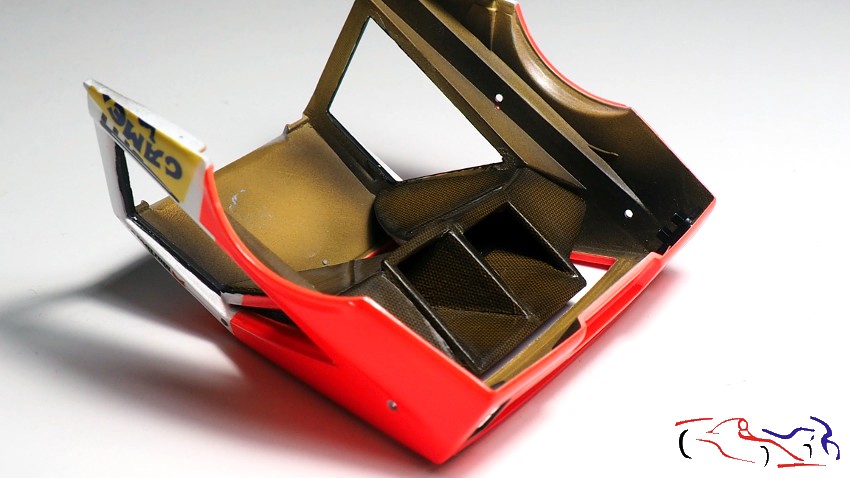
Pasamos al cockpit, que lleva una capa de material inflamable por el interior. Este lo vamos a reproducir con el papel que traen las cajetillas de tabaco, que guardé con cuidado cuando fumaba.
We move on to the cockpit, which has a layer of flammable material on the inside. We are going to reproduce this with the paper that comes with the cigarette packets, which I kept carefully when I smoked.
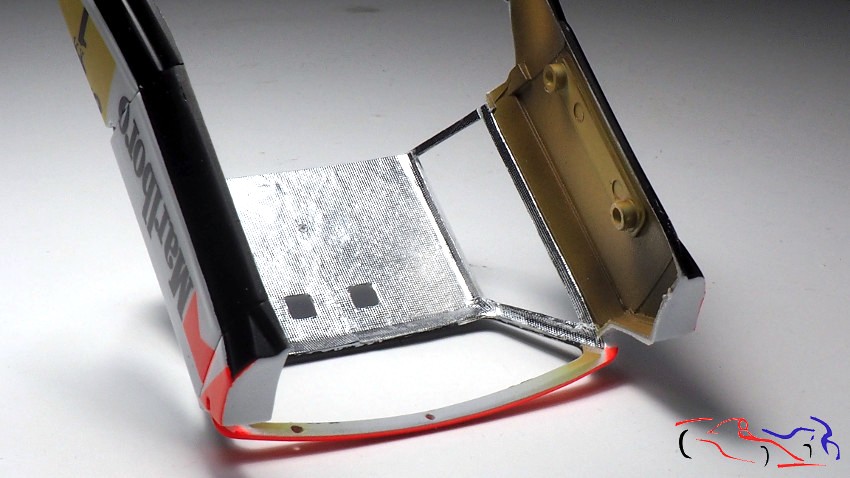
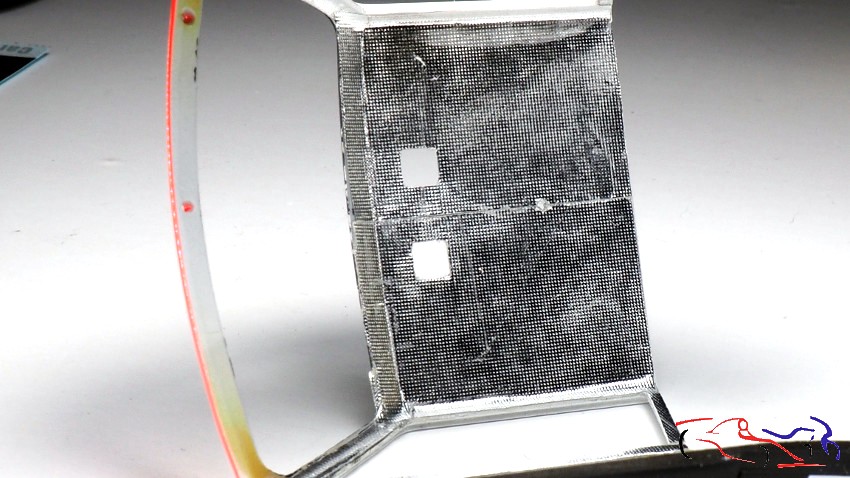
Esta papel lo recorto según las formas y lo pego con cola blanca por el interior, siendo éste el resultado:
I cut out the paper according to the shapes and glue it with white glue on the inside, and this is the result:
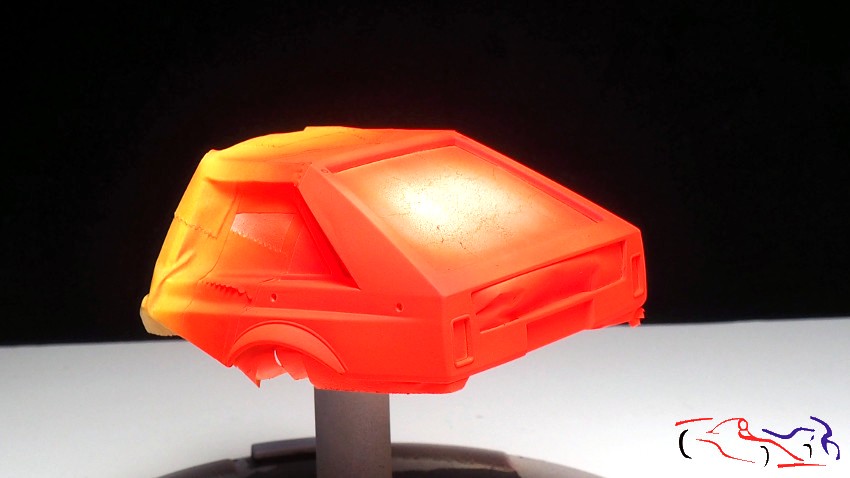
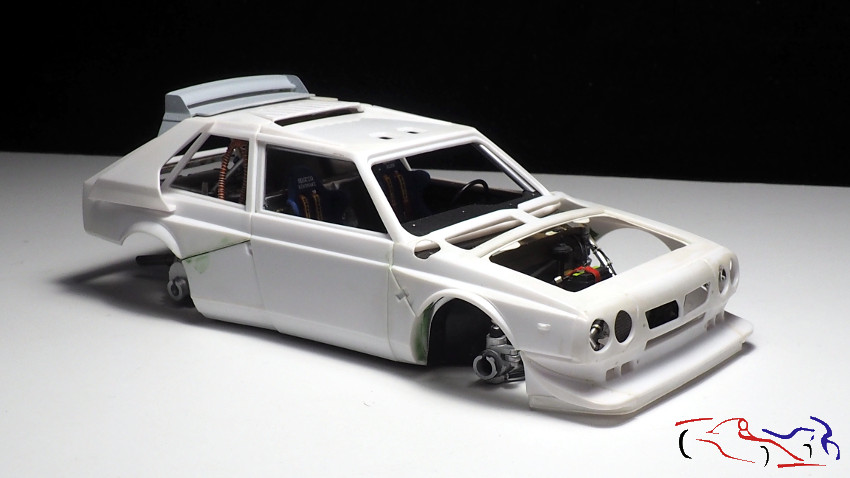
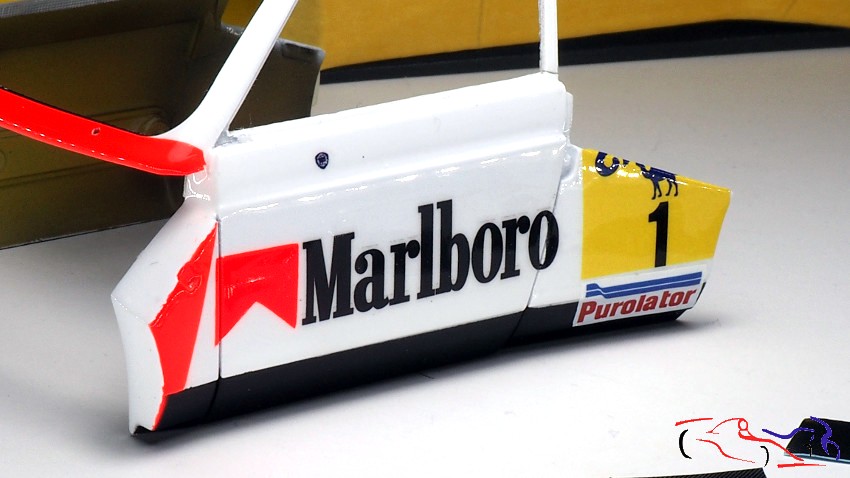
Una de las calcas que he dejado para este punto es la de Purolator, que iba encima del color negro. Pero antes, y como base, le he puesto otra blanca:
One of the decals I have left for this point is the one from Purolator, which was on top of the black one. But before, and as a base, I put another white one:
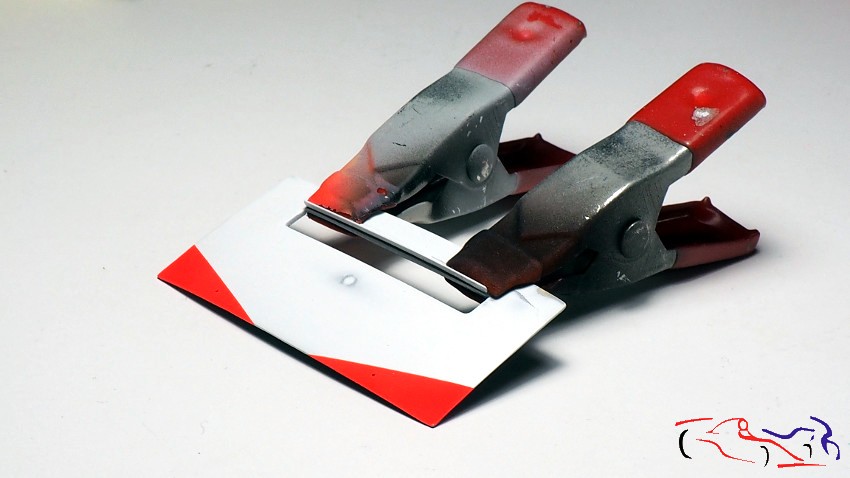
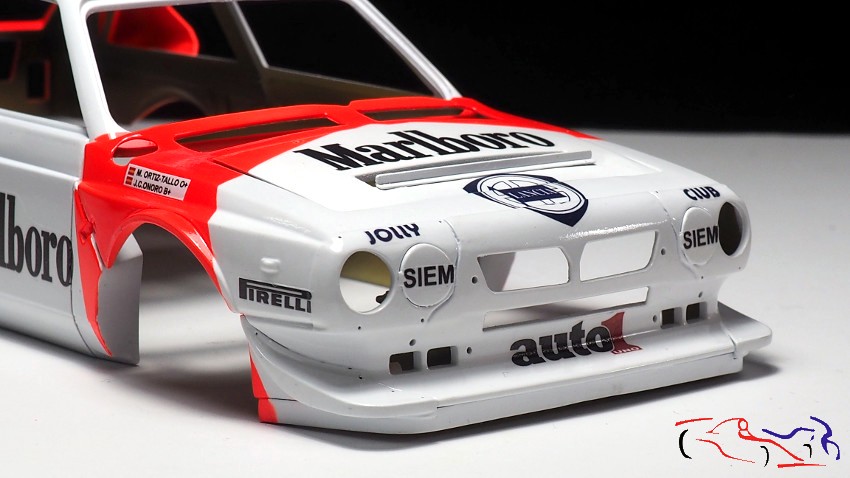
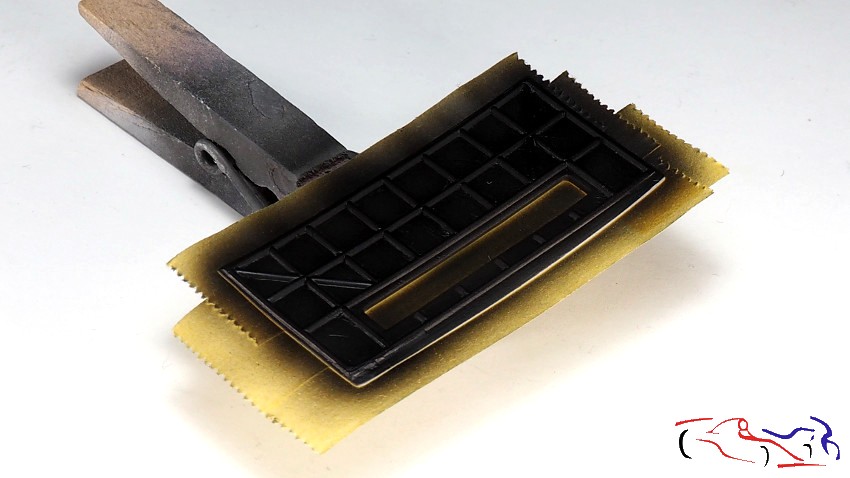
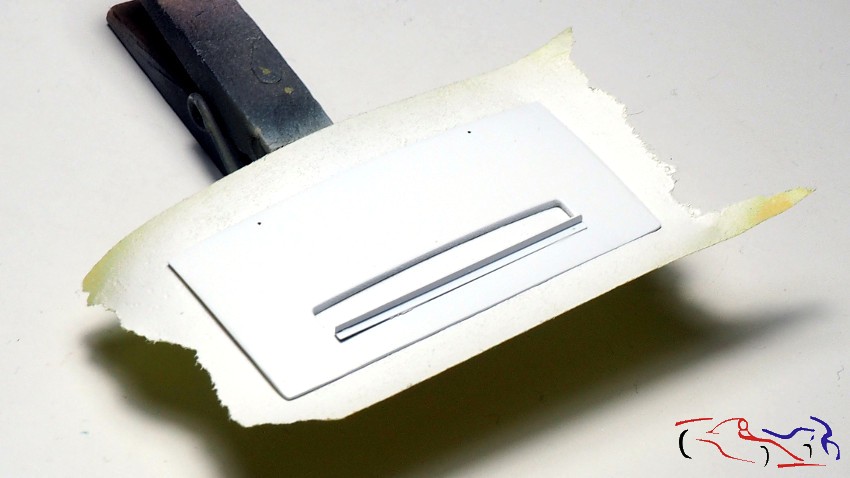
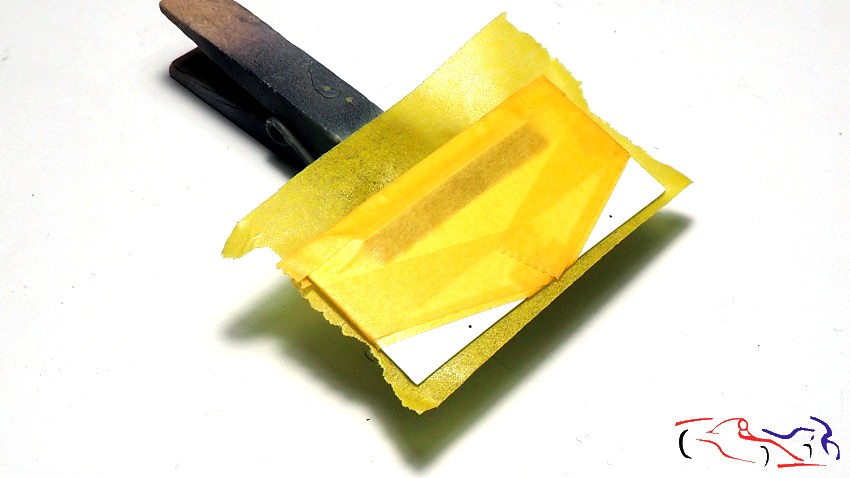
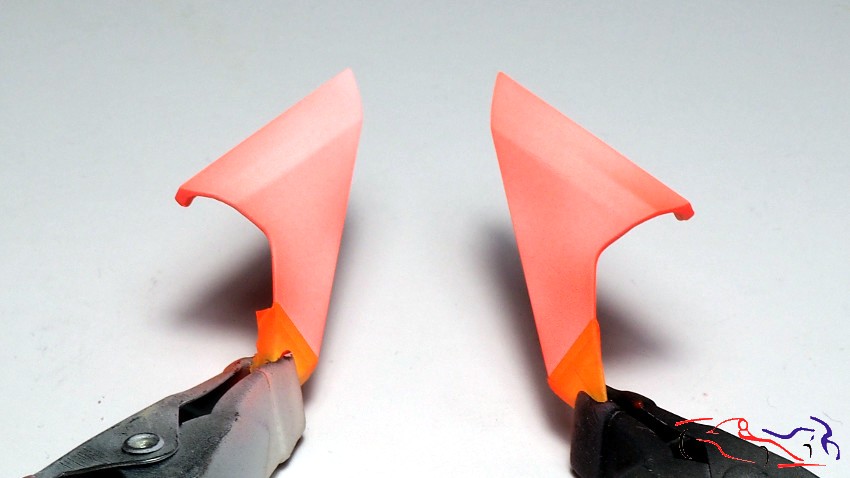
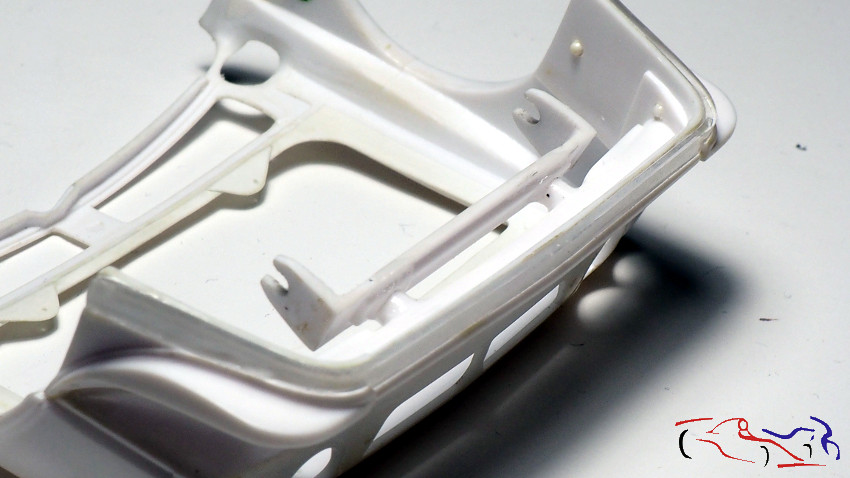
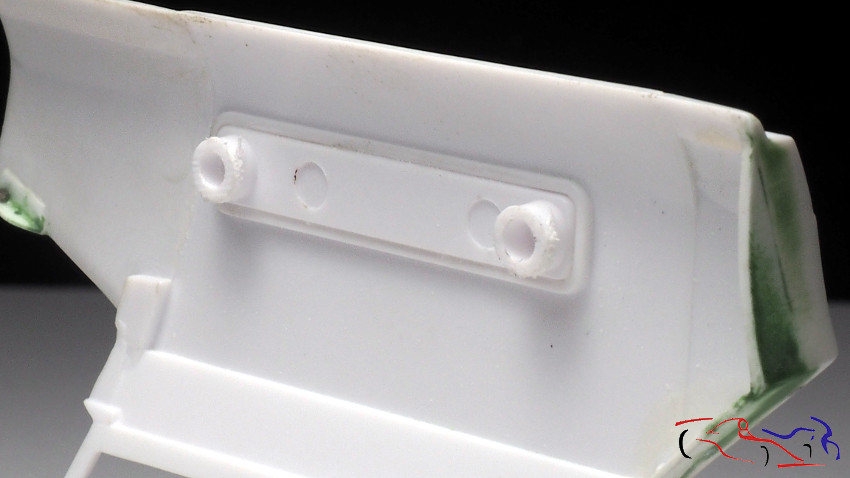
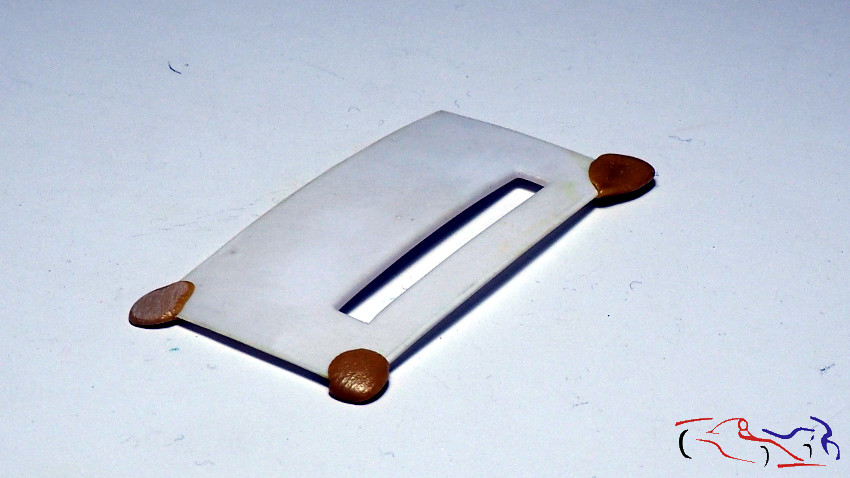
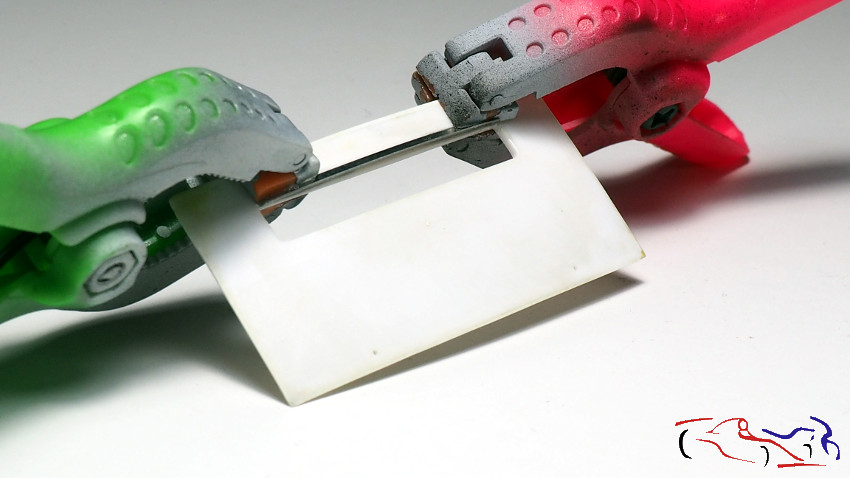
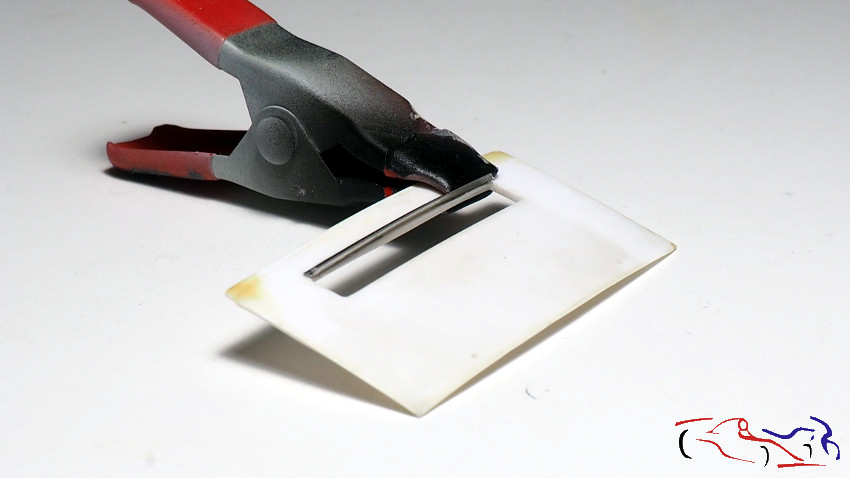
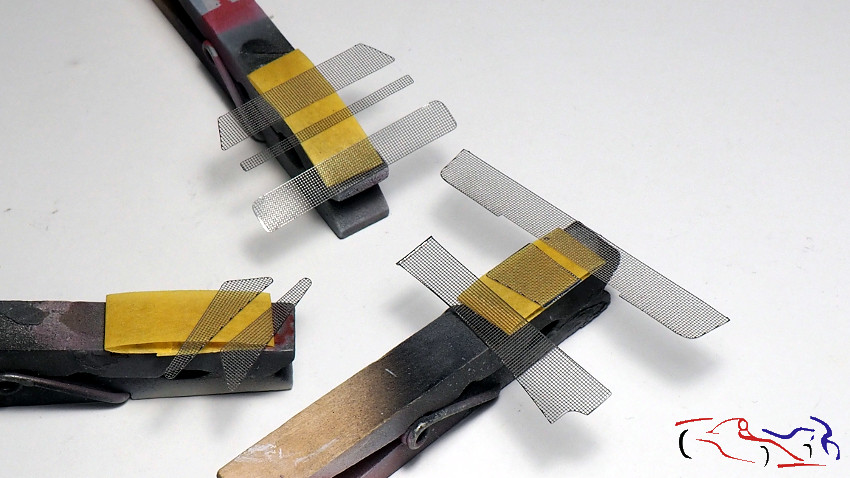
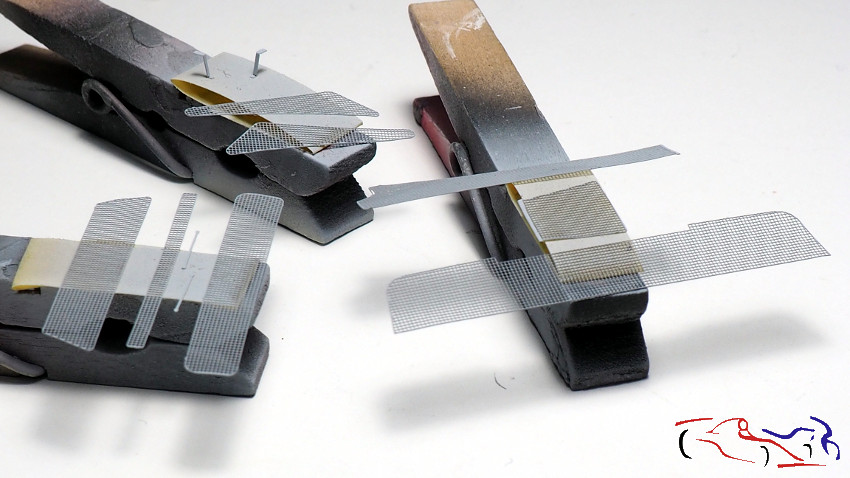
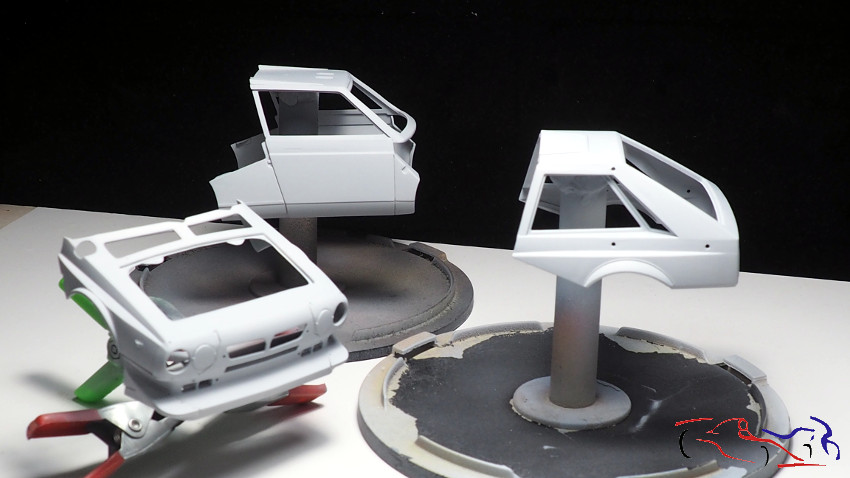
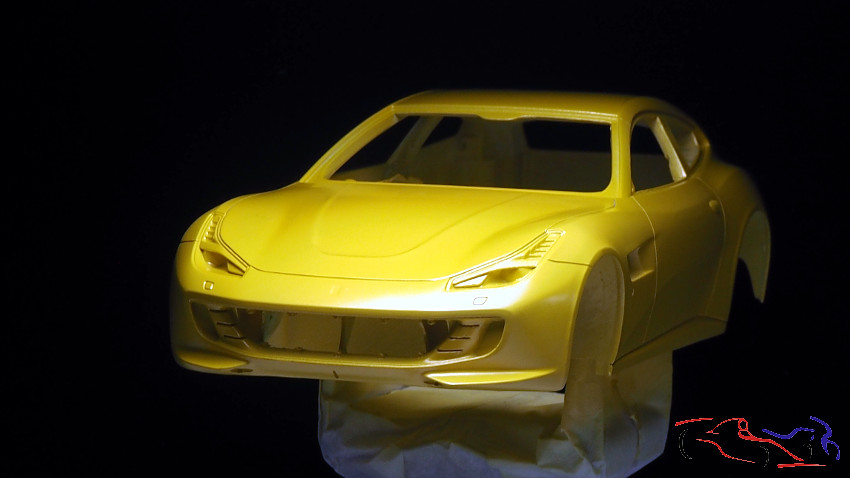
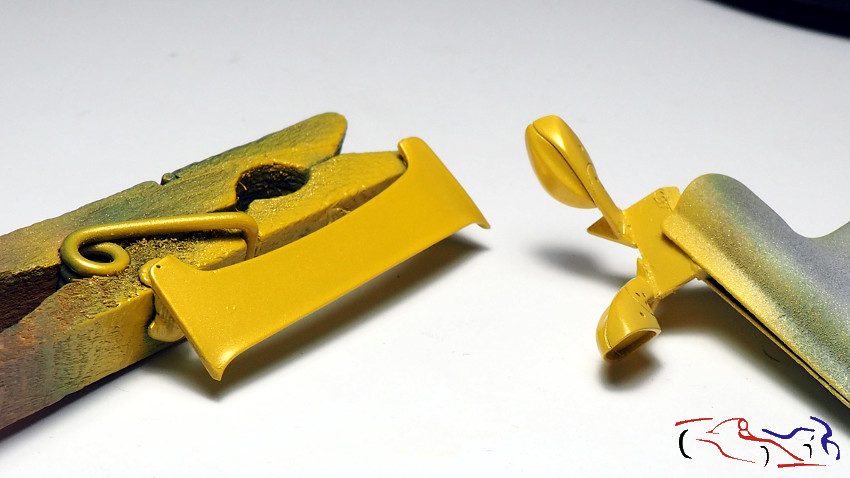
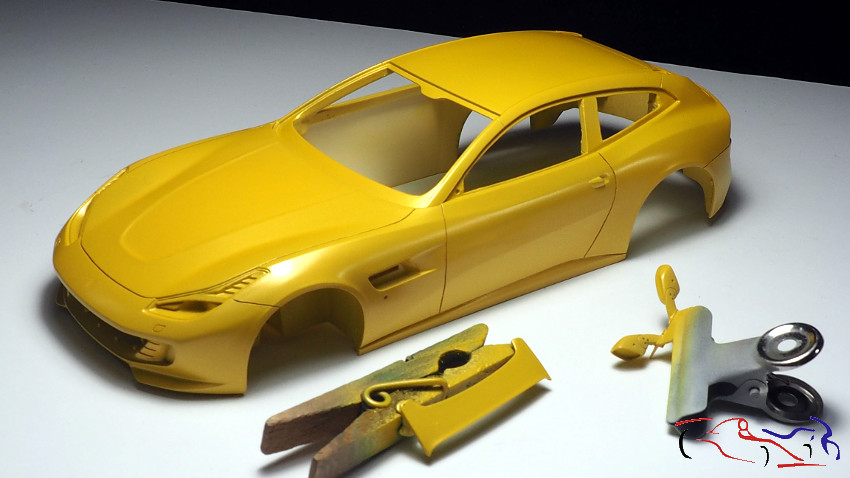
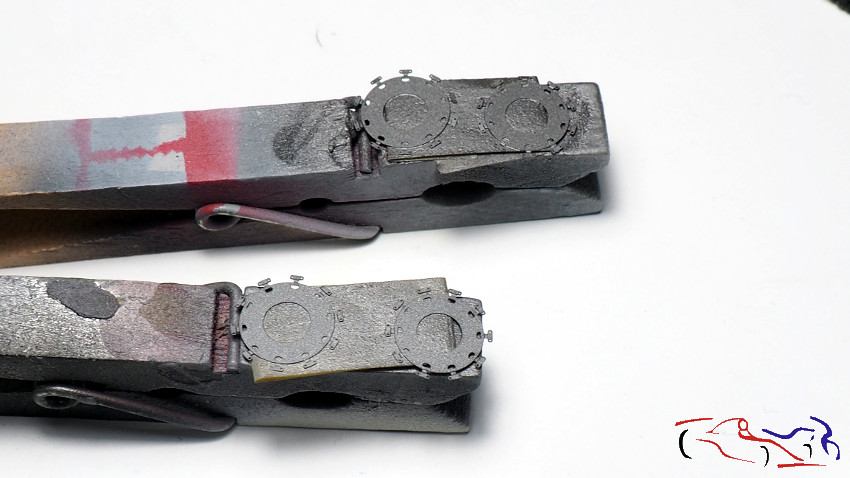
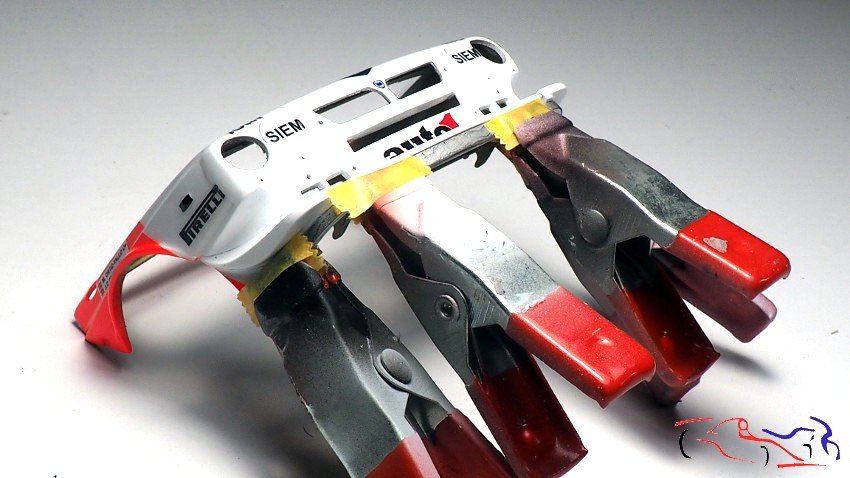
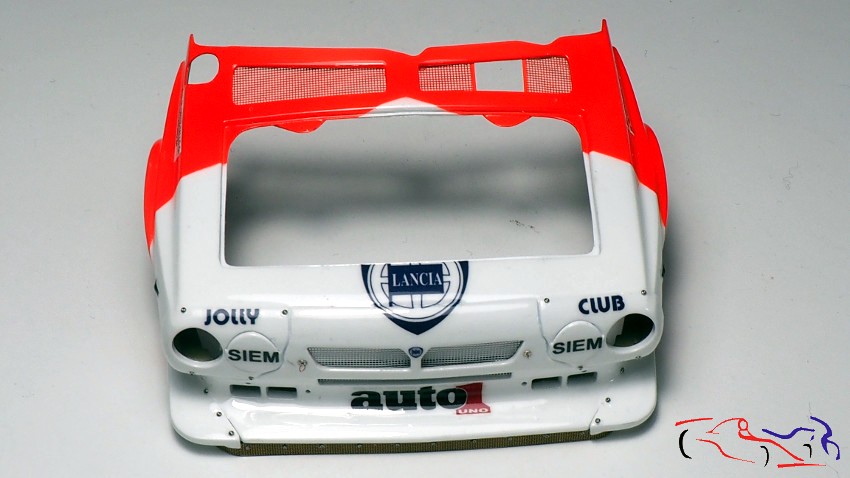
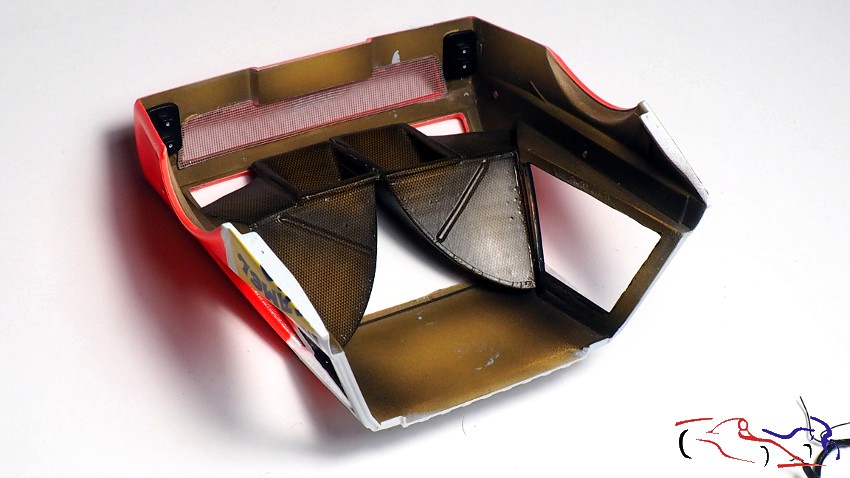
Pasamos a la parte delantera, la cual leva un fotograbado en la parte de abajo, que pego con ciano y lo sujeto con pinzas:
We move on to the front, which has a photoengraving on the bottom, which I glue with cyano and clamp it with tweezers:
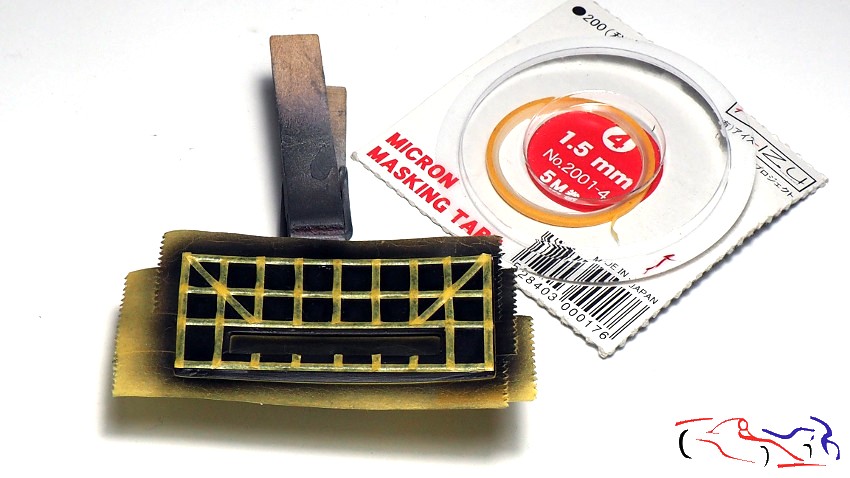
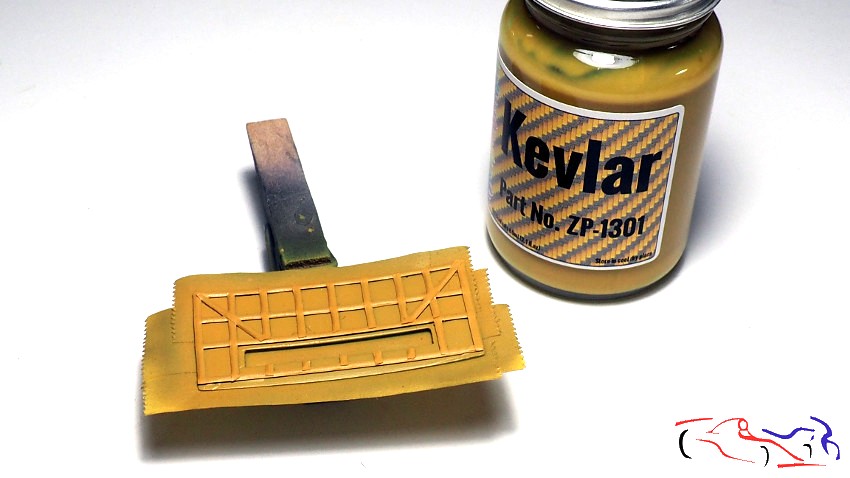
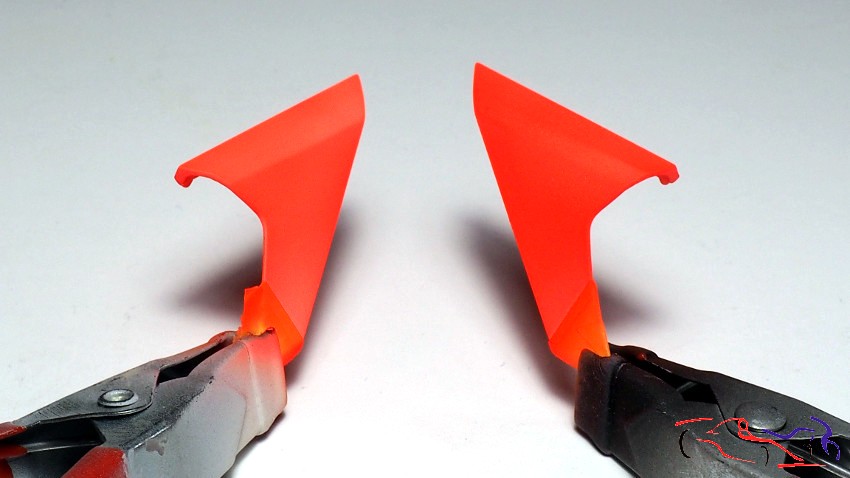
Sobre esta pieza, recorto un trozo de calca de fibra de la que he usado anteriormente….
On this piece, I cut a piece of fibre decal from the one I used previously…..
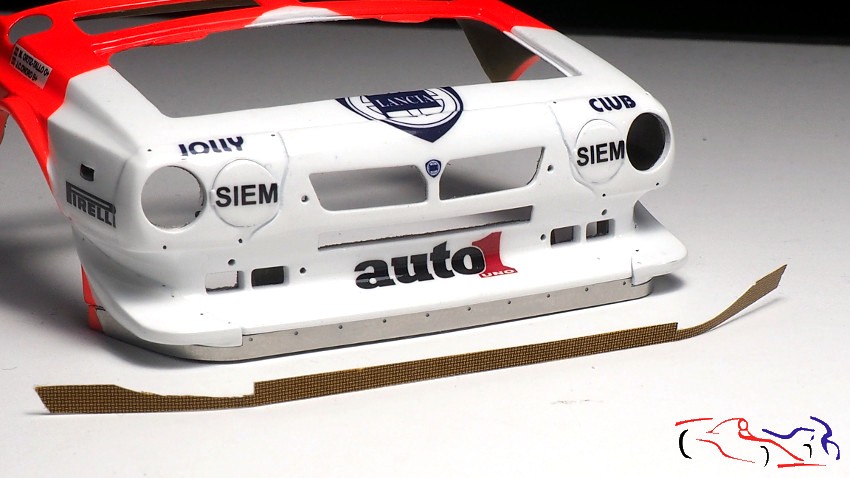
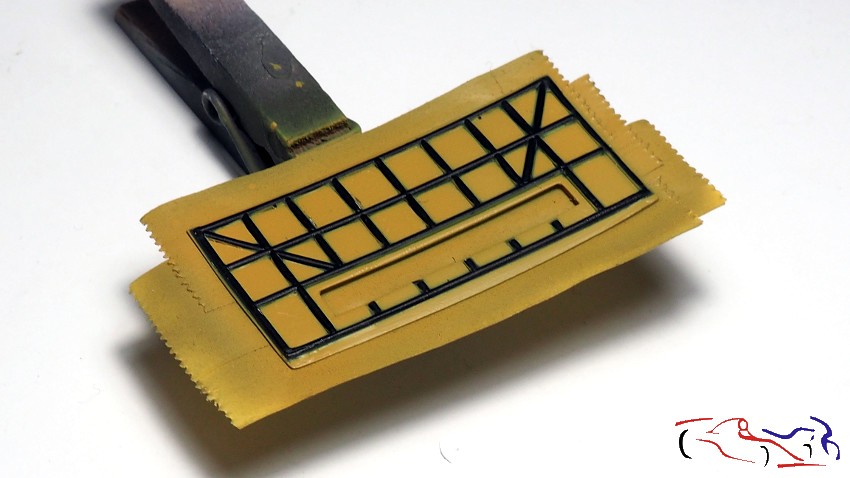
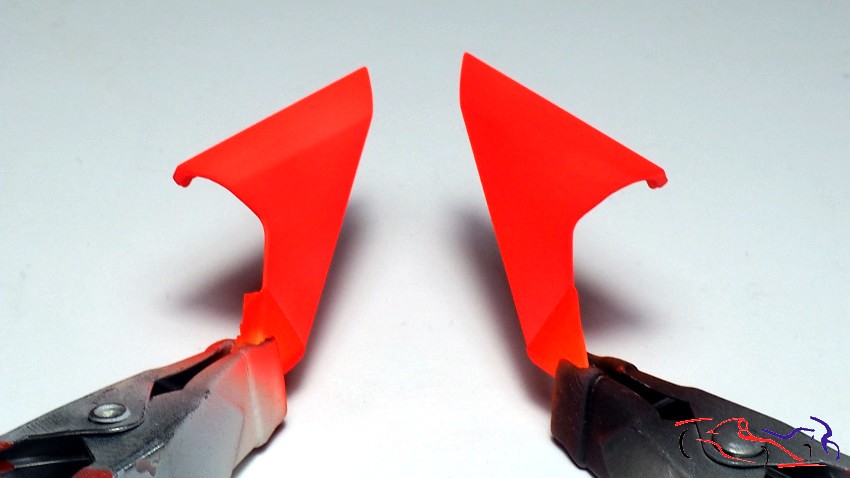
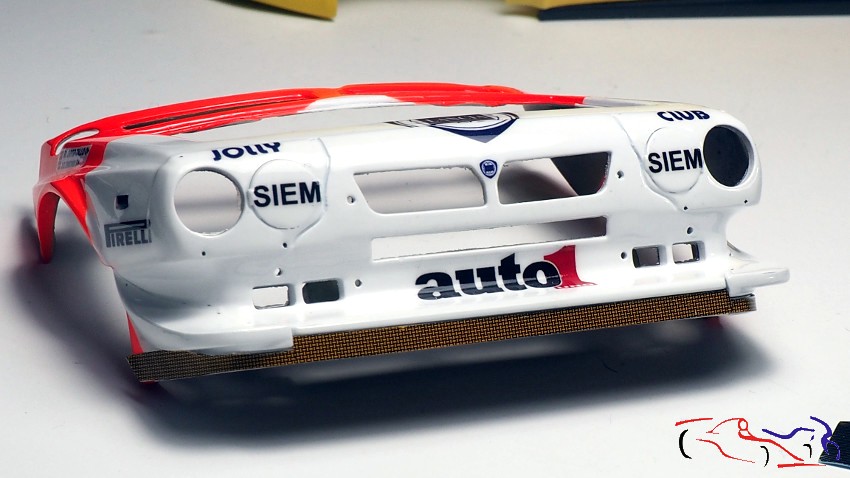
….y la colocamos.
…. and we place it.
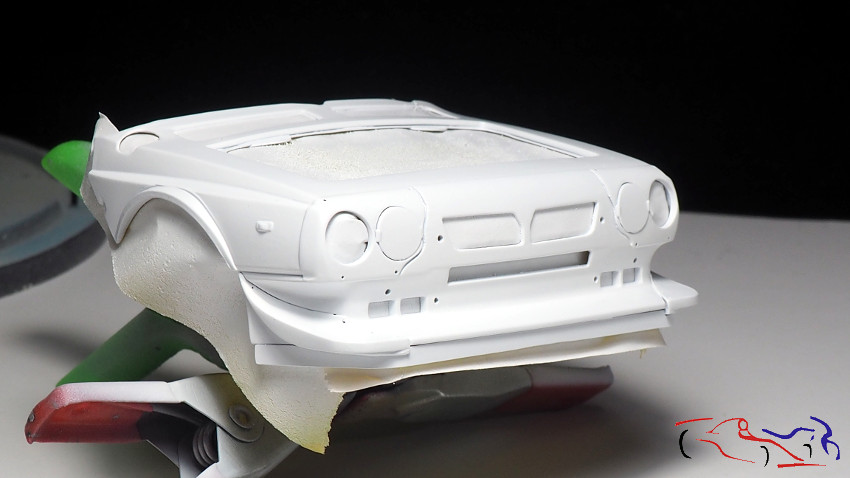
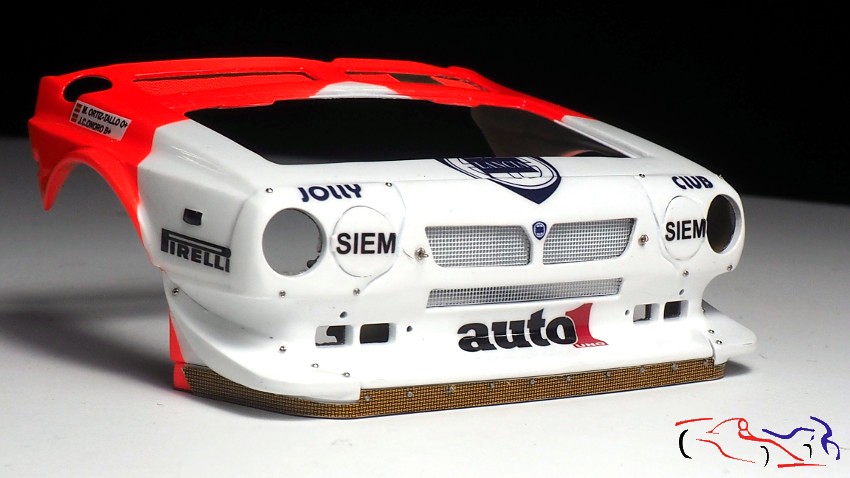
También ponemos los fotograbados rojos, y los blancos del frontal, utilizando de prueba, el pegamento de MIG para metales y cristales. siendo el resultado muy bueno.
We also put the red photoetched parts, and the white ones on the front, using the MIG glue for metals and glass as a test, and the result was very good.
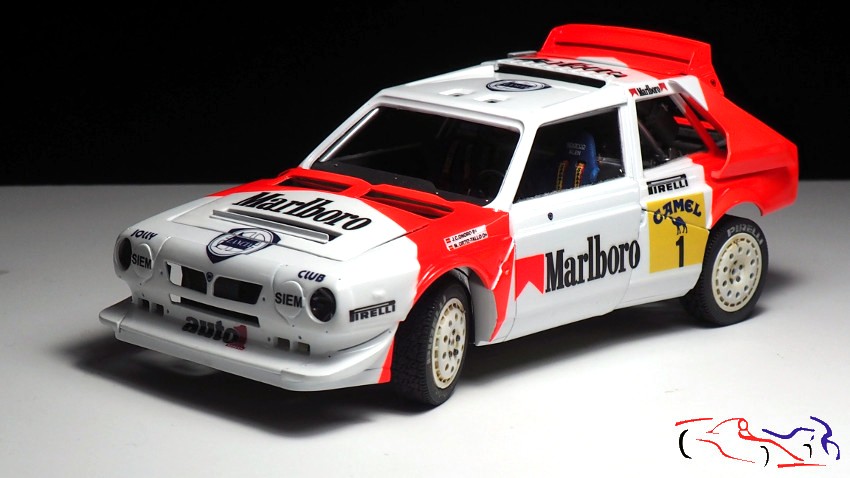
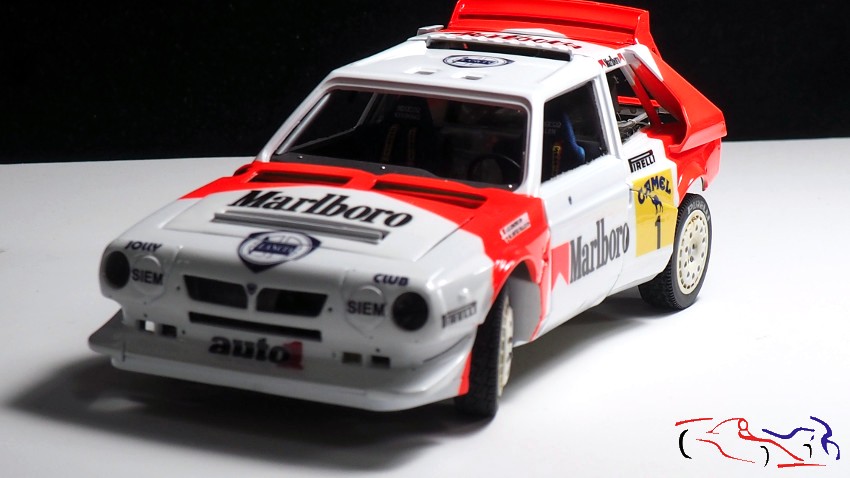
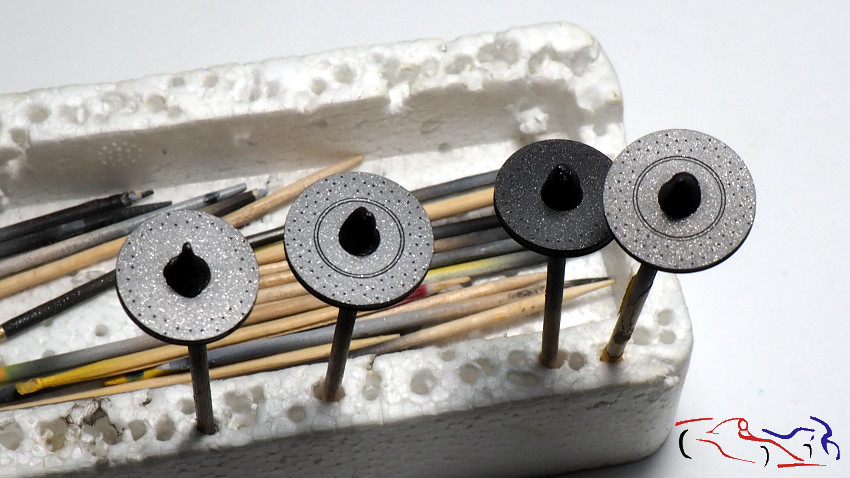
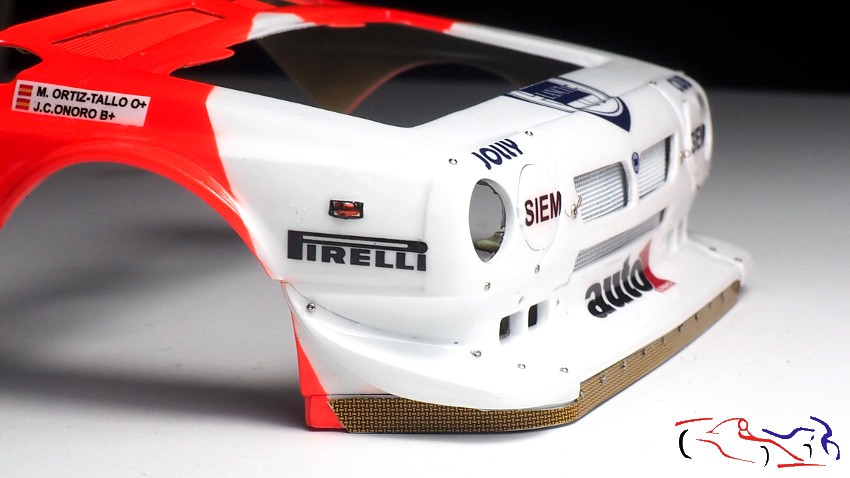
Y ese es el mismo pegamento que uso para los remaches que pongo en el frontal. Los que usado en la fibra, son remaches simulados que pertenecen a Top Studio, en la medida de 0,7 mm. Hayq ue detallar, que hay dos fijaciones a los lados de la rejilla frontal, que sirven para los faros auxiliares, y que he hecho con una arandela por donde he metido los dos extremos de un cable..
And that’s the same glue I use for the rivets I put on the front. The ones I used on the fibre are simulated rivets from Top Studio, in the 0,7 mm size. There are two fixings on the sides of the front grille, which are used for the auxiliary headlights, and which I have made with a washer through which I have put the two ends of a cable…
Para el intermitente, que había pintado de negro semimate, he recortado un rectángulo del adhesivo espejo de Hasegawa, y después, lo he pintado con un rotulador Edding de color naranja.
For the indicator, which I had painted semi-matt black, I cut out a rectangle from the Hasegawa mirror sticker, and then painted it with an orange Edding marker.
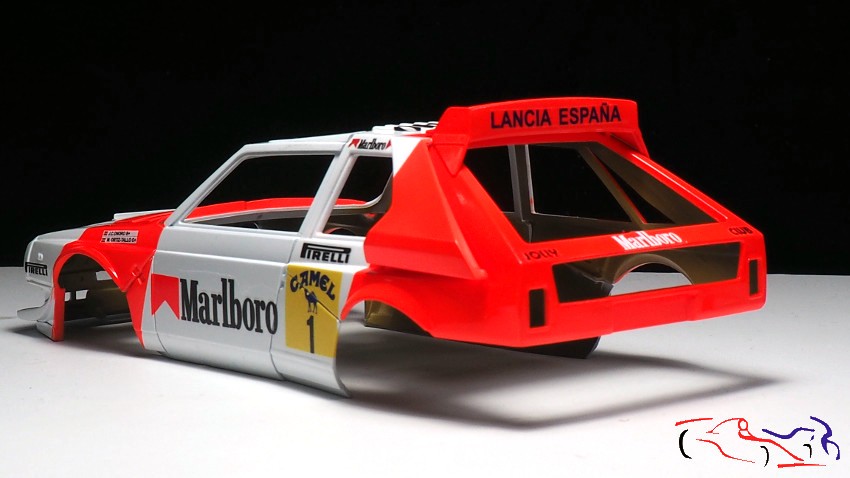
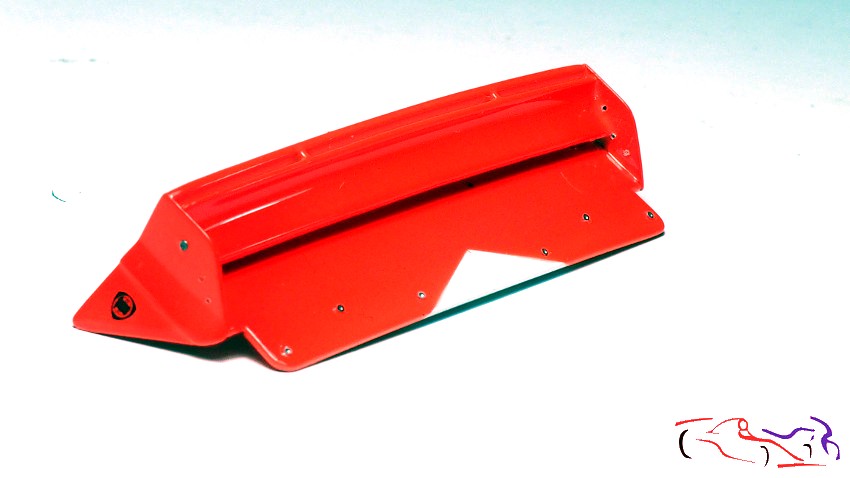
También he puesto los remaches simulados de Top Studio en el alerón trasero:
I have also put the Top Studio simulated rivets on the rear wing:
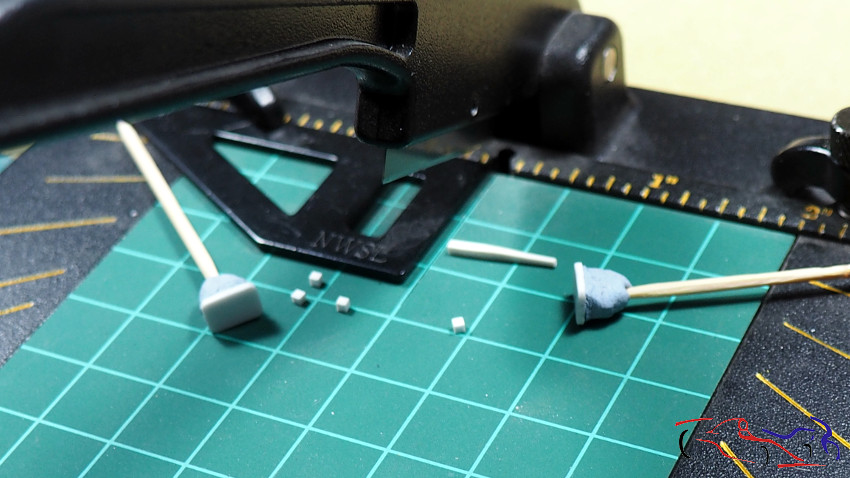
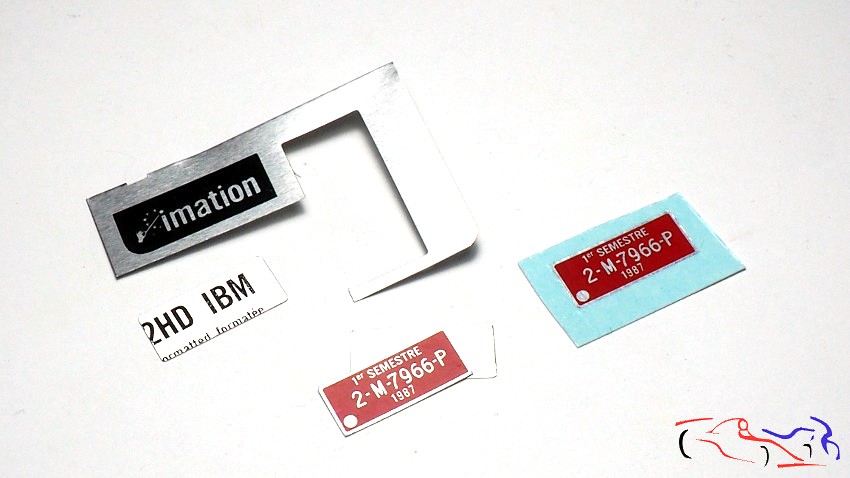
Para las matrículas, he recortado un rectángulo como base del metal que tenían los antiguos diskettes de los ordenadores. Una irá detrás, y la de delante va detrás de los asientos:
For the number plates, I have cut out a rectangle as a base from the metal of the old computer floppy disks. One will go on the back, and the front one will go behind the seats:
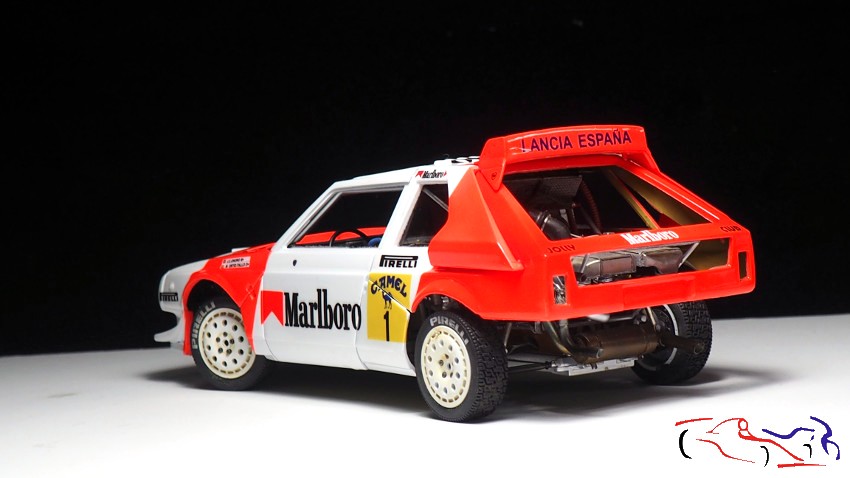
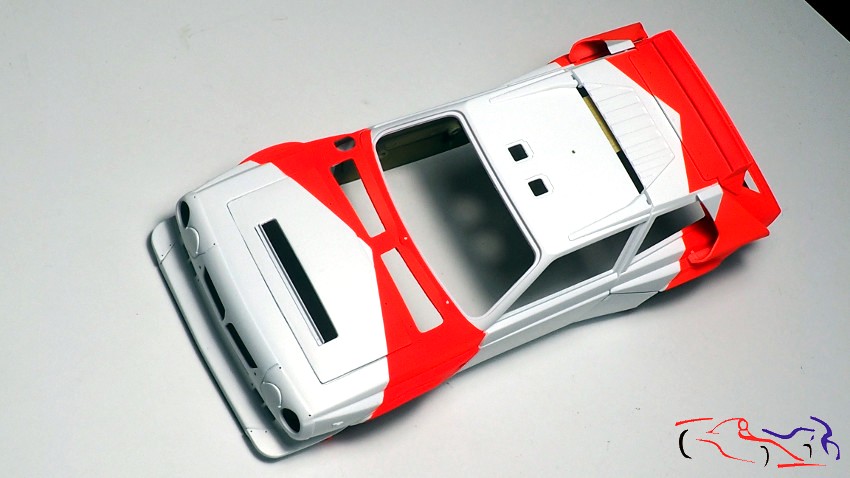
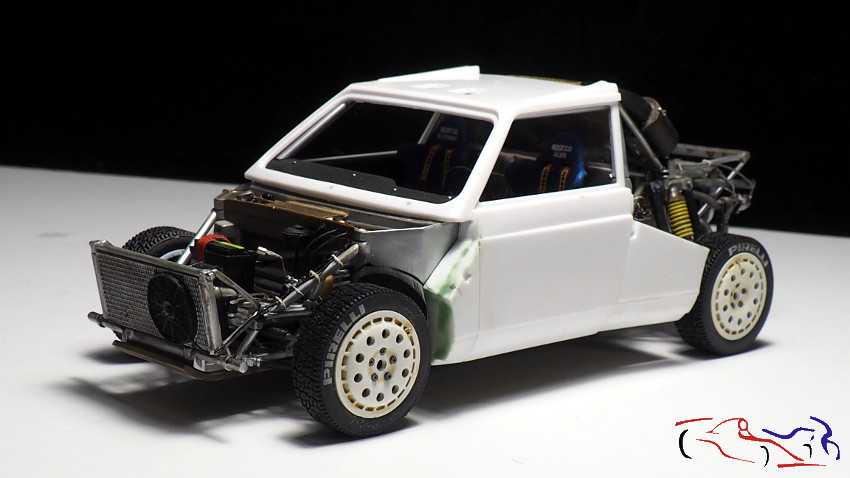
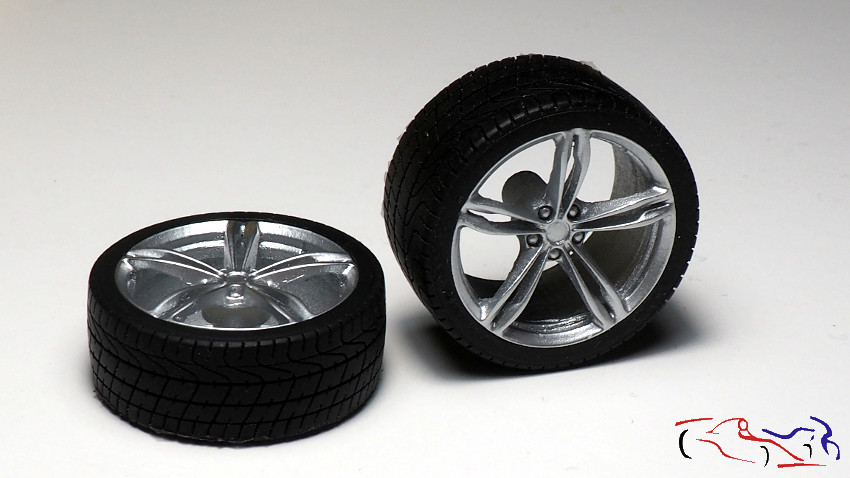
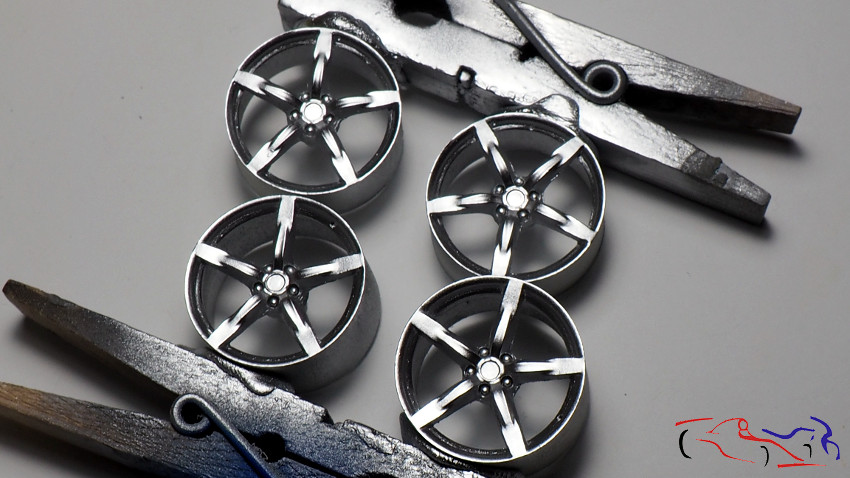
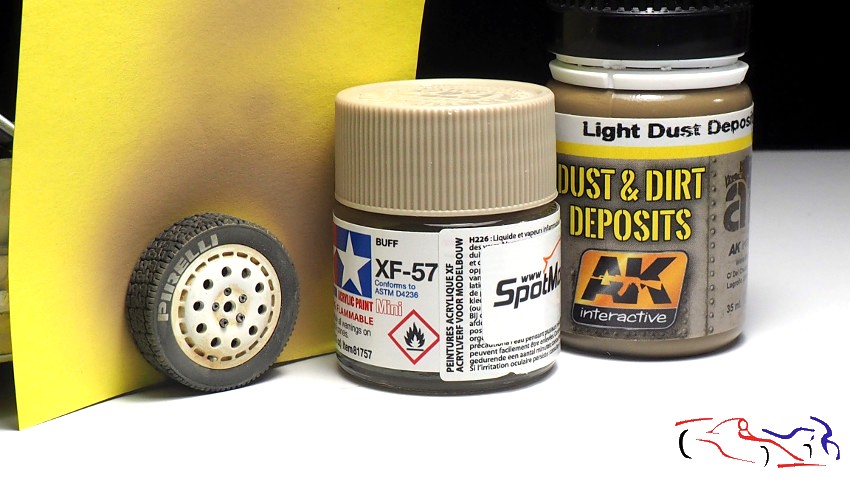
Un consejo que mi amigo Juanlu me dio fue que pusiera polvo por las ruedas, y para ello usé el XF-57 con una plantilla de papel. Decir que ese mismo polvo lo di también en el motor y en la parte delantera. Recordad, que la base “sucia” de las llantas la hice con el producto de AK que véis en la foto.
A piece of advice that my friend Juanlu gave me was to put powder on the wheels, and for that I used the XF-57 with a paper template. I also put the same powder on the engine and the front part. Remember that I did the “dirty” base of the rims with the AK product that you can see in the photo.
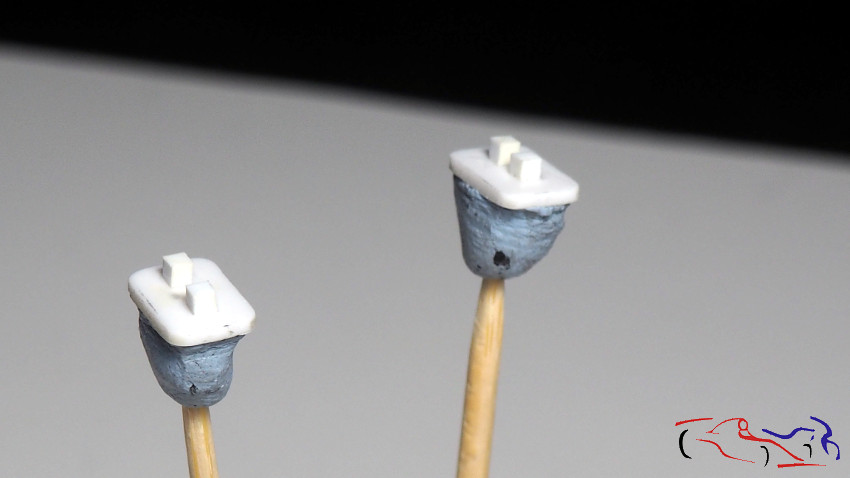
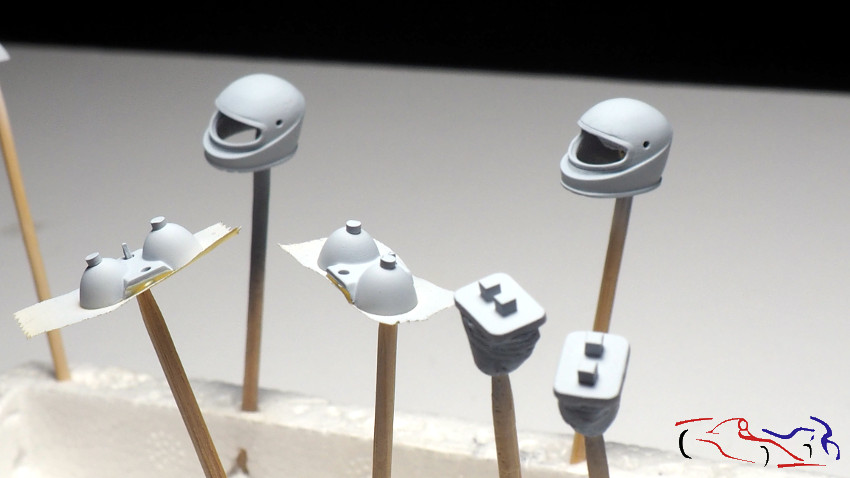
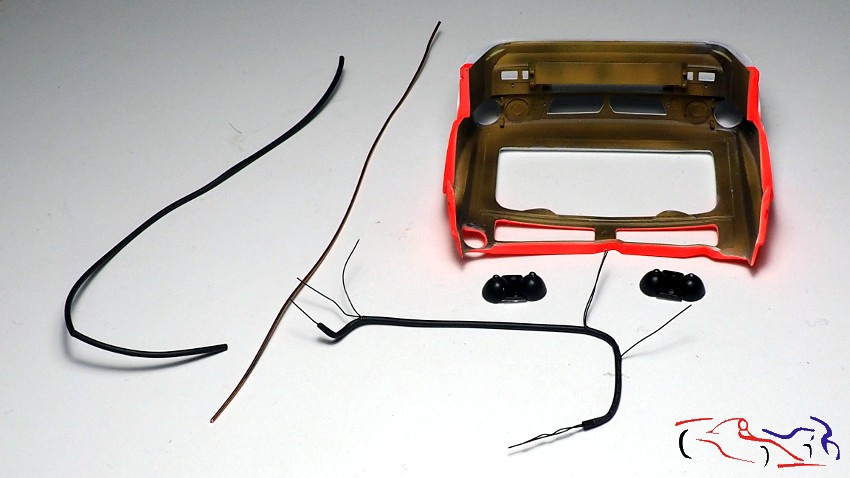
Lo siguiente que hice fue los cables de las luces. Como el capó y el portón trasero irán abiertos, los cables se tenían que ver y me dispuse a hacerlos. Para ello, usé tubo termoretráctil, estaño, y cable negro de 0,3 mm. El estaño lo meto por el tubo termoretráctil para dar la forma que quiero, y después lo caliento para que se ajuste, como guía de los cables. Así, los cables de 0,3 mm son los que llegan a los pilotos:
The next thing I did was the light wires. Since the hood and tailgate will be open, the cables had to be seen and I set about making them. For this, I used heat shrink tubing, tin, and 0.3mm black wire. I put the tin through the heat shrink tubing to give the shape I want, and then heat it up to fit, as a guide for the cables. Thus, the 0.3 mm cables are the ones that reach the pilots:
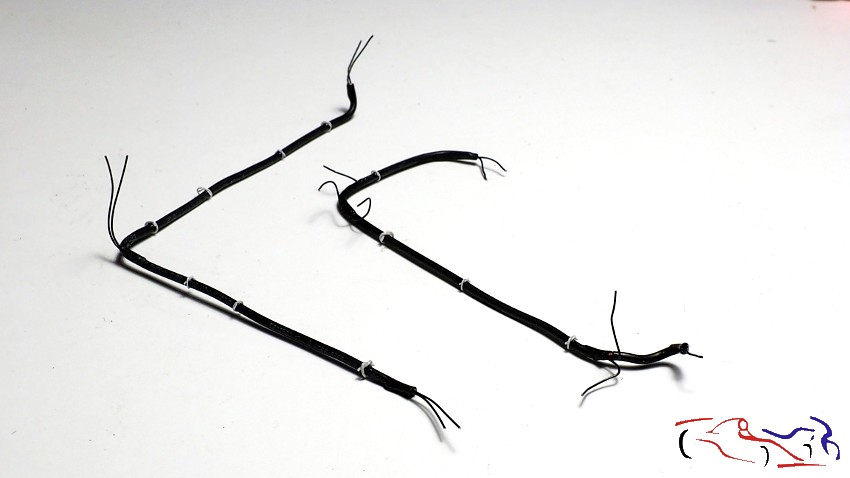
Y aquí está el resultado antes de montarlos, con sus fijaciones realizadas con plastico blanco estirado. Solo flatarán los conectores electricos que se usan cuando capó y portón se quitan para trabajar en el coche.
And here is the result before mounting them, with their fixings made of stretched white plastic. Only the electrical connectors that are used when hood and tailgate are removed to work on the car will flare.
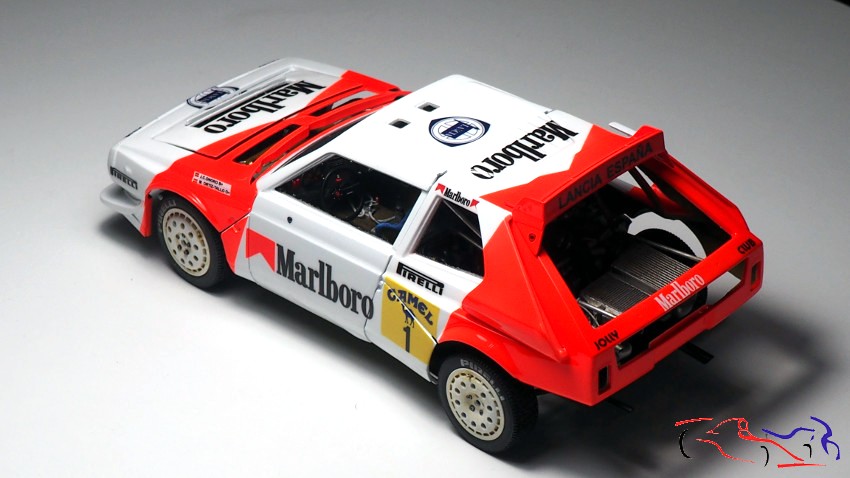
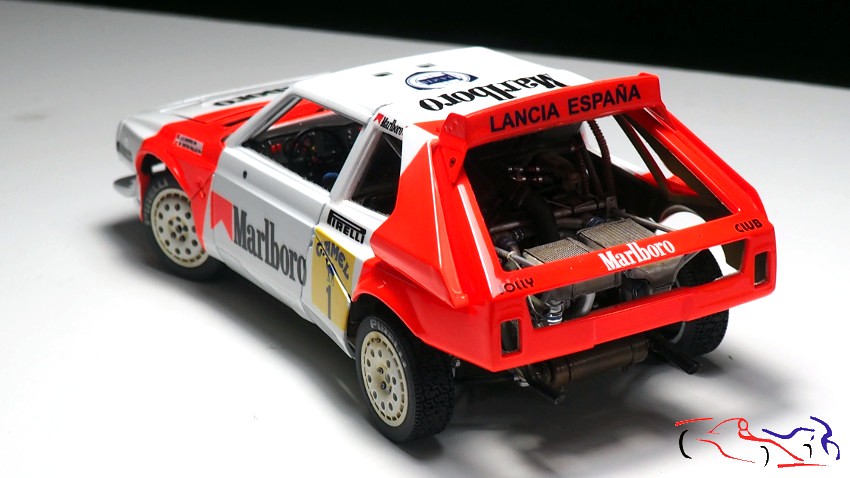
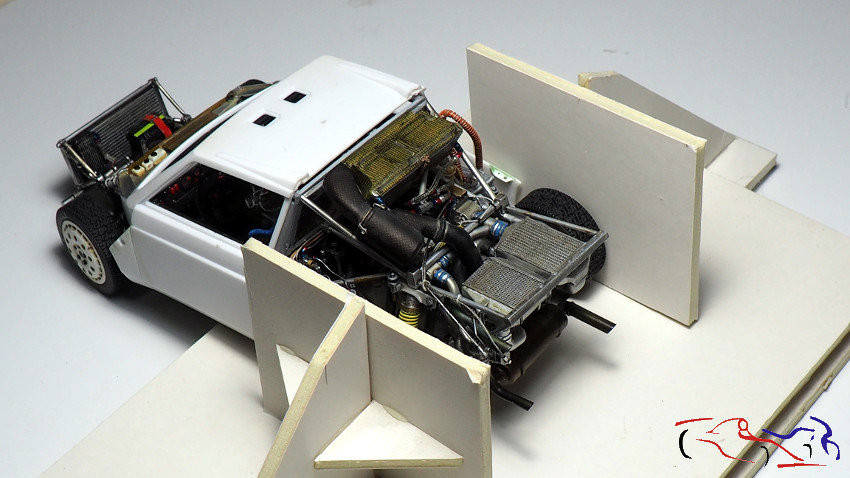
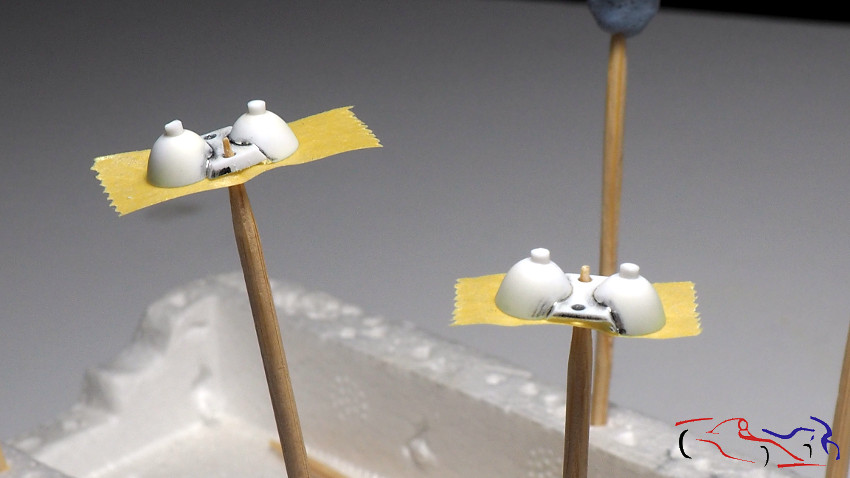
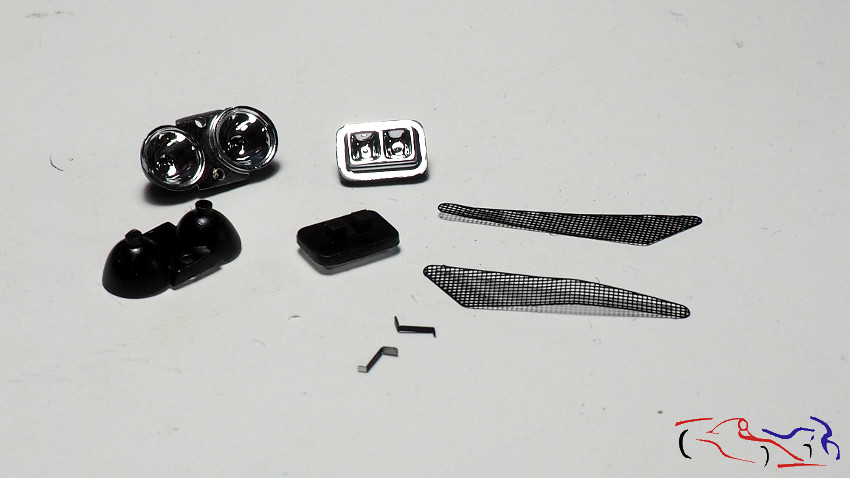
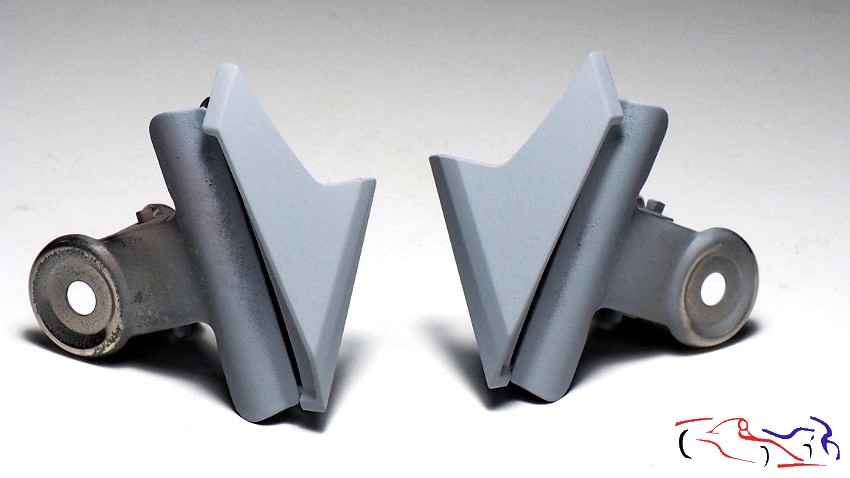
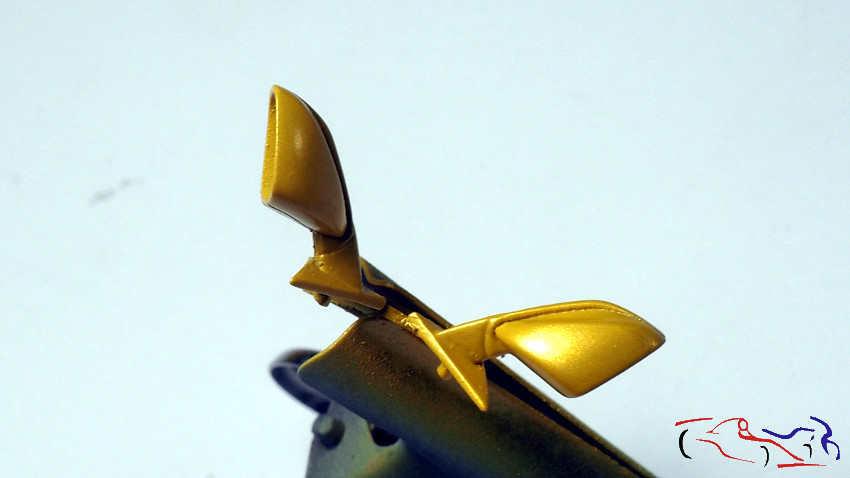
Y casi para terminar, le colocamos al portón, las entradas de aire de KMP que pinté anteriormente (con fibra y negro satinado), las piezas de las luces y los fotograbados:
And almost to finish, we put on the gate, the KMP air inlets that I painted earlier (with fiber and satin black), the parts of the lights and the photo-etched parts:
Decir que tanto al capó como al portón, después de poner los cables, le aplicaré un poco de polvo para ensuciarlo un poco:
Say that both the hood and the gate, after laying the cables, I will apply a little powder to make it a bit dirty:
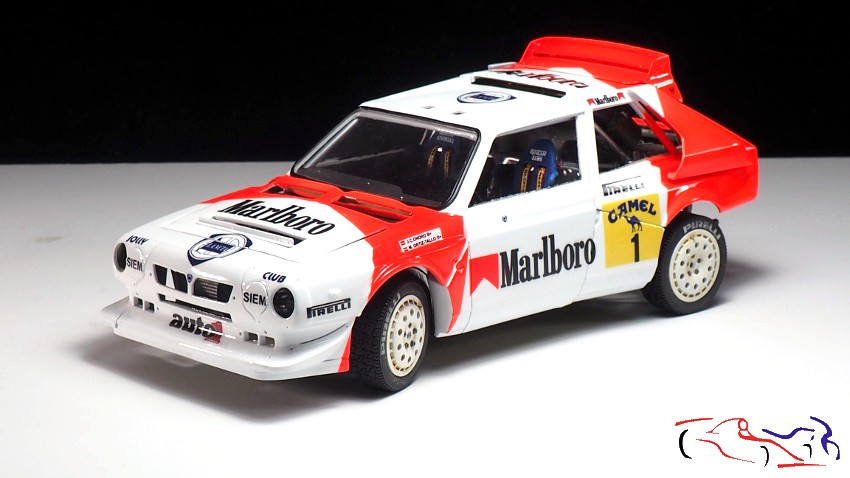
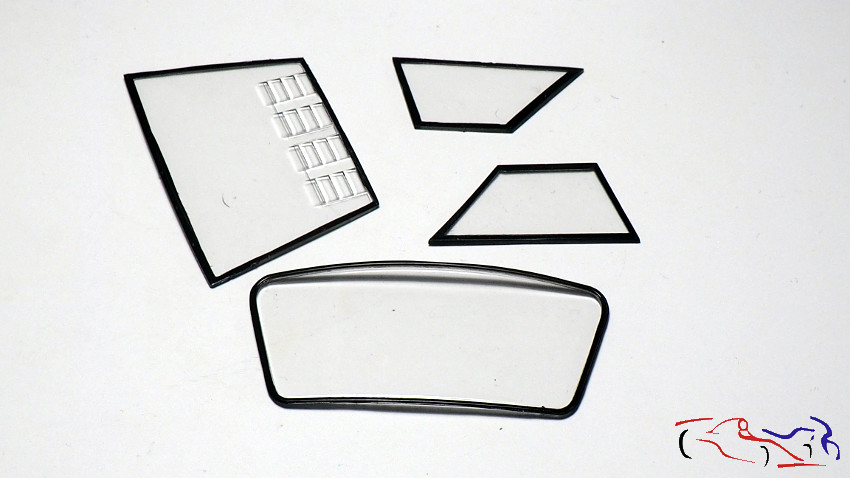
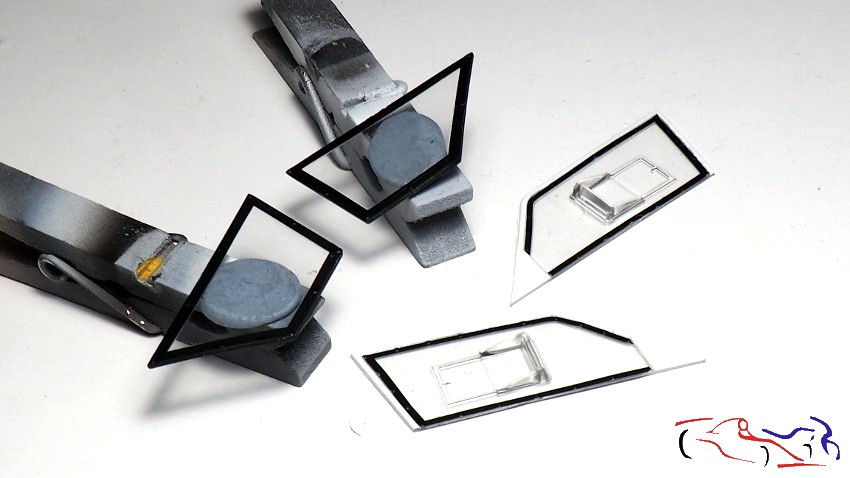
Y para terminar, aquí os dejo los cristales con las calcas negras puestas, y con el borde pintado de blanco Tamiya LP en los del piloto y copiloto:
And to finish, here you have the crystals with the black decals on, and with the edge painted in white Tamiya LP on the pilot and co-pilot:
Ya va quedando menos!! Gracias por mirar y comentar!!
There is less left !! Thanks for looking and commenting !!