Parece que me están cundiendo las jornadas en la cueva en estos días!! Ya tengo la carrocería blanca y radiante, lista para barniz y calcas…de nuevo!!
It seems that I am spreading the days in the cave these days! I already have a white and radiant body, ready for varnish and decals … again !!
 Una vez terminado de lijar y enmasillar la carrocería, la imprimo con Gravity:
After finishing sanding and caulking the body, I print it with Gravity:
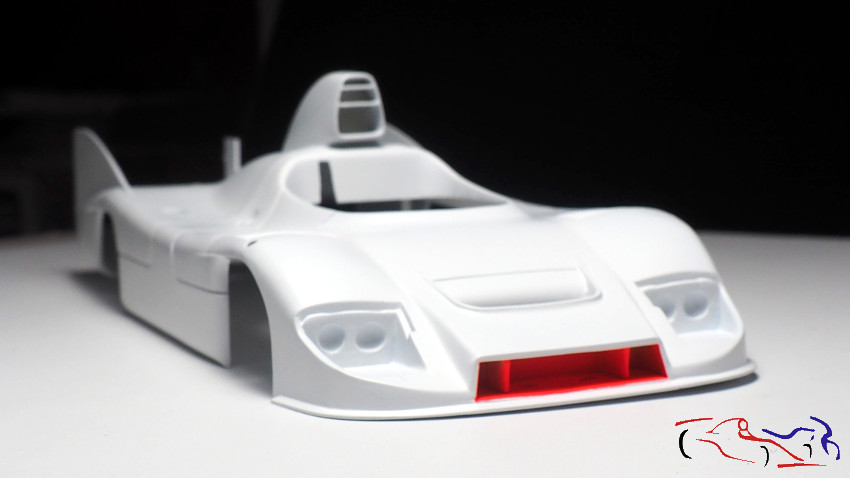
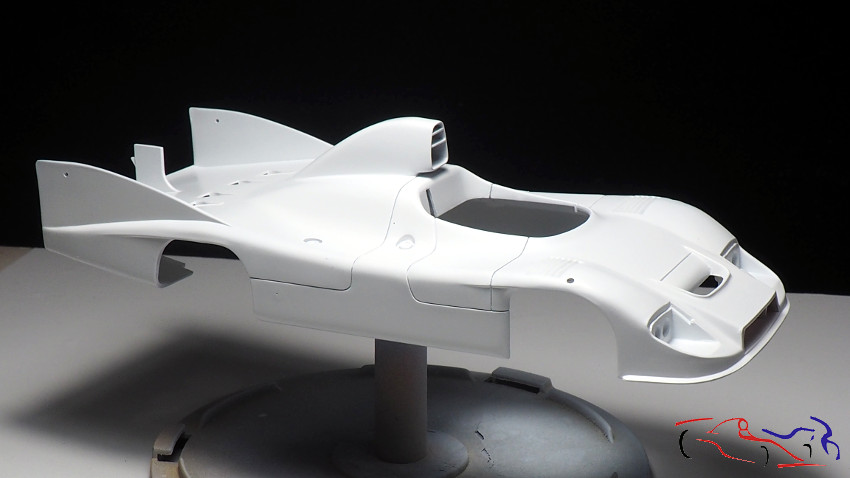
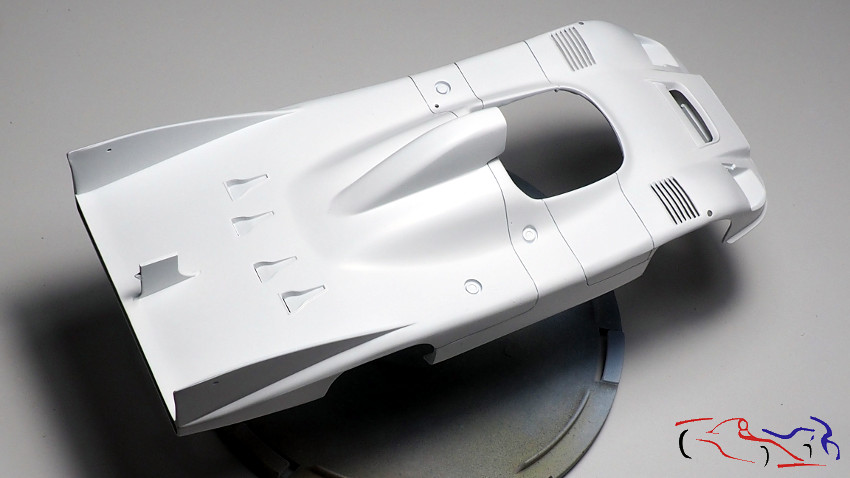
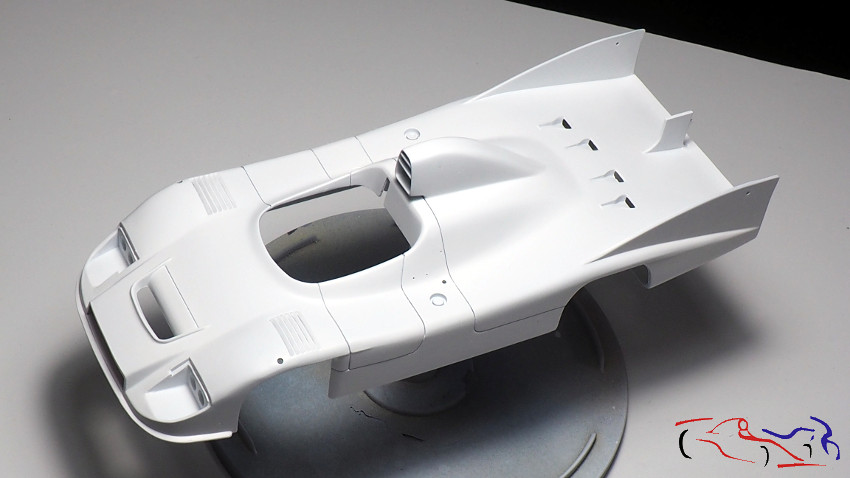
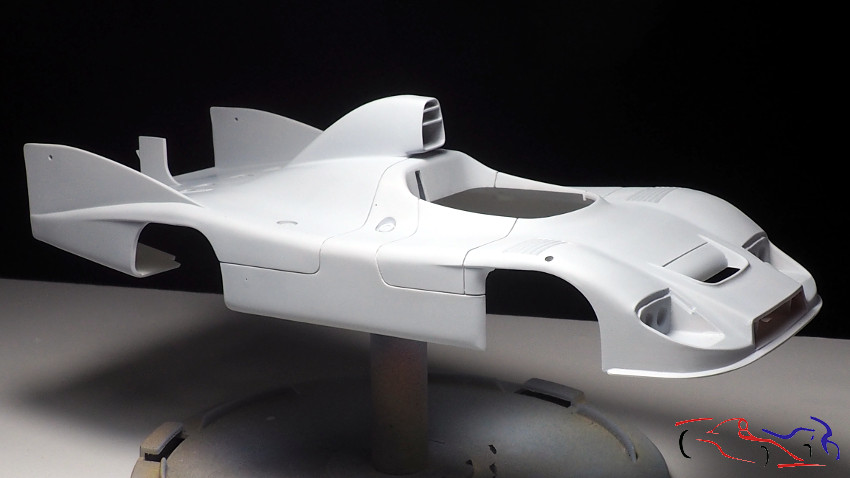 Y una vez seca, la paso una esponja de lija de grano 2000, muy suave y después la pinto con Zero Brillante: 4 capas muy finas, cubriendo la carrocería poco a poco:
And once dry, I pass it a very soft 2000 grit sandpaper sponge and then I paint it with Zero Shining: 4 very thin layers, covering the body little by little:
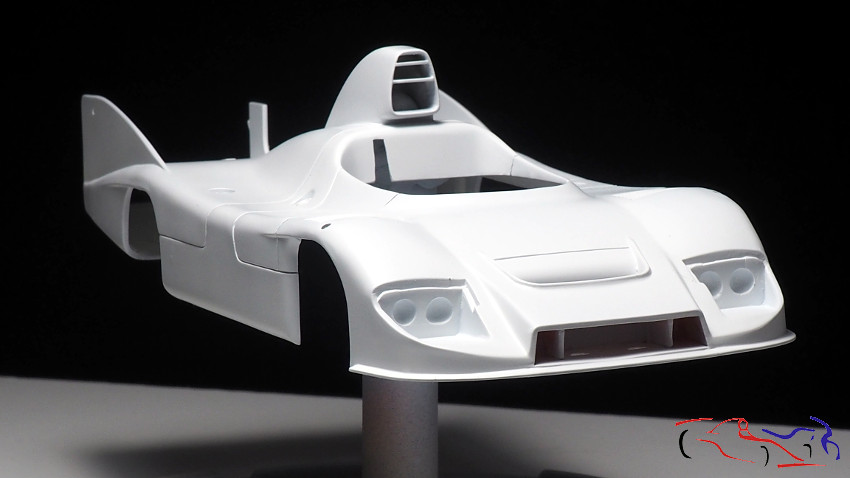
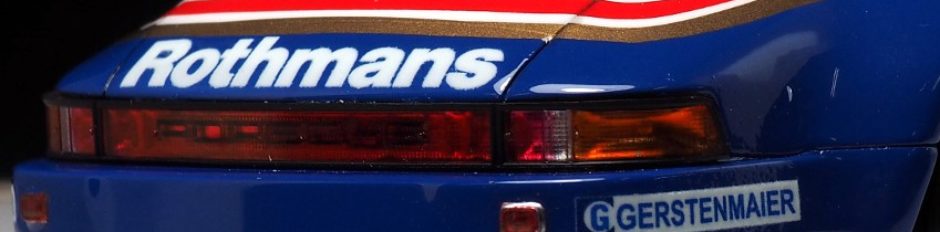
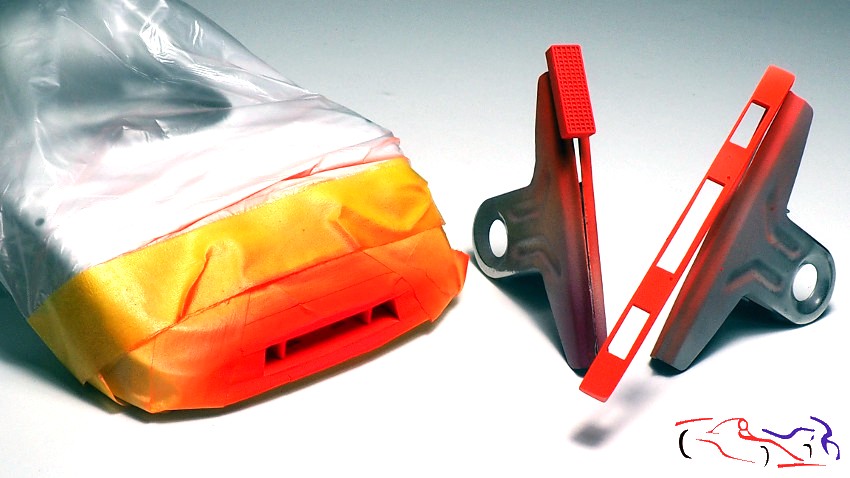
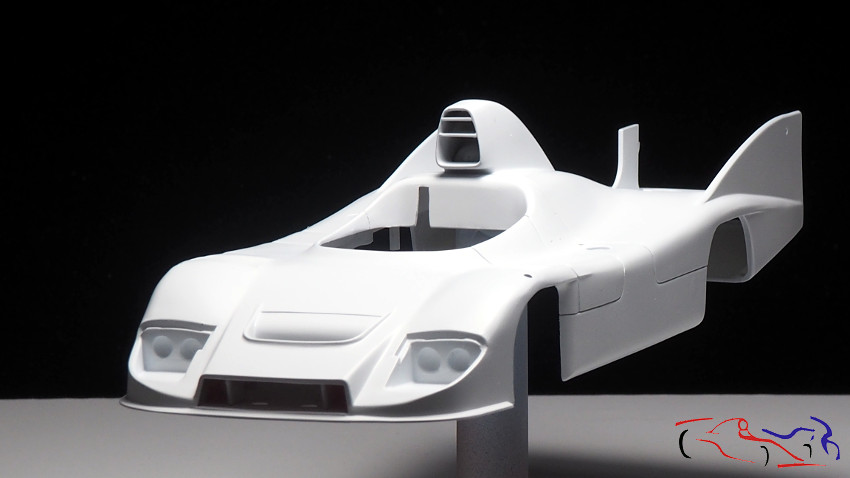 Una lijadita con grano 2000 de nuevo y enmascaro para el rojo. En esta vez, he usado el rojo de Zero previsto para los colores de M-Sport, que es más fluo, más vivo, como es el rojo de las calcas nuevas de Shunko que tengo. El resultado, lo podéis ver en la foto de inicio.
A sandpaper with 2000 grit again and masking it for red. This time, I have used the red of Zero for the BMW M-Sport colors, which is more fluorescent, more vivid, as is the red of the new Shunko decals that I have. You can see the result in the body in the start photo.
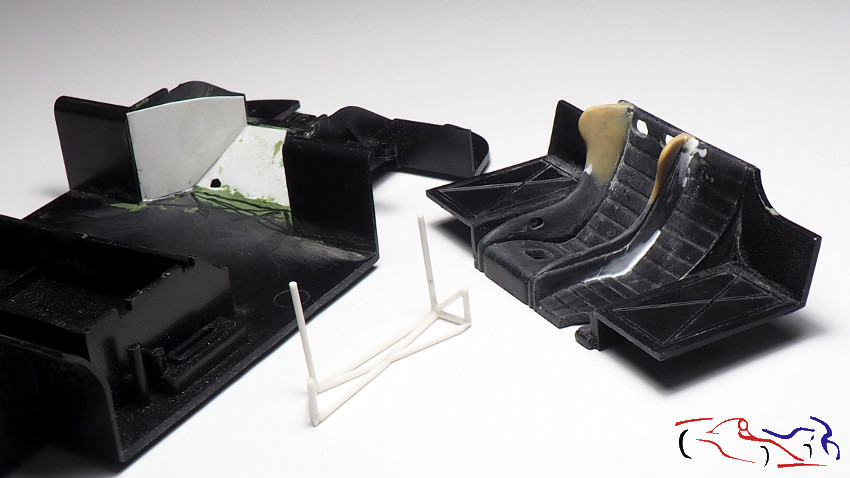
Pasamos al interior. He realizado el entramado de tubos del interior, de la parte que se ve, pegado con cianocrilato:
We go inside. I have made the framework of tubes of the interior, from the part that is seen, glued with cyanoacrylate:
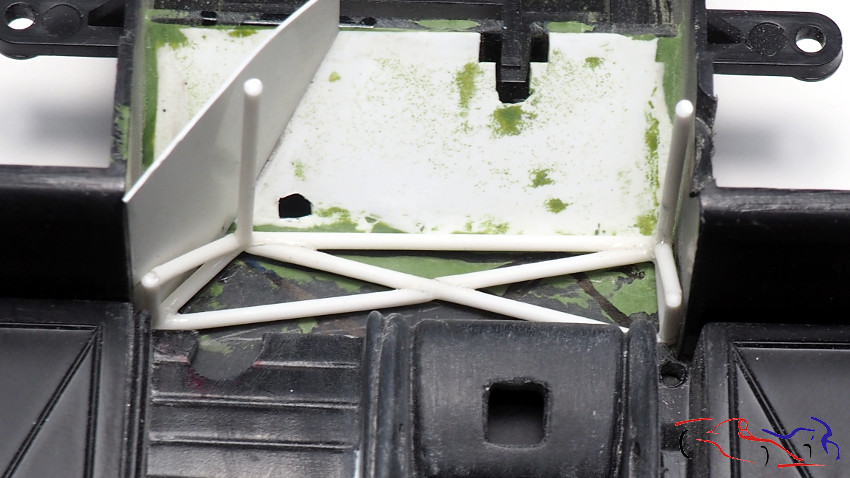
 Asi es como queda en su sitio:
This is how it looks on its site:
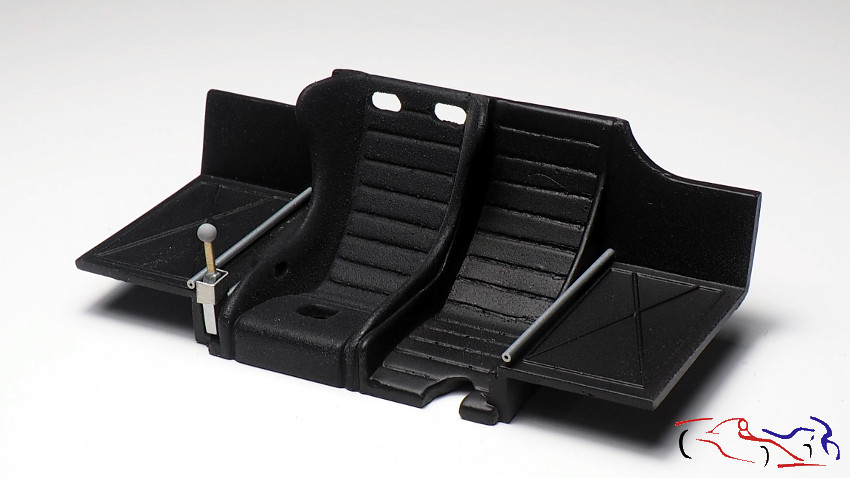
 Y pintamos: el asiento con negro texturizado de Zero, y en satinado el resto de la pieza. Los tubos, el conjunto y la palanca del cambio con Aluminio también de Zero.
And we painted it: the seat with Zero’s textured black, and in satin the rest of the piece. The tubes, the tubes set and the gear lever with Aluminum also from Zero.
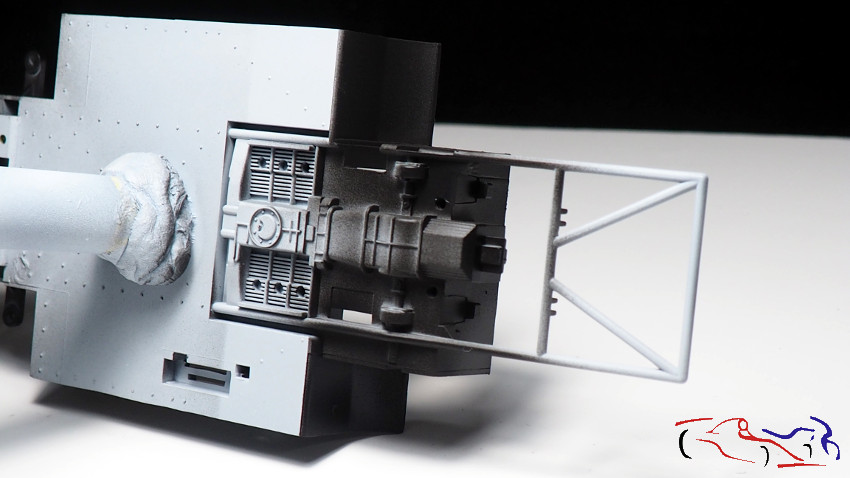
 Al negro granulado, le he aplicado una capa de barniz mate de Alclad, para darle el acabado correspondiente. Aquí lo vemos con el resto de las piezas (no están todas aun). También vemos la palanca con los colores definitivos:
I have applied a coat of Alclad matte varnish to the grainy black, to give it the corresponding finish. Here we see it with the rest of the pieces (they are not all yet). We also see the lever with the final colors:
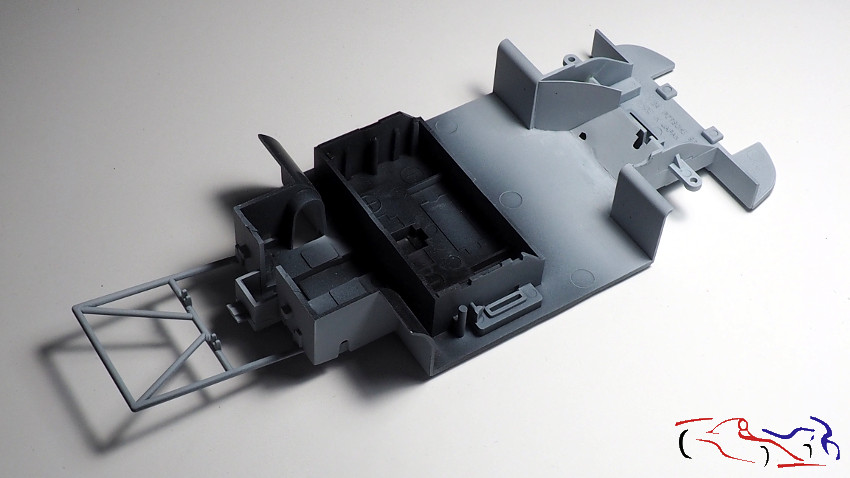
 Pasamos al chasis: Imprimación parcial aplicada con Gravity:
We go to the chassis: Partial primer applied with Gravity:
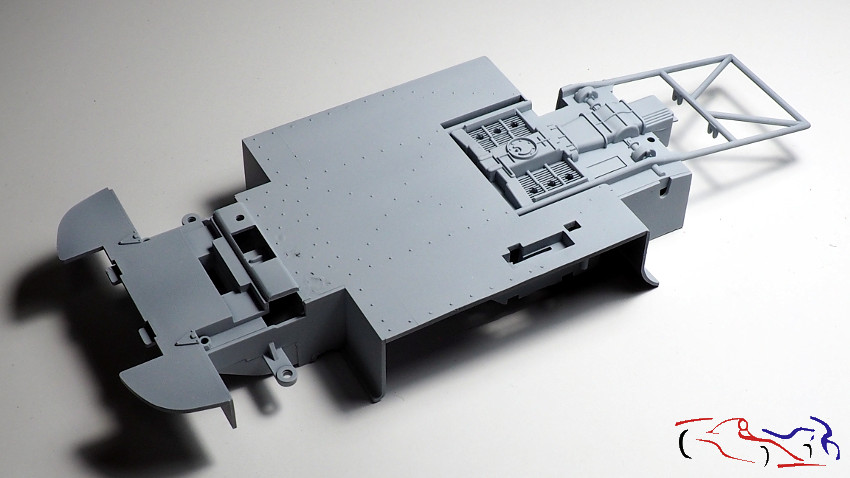
 Y todos los bajos!
And all the basses!
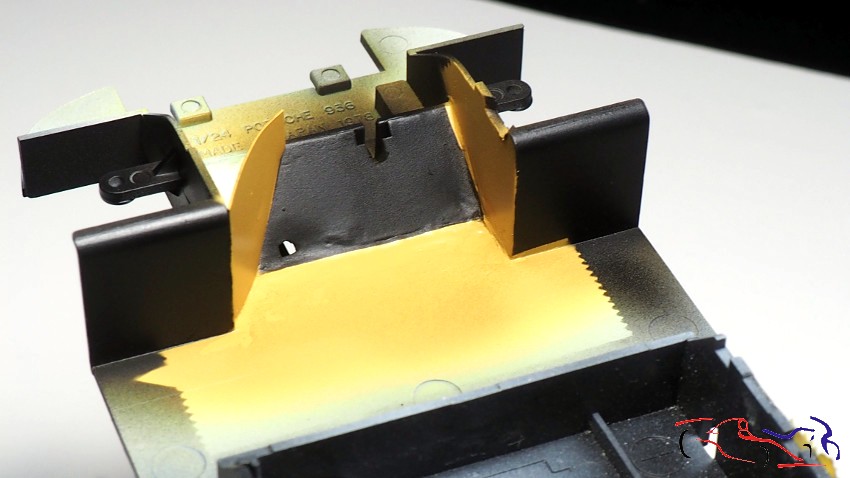
En la parte del cockpit, pintamos de amarillo Kevlar de Zero como base de las calcas que tengo que poner (vemos los tubos en su lugar definitivo).
In the cockpit part, we paint Zero Kevlar yellow as the base of the decals that I have to put (we see the tubes in their final place).
 Y aquí con los asientos. Se ven también los agujeros practicados para los cinturones laterales, y la trama texturizada del asiento:
And here it is with the seats. You can also see the holes made for the side belts, and the textured frame of the seat:
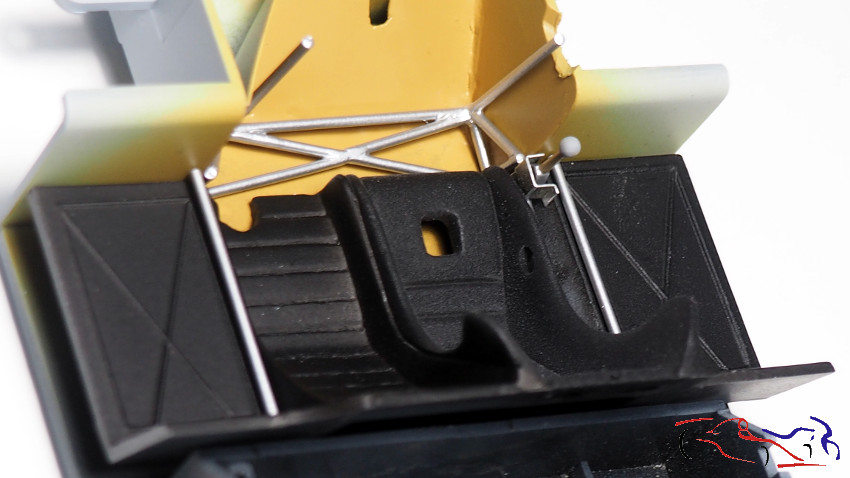 Enmascaramos y pintamos de negro semimate parte del chasis…
We mask and paint semi-matte black part of the chassis …
La parte trasera del chasis, también se ha pintado de negro semimate de Zero, siendo lo siguiente el color aluminio….que habrá que aplicar con difernetes tonos para diferenciar las piezas…..probaré con distintos acabados!!
The rear of the chassis has also been painted in Zero semi-matte black, being the color aluminium the following step… which will have to be applied with different shades to differentiate the parts ….. I will try different finishes !!
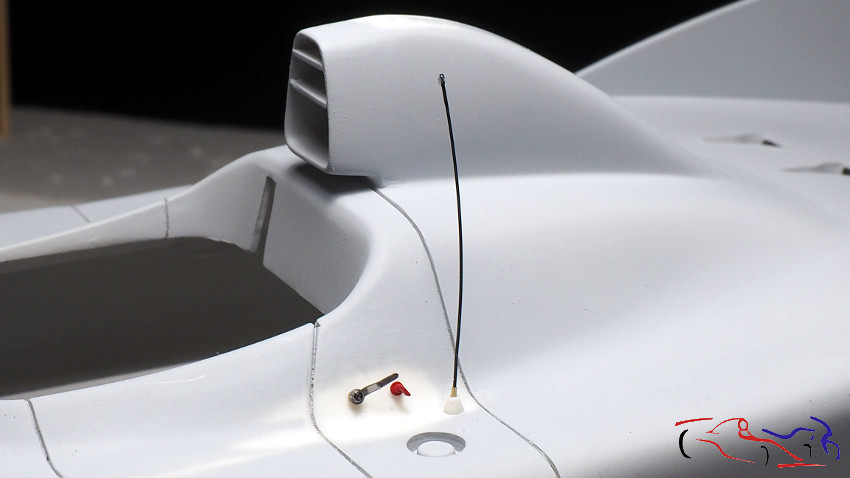
 Unas de las piezas que eliminé de la carrocería en esta segunda etapa eran las pertenecientes a las palancas de extinción y del corta corriente. La de extinción, la sustituiré por una de resina de Scalelab, y el corta corriente, lo cogí del fotograbado del 936 de S27, lo doble un poco, y le añadí un tornillo por encima, y una tuerca por debajo. Está simplemente con la imprimación. Y a la antena, cogí la pase de la antena del kit, le ice un agujero, corté un tubo de 4mm y le pegué un trozo de plástico estirado. Decir que el plástico lo sustituí por un cable de metal.
Some of the parts that I removed from the bodywork in this second stage were those belonging to the extinguishing levers and the current cut-off. I will replace the extinguishing one, with a resin one from Scalelab, and, I took the power cut-off from the photoengraving of the S27 936, I bent it a little, and added a screw on top, and a nut on the bottom. It is simply with the primer in the picture. And to do the antenna, I took the antenna pass from the kit, made a hole in it, cut a 4mm tube and glued a piece of stretched plastic. Say that the plastic was replaced by a metal cable.
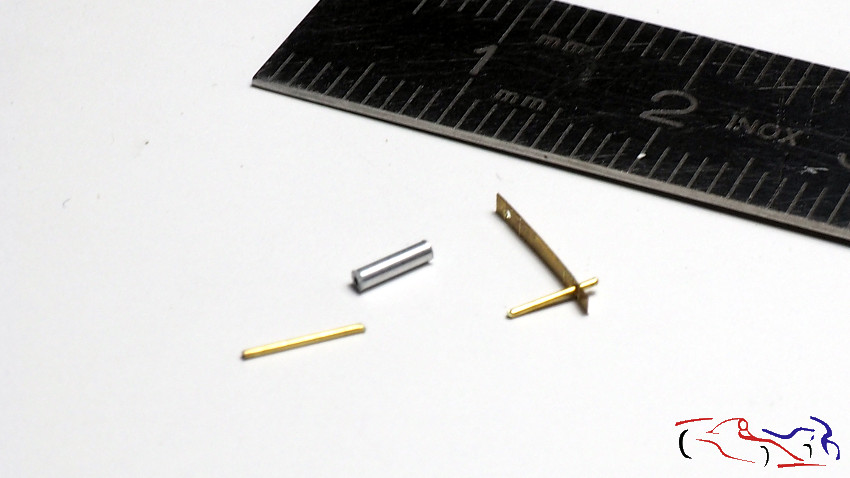
 Mas detalles: el alerón trasero tiene un plano superior movible, y para fijarlo, tiene un dispositivo que se sujeta con el soporte vertical. Como base, uso plancha de cobre, tubos de cobre de 4mm y tubo de aluminio de 6mm exterior. Los tubos de cobre irán soldados a la pletina, en esos agujeros y …
More details: the rear wing has a movable upper plane, and to fix it, it has a device that is fixed with the vertical support. As a base, I use copper plate, 4mm copper tubes and 6mm aluminum outer tube. The copper tubes will be welded to the plate, in those holes and …
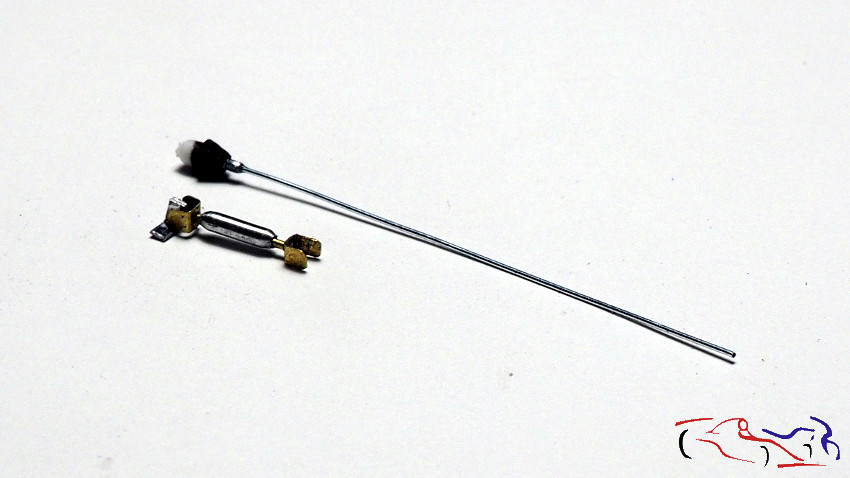
 …y aquí tenemos el resultado: las pletinas dobladas y soldadas, con el tubo de cobre petido en el de aluminio, y al final, la pieza que irá pegada en el alerón. Al lado, la antena.
… and here we have the result: the bent and welded plates, with the petite copper tube in the aluminum tube, and at the end, the piece that will be glued to the spoiler. Next to it, the antenna.
 Y esto es todo!!
Gracias por ver y comentar!
And that’s all!!
Thanks for viewing and commenting!


