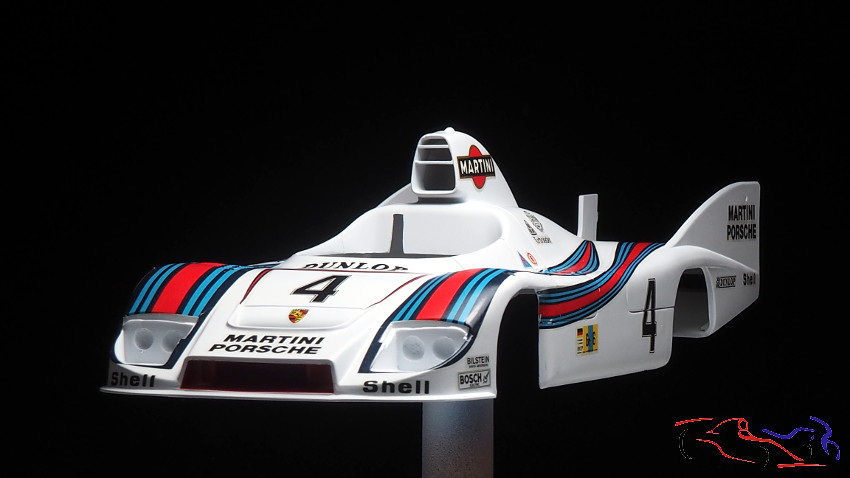
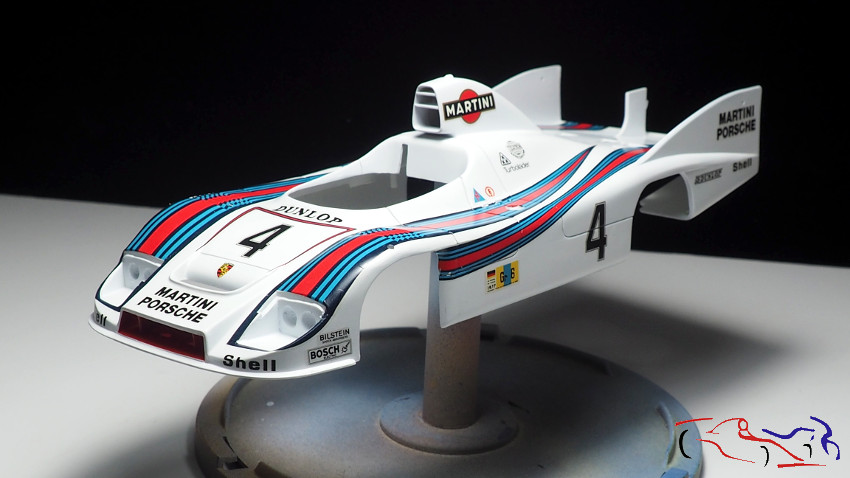
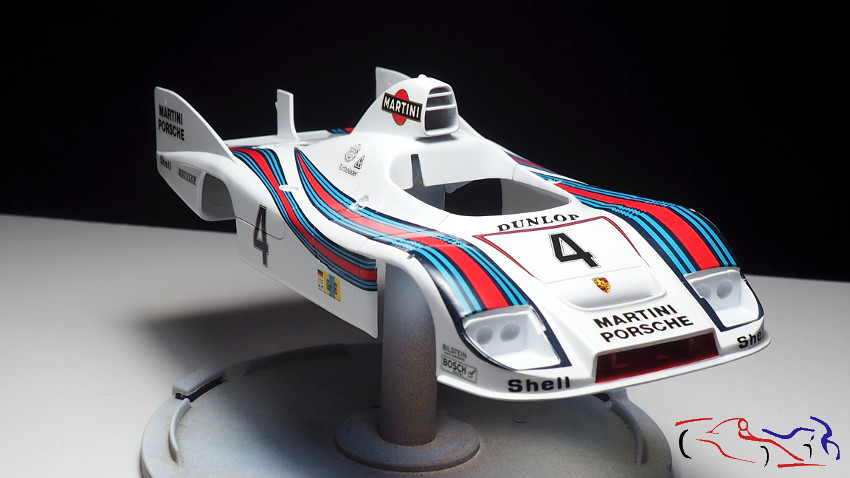
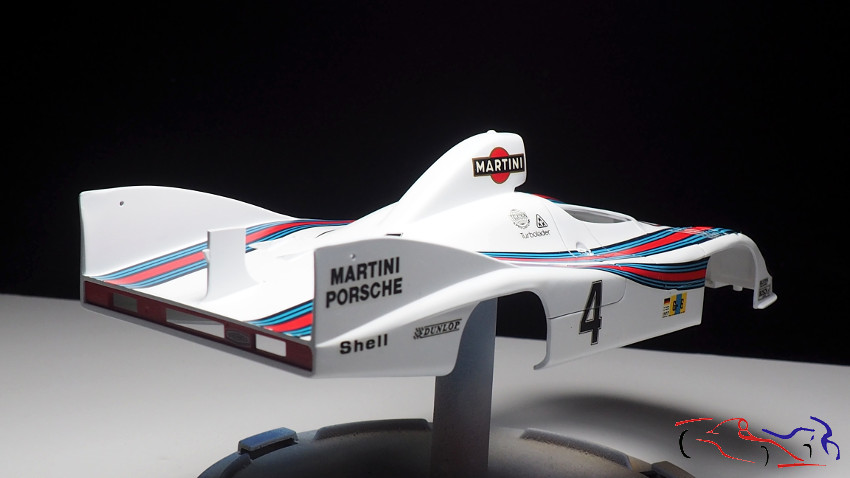
En el anterior post, dejé el coche listo para poner las calcas, y aquí le teneís, con las calcas puestas:
In the previous post, I left the car ready to put the decals, and here you have it, with the decals on:
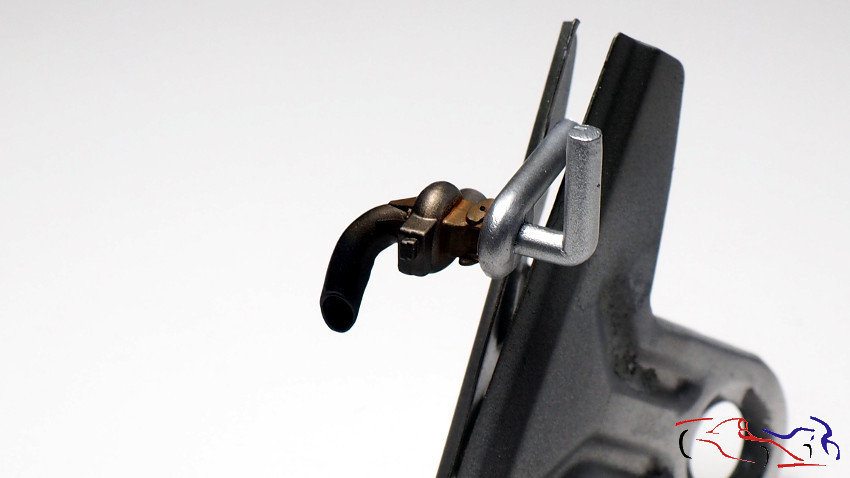
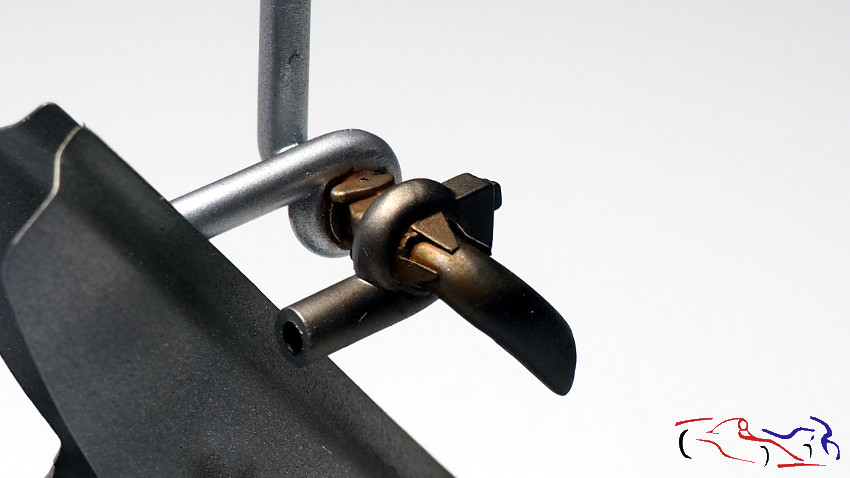
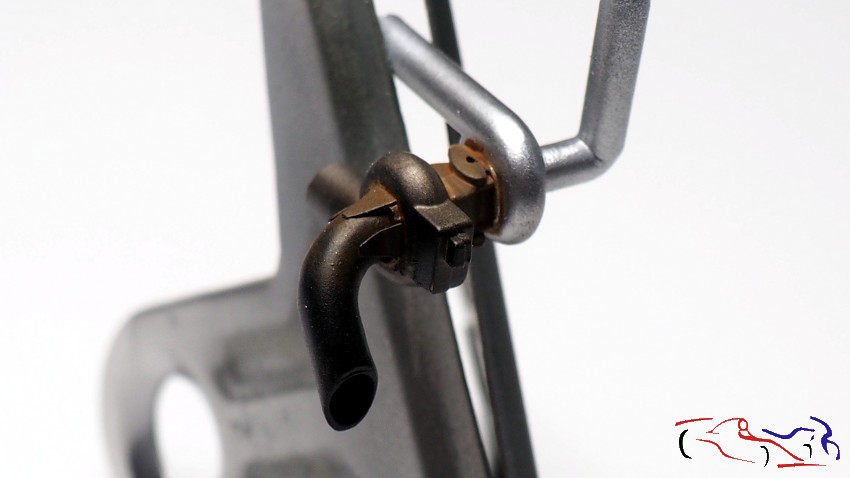
 Pero antes de todas la fotos, os muestro otros avances que he hecho. Primero con las piezas de los escapes con los turbos. Al chequear fotos originales, me doy cuenta que toda la parte del turbo tiene un ligero color óxido. Para reproducirlo, utilizo el lavado óxido de MIG, que aplico con un pincel. El acabado que tiene lo podéis ver en las siguientes fotos:
But before to show all the photos, I show you other advances that I have made. First with the exhaust parts with the turbos. When checking original photos, I notice that the whole part of the turbo has a slight rust color. To reproduce it, I use the MIG oxide wash, which I apply with a brush. You can see the finish it has in the following photos:
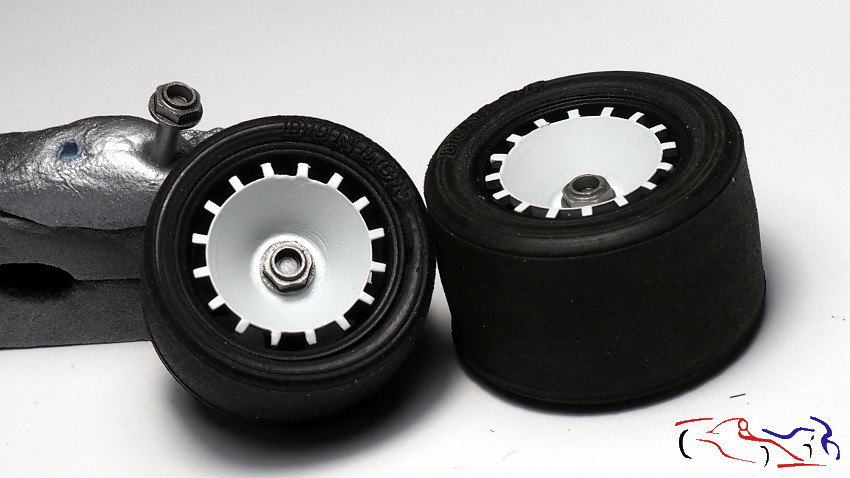
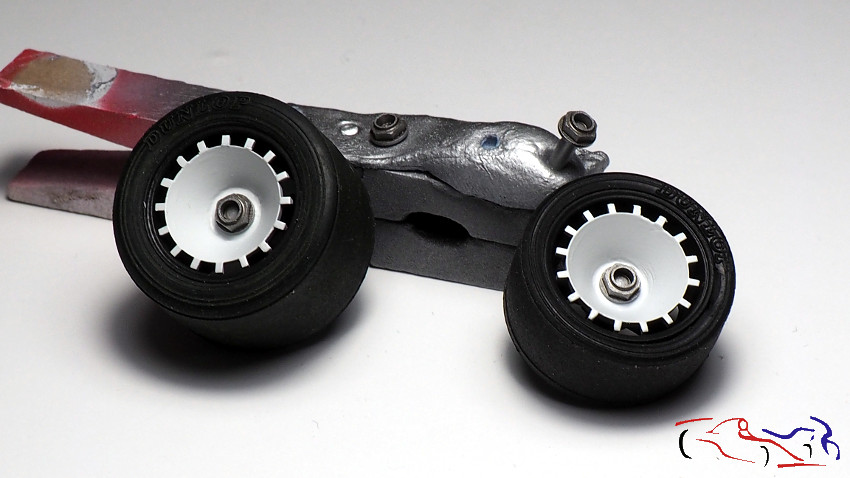
 Otro punto que cambiado son las llantas. Recordad que eliminé la tuerca que venia de origen, y que usaría la de Scale Production. Aquí tenemos un par de fotos donde se ve el conjunto si pegar aun. Las tuercas tienen una capa de Alclad dark Aluminium y un lavado con Smoke:
Another point that I changed are the tires. Remember that I removed the nut that came in the kit, and that I would use the Scale Production nut. Here we have a couple of photos where you can see the set without pasting. The nuts have a layer of Alclad dark Aluminum and a wash with Smoke:
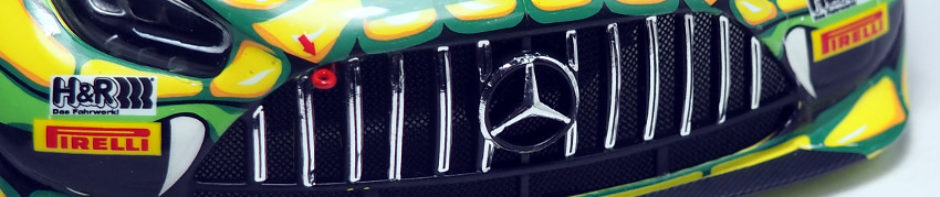
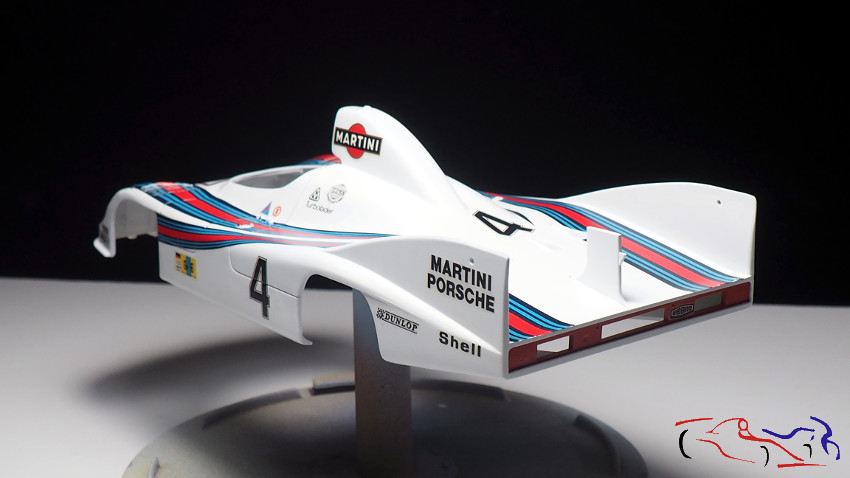
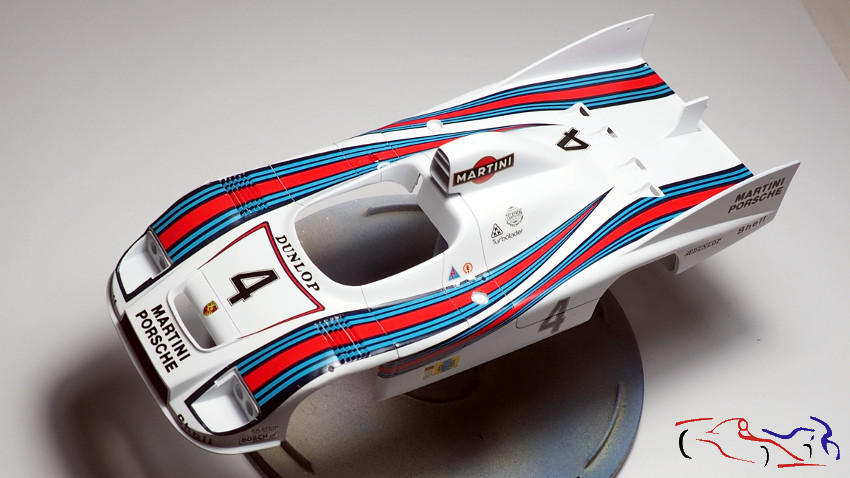
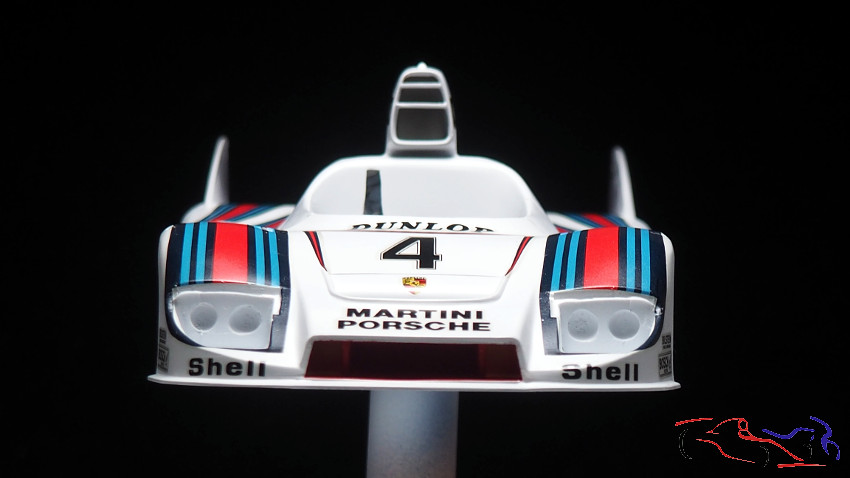
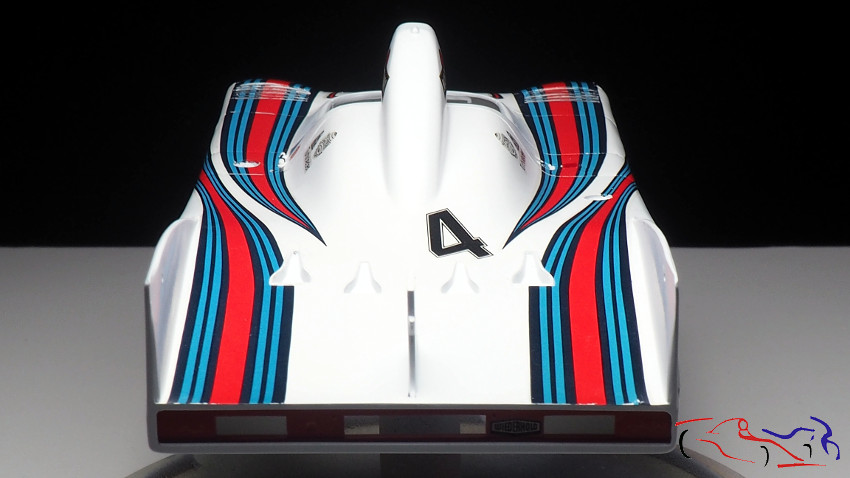
 Y ahora si, las fotos de las calcas. Decir que tuve problemas la principio porque son muy delgadas, y con los líquidos Micro se volvía extremádamente frágiles, por lo que decidí usar agua y secador, y depués el Micro Set. Para las rejillas, puse la calca ayudándome con un bastoncillo de algodón, pero no mucho. Una vez estaban un poco secas, las corté con un cutter nuevo por su parte delantera, para que el resto de la calca, se adheriera a la rejilla, y aplicando Micro Set con un pincel, que metía por cada ranura.
And now yes, these are the photos of the decals. To say that I had problems at the beginning because they are very thin, and with Micro liquids they became extremely fragile, so I decided to use only water and a dryer, and then the Micro Set. For the grids, I applied the decal helping me with a cotton swab, but not much. Once they were a little dry, I cut them with a new cutter on the front part, so that the rest of the decal adheres to the grid, and applying Micro Set with a brush, which I put through each slot.
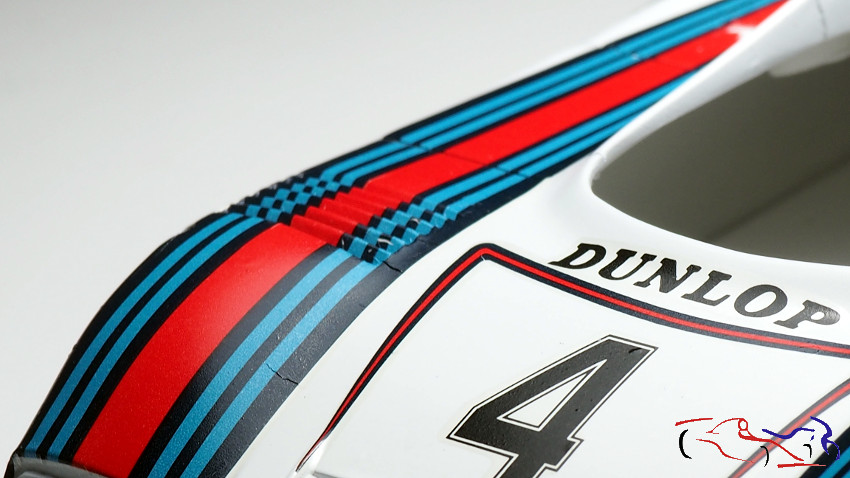
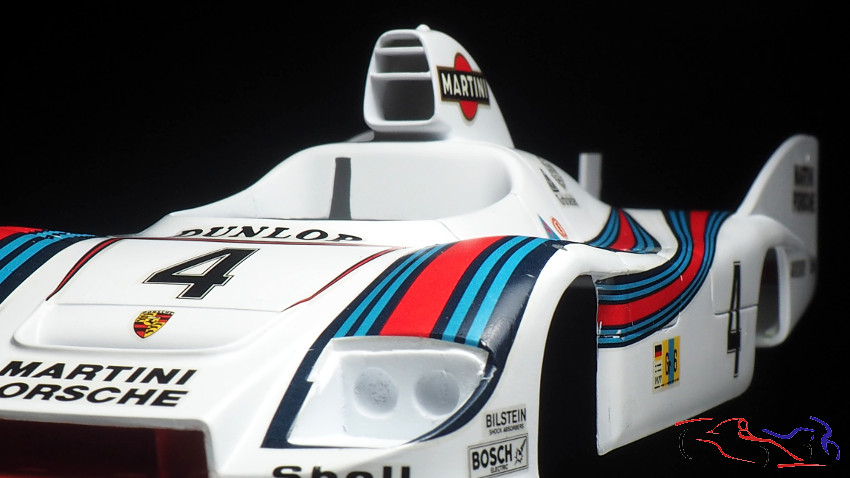
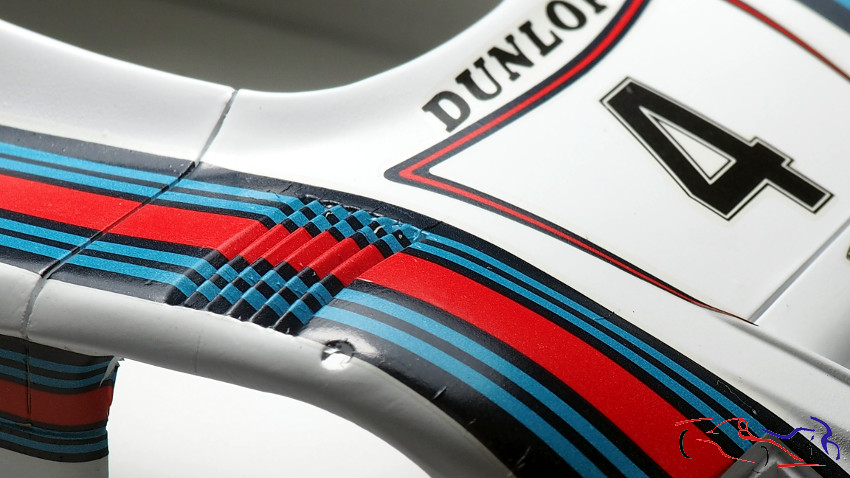 La complicación de las calcas de este coche, aparte de las rejillas, no fueron las bandas de Martini, sino colocar el resto de logos en la misma posición en los dos lados de la carrocería, por lo que ponía la de un lado sin fijar y después ponía la del otro lado. Una vez comprobadas las posiciones de ambas calcas, incluso con una regla, las fijaba.
The complication of the decals of this car, apart from the grilles, were not the Martini bands, but placing the rest of the logos in the same position on the two sides of the body, so it put the one on one side without fixing it and then put the other one on the other side. After checking the positions of both decals, even with a ruler, he fixed them.
 Ahora, hay que arreglar algunos pequeños fallos de las calcas con pintura, y pasaremos a lacarla. También nos pondremos con el chasis y el cockpit.
Gracias por ver y comentar!
Now, we have to fix some small flaws in the decals with paint, and we will move on to lacquer. We will also get the chassis and the cockpit.
Thanks for viewing and commenting!


