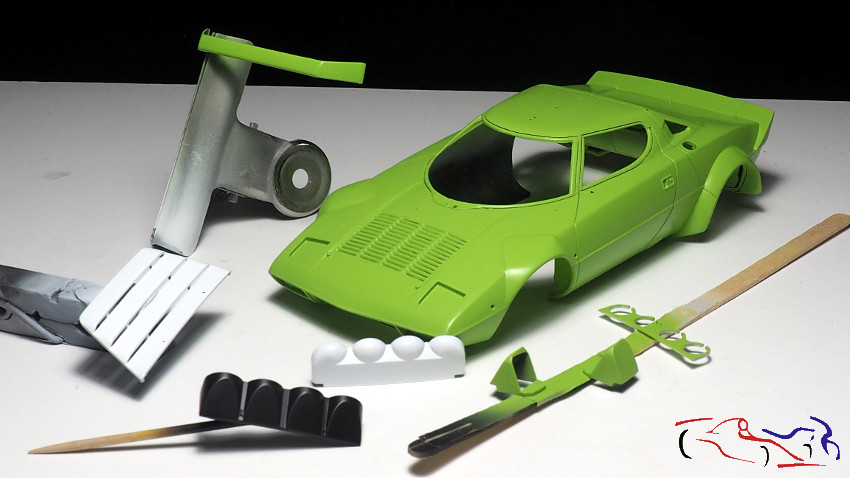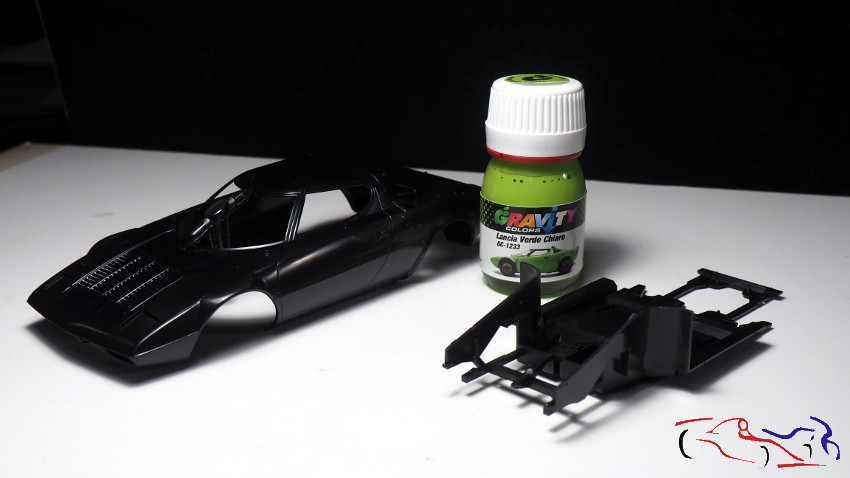
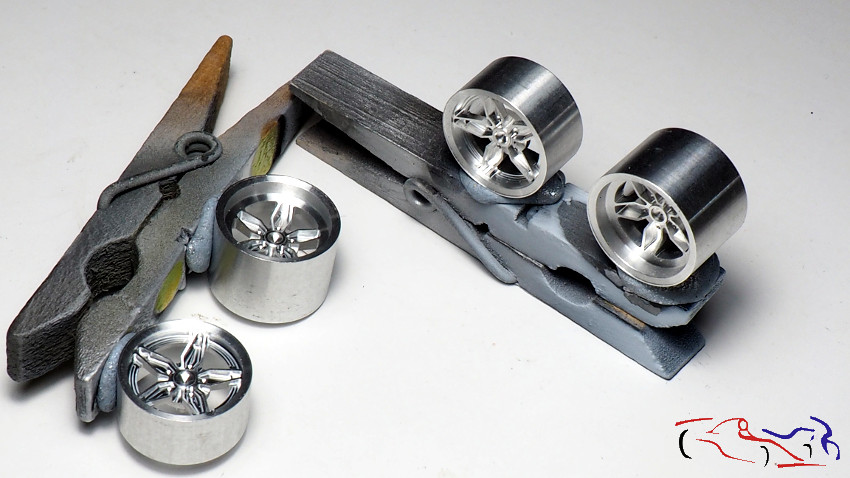
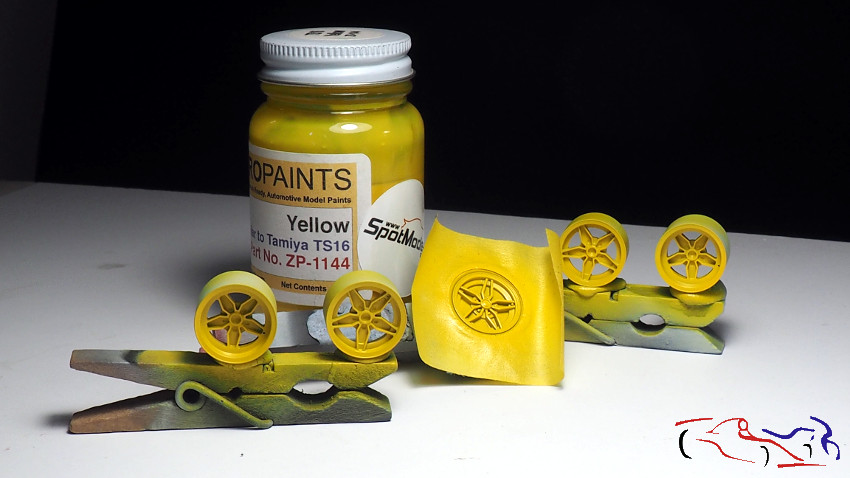
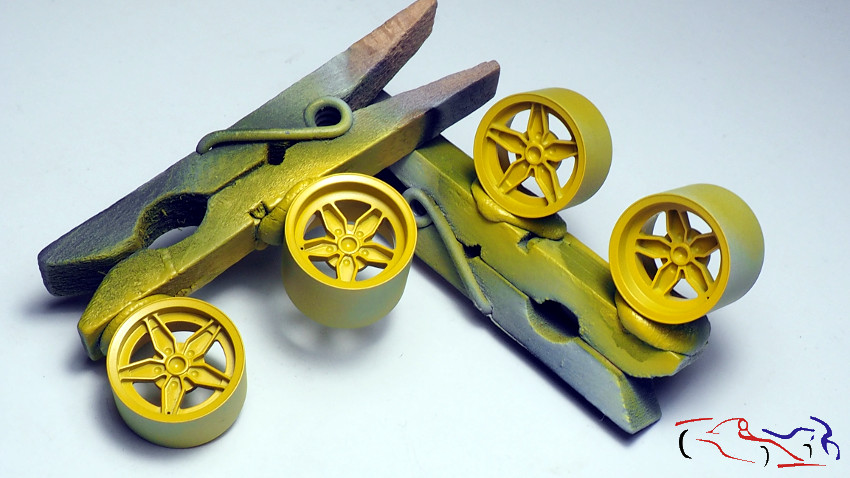
Seguimos con el Lancia Stratos y la pintura de sus distintas partes. Ahora vamos a tratar las llantas de aluminio de Studio27, que tienen una realización muy buena, siendo un poco frustrante, el pintarlas con lo bien que están hechas. Pero antes de nada, les hice los taladros para las válvulas de inchado:
We continue with the Lancia Stratos and the painting of its different parts. Now we are going to deal with the aluminium rims of Studio27, which have a very good realization, being a bit frustrating to paint them with how well they are made. But first of all, I drilled the holes for the valves:
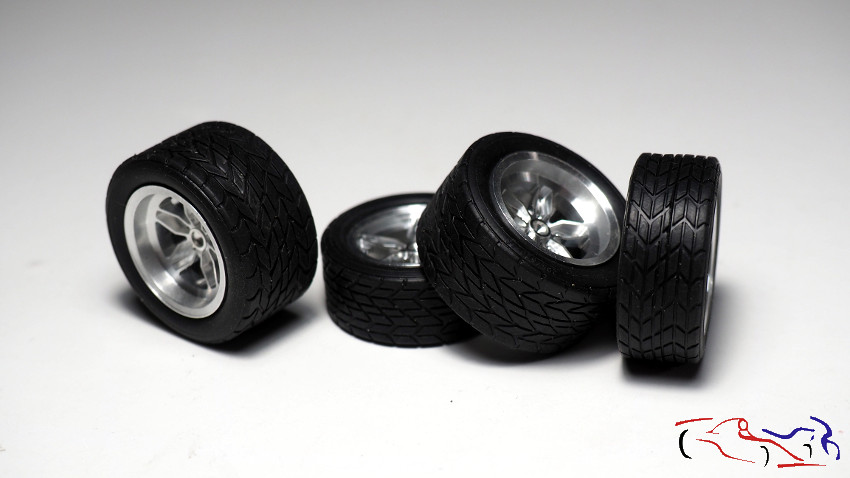
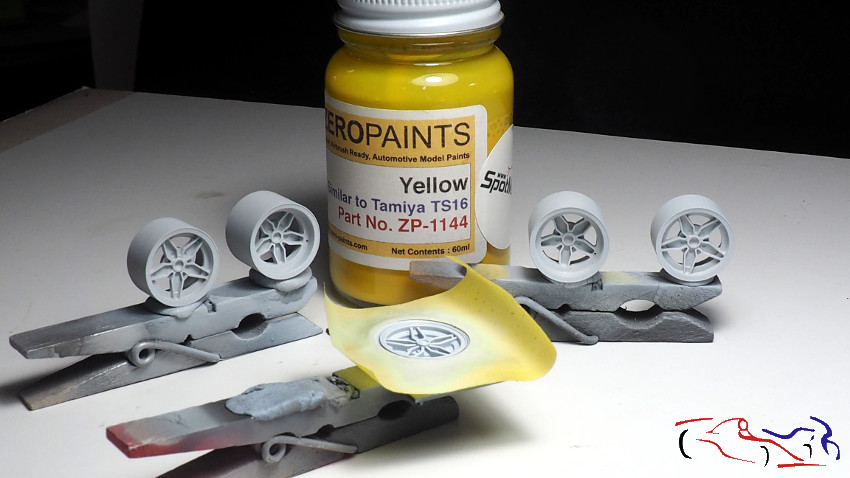
Primero les di varias capas finas de imprimación Gravity, que sirve para metal, para terminar aplicando pintura amarilla de Zero, en ese tono que es el que más se parecía de los que tenía:
First I gave them several thin coats of Gravity primer, which can be used for metal, to finish by applying yellow paint from Zero, in that shade, which is the one that most resembled the ones I had:
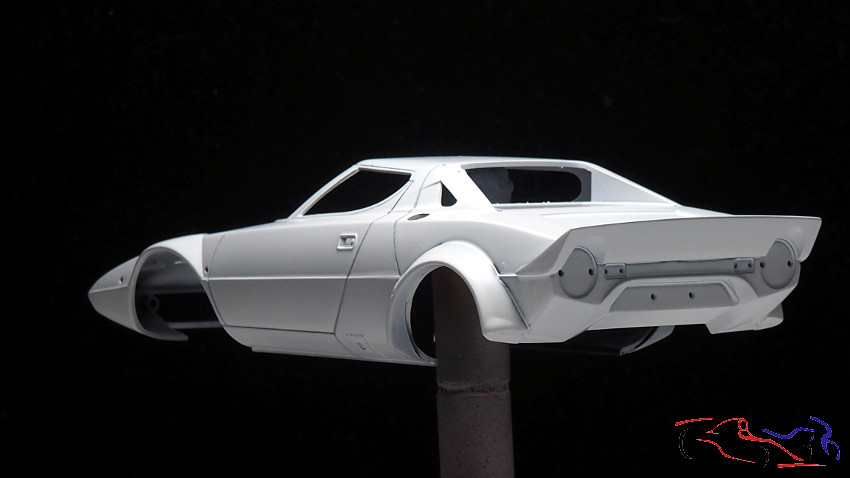
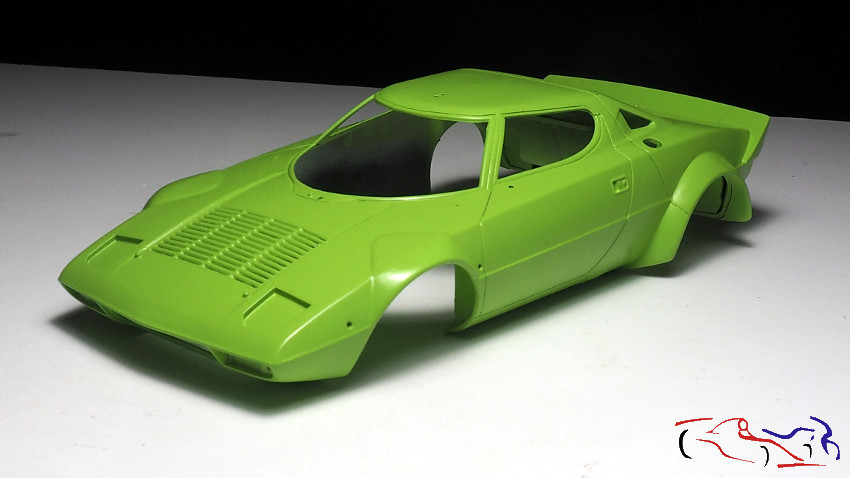
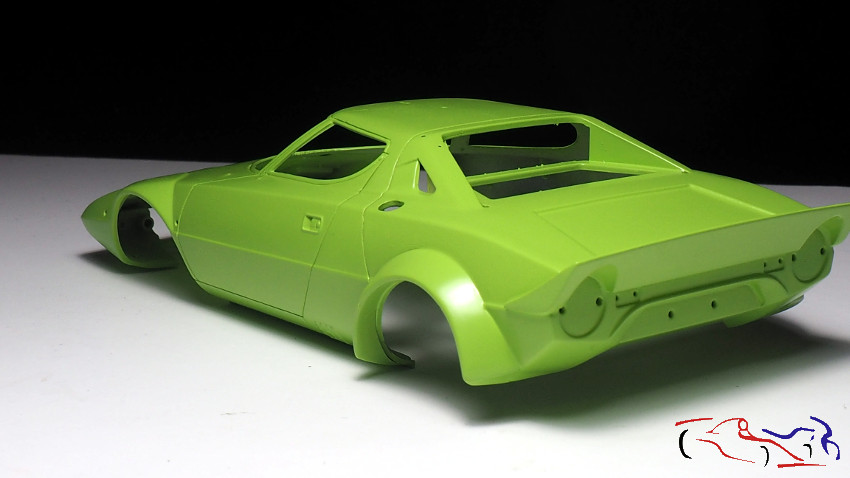
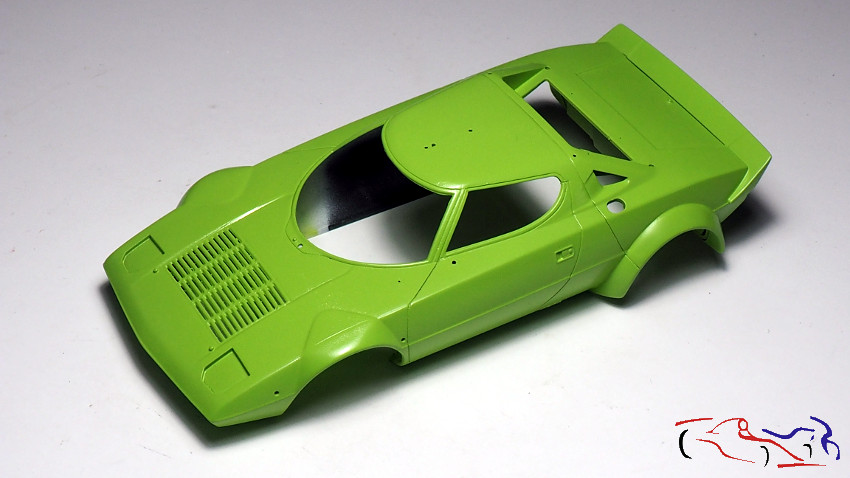
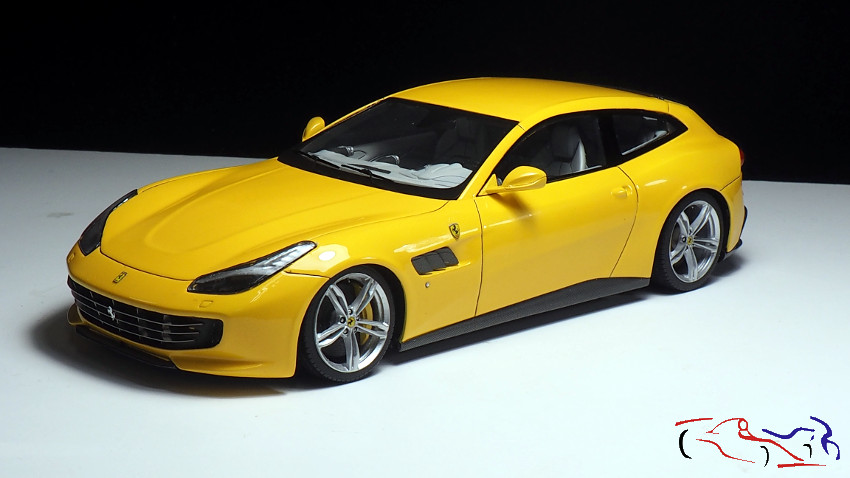
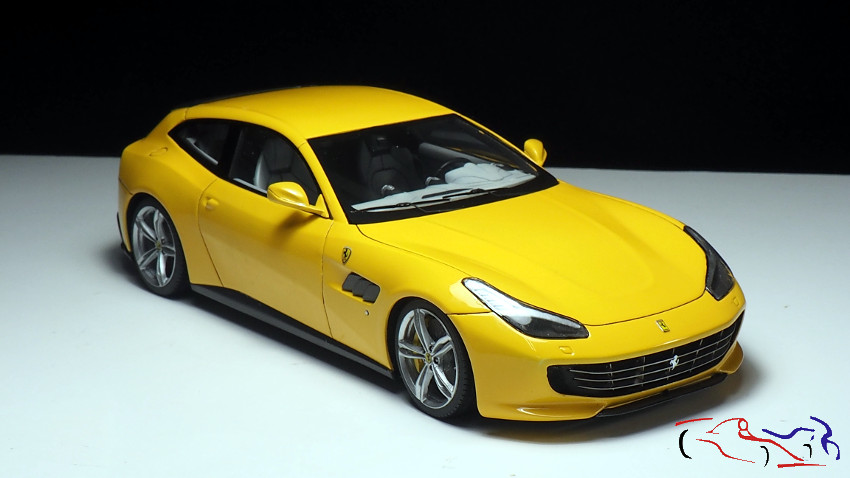
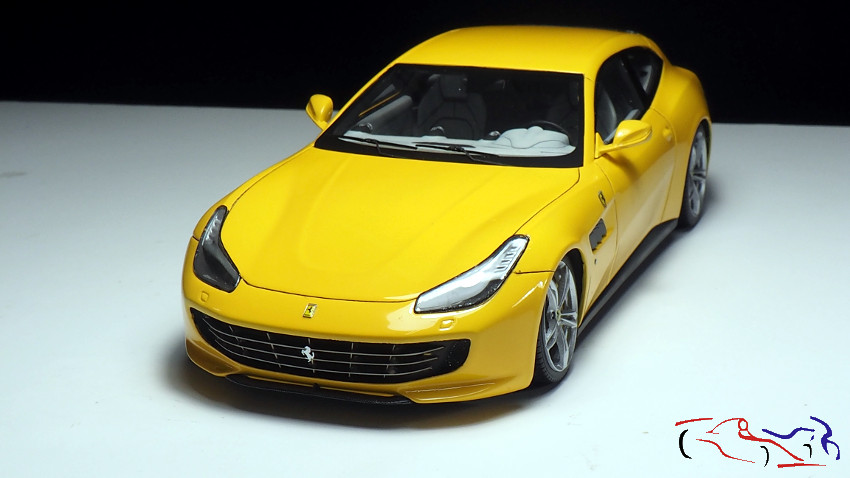
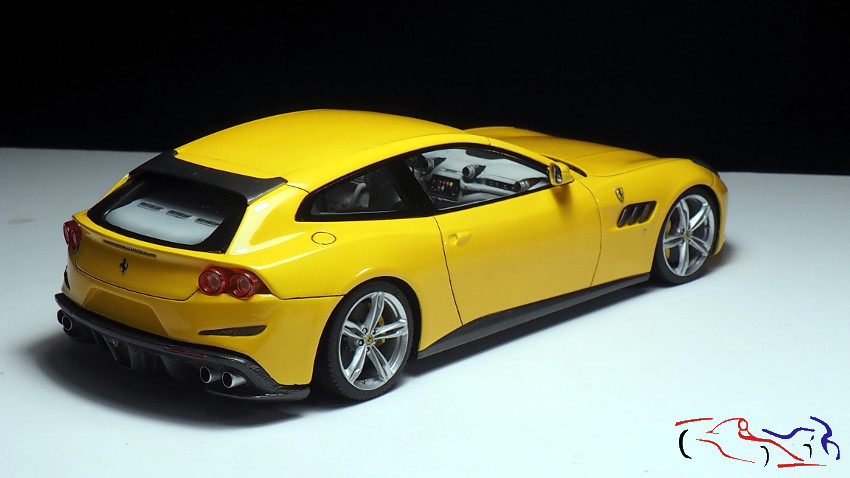
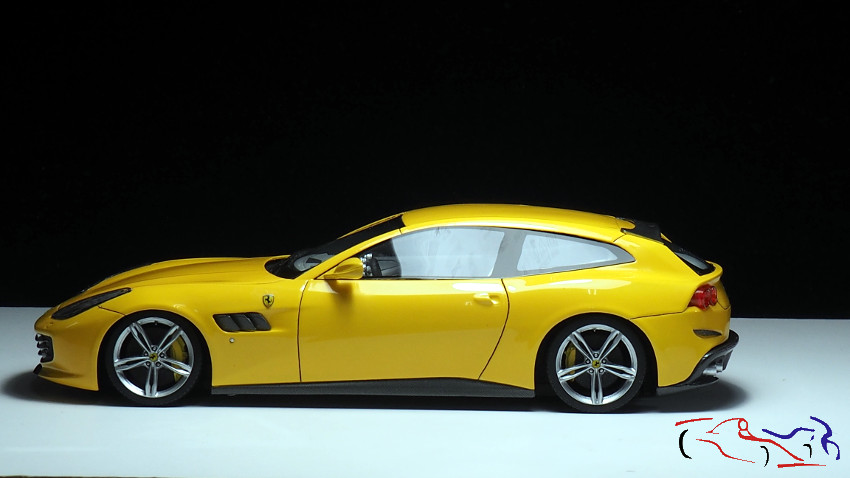
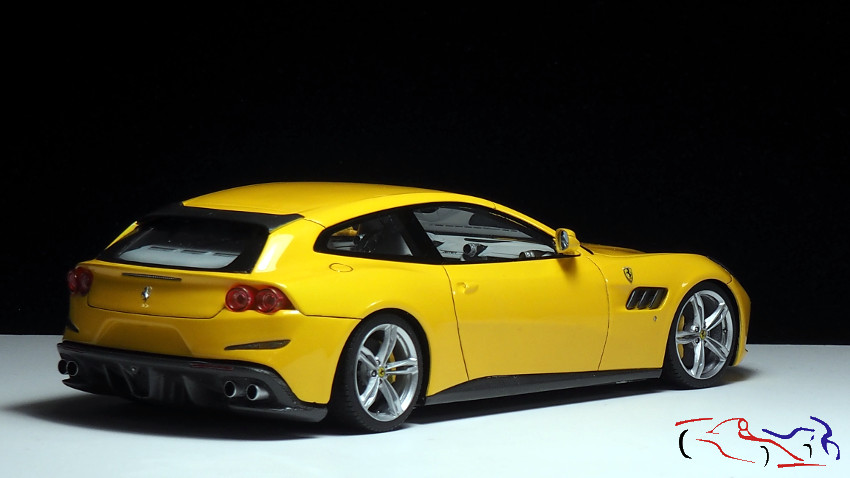
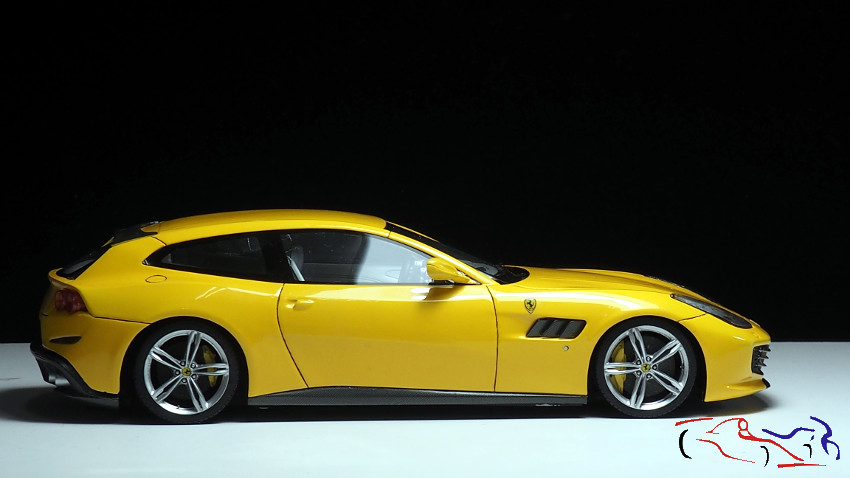
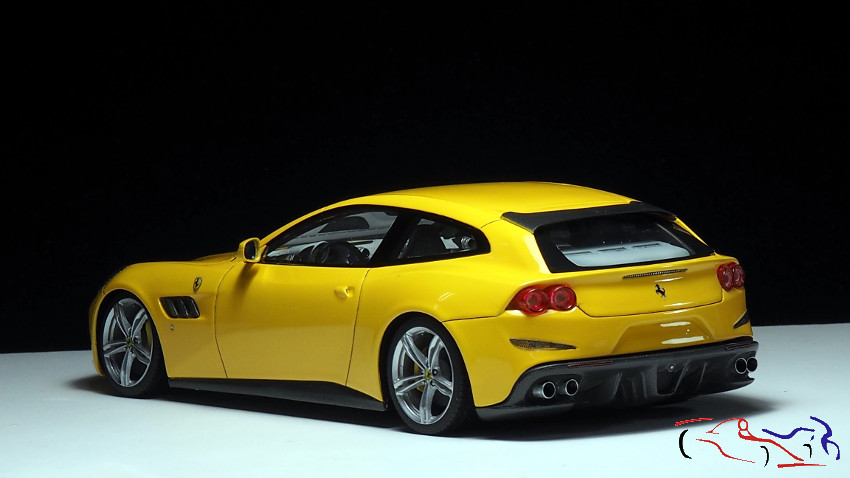
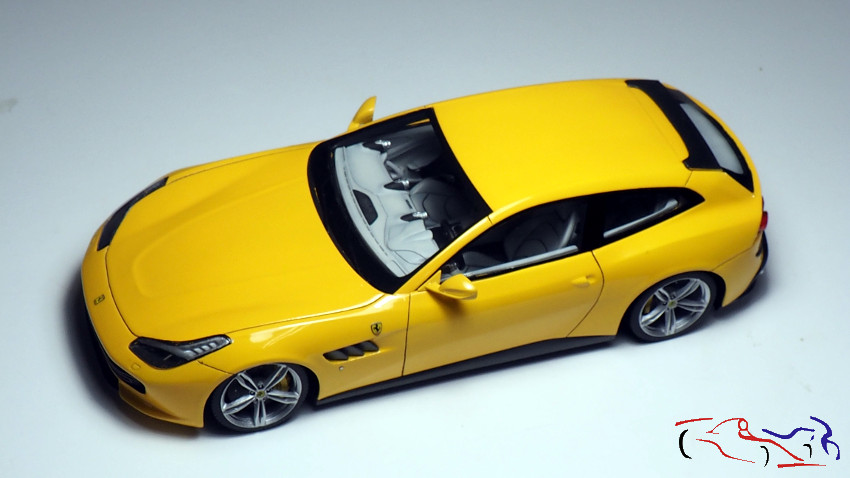
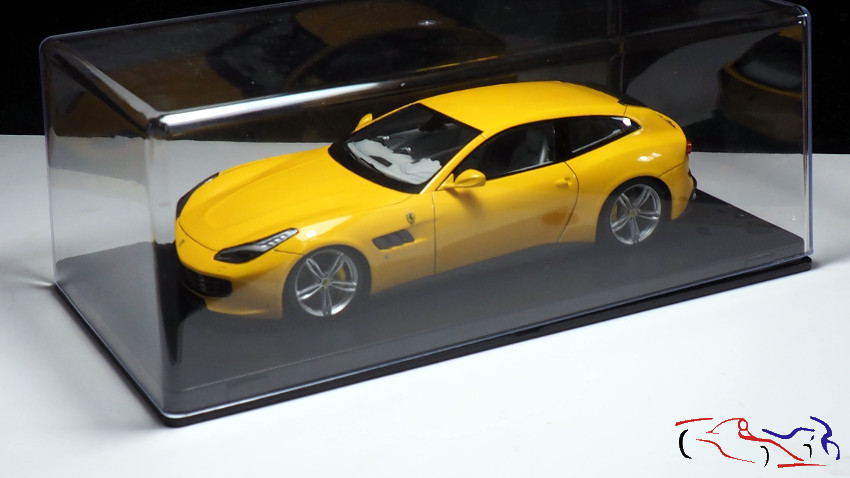
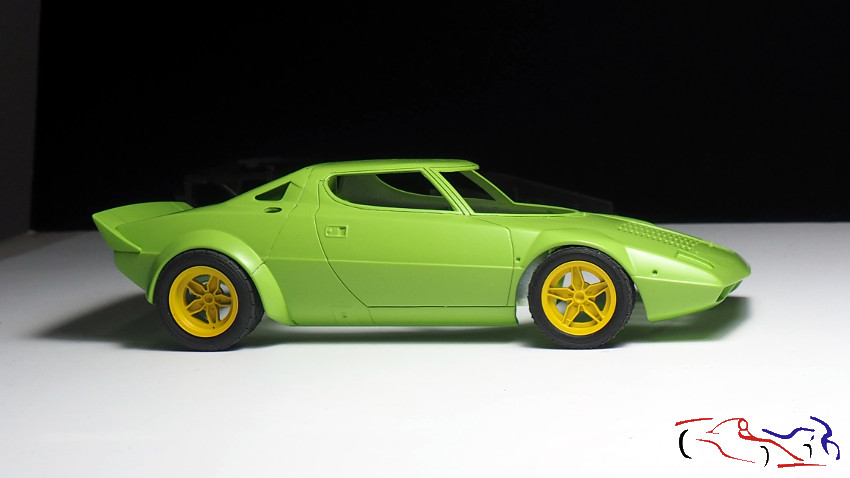
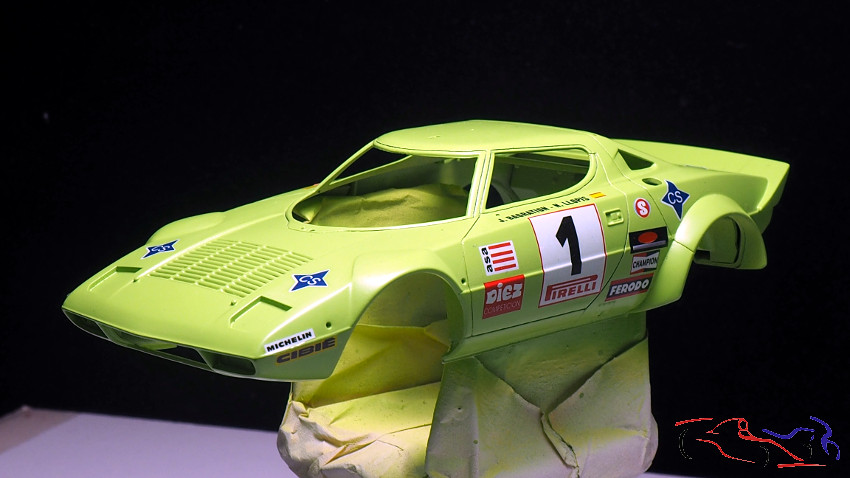
Y lógicamente, no pude resistirme a ponerlas con la carrocería!!
And of course, I couldn’t resist putting them with the bodywork!
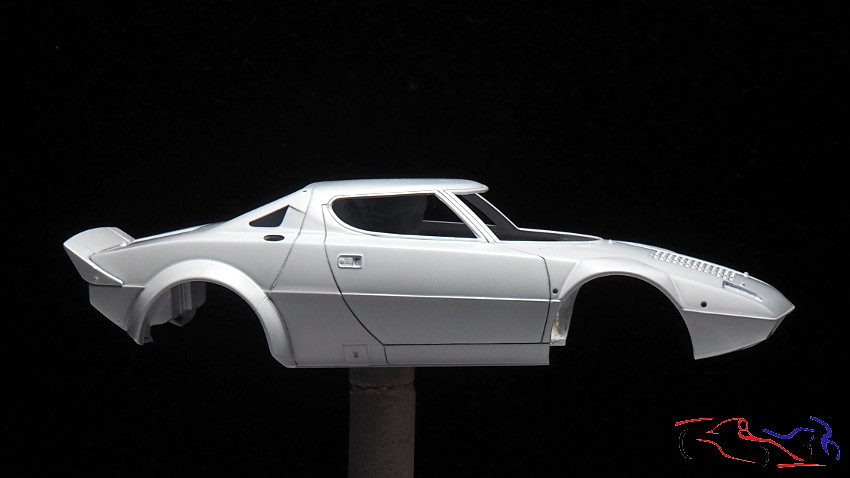
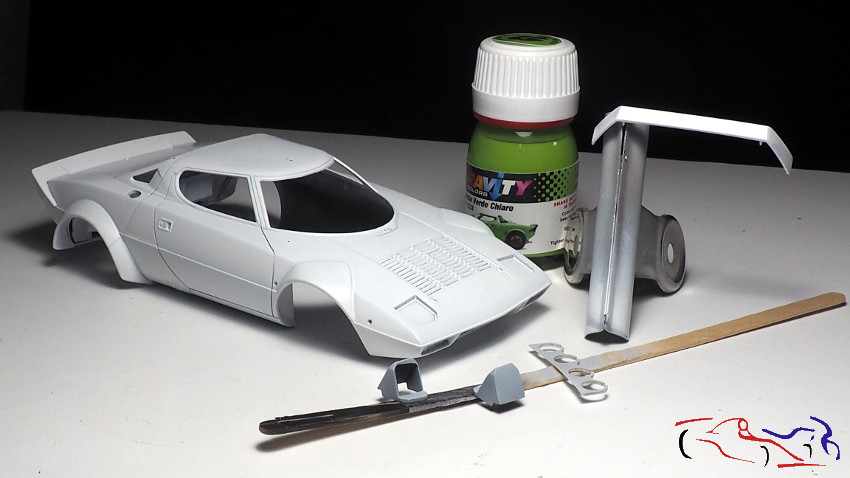
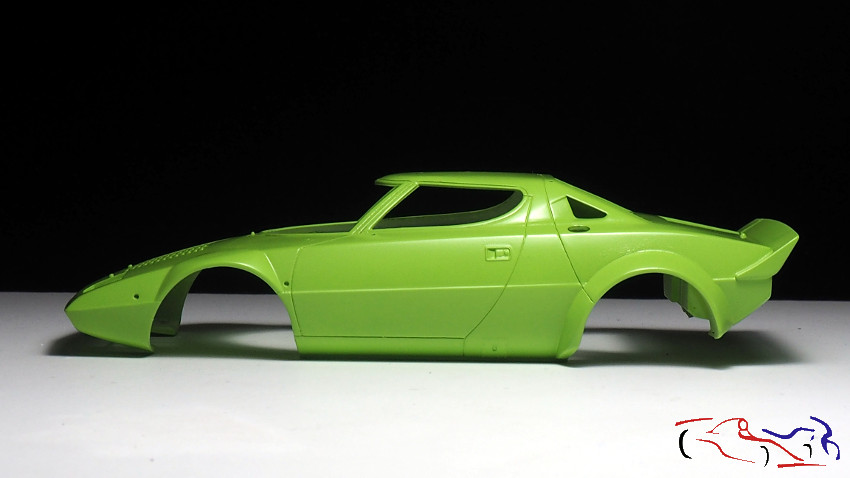
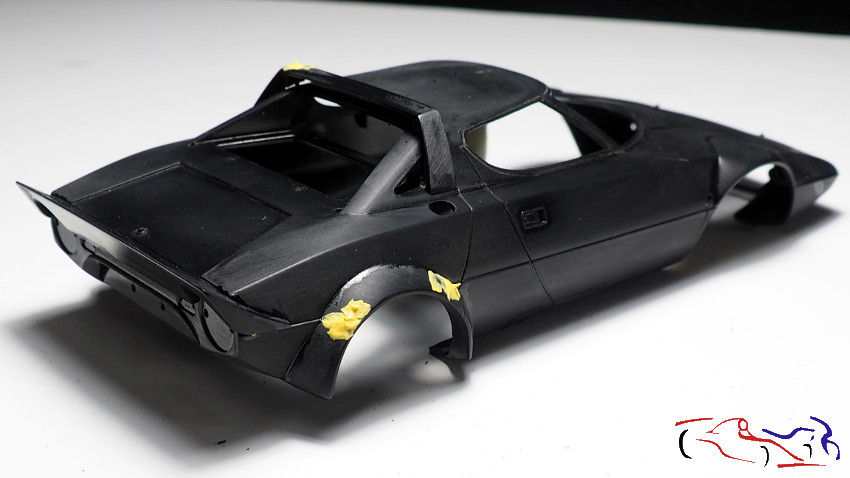
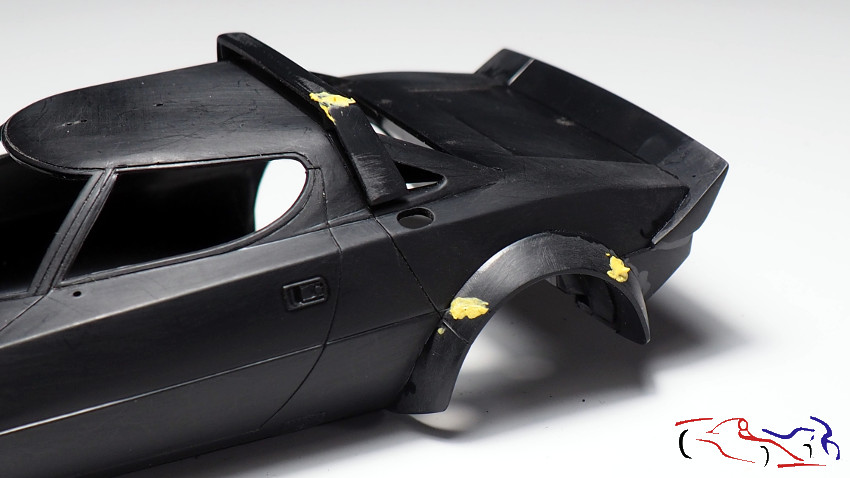
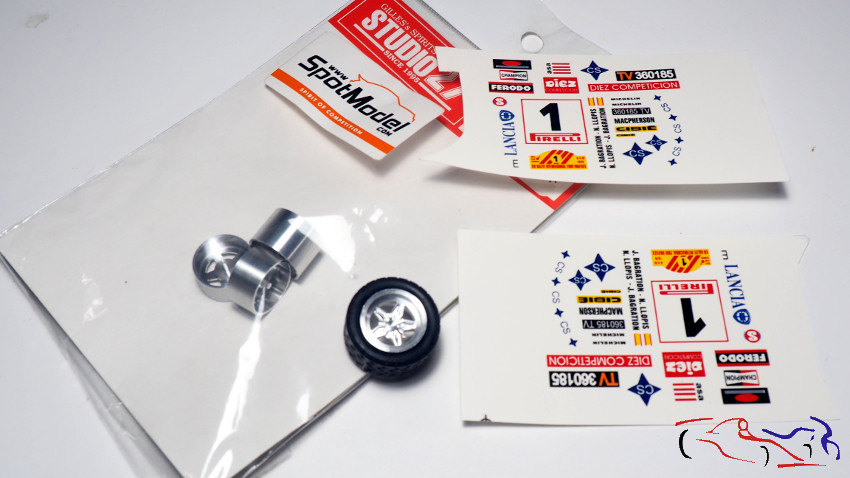
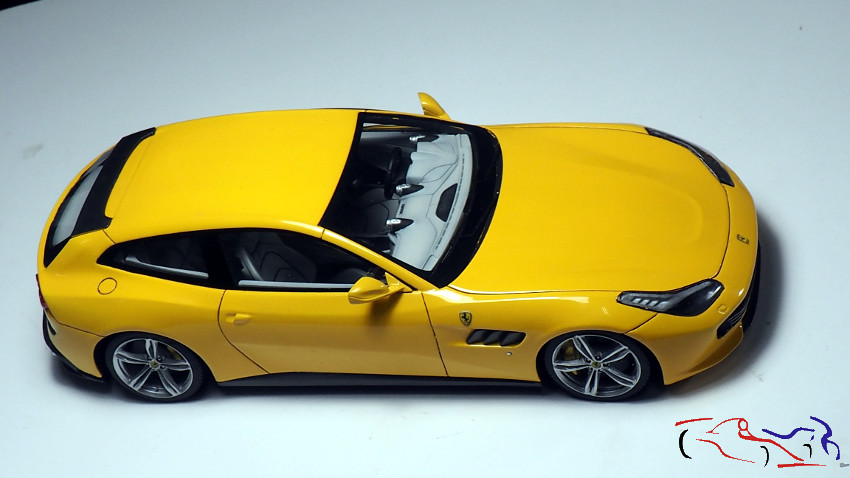
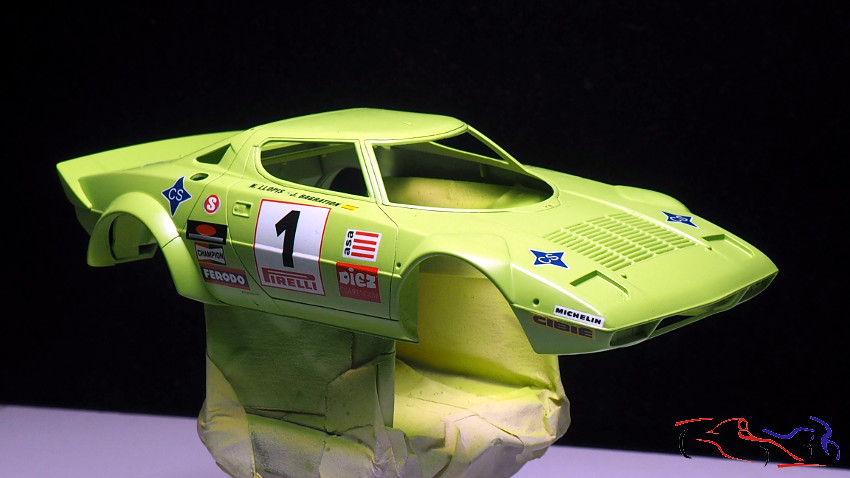
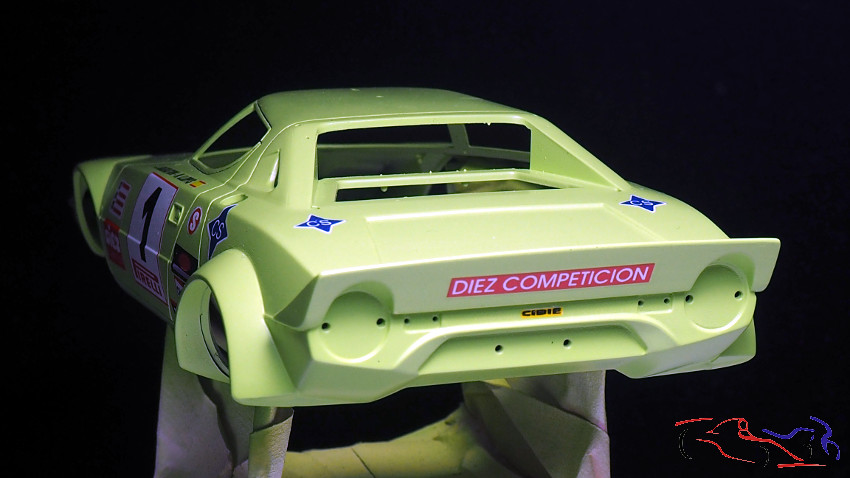
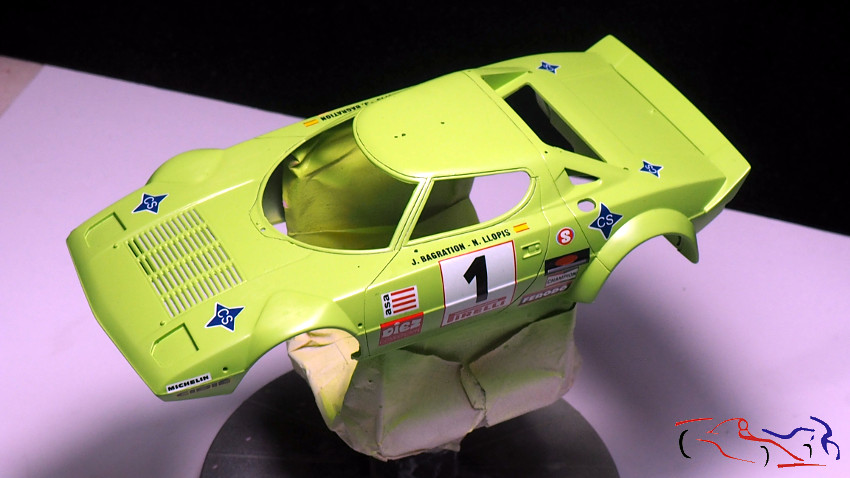
Y ya que estamos con la carocería, pues le pusimos las calcas, compradas a una tienda local de España. Usé el liquido numero 1 de Micro, que fue suficiente, ya que las calcas eran muy delgadas y se colocaron bien.
And while we’re at it, we put on the decals, bought from a local shop in Spain. I used Micro’s liquid number 1, which was enough, as the decals were very thin and they were well placed.

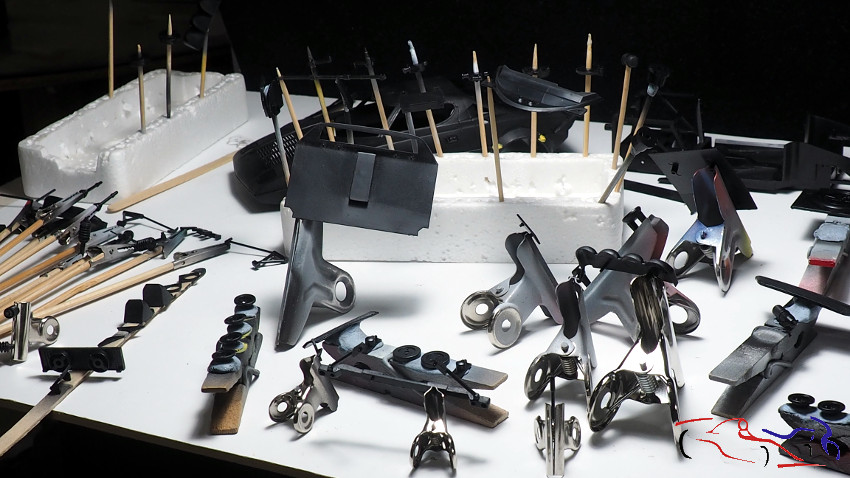
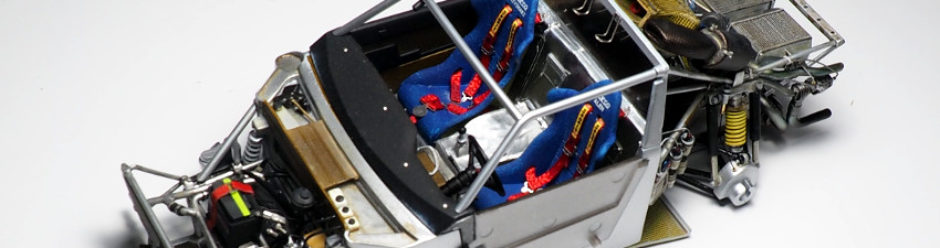
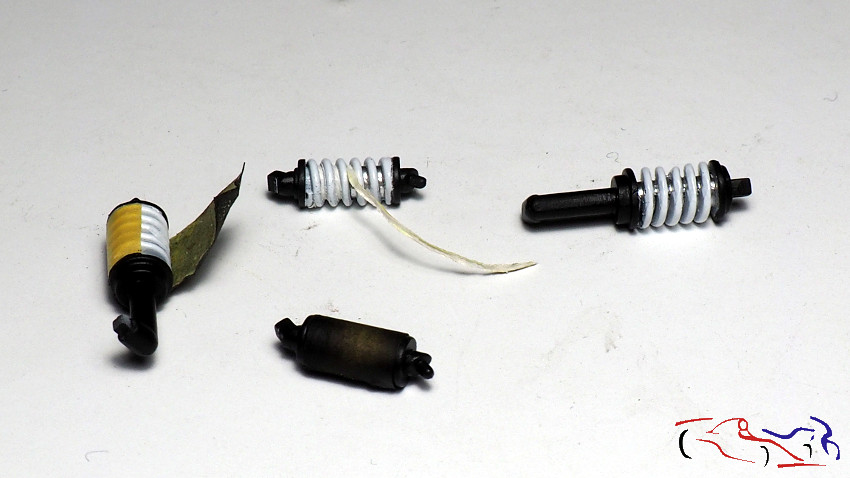
Pasamos a los amortiguadores, y su proceso de pintura. Primero lo di, después de la imprimación, una capa de AK Chrome, para pintar el vástago interior de los muelles. Después metí cinta de enmascarar entre los muelles, para pintar de blanco todo el conjunto. Una vez seco, enmascaré todo el muelle, para pintar de negro semimate. En la siguente foto, podeis ver de izquierda a derecha, el amortiguador con la cinta levantada que permitia pintar de negro, la pieza con la cinta entre las vueltas del muelle, otar pieza después de ser pintada de negro, y finalmente, el amortiguador terminado. Si se hace tranquilamente, no hay porque ponerle un muelle verdadero para que parezca real!
We moved on to the shock absorbers, and their painting process. First I gave them, after priming, a coat of AK Chrome, to paint the inner rod of the springs. Then I put masking tape between the springs, to paint the whole thing in white. Once dry, I masked the whole spring, to paint it in semi-matt black. In the following picture, you can see from left to right, the shock absorber with the tape lifted that allowed to paint black, the piece with the tape between the turns of the spring, another piece after being painted black, and finally, the finished shock absorber. If it is done quietly, there is no need to put a real spring on it to make it look real!
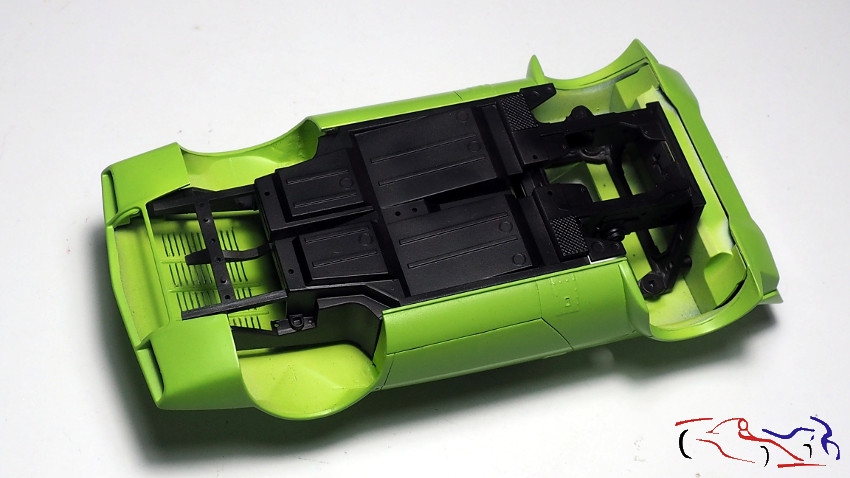
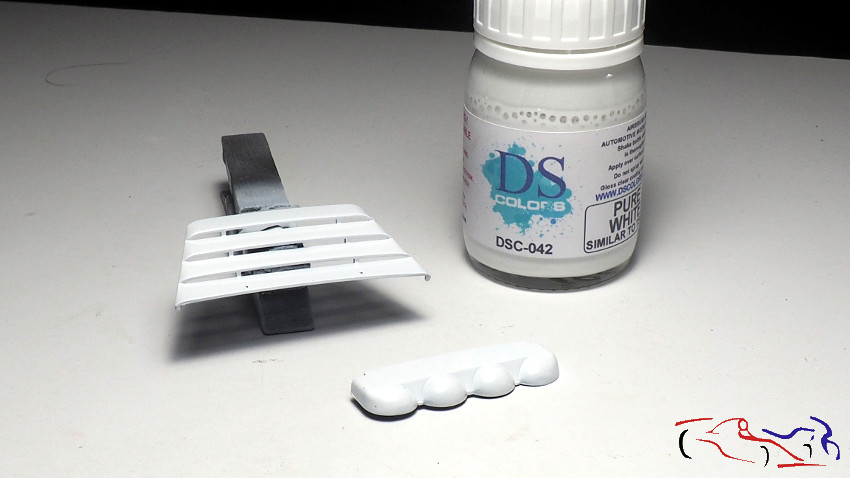
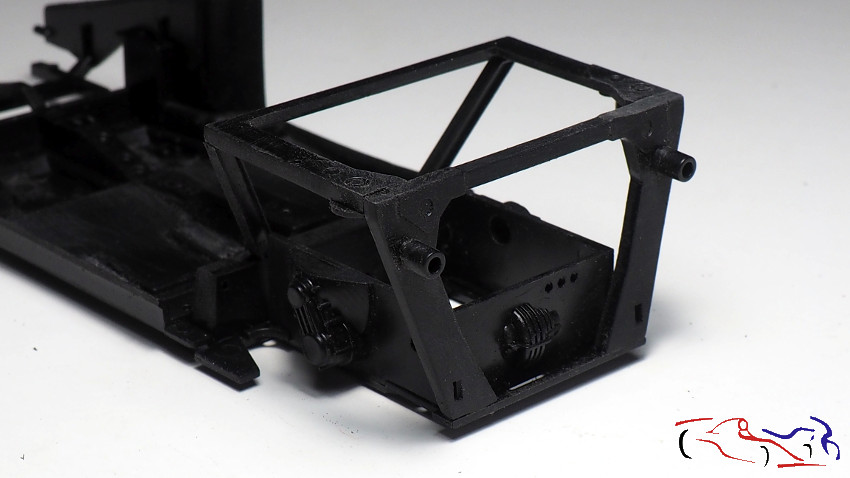
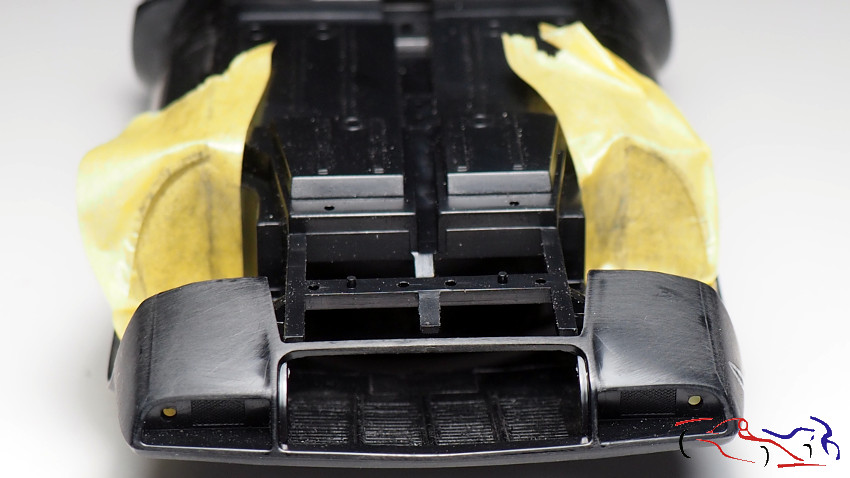
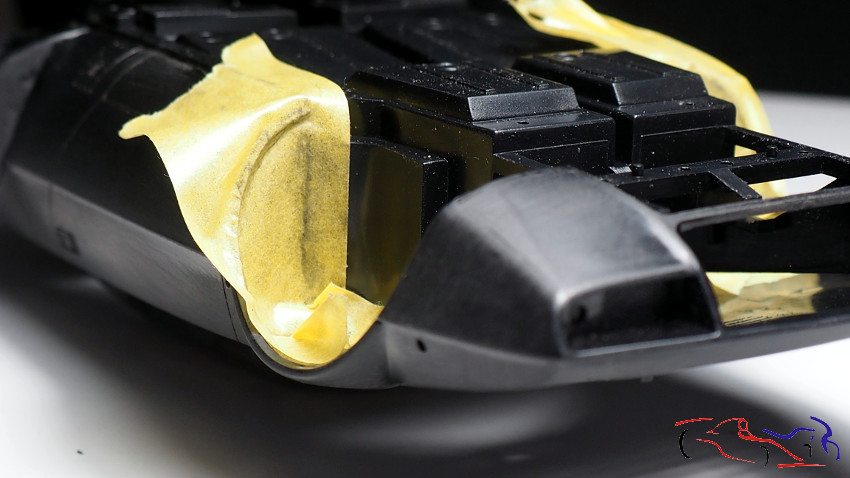
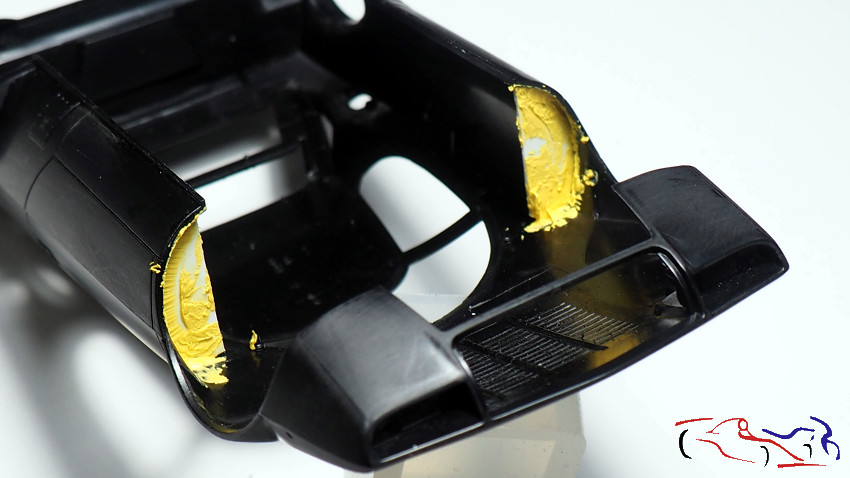
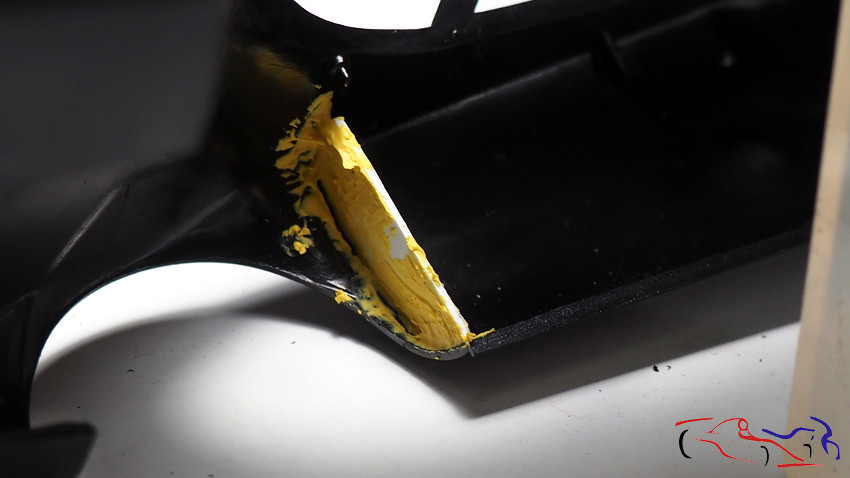
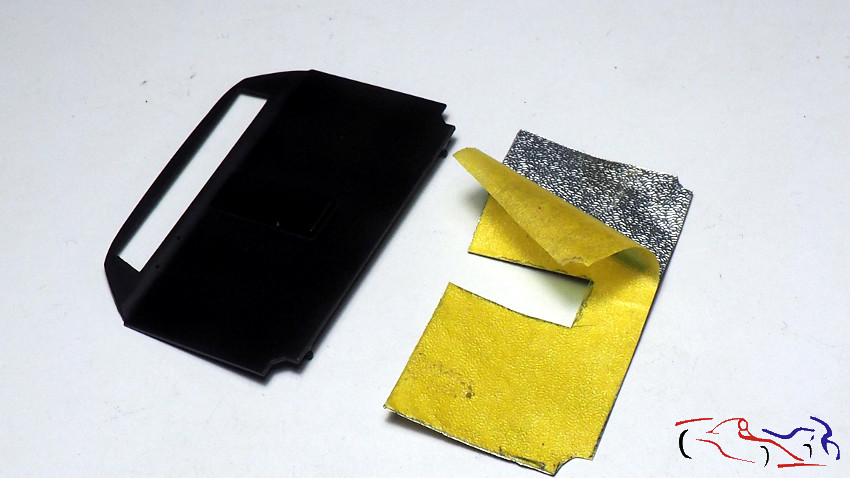
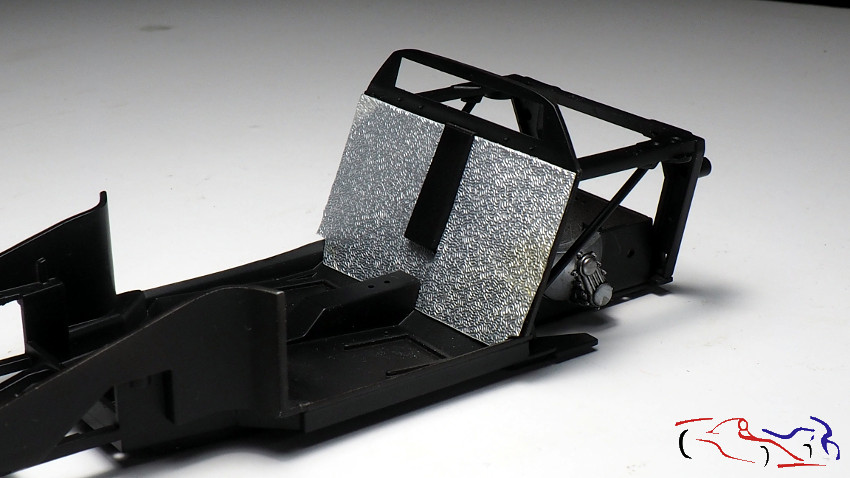
Otro añadido al kit: la pieza que separa el cockpit del motor, lleva un revestimiento por la parte de los pilotos, y yo se la hago con papel metálico que vienen en algunos productos lácteos. Hago una plantilla con cinta de enmascarar, la traspaso al material, la corto y la pego. Ahora viéndola, voy a pintarlas de negro satinado, que es así como va en realidad:
Another addition to the kit: the piece that separates the cockpit from the engine has a covering on the pilots’ side, and I make it with metallic paper that comes in some dairy products. I make a template with masking tape, transfer it to the material, cut it and glue it. Now looking at it, I’m going to paint it satin black, which is how it really goes:
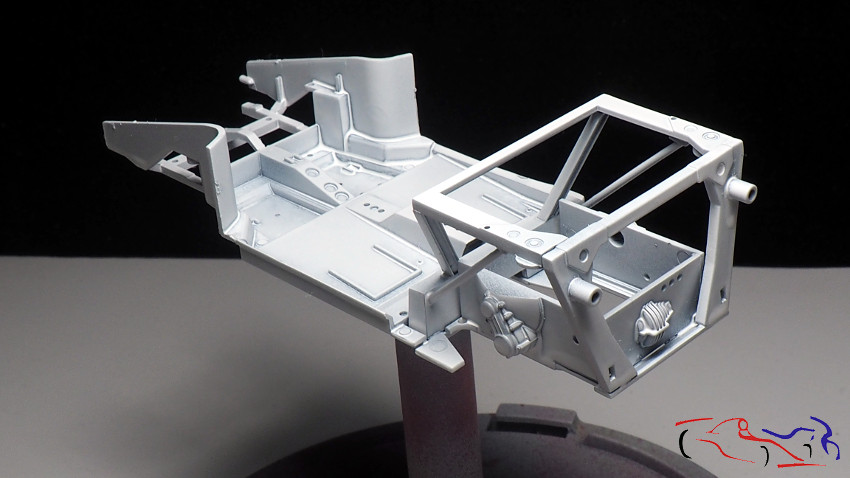
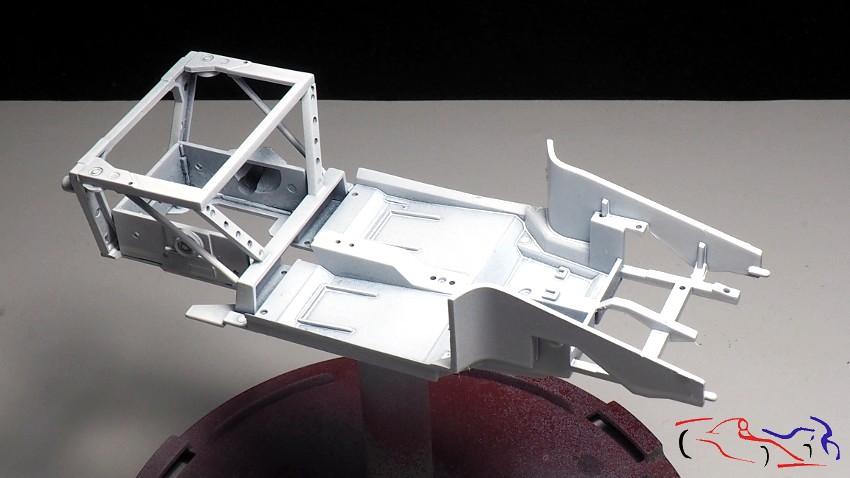
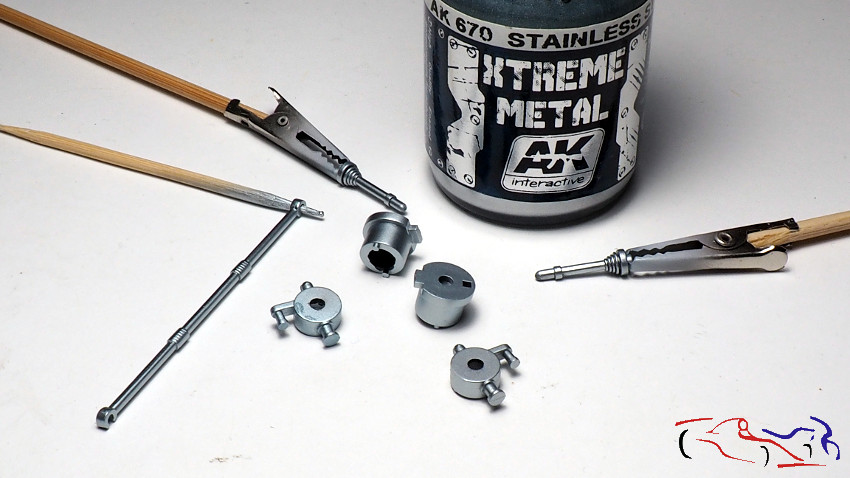
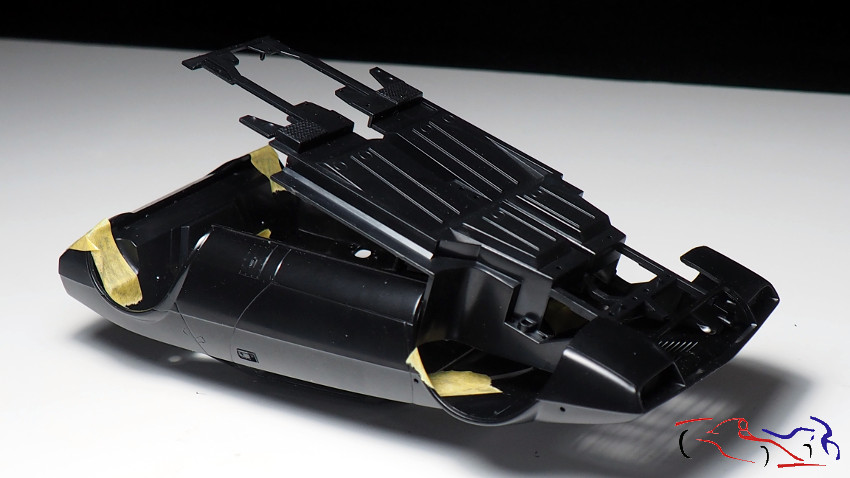
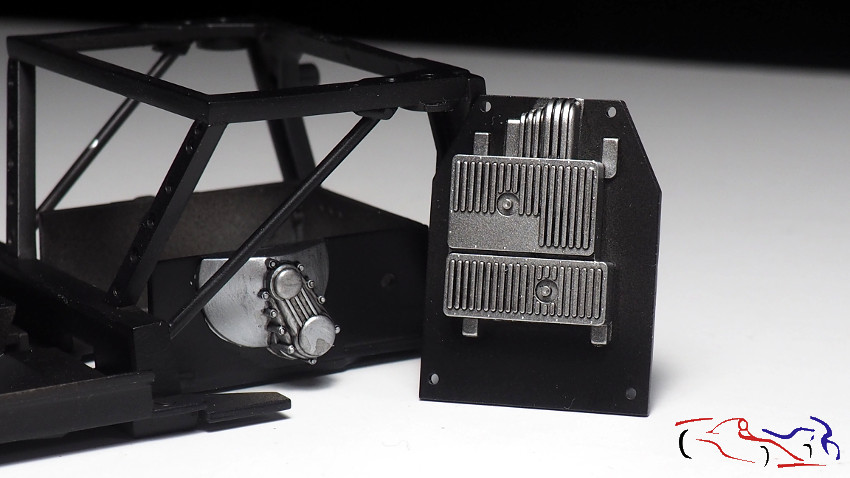
Otra pieza que se pinta de negro mate con los tonos metálicos en Stainless Steel de AK. Posteriormente, le he aplicado el Black Panel Liner de Tamiya, tanto a la pieza como a lo pintado del chasis, para resaltar volumenes y dar profundidad:
Another piece painted in matte black with the metallic tones in AK Stainless Steel. Later, I applied Tamiya’s Black Panel Liner, both to the piece and to the painted chassis, to highlight volumes and give depth:
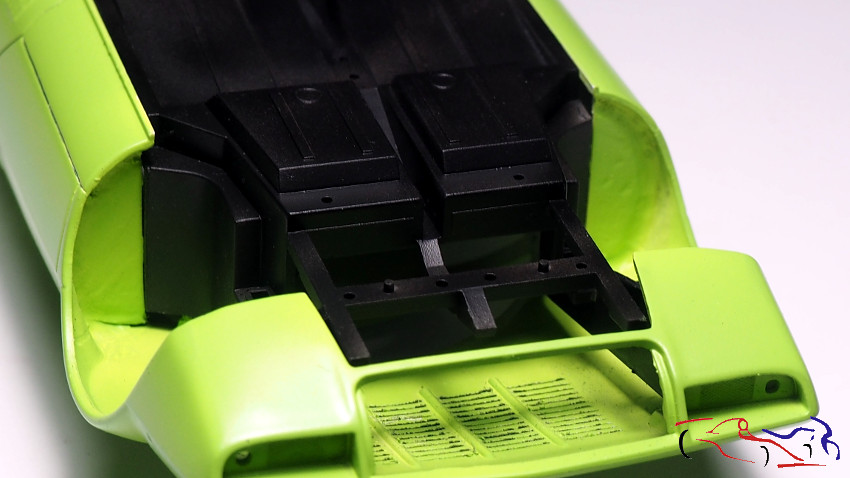
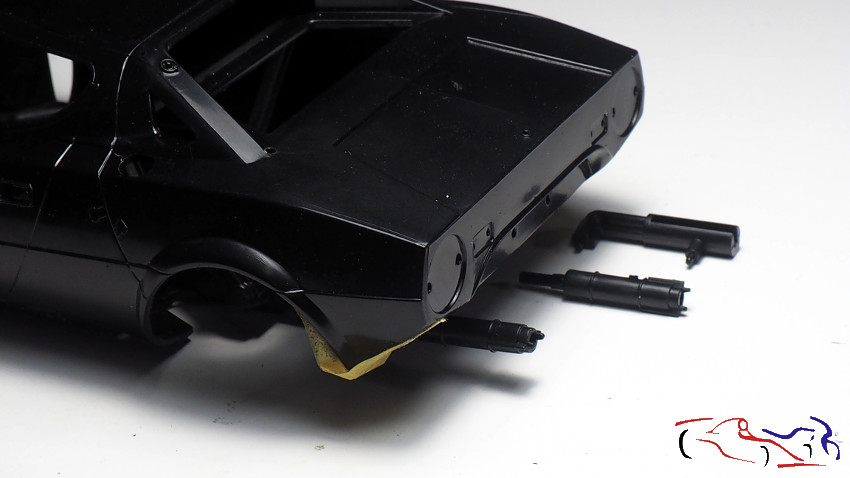
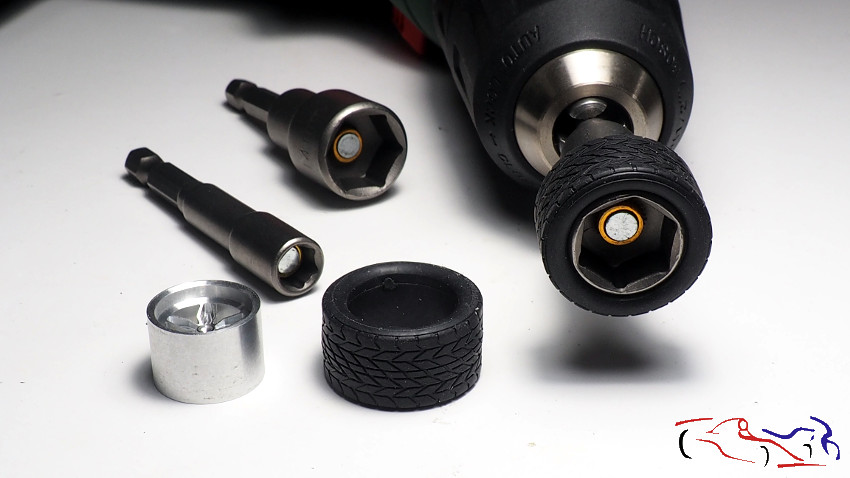
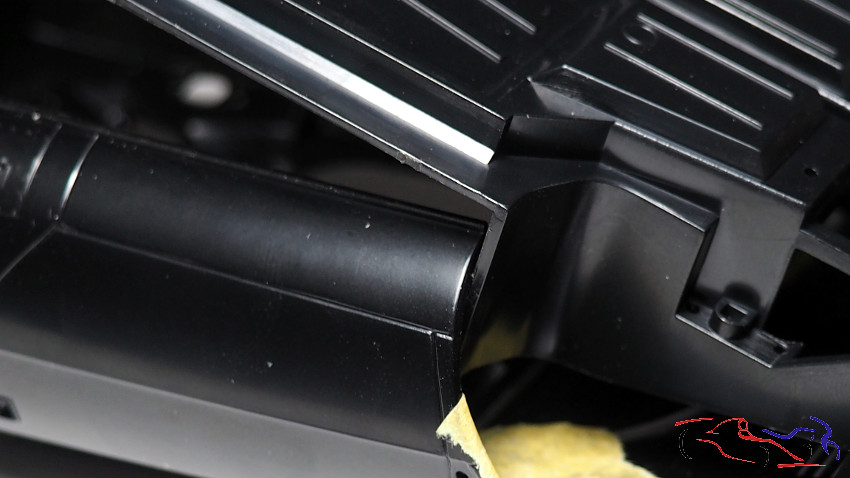
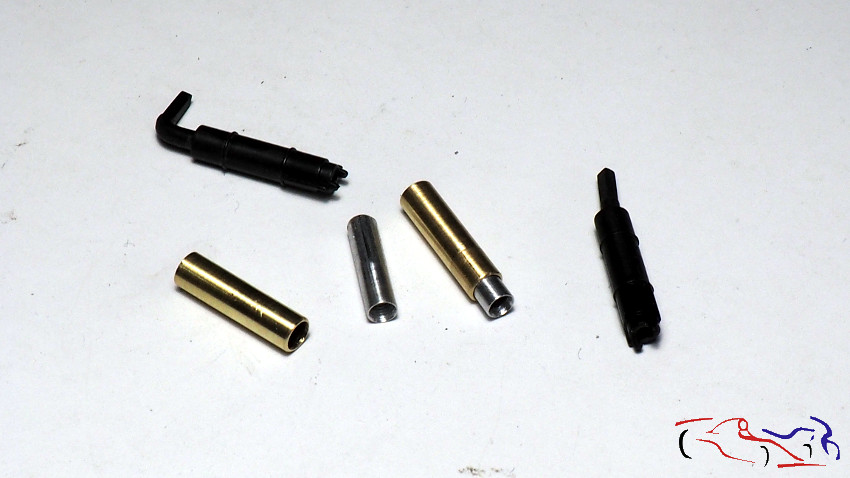
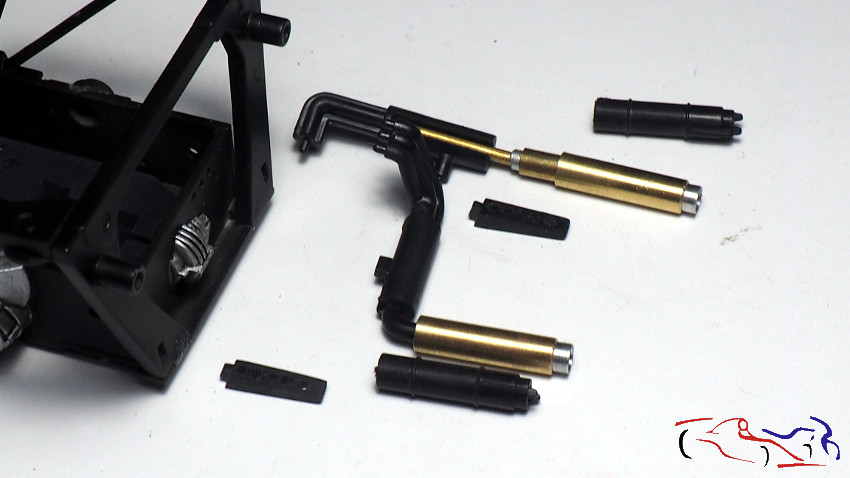
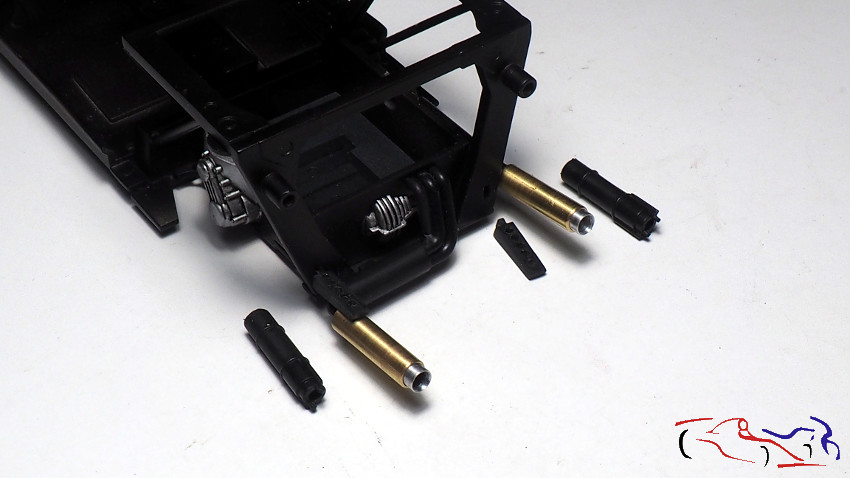
Respecto a los tubos de escape, piezas negras, los sustituyo por tubos de latón y aluminio que previamente he pasado por el torno particular (un taladro de brocas), para afinar el grosor del aluminio, y redondear un poco, el borde del latón. En las dos fotos siguientes, os muestro como se adaptan los tubos a las piezas del kit, y como quedan en el chasis:
Regarding the exhaust pipes, the black parts in the pictures, I replace them with brass and aluminium pipes that I have previously passed through the particular lathe (a drill), to refine the thickness of the aluminium, and round a little, the edge of the brass. In the following two photos, I show you how the tubes are adapted to the kit parts, and how they fit in the chassis:
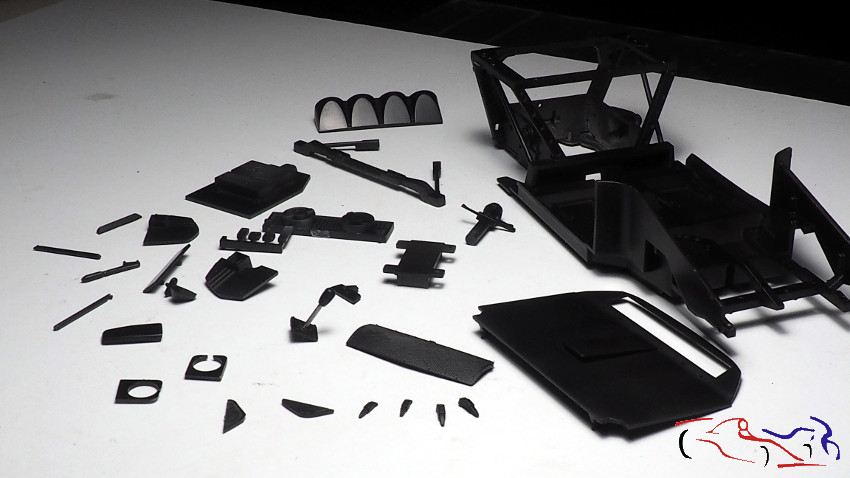
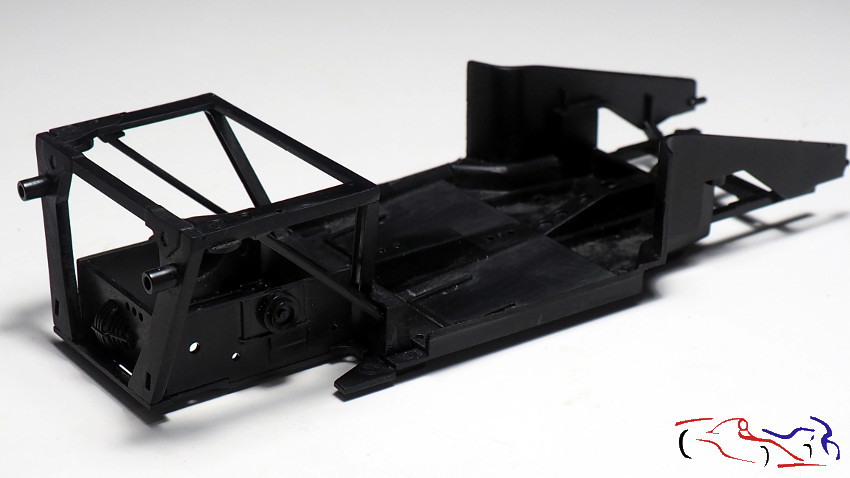
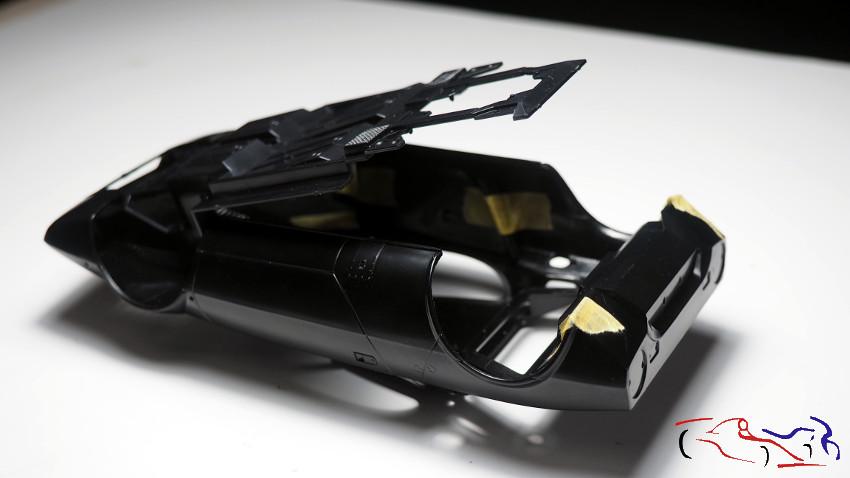
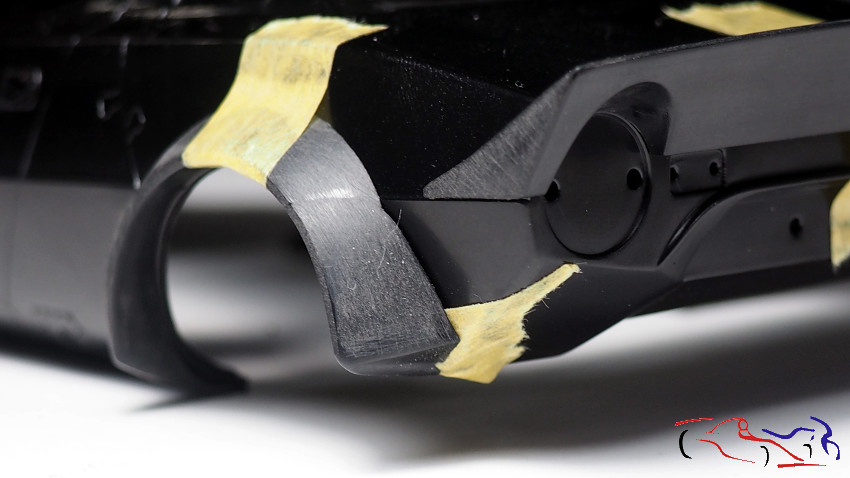
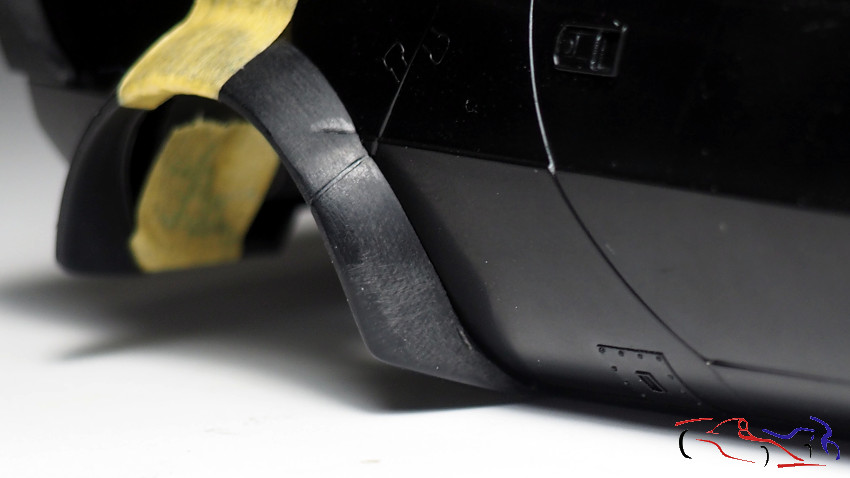
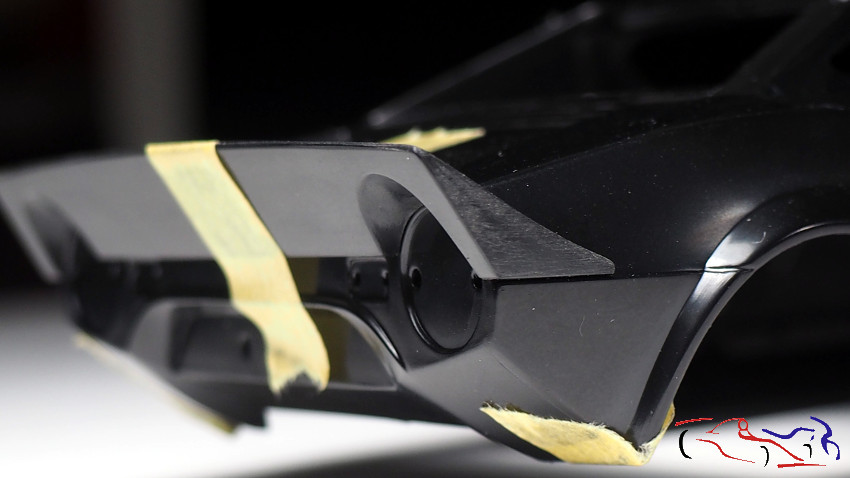
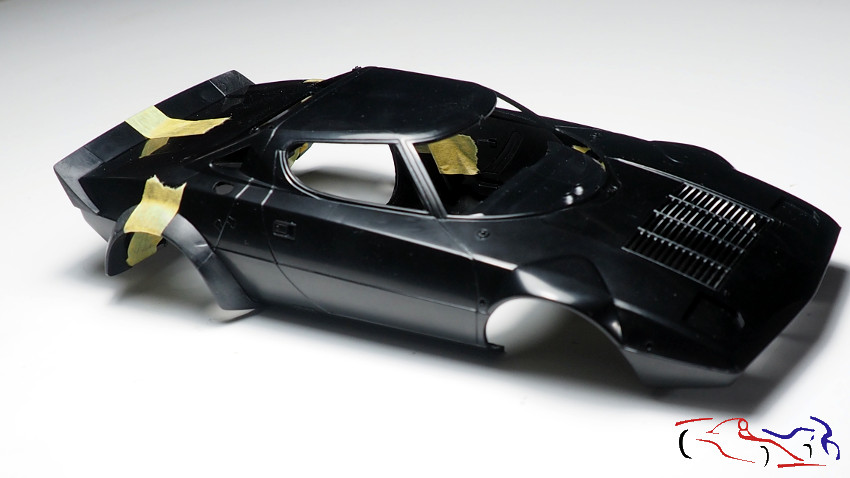
Y para terminar, piezas pintadas de negro, que son difíciles de mostrar:
And finally, pieces painted black, which are difficult to show:

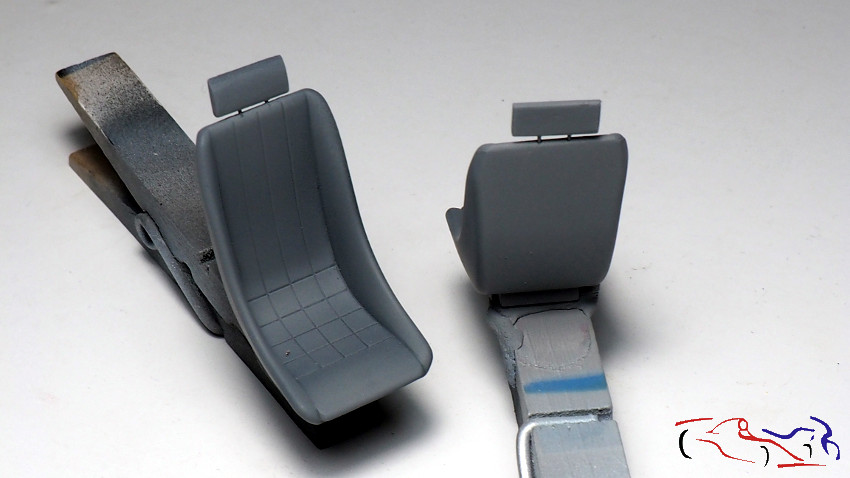
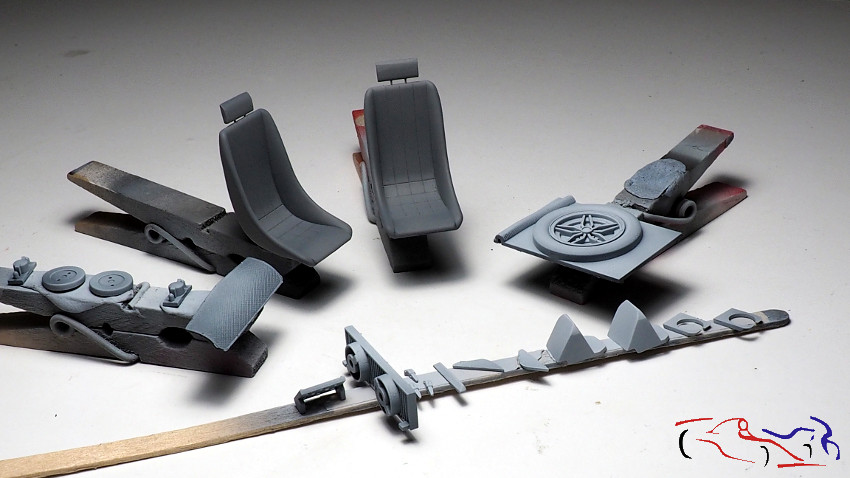
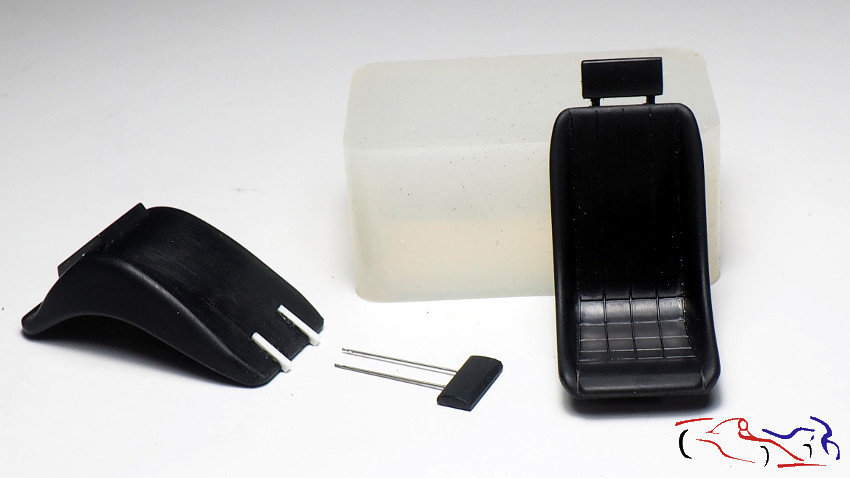
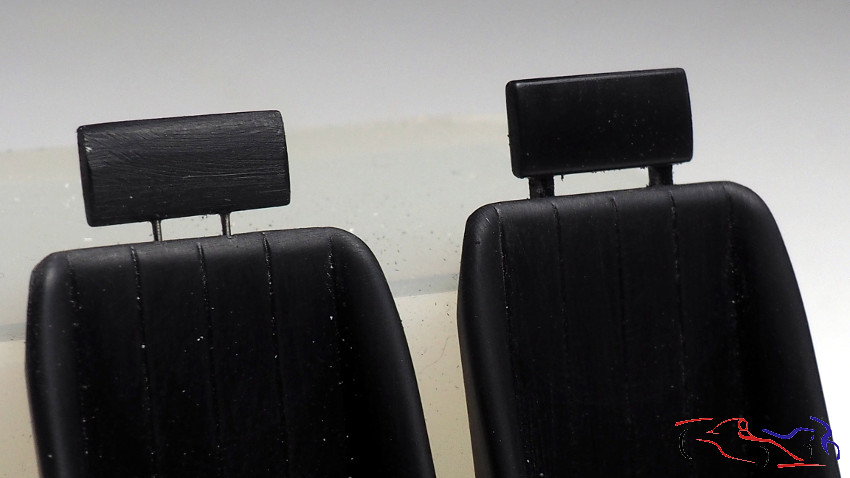
Destacamos los asientos y los guarnecidos de las puertas, que fueron pintados con Gravity Nero Pantera de su gama Focus, donde se notan los tonos más claros y los más oscuros….
Highlights include the seats and door trim, which were painted in Gravity Nero Pantera from their Focus range, where lighter and darker tones are evident…..
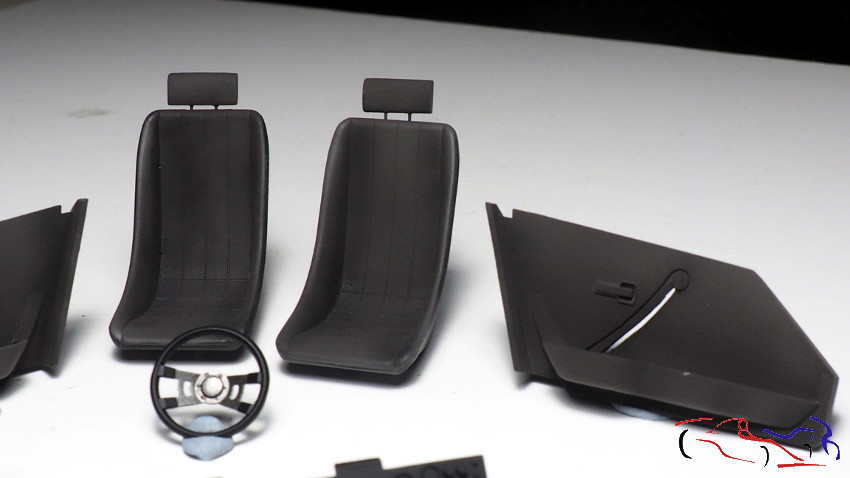
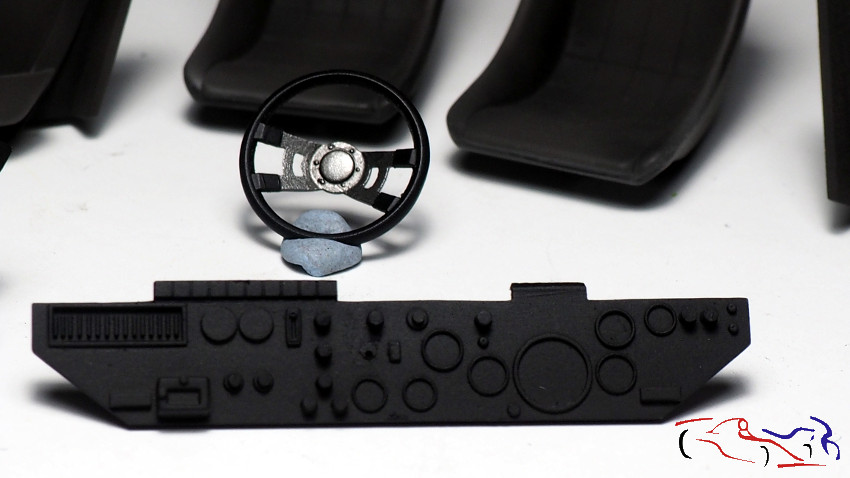
….y el volante que se pintó primero con gris metálico de Zero, se enmáscaró, y depsués le di negro mate al exterior del volante, el mismo que apliqué al salpicadero.
…. and the steering wheel which was first painted with metallic grey from Zero, masked, and then I gave the outside of the steering wheel a matt black, the same as I applied to the dashboard.
Como véis, los detalles que estoy añadiendo al kit no vienen de ningún TK, y solo de materioales o proceso de pintura que podemos tener en casa. Gracias por ver y comentar!!
As you can see, the details I’m adding to the kit don’t come from any TK, and only from materials or painting process that we can have at home. Thanks for watching and commenting!