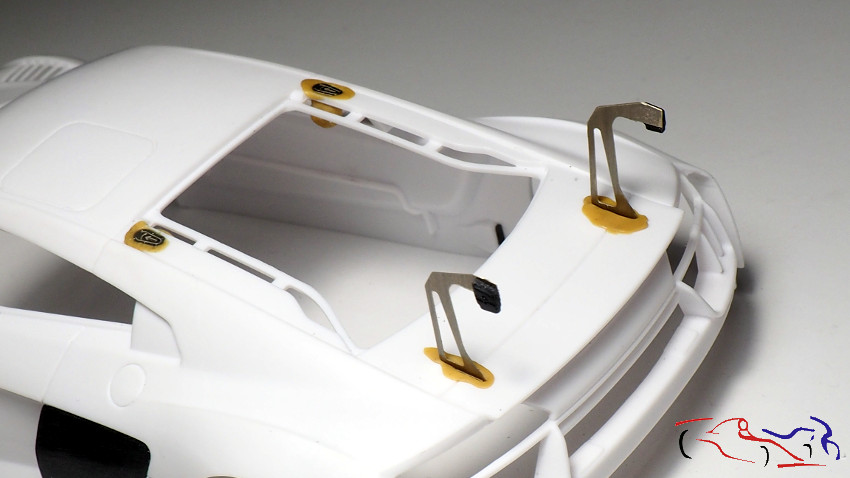
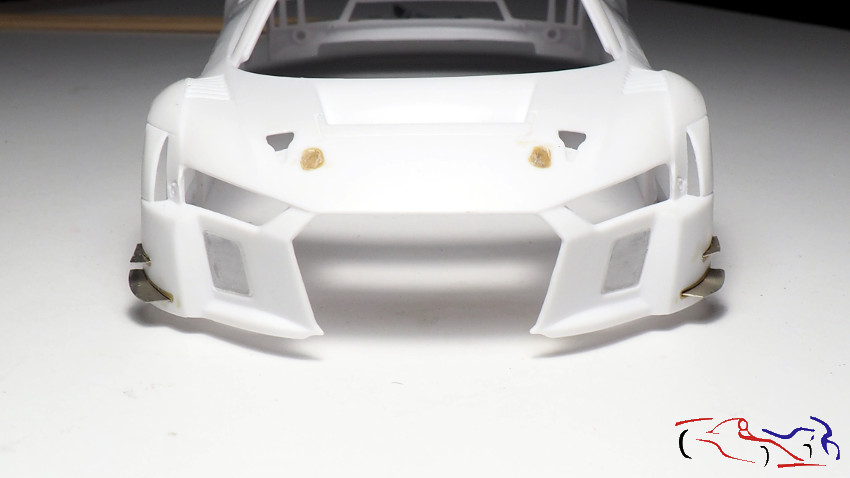
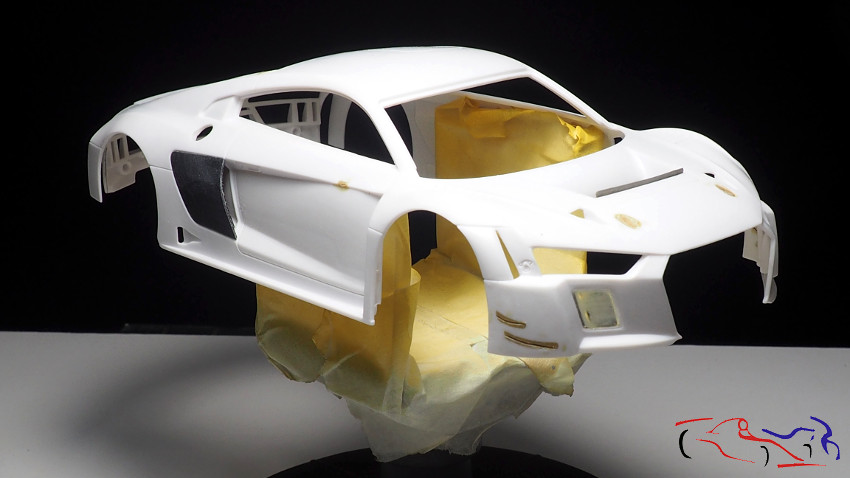
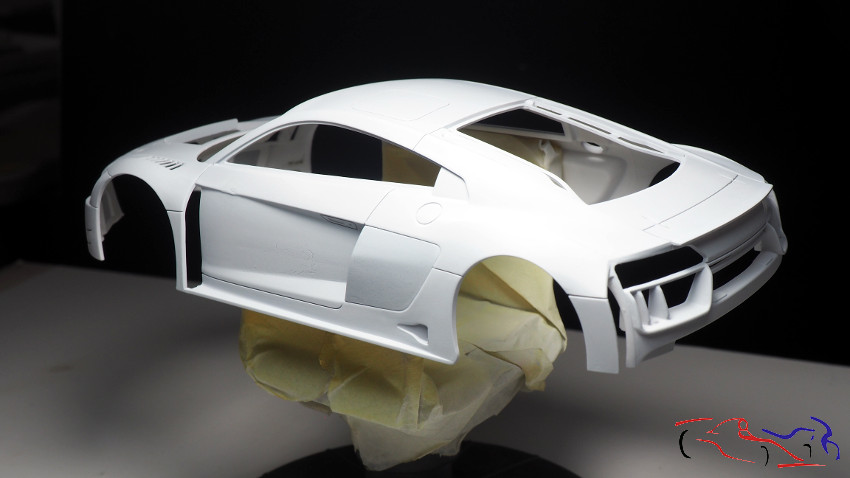
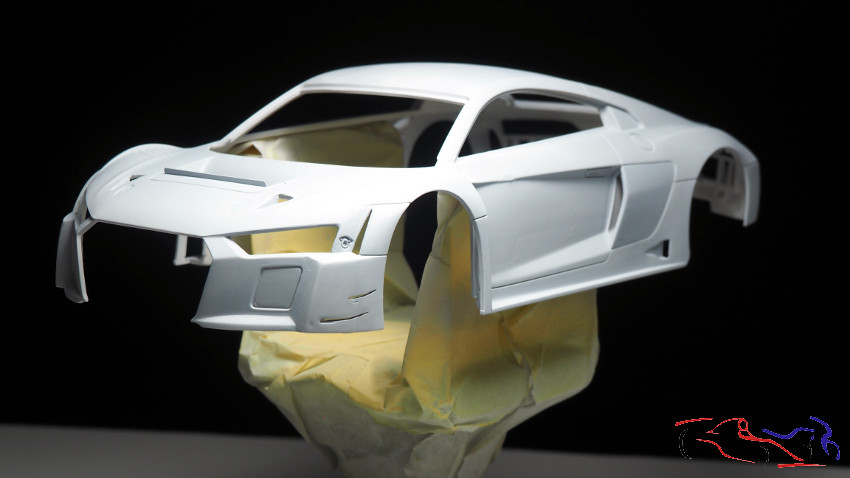
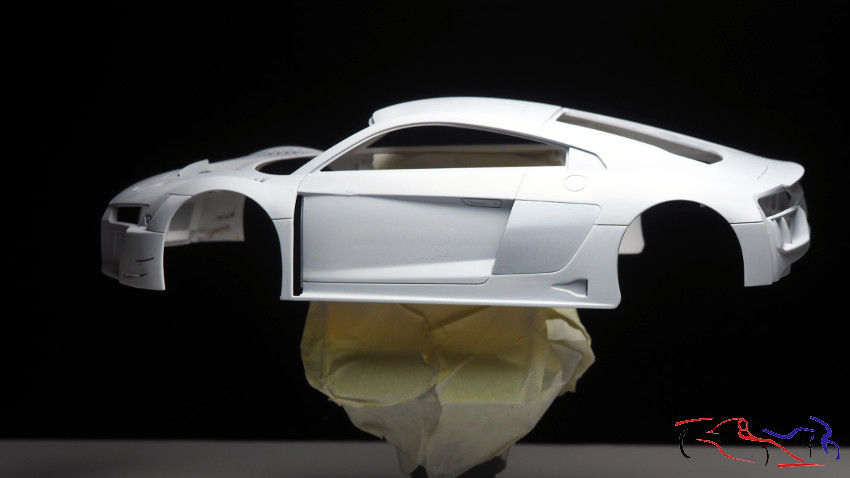
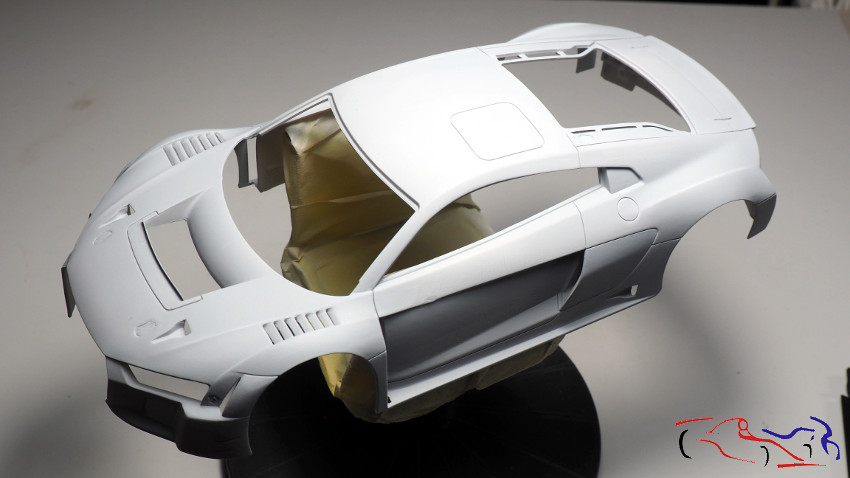
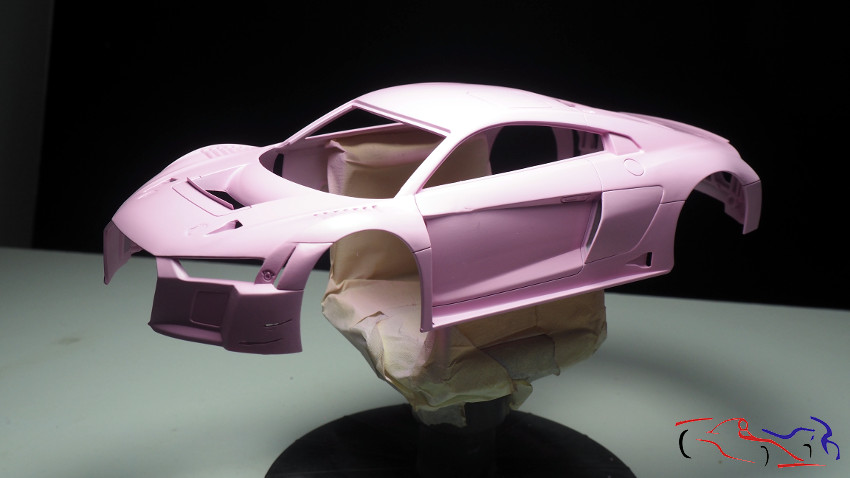
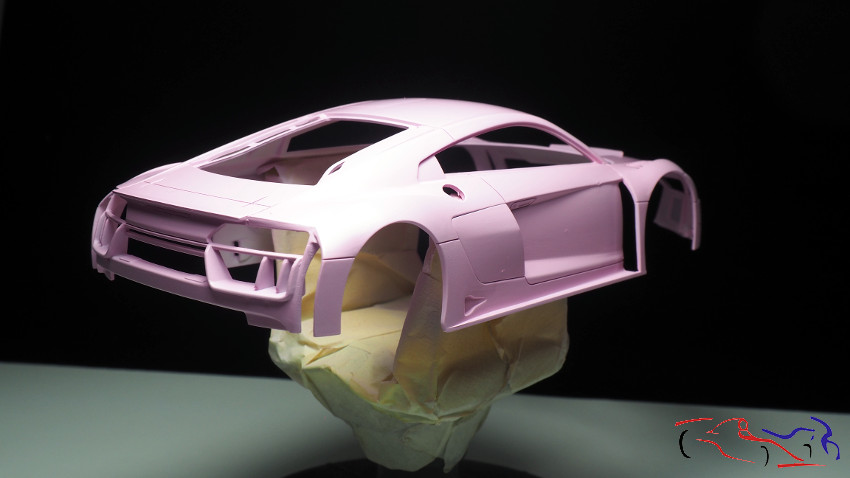
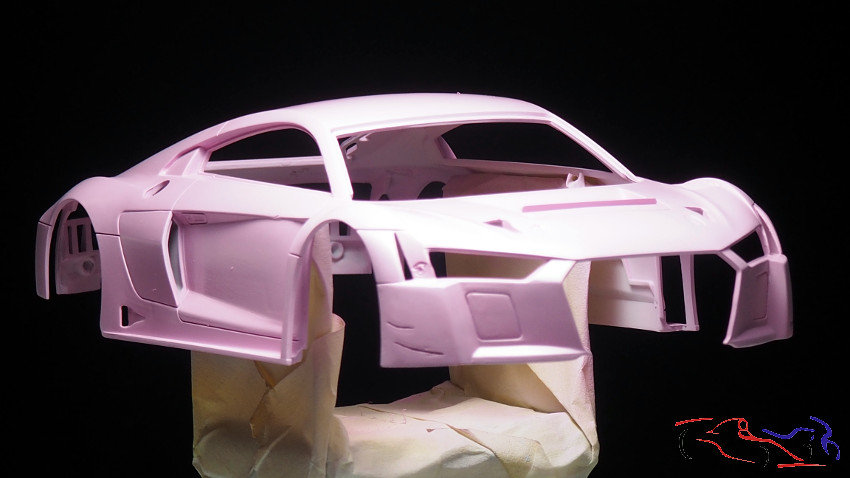
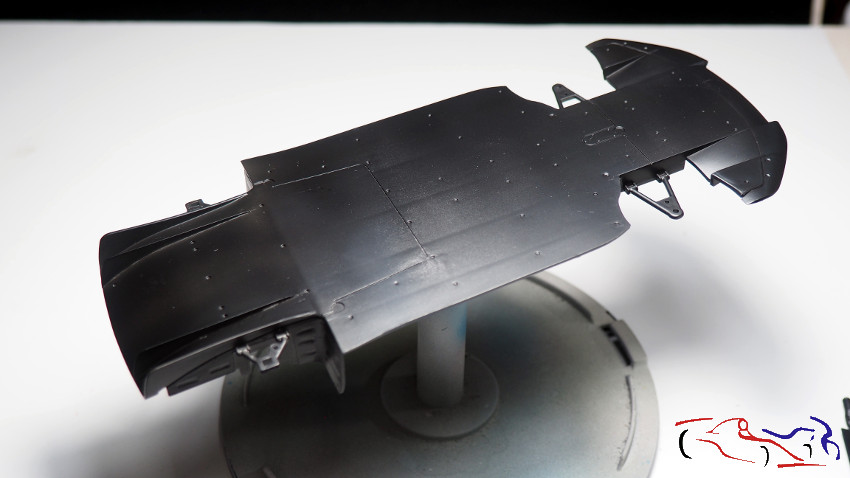
Continuamos con este modelo. He usado la masilla epoxy para rellenar los huecos de la carrocería donde había que poner piezas de plástico y que he sustituido por fotograbados. Y mientras estaba blanda la masilla, he incrustado dichos fotograbados para dejar el hueco necesario para pegarlos cuando esté terminada la carrocería. En la foto de la izquierda, veis los soportes del alerón trasero y las fijaciones del portón, mientras en la derecha, aparecen las fijaciones del capó y de las derivas laterales del faldón. En la tercera foto, ya tenemos lijadas las masillas.
We continue with this model. I used the epoxy putty to fill the holes in the body where I had to put plastic parts and I have replaced by photoetched parts. And while the putty was soft, I have embedded these photoetched parts to leave the necessary hole to glue them when the bodywork is finished. In the photo on the left, you can see the rear wing supports and the tailgate fixings, while on the right, are the fixings of the hood and the side skirt drifts. In the third photo, we have already sanded the putties.
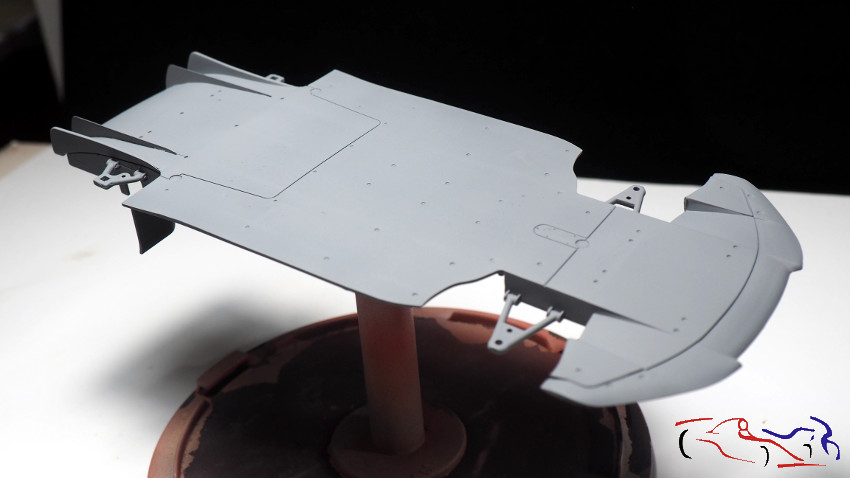
Una vez lijada la masilla epoxy, pasamos a imprimar la carrocería con Gravity Spain:
After sanding the epoxy putty, we primed the bodywork with Gravity Spain:
Una vez seca la imprimación, lijamos la carrocería con una esponja de grano 3000, y pasamos a pintarla, también con Gravity Spain:
Once the primer is dry, sand the bodywork with a 3000 grain sponge, and paint it, also with Gravity Spain:


Al mismo tiempo, imprimo y pinto con negro semimate de Zero el chasis:
At the same time, I prime and paint the chassis with Zero semi-matte black:
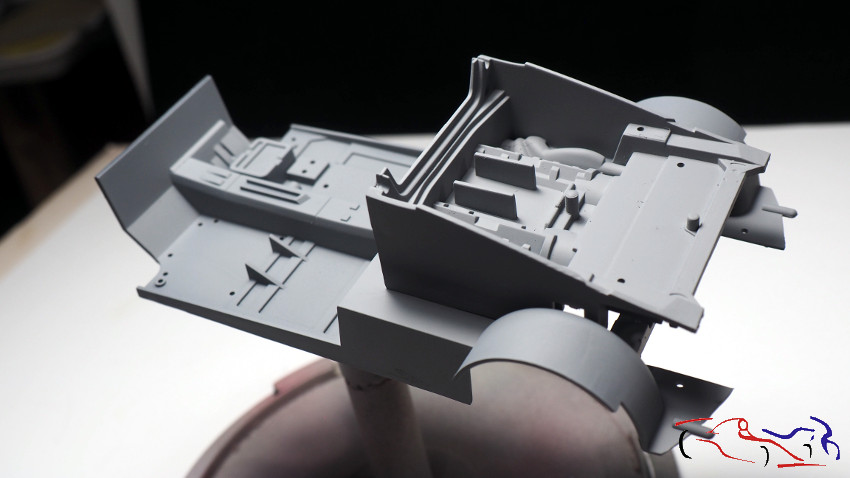
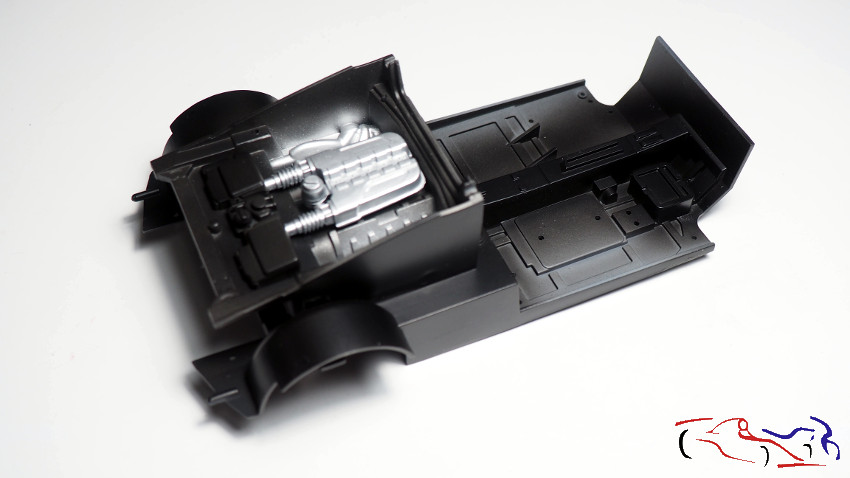
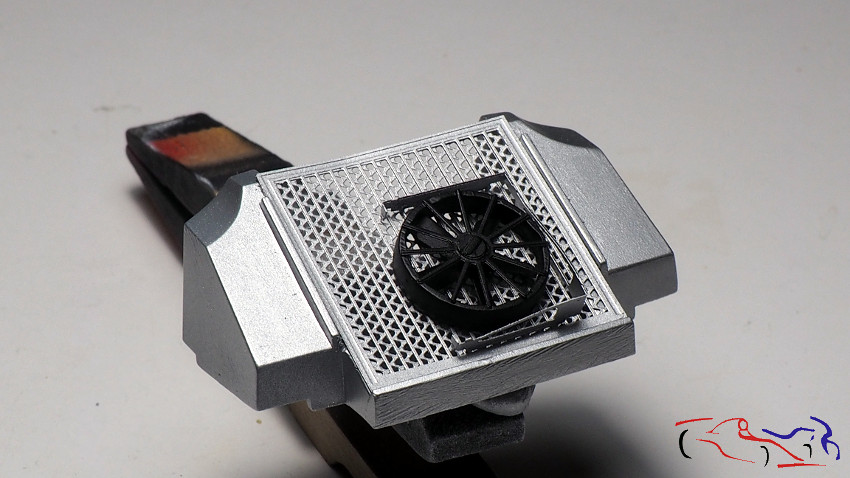
Y como suelo agrupar todos los procesos de pintura, también le toca el turno a la cuna del cockpit y del motor. Aquí los vemos imprimados y pintados con el mismo negro semimate de Zero. Decir que en la foto de la derecha, vemos también partes del motor pintados ce Aluminio de Zero:
And as I usually group all painting processes, it is also the turn of the cockpit and engine cradle. Here we see them primed and painted with the same semi-matte black from Zero. Say that in the photo on the right, we also see parts of the motor painted with Zero’s Aluminum:
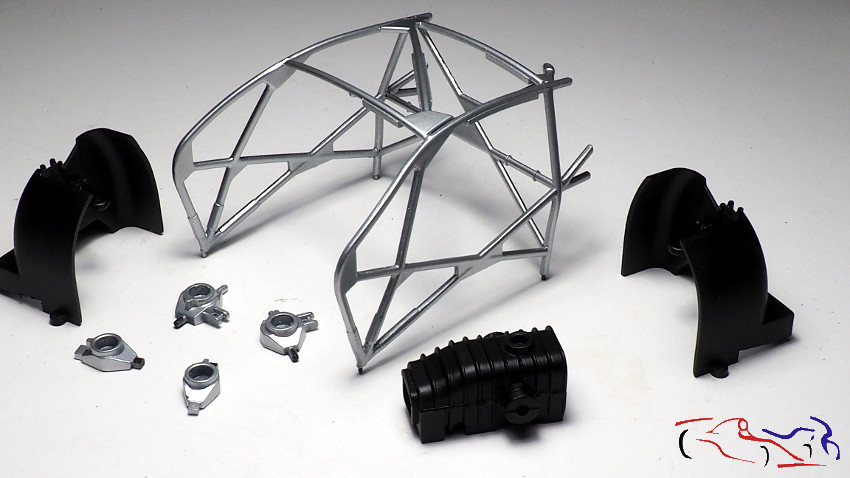
Más procesos de pintura: el arco y las fijaciones de los discos de freno pintados de Aluminio de Zero, y las piezas negras con el semimate, también de Zero.
More painting processes: the arch and the brake disc mountings painted in Zero Aluminum, and the black parts with the semi-matt, also from Zero.
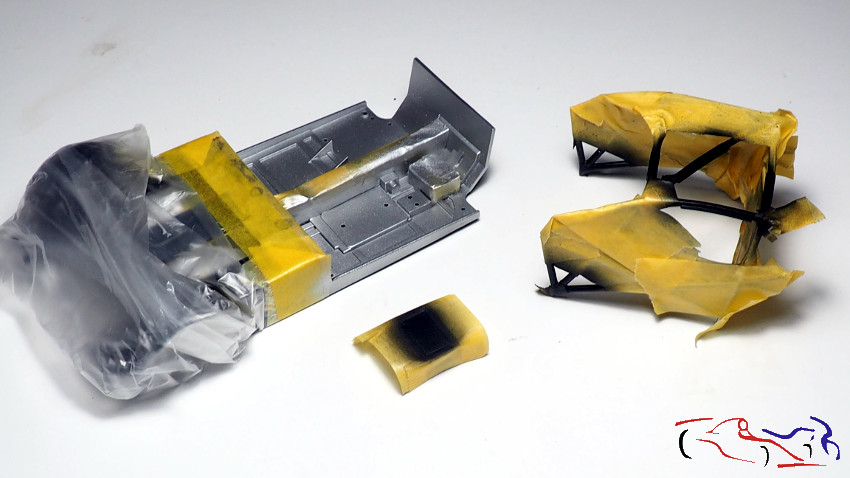
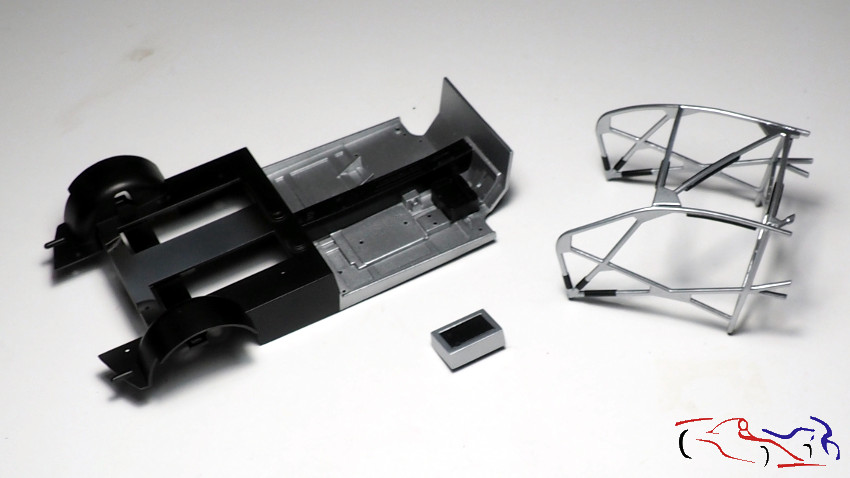
Y para pintar detalles, tenemos que enmascarar. Aquí está la cuna enmascarada y pintada de Aluminio, la jaula pintada de negro semimate para las almohadillas, y otra pieza del cockpit, pintada tambièn de negro. Y a la derecha, sin las máscaras:
And to paint details, we have to mask. Here’s the masked and painted Aluminium cradle, the cage painted semi-matt black for the pads, and another piece of the cockpit, also painted black. And on the right, without the masks:
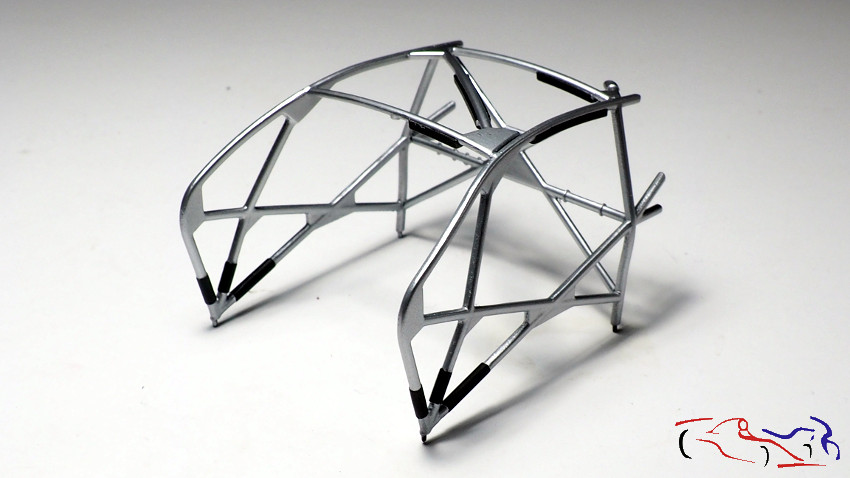
En las siguientes fotos, vemos la cuna y la jaula en más detalle:
In the following pictures, we see the cradle and the cage in more detail:

La siguiente foto es del radiador ya pintado sin pegar (y sin dar lavados):
The next picture is of the radiator already painted without glue (and without any washes):
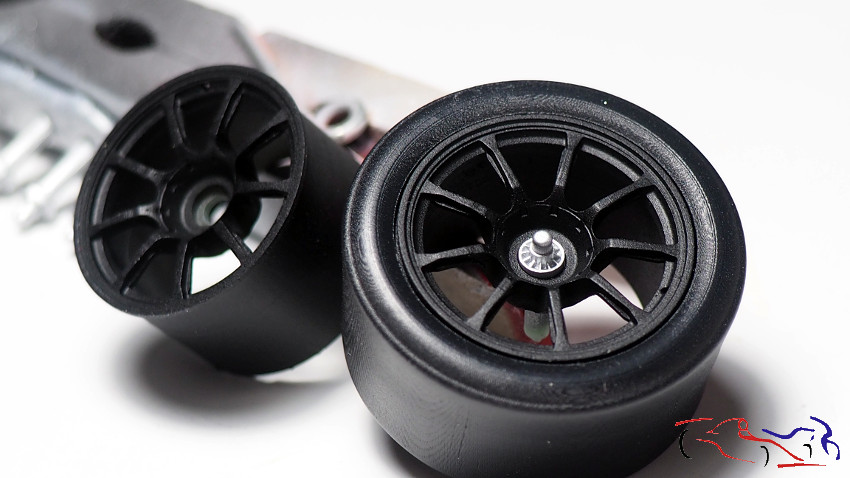
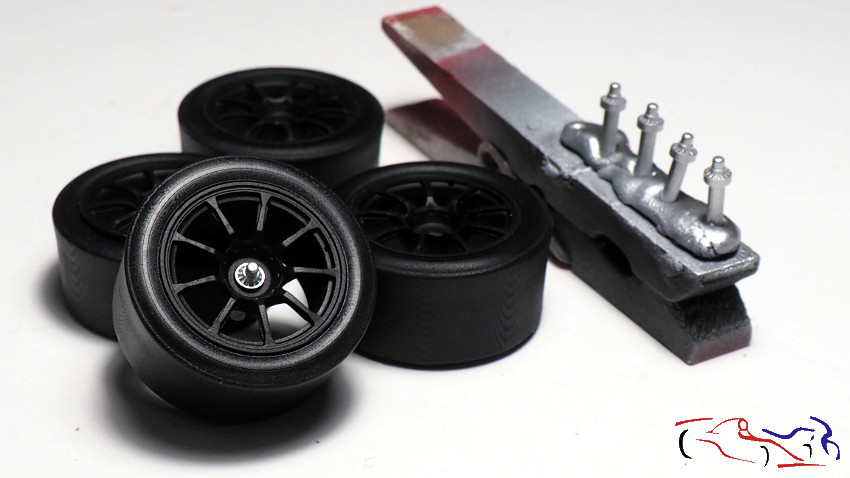
En cuanto a las ruedas, una vez imprimadas, he pintado las llantas con negro semimate y los neumáticos con el negro goma, ambos de Zero. Y las tuercas con el Aluminio, que posteriormente he dado un lavado con el panel liner de Tamiya:
As for the wheels, once primed, I painted the rims with semi-matt black and the tyres with rubber black, both from Zero. And the nuts with Aluminium, which I then washed with Tamiya panel liner:

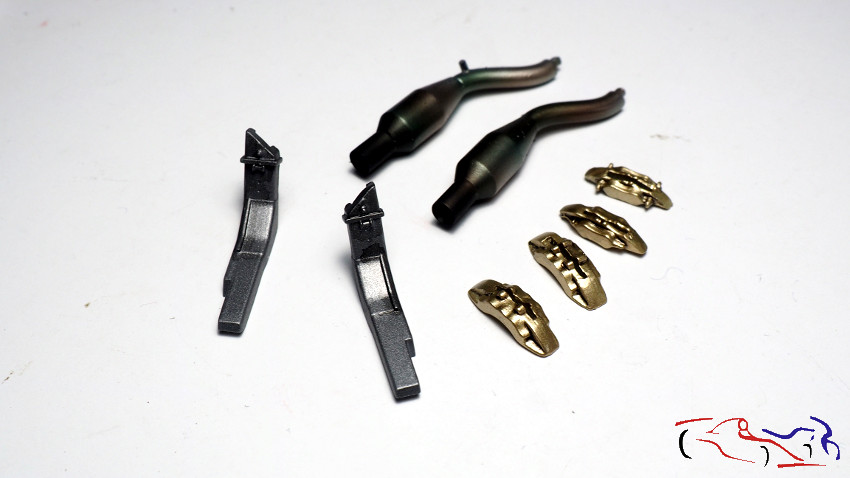
Y para terminar, os dejo una foto con los escapes quemados con pinturas Alclad, las pinzas de freno doradas, y unos soportes traseros ìntados con Steel, de Zero:
And to finish, I leave you a picture with the exhausts burnt with Alclad paints, the golden brake calipers, and some rear brackets painted with Steel, from Zero:
Gracias por ver y comentar!!
Thanks for watching and commenting!


