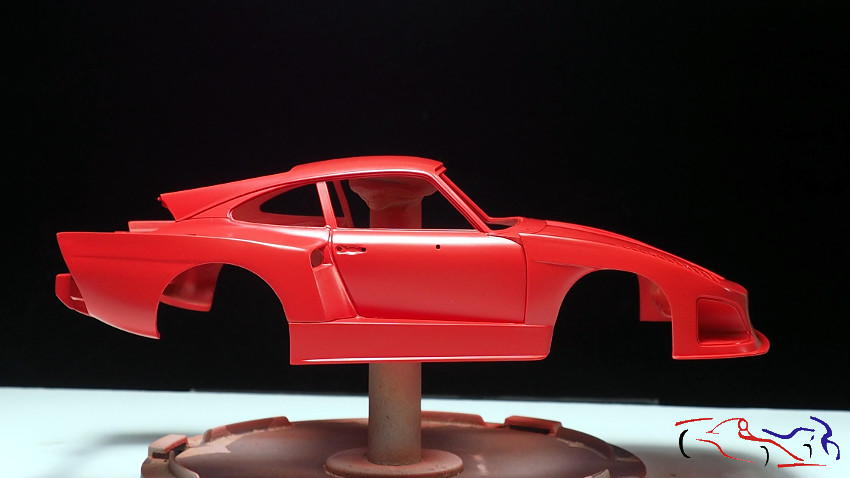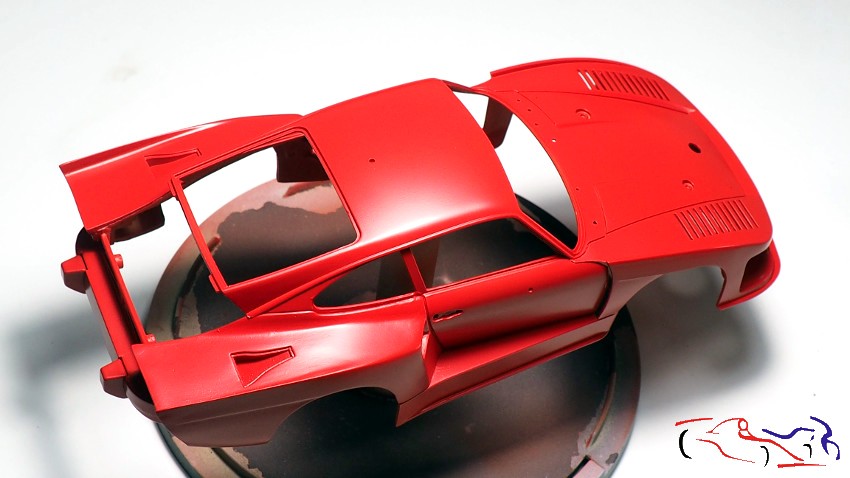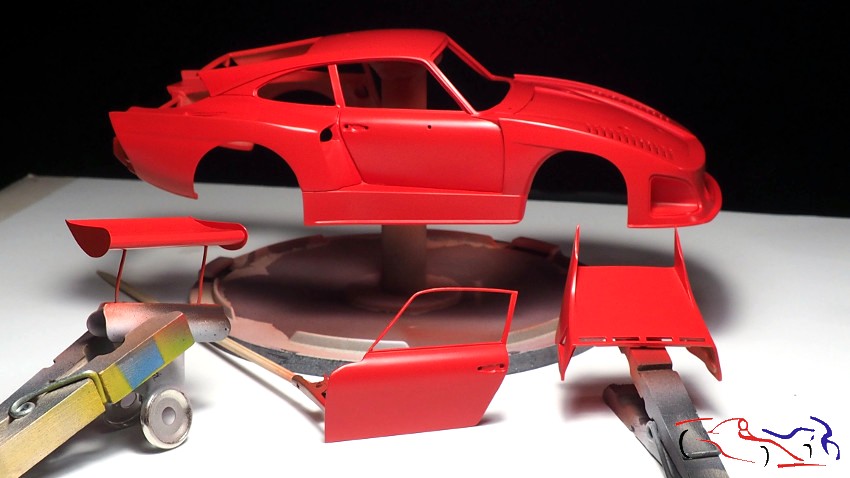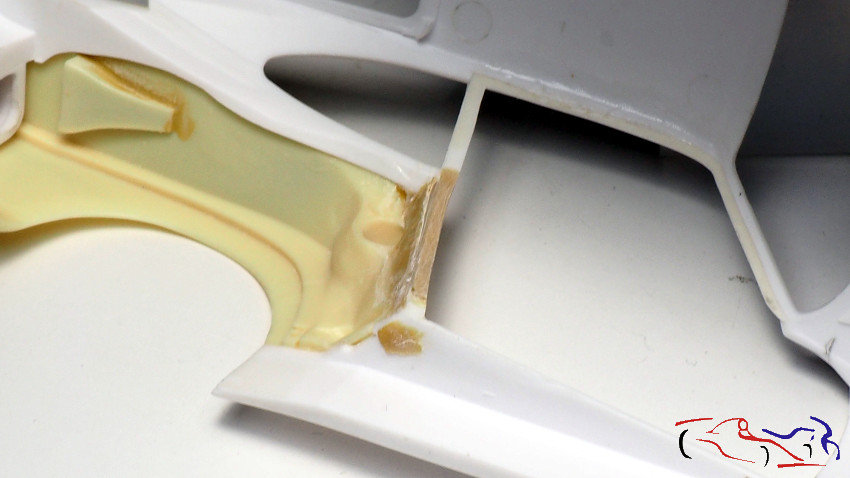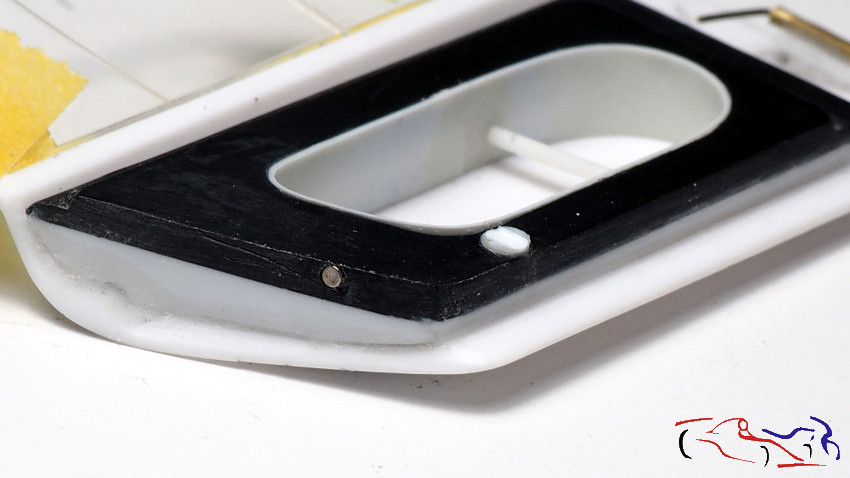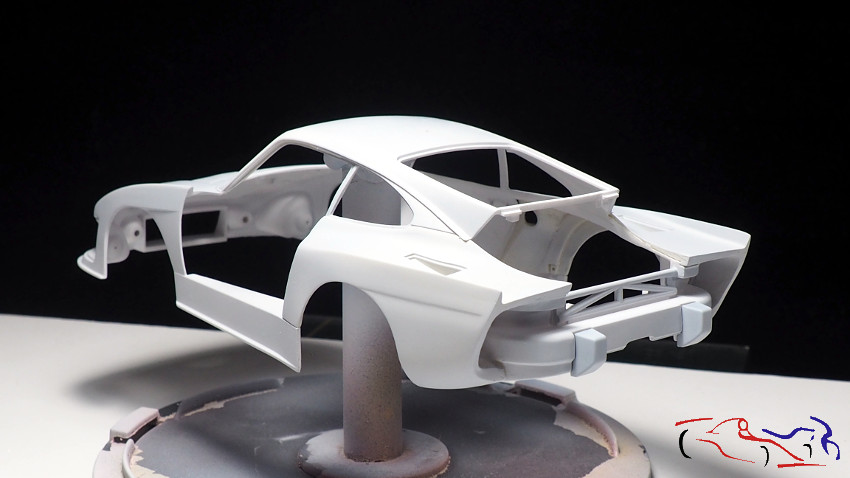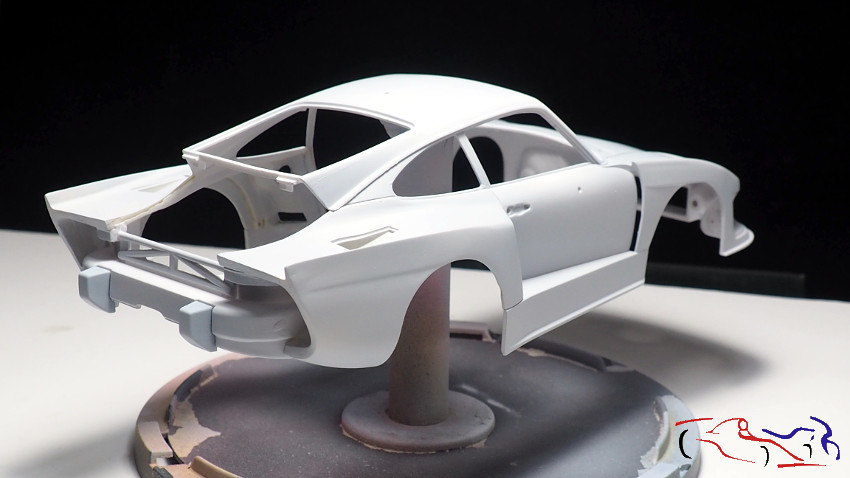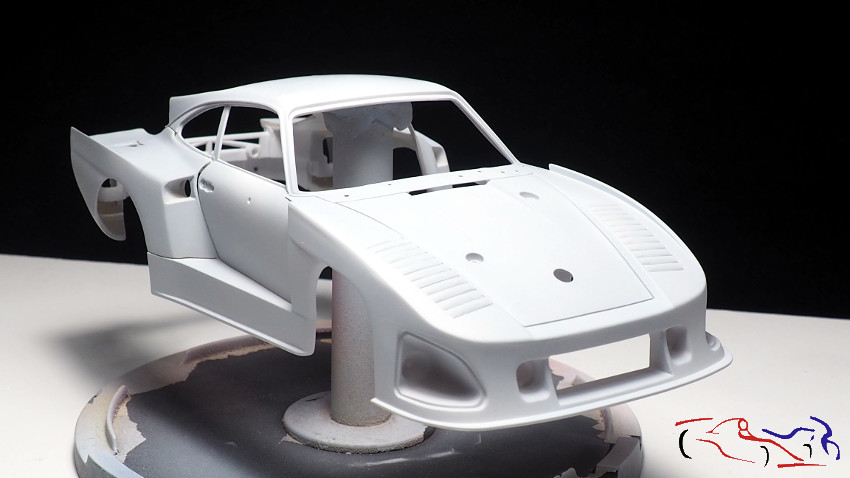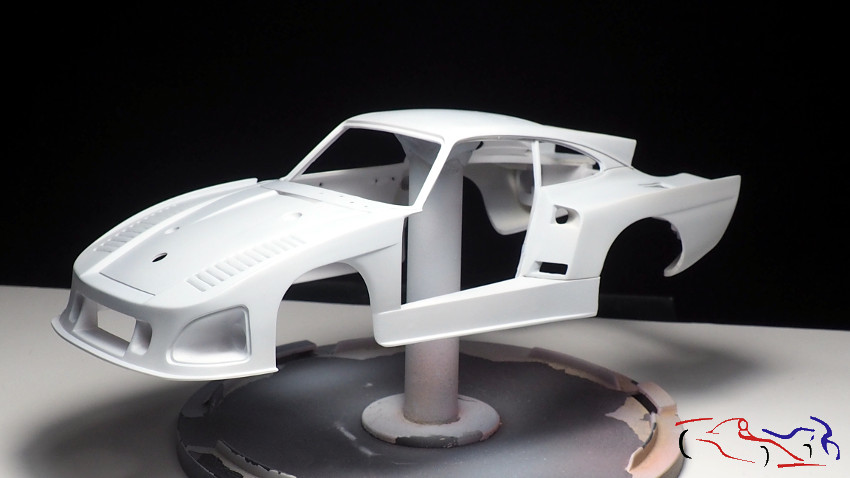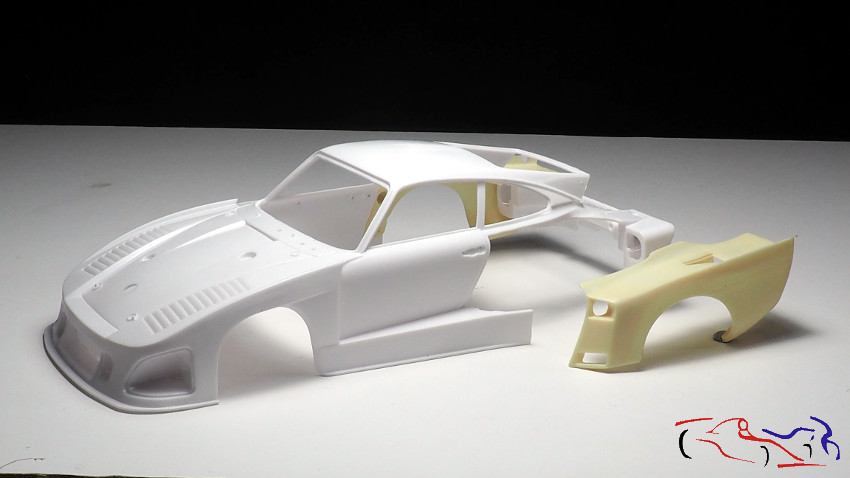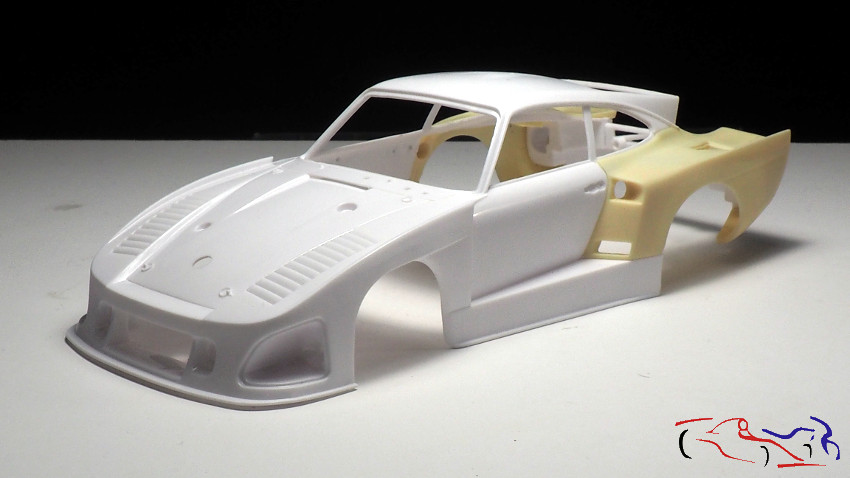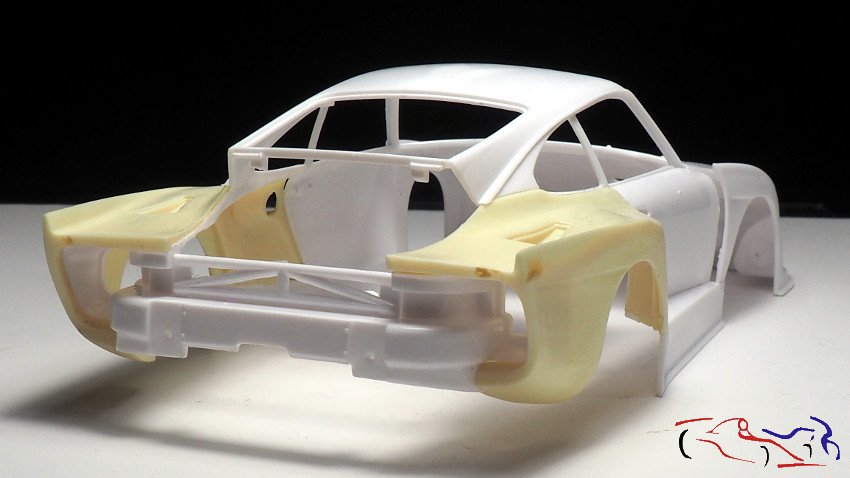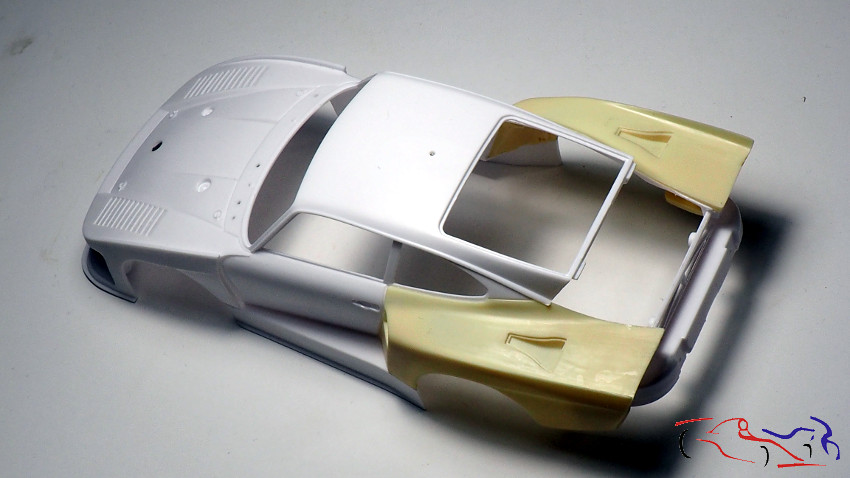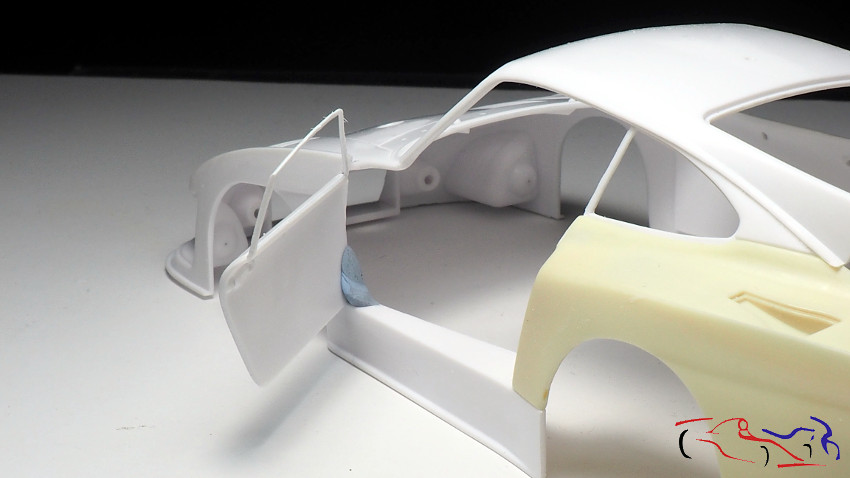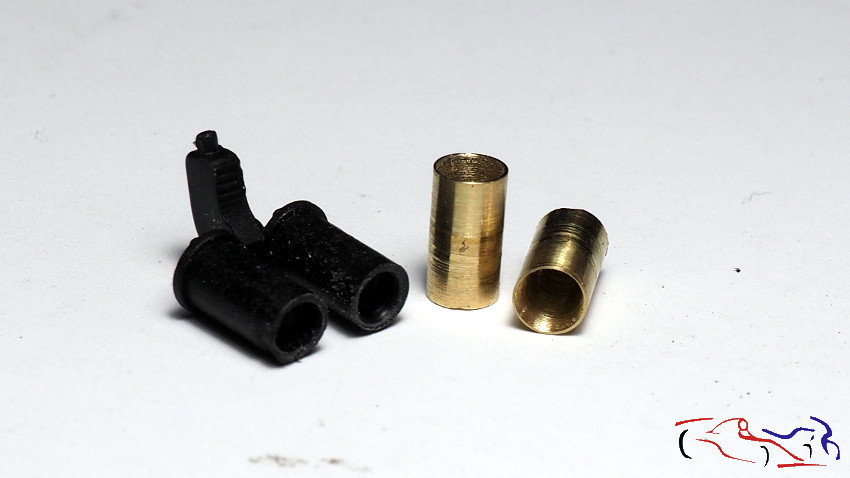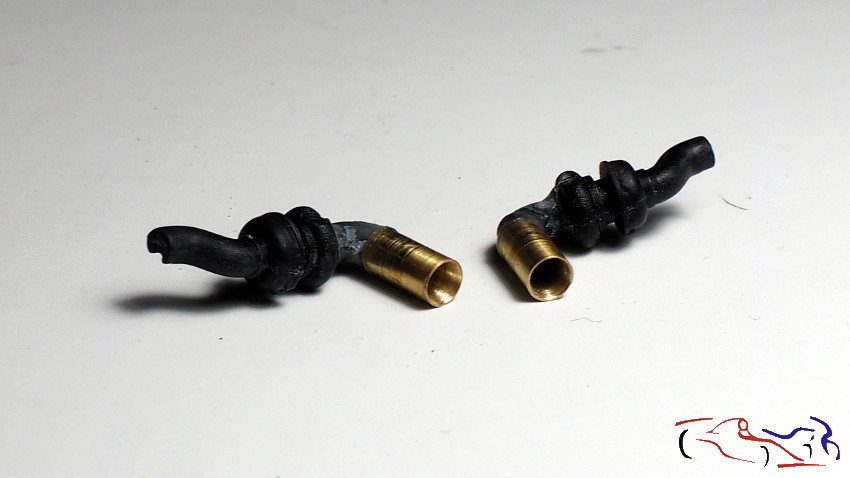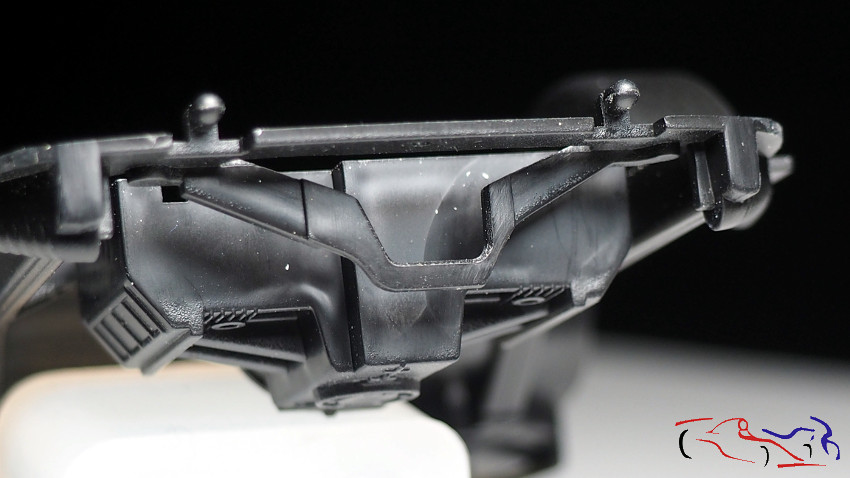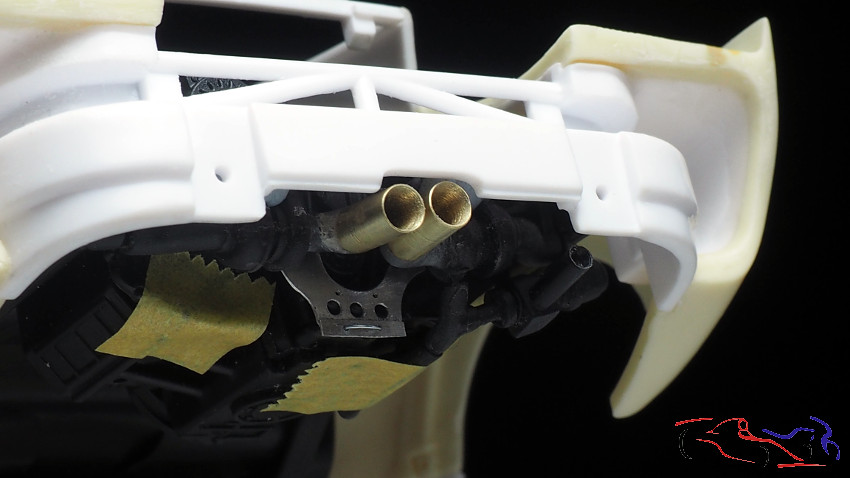
Desde que puse el anterior post, he ido haciendo muchas cosas, incluyendo el trabajo realizado en la carrocería. En esta actualización, he seleccionado solo el proceso de la carrocería, dejando el resto para el siguiente artículo.
Since the previous post, I have been doing a lot of things, including the work done on the bodywork. In this update, I have selected only the bodywork process, leaving the rest for the next article.
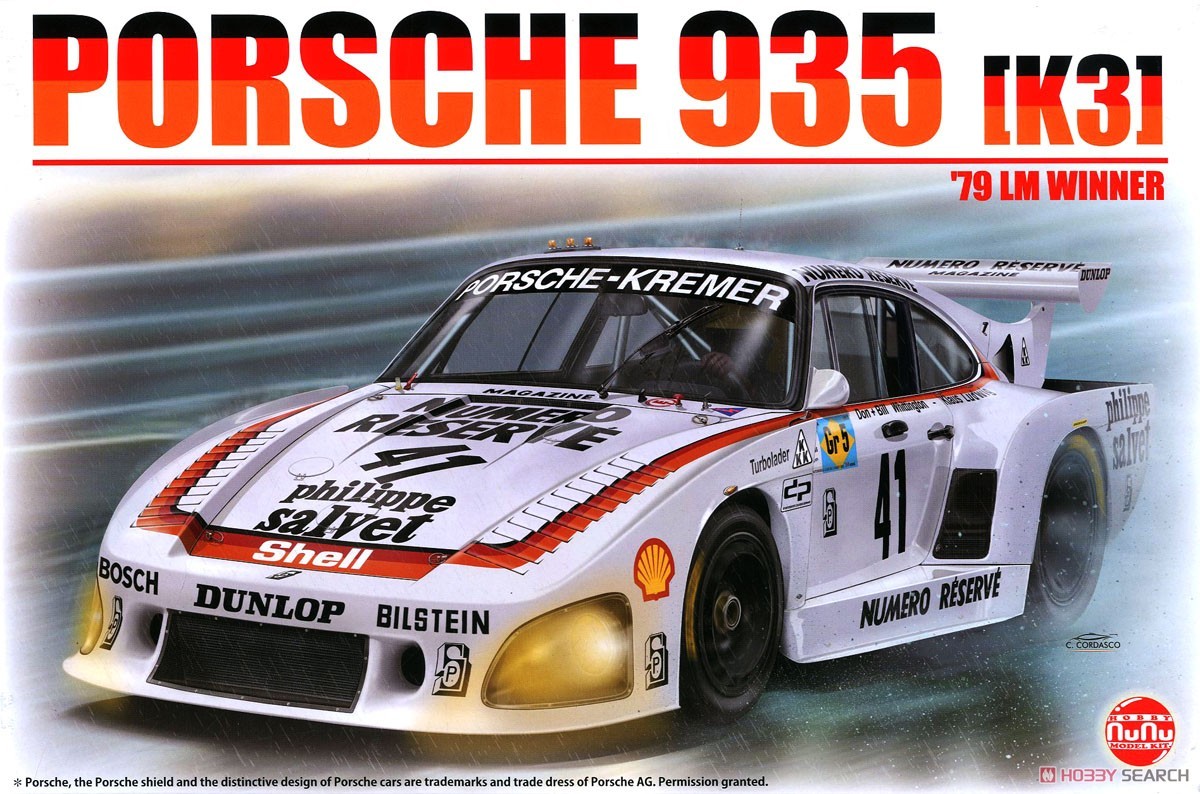
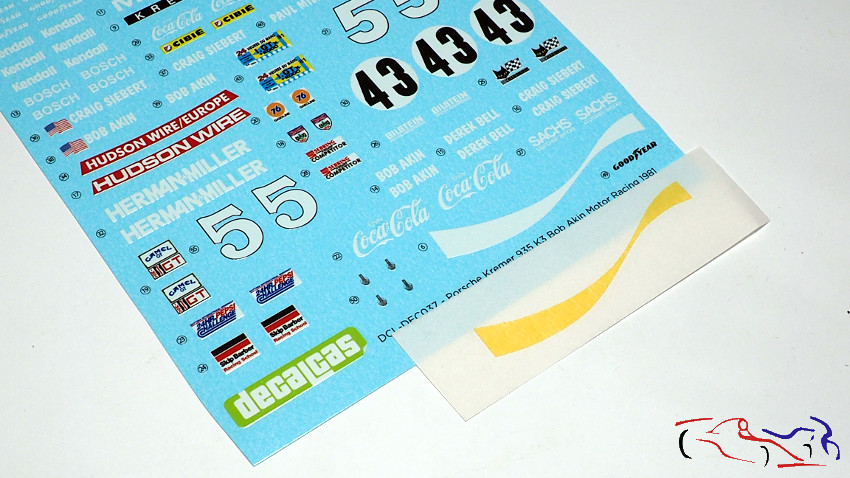
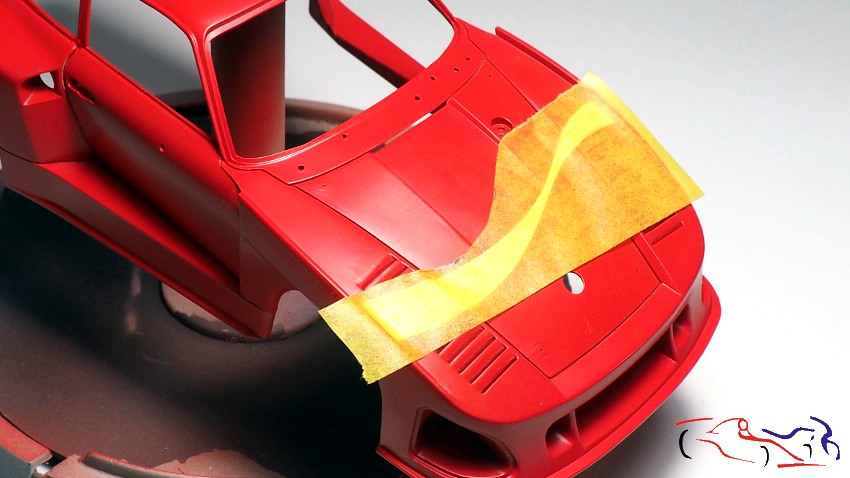
Y empezamos preparando la carrocería para pintar la clásica banda blanca de CocaCola. De acuerdo con las calcas, podemos poner esta banda con una calca, o pintarla de blanco, para lo cual, Decalcas proporciona la correspondiente máscara. La ponemos en su lugar y tapamos el resto. Decir también que existe la posibilidad de pintar toda la carrocería de blanco, y poner la máscara para tapar la linea y depués, pintar de rojo. Eso había pensado al principio, pero para qué pintar toda la carrocería, desperdiciar todo ese blanco para solo esa línea? Cada cual que haga lo que más le interese y que la posibilidad está ahí!.
And we start by preparing the bodywork to paint the classic white CocaCola stripe. According to the decals, we can put this band with a decal, or paint it in white, for which Decalcas provides the corresponding mask. We put it in place and cover the rest. There is also the possibility of painting the whole bodywork in white, and put the mask to cover the line and then paint it in red. That’s what I had thought at the beginning, but why paint the whole bodywork, wasting all that white color for just that line? Everyone can do what he/she wants, and the possibility is there.
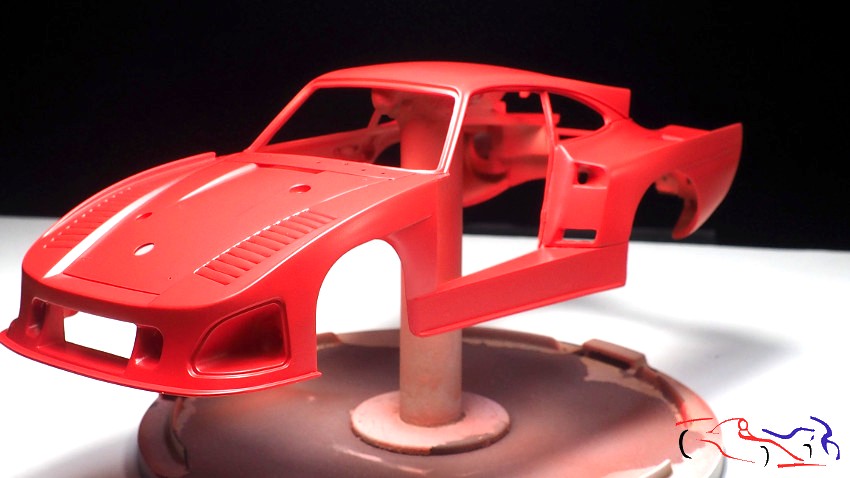
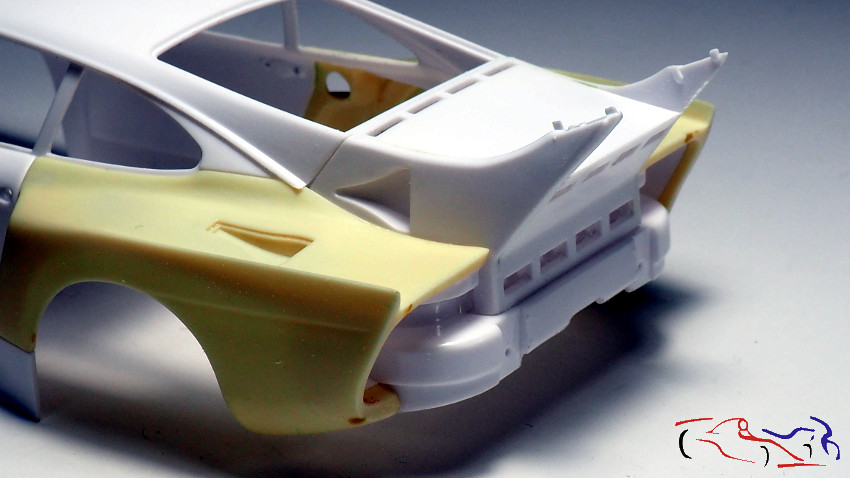
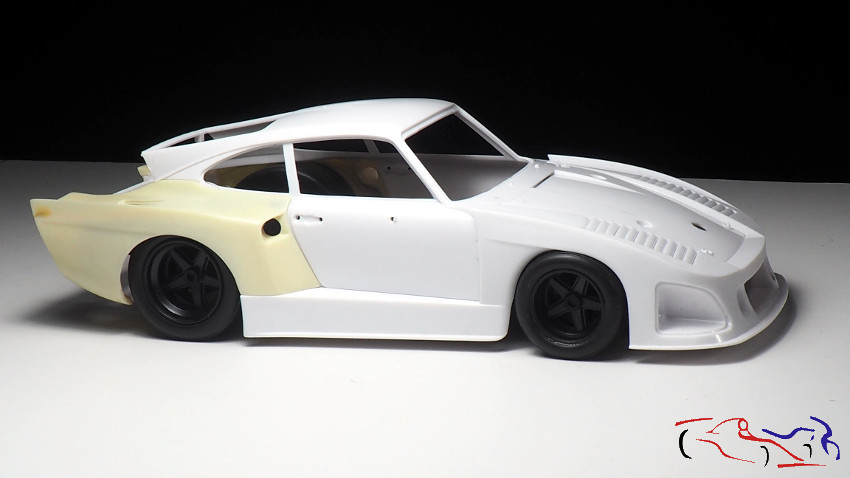
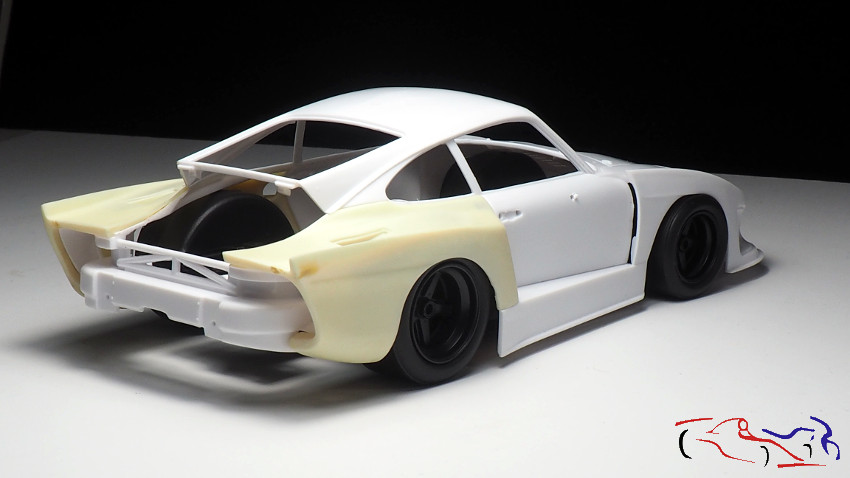
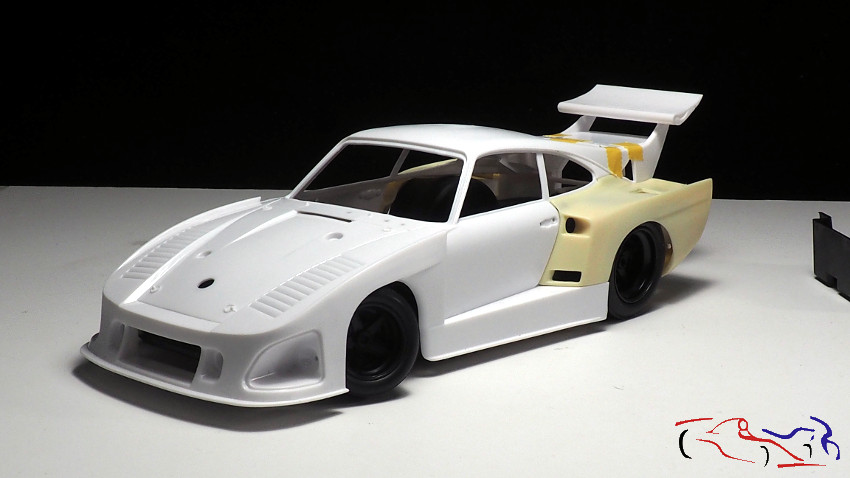
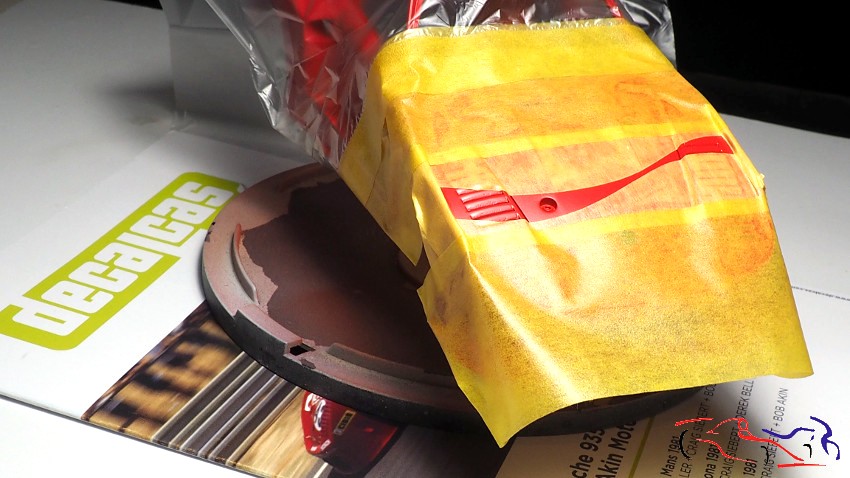
Aquí vemos la carrocería lista para pintar de blanco:
Here we see the bodywork ready to be painted white:
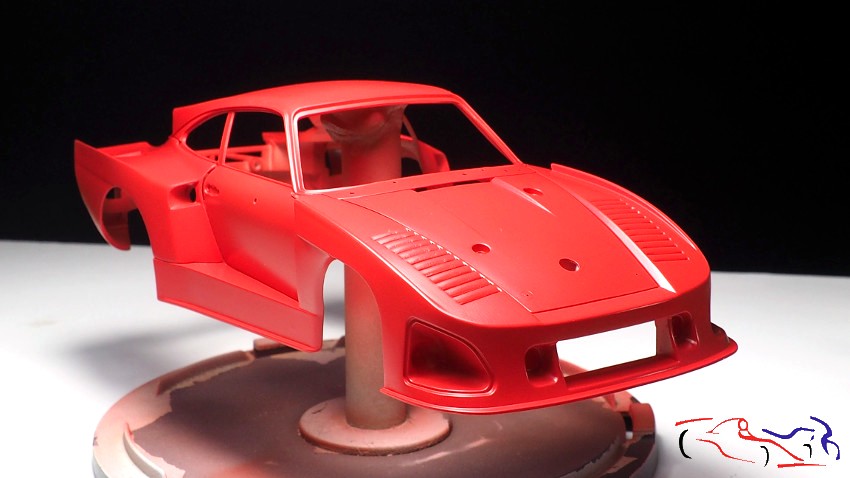
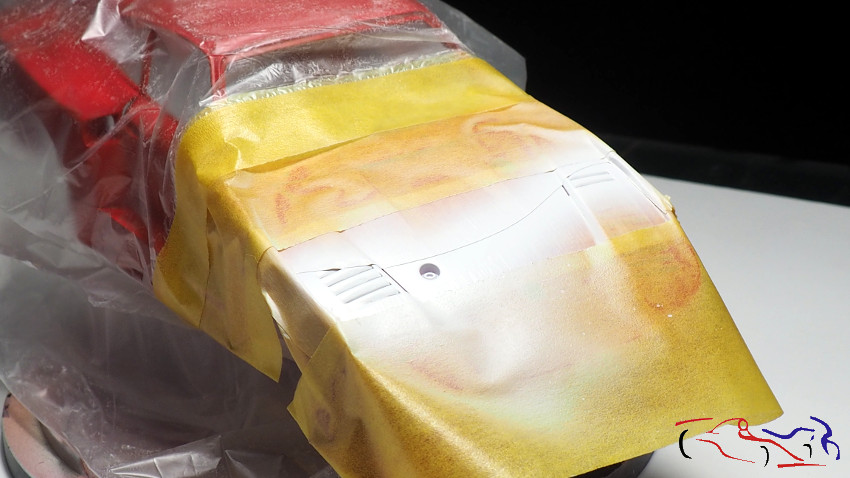
Y aquí, ya está pintado:
And here is already painted:
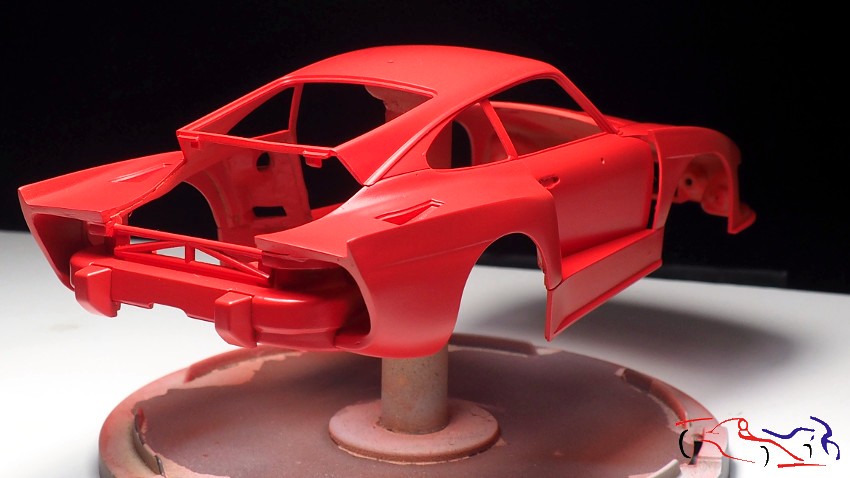
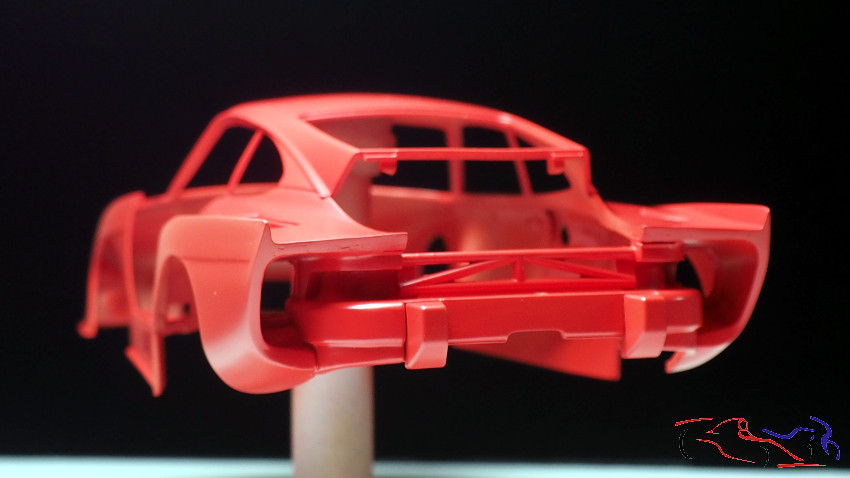
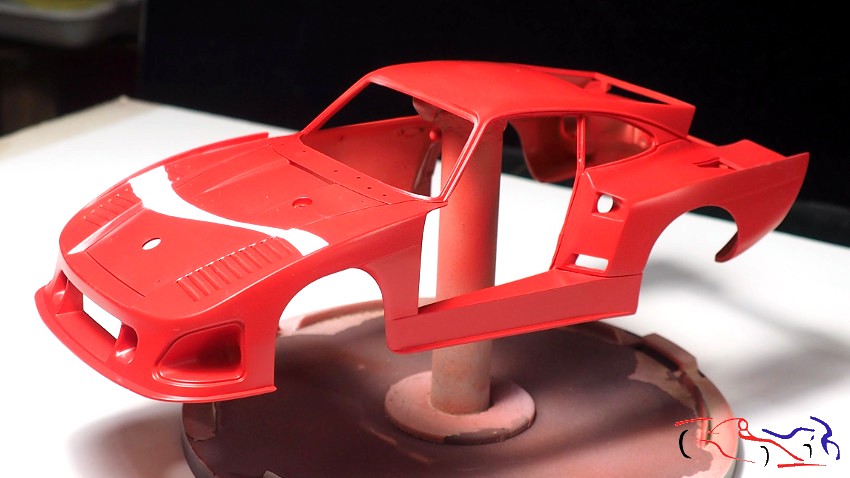
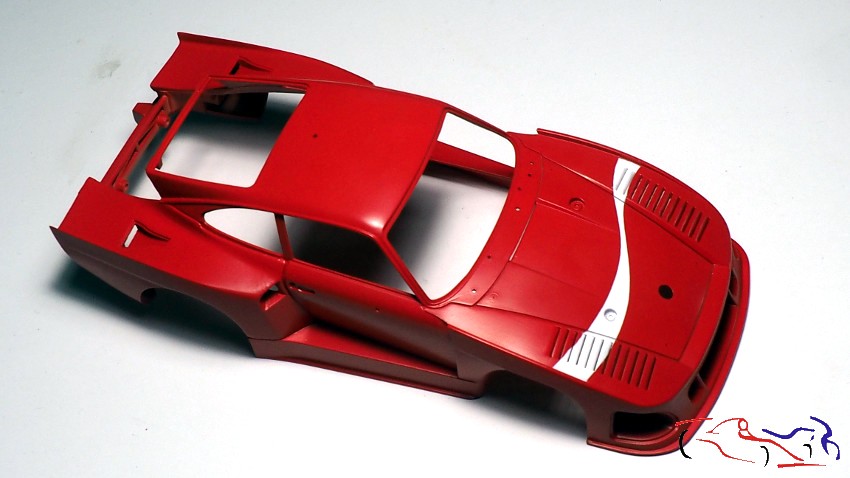
Y este es el resultado quitando las máscaras:
And here is the result removing the mask:
Y una vez pintado, pasamos una lija con grano 3000 al agua para eliminar el exceso de pintura blanca que se deposita a lo largo de la máscara:
Once painted, we sand it with the mask with 3000 grit sandpaper and water to remove the excess white paint that is deposited along the mask:
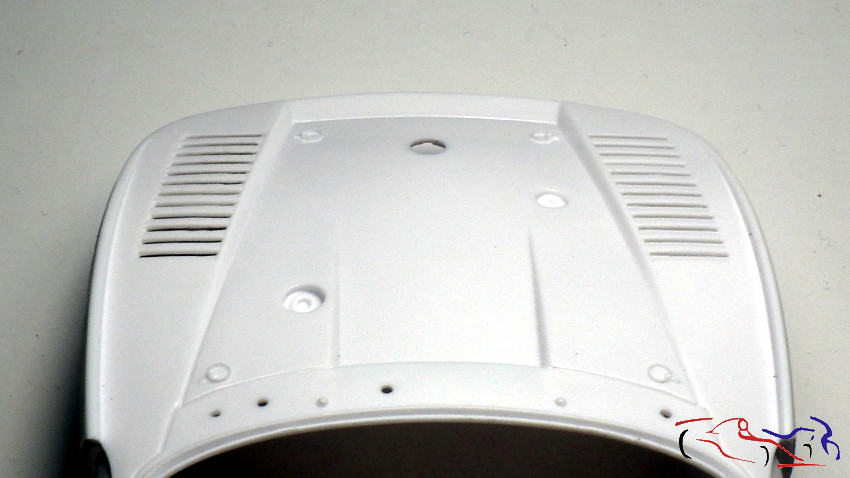
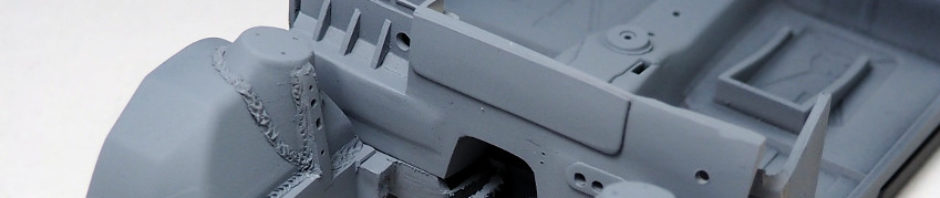
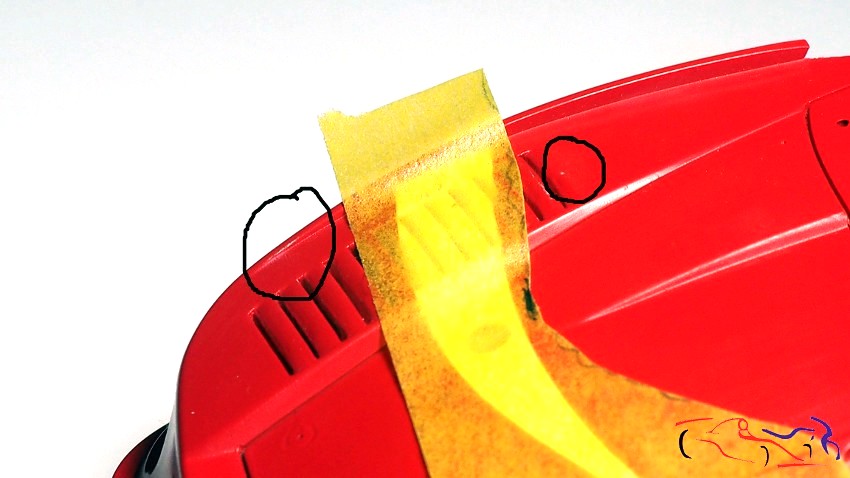
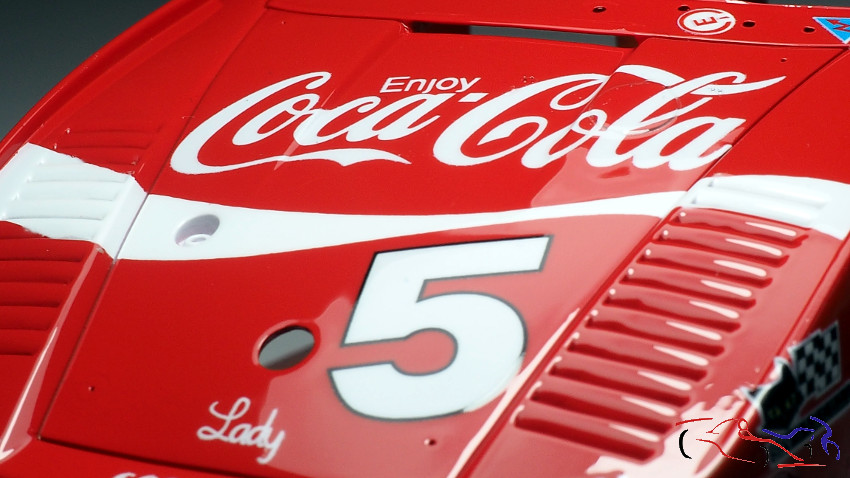
Pero no siempre salen las cosas perfectas y al lijar, se me fue la mano en los dos círculos que pongo en la imagen del capó, por lo que enmascaré lo blanco y pinté un poco más con rojo sin acercarme a la máscara, para evitar una línea roja con exceso de pintura:
But things don’t always turn out perfectly and when sanding, I got a little overdone that you can see in the two circles I put in the bonnet image, so I masked the white part and painted it a little more with red without getting too close to the mask, to avoid a red line with excess paint:
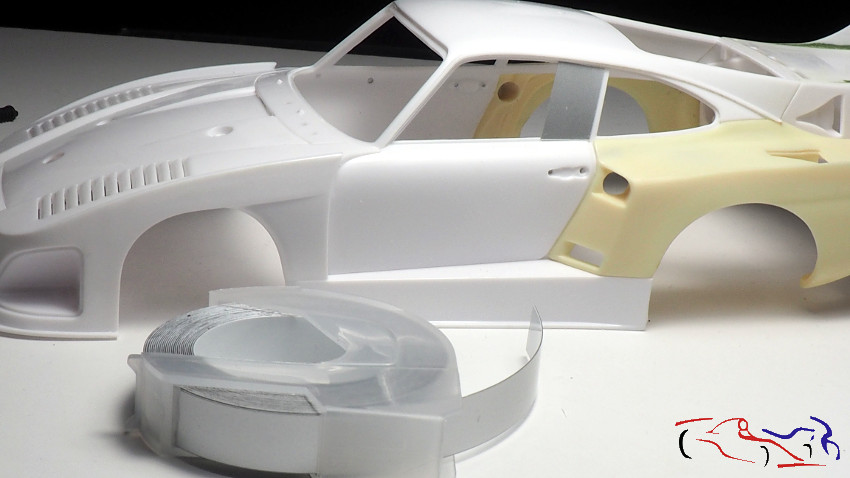
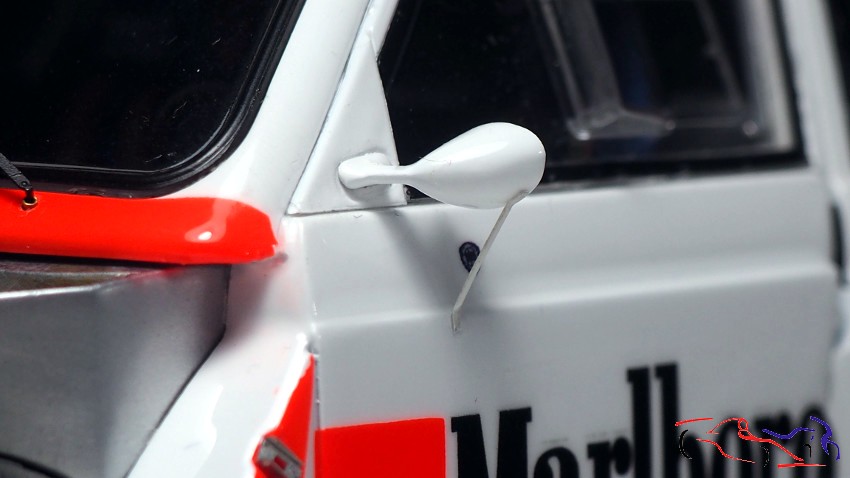
Y ya, llega el momento de poner las calcas. Como he lijado la carrocería, su superfici está lo suficientemente lisa, para pone las calcas directamente sin barnizar o lacar:
And now it’s time to put the decals on. As I have sanded the bodywork, its surface is smooth enough to put the decals on directly without varnishing or lacquering:
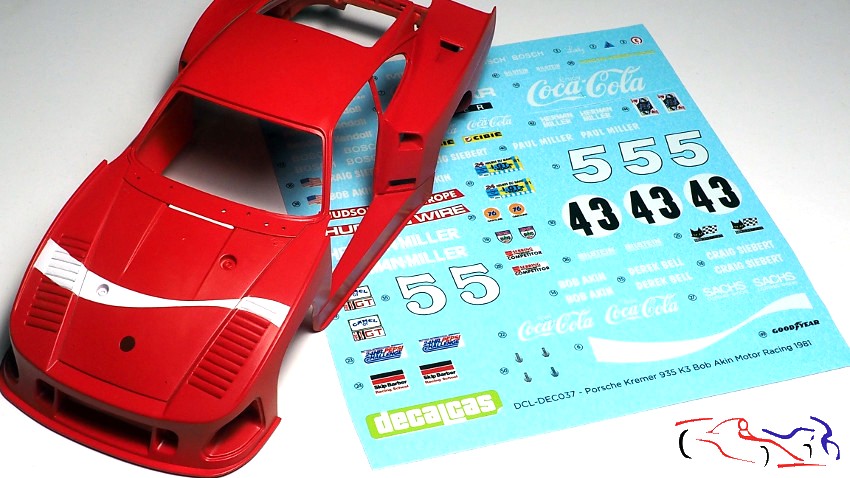
Las calcas de Decalcas se ponen bien sin líquidos, solo con agua y siguiendo las instrucciones del fabricante.
Decalcas decals can be applied without liquids, only with water and according to the manufacturer’s instructions.


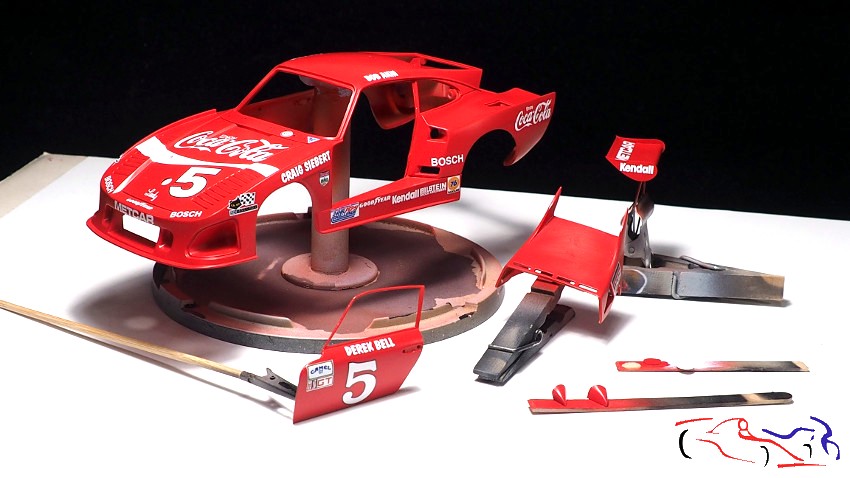
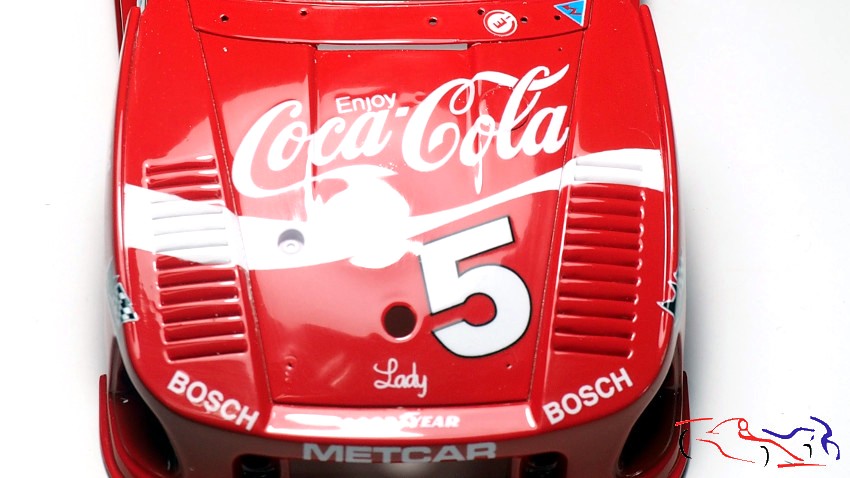
Una vez estén todas las calcas puestas, lo disponemos todo para lacar:
Once all the decals are in place, we prepare everything for lacquering:
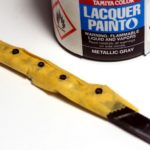
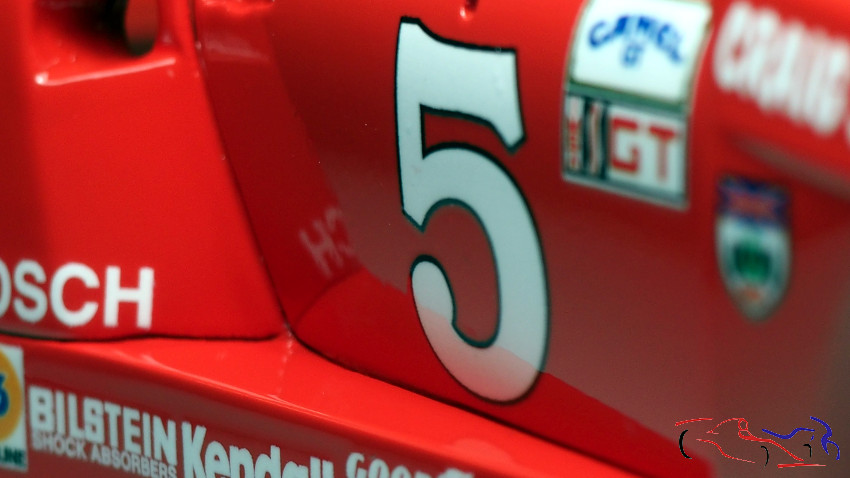
En este caso, he usado la laca Number5 que me enviaron para probar, y como me pareció muy buena en los test, así la utilicé en este coche. EL proceso de la laca el habitual en la proporción 3:1:1 : una capa muy fina sin que quede brillo e incluso con apariencia que tuviera polvo, una segunda más húmeda donde se vea brillo, y una tercera, con un poco más de disolvente, y dejando entre cada capa 5 minutos:
In this case, I used the Number5 lacquer that was sent to me for testing, and as it seemed very good in the tests, I used it on this car. The process of the lacquer is the usual 3:1:1 ratio: a very thin coat with no shine and even with a dusty appearance, a second wetter coat where you can see the shine, and a third, with a little more solvent, and leaving 5 minutes between each coat:
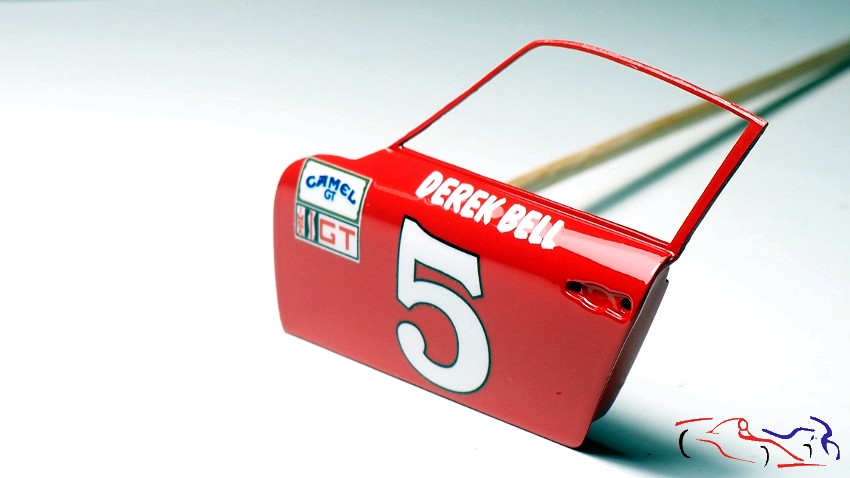
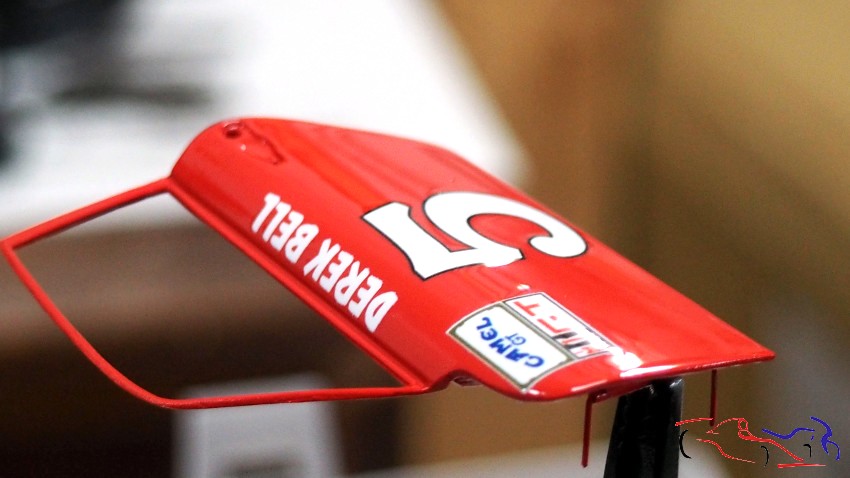
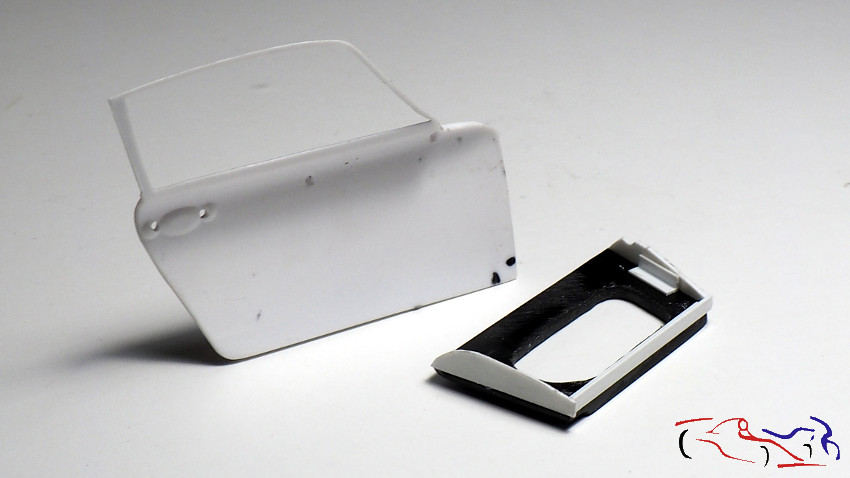
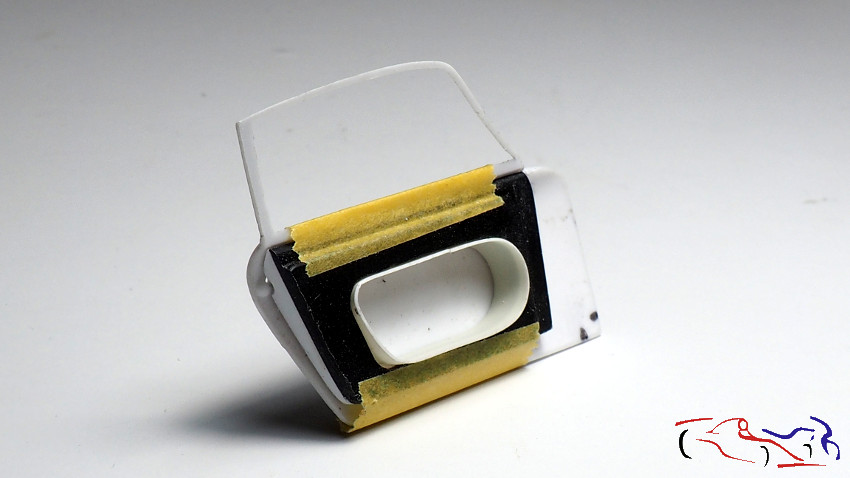
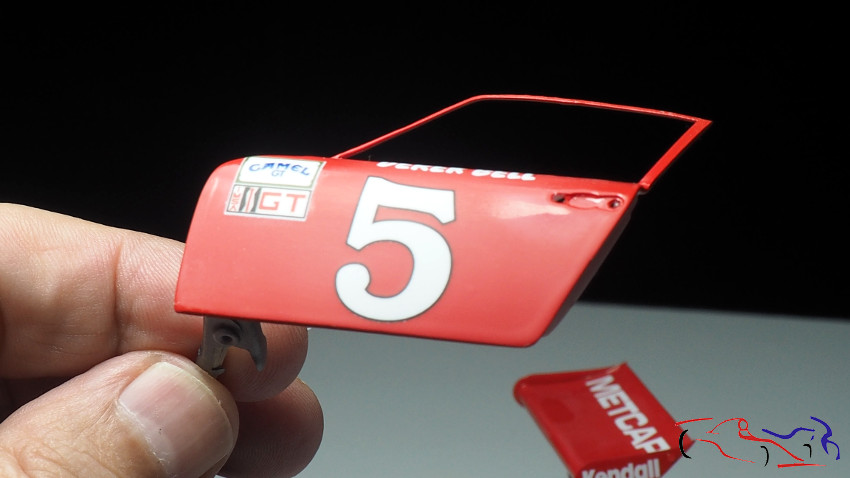
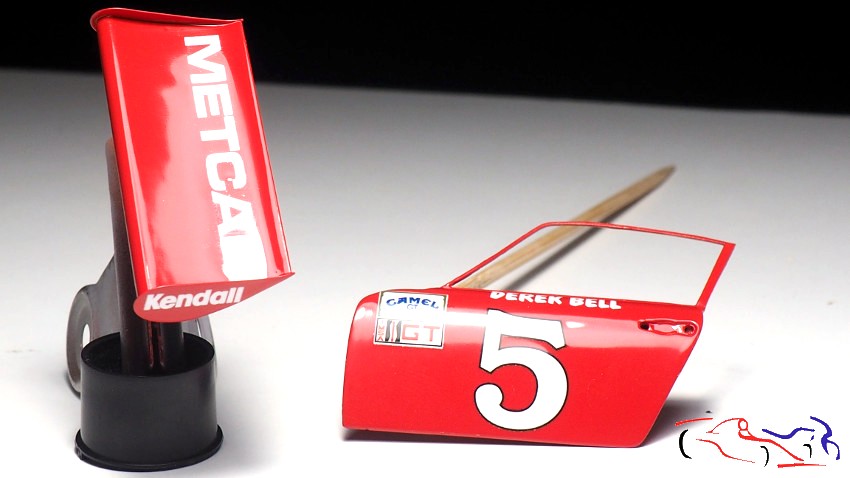
Y al lacar, es muy normal, que alguna pelusa, algún hilo, sea atraida por la laca, como me pasó a mi en alguna parte de la carrocería y en la puerta del conductor:
And when lacquering, it is quite normal, that some lint, some thread, is attracted by the lacquer, as it happened to me in some part of the bodywork and in the driver’s door:
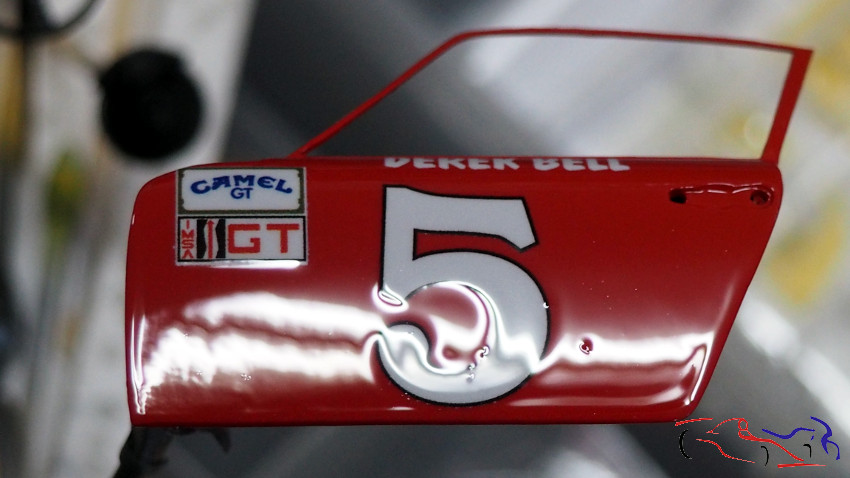
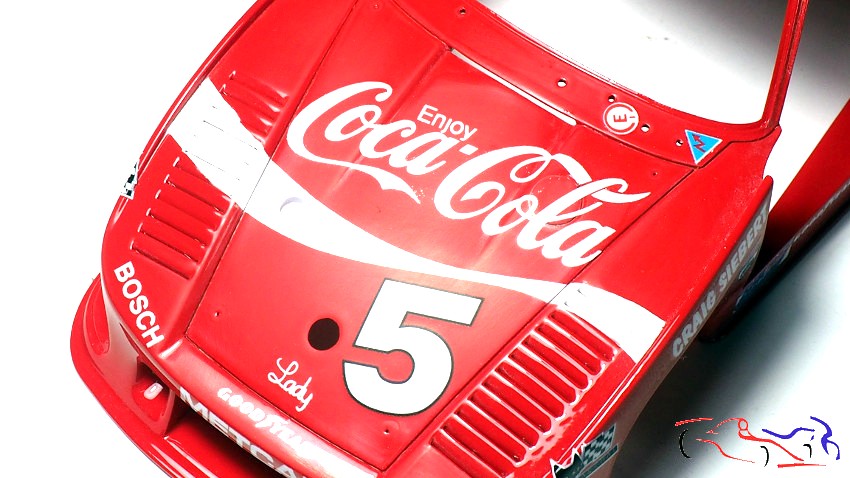
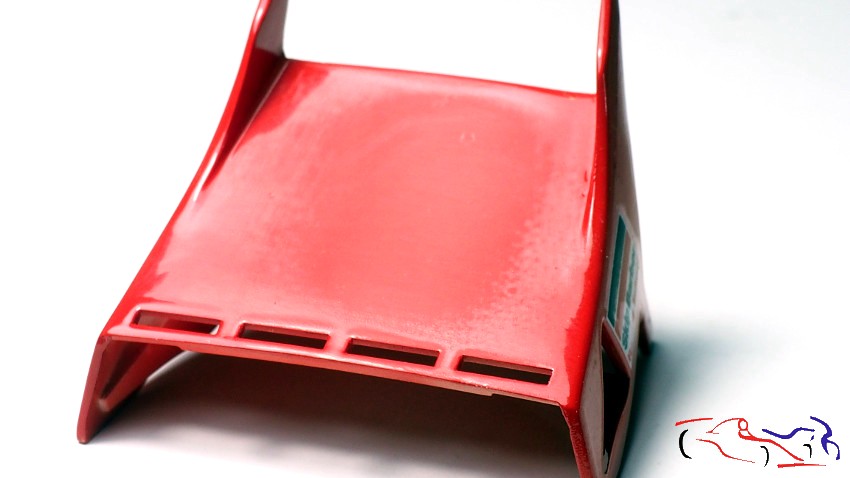
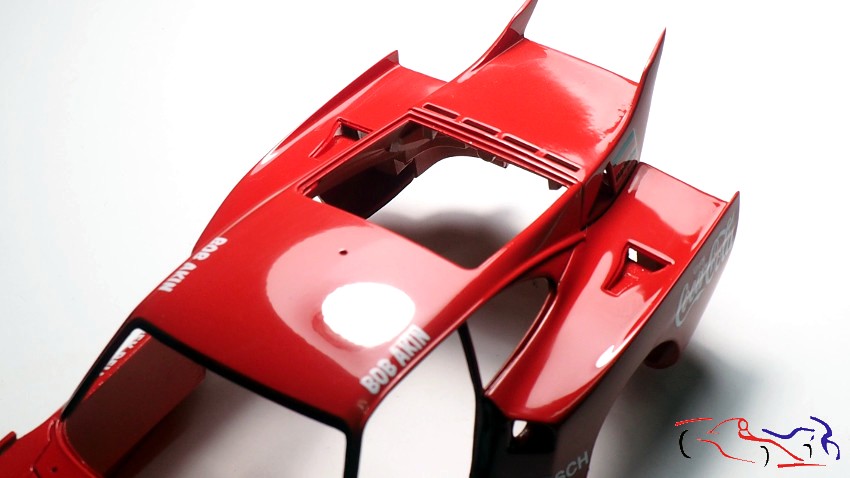
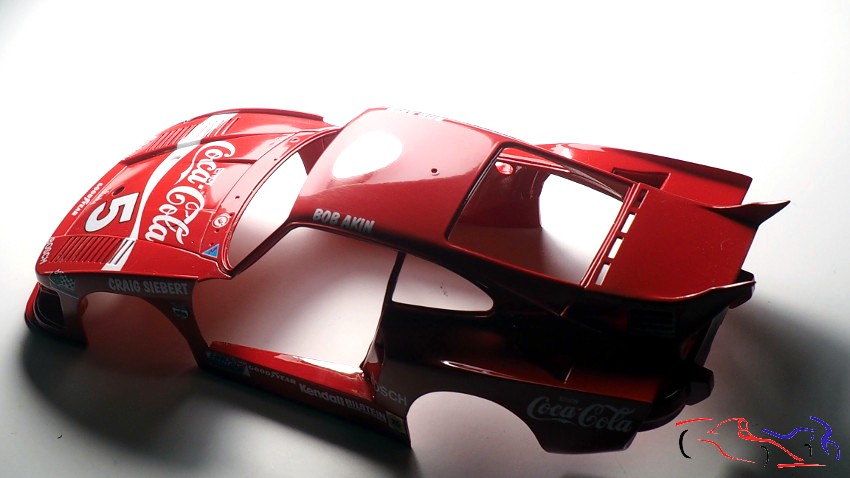
Por tanto, es hora de pulir. En este proceso, también he utilizado un pulimento nuevo de Number5, testeado antes en otras superficies de prueba. Pero antes de eso, hay que lijar al agua todas las partes que se quieran pulir, con lija 3000 con agua. Este es el resultado:
So it’s time to polish. In this process, I have also used a new polish from Number5, tested before on other test surfaces. But before that, all the parts to be polished have to be wet sanded with 3000 grit sandpaper with water. This is the result:
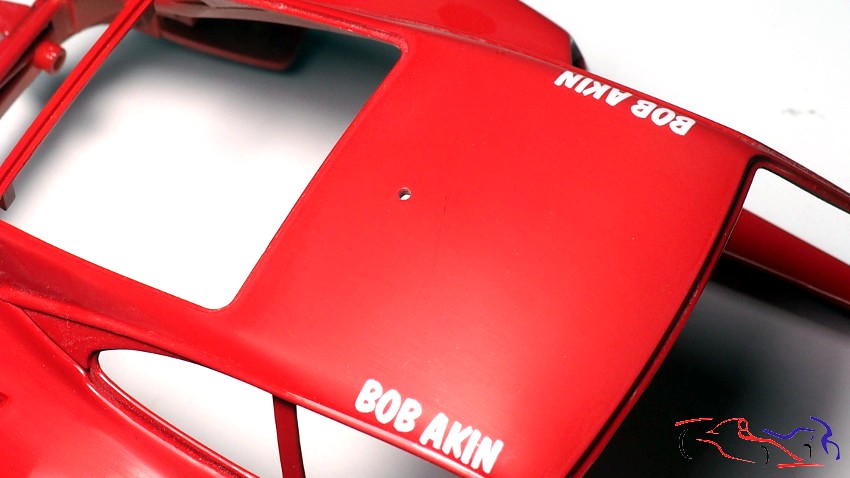
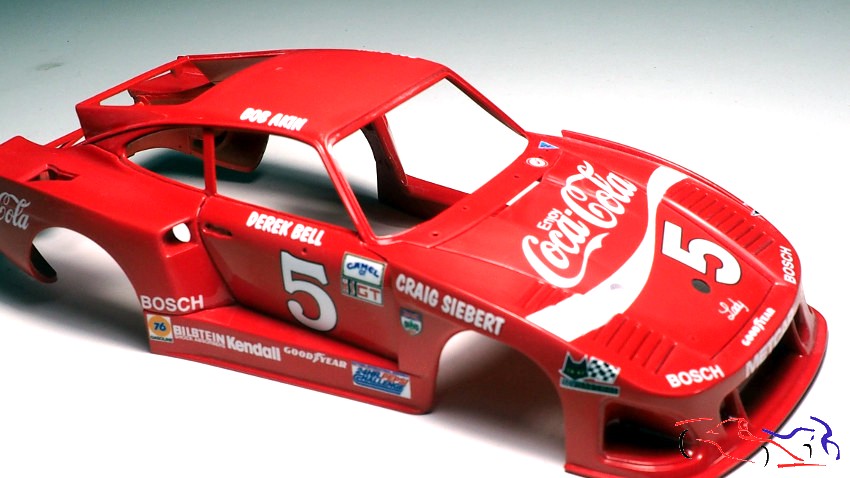
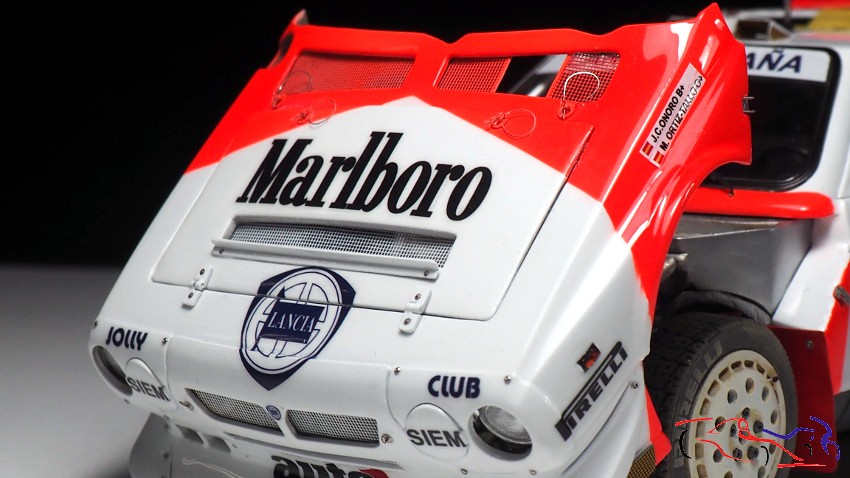
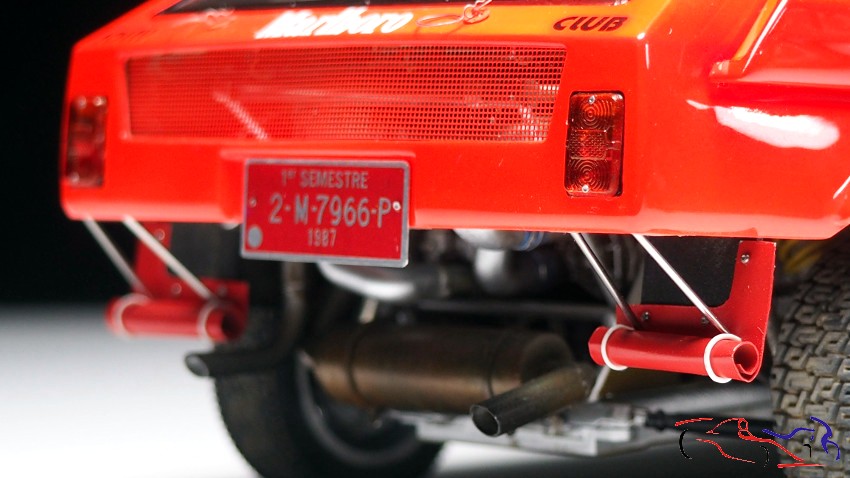
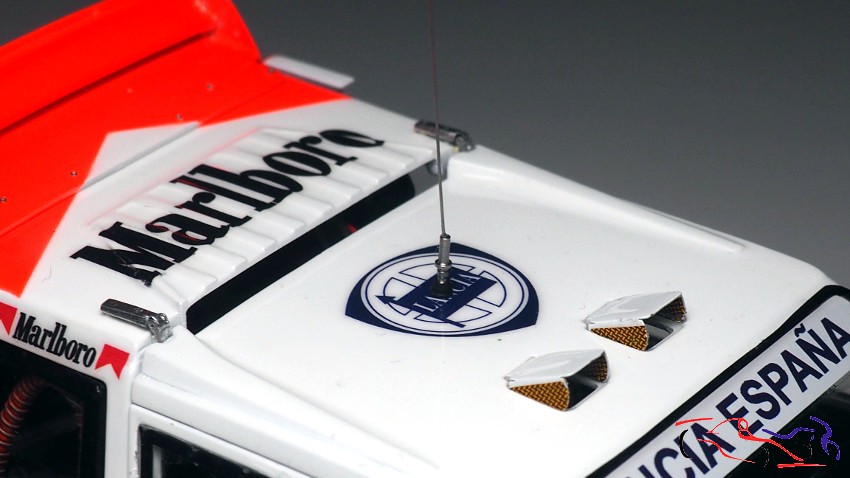
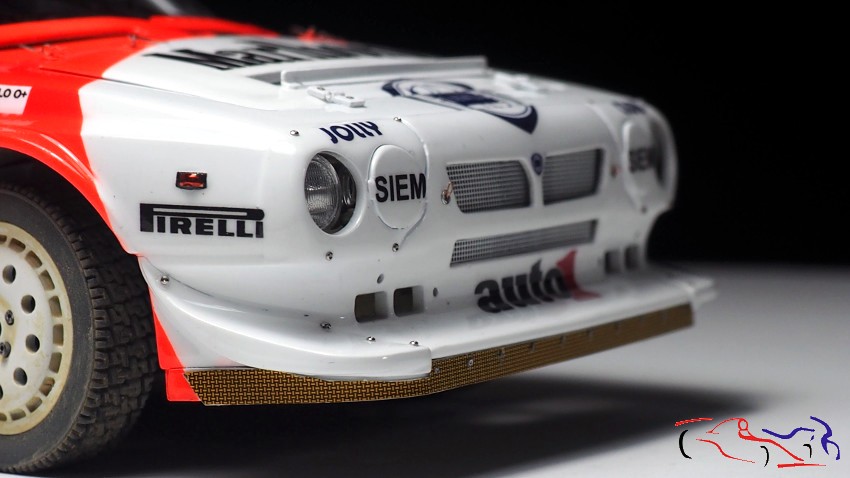
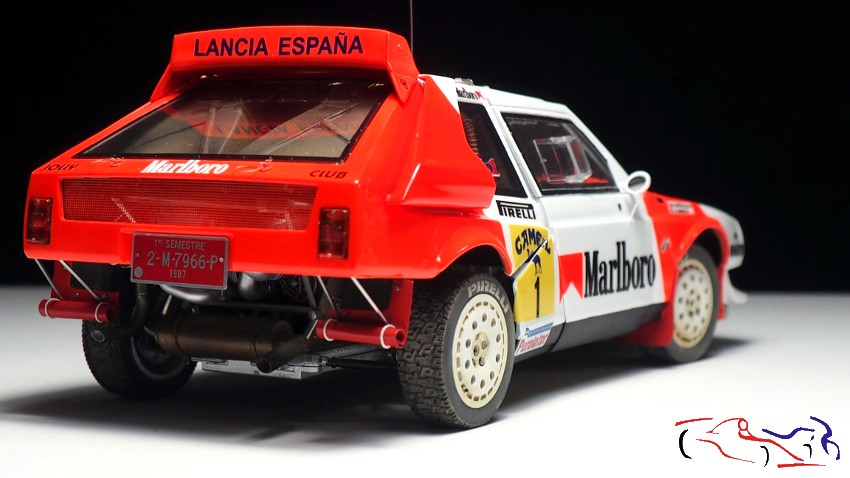
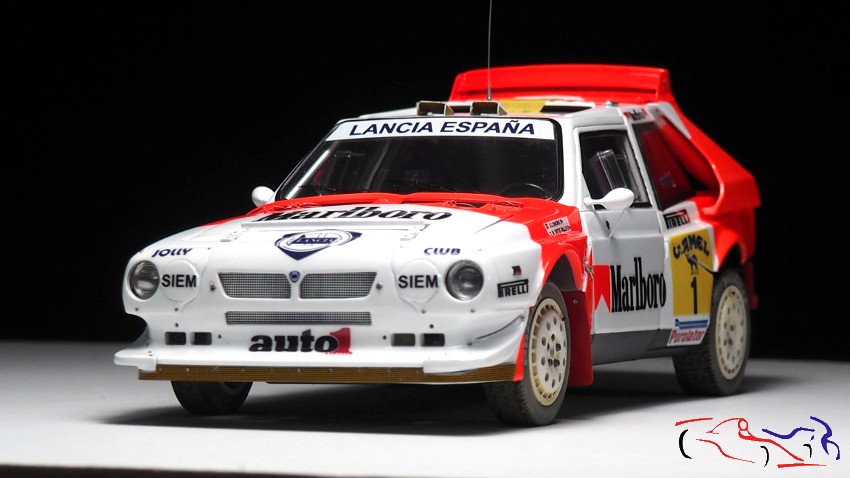
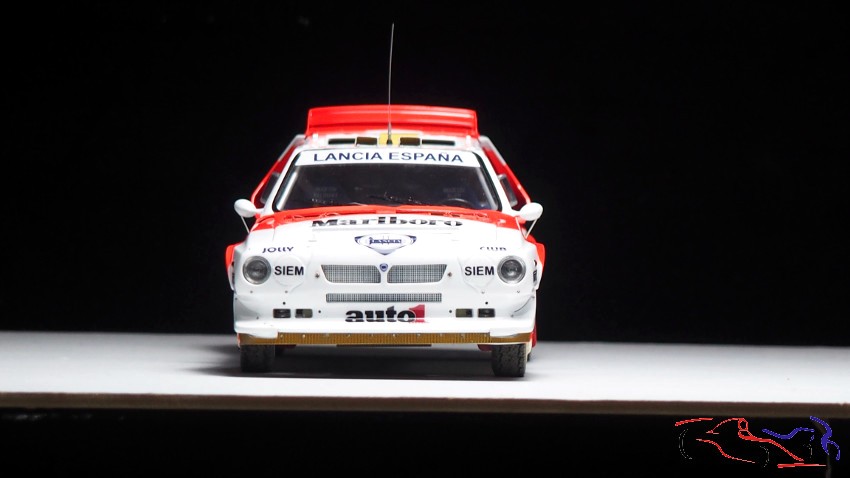
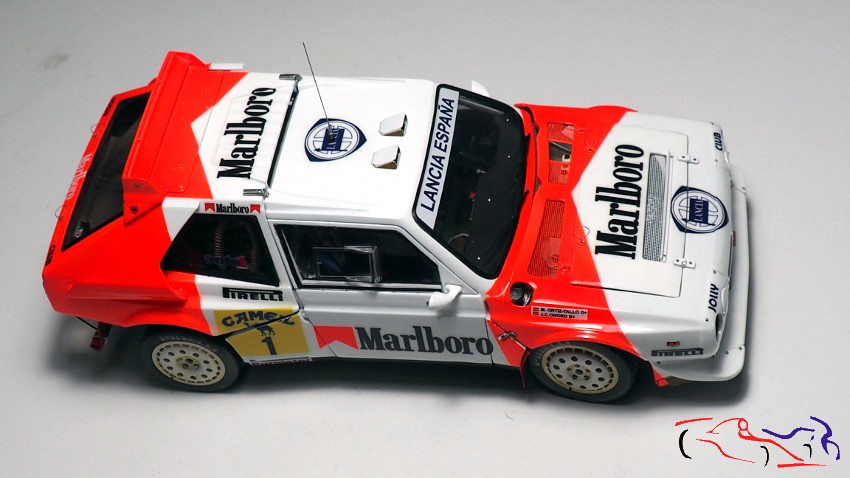
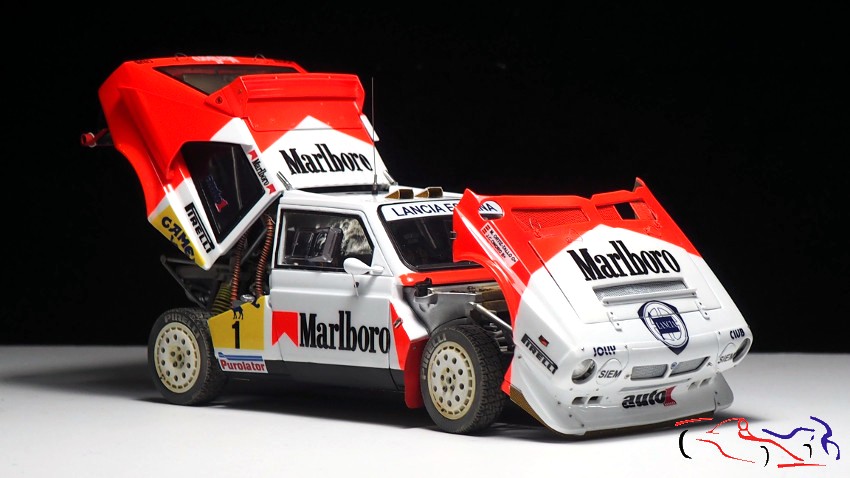
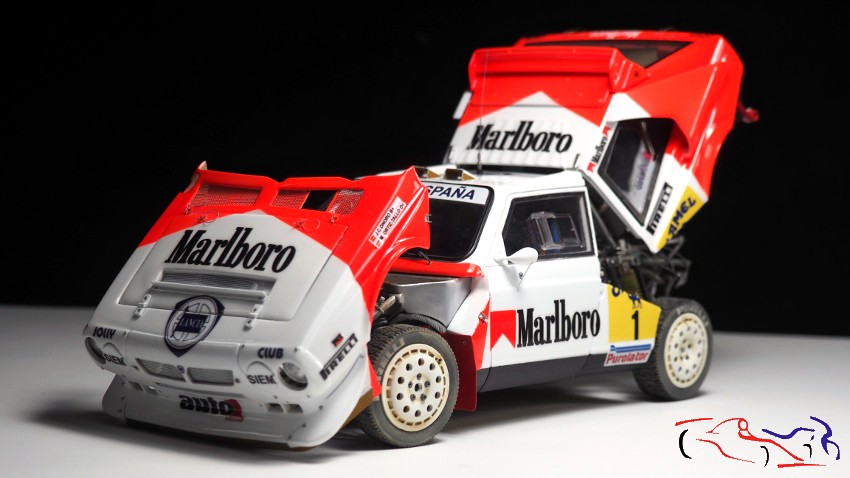
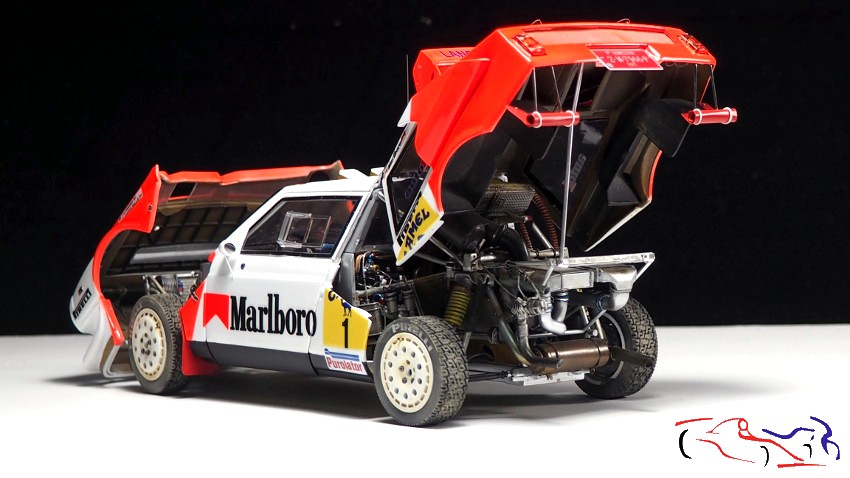
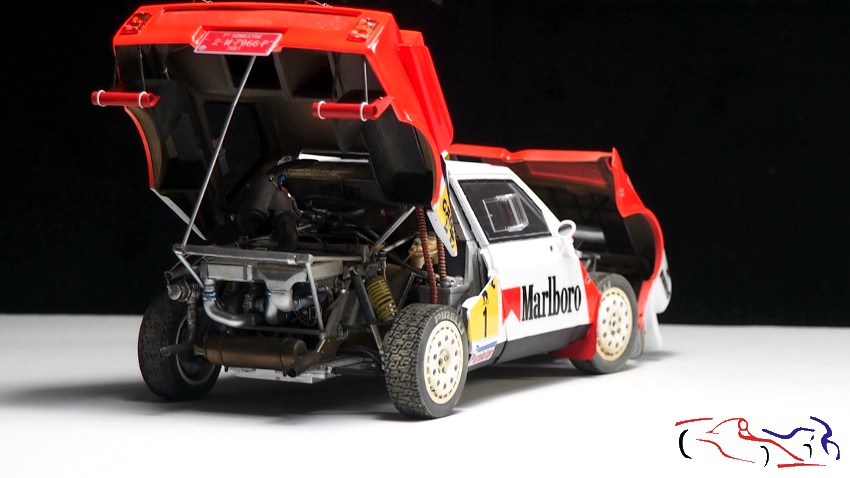
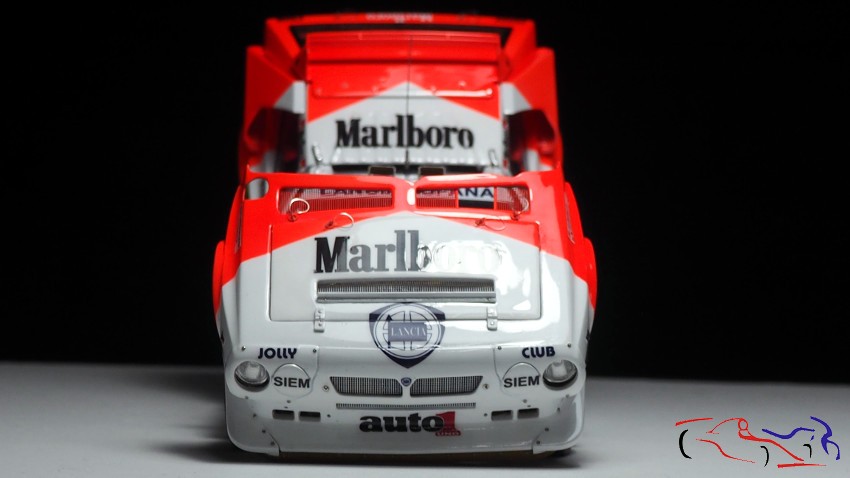
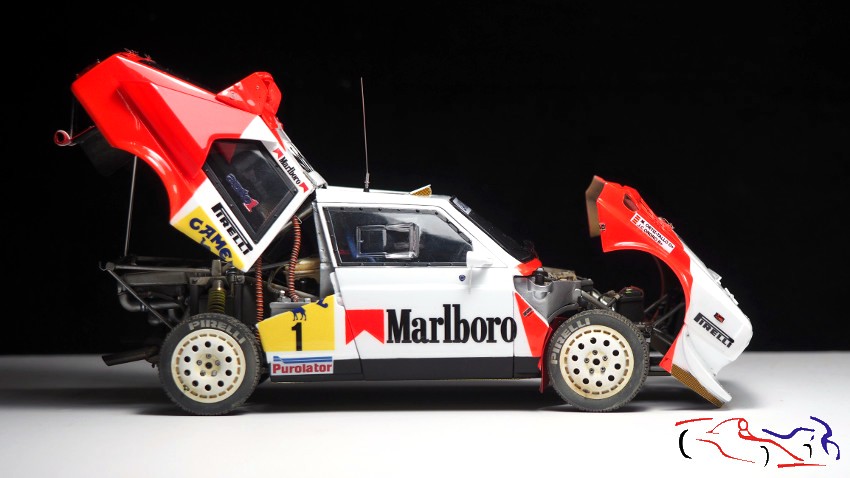
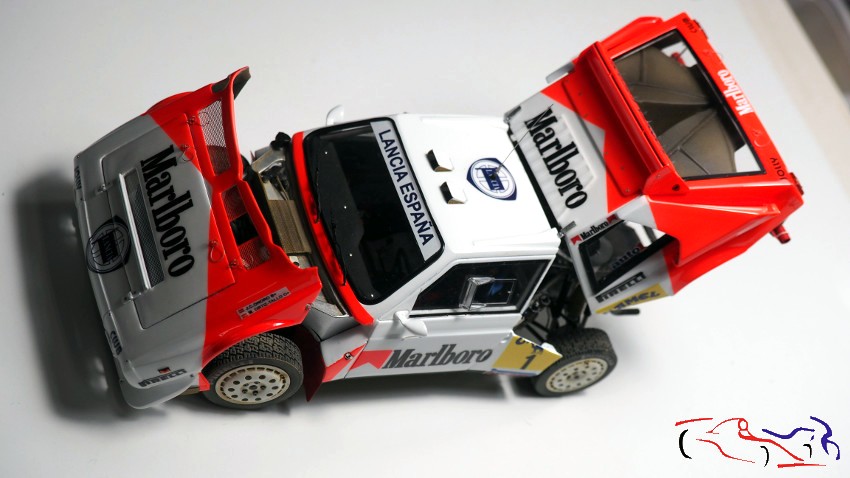
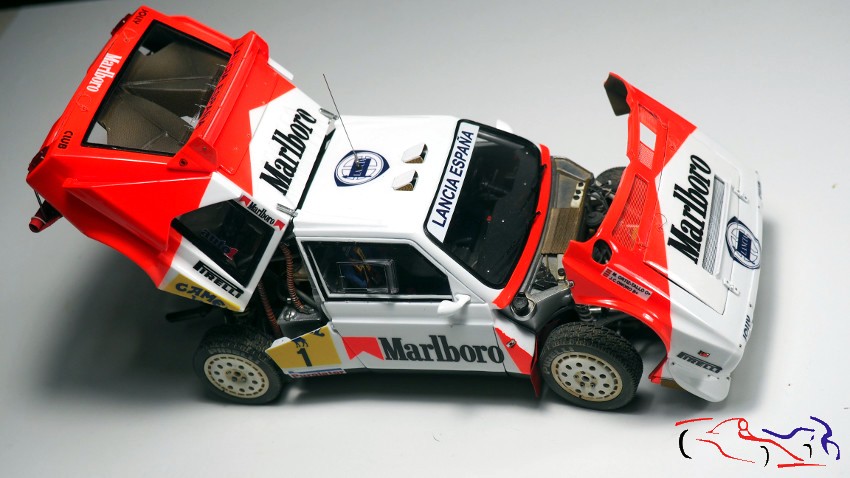
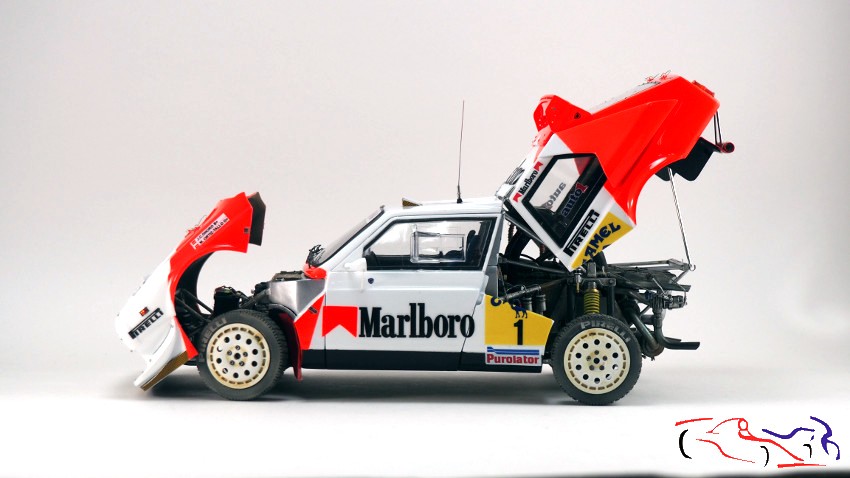
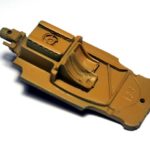
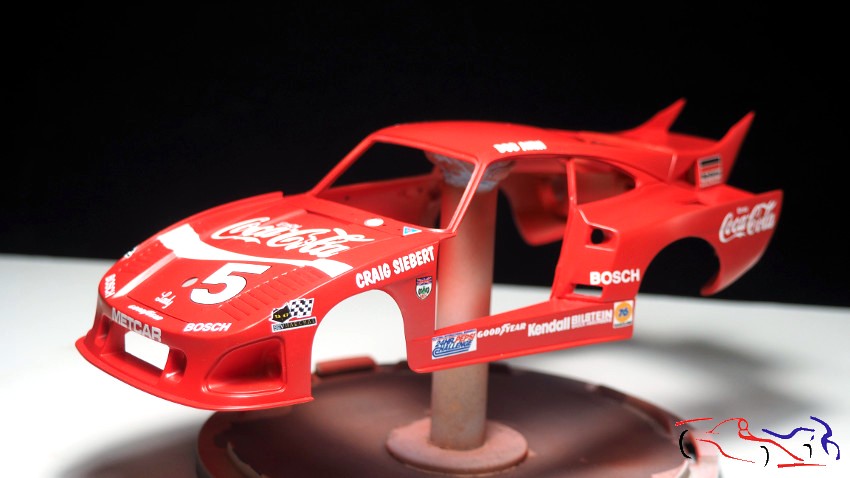
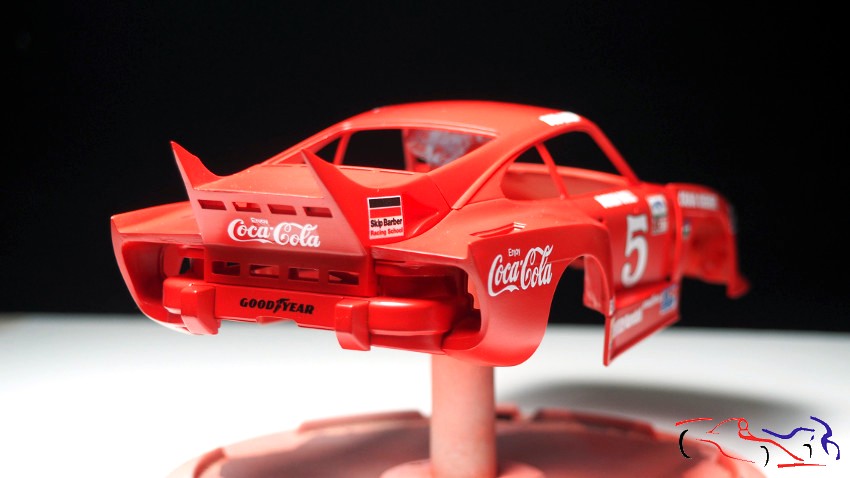
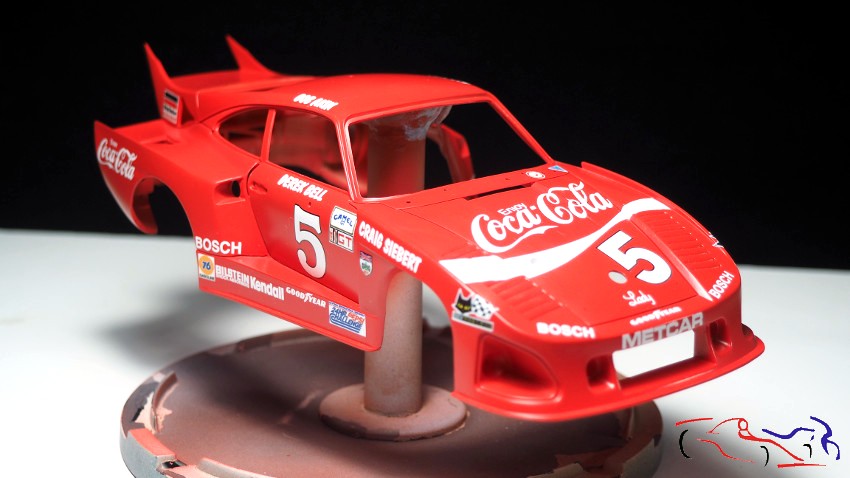
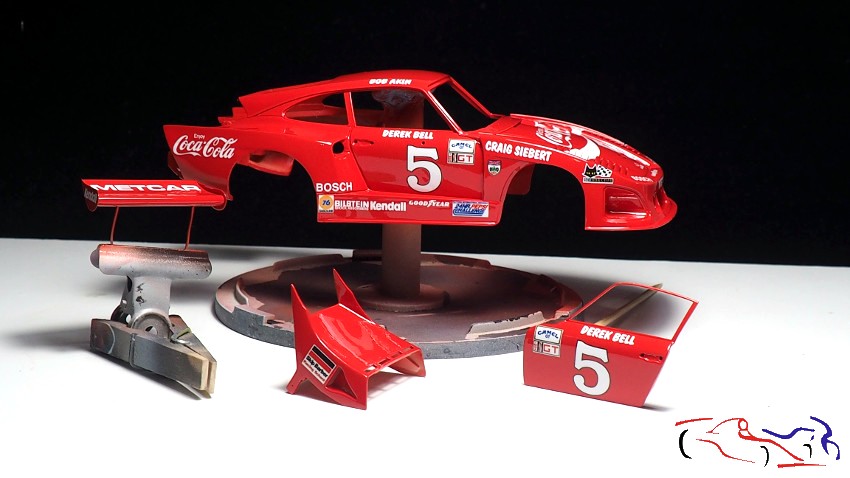
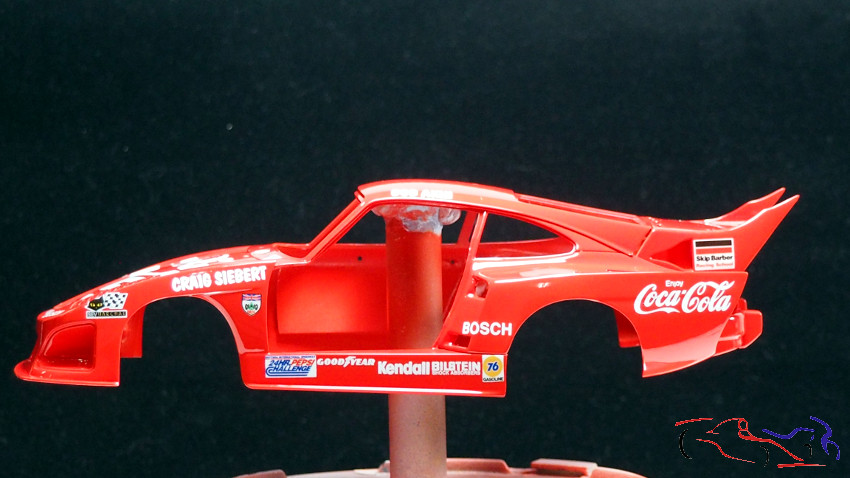
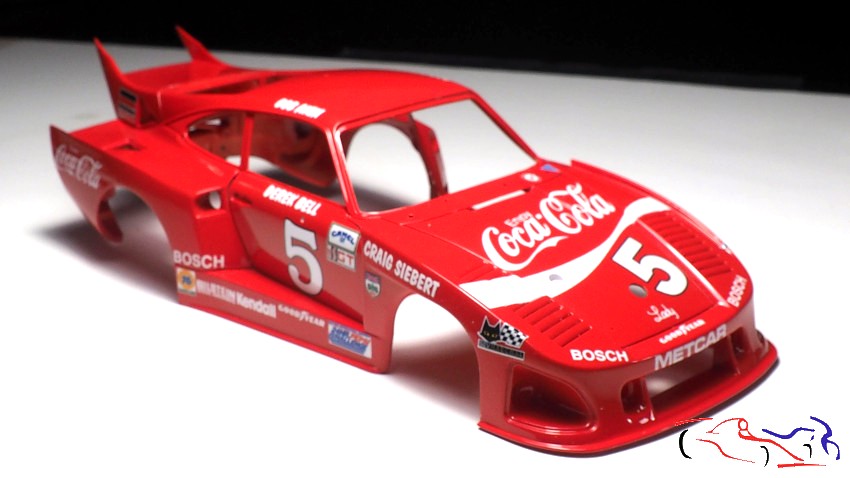
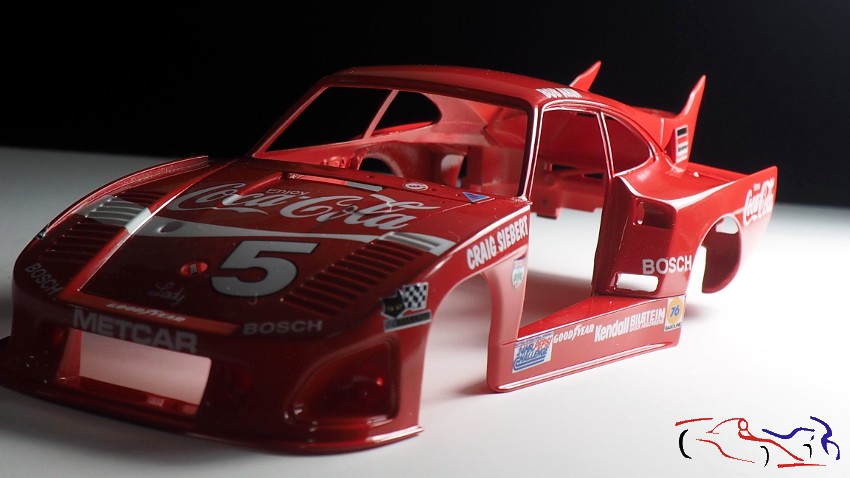
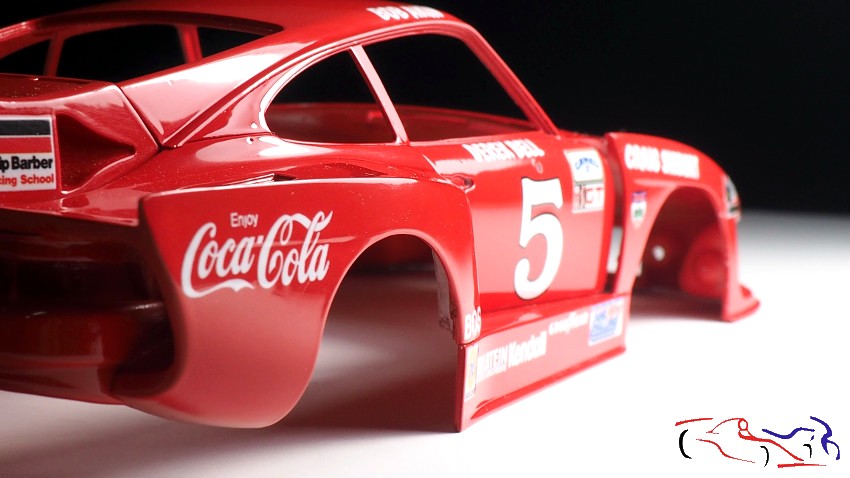
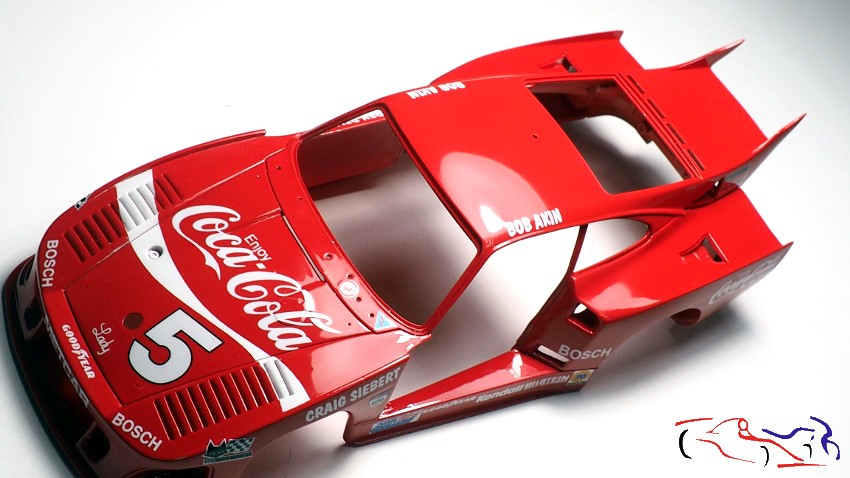
Una vez lijado y seco, pasamos a pulir. Tiene dos acabados: el medio y el fino. Primero muevo bien los botes, cojo con un bastoncillo de oidos un poco de pulimento medio, y lo voy extendiendo para la zona a pulir, y después pongo una “boina” de lana en el minitaladro, y le aplico una velocidad media, pasando por todos los sitios para quitar el pulimento. Al pasar, se ve que va apareciendo brillo muy rápidamente. Una vez aplicado el pulimento medio, aplico de igual forma el pulimento fino, con una boina distinta. El resultado aparece muy rápidamente y podéis ver el resultado en las siguientes fotos:
Once sanded and dry, we move on to polishing. The polish has two finishes: medium and fine. First I move the cans well, I take a little bit of medium polish with a cotton swab, and I spread it on the area to polish, and then I put a wool “beret” on the mini-drill, and I apply it at medium speed, going over all the places to remove the polish. As you go through, you can see that a shine is appearing very quickly. Once the medium polish has been applied, I apply the fine polish in the same way, with a different beret. The result appears very quickly and you can see the result in the following photos:
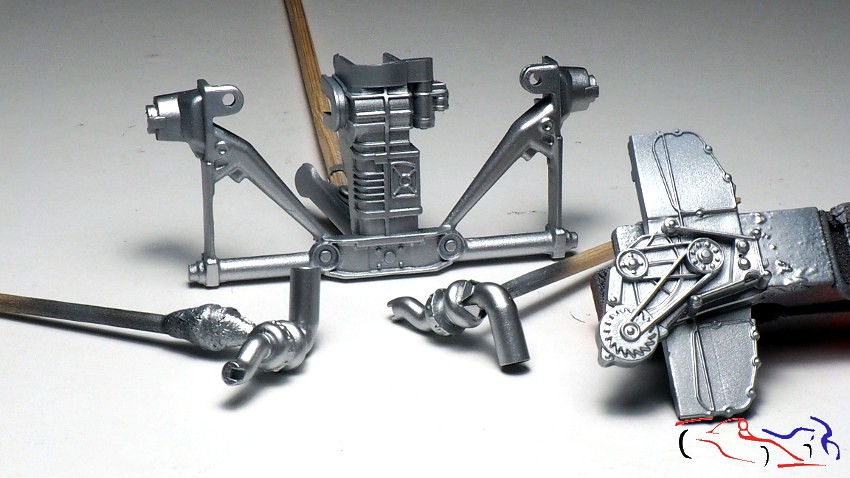
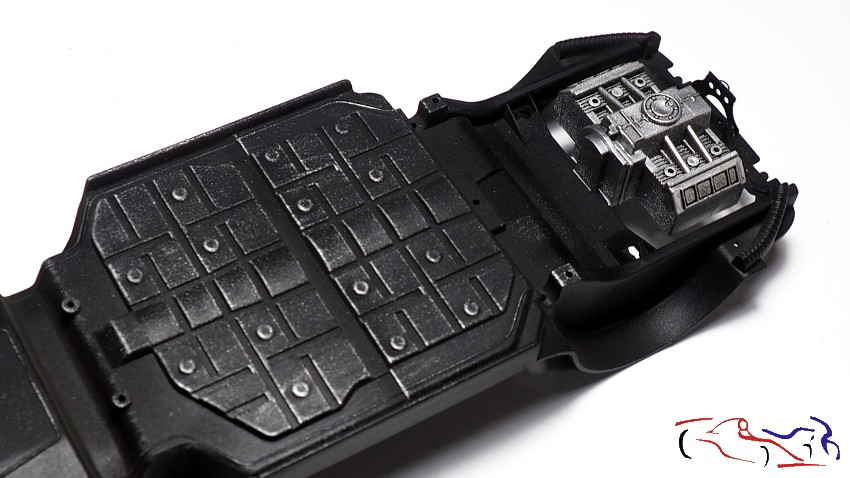
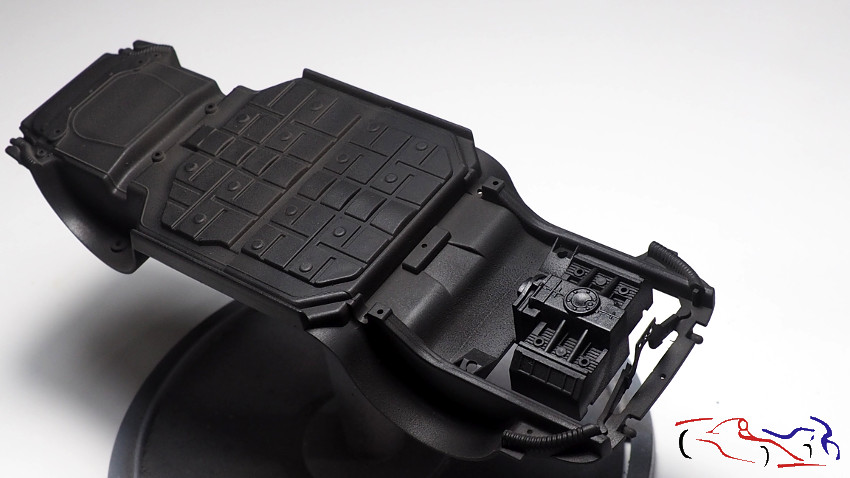
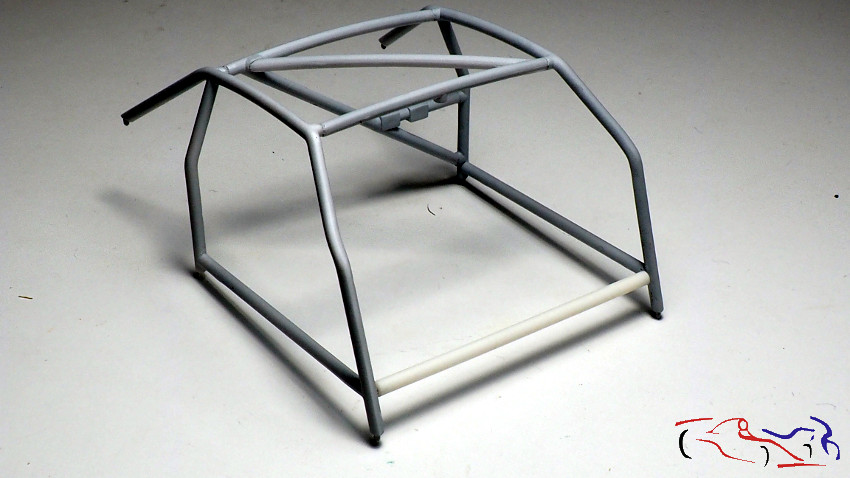
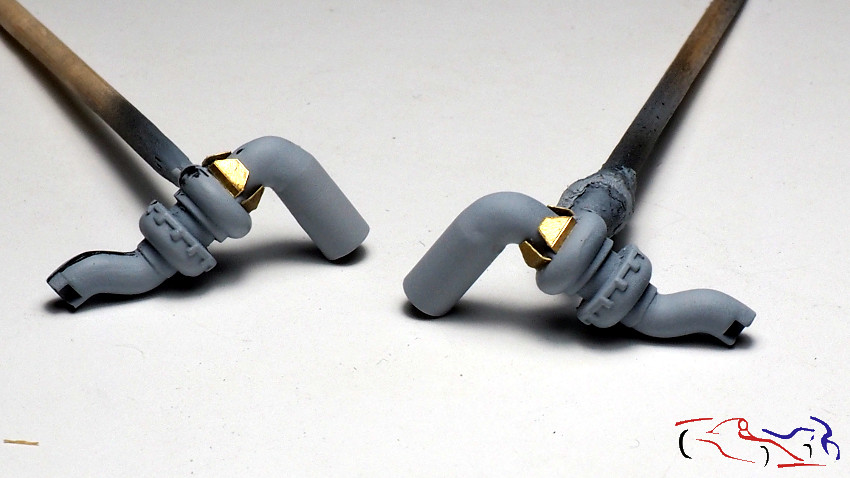
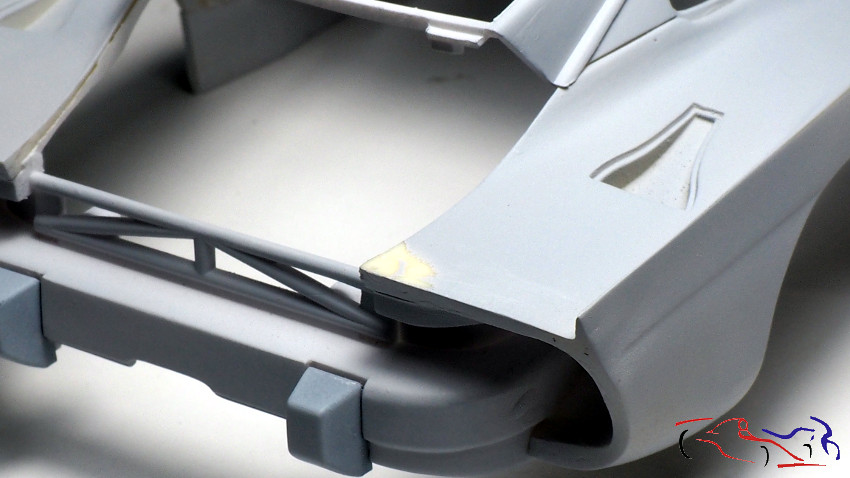
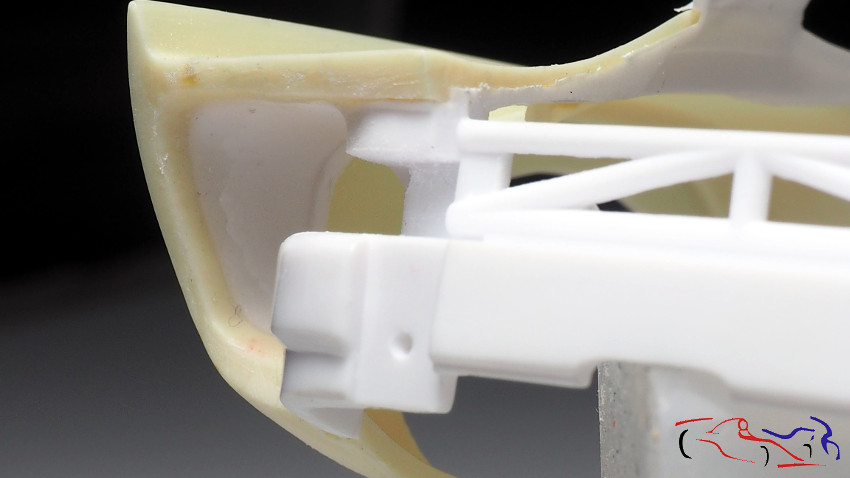
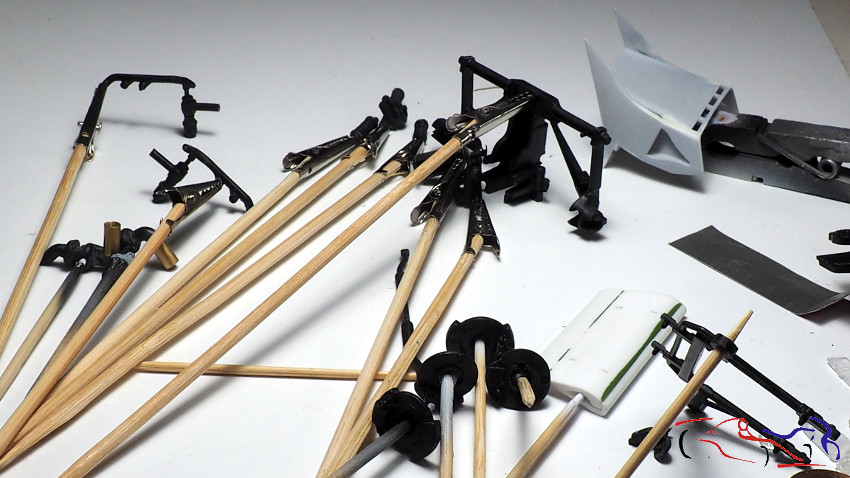
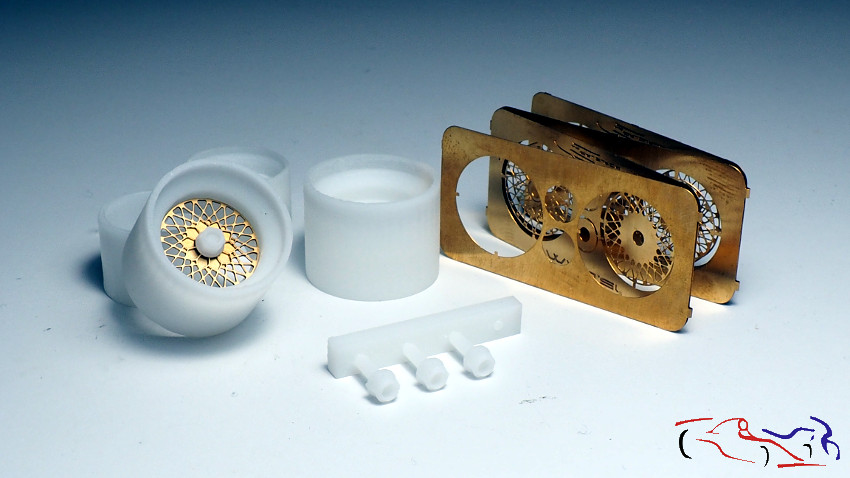
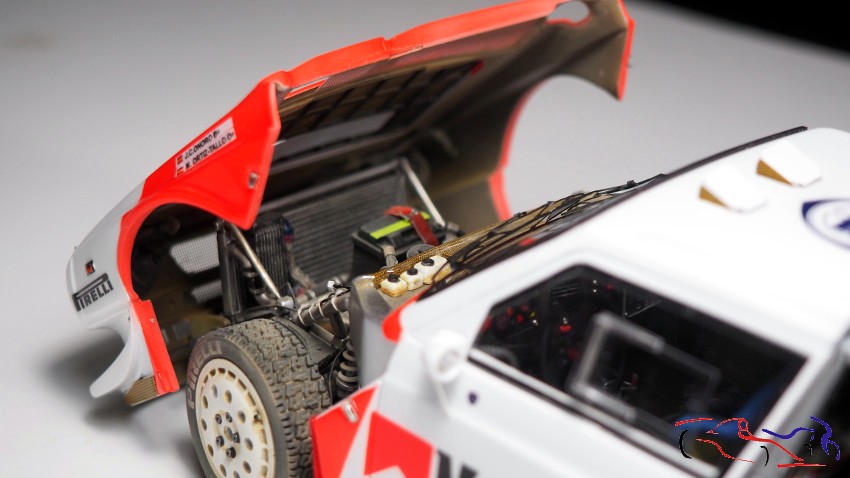
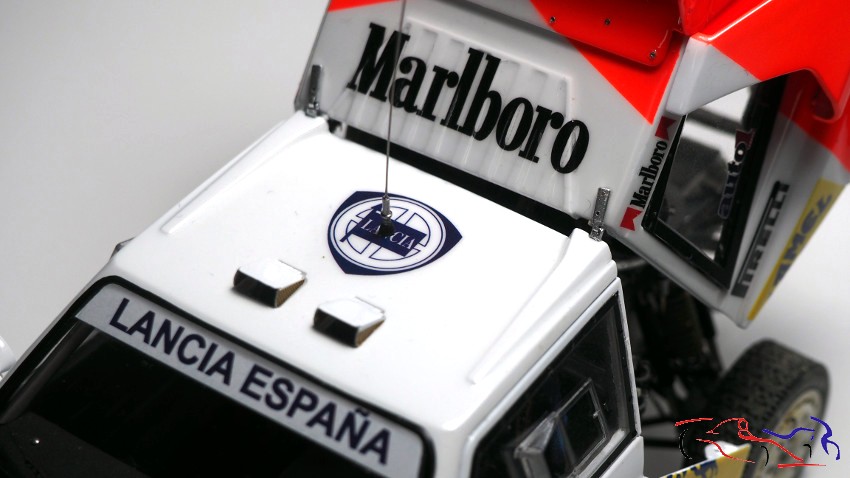
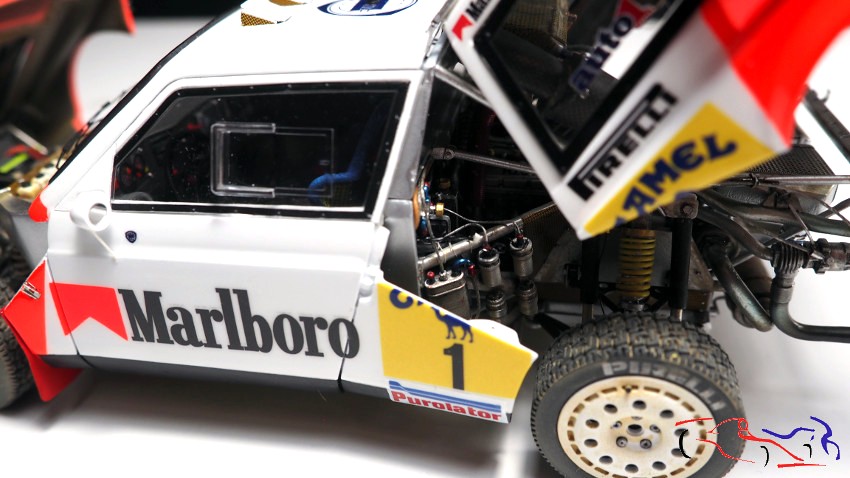
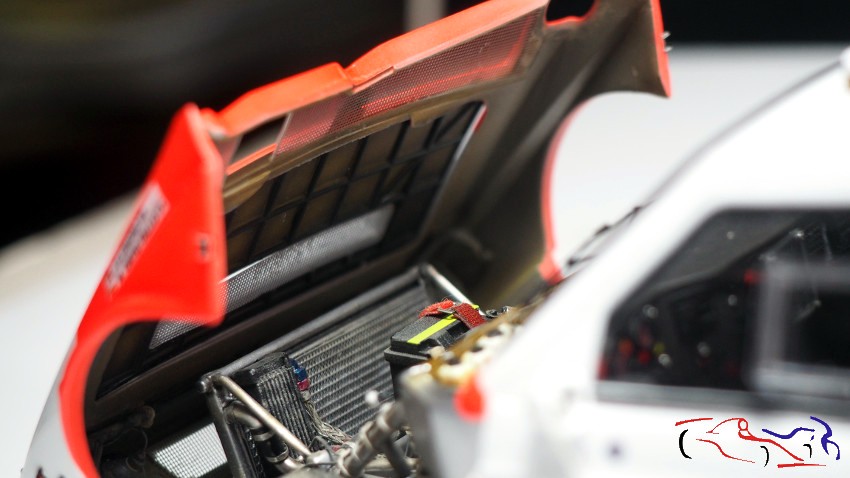
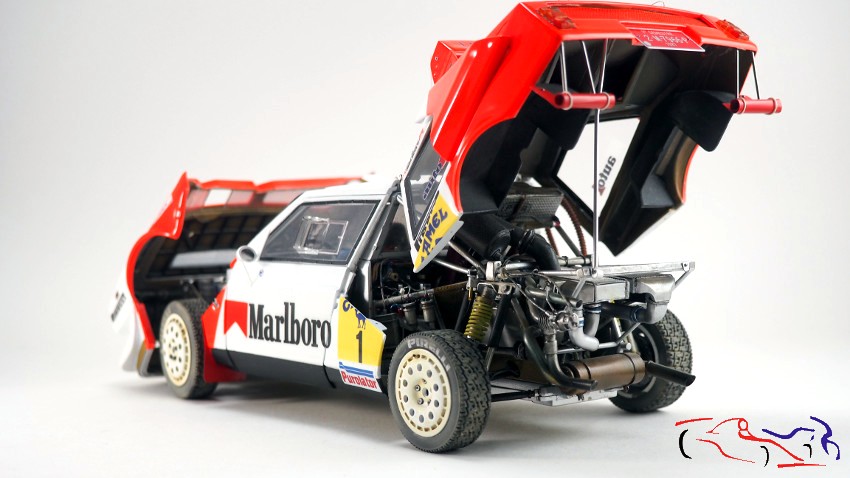
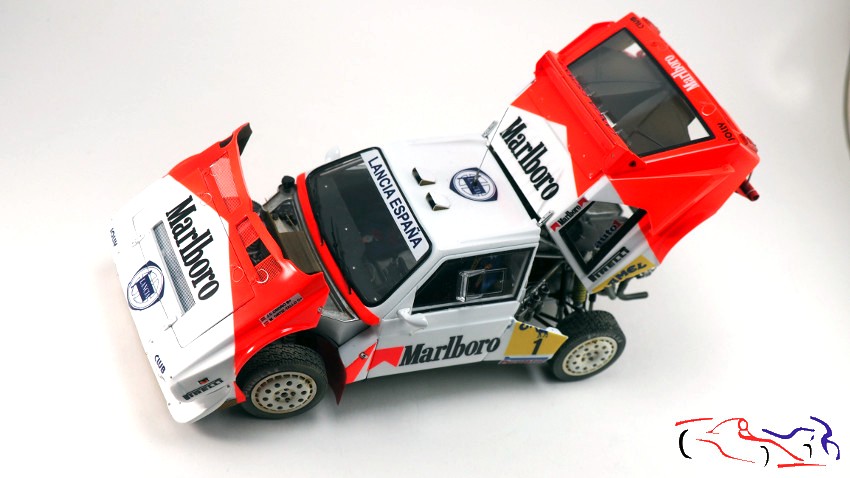
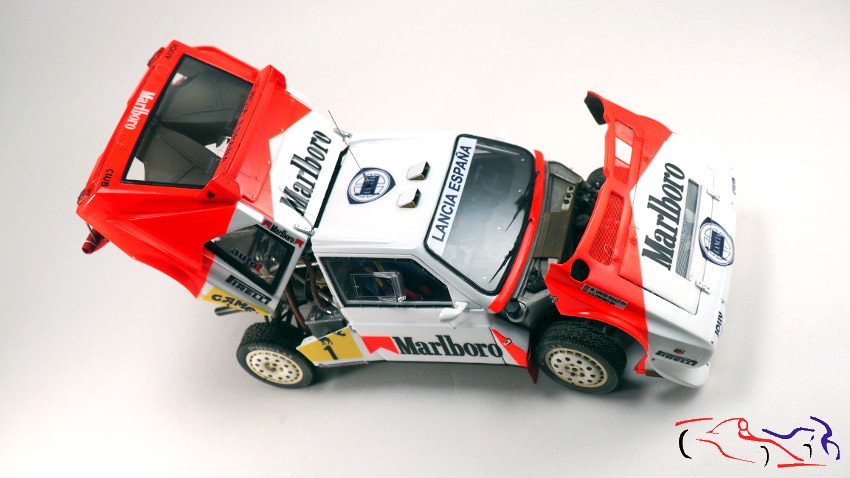
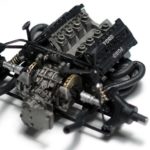
En el siguiente post, continuaremos con lo que no es carrocería! Gracias por mirar y comentar!
In the next post, we’ll continue with the non-bodywork! Thanks for watching and commenting!