
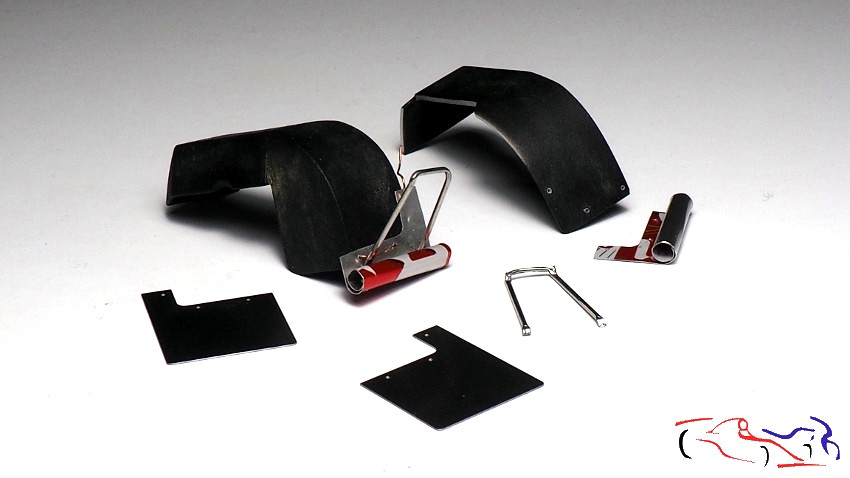
Ya estamos casi al final del proyecto, puesto que el siguiente post, tendrá los últimos pasos y las fotos finales. Pero anes de nada, os presento las modificaciones realizadas. Empezamos con los guardabarros traseros y sus faldillas. He usado la varilla redonda del TK de HD, doblándola según aconsejan. Y para las faldillas, he usado lata de refresco para las de detrás, y envoltura de las botellas de vino para las delanteras. En las traseras, necesitaba un material fino y rígido, pero que se pudiera doblar bien, puesto que el coche que hago, las tenía enrolladas (las faldillas del fotograbado son muy duras). En cambio, las de delante, debían ser moldeables para ajustarse la paso de rueda. Y aquí las tenéis!!
We are almost at the end of the project, since the next post will have the last steps and the final photos. But before anything else, I present you the modifications made. We start with the rear mudguards and their skirts. I used the round rod from HD’s TK, bending it as advised. And for the skirts, I used a soda can for the rear ones, and wine bottle wrap for the front ones. For the rear ones, I needed a thin and rigid material, but that could be folded well, since the car I make, had them rolled up (the photoetched parts are very hard). On the other hand, the front ones had to be mouldable to fit the wheel arch. And here they are!
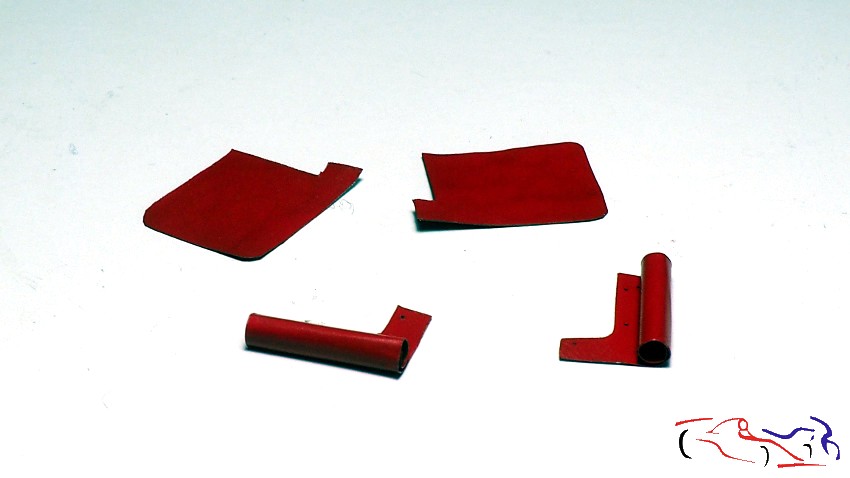
Una vez cortadas y formadas, las imprimo y las pinto con un rojo que se parece al que llevaba el coche en realidad: el rojo Coca-Cola de Gravity:
Once they are cut and shaped, I print them out and paint them with a red that looks like the actual car: the Coca-Cola red from Gravity:
Aquí ya tengo colocadas las traseras. Veréis que he puesto unos fotograbados en los remaches, y plástico estirado blanco a modo de fijaciones plásticos.
Here I have the rear ones in place. You will see that I have put some photoetched parts on the rivets, and white stretched plastic as plastic fixings.
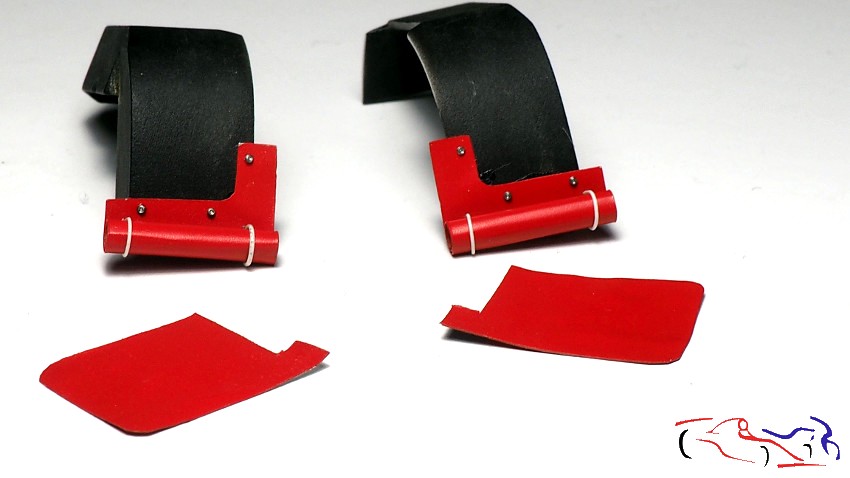
Las pegamos con ciano y posteriormente, las varillas dobladas:
We glue them with cyano and then the bent rods:
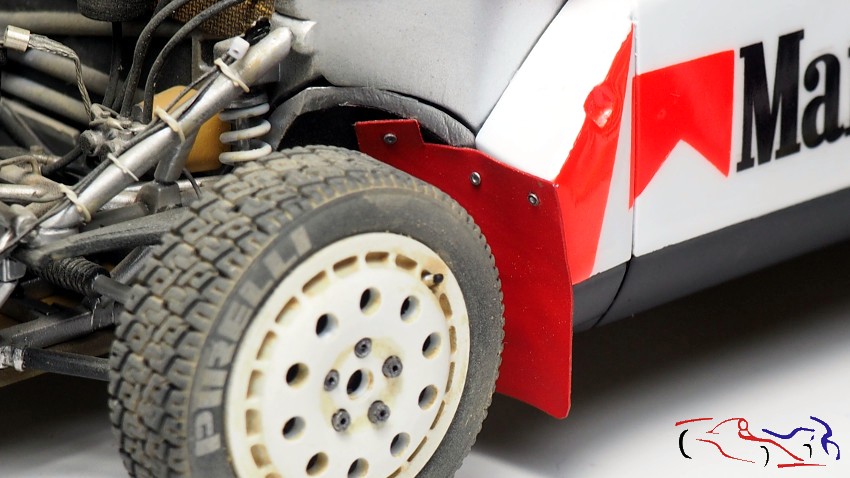
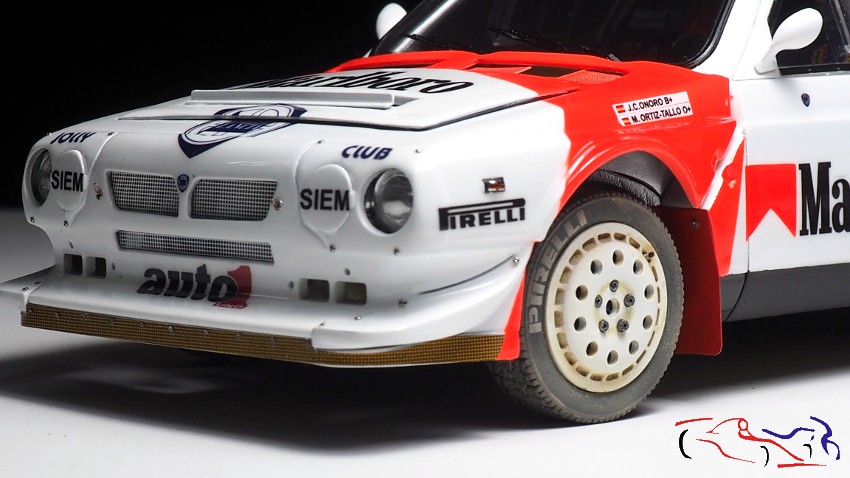
Aquí vemos las delanteras con sus remaches. Decir que están pegadas con cinta adhesiva de doble capa, para poder ajustarlas con cuidado, hasta que estén bien colocadas, y entonces, se presionar para que se adhieran correctamente.
Here we can see the front ones with their rivets. They are glued with double-sided adhesive tape, so that they can be carefully adjusted until they are well positioned, and then they are pressed to adhere properly.
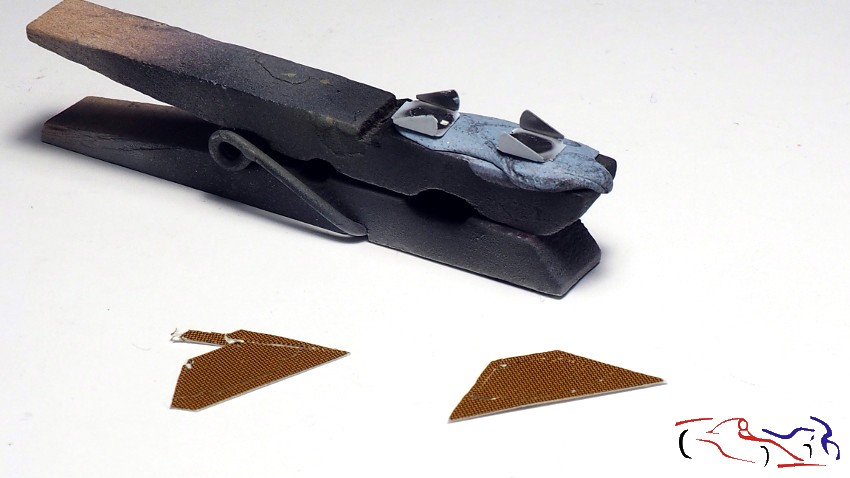
Otro detalle que he puesto ahora al final: las dos tomas de aire superiores que van de kevlar en la parte de avajo. Para ello, pongo cinta de enmascarar donde quiero que vaya, marco, y las traspaso a la calca. Después irán a la pieza:
Another detail that I have now put at the end: the two upper air intakes that are made of kevlar at the bottom. To do this, I put masking tape where I want them to go, mark them, and transfer them to the decal. Then they will go on the part:
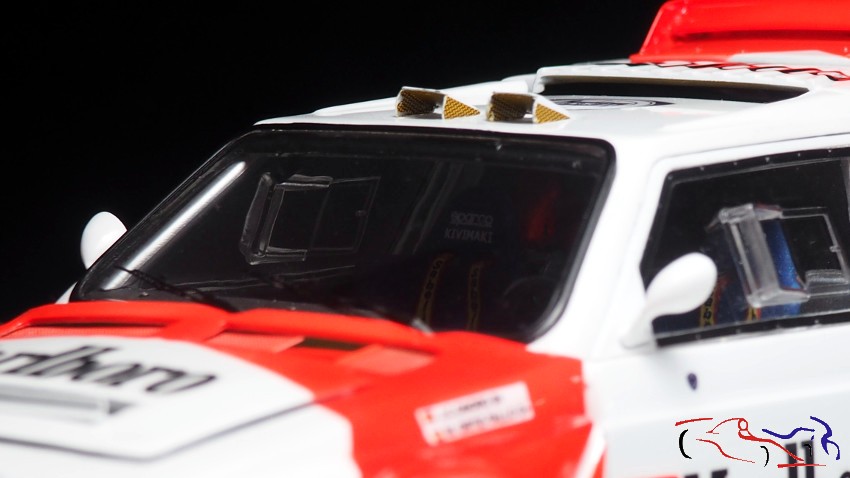
Ya las veis una vez puestas!
You can see them once they are on!
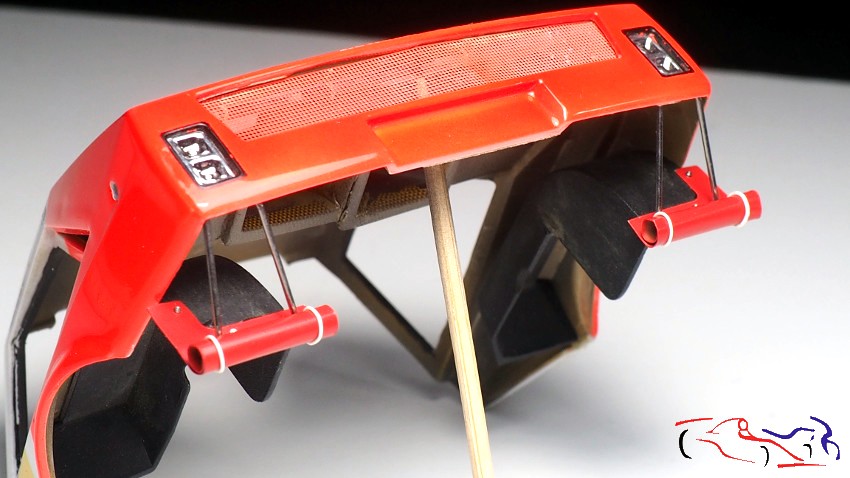
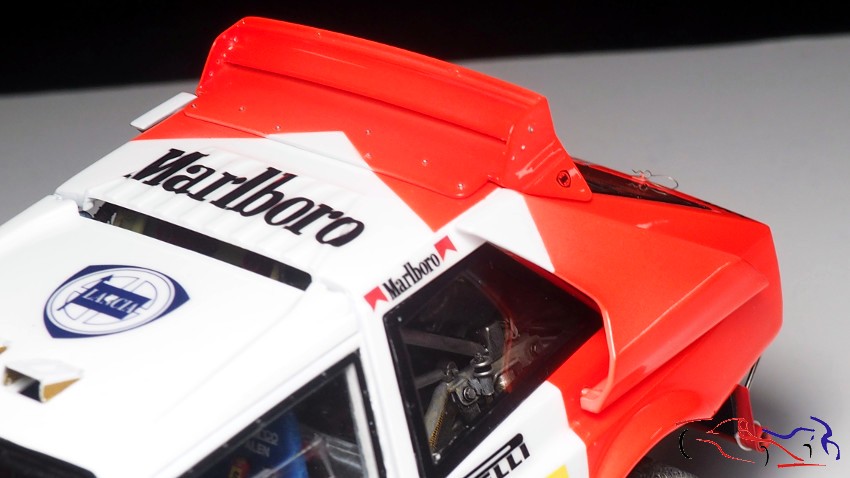
Más cosas que he colocado: el alerón trasero y las tomas de aire laterales. EL alerón tiene sus remaches de fotograbado:
More things I have fitted: the rear spoiler and the side air intakes. The spoiler has its photoetched rivets:
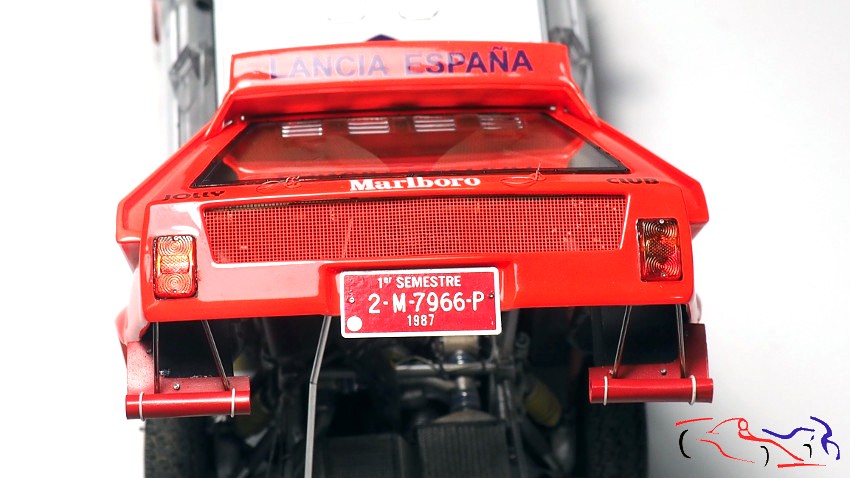
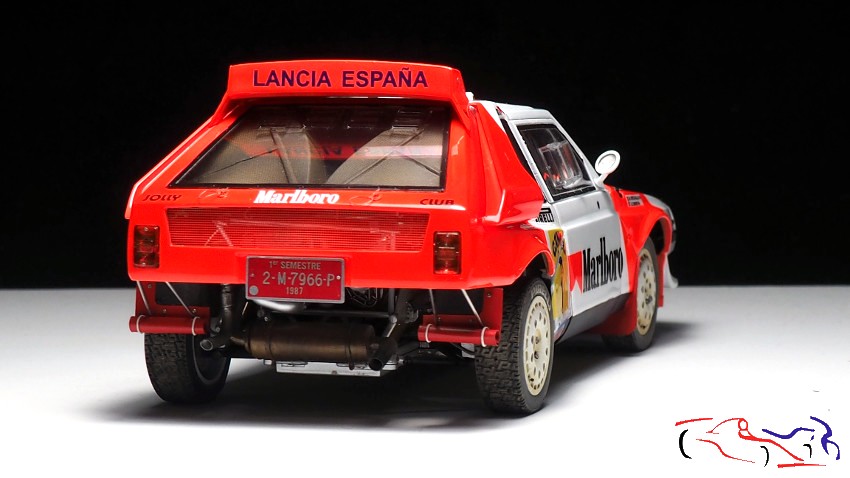
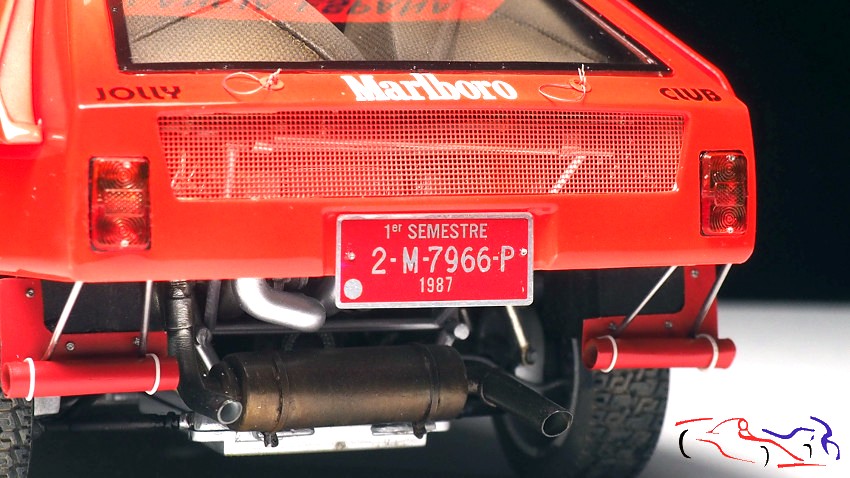
También he colocado la matrícula, los cristales de las luces traseras y los fotograbados de los anclajes del portón trasero.
I have also fitted the number plate, the rear light lenses and the photo-etched parts for the tailgate anchorages.
Para que el portón trasero quede abierto, el tubo que puse al final del motor, y que giraba desde la izquierda, lleva la siguiente extensión que se intruduce en el tubo….
To make the tailgate open, the tube that I put at the end of the engine, which swivels from the left, has the following extension that goes into the tubing at …..
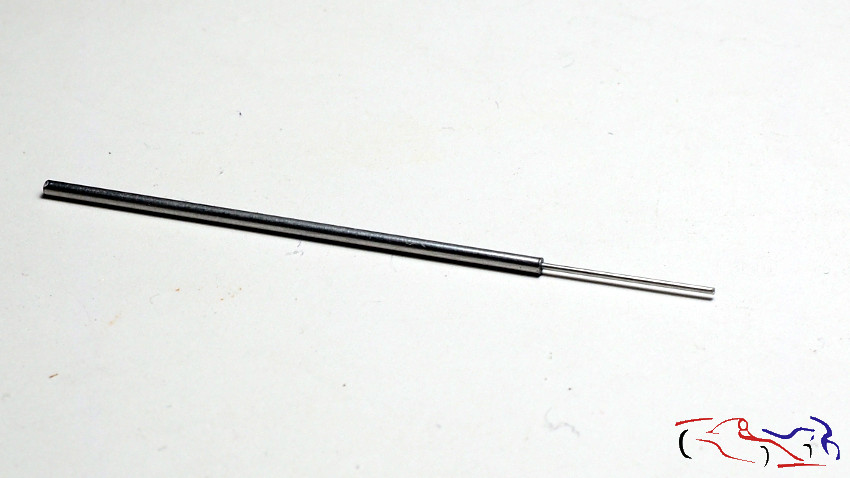
… quedando de la siguiente manera:
… as follows:
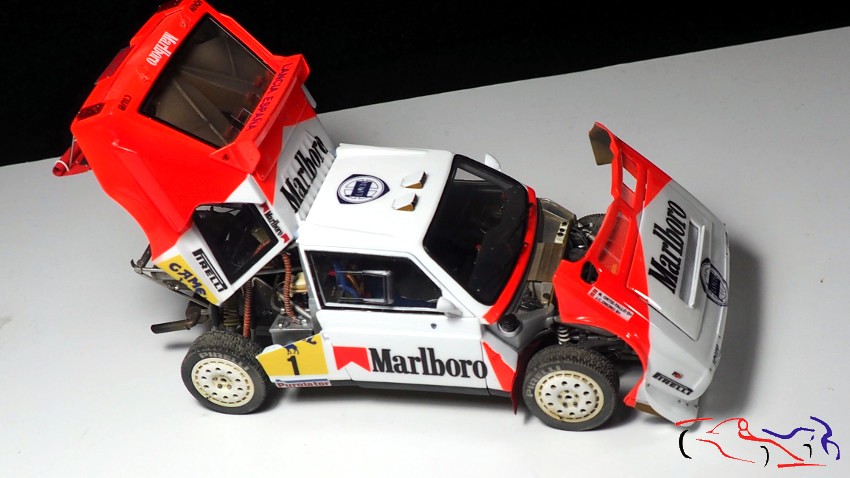
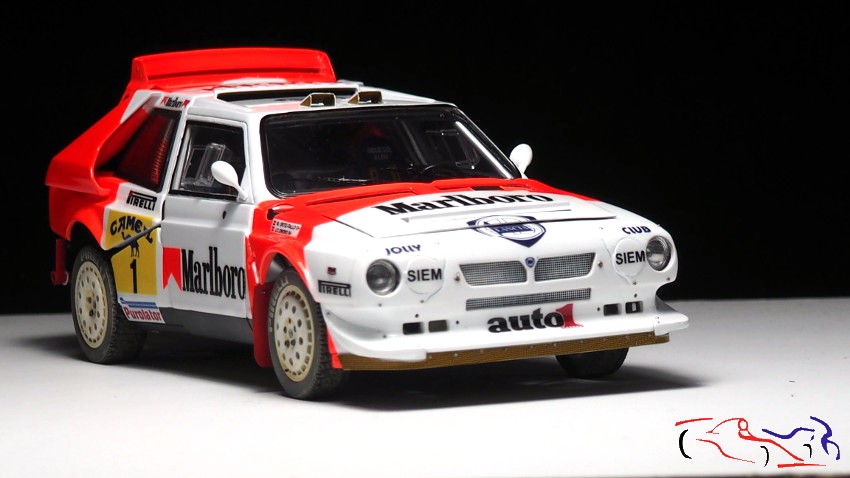
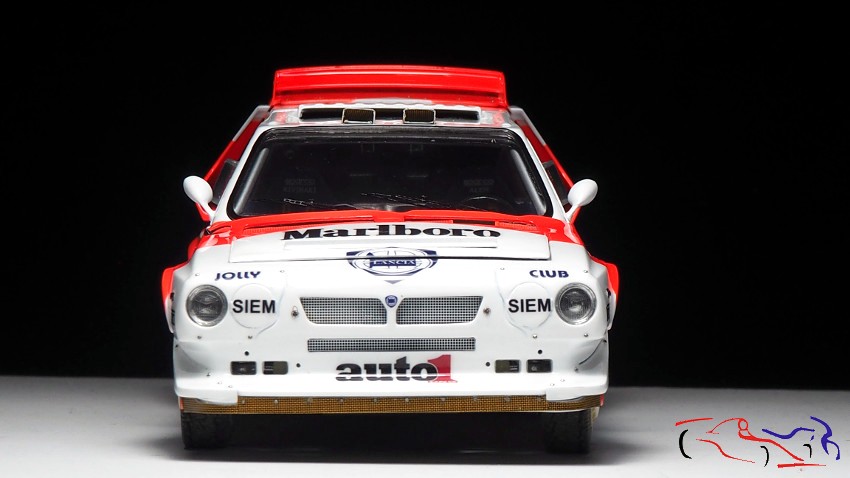
Aquí os presento unas fotos del coche, con los cristales ya puestos, a falta de 3 calcas y la bisagras:
Here are some photos of the car, with the windows already in place, with only 3 decals and the hinges missing:

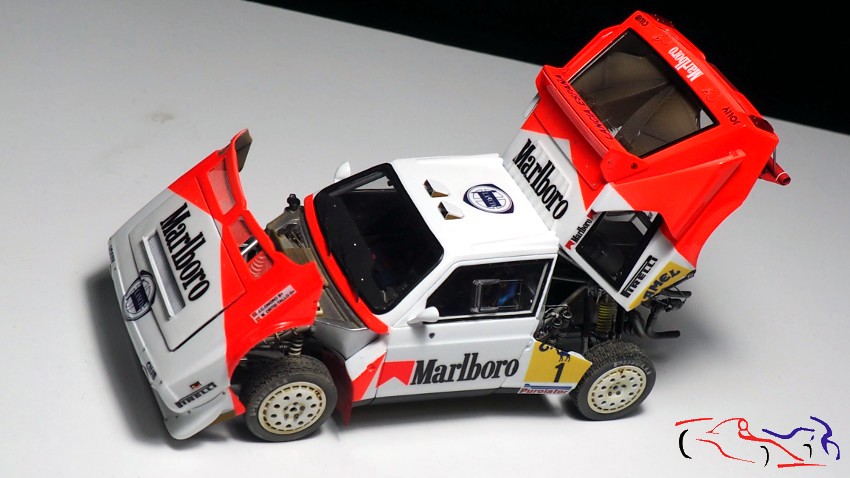
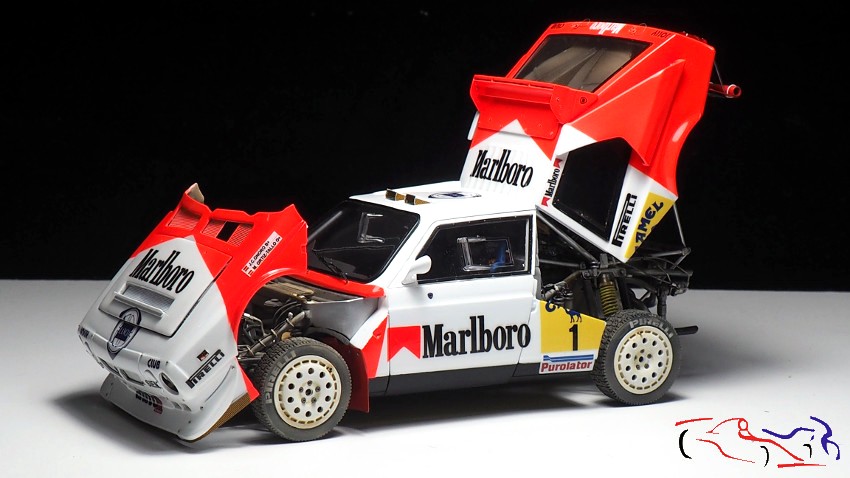
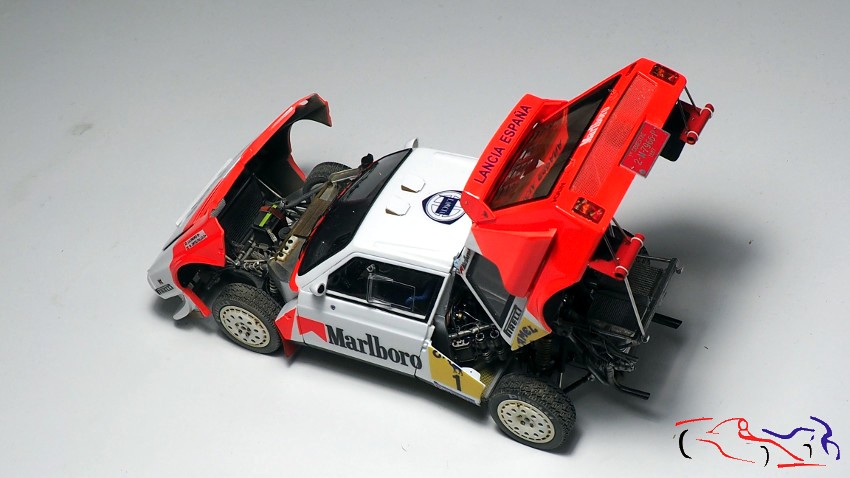

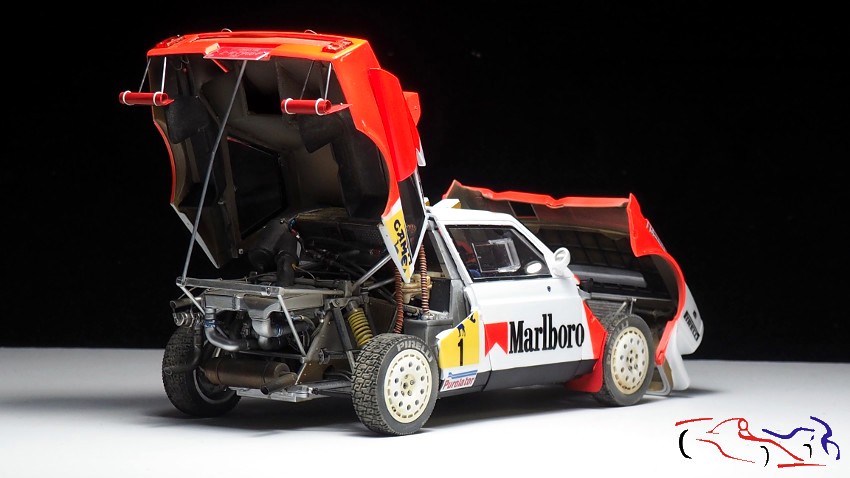
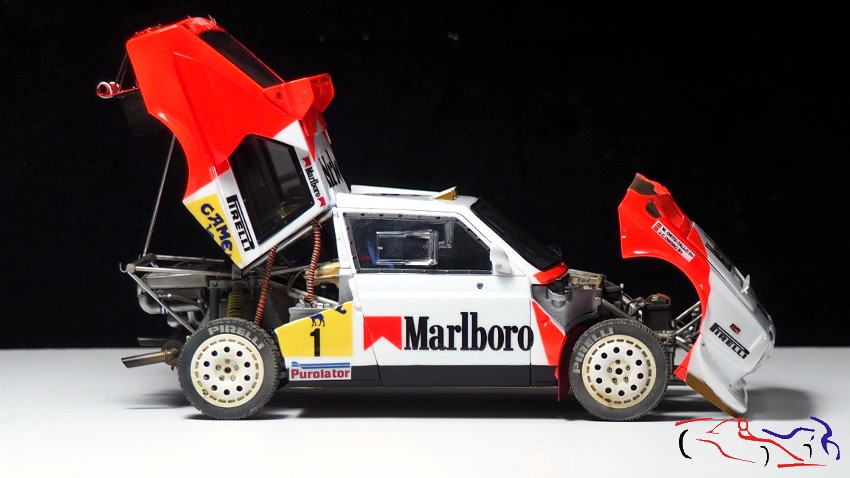
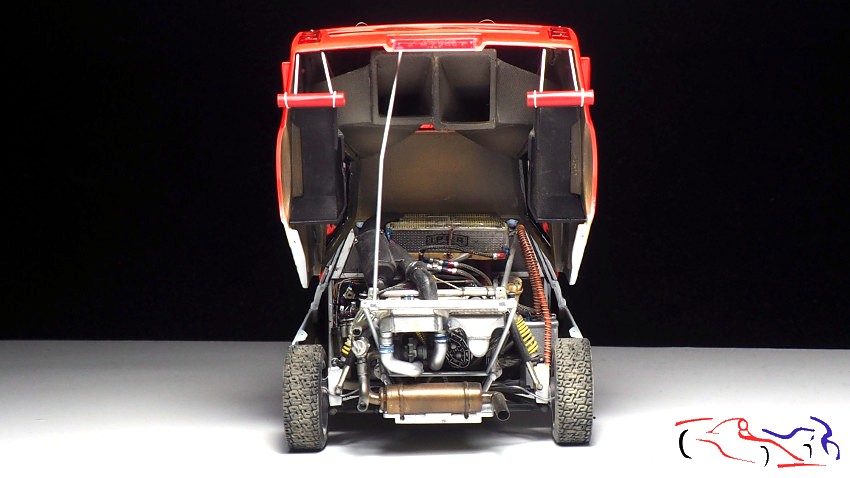
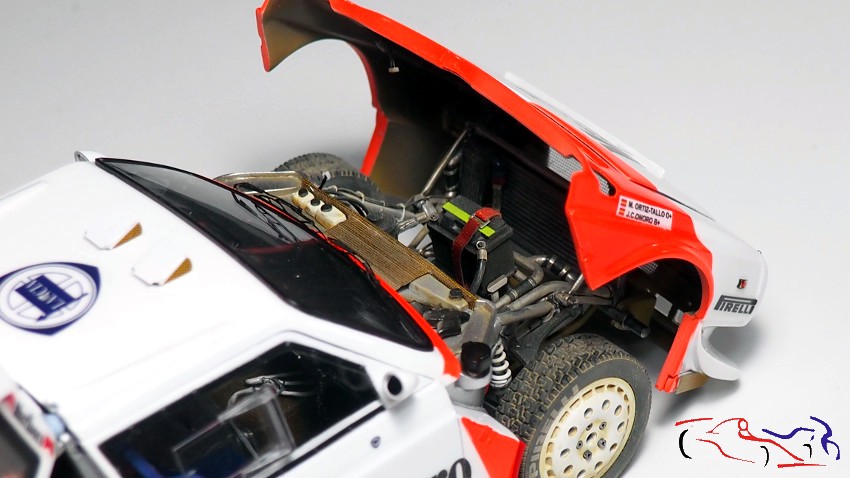
Las siguientes dos fotos nos enseñan lo que el capó y el portón guardan en su interior:
The following two photos show us what the bonnet and tailgate hold inside:

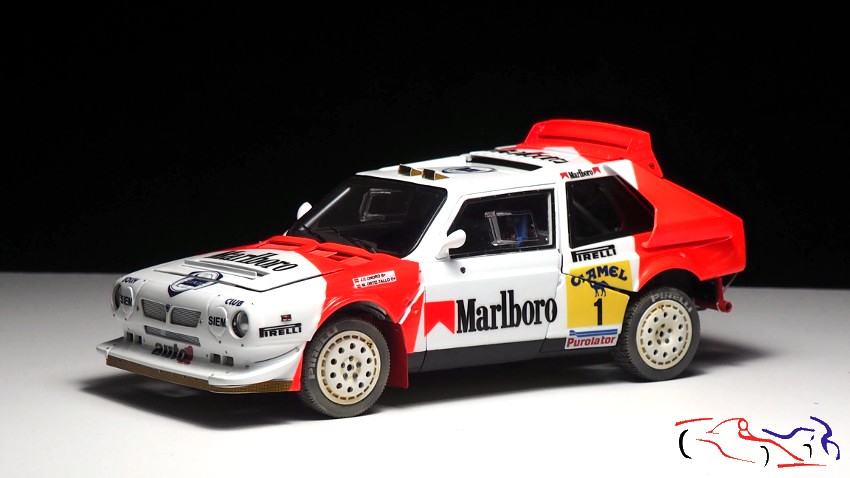
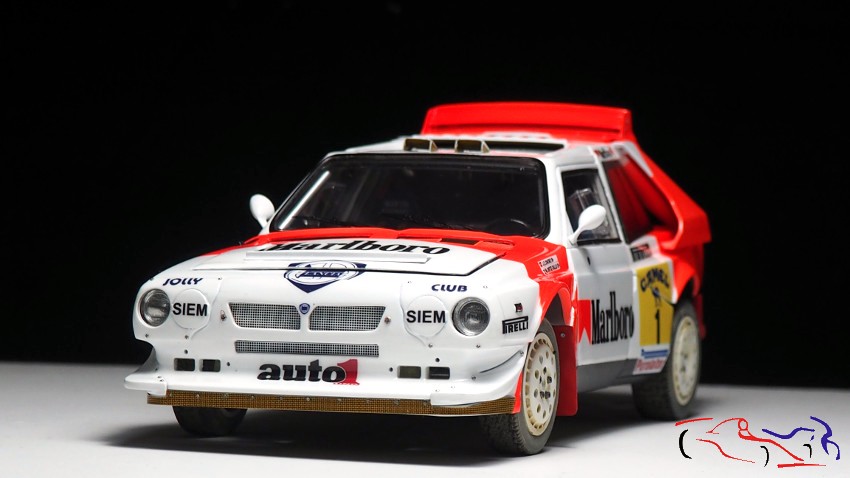
Y a continuación, fotos con el capó y portón trasero cerrados. Destacar que como he añadido muchos elementos que no estaban en el kit original, el cierre no es perfecto y no llegan al final, pero se ve muy bien como es el resultado:
And next, photos with the bonnet and tailgate closed. Note that as I have added many elements that were not in the original kit, the closing is not perfect and they do not reach the end, but you can see very well how the result is:


Y esto es todo. EN la siguiente entrada, las fotos finales. Gracias por ver y comentar!
And that’s all. In the next post, the final photos. Thanks for watching and commenting!


