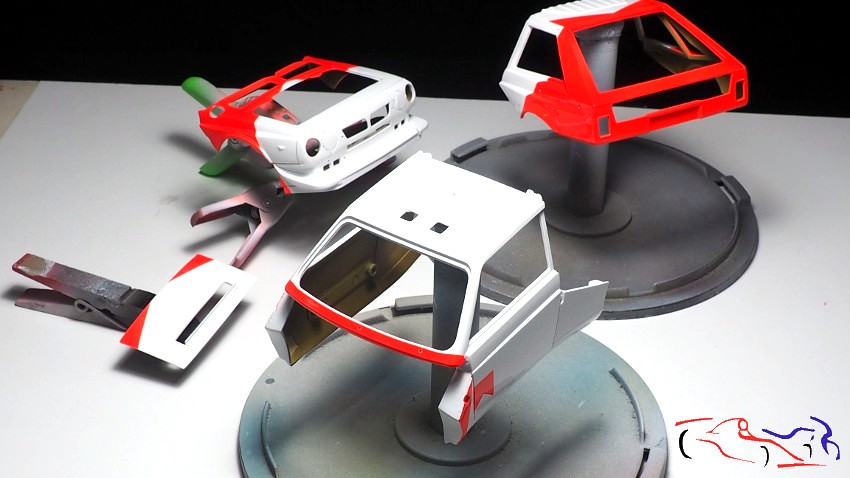
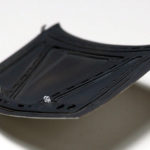
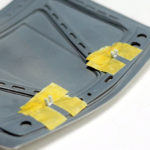
Continuamos con el Delta S4 en una fase donde ya se ven resultados importantes. Una vez dado el color, es hora de poner las calcas y de darle brillo. Pero empecemos desde el principio. La tapa superior del porton delantero, sigue dando problemas ya que la superficie es curva, y pegar el fotograbado. Y como estaba arreglándola, aproveché a repasar un poco la superficie pues tenía un agujero en el centro, y una salto de superficie en un lateral. Tuve que enmasillar, lijar, pintar de blanco de nuevo.
We continue with the Delta S4 in a phase where important results are already being seen. Once the color is given, it is time to put on the decals and give it a shine. But let’s start from the beginning. The upper cover of the front door, continues giving problems since the surface is curved, and paste the photoetch And as I was fixing it, I took the opportunity to go over the surface a bit because it had a hole in the center, and a surface jump on one side. I had to caulk, sand, paint white again.
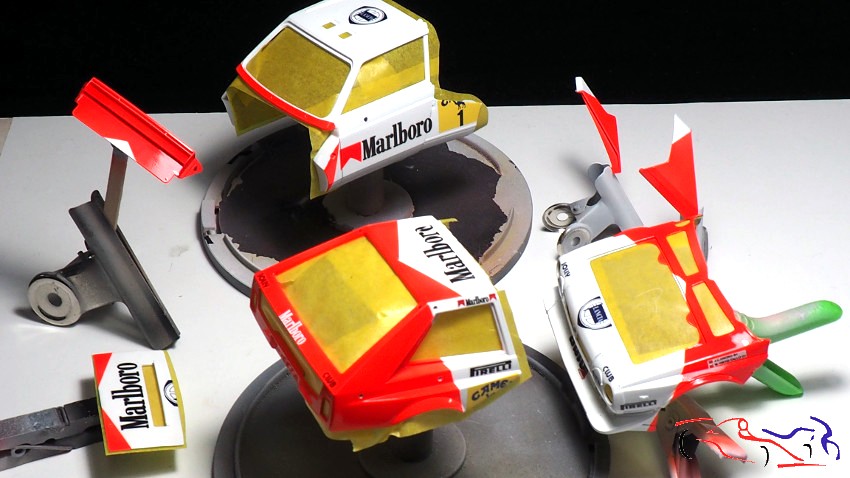
Lo siguiente fue poner las máscaras de los logos laterales, para pintarlos con el color de la carrocería. No recuerdo si las máscaras estaban con el primer juego de calcas o con el de KMP.
The next step was to add the masks of the side logos, to paint them with the color of the body. I don’t remember if the masks were with the first set of decals or with the KMP one.
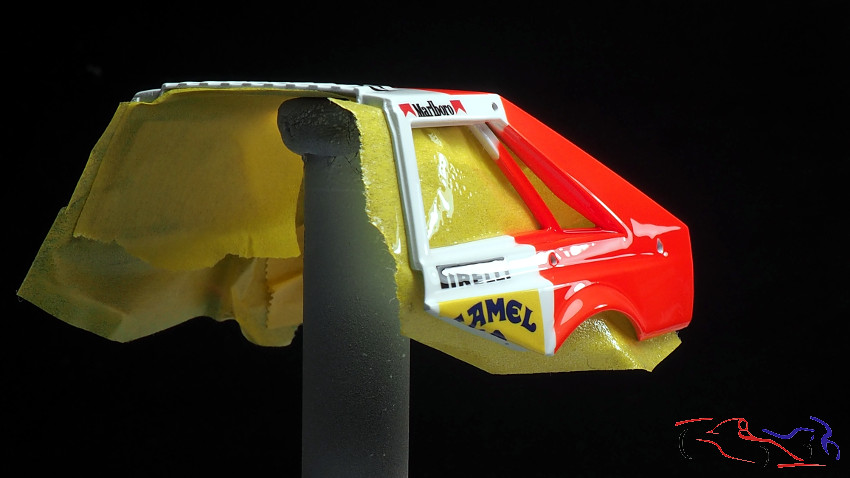
En este punto, ya estaba listo para dar una mano de barniz para poner las calcas a continuación. Pero el barniz prediluido de Zero no funcionó bien con la pintura roja de Gravity: empezó a disolverla haciéndola rosa. La suerte fue que empecé en una toma de aire lateral, que no iba a tener calcas, y que se podría tratar más fácilmente. Pero, qué hacía ahora? Y por esas fechas, recibí unos productos nuevos que tenía para probar, y que ya los había aplicado en cucharas. Y como me fueron bien, pues los usé en este kit. En concreto, usé el barniz prediluido, con 2 capas muy finas y otra más húmeda para dar brillo. El resultado fue bueno:
At this point, I was ready to give a coat of varnish to put on the decals later. But Zero’s prediluted varnish didn’t work well with Gravity’s red paint: it started to dissolve it the paint turning it to pink. The luck was that I started with a side air intake, which was not going to have decals, and which could be treated more easily. But what could I do then? And around that time, I received some new products that I had to test, and that I had already applied them in spoons. And since they were good for me, I used them in this kit. In particular, I used the prediluted varnish, with 2 very thin coats and another one more humid to give shine. The result was good:
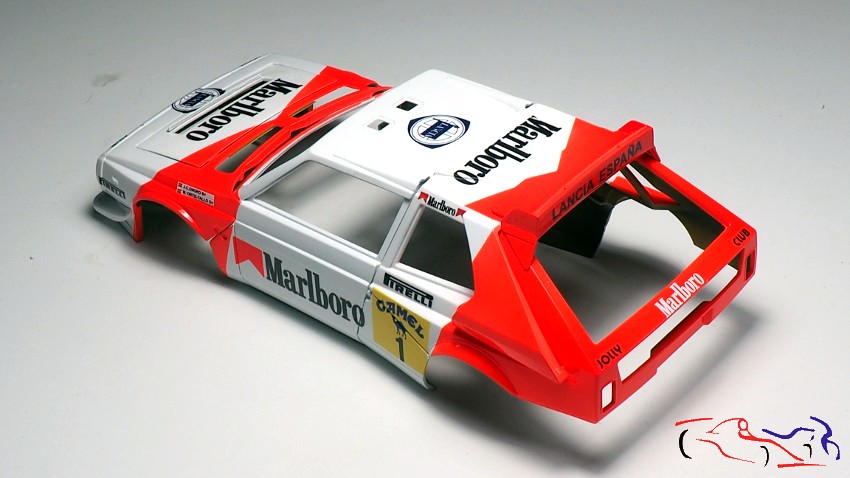
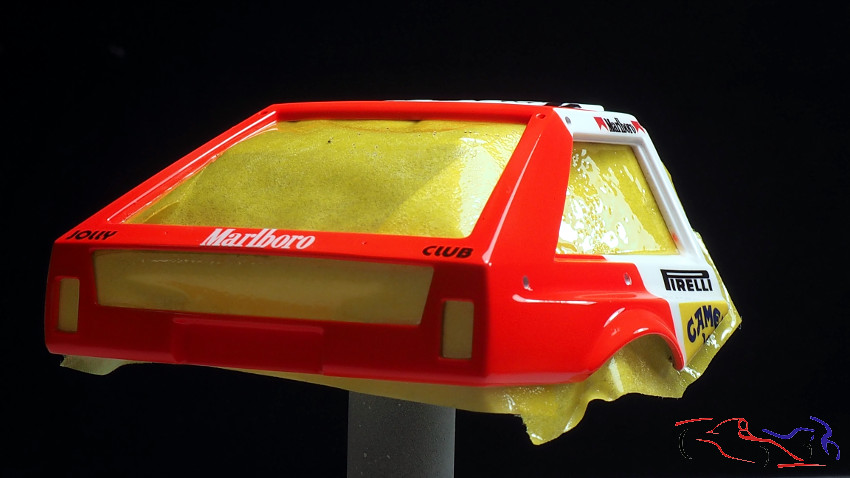
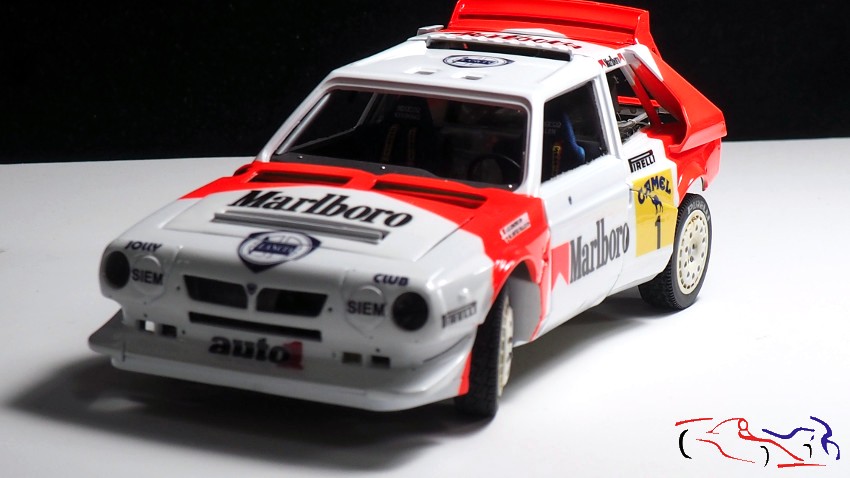
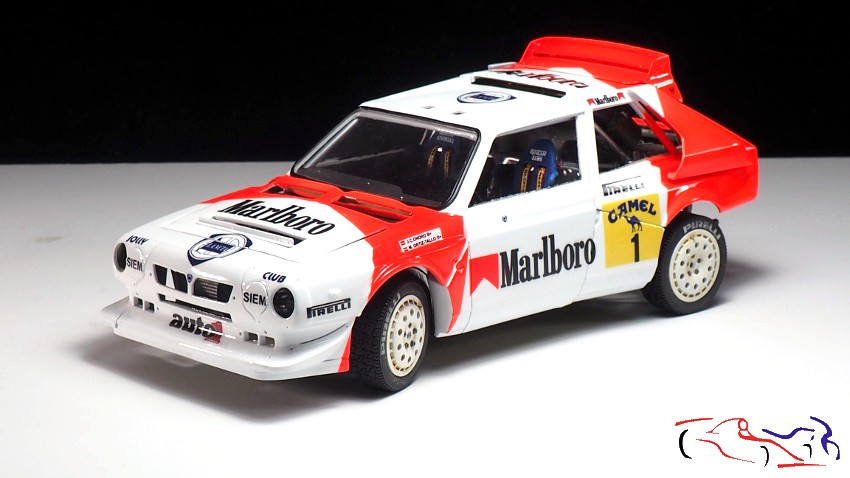
Y después de que estuviera seco, puse las calcas. Sin problemas con las de KMP!! Y este es el resultado:
And after it was dry, I put the decals on. No problems with the KMP ones !! And this is the result:
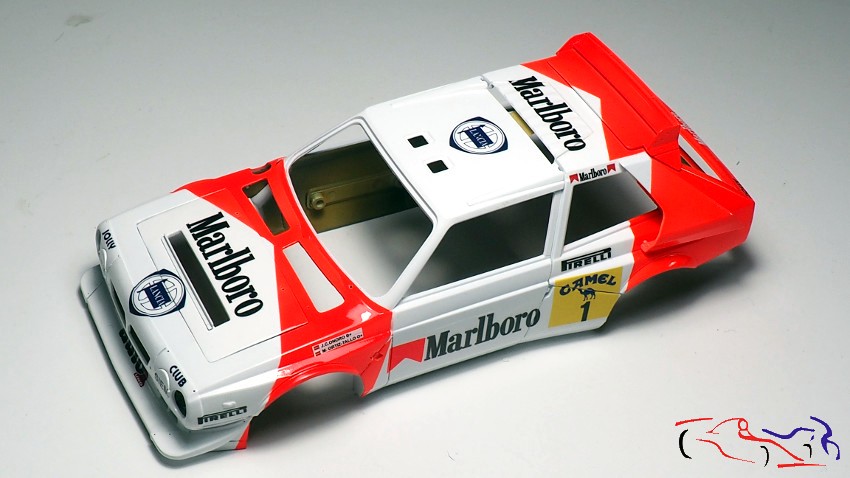
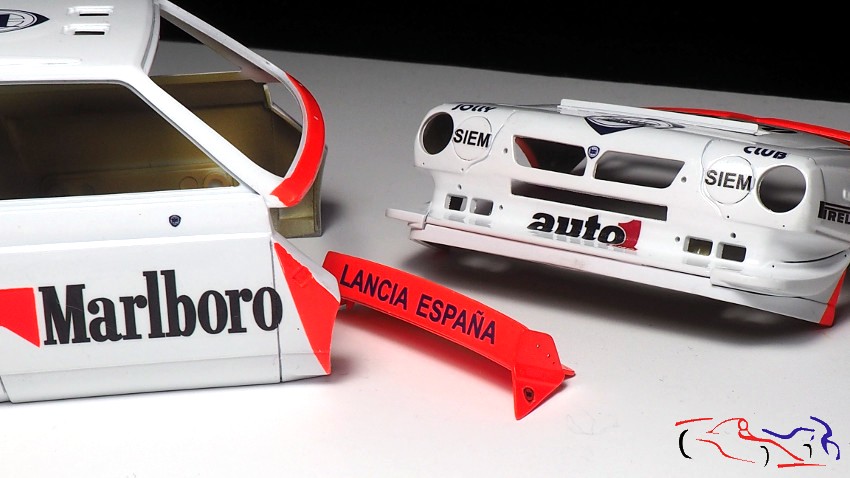
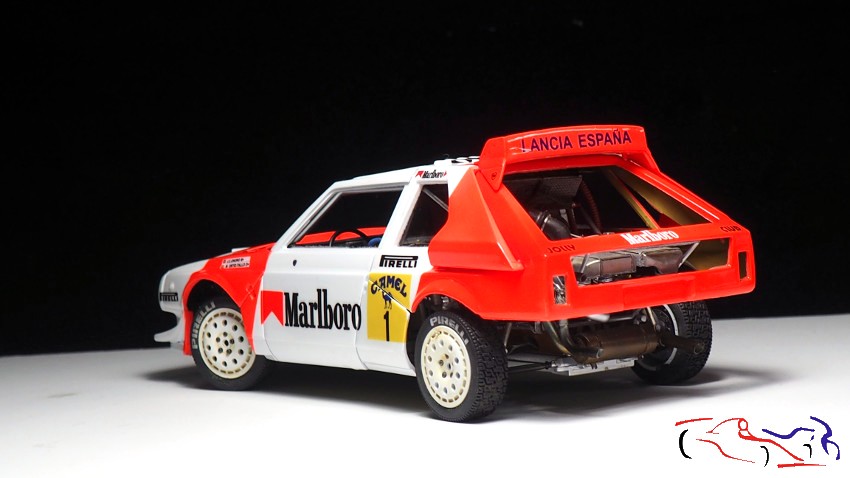
Algún comentario: La calca de “LANCIA ESPAÑA” de KMP no tenía la parte superior de la Ñ, con lo que usé la del primer juego de calcas que encargué localmente hace años a ARTECNODECALS:
One comment about the KMP decals: The “LANCIA ESPAÑA” decal from KMP did not have the upper part of the Ñ, so I used the one from the first set of decals that I ordered locally from ARTECNODECALS years ago:
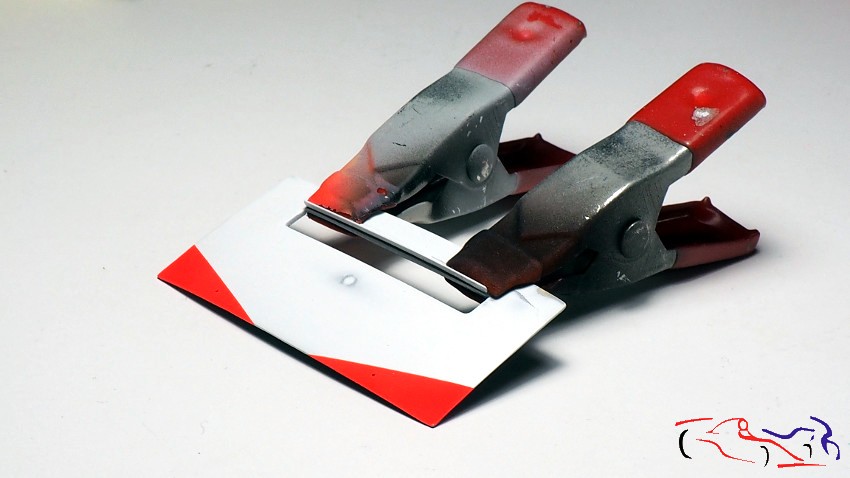
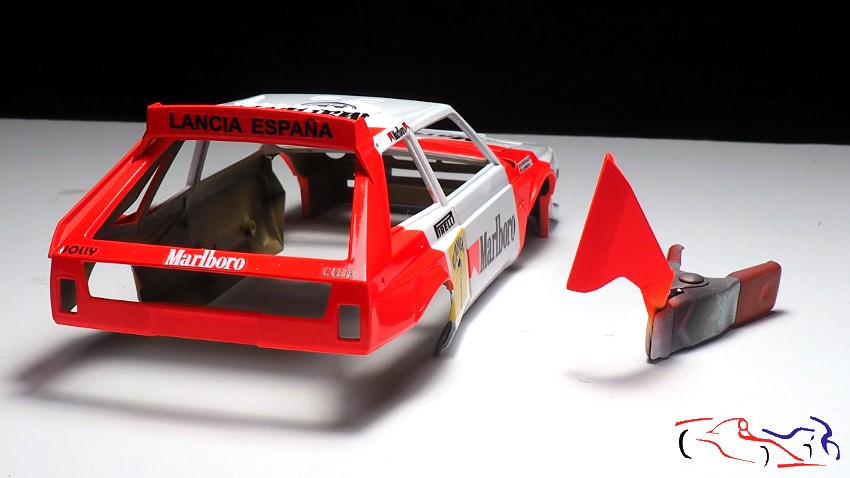
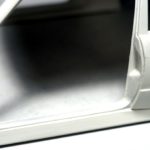
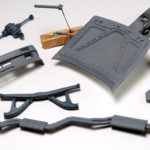
Aquí vemos la pieza que tuve que repinar de nuevo en rojo:
Here we see the piece that I had to repaint again in red:
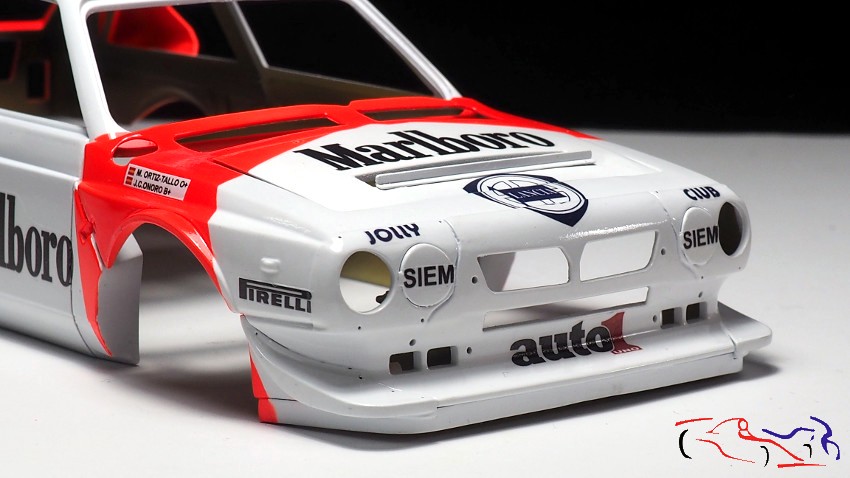
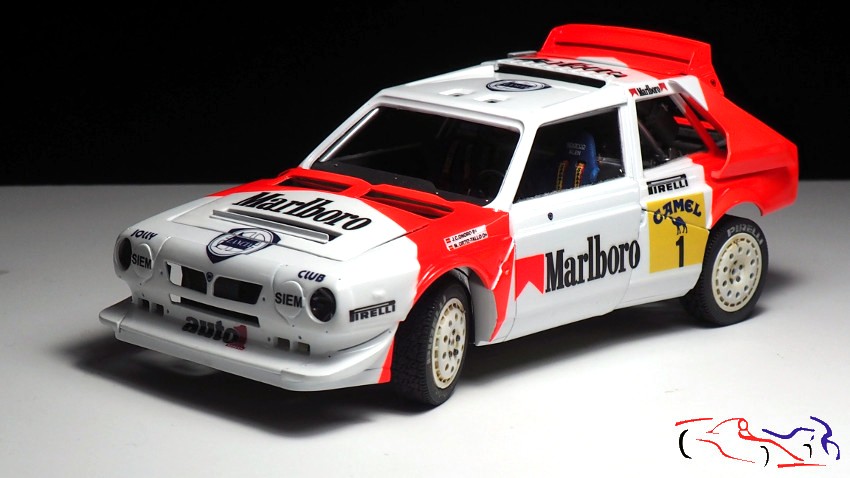
Como dato curioso, al poner las fotos en FB, un amigo llamado Juan Manuel Crespo, me dijo que faltaban los logos de Lancia en los laterales del alerón, en las puertas y en el frente. Y era cierto, los busqué y aunque la hoja de calcas de KMP no las tenía, usé las de Artecnodecals, que si las llevaba. Y aquí están! Gracias Juan Manuel!!
As a curious fact, when I put the photos on FB, a friend named Juan Manuel Crespo told me that the Lancia logos were missing on the sides of the spoiler, on the doors and on the front. And he was true, I looked for them and although the KMP decal sheet did not have them, I used the Artecnodecals ones, which I did have. And here they are! Thanks Juan Manuel !!
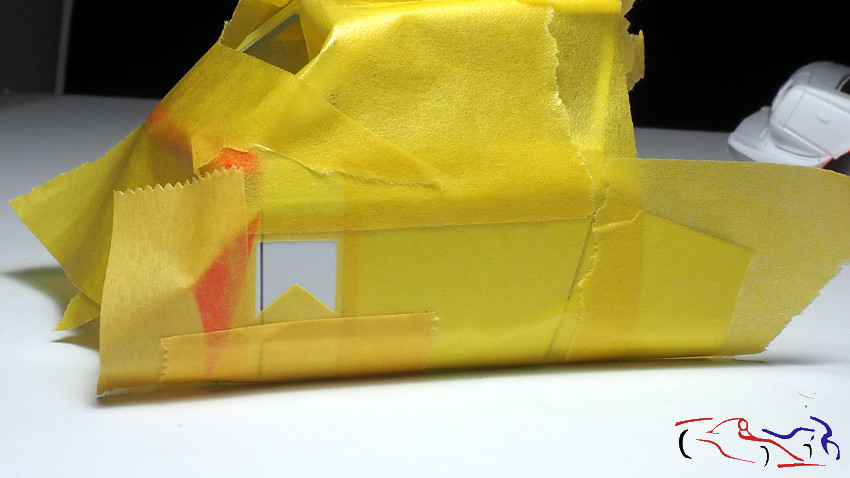
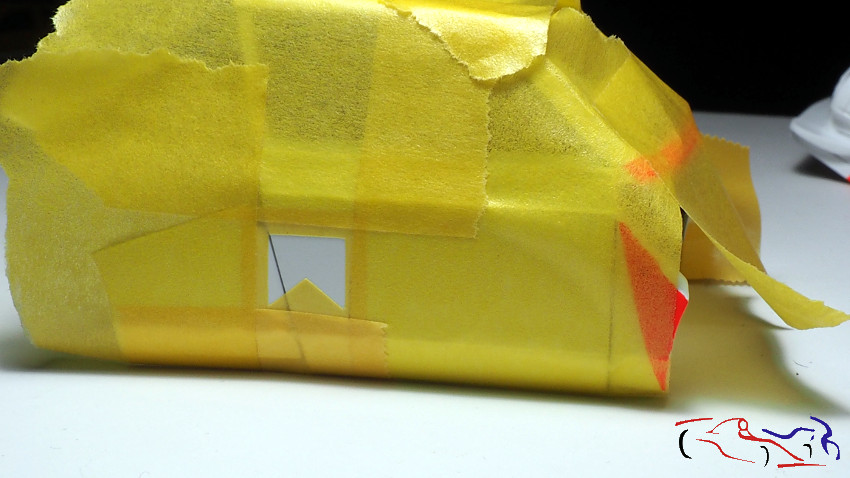
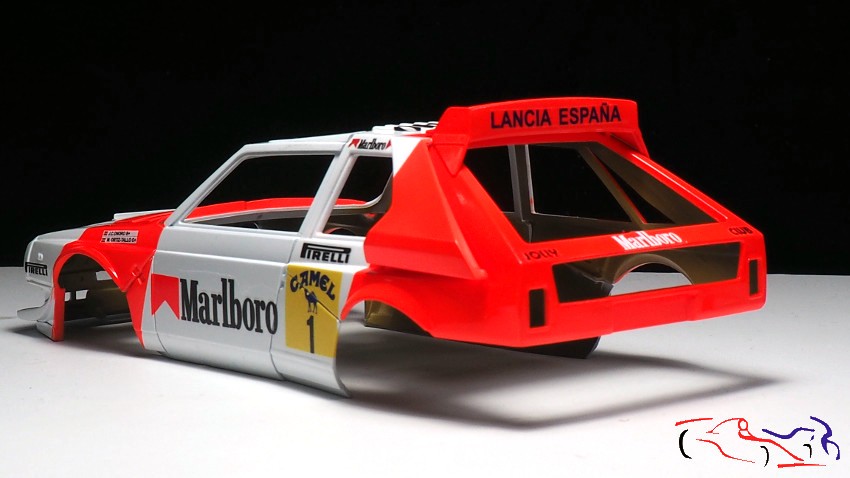
Una vez puestas las calcas, enmascaré la carrocería por dentro, para el proceso de lacado con la marca Gravity:
Once the decals were put on, I masked the body inside, for the lacquering process with the Gravity brand:
Y este es el resultado. Un poco gruesa para mi gusto pero es aceptable:
And this is the result. A little thick from my opinion but it is acceptable:
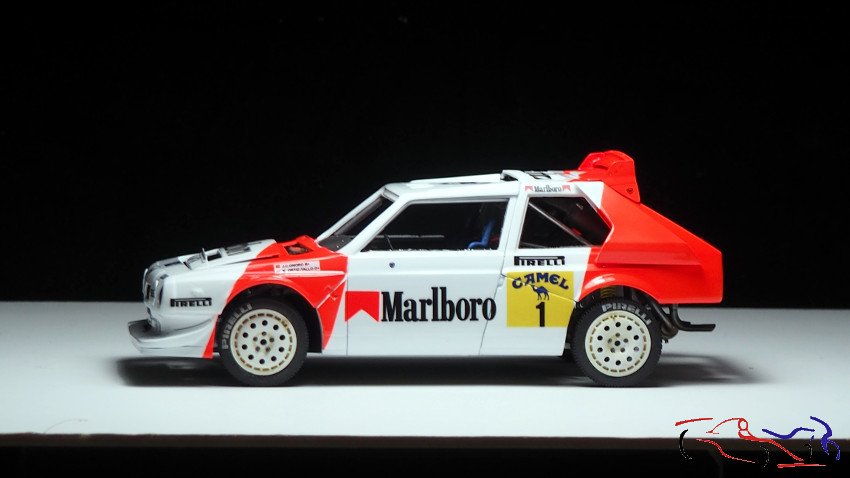
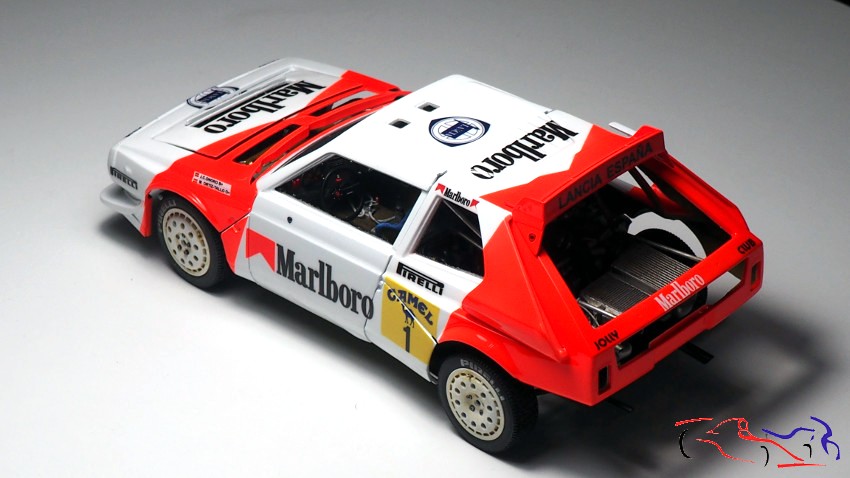
Y al secar, tenía que ponerla en el chasis!!! El resultado es muy bueno!!!
And when drying, I had to put it on the chassis !!! The result is very good!!!
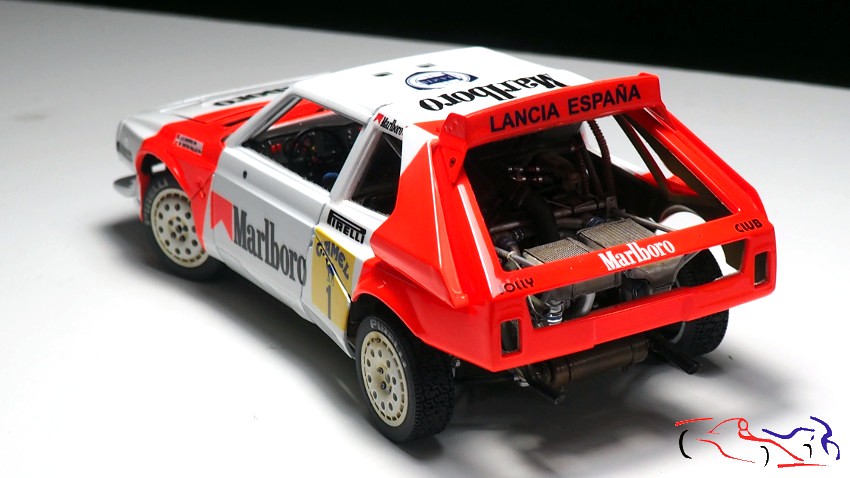


Lo próximo será empezar a poner detalles para el acabado final!! Gracias por ver y comentar!!
The next step will be to start putting details for the final finish !! Thanks for viewing and commenting!!
Esta quedando estupendo!!! Felicitaciones
Me alegro que te guste!! Gracias por comentar!