Bueno….ya tengo la carrocería lacada y con algunos avances hechos!!! Tiene muy buena pinta!!!
Well …. I already have the body lacquered and with some progress made !!! Looks good!!!
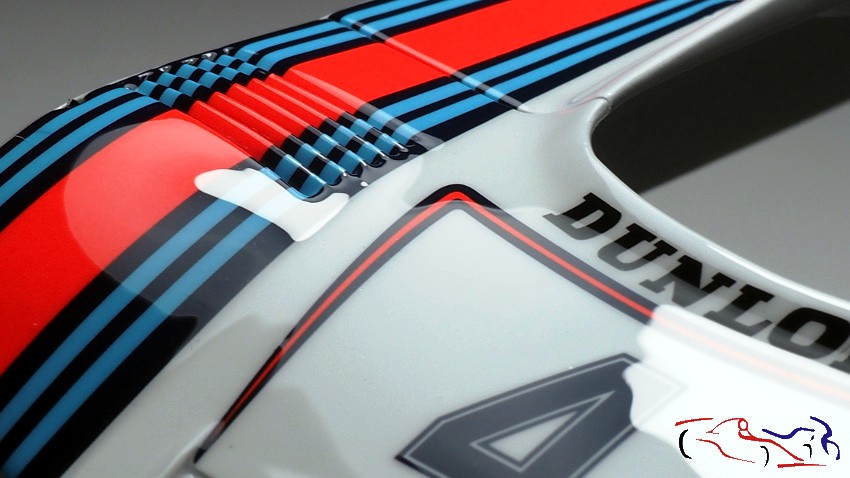
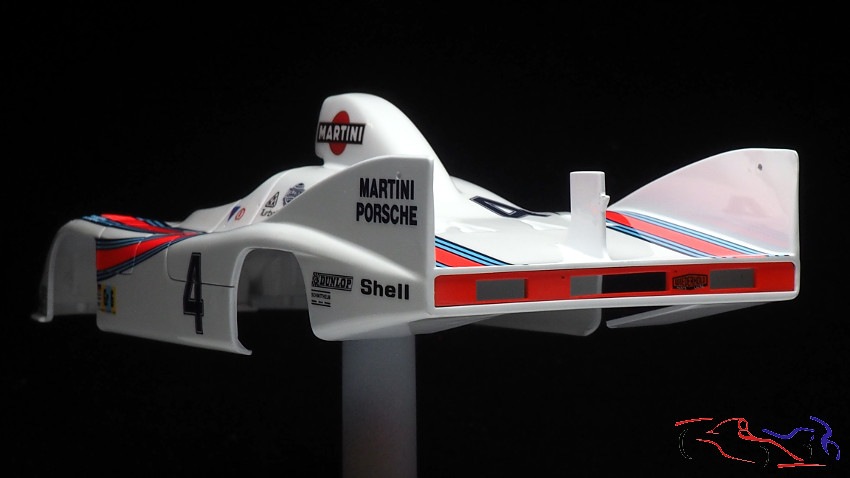
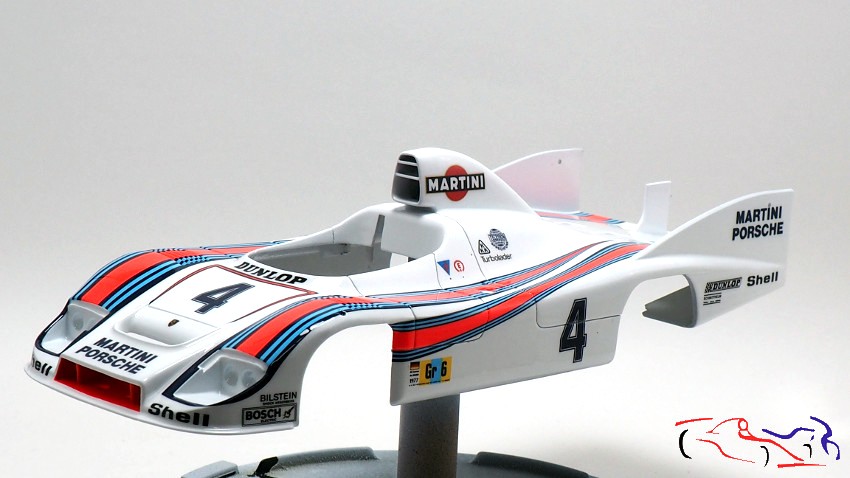
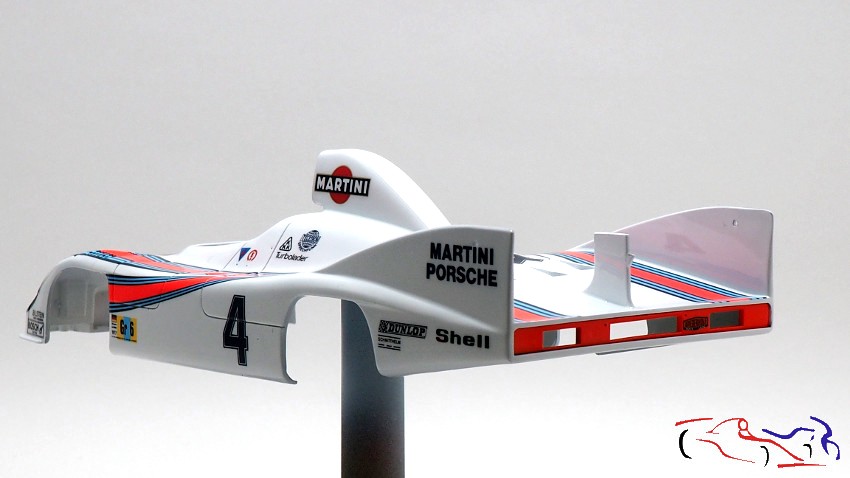
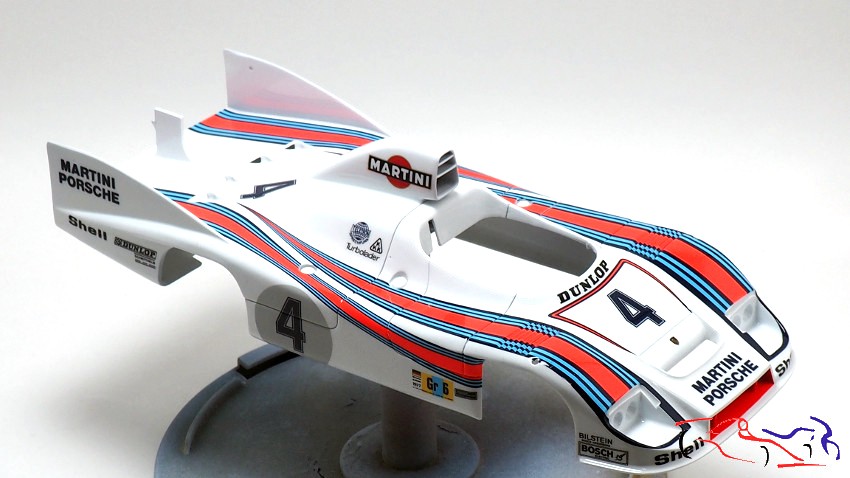
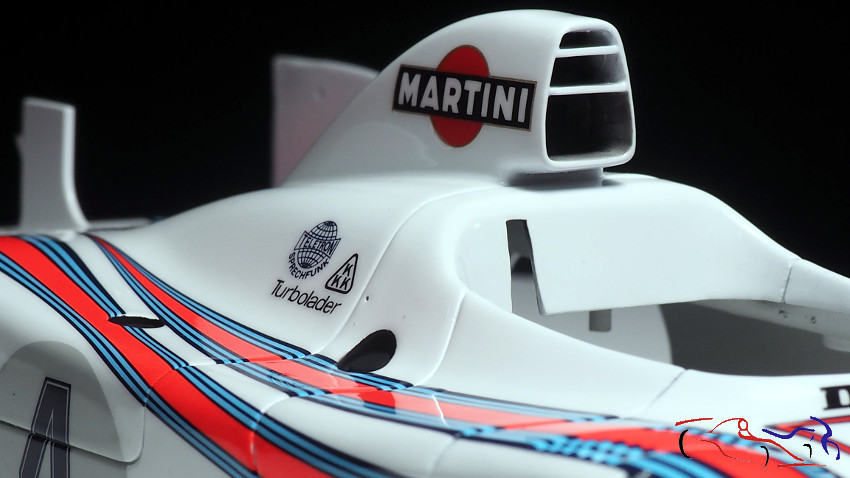
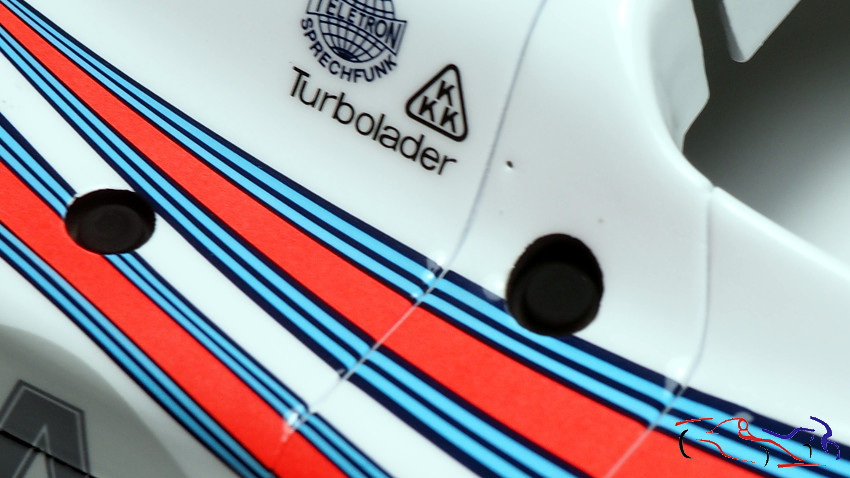
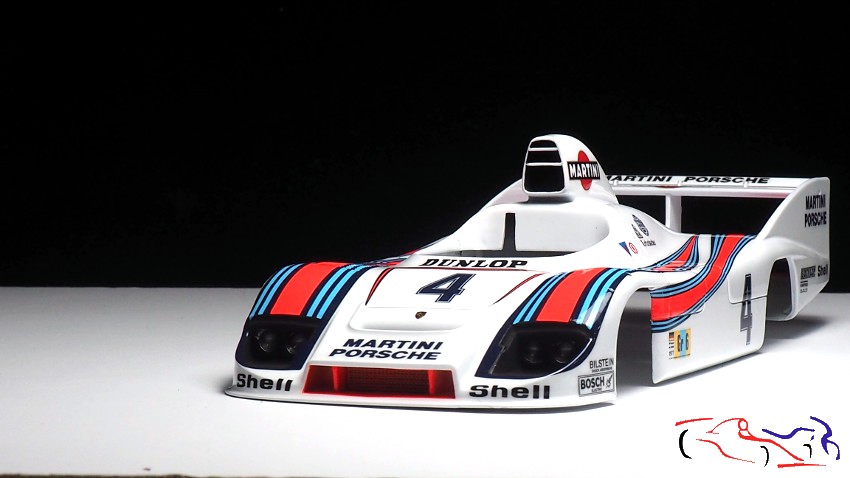 Pero vamos con las fotos. Estas son de la carrocería lacada: dos capas muy ligeras, y una tercera con más disolvente, separadas por 5/10 minutos, de la marca Gravity.
But let’s go with the photos. These are of the lacquered body: two very light layers, and a third with more solvent, separated by 5/10 minutes, of the Gravity brand.
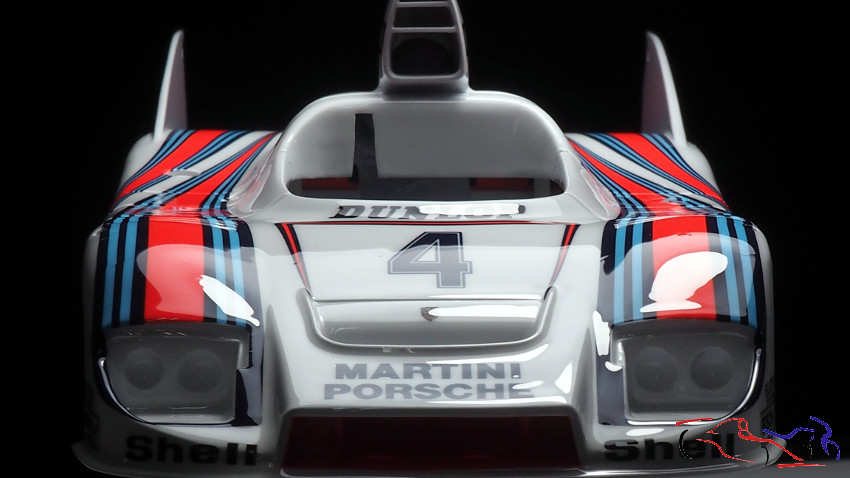

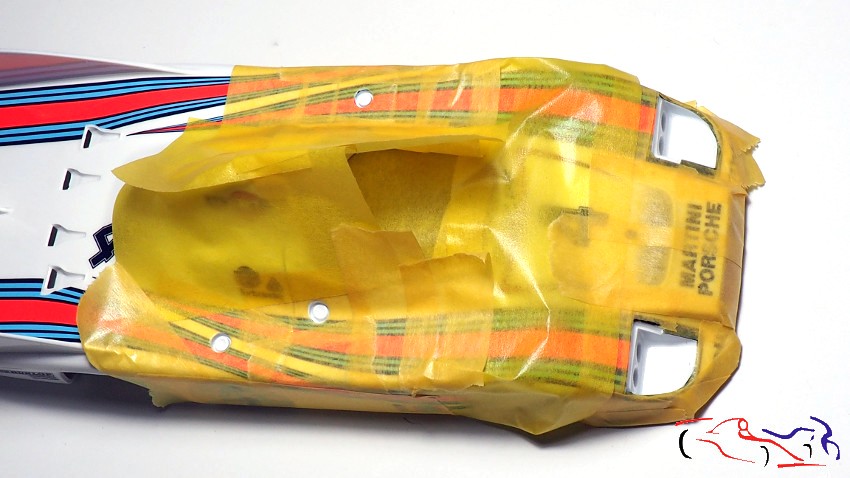
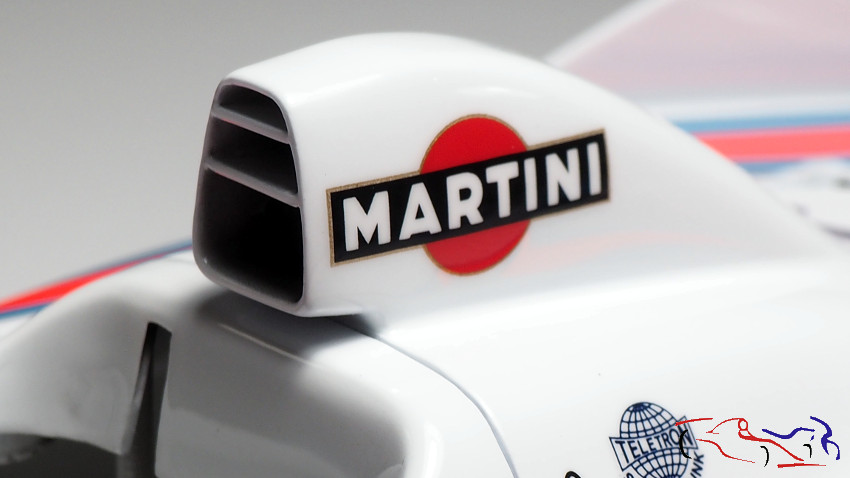
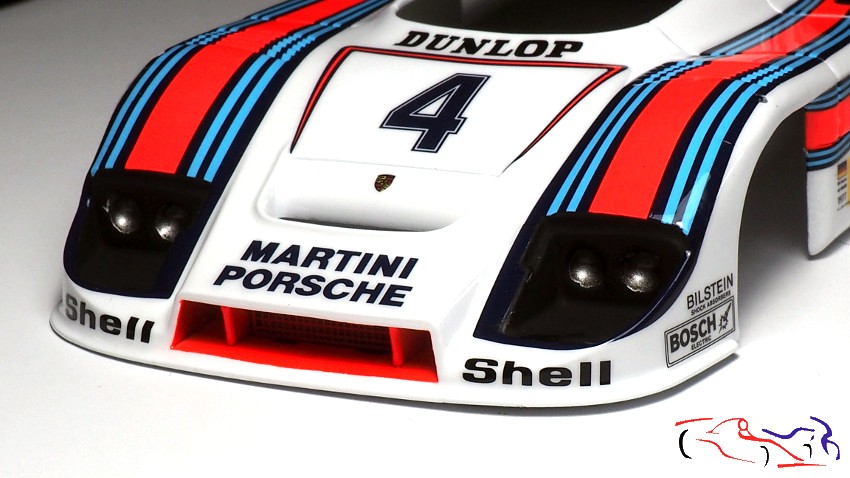
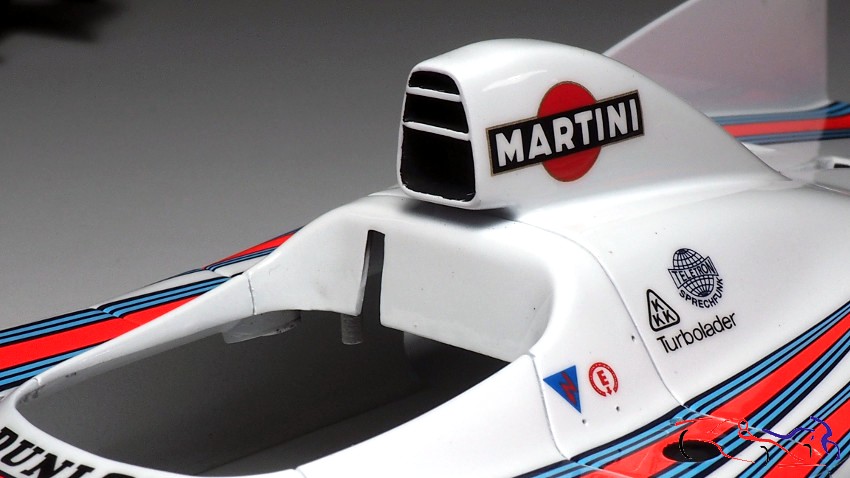
Una vez seca, enmascaramos para pintar de negro mate Tamiya XF-1, los faros delanteros, las tapas de los depositos, y la toma de aire (va pintada en negro por dentro). Utilizo esta pintura para poder eliminar cualquier resto sobre la laca, pasando con un bastoncillo o incluso con disolvente X20A, que no afecta a la laca:
Once dry, we mask to paint of Tamiya XF-1 matte black, the headlights, the tank covers, and the air intake (it is painted black inside). I use this paint to be able to remove any residue on the lacquer, passing with a stick or even with X20A solvent, which does not affect the lacquer:
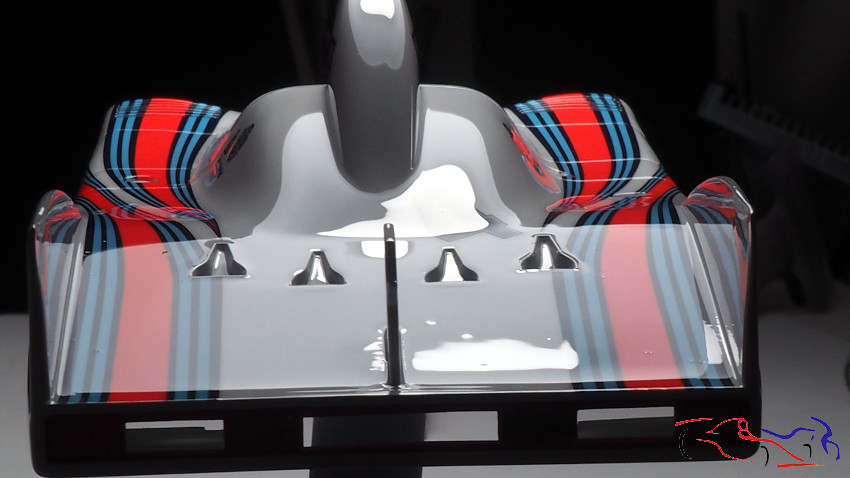
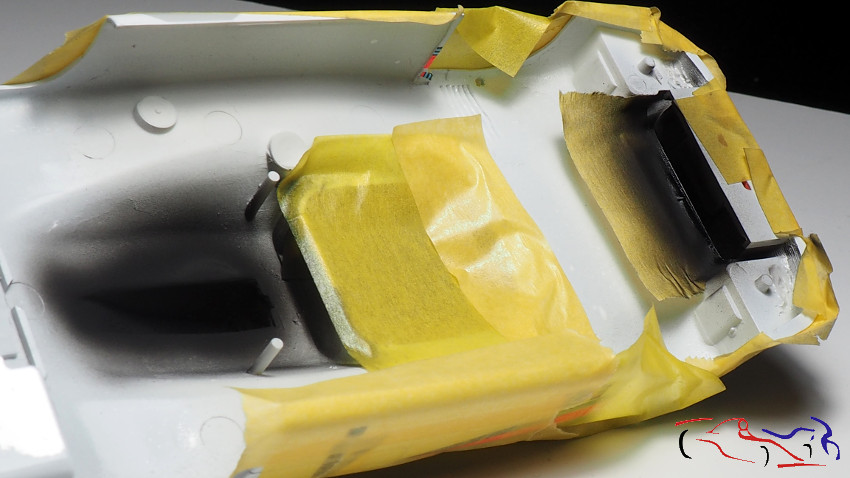
Por dentro de la carrocería, también pinto de negro mate lo que se ve desde la salida de aire del frontal:
Inside the body, I also paint matte black what can be seen from the front air outlet:
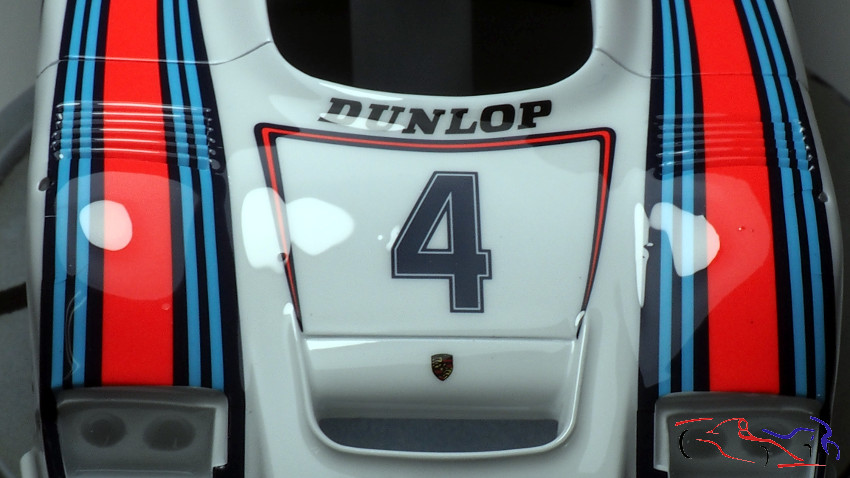
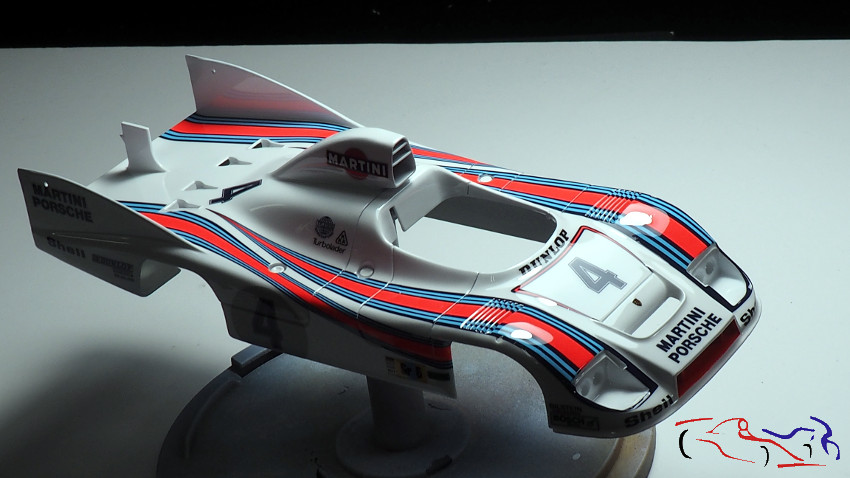
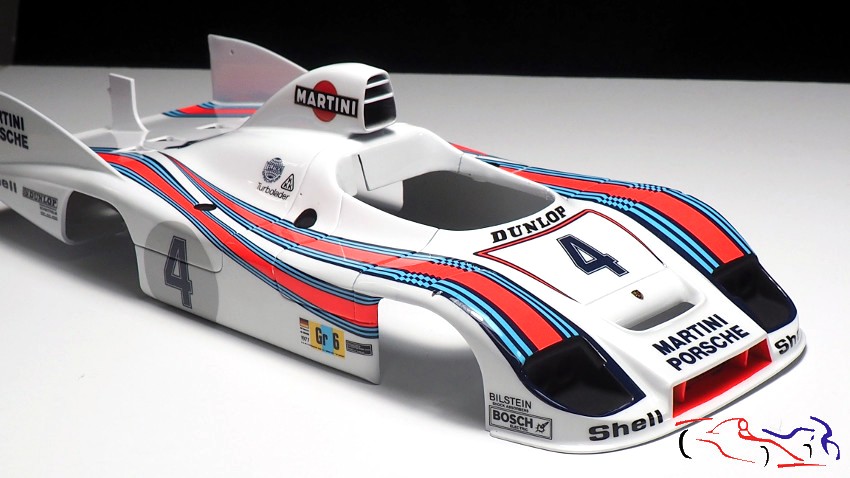
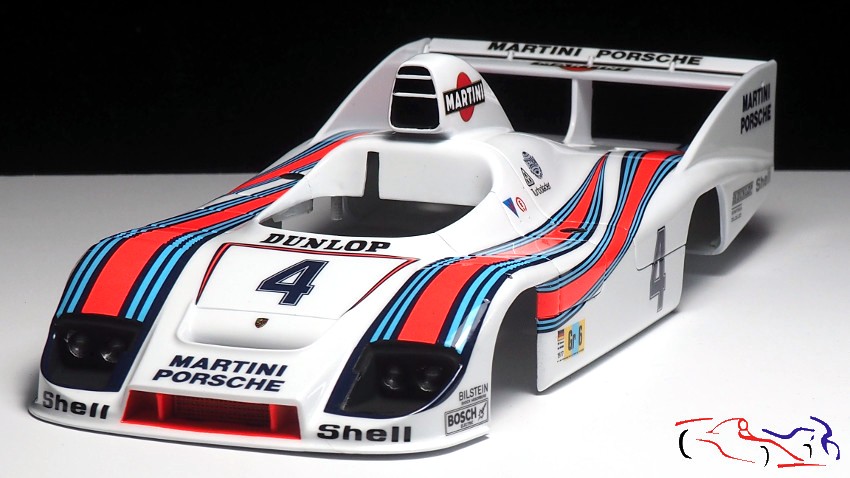
 Y este es el resultado:
And this is the result:
En la entrada de aire, como no se pintó todo el interior del todo, le daré unas pinceladas con el mismo negro mate:
At the air intake, since the entire interior was not painted at all, I will give you a few strokes brush with the same matte black:
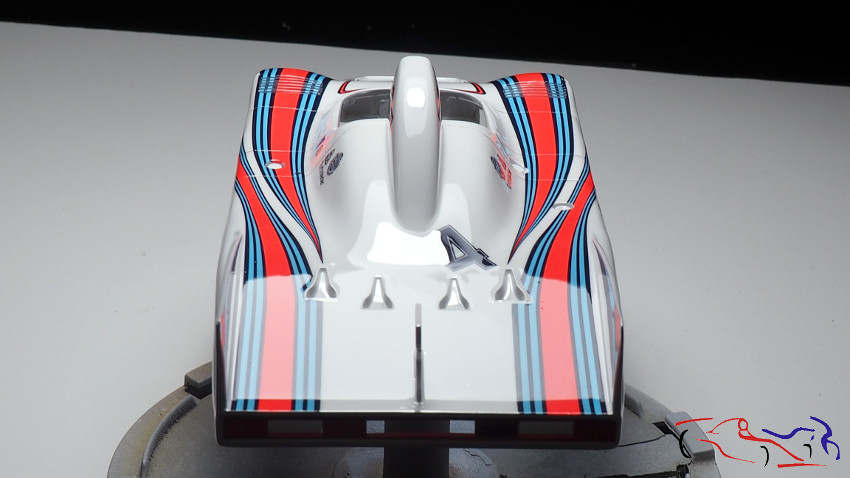
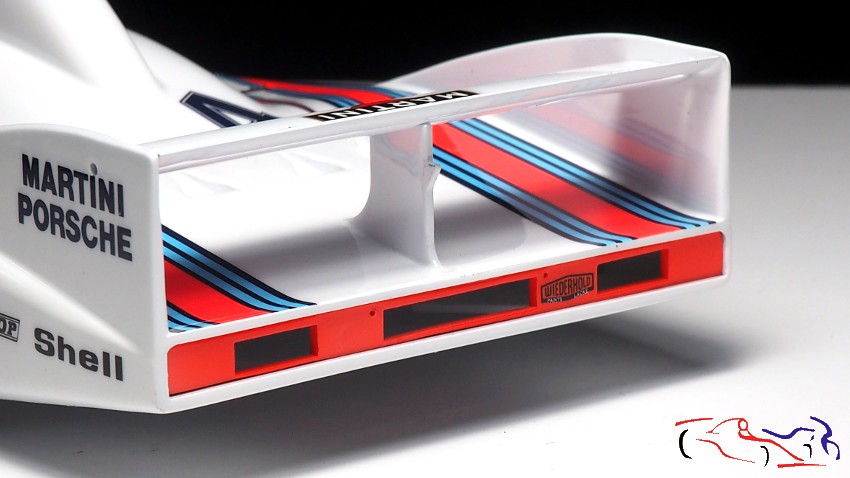
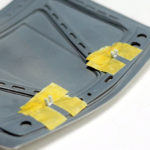
 Aquí vemos las entradas de gasolina, pintadas, a falta de colocarle las partes metálicas:
Here we see the gasoline inlets, painted, in the absence of placing the metal parts:
 Y en las luces delanteras, pinto las parábolas que hice con el cromo Molotov. Después vendrán los cristales y sus separadores:
And in the headlights, I paint the parables I made with Molotov chrome. Then come the crystals and their separators:
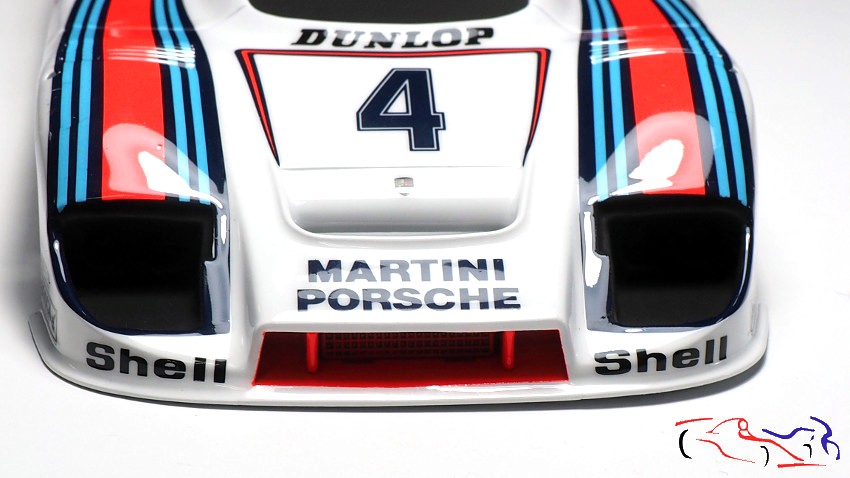
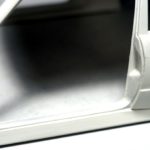
Aquí podéis ver la entrada de aire, ya pintada por dentro y con los rebordes limpios:
Here you can see the air inlet, already painted inside and with clean edges:
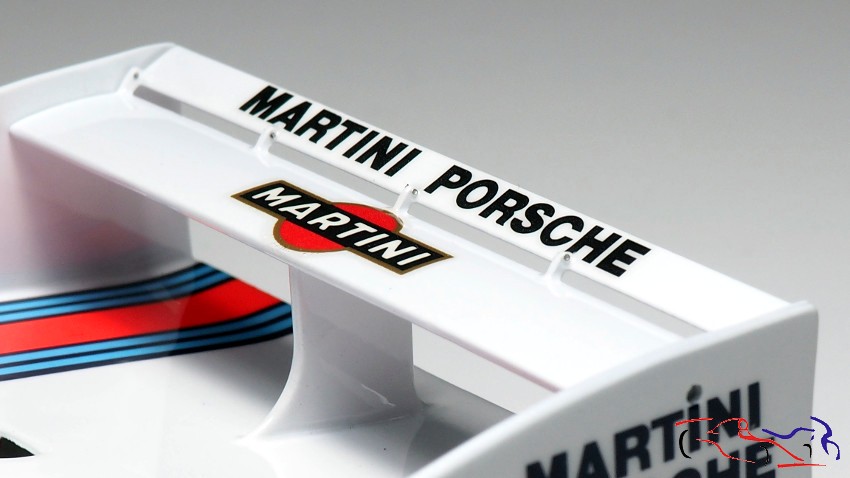
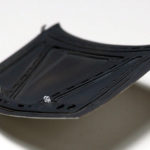
Y una pieza que casi no he mostrado, el alerón trasero:
And a part that I have hardly shown, the rear wing:
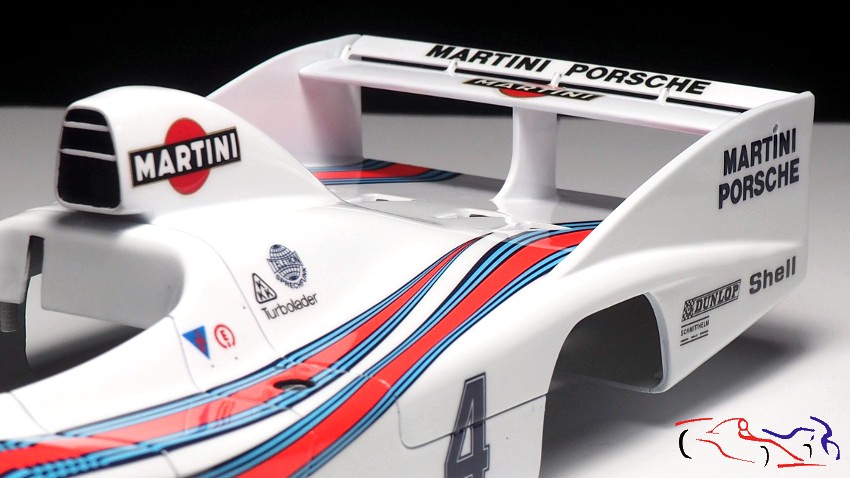
Podemos ver que he puesto unos remaches en las bisagras del mismo ya que en realidad, el plano postrior se puede girar en esos puntos. Están pegados con ciano.
We can see that I have put some rivets on the hinges of the same since in reality, the rear plane can be rotated at those points. They are glued with cyano.
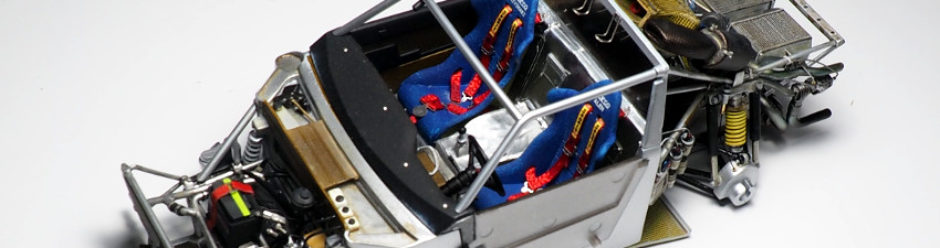
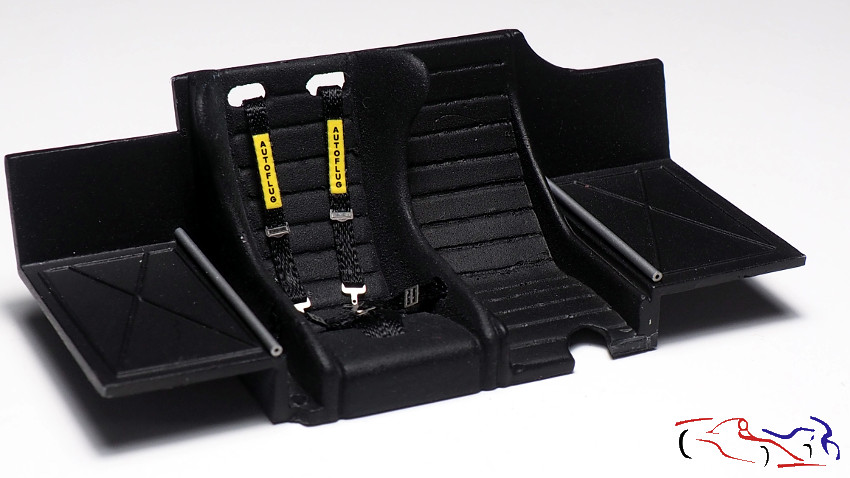
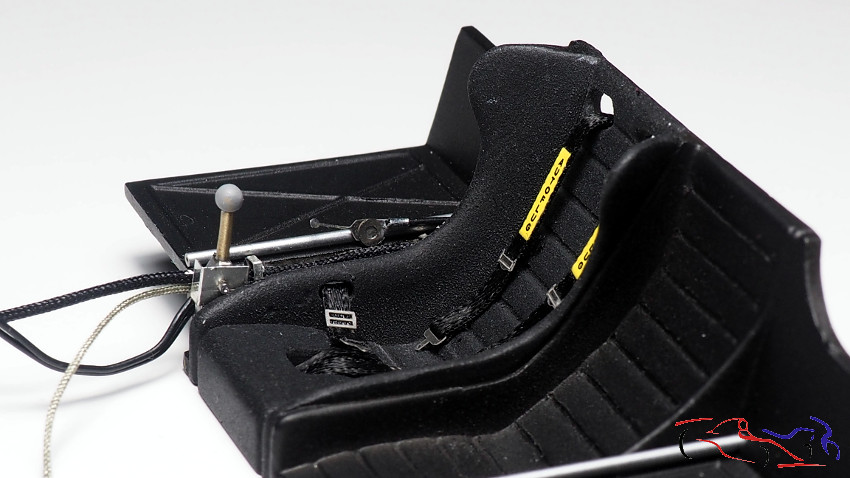
Pasamos al asiento. Aquí ya tiene los cinturones puestos:
We go to the seat. Here it already has the belts on:
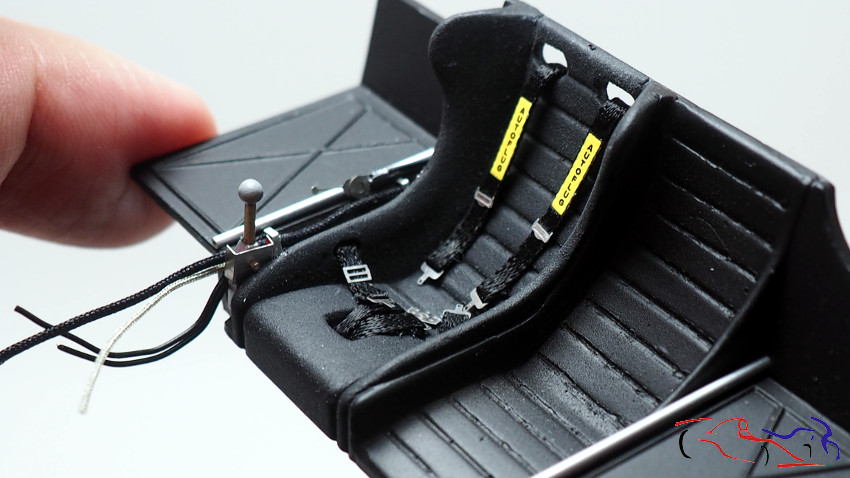
 En la siguiente foto, vemos que se ha añadido la palanca de cambios, unos cables que van por ese lateral y el distribuidor de frenada, un fotograbado al que he pegado un cable que va hacia atrás:
In the next photo, we see the gear lever added, some cables that go along that side and the brake distributor, which is a photoengraving I have glued a cable that goes backwards:
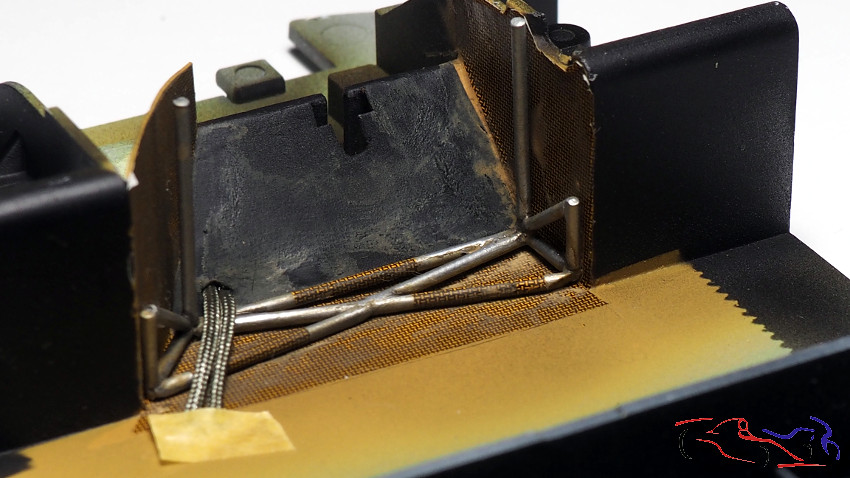
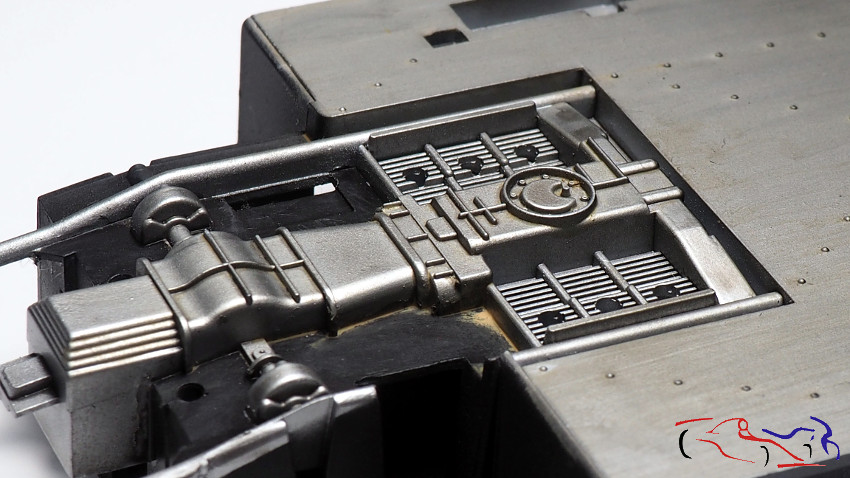
 Y en la parte del suelo, ya he pegado el entramado de los tubos al chasis, y he ensuciado la zona con colores de AK y MIG, elimianndo el exceso con un bastoncillo, de forma irregular, dejando más cantidad en las esquinas:
And in the front part of the ground, I have already glued the framework of the tubes to the chassis, and I have dirtied the area with AK and MIG colors, eliminating the excess with a stick, irregularly, leaving more quantity in the corners:
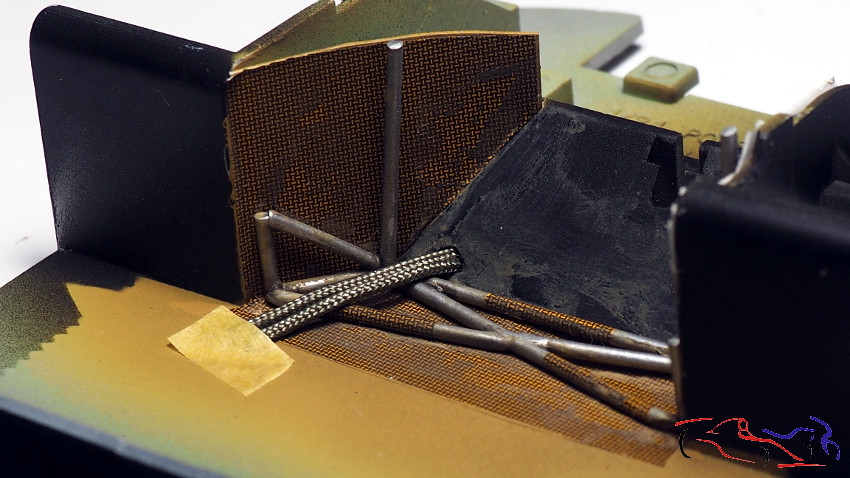
 También le he puesto dos tubos trenzados que comunican la parte frontal con la trasera, que me imagino que serán de refrigeración:
I have also put two braided lines that communicate the front with the back, which I imagine will be for cooling:
 Otra foto del chasis:
Another chassis picture:
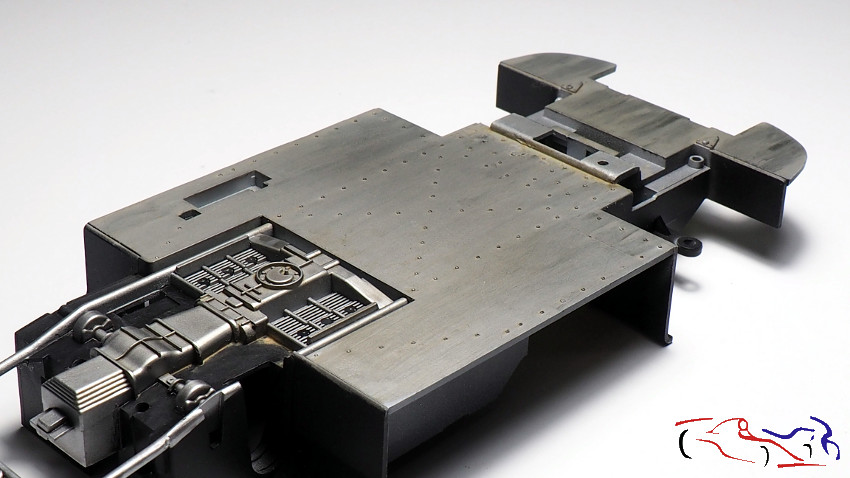 Y de la parte del motor:
And another of he motor part:
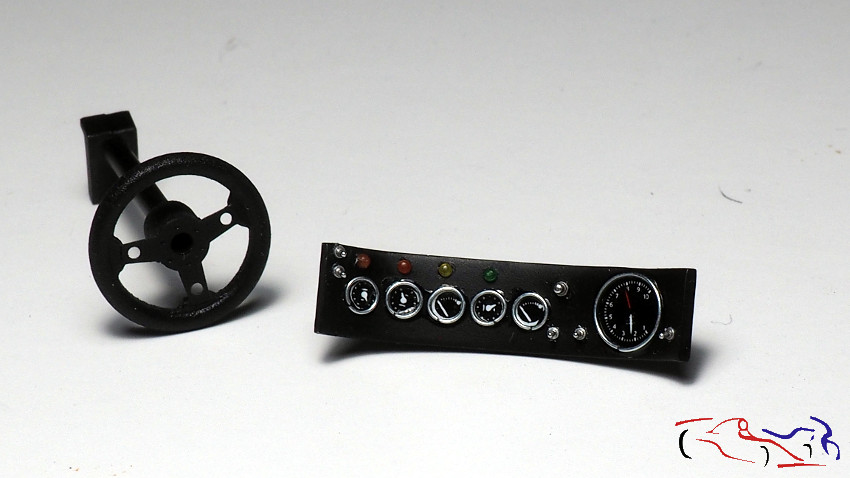
 Ahora vemos el volante y el salpicaderos con todos los relojes, y las luces, interruptore sy botones de Decalcas:
Now we see the steering wheel and dashboard with all the clocks, and the lights, switches and buttons of Decalcas:
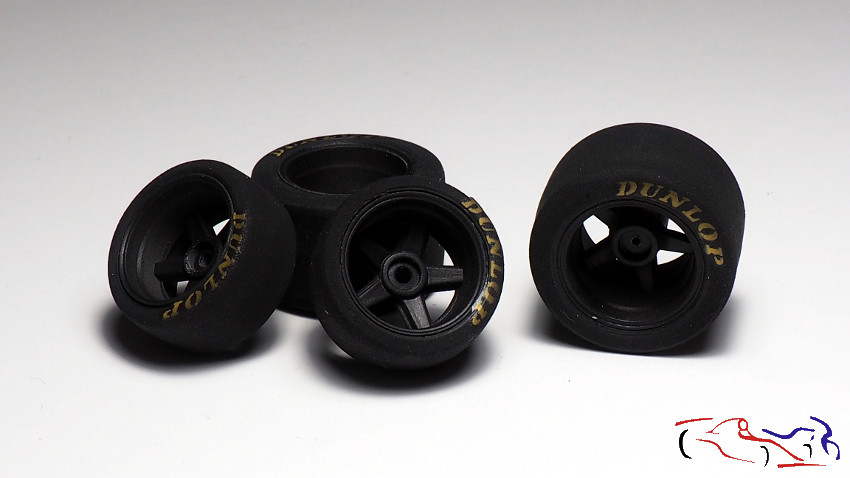
 Pasamos a las ruedas para terminar: aquí están con una capa muy ligera de negro mate diluido, que he incidido en el borde externo, para identificar un uso de la misma:
We go to the wheels for finishing this post: here they are with a very light layer of diluted matte black, which I have touched on the outer edge, to identify a use of it:
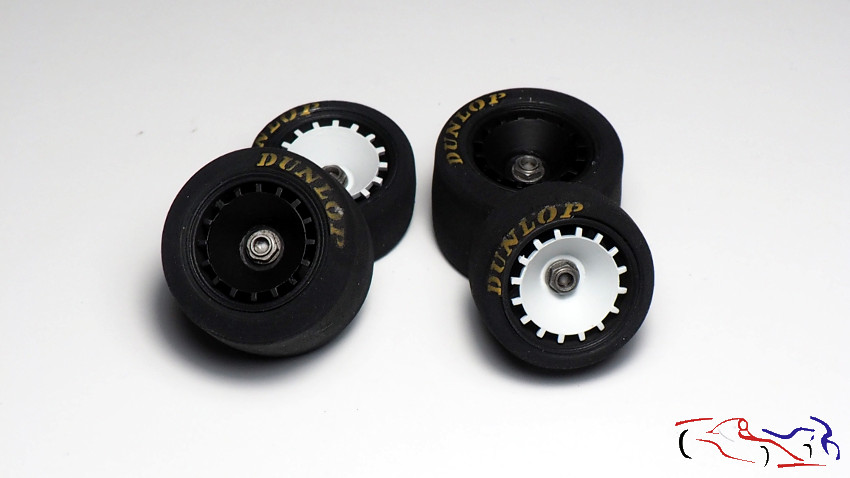
 Y aquí, con sus tapacubos y tuercas:
And here, with its hubcaps and nuts:
 Ya está casi al final. Gracias por ver y comentar!!
It’s almost over. Thanks for viewing and commenting!!

Estupendo trabajo!!!!
Gracias Miguel!!