Buenas a todos. Añado más fotos al proceso de este Ferrari, que en este momento está así, recien pintado!!
Good morning everyone. I add more photos to the process of this Ferrari, which at the moment is like this, freshly painted !!
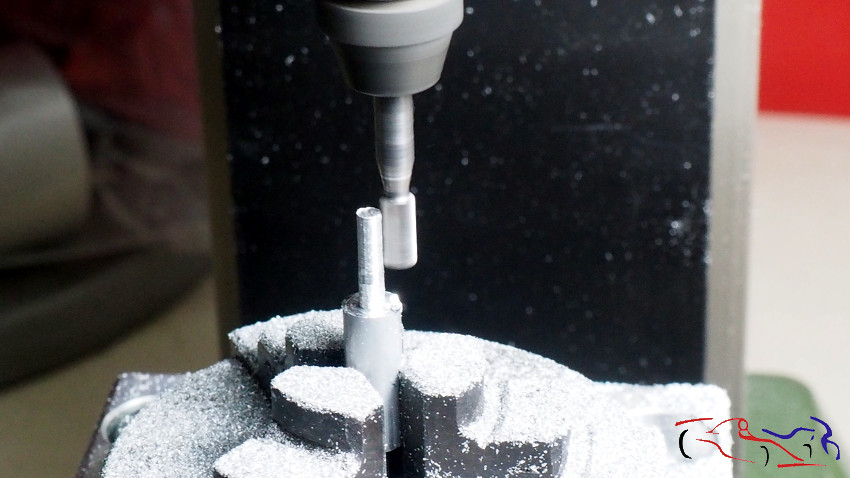
 Y damos pasos atrás para ver lo realizado. Empezamos por los pilotos traseros, que al ser de resina, decido hacerlos de aluminio. Para ello, y como no tengo torno, cojo un redondo y empiezo a disminuir el grosor con la fresadora:
And we take steps back to see what has been done. We start with the rear lights, which being made of resin, I decide to make them out of aluminum. For this, and since I do not have a lathe, I take a round and start to decrease the thickness with the milling machine:
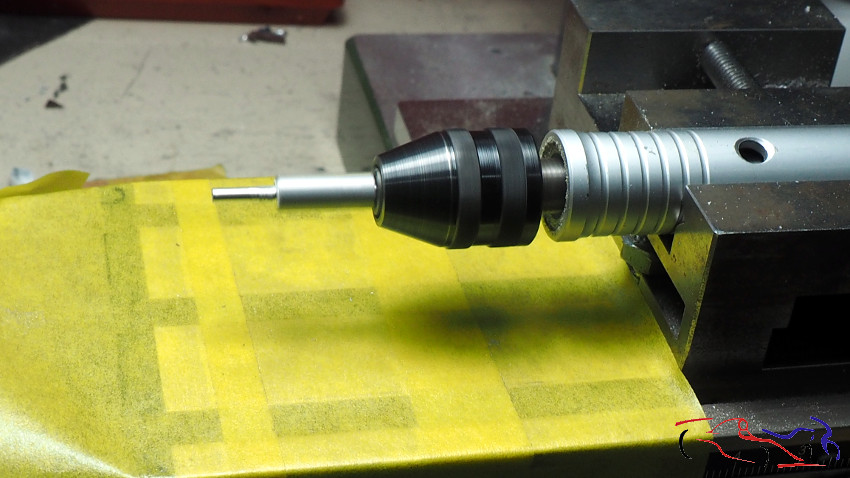
 A continuación, esa parte disminuida la ponemos en el prolongador del minitaladro (para que no sufra el motor), y empezamos a darle forma con limas, lijas y el cutter:
Next, we put that diminished part in the extension of the mini drill (so that the motor does not suffer), and we begin to shape it with files, sandpaper and the cutter:
 Hasta que formamos este cono. Como muestra, he puesto la pieza original al lado, sujetada con cinta de enmascarar:
Until we form this cone. As a sample, I have put the original piece to the side, fastened with masking tape:
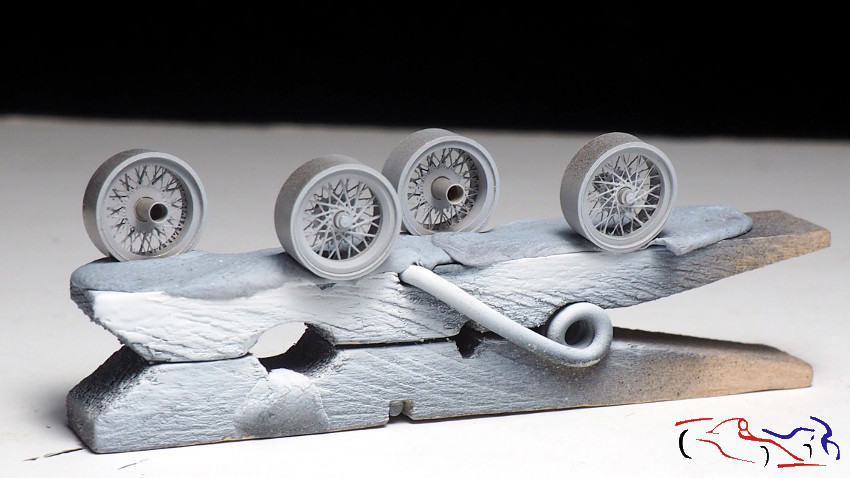
 Pasamos a las llantas. Para darles un tono más real, las voy a pintar. Aquí están preparadas para el proceso:
We turn to the tires. To give them a more realistic tone, I am going to paint them. Here they are prepared for the process:
 Las imprimamos con Gravity:
Let’s print them with Gravity:
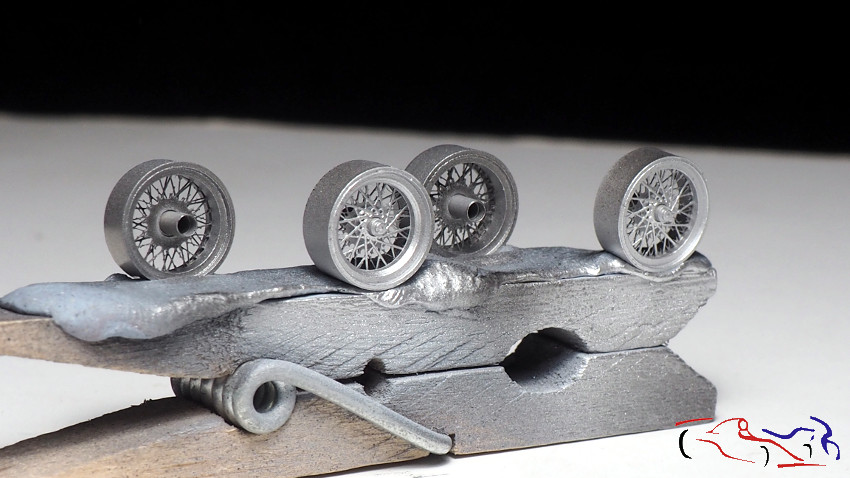
 …y las pintamos con Vallejo, color Aluminio mate. Vemos que el tono no es tan brillante…
… and we paint them with Vallejo, matt aluminum color. We see that the tone is not so bright …
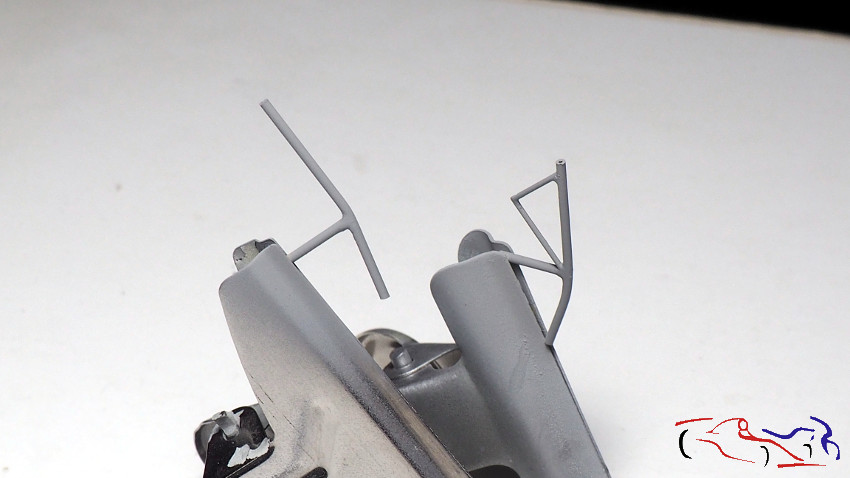
 Pasamos a otra pieza: el tubo de escape, que rehacemos en latón: dos varillas hasta la mitad, que se unirán a otra más gruesa:
We move on to another piece: the exhaust pipe, which we remake in brass: two rods halfway, which will be joined to a thicker one:
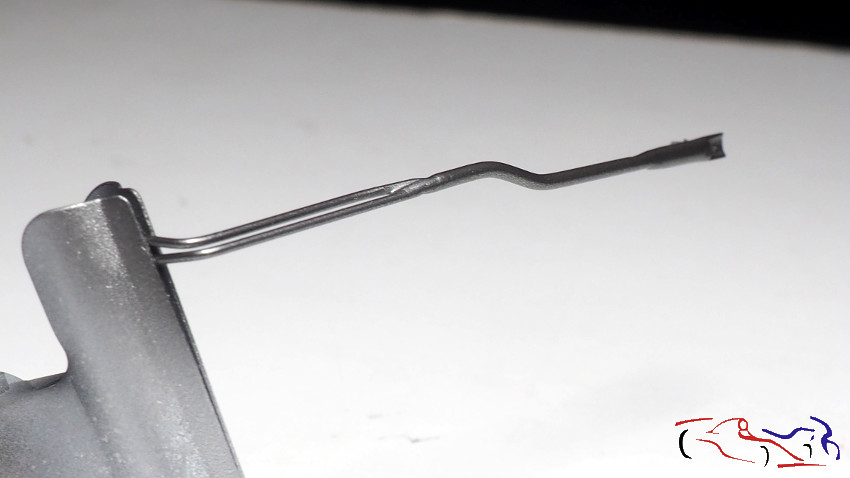
 Decir que la parte trasera, la más gruesa, se ha unido a otro tubo aun más grueso, que en su parte final, fue aplastado para darle una forma de elipse, y cortado en su parte final:
Saying that the back, the thickest part, has been attached to another even thicker tube, which in its end part, was crushed to give it an ellipse shape, and cut in its end part:
 Utilicé tubos en lugar de redondos para pegar los tubos delanteros con el trasero sin mayor problema….
I used tubes instead of round ones to glue the front tubes to the rear without much trouble ….
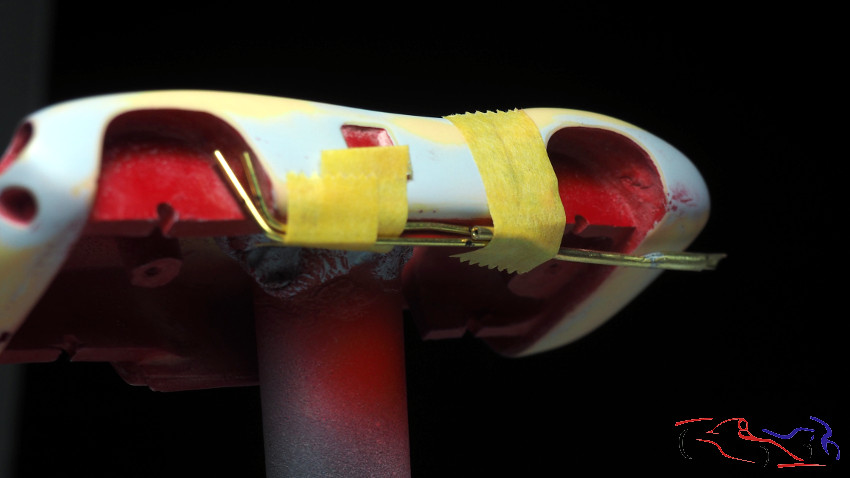 … metiendo hilo de cobre entre los tres tubos, y fijándolo con ciano…para después soldarlo. Decir que las cuatro partes del tubos de escape van soldadas entre si:
… putting copper wire between the three tubes, and fixing it with cyano … and then soldering it. Say that the four parts of the exhaust pipe are welded together:
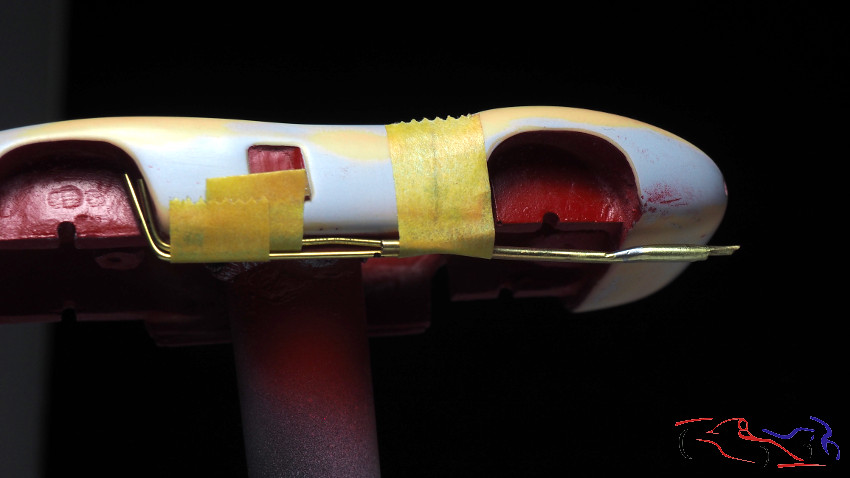
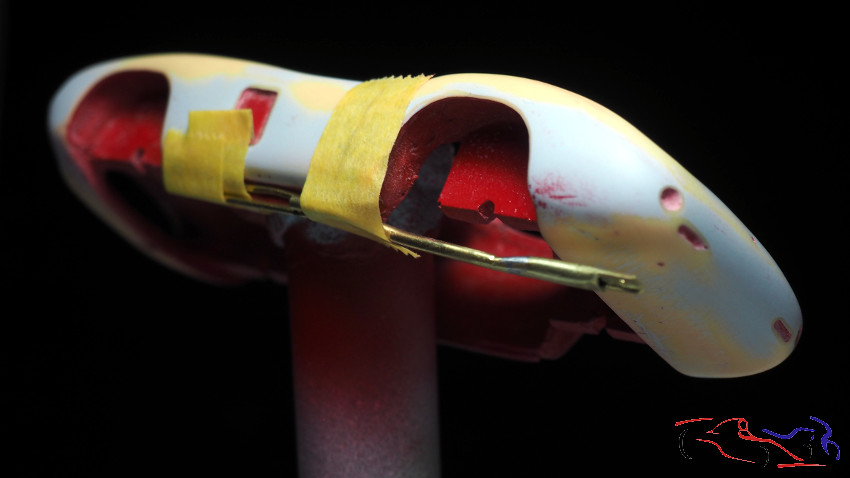
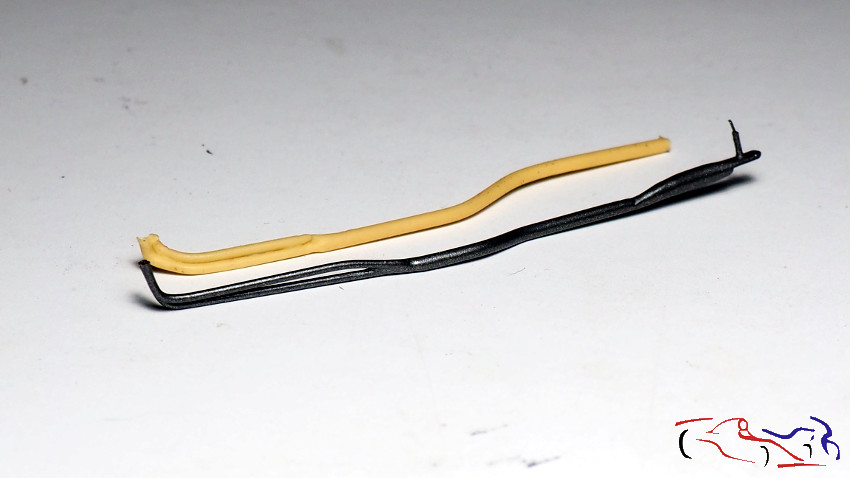
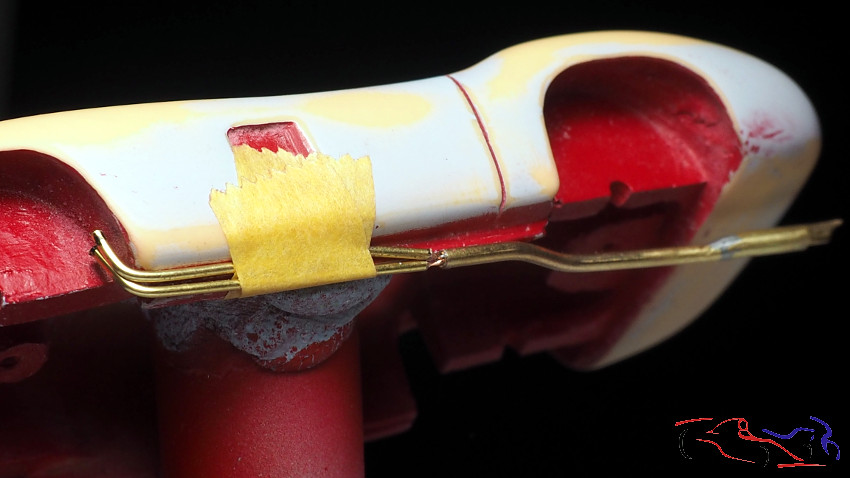 Aquí le vemos con el original. El gancho final es la pequeña pieza que lo unirá a la carrocería:
Here we see you with the original. The final hook is the small piece that will attach it to the body:
 Lo imprimamos…..
Let’s primer it …..
 …y pintamos con gris metálico de Zero:
... and we paint with Zero metallic gray:
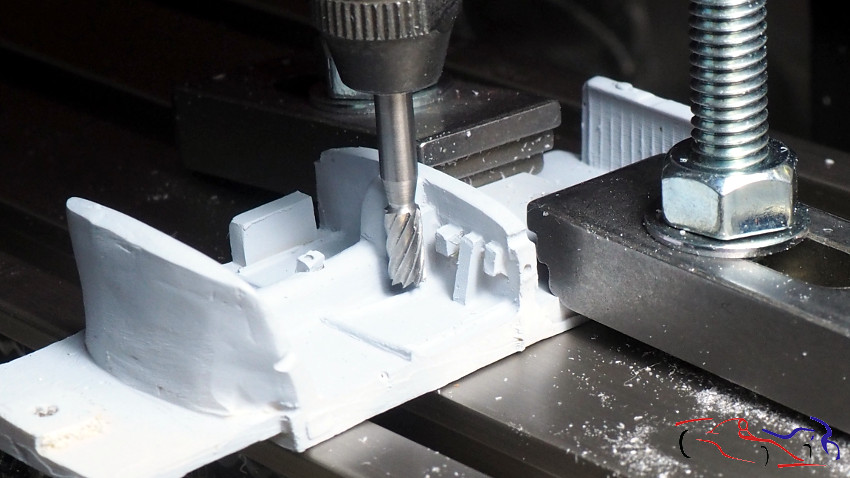
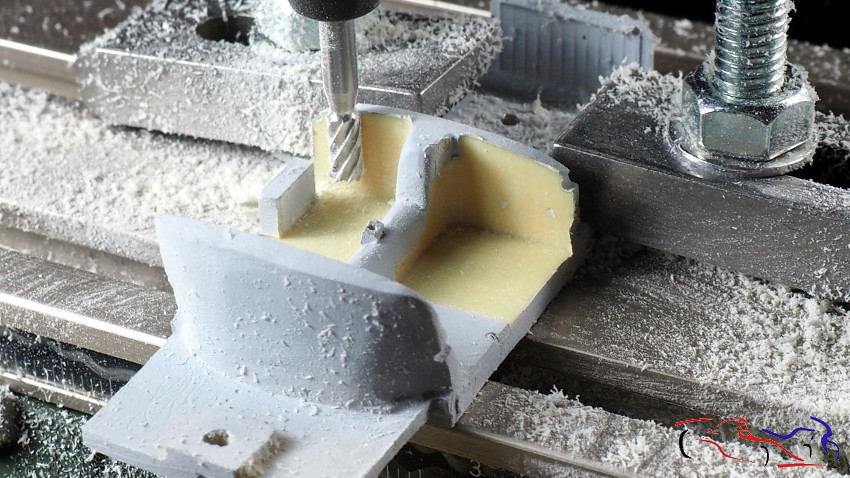
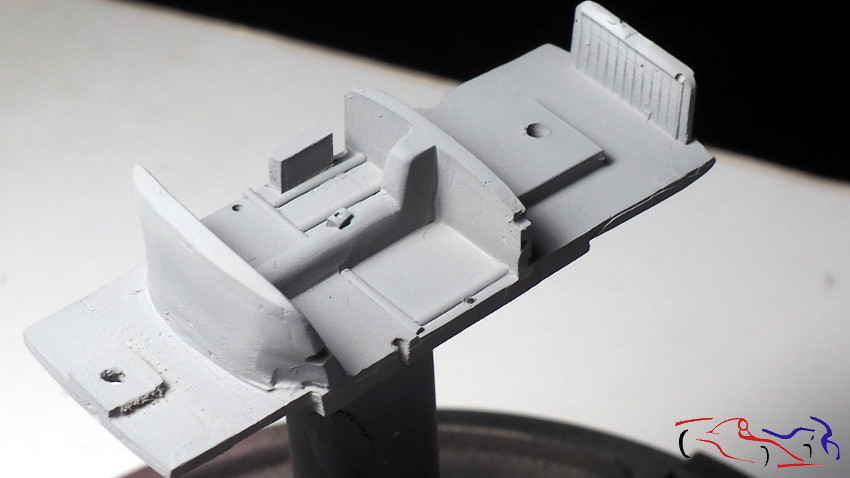
 Continuamos con más procesos. Limpiamos el habitáculo con la fresa….
We continue with more processes. We clean the cabin with the strawberry …
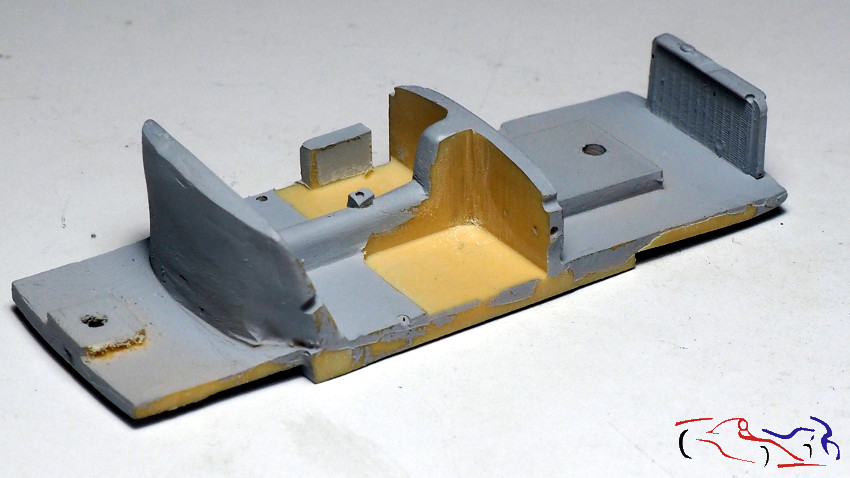
 Aquí lo tenemos limpio:
Here we have it clean:
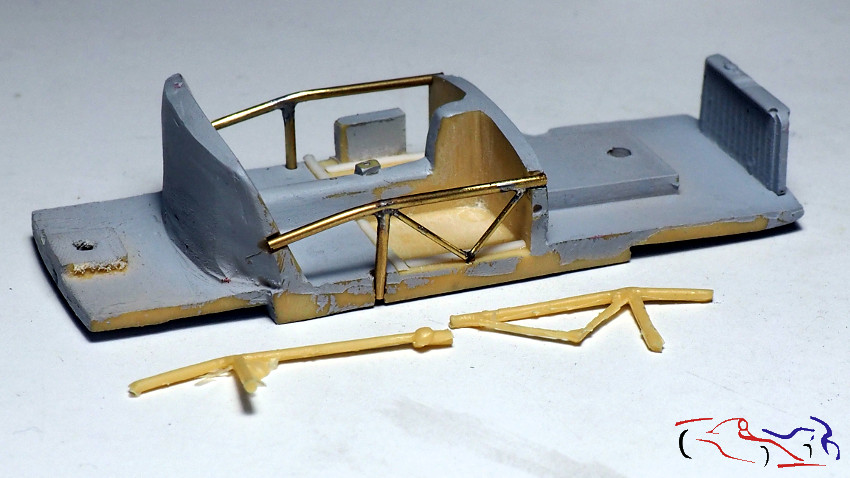
 Aprovecho aquí, para mostraros los nervios de la carrocería realizados por mi en cobre, con los originales de resina….
I take advantage here, to show you the nerves of the body made by me in copper, with the original resin ones:
 Dichos nervios se impriman y pintan con gris medio de Tamiya:
These nerves are printed and painted with Tamiya medium gray:
 …al igual que el chasis:
…and the same for the chasis:
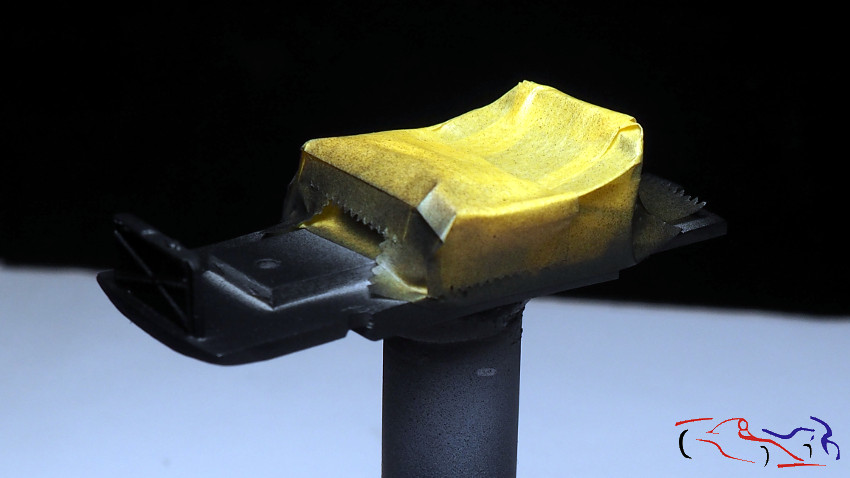
 A este chasis, enmascaramos su parte gris y pintamos de negro mate de Zero:
To this chassis, we mask its gray part and paint Zero matt black:
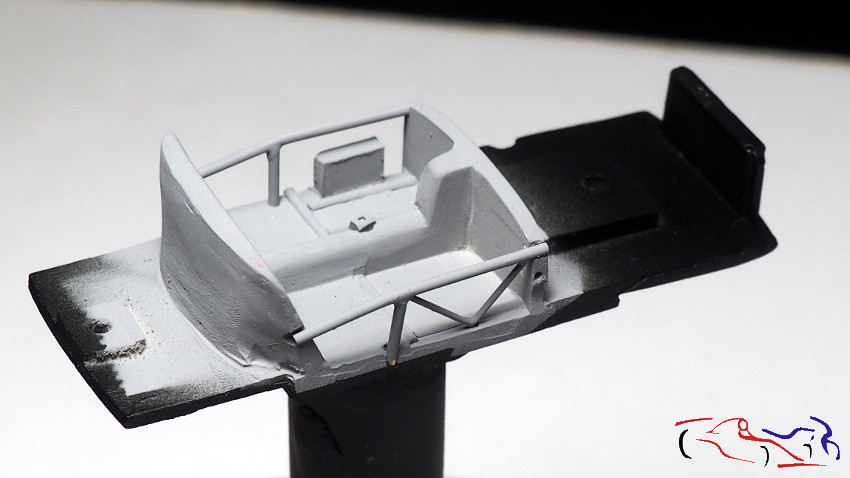
 Siendo este el resultado:
Being this the result:
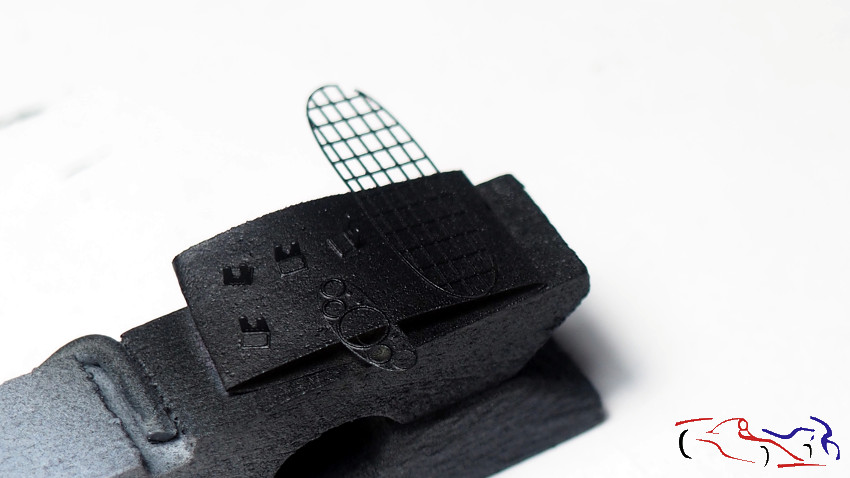
 A la hora de imprimar, preparamos más piezas por colores: espejo en color de carrocería, la rejilla delantera y otras piezas para negro, y las fijaciones de los capós para color cuero:
When it comes to priming, we prepare more parts by colors: body color mirror, the front grille and other parts for black, and the hood mountings for leather:
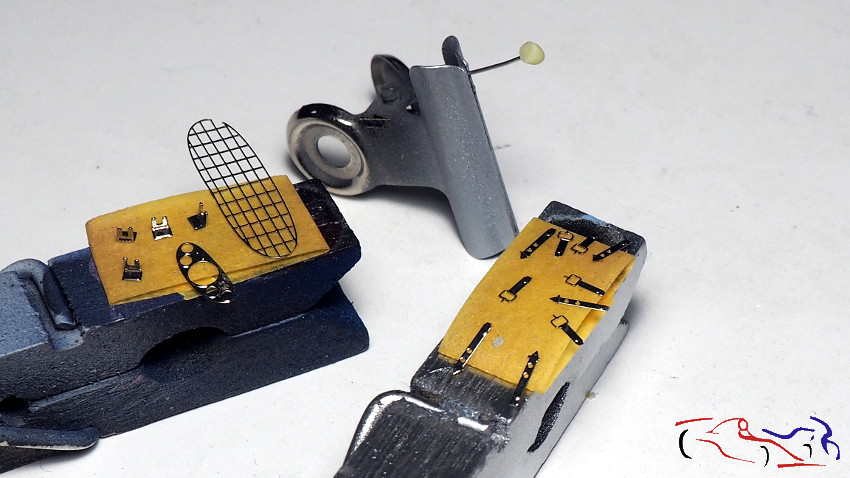
 Una vez imprimadas, las fijaciones las pinto con marrón oscuro y marron claro de Vallejo:
Once primed, the fixings are painted with dark brown and light brown from Vallejo:
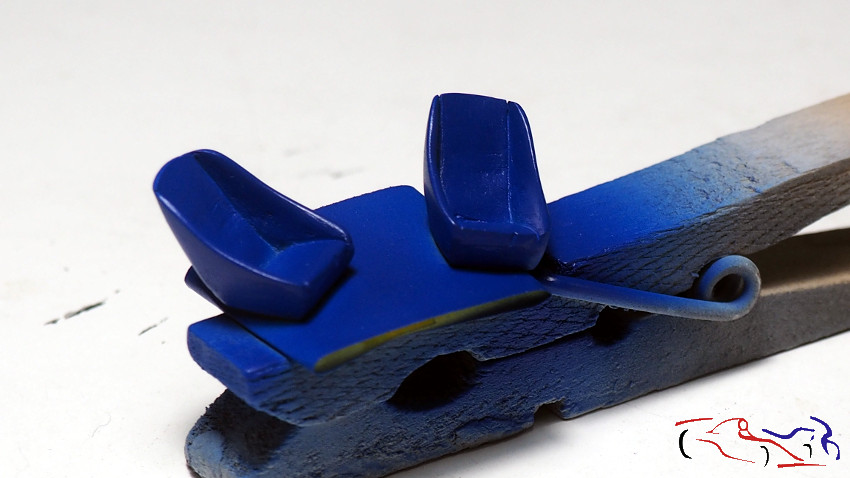
 Y los asientos, con azul de Zero:
And the seats, with Zero’s blue:
 Y para terminar, la carrocería. La lijé “un poco” por que vi unos arañazos sobre el rojo…
And finally, the body. I sanded it “a little” because I saw some scratches on the red …
 Pasamos a imprimar con Gravity:
We move to primer with Gravity:

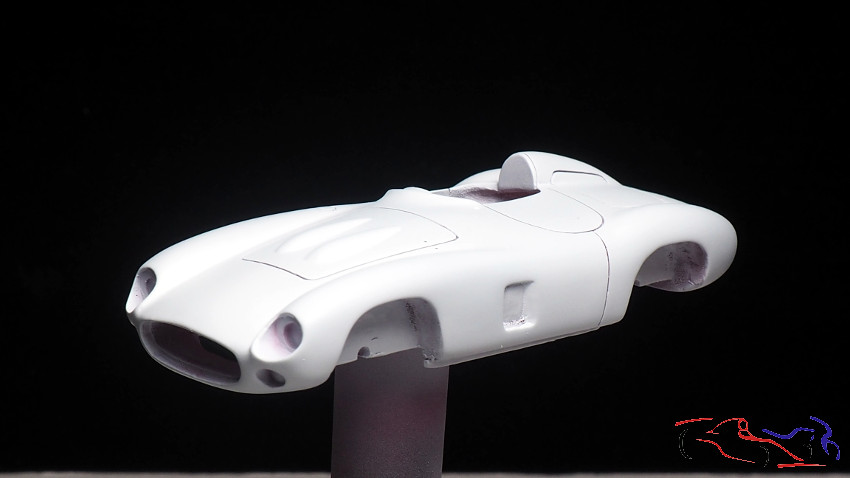
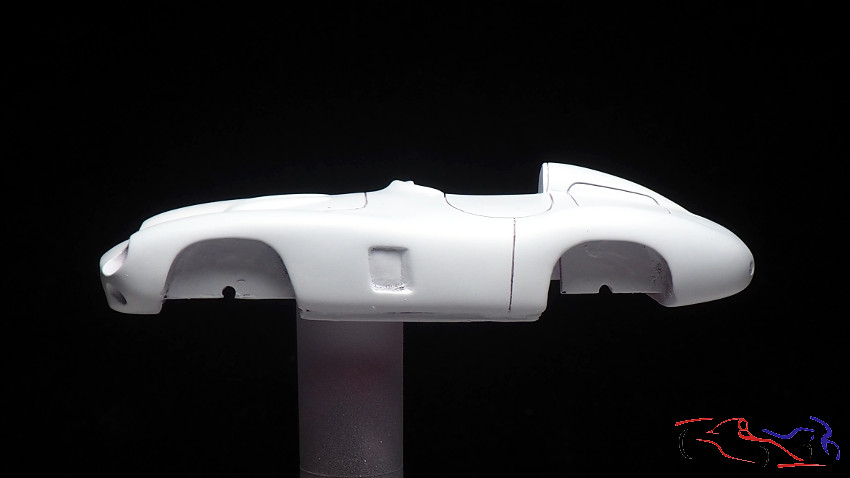
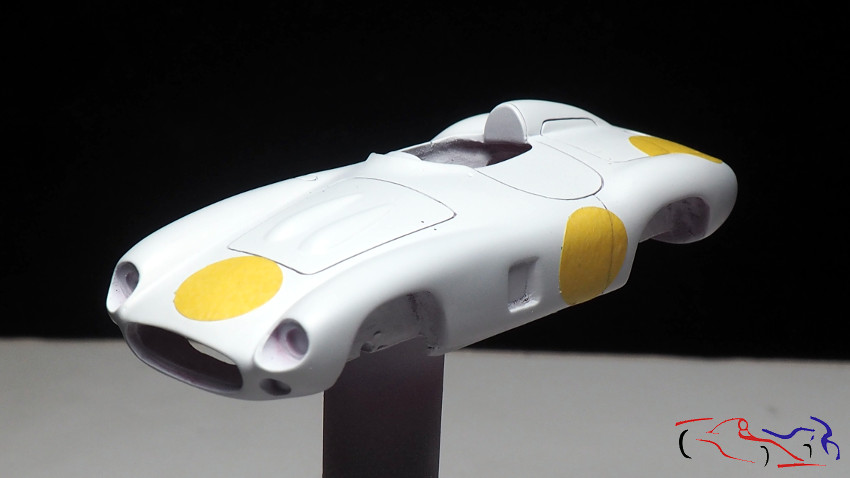
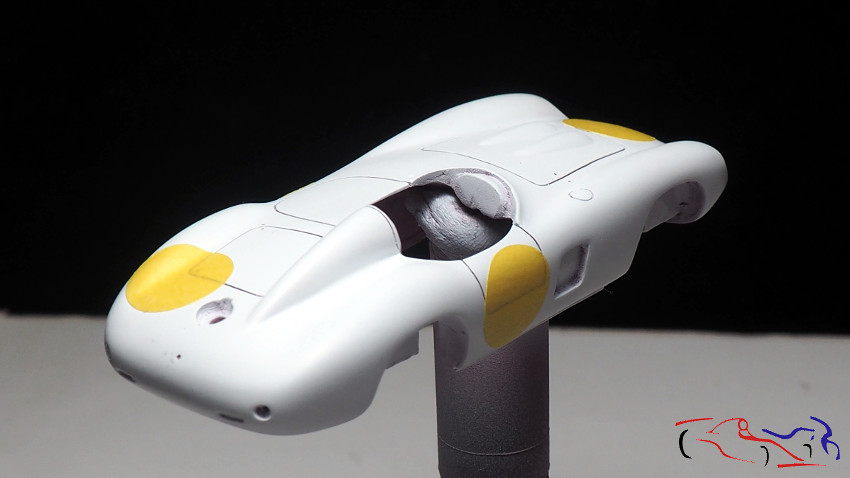
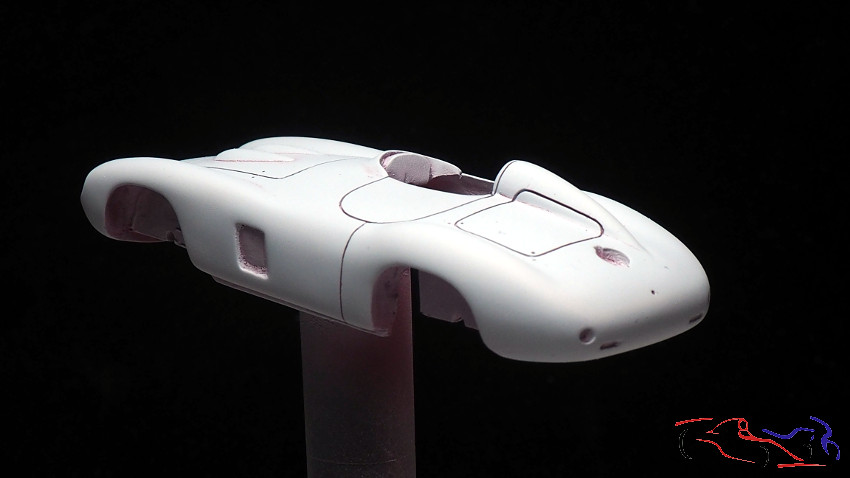 Pintamos con blanco de Zero:
We paint it with Zero White:

 En este punto, hacemos los circulos de lso dorsales con DSPIAE:
At this point, we make the dorsal circles with DSPIAE:
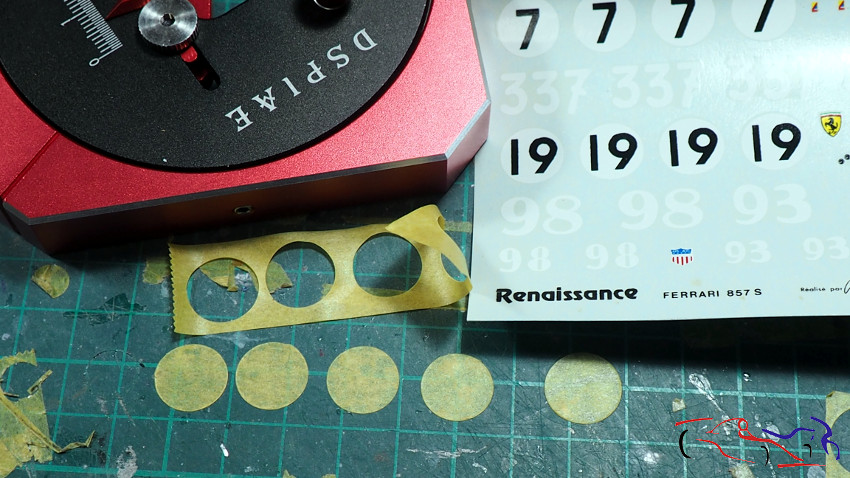 Y los ponemos:
And we put them:
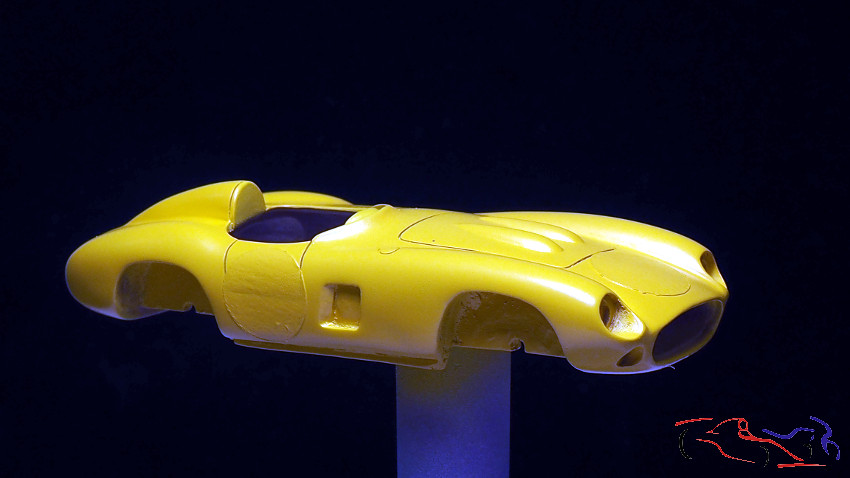
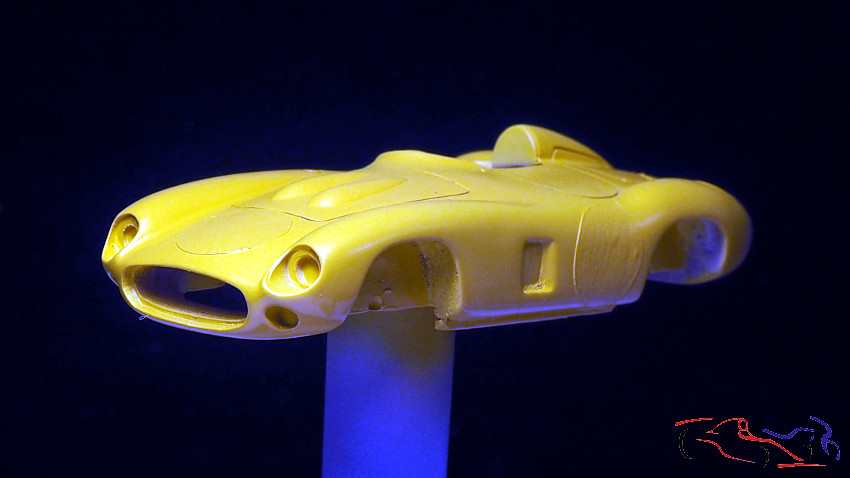
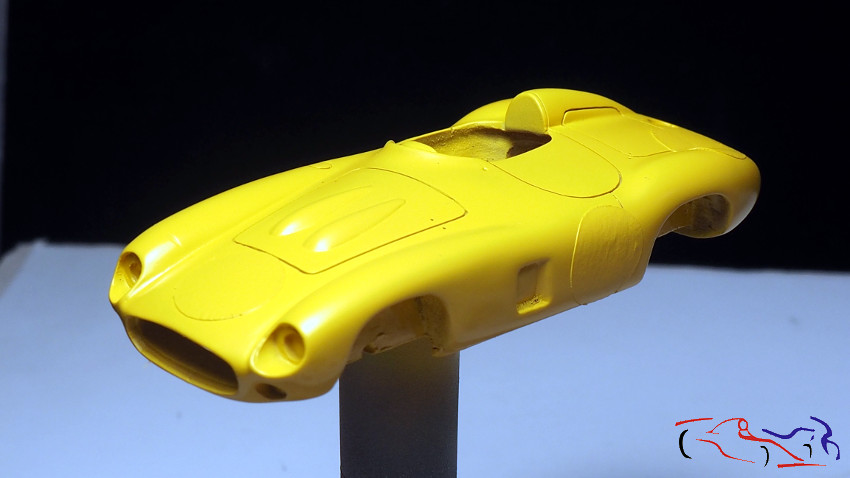
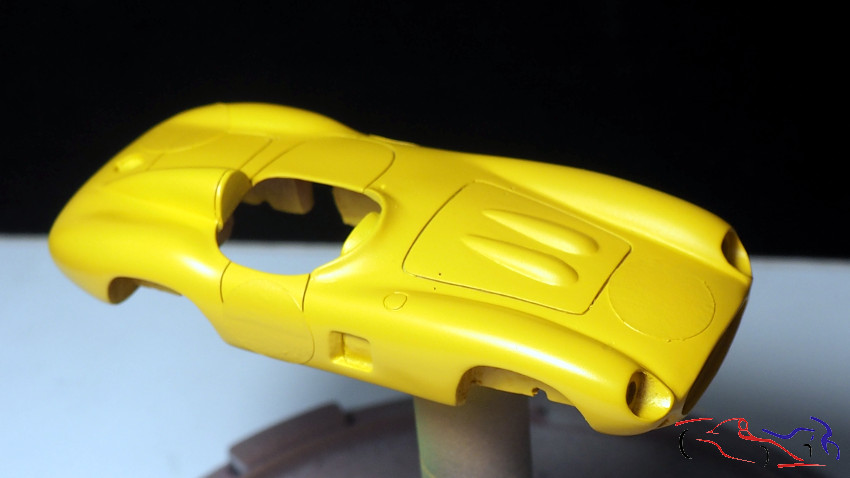
 Pintamos de amarillo Giagio de Zero:
We paint yellow Giagio de Zero:
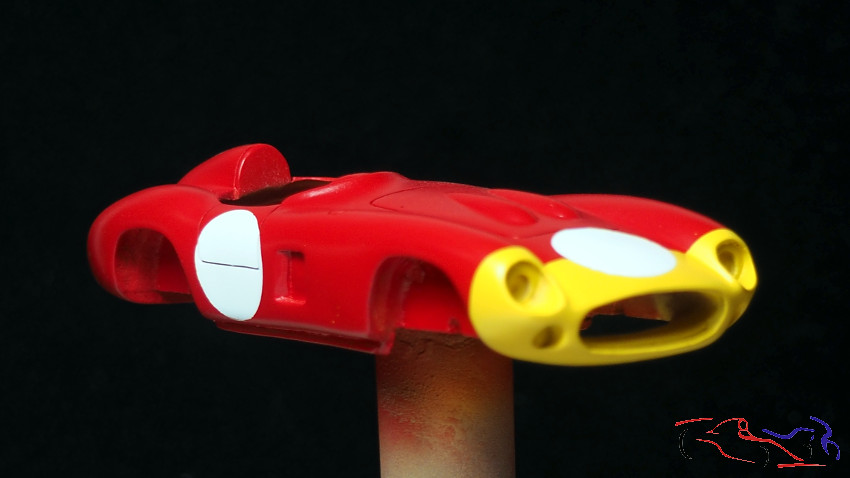
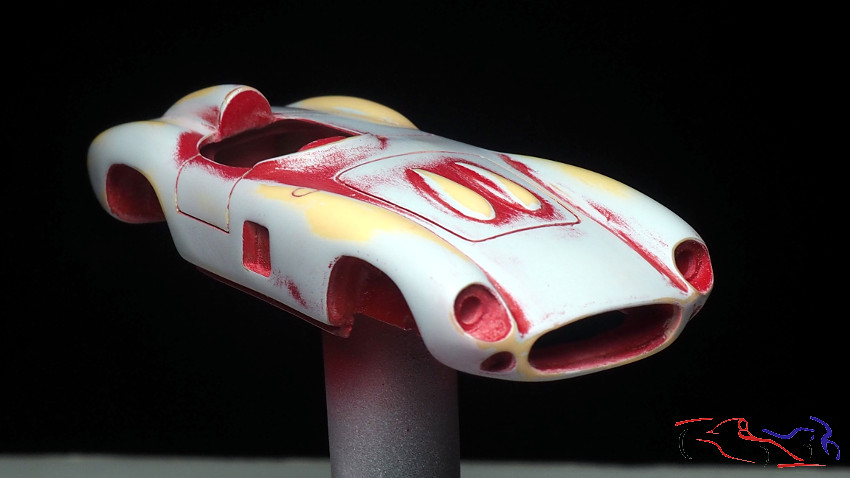
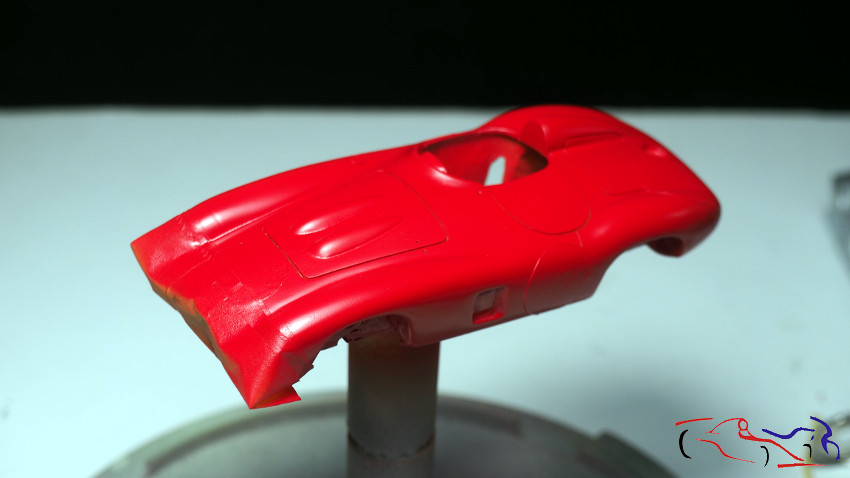
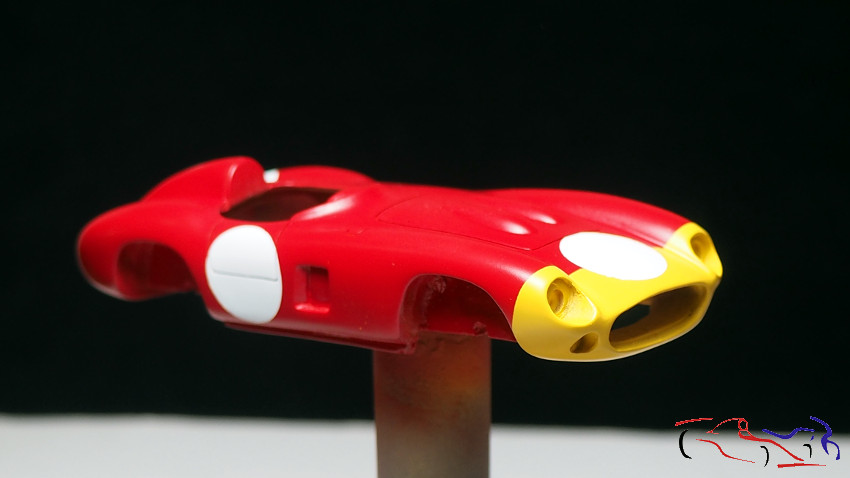
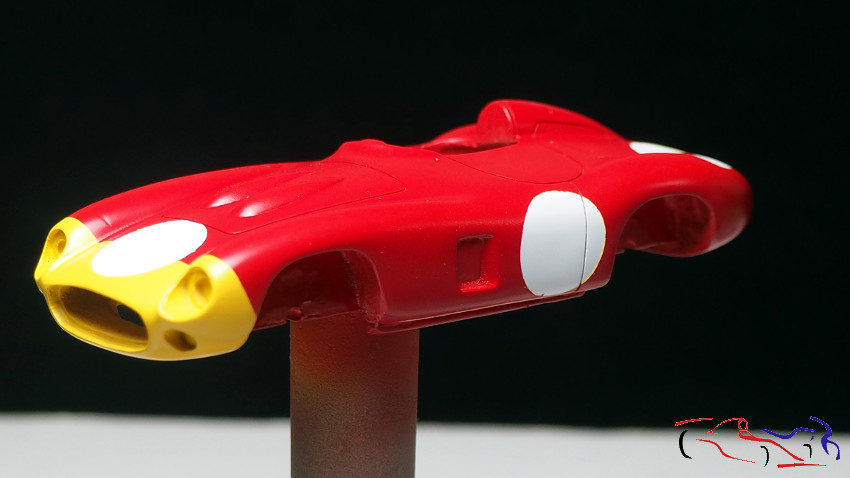
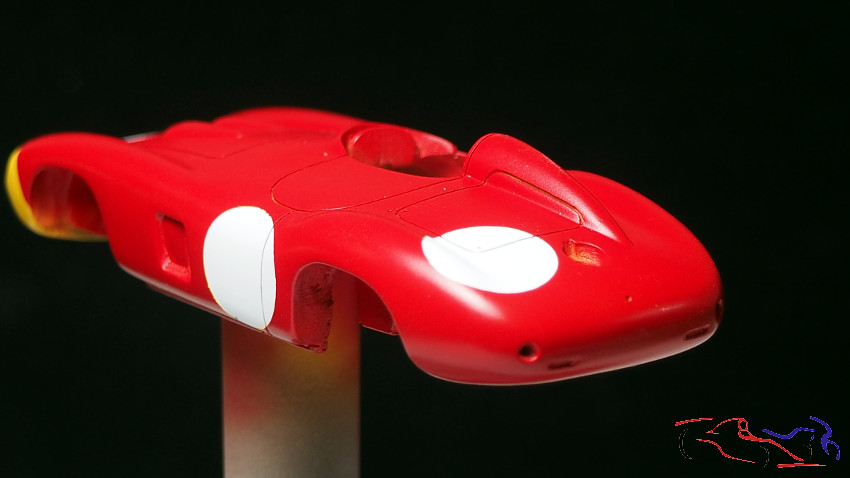
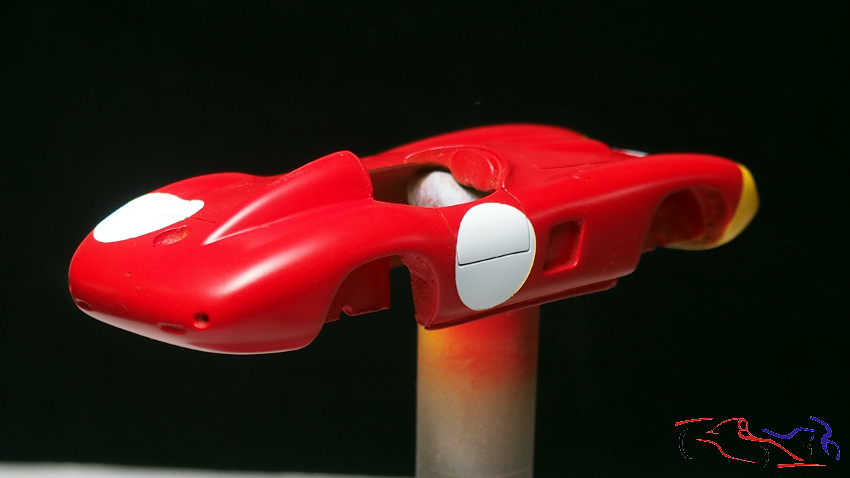
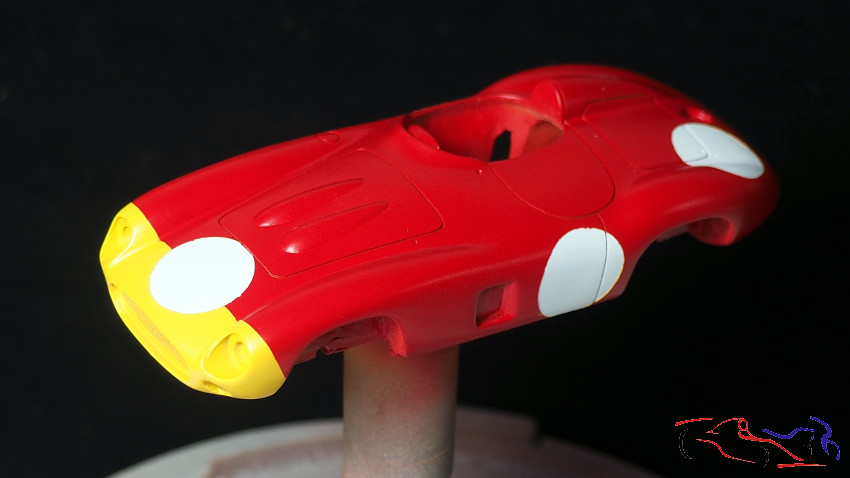
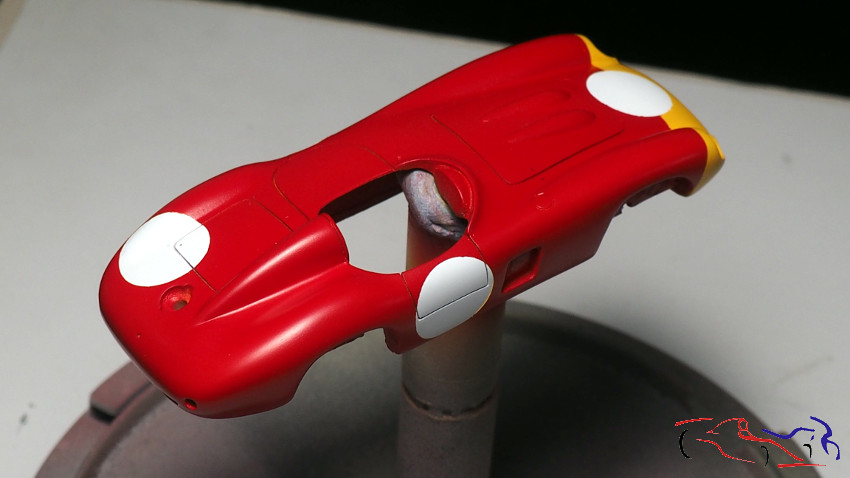
 Enmascaramos el morro, y pintamos finalmente con Rojo Corsa de Gravity:
We mask the nose, and finally paint with Corsa Red from Gravity:
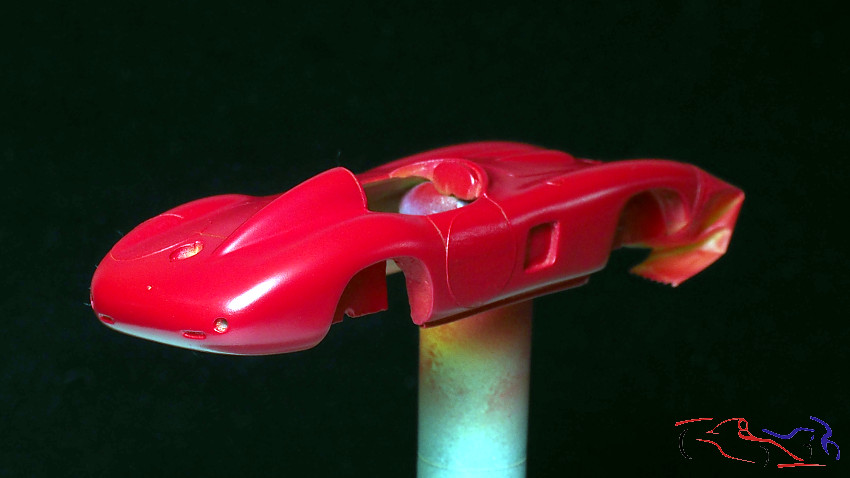 Y voilá: el Ferrari ya pintado, a falta de calcas:
And voila: the Ferrari already painted, in the absence of decals:
 Precioso!!
Garcias por ver y comentar!
Beautiful!!
Thanks for viewing and commenting!


