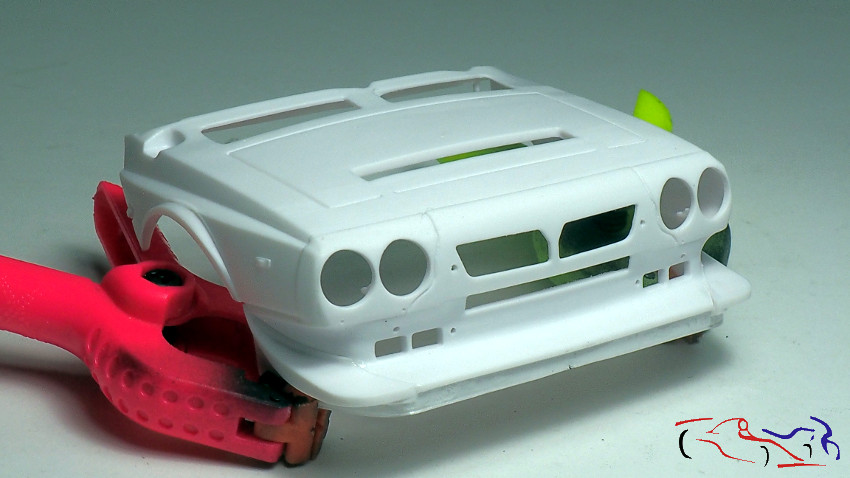
Desde que empecé este coche y puse el anterior post hasta ahora, he ido recogiendo información y comparándola con la maqueta. Y la verdad es que se pueden hacer muchas cosas!! Por ejemplo en la parte delantera. Una vez quitadas las marcas de molde, repasamos las líneas de panel, y añadimos las piezas que forman en faldón delantero, que pegamos con pegamento Tamiya y repasamos las uniones con el pegamento super líquido también de Tamiya. A su vez, hacemos los agujeros donde irán los remaches que pondremos más adelante.
Since I started this car and put the previous post until now, I have been collecting information and comparing it with the model. And the truth is that you can do many things! For example in the front. Once the mold marks were removed, I reviewed the panel lines, and added the pieces that form in the front skirt, that we glue with Tamiya glue and review the joints with the super liquid glue also Tamiya. At the same time, I make the holes for the rivets that I will put later.
 También, le quitamos la pletina de plástico que trae el kit justo delante de la abertura del capó, para sustituirla por una realizada en metal a medias entre un fotograbado y un trozo de lata de bebida:
Also, we removed the plastic plate that brings the kit just in front of the opening of the hood, to replace it with one made in half metal between a gravure and a piece of beverage can:
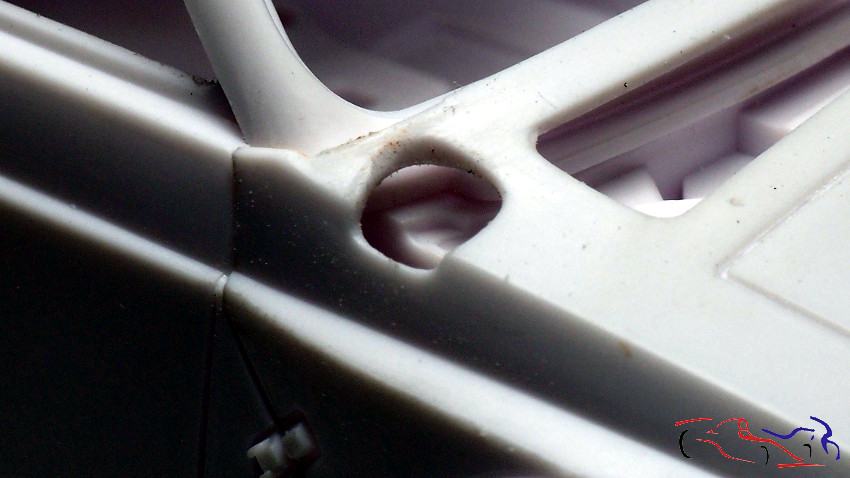
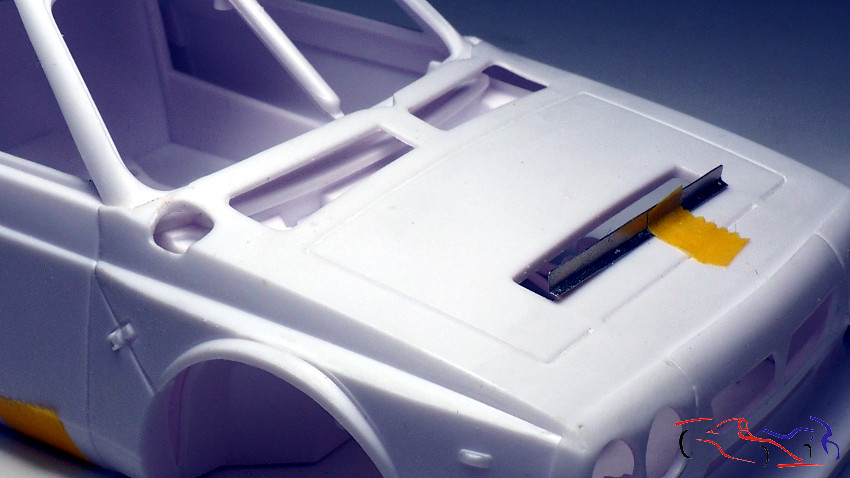 También practicamos el agujero de la entrada de combustible, que en el kit viene tapado. Lógicamente, haremos la entrada sobre el chasis más adelante. Observamos también, que hay que rebajar los bordes para asimilarlos al coche real.
We also practice the hole in the fuel inlet, which is covered in the kit. Logically, we will make the entry on the chassis later. We also note that you have to lower the edges to assimilate them to the real car.
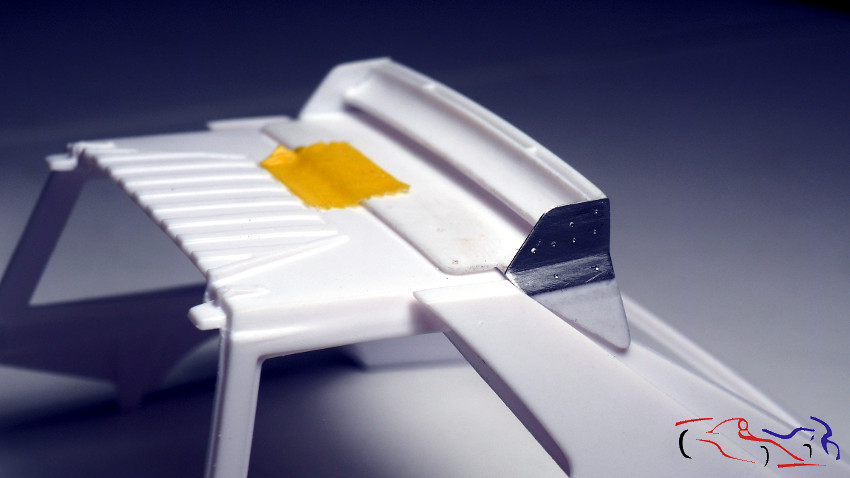
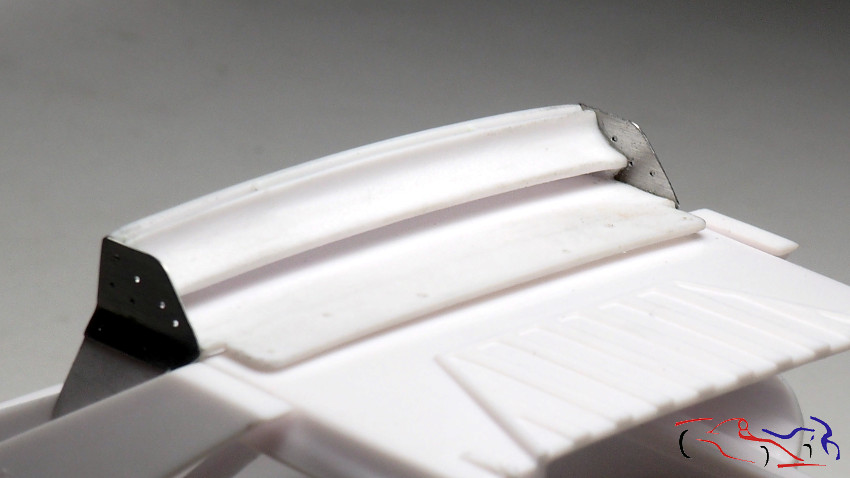
 Pasamos al alerón trasero. Pegamos las piezas que lo forman y vemos que las laterales superiores son excesivamente gruesas y pasamos a modificarlas. Para ello usamos el metal de las tapas de los disketes, que son delgadas y a su vez, resistentes.
Now we go with the rear wing. We paste the pieces that form it and we see that the superior laterals are excessively thick and we decide to change them. For this process, we use the metal of the covers of the disketes, which are thin and, in turn, resistant.
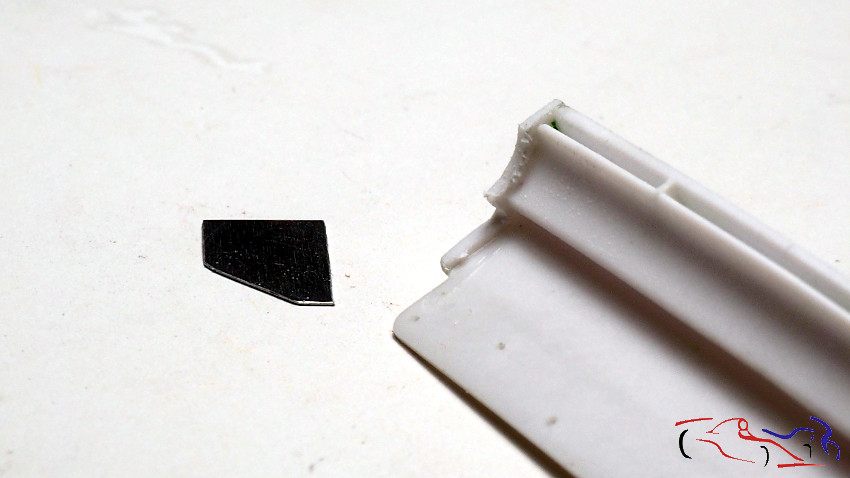
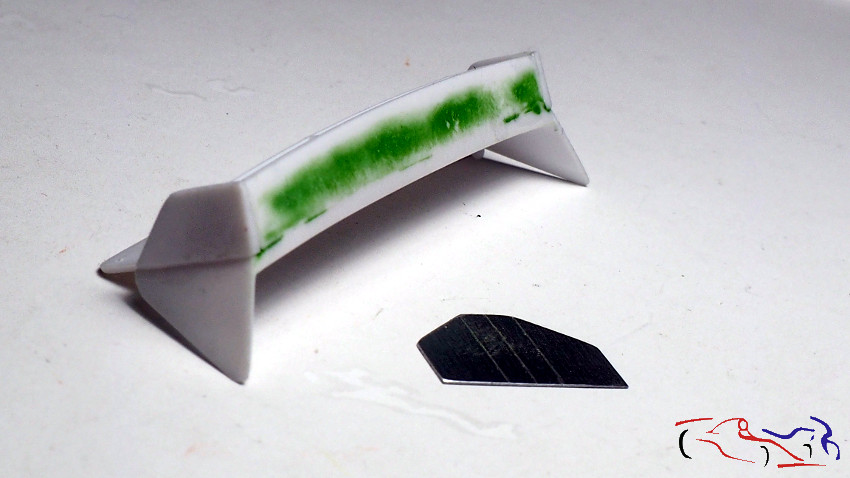 Aquí vemos el grosor de esas piezas. También vemos los agujeros de los remaches que ya están realizados
Here we see the thickness of those pieces. We also see the rivet holes that are already made
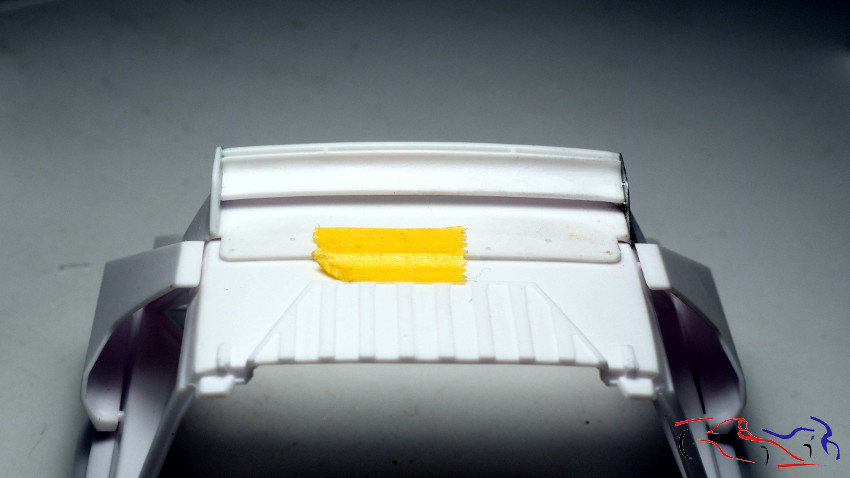
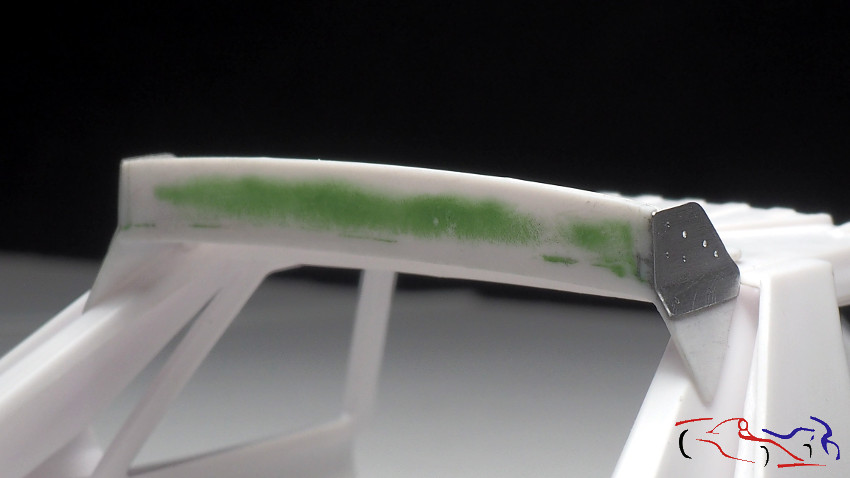
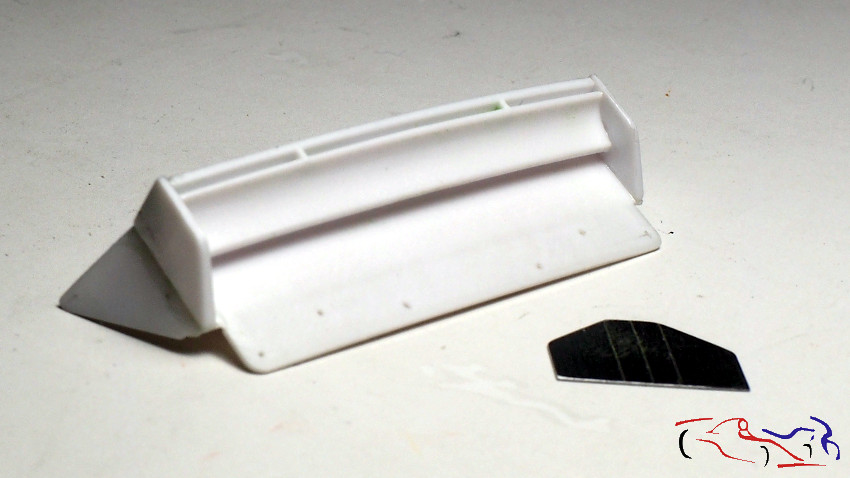 En la siguiente foto, vemos el lateral izquierdo (a la derecha en la foto) que ya está modificado y su referente del kit en el otro lado:
In the following photo, we see the left side (on the right in the photo) that is already modified and its reference of the kit on the other side:
 También le he practicado los agujeros de los remaches y fijaciones de los planos del alerón.
I have also practiced the holes of the rivets and fixings of the planes of the spoiler.
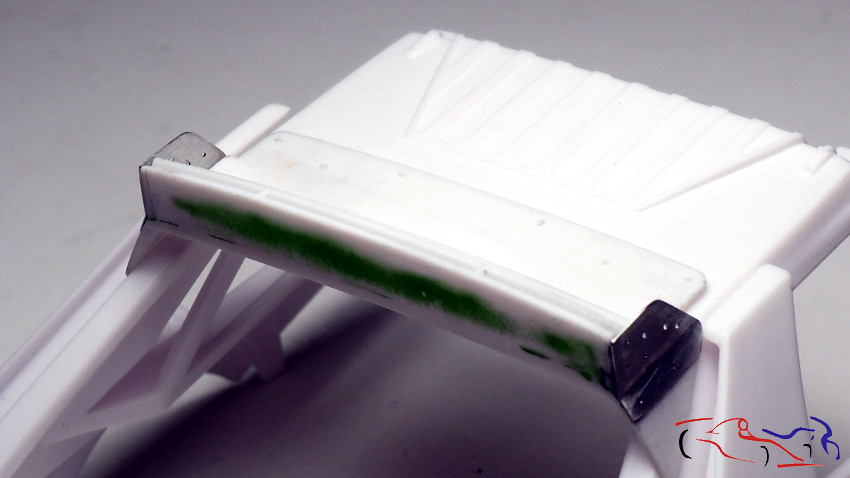
 La diferencia es muy apreciable:
The difference is very appreciable:
 Pero como lo he hecho? Una vez fijado el lateral del kit, limo hasta que llega a la forma del alerón, haciendo éste más largo. Así, al pegar la chapa, queda en el borde del extremo. Si hubiéramos sustituido la pieza del extremo del kit, no hubiera estado en su lugar sino más adentro.
But how I did it? Once fixed the side of the kit, silt until it reaches the shape of the spoiler, making it longer. In this way, when gluing the sheet, it remains on the edge of the end. If we had replaced the piece at the end of the kit, it would not have been in its place but inside.
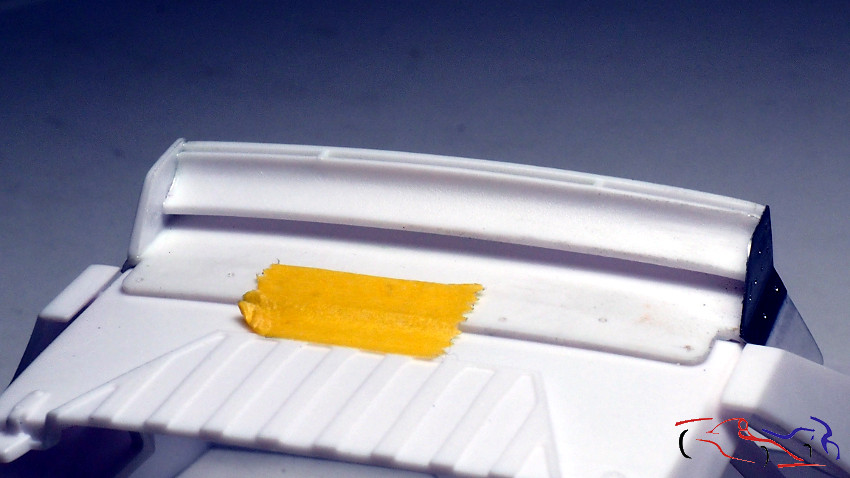
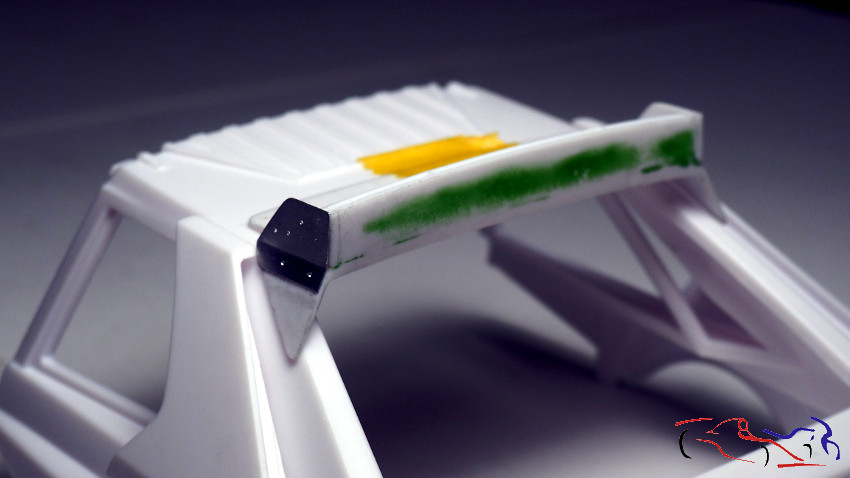
 Y aquí el resultado de este trabajo. Realmente se ve mucho mejor!!
And here the result of this work. It really looks much better !!
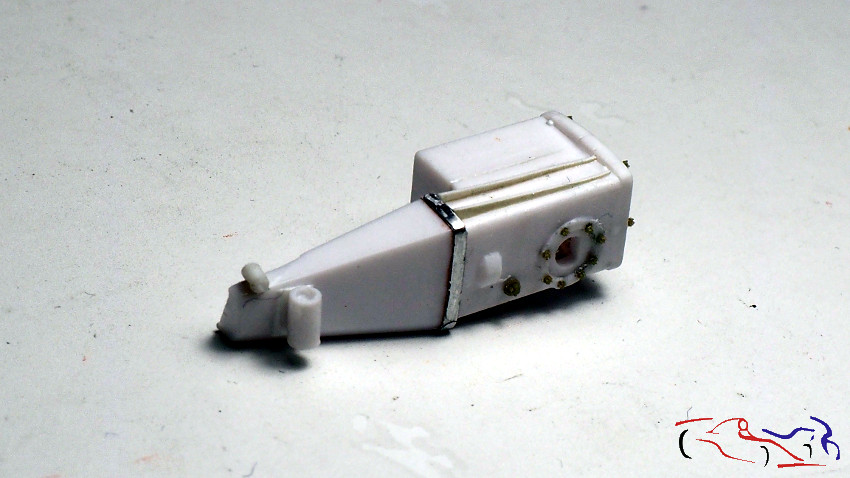
 Pasamos al motor, y vemos esta pieza que es de donde salen las transmisiones traseras. La verdad, un poco pobre aunque cuando esté montada, poco se verá.
We go to the engine, and we see this piece that is where the rear transmissions come from. The truth, a bit poor although when mounted, little will be seen.
 Y la detallamos de cuerdo con fotos del modelo real, añadiendo tornillos y piezas de plástico.
And we detail it according to photos of the real model, adding screws and plastic pieces.
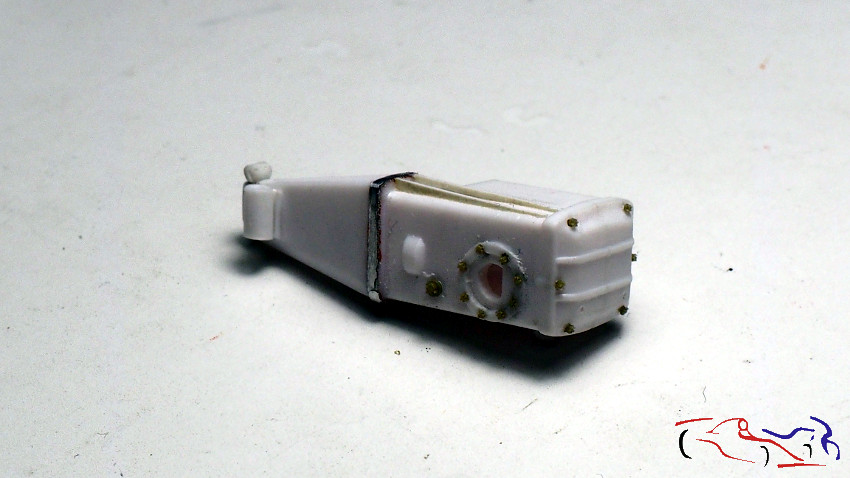 Destacar que no está terminada y falta poner masilla en las piezas añadidas a la izquierda de la fotografía.
Note that it is not finished and it needs putty in the pieces added to the left of the photograph.
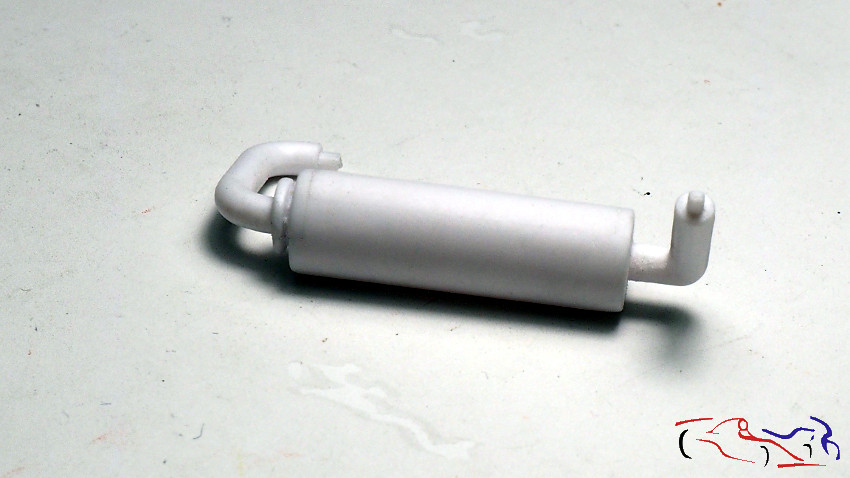
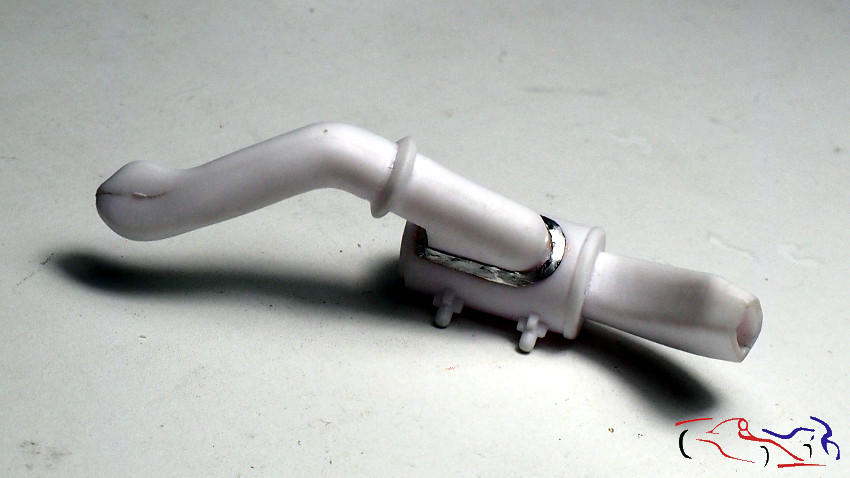
 El tubo de escape se monta pegando las correspondientes piezas…
The exhaust pipe is assembled by gluing the corresponding parts …
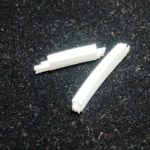
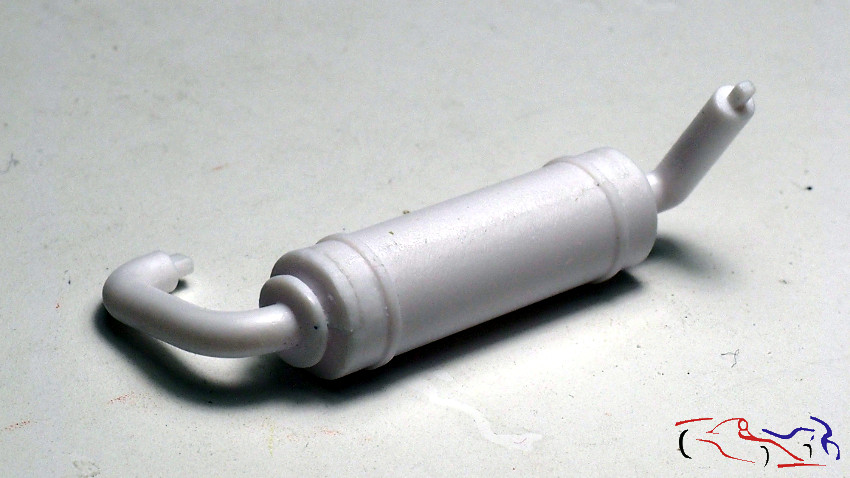 Y de primeras le eliminamos las dos tiras del molde, para poner láminas de metal más delgadas:
And first of all we eliminated the two strips of the mold, to put thinner sheets of metal:
 Esta es la toma de aire, que va en el capó trasero desde el techo y conduce el aire al turbo. Irá toda de carbono…
This is the air intake, which goes on the rear bonnet from the roof and conducts the air to the turbo. It will go all carbon fiber…
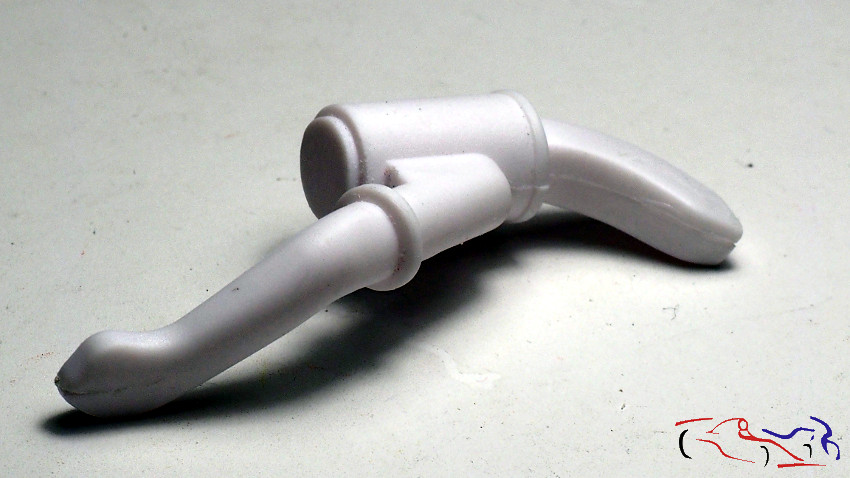 Y lo primero que le hacemos es una pletina en la unión.
And the first thing we do is a plate in the union.
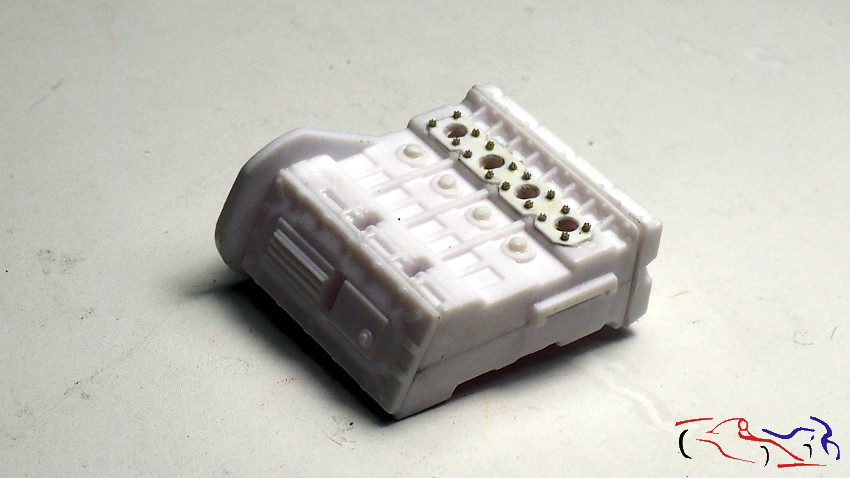
 Pasamos al bloque motor. Lo primero es mover la salida de los escapes más arriba ya que es un pequeño fallo del kit. Los agujeros están hechos y les pongo encima una pletina de plasticard:
We go to the engine block. The first thing is to move the exit of the escapes above because it is a small failure of the kit. The holes are made and I put a plasticard plate on them:
 Para después, formar los agujeros, y añadir los tornillos correspondientes:
To later, form the holes, and add the corresponding screws:
 Espero poner pronto más avances!
Gracias por ver y comentar!
I hope to add more progress soon!
Thanks for viewing and commenting!