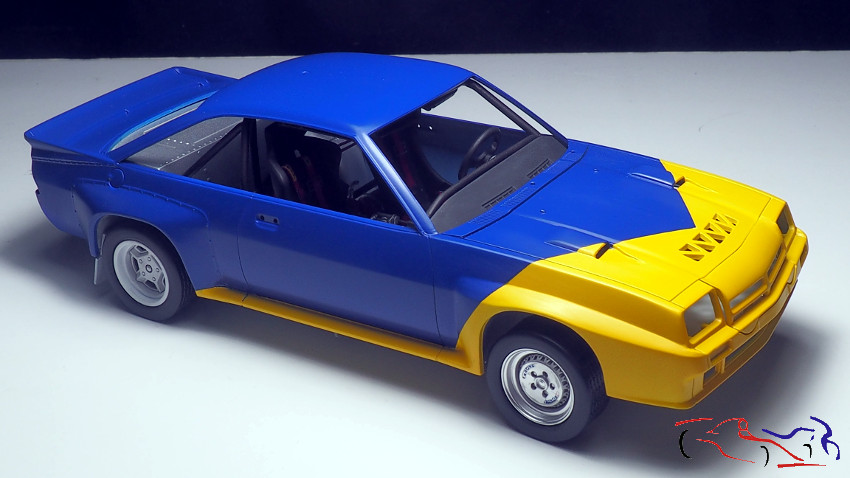
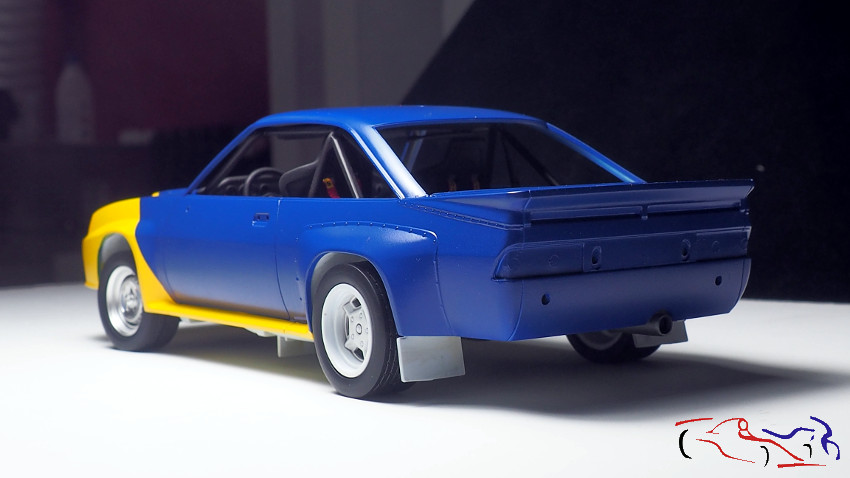
Seguimos con el Opel Manta Philips, y os muestro como está ahora mismo, con la carrocería pintada, lista para barnizar y poner las calcas que tengo que recibir:
We continue with the Opel Manta Philips, and I show you how it is right now, with the painted body, ready to varnish and put the decals that I have to receive:
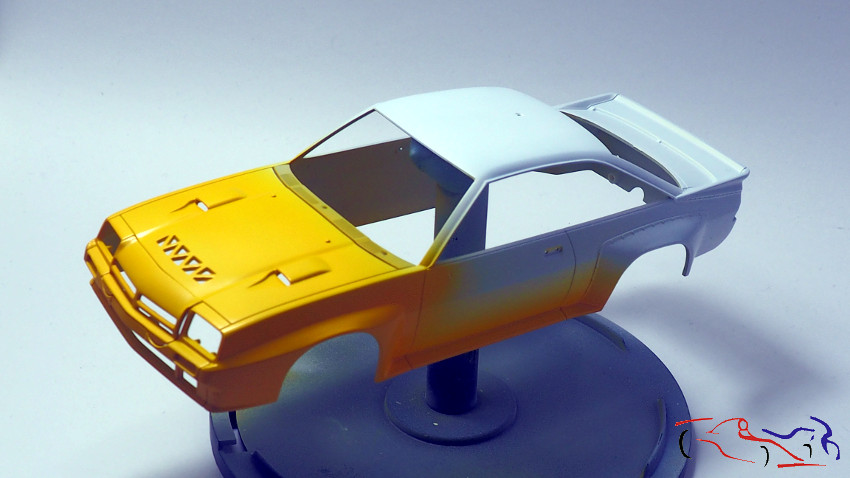
 Pero volvamos al principio… Después de dejar la carrocería blanca, pintamos con amarillo de Zero color ZP-7008 (similar Tamiya X-8), dando tres manos:
But back to the beginning … After leaving the white bodywork, we painted it with yellow Zero color ZP-7008 (similar Tamiya X-8), giving three layers:
 Después, enmascaramos….
After it, we masked …
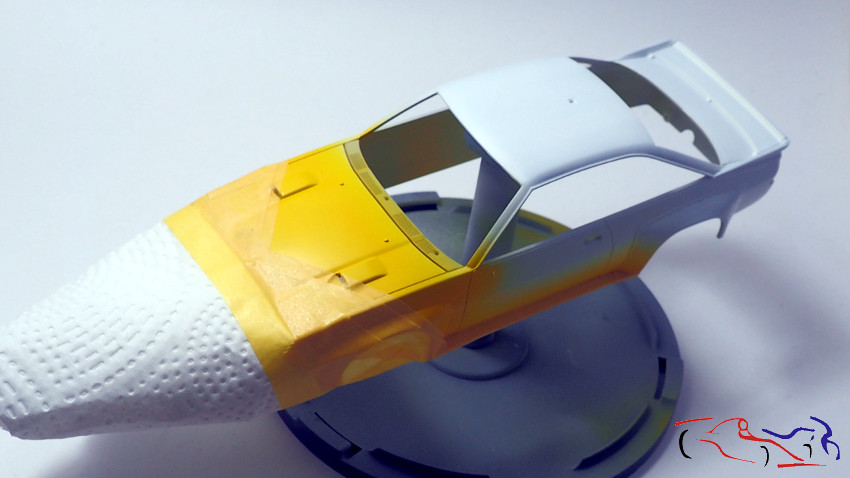
….. y pintamos 4 manos de Zero ZP-7004 (similar Tamiya X-4):
….. and we painted it with 4 layers of Zero ZP-7004 (similar Tamiya X-4):
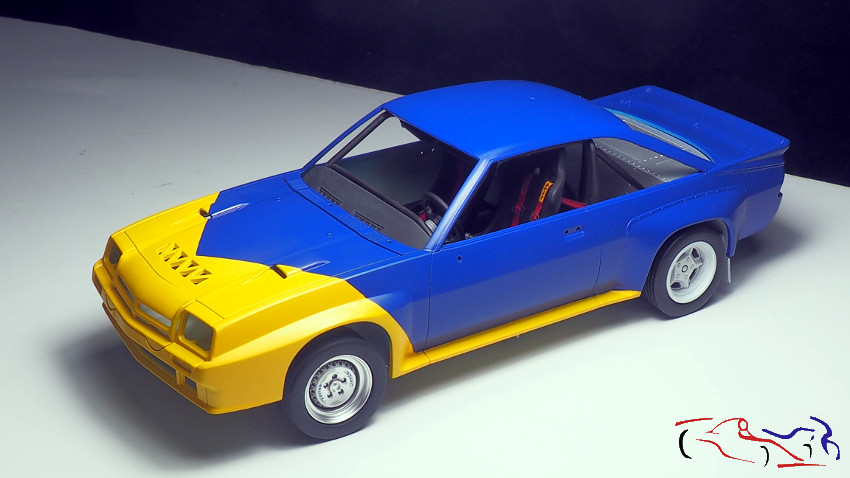
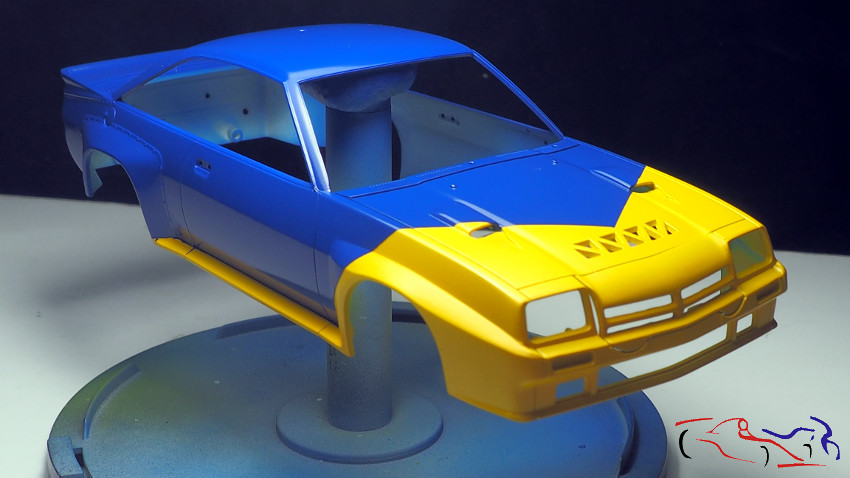
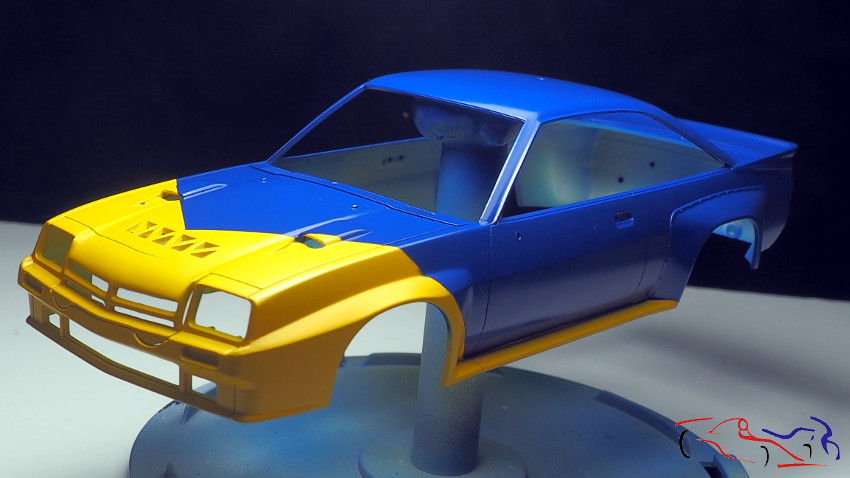
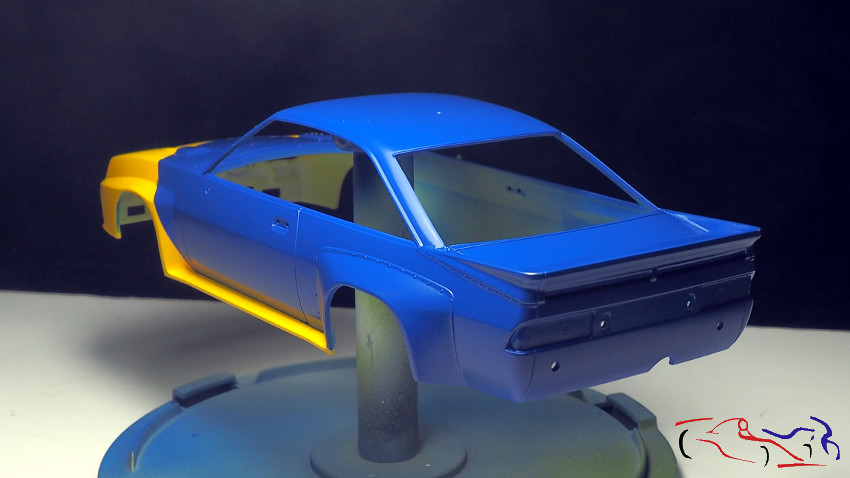
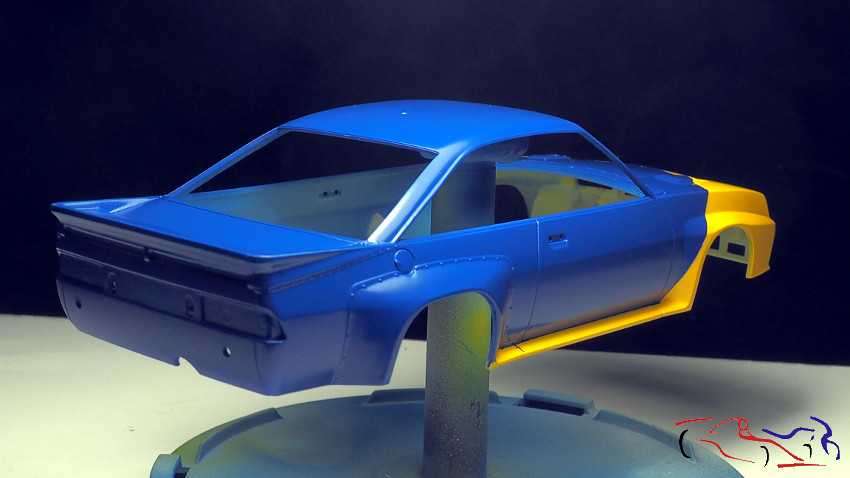
 Y este es el resultado cuando quitamos la máscara. EL resultado es bueno aunque hay algunos retoques que hacer:
And this is the result when we remove the mask. The result is good although there are some tweaks to do:
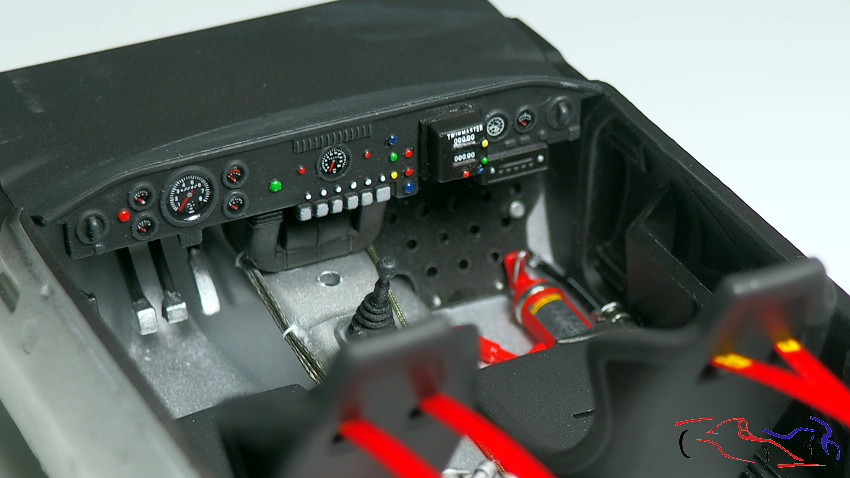
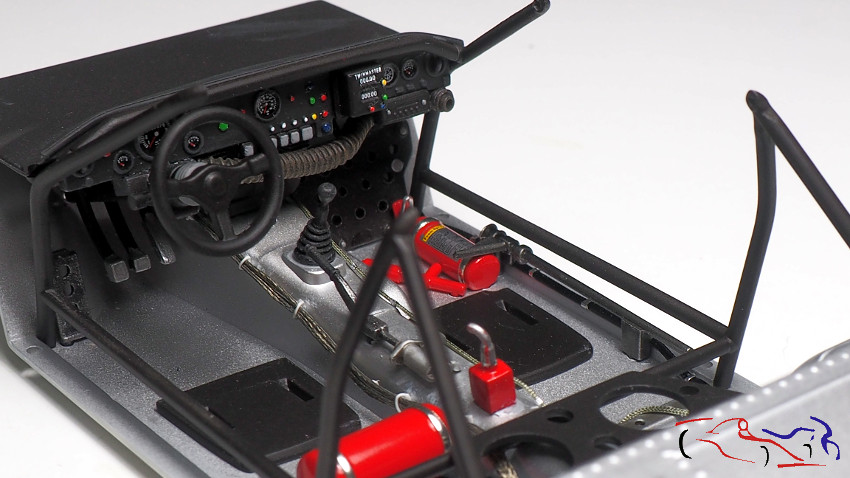
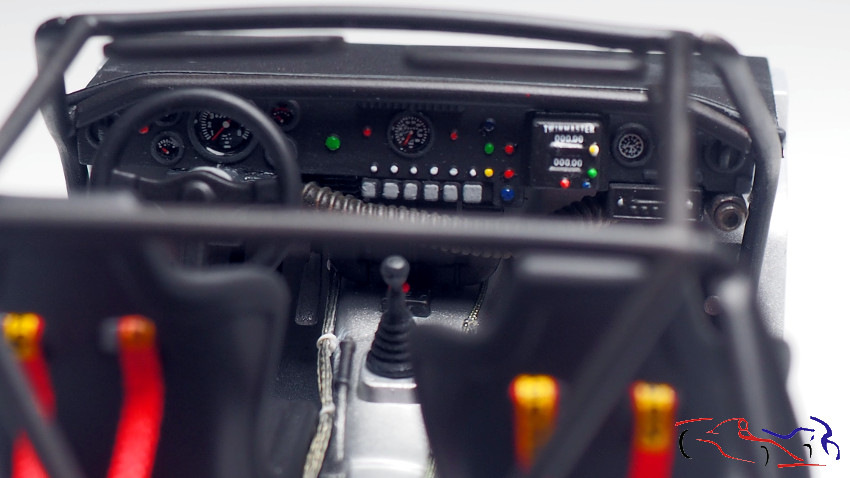
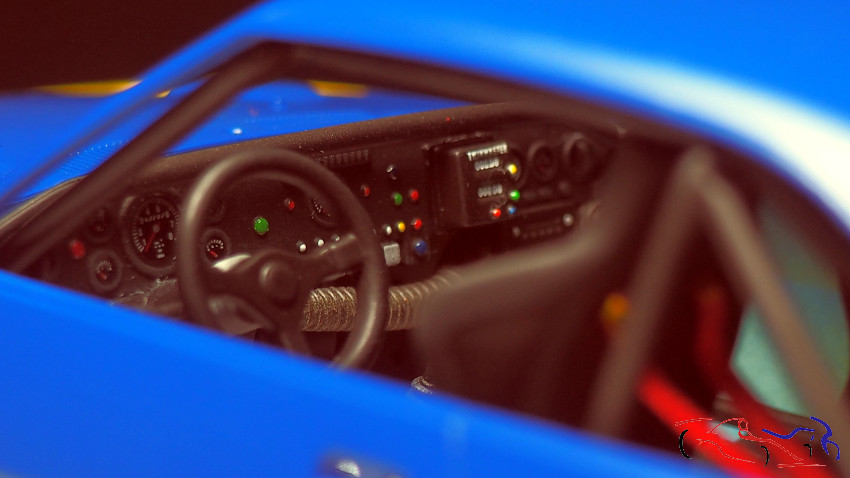
 Pasamos al interior: Como ya estaba todo pintado, me dedico a ir pegando piezas. Al salpicadero, le pinté de blanco a todos los botones, dándoles después, los colores que aparecen en la foto, y terminando con una gota de barniz brillante. A los relojes, les pues unas gotas de barniz brillante antes y después de poner la calca, de la marca AK.
And we went inside: As everything was painted, I dedicate myself to sticking pieces. On the dashboard, I painted all the buttons white, giving them the colors that appear in the photo, and ending with a drop of shiny varnish. To the watches, then a few drops of gloss varnish before and after putting the decal, of the AK brand.
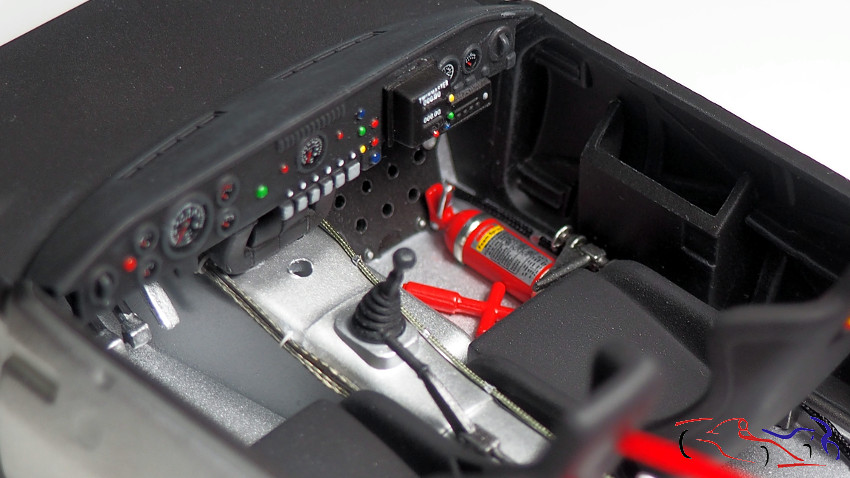
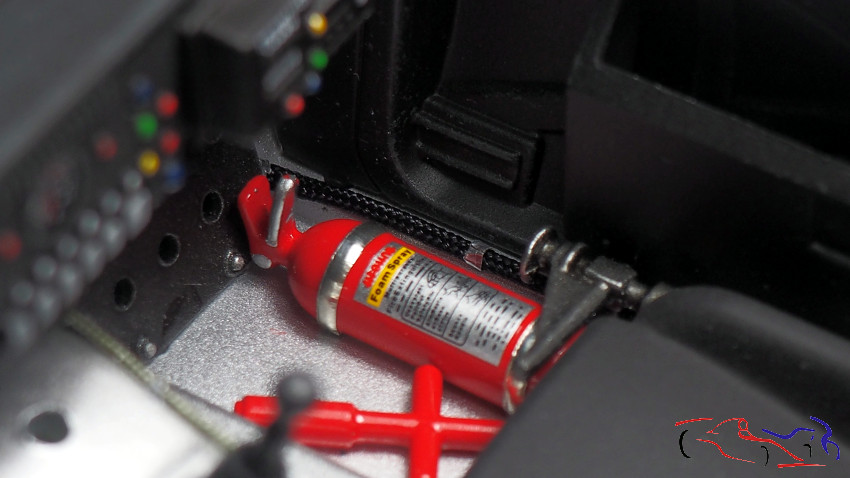
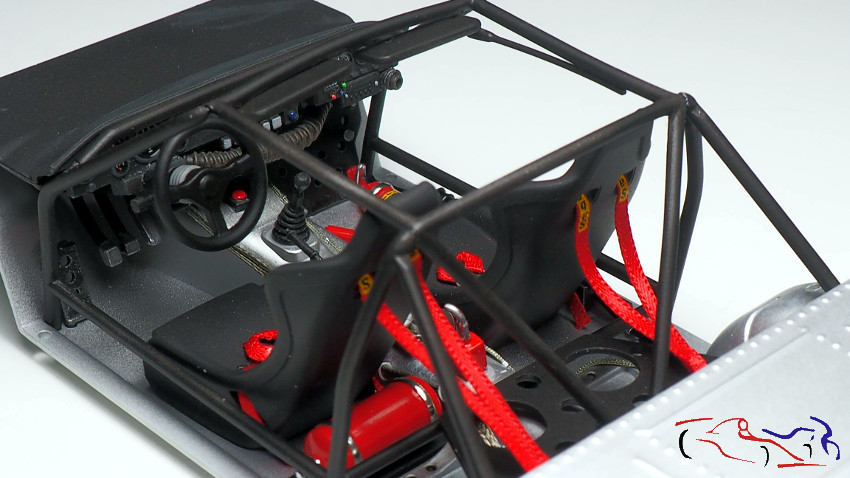
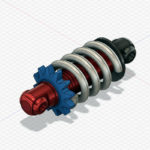
 A los extintores, después de barnizar en brillo el color rojo, le puse las abrazaderas con Bare Metal Foil, pintando con cromo Molotow las partes correspondientes. También vemos unos tubos que le puse en el cockpit. Los dos plateados del lado del piloto, son los habituales unidos con plástico estirado blanco. EL tubo que está al otro lado de la palanca de cambios y el negro que está detrás del extintor, son los nuevos de Top Studio, a los que le he puesto unas tiras cromadas del autoadhesivo usado en aire acondicionado.
To the fire extinguishers, after varnishing in brightness the red color, I put the clamps with Bare Metal Foil, painting with chrome Molotow the corresponding parts. We also see some tubes that I put in the cockpit. The two silvers on the driver’s side are the usual ones in white stretched plastic. The tube that is on the other side of the gear lever and the black that is behind the extinguisher, are the new ones of Top Studio, to which I have put some chrome strips of the self-adhesive used in air conditioning.
 Aquí vemos el plástico blanco estirado que he usado. No utilicéis el plástico de este kit porque no funde bien se rompe. Yo he usado los restos de Tamiya.
Here we see the stretched white plastic that I used. Do not use the plastic of this kit because it does not melt well it breaks. I used Tamiya’s remains.
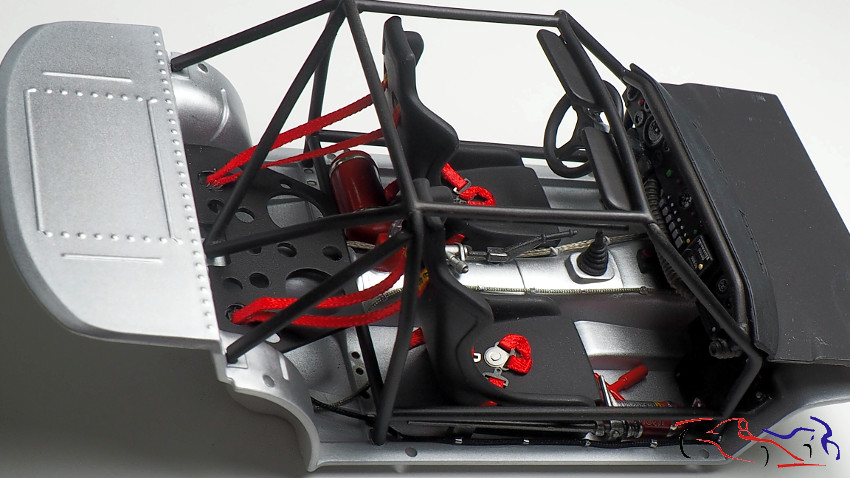
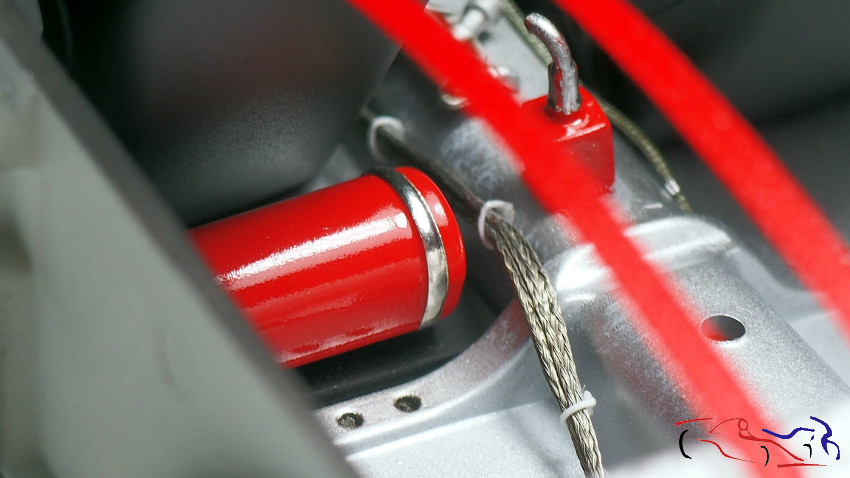 Mas detalles del interior donde se ve el tubo negro de Top Studio:
More details of the interior where you see the black tube of Top Studio:
 Ponemos el volante y empezamos apegar el arco de seguridad:
We put the steering wheel and begin to attach the safety bow:
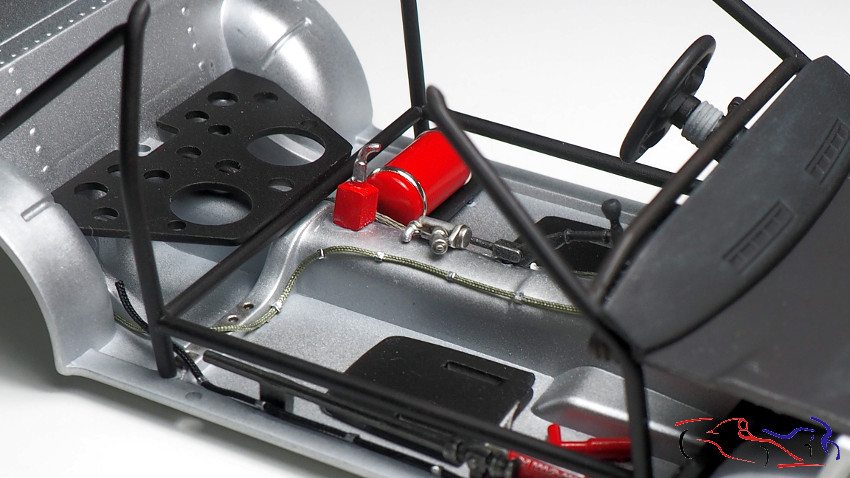
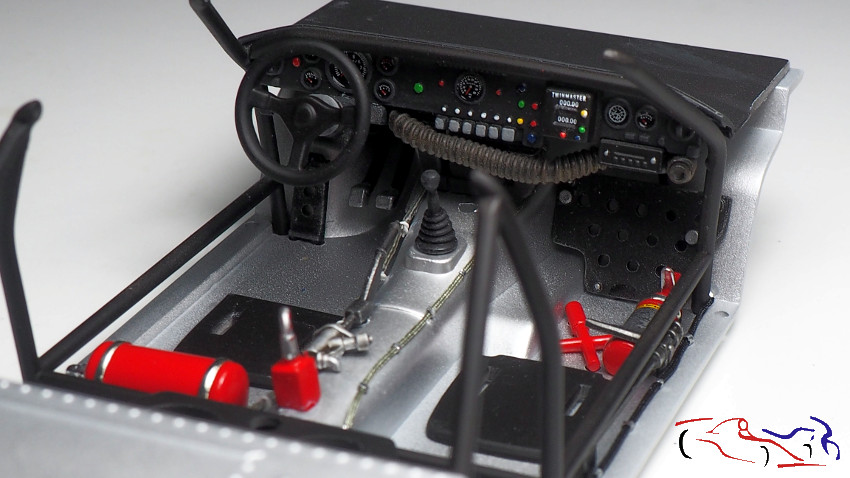 En esta foto vemos los cables que van por el habitáculo, que he ido pegando con ciano ayudándome de un palillo, en las fijaciones, una a una, de tal manera que no pasaba a la siguiente si la anterior no estaba bien fijada:
In this photo we see the cables that go through the cabin, which I have been sticking with cyano helping me with a toothpick, in the fixings, one by one, in such a way that it did not pass to the next one if the previous one was not fixed correctly:
 Pasamos a los cinturones. He usado los del kit, y vemos que las hebillas son ligeramente grandes, o los cinturones un poco estrechos. Para la marca de los cinturones, he usado el líquido fuerte de calcas de Tameo antes de las mismas. Una vez puestas sobre el líquido, he presionado con un bastoncillo de oídos. Cuando se secan, se adaptan perfectamente al dibujo de los cinturones.
We go to the belts. I used the ones in the kit, and we see that the buckles are slightly large, or the belts a little narrow. For the brand of the belts, I used the strong liquid of Tameo decals before them. Once placed on the liquid, I pressed with a stick of ears. When they dry, they adapt perfectly to the design of the belts.
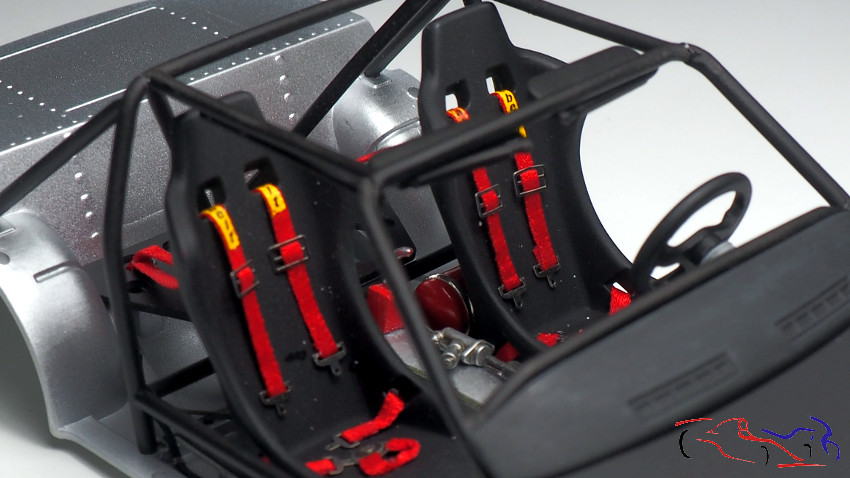 AL final, decidí no poner la caja porta cascos, ya que me estorbaba para que se viera el interior. Podéis ver la caída lógica de los cinturones.
In the end, I decided not to put the helmet box, as it hindered me to see the inside. You can see the logical fall of the belts.
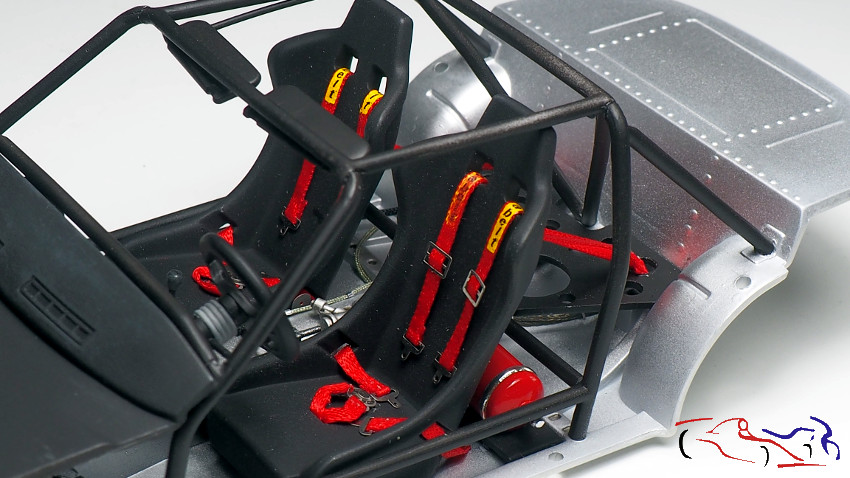
 Una vez pegados los cinturones, terminamos el arco de seguridad:
Once the belts are glued, we finish the safety arch:
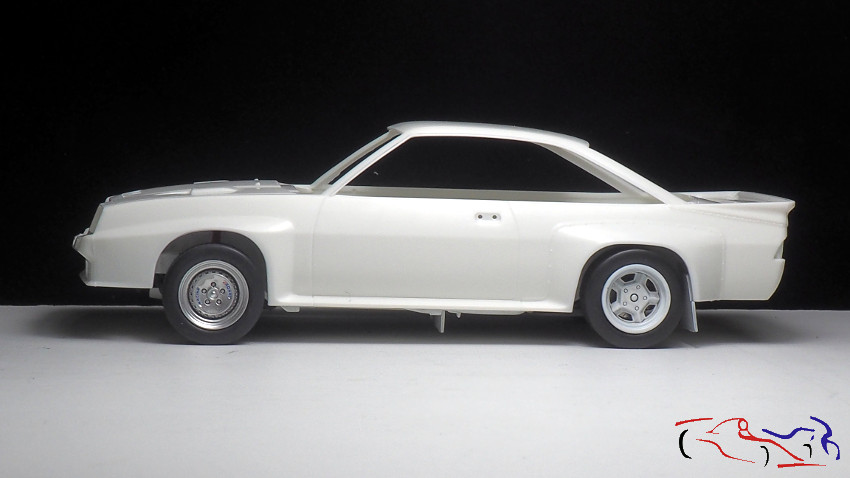
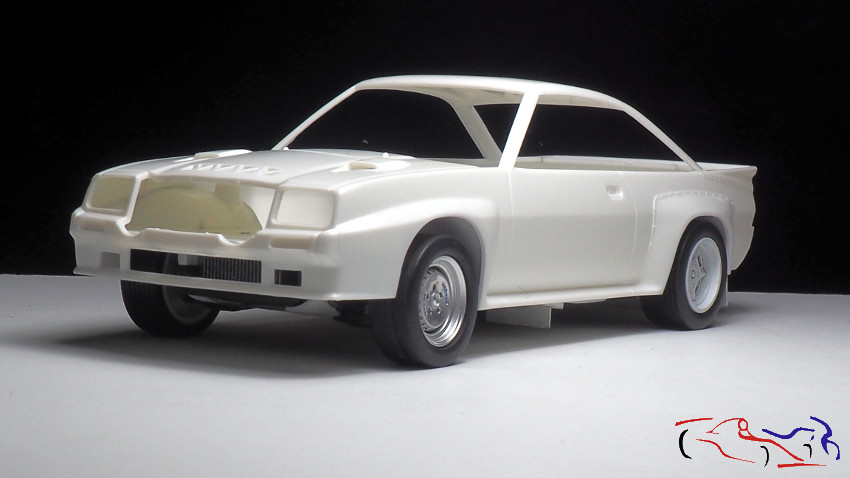
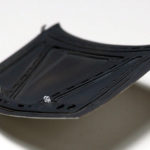
 Volvemos a la carrocería, con un pre-montaje con el interior. Veréis que se levanta mucho de adelante, y es debido a que le cambié de sitio los bujes de las ruedas delanteras. En cualquier caso, al próximo le rebajaré 2 mm tanto delante como detrás:
We return to the body, with a pre-assembly with the interior. You will see that it rises much ahead, and it is because I changed the hubs of the front wheels. In any case, the next I will reduce 2 mm both front and back:
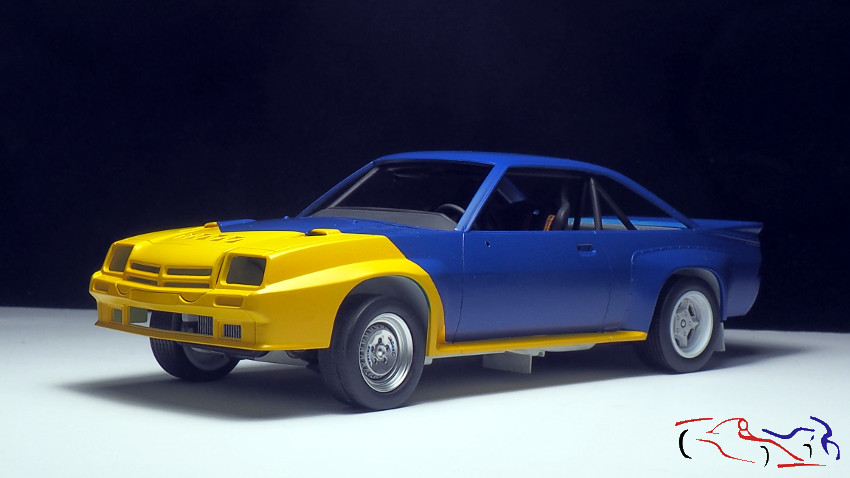
 En estas fotos, vemos que está muy alto de delante. En las próximas fotos, ya estará corregido!!
In these photos, we see that he is very tall in front. In the next pictures, it will be corrected !!
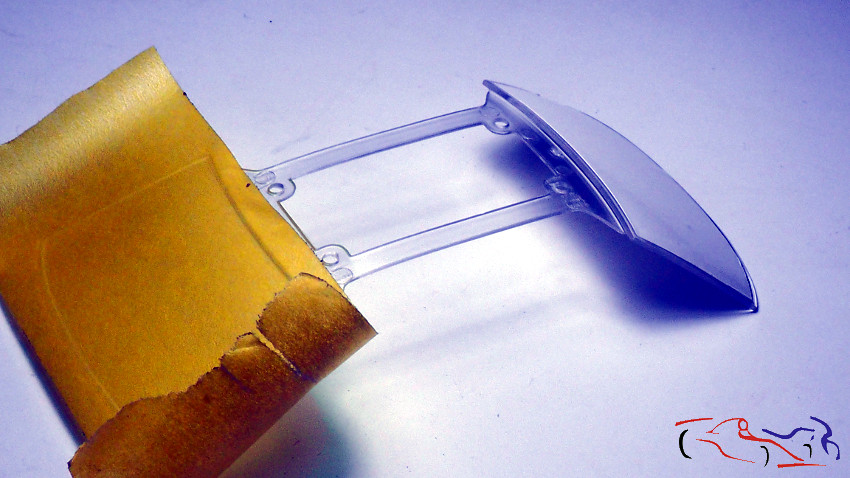
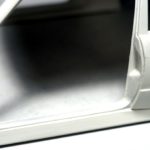
 Y para terminar hoy, voy poniendo las máscaras de los cristales. Decir que las plantillas que trae el kit no es que sean muy buenas, por el material (muy duro) y porque no está del todo bien cortado. Por tanto, las deshecho y utilizo Tamiya, que se puede cortar muy fácilmente gracias a los bordes existentes en los cristales.
And to finish today, I’m putting on the masks of the crystals. To say that the templates that the kit brings is not that they are very good, because of the material (very hard) and because it is not quite well cut. Therefore, I dispose of them and I use Tamiya, which can be cut very easily thanks to the existing edges of the crystals.
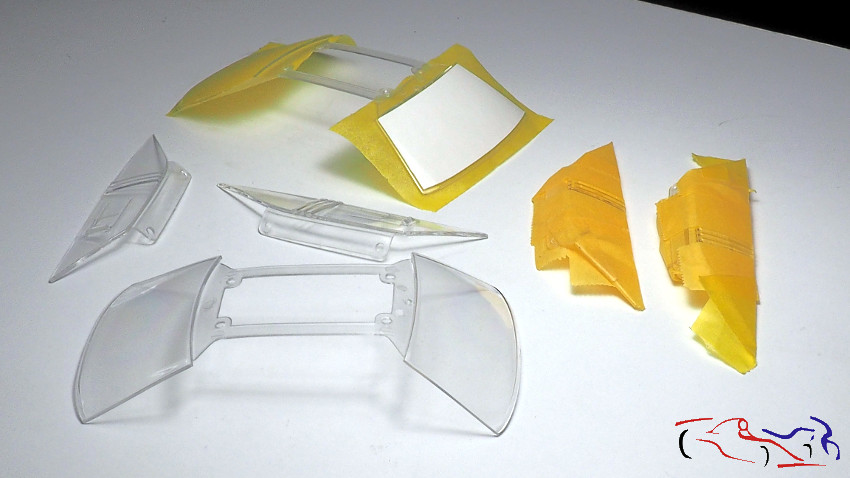
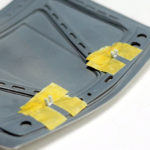
 Aquí vemos los cristales originales y los preparados para pintar de negro satinado. Decir que empiezo a pintar también los del segundo Manta, que será el de Carlos Sainz.
Here we see the original crystals and the preparations to paint in satin black. To say that I start painting also those of the second Manta, which will be that of Carlos Sainz.
 Gracias por ver y comentar!!
Thanks for viewing and commenting!!

Muy buen trabajo; lo de la altura, tampoco me desagrada; depende la versión que vayas hacer, si es un rally que tenía tramos de tierra, va bien así. Saludos!
Excelentes detalles, el cableado interior wow!!!
Buenas, ¿como hiciste para corregir el desvío de la parte alta de la jaula? Al premontar la mía se levanta mucho la parte delantera.
Un saludo.
Hola. Fue hace tiempo ya pero creo recordar que las barras superiores de la jaula podían tener distintas posiciones, siendo una sola la correcta. Pero no te puedo decir más, lo siento. Simplemente verifica que todo está como indican las instrucciones.