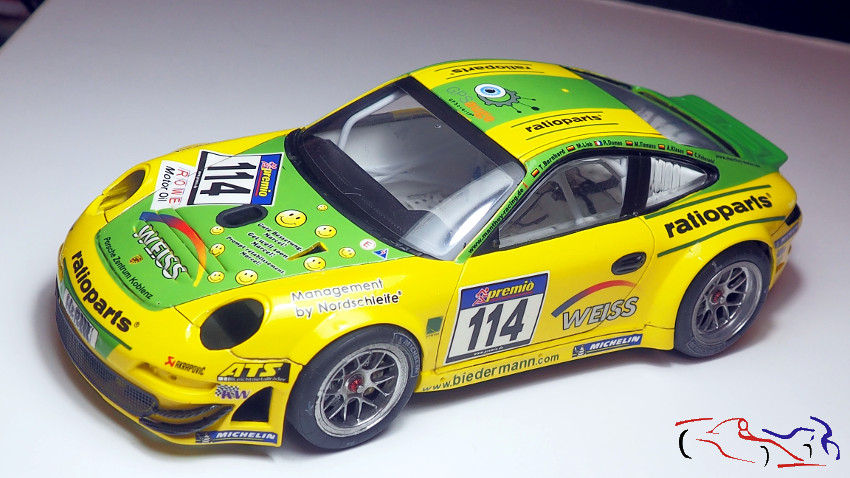
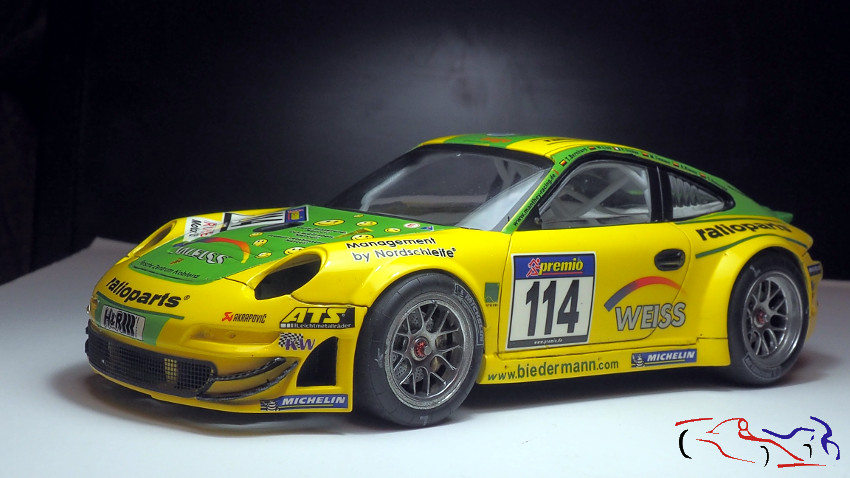
Otra entrada del Porsche, y estas son dos muestras de como lo llevo hasta ahora:
Another entry from the Porsche, and these are two examples of how I’ve been carrying it so far:
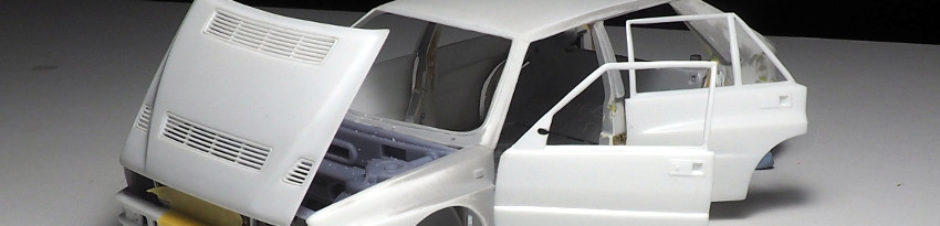
Pero retrocedamos un poco….. Vamos con lo que hicimos desde el último post.
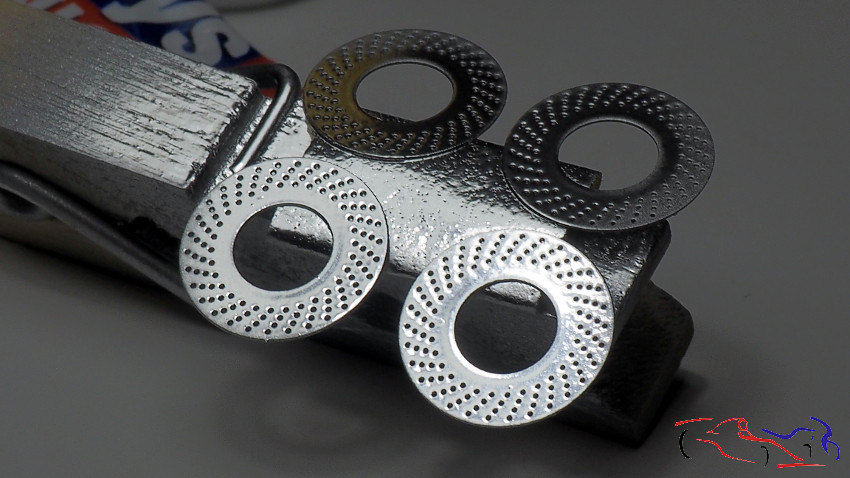
Y empiezo por el test de un producto que no es nuevo, pero recientemente incluido dentro de las pinturas para modelismo: Liquid Chrome de Molotow (podéis encontrarlo en Spotmodel aqui). La verdad es que es un producto fabuloso, y aquí el ejemplo: fotograbados imprimados con Gravity:
But back a little ….. Let’s go with what we did since the last post.
And I start with the test of a product that is not new, but recently included in the paintings for modeling: Molotow Liquid Chrome (you can find it in Spotmodel here). The truth is that it is a fabulous product, and here’s the example: photogravures primed with Gravity:
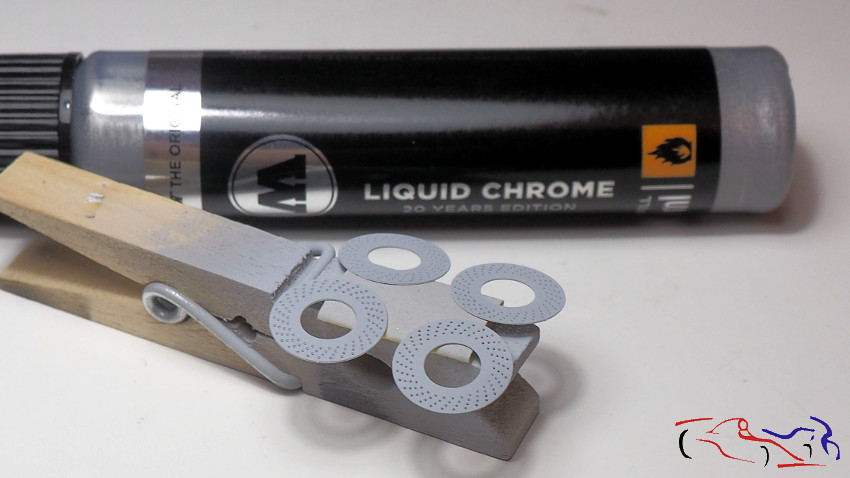
Y si ponemos directamente del tubo en el aero…..veréis como sale el brillo!!
And if we put it directly from the tube in the aero ….. you will see how the brightness comes out !!
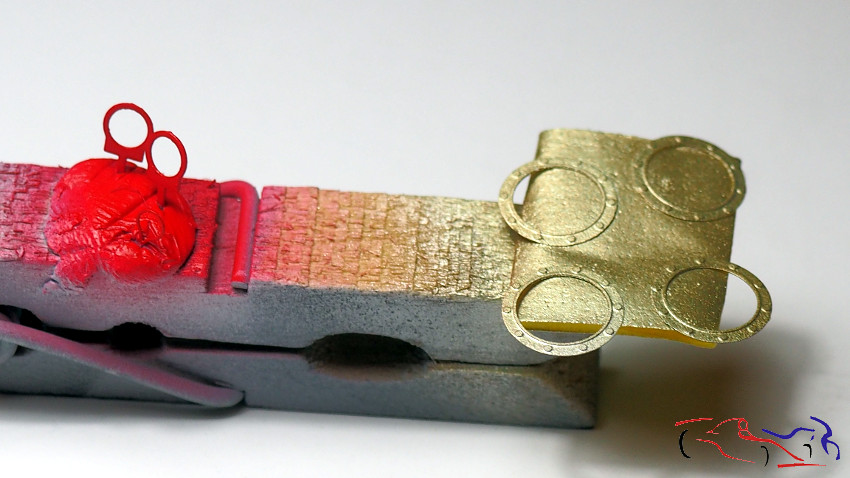
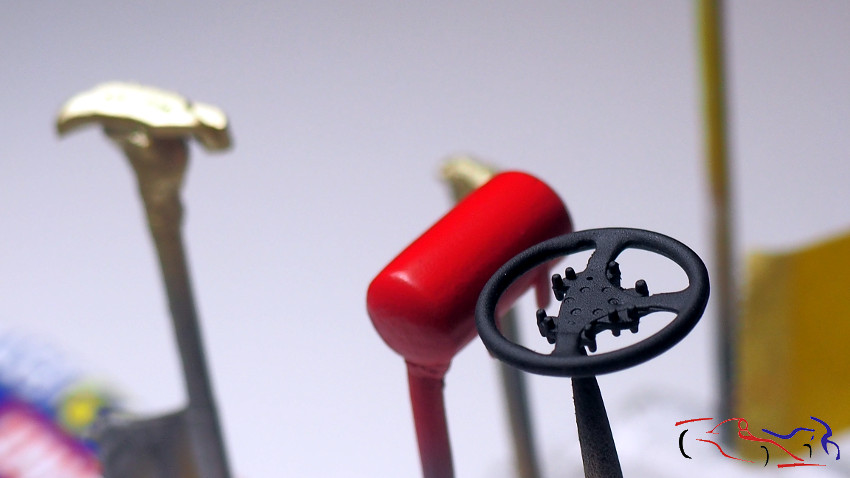
Y pintamos más: rojo para los tiradores de emergencia y los aros centrales de los frenos con titanium gold de Zero:
And we paint more: red for the emergency handles and the central rings of the brakes with titanium gold of Zero:
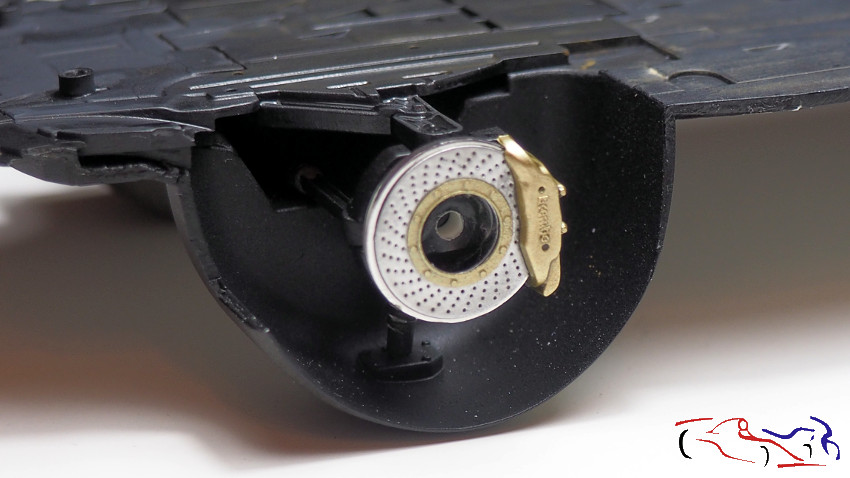
Y una vez puestas todas las piezas, montamos los discos de freno en su lugar: Aquí los discos delanteros…
And once you put all the pieces, we put the brake discs in place: Here the front discs …
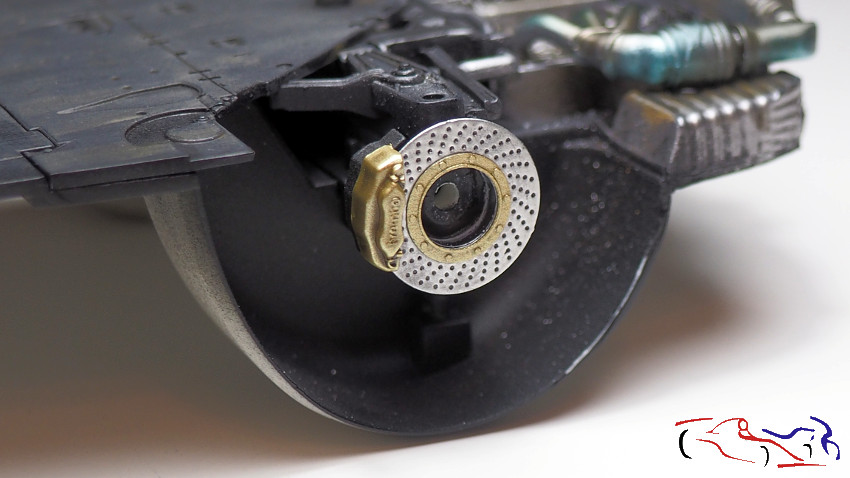
Y aquí los traseros…
And now the rear ones…
Más pintura de piezas: El volante y el extintor. Decir que el negro es otro test que hago con una pintura nueva: MIG
More parts painting: The steering wheel and the fire extinguisher. Just to say that black is another test that I do with a new painting: MIG
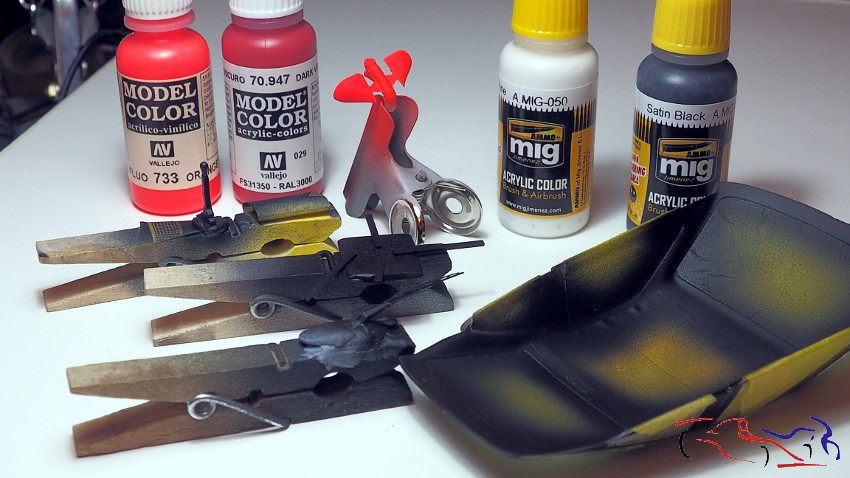
Y siguiendo con MIG, el producto testeado ha sido en negro satinado y el blanco mate. EL resultado buenísimo: directamente al aero y dando pasadas muy finas, dejando secar entre cada capa. Muy aconsejable. Y el blanco lo dí como imprimación, de la misma manera para los espejos. Una vez secos, hice una mezcla del naranja fluorescente y el rojo, disolviendo con alcohol. Estos dos son de Vallejo:
And following with MIG, the product tested has been in satin black and matt white. The result is great: directly to the aero and giving very fine passes, allowing to dry between each layer. Very advisable. And the white gave it as a primer, in the same way for the mirrors. Once dry, I made a mixture of fluorescent orange and red, dissolving with alcohol. These two are from Vallejo:
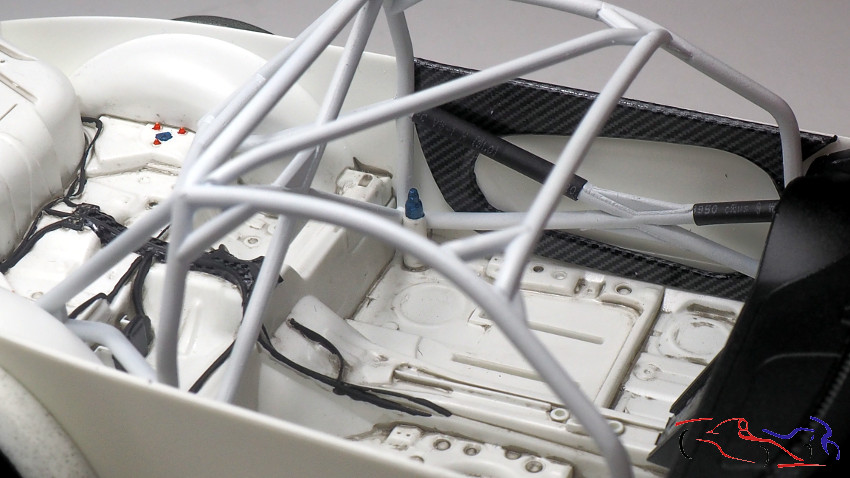
Seguimos con el interior. Una vez pintado el arco de seguridad de blanco, pongo fibra en ciertas partes de la cuna, y pinto los cables por encima (me gusta más el poner yo mismo los cables!!). También usamos a modo de test, tubo coarrugado partido a lo largo para los protectores del arco. También ponemos de fibra los paneles de las puertas que no venían en el kit:
We continue with the interior. Once the white safety bow is painted, I put fiber in certain parts of the crib, and I paint the cables above (I like putting the cables myself !!). We also use a test mode, corrugated pipe split length for bow guards. Also we put of fiber the panels of the doors that did not come in the kit:
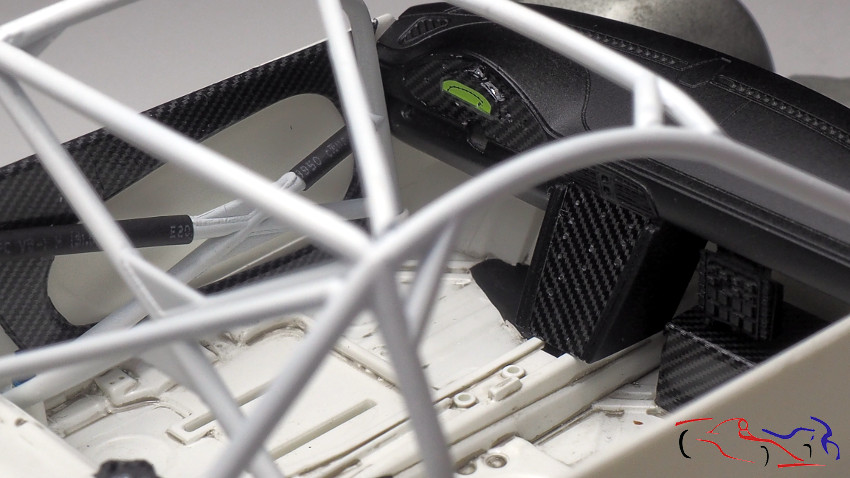
Vemos también, como puse fibra en el salpicadero y en la caja de la derecha. Después les di dos capas de Future a pincel:
We also see, as I put fiber in the dashboard and in the box on the right. Then I gave them two layers of Future by brush:
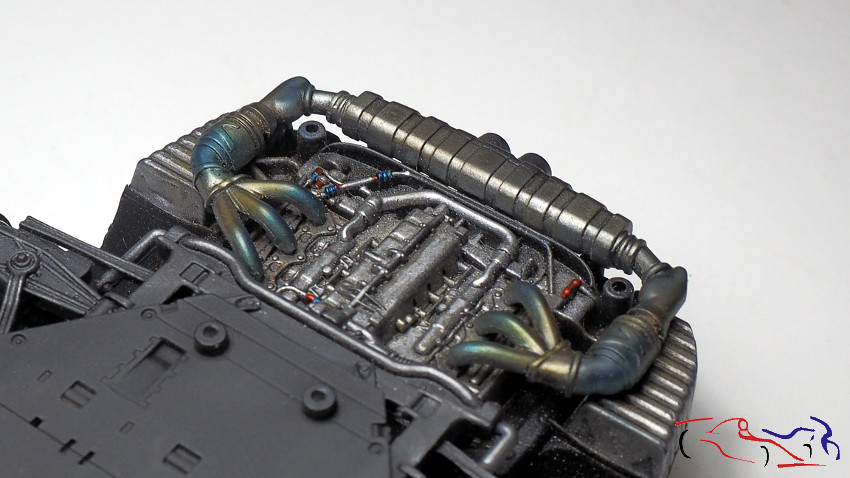
Y pasamos a los bajos de motor. Después de pintarlo en el post anterior, le doy una aguada de humo de Tamiya
And we went to the engine lows. After painting it in the previous post, I give it a smoke gourd of Tamiya
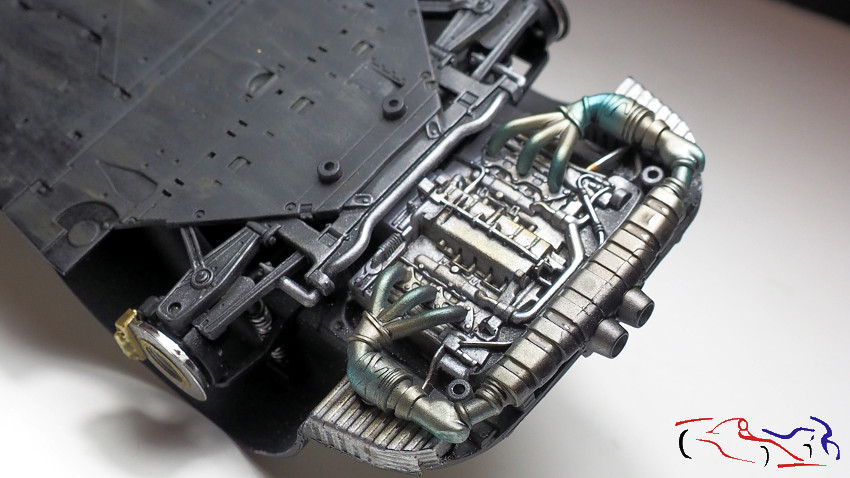
Y finalmente le doy unos toques de color así como unos pigmentos de Tamiya Watering Master #D:
And finally I give you some touches of color as well as some pigments of Tamiya Watering Master #D:
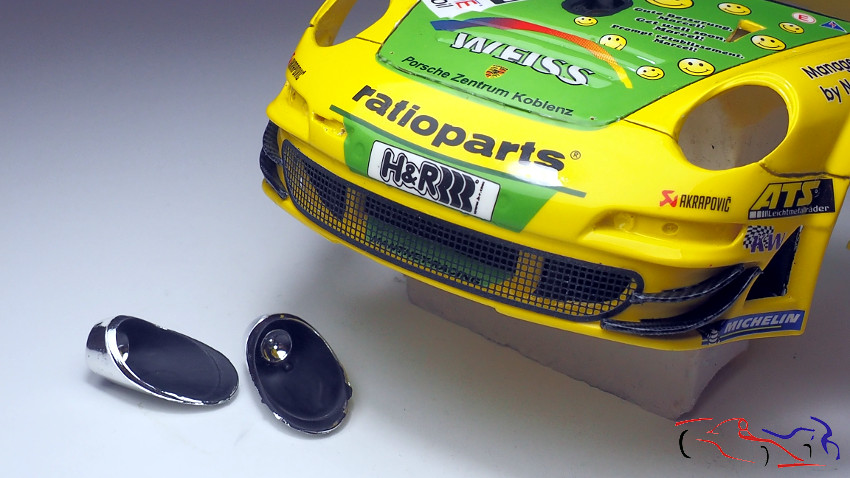
Nos vamos a la carrocería. Después de poner fibra en loas aletas delanteras, pegarlas y añadir el fotograbado pintado de la rejilla delantera, pinto el interior de las luces de negro mate, dejando la luz del color cromado original:
We’re going to the body. After putting fiber on the front flaps, glue them together and add the painted photogravure of the front grille, I paint the interior of the matte black lights, leaving the light of the original chrome color:
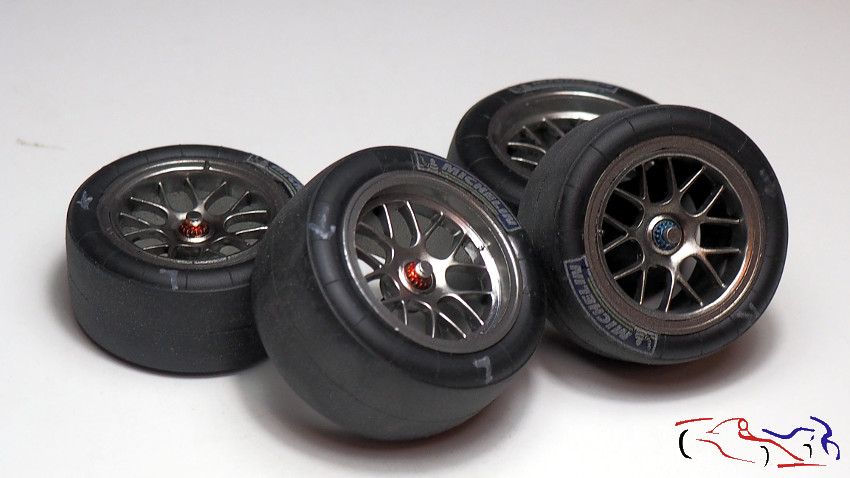
 Y para terminar, las ruedas. Le pongo las marcas del neumático, habiendo pintado antes con future. También, he usado por primera vez, el rotulados blanco de Molotow para pintar las marcas blancas del mismo.
And finally, the wheels. I put the tire marks, having painted before with future. Also, I used for the first time, the white Molotow label to paint the white marks of it.
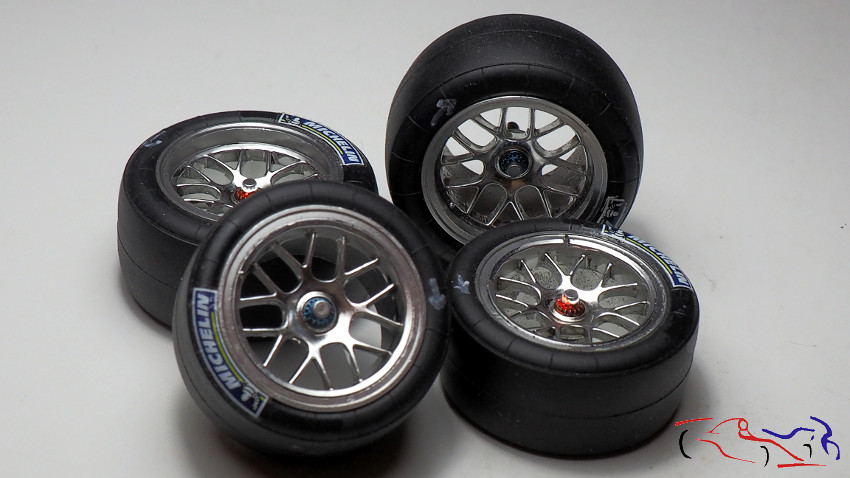 Y después, negro mate diluido de Tamiya por delante y por detrás!
And then Tamiya diluted matte black ahead and behind!
Gracias por ver y comentar!!
Thanks for viewing and commenting!!


