Ultima entrada antes de las fotos finales!
Last post before the final pictures!
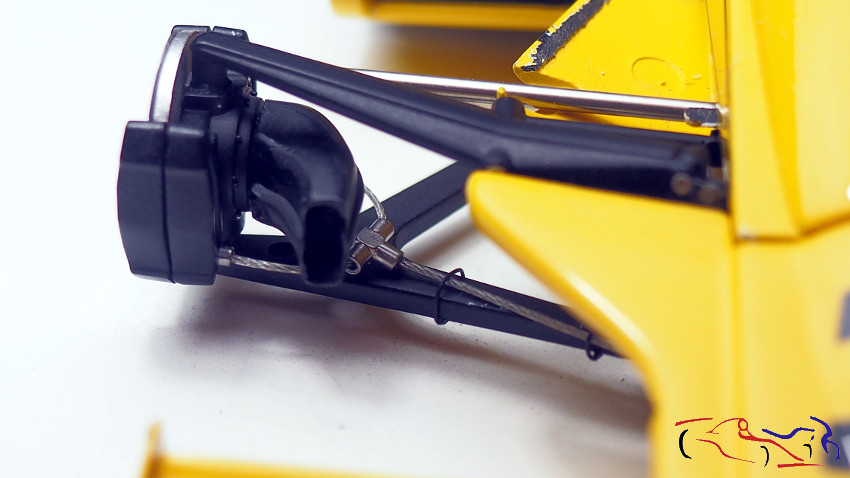
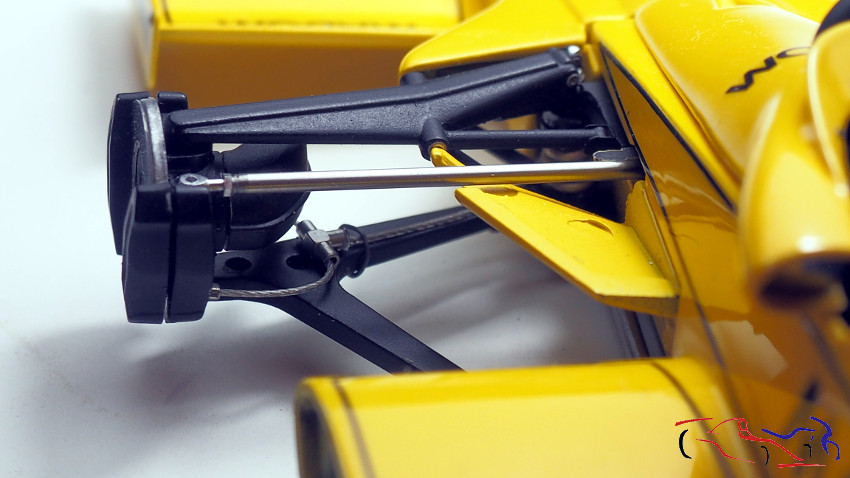
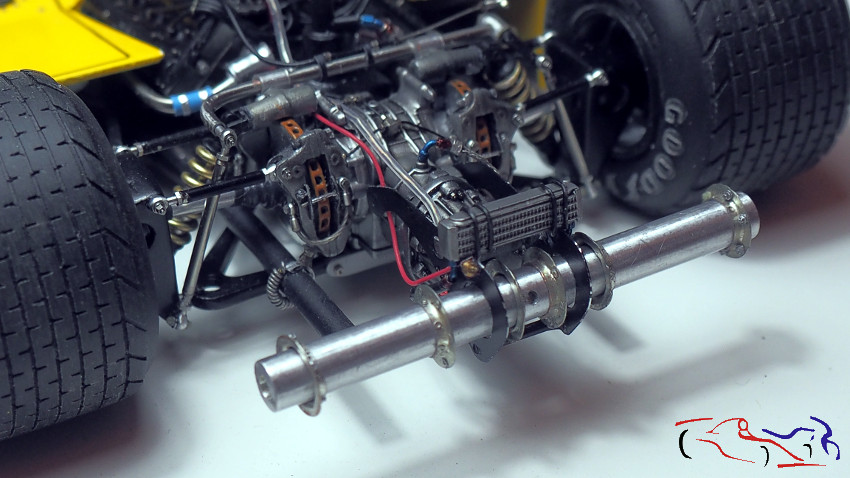
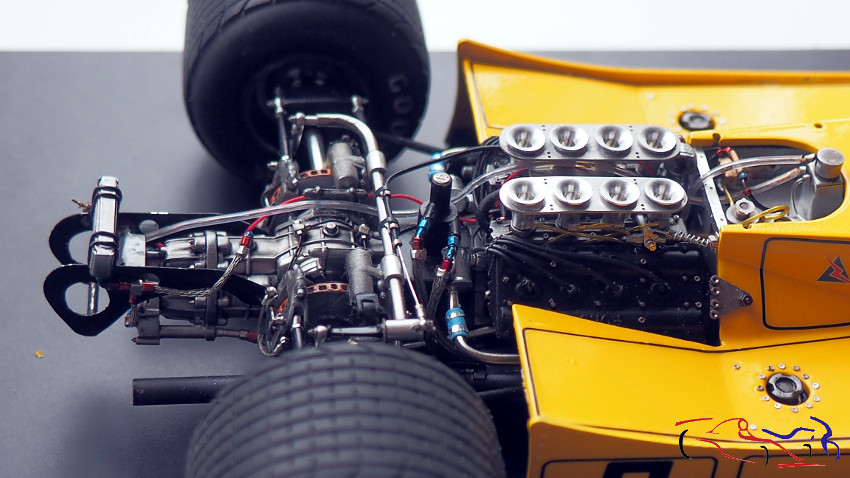
Terminamos la barra estabilizadora trasera. Con algunas piezas de RB Motion, un cable al que quité la parte plástica, unas tuercas de 0,3 mm de diámetro y unos redondos de plástico aplastados con unos alicates y puestos a modo de abrazadera, completamos dicho elemento.
We finished the rear stabilizer bar. We completed it with some parts of RB Motion, a cable to which I removed the plastic part, nuts of 0.3 mm in diameter and some plastic rounds crushed with pliers and placed like a clamp.
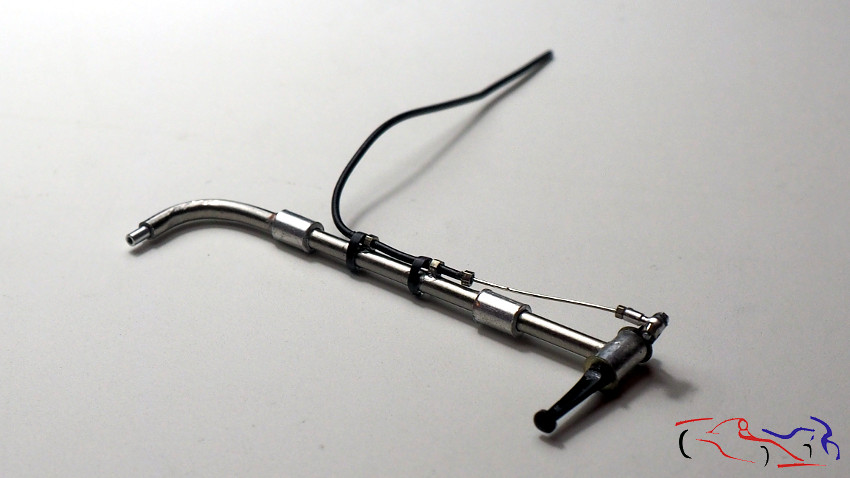
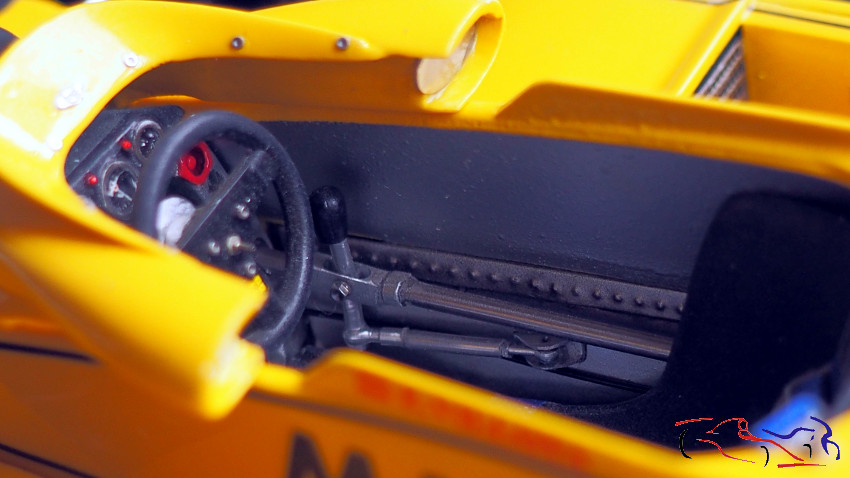
La fijamos a los frenos con ciano, y el cable suelto lo pasamos por los huecos del motor hacia el cockpit:
We fix it to the brakes with cyan, and we pass the loose through the holes of the engine towards the cockpit:
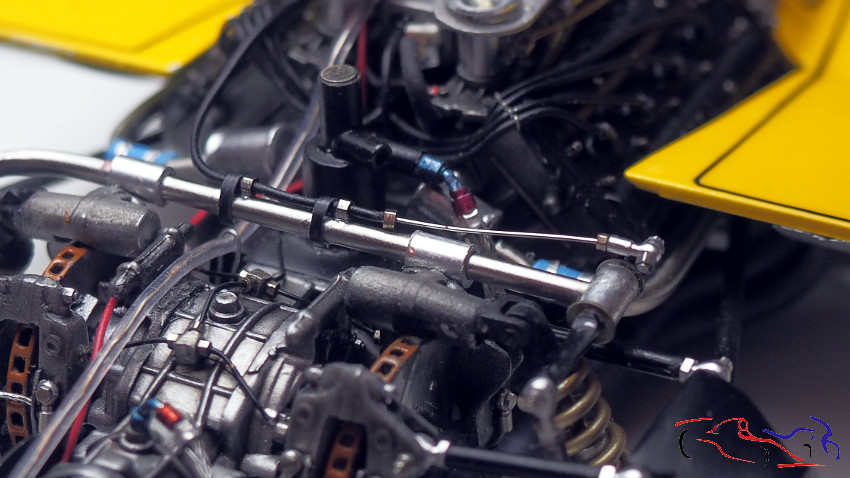
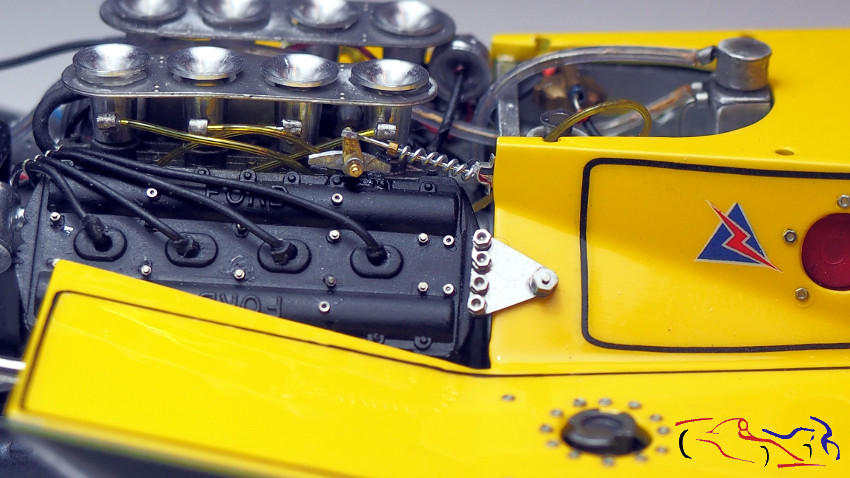
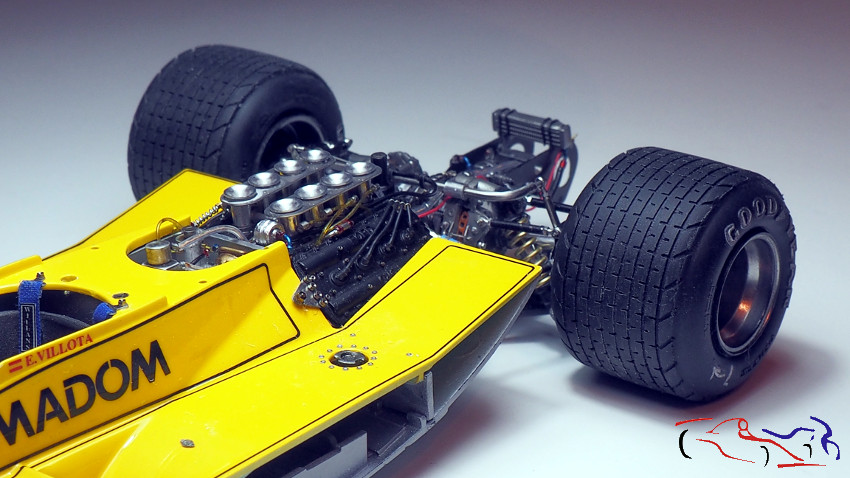
También vemos otras piezas como el cable del acelerador con su muelle y las fijaciones del motor:
We also see other parts like the throttle cable with its spring and engine fixings:
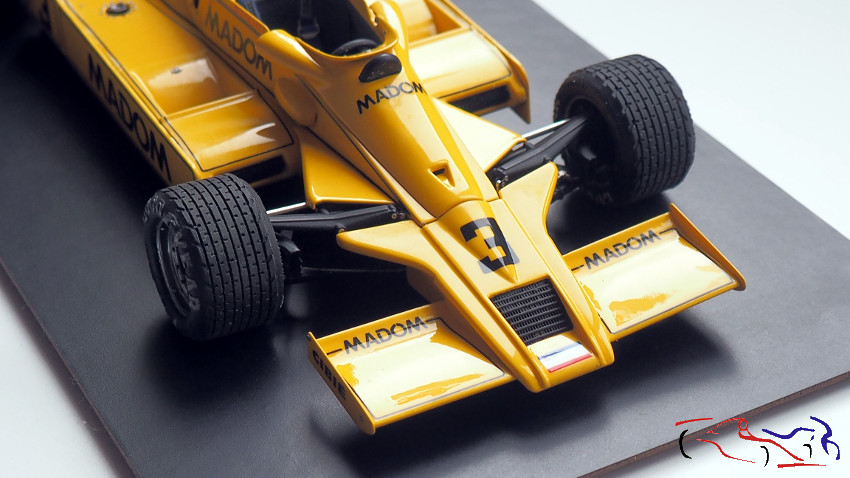
Pasamos al ensamblaje final: Con pegamento Tamiya pegamos la parte delantera.
We go to the final assembly: With Tamiya glue we add the front part.

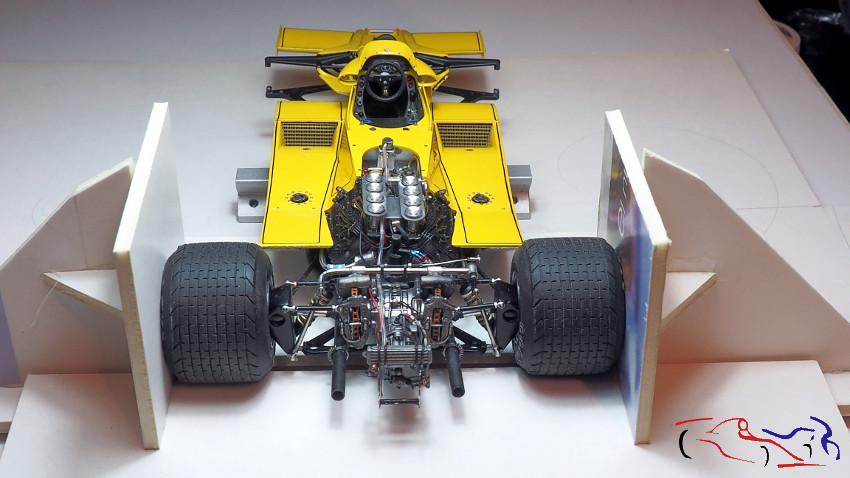
Con pegamento epoxy de dos componentes, más lento que el ciano, pegamos las ruedas traseras alineándolas con mi “invento”:
With two-component epoxy glue, slower than cyan, we glued the rear wheels in line helped with my “invention” tool:
Los bujes delanteros los introduzco en su posición con una gota de pegamento Tamiya. Las barras de dirección las coloco con ciano y los cables de los frenos los sujeto con plástico estirado y pegado por debajo haciendo un nudo.
I push the front bushings in the correct place with a drop of Tamiya glue. The steering bars are placed with cyan and I put the cables of the brakes with plastic stretched and glued underneath making a knot.
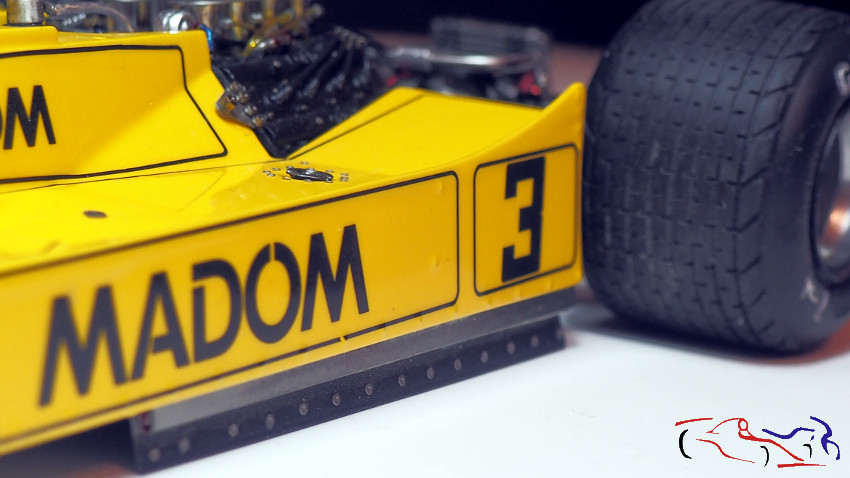
Los laterales de los pontones me dieron trabajo porque después de pegar las faldillas, no entraban. Las separé y lo pegué en dos fases:
The sides of the pontoons gave me an extra work because after gluing the skirts, they did not enter. I separated them and pasted them in two phases:
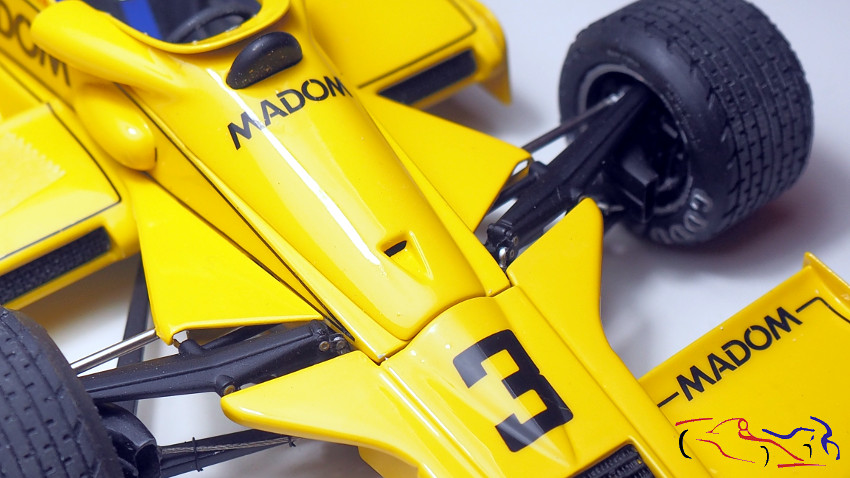
También pegué los triángulos existentes detrás de los basculantes de la suspensión delantera:
I also glued the triangles behind the front suspension tilt:
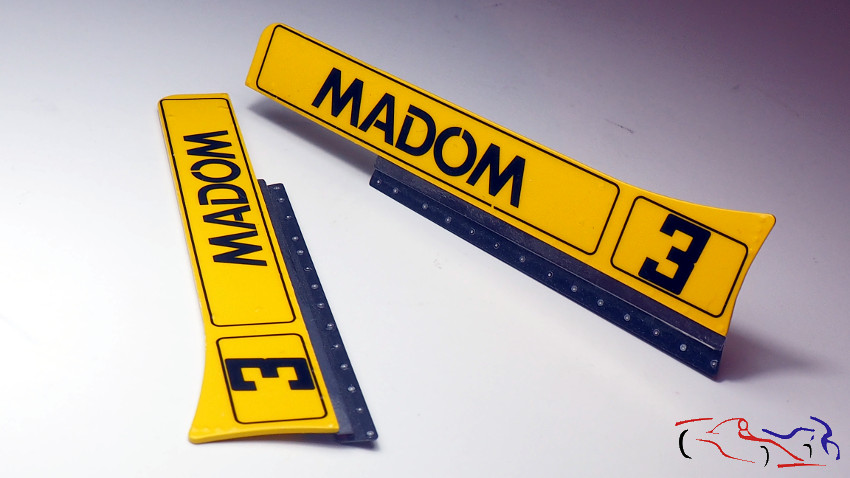
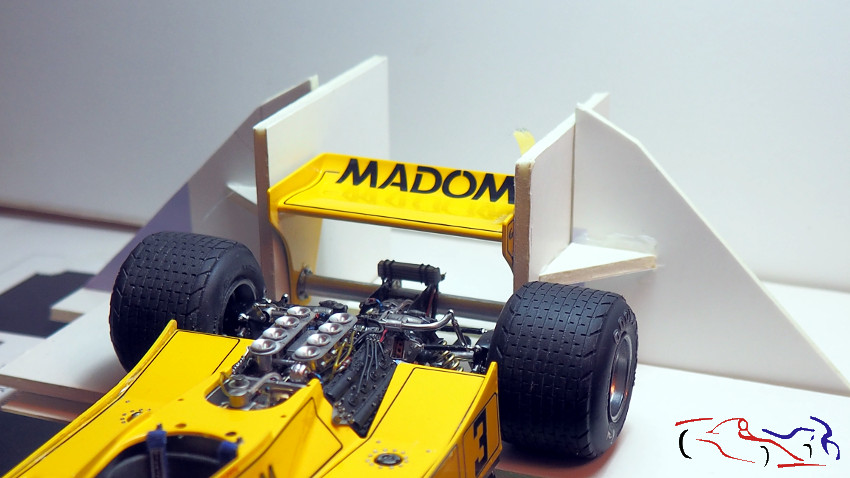
Alerón trasero. Primero puse todos los elementos en su lugar sin pegar:
Rear spoiler. First I put all the elements in place without gluing:
Coloqué el alerón y lo fijé a los extremos de la barra de aluminio…
I placed the spoiler and fixed it to the ends of the aluminum bar …
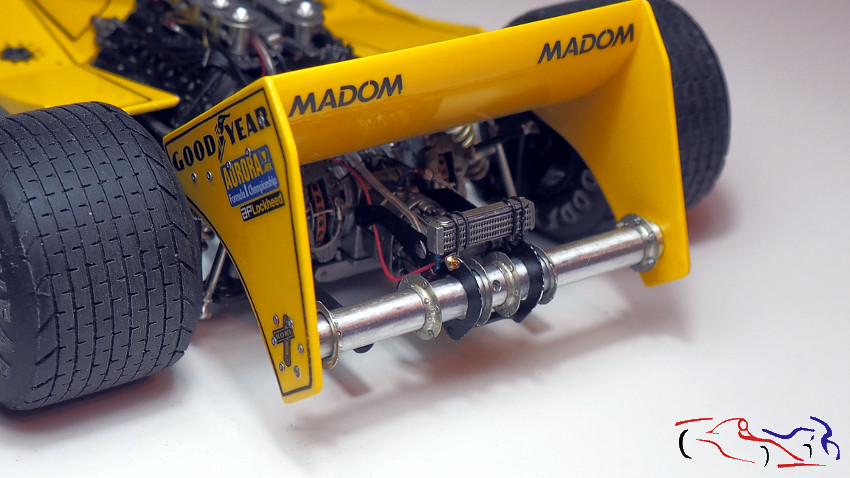
…para después fijar el resto y colocarlo en mi “útil”:
… then I fix the rest and place it in my “useful” tool:
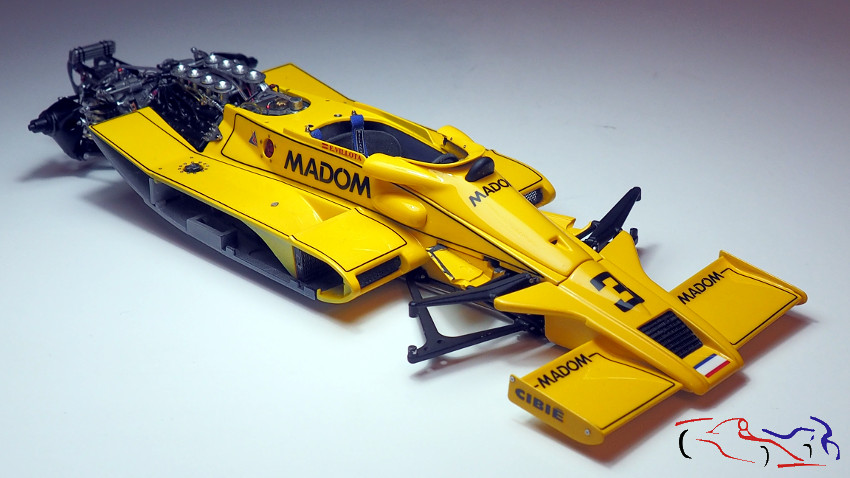
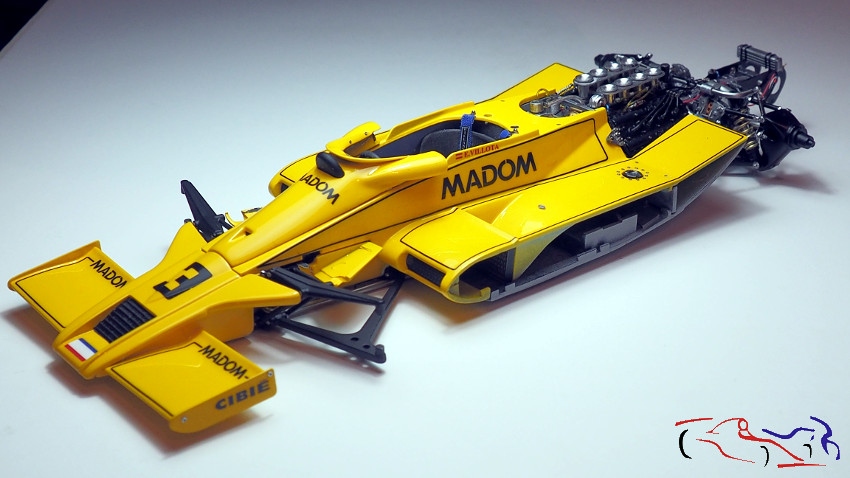
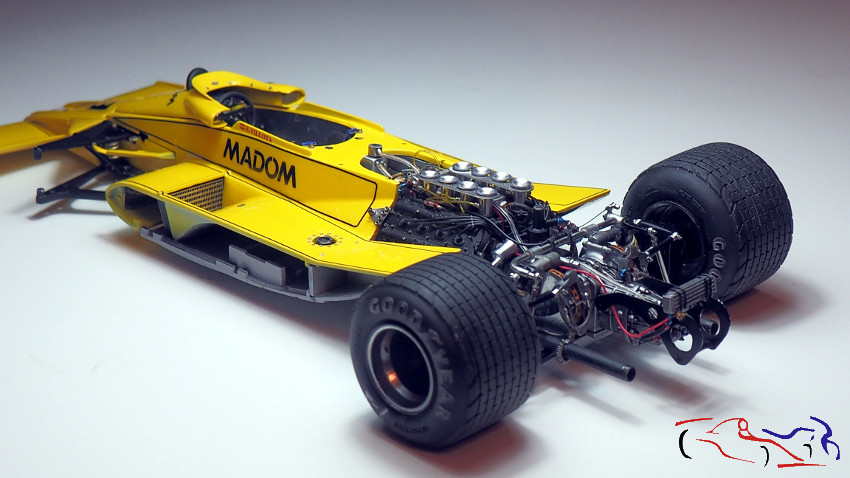
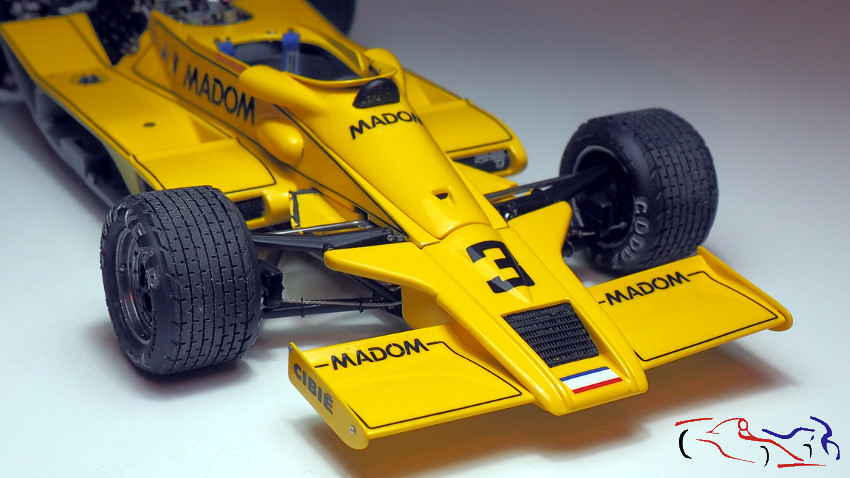
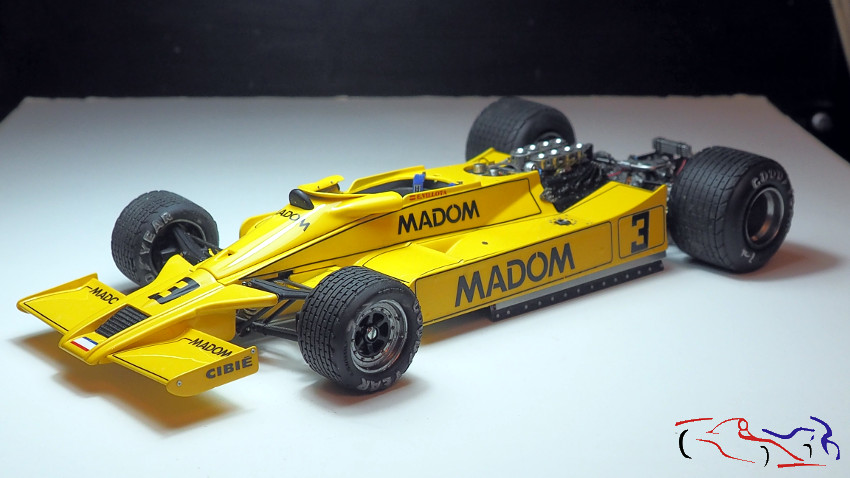
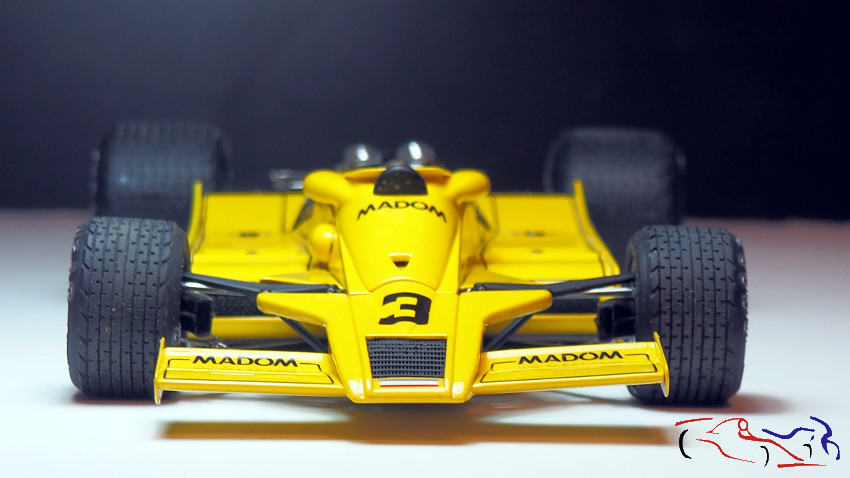
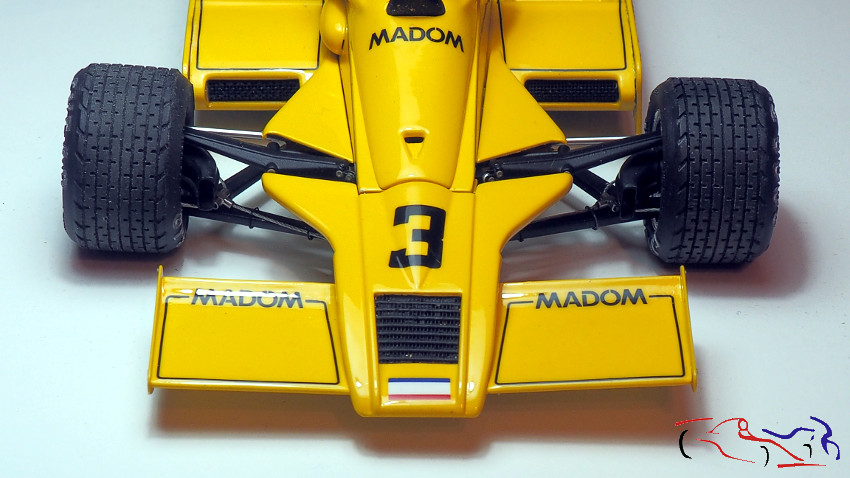
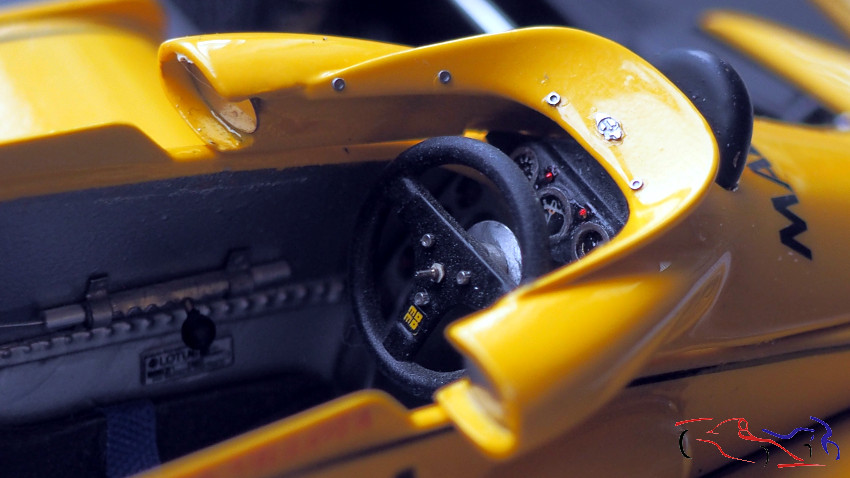
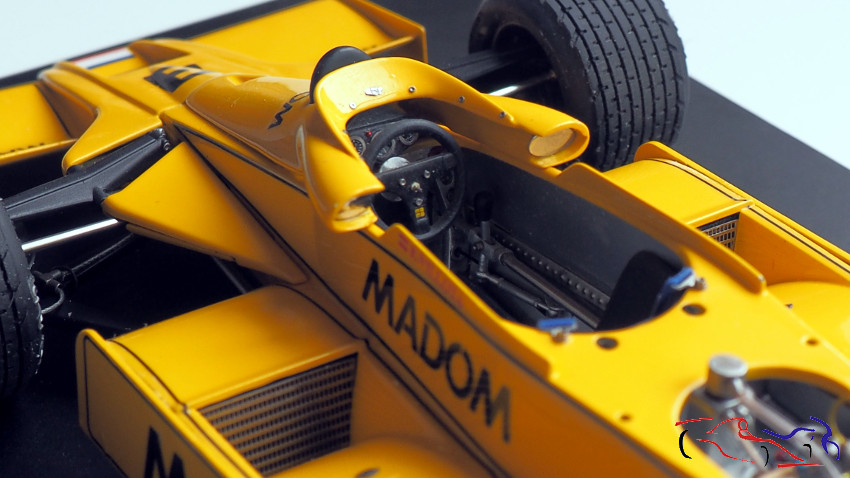
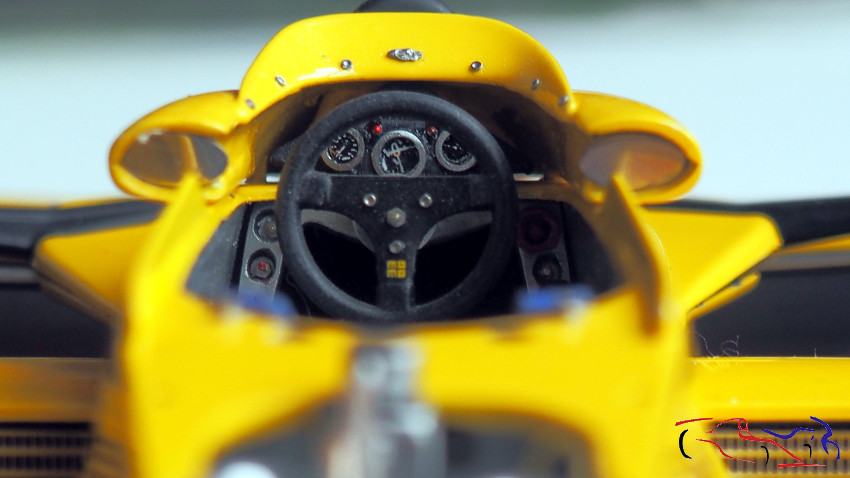
Las siguientes son unas fotos que hice a luz de día….nublado!!
The following are some photos that I did in daylight …. cloudy !!

Lo siguiente será el post final!!
Gracias por mirar y comentar!!
Next will be the final post !!
Thanks for looking and comment !!


