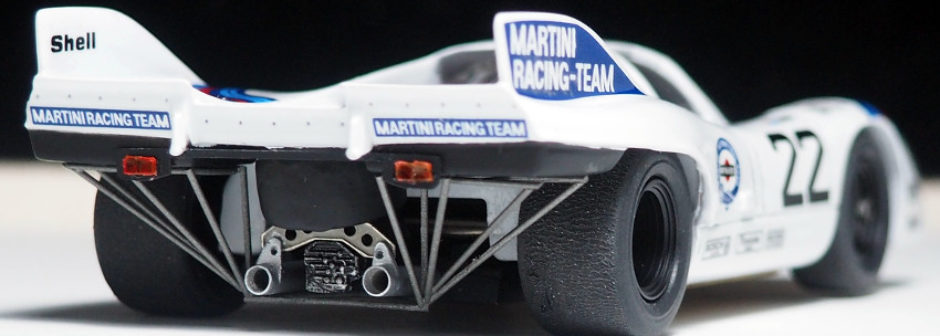
Siguiente actualización del proyecto 936 Turbo.
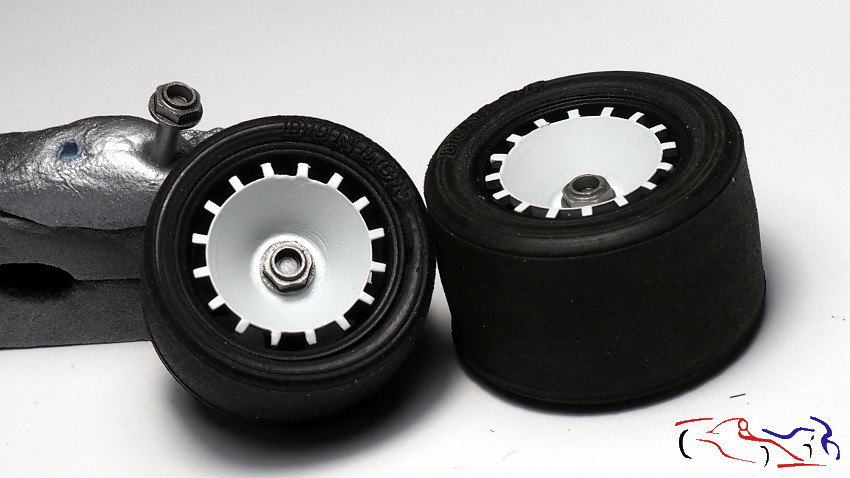
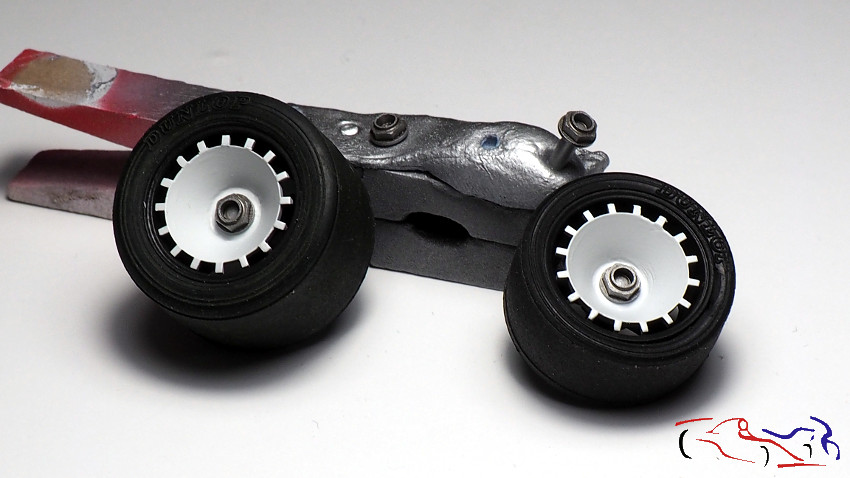
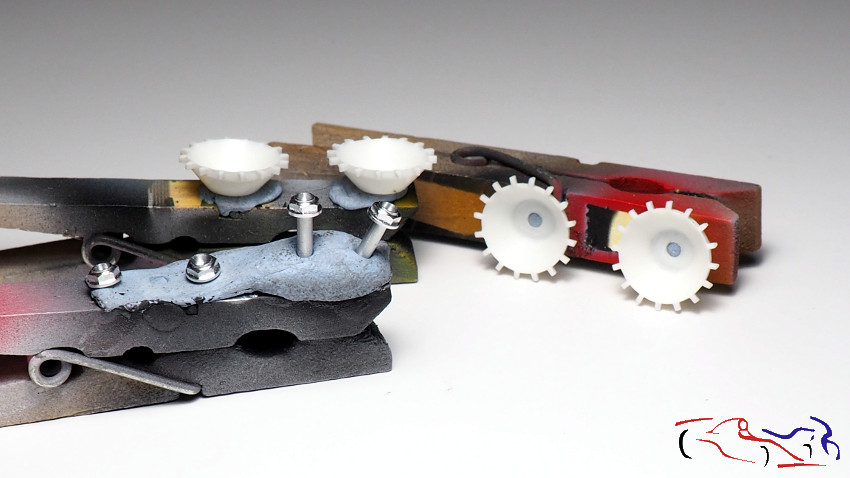
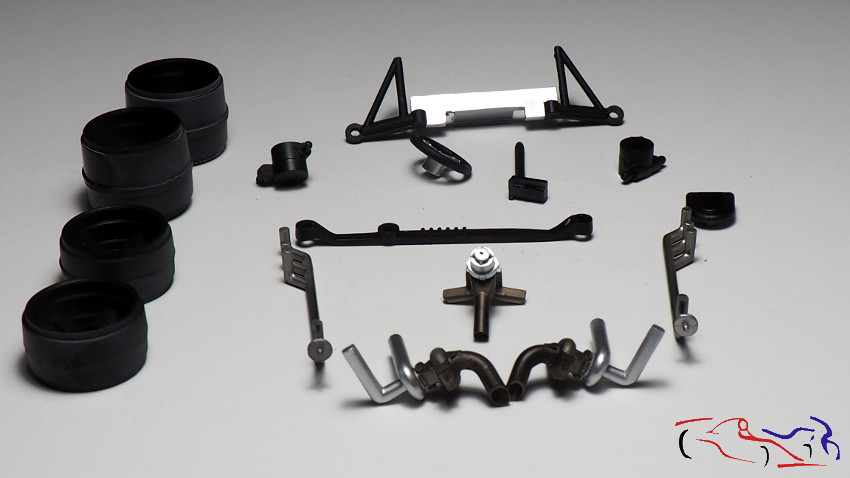
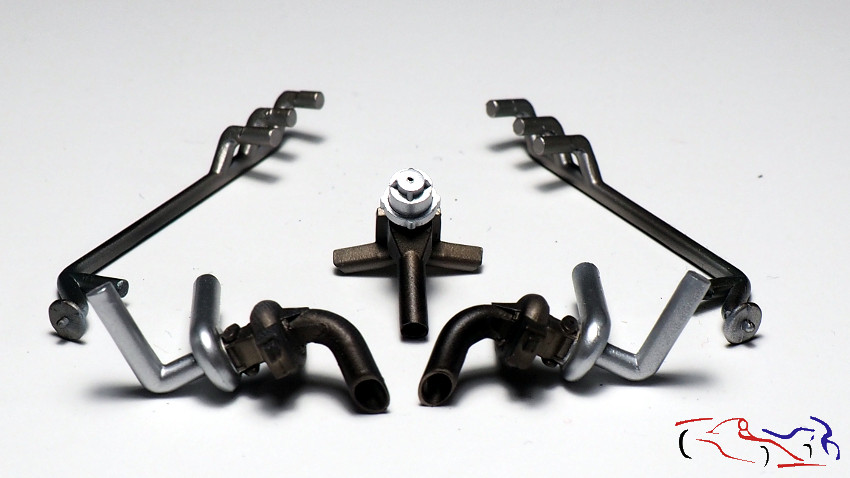
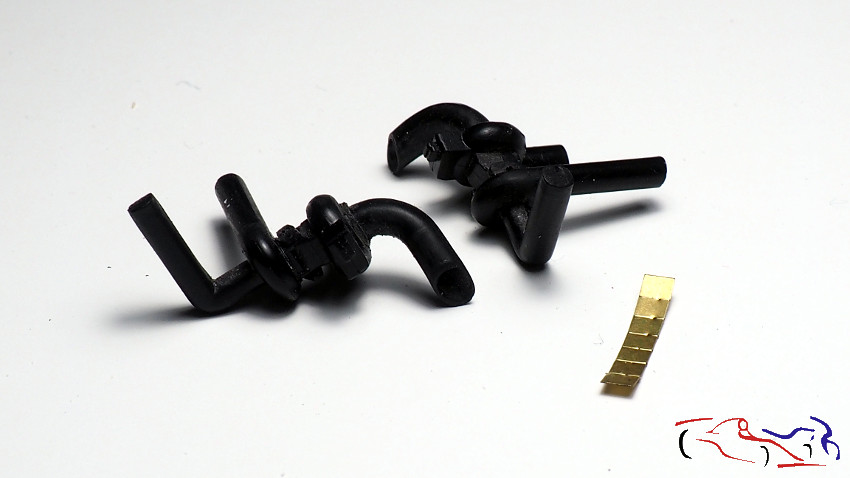
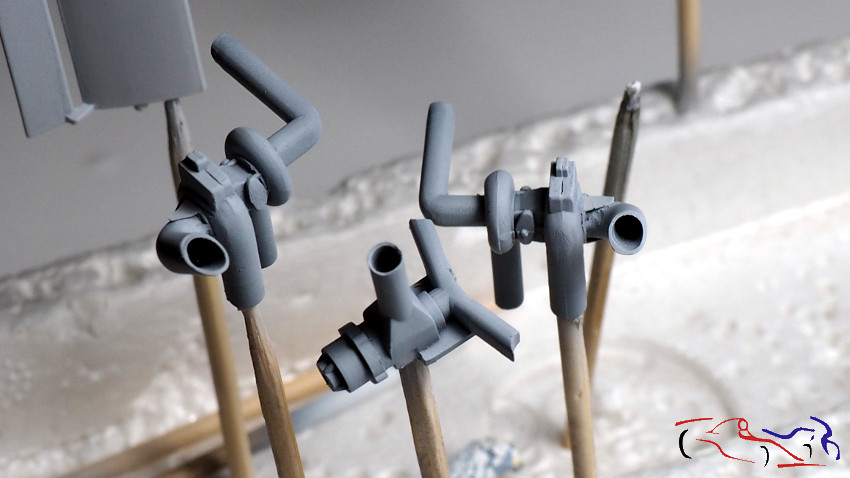
Y como primera foto, os muestro como quedaría la parte del motor del coche que trae el kit. No es mucho, pero con unas buenas pinturas, el resultado es muy bueno. Aquí veis los dos turbo, con los escapes, y las abrazaderas realizadas con cinta aislante eléctrica, que le he añadido unas tiras de aluminio autoadhesivo que se usa para la instalación de aire acondicionado. Aun está sin pegar puesto que el chasis no está acabado, y también le faltan algunos cables y tubos que lleva el coche real.
Next update of the 936 Turbo project.
And as a first photo, I show you how the part of the car’s engine that comes with the kit would look. It is not much, but with good paints, the result is very good. Here you see the two turbo, with the exhausts, and the clamps made with electrical insulating tape, which I have added some self-adhesive aluminum strips that are used for the installation of air conditioning. It is still not pasted since the chassis is not finished, and it is also missing some cables and tubes that the real car carries.
 Y ya que hablo del chasis, aquí os muestro su proceso: Primero, eliminamos las baras que traía en relieve.
And since I talk about the chassis, here I show you its process: First, we eliminate the bars that it brought in relief.
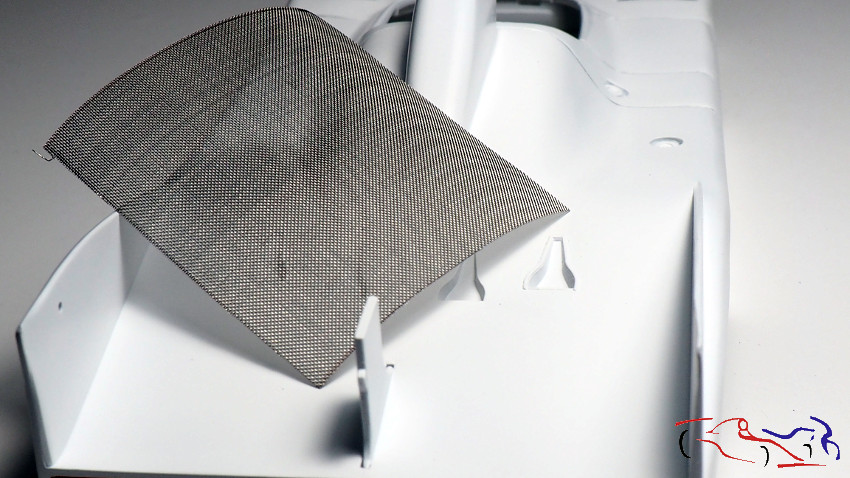
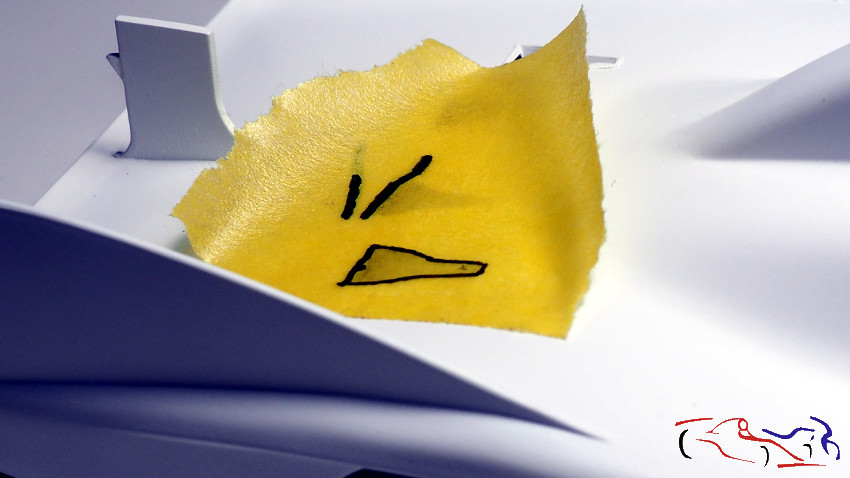
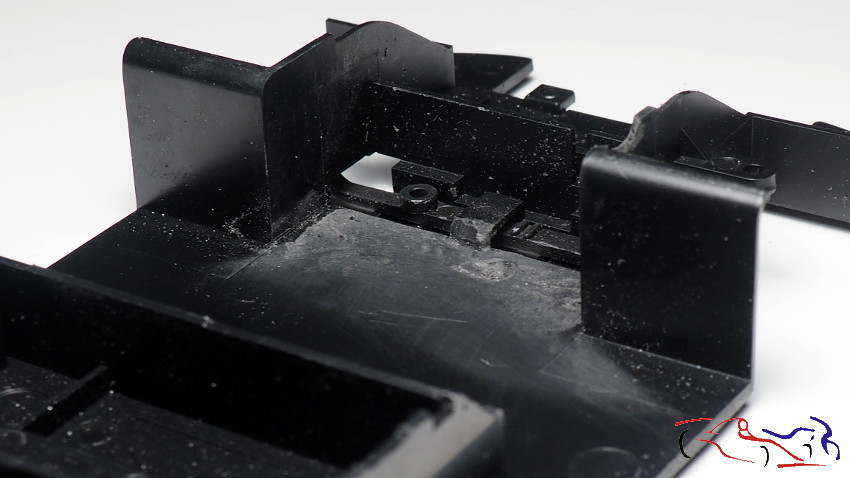 Preparamos una plancha para ocultar todo el conjunto de la dirección…:
We prepare a plastic sheet to hide the entire address set …:
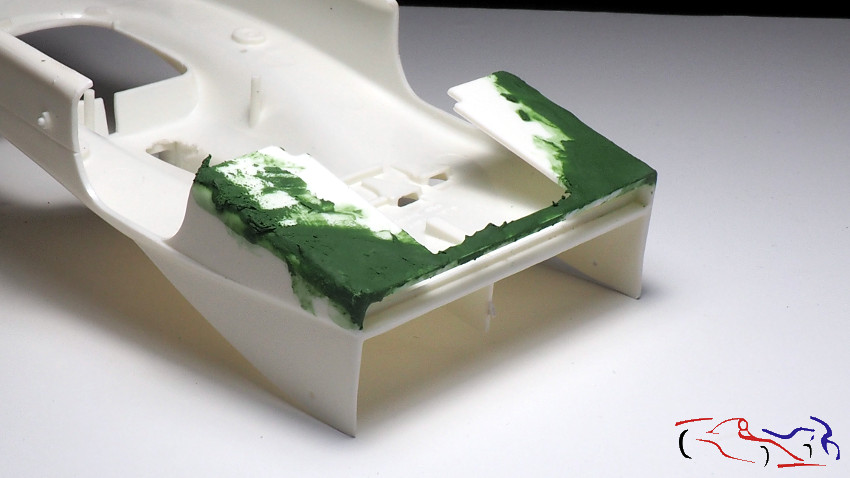
 Y la enmasillamos con putty verde acrílica por todos los lados!
And we put putty acrylic green putty on all sides!
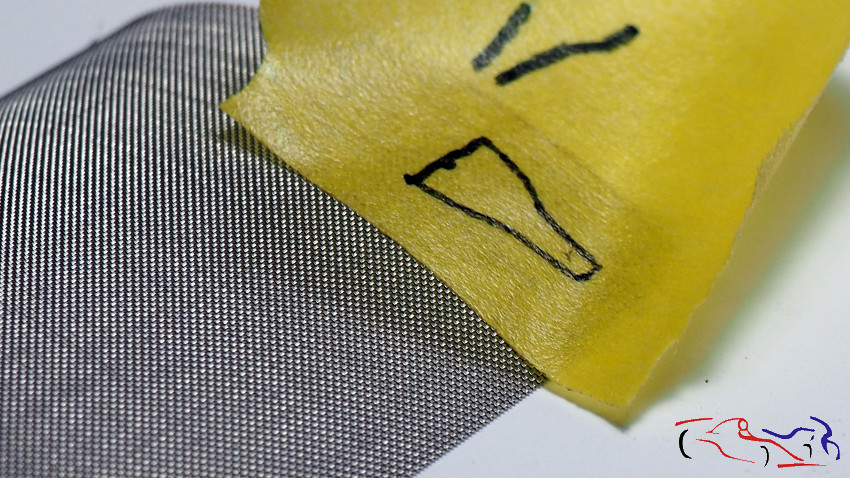
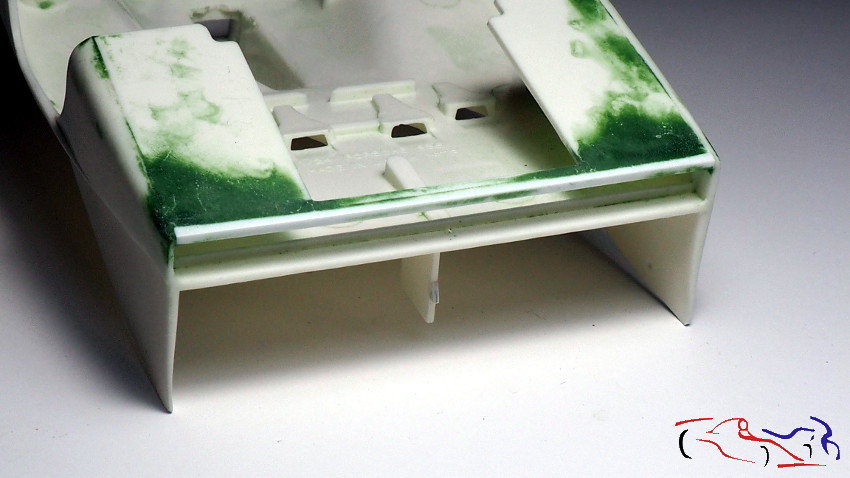
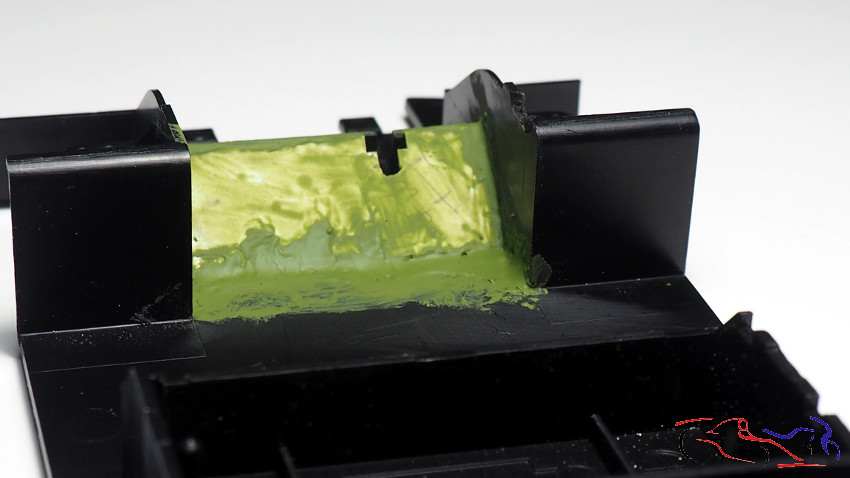 Lijamos…Podemos observar el corte relizado para meter la barra del volante de la dirección:
We sanded it. We can see the cut made where we will put the steering wheel rod:
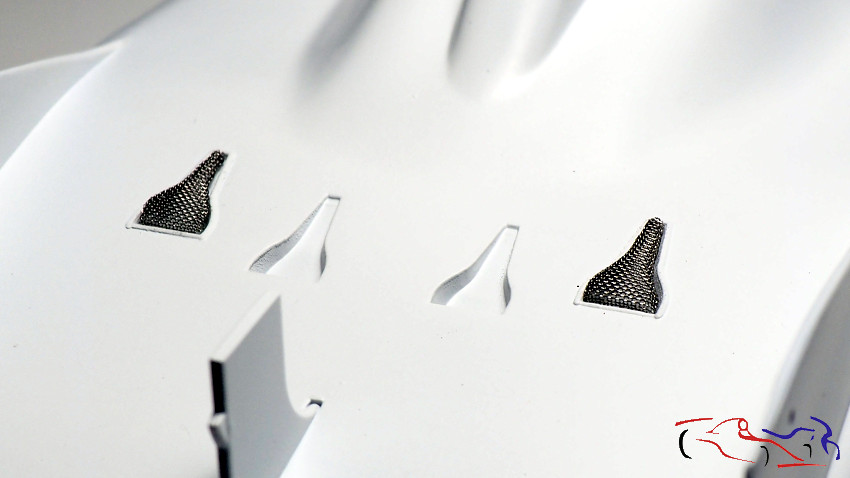
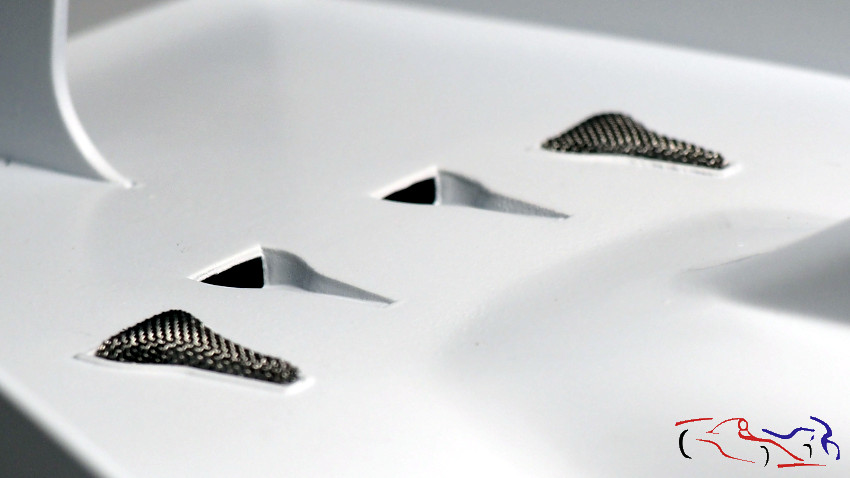
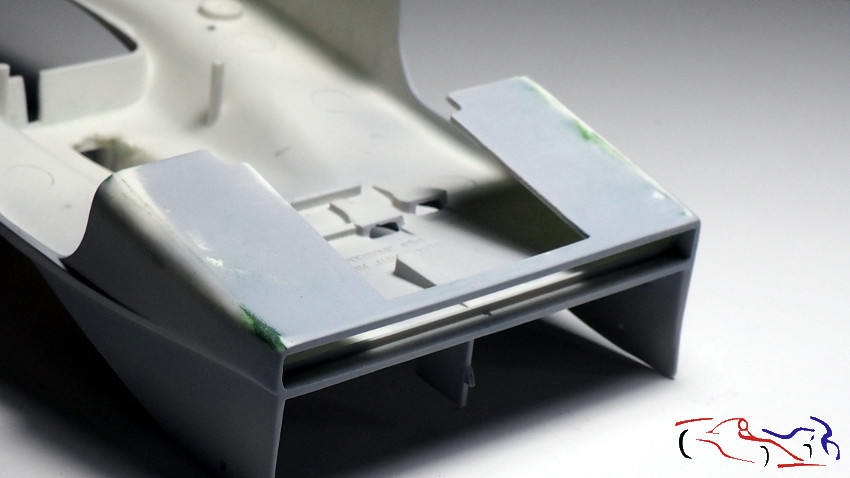
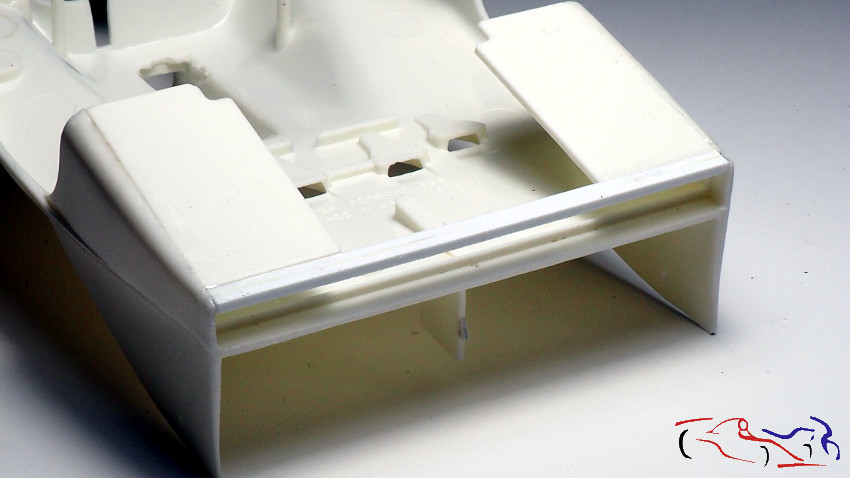
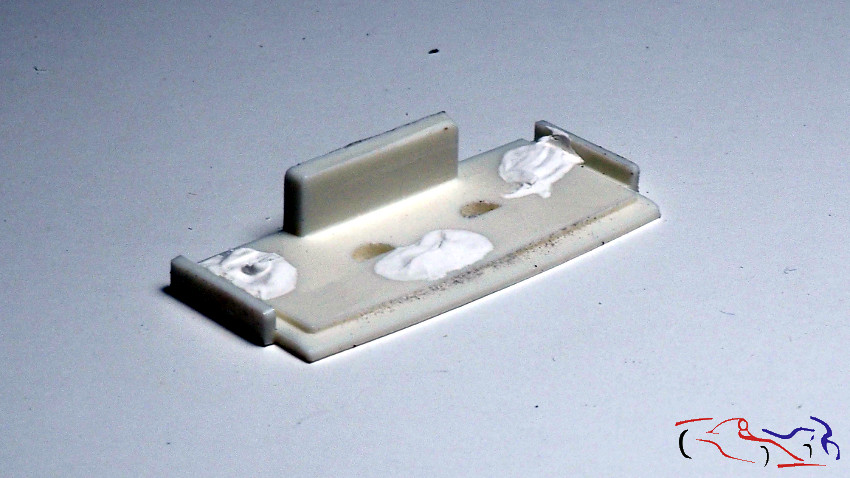
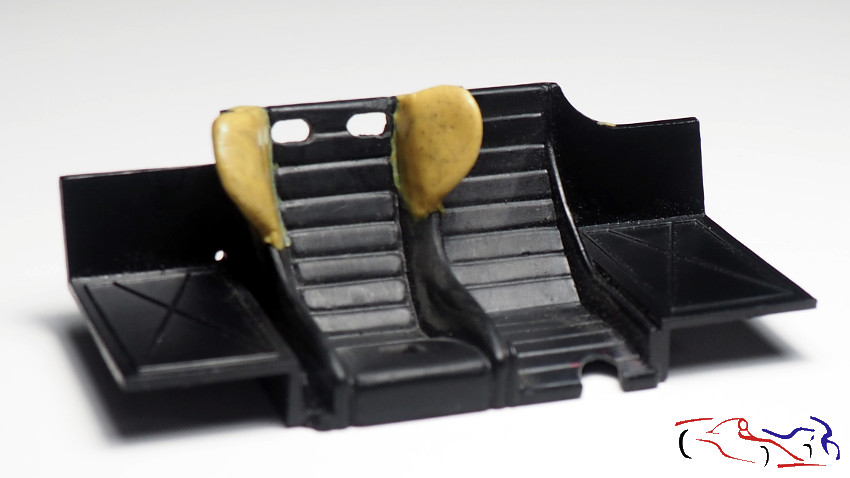
 Y pasamos al backet. De primeras le eliminamos los huecos de la espalda para los cinturones, y el hueco en los pies del asiento del copiloto para unos tubos. A su vez, damos forma a los laterales del mismo.
And we go to the backet. At first we removed the holes in the back for the belts, and the hole in the feet of the passenger seat for some tubes. In turn, we shape the sides of it.
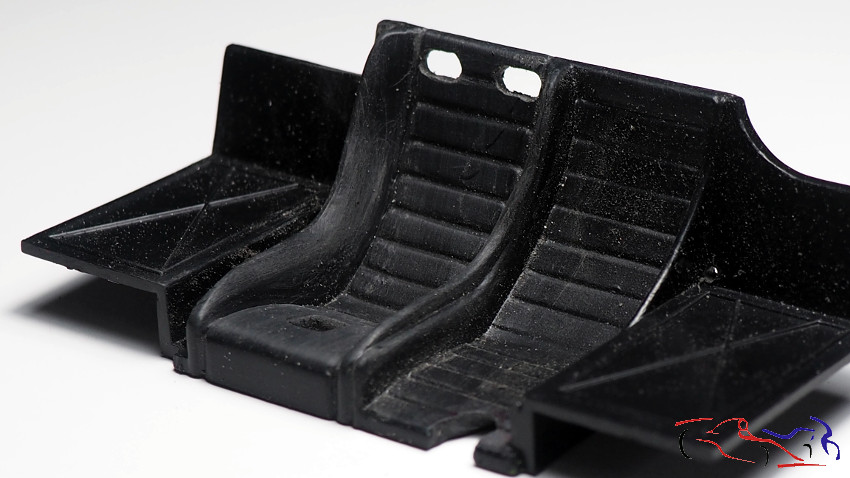 Y con masilla epoxy, le creo dos jorobas laterales:
And with epoxy putty, I create two side humps:
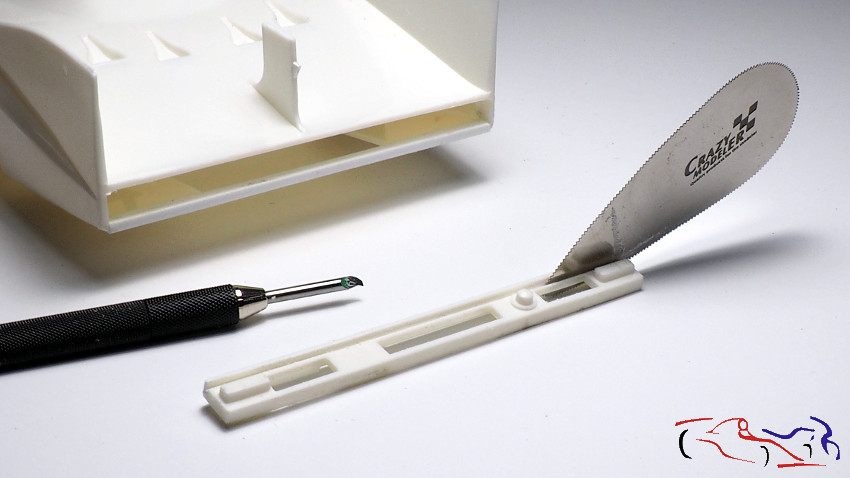
Una vez secas, las lijamos dejándolas en su correcta forma:
Once dry, we sand them leaving them in their correct form:
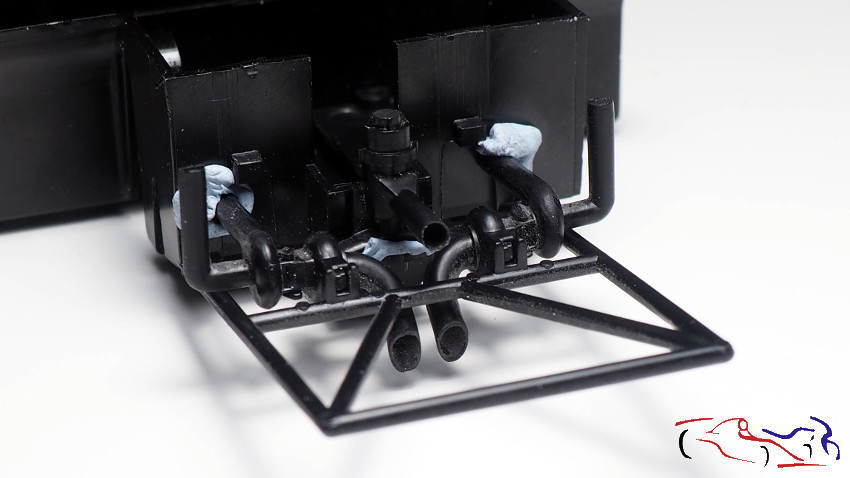
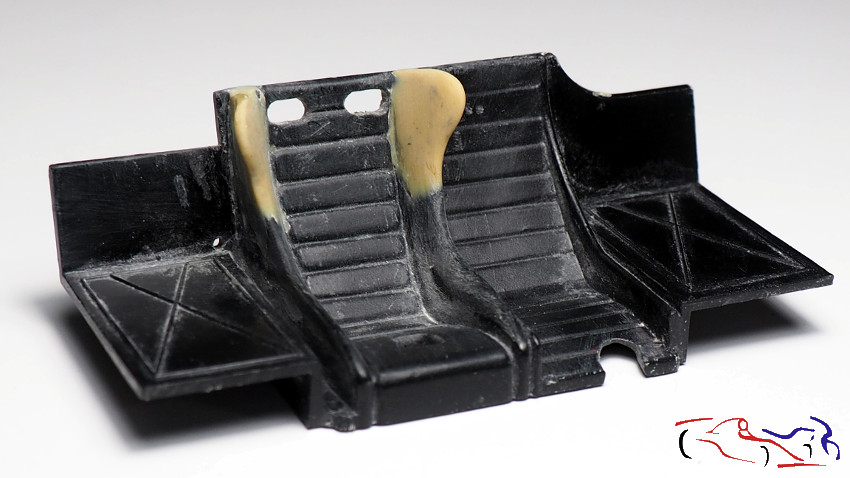 Aquí está colocado en el chasis:
Here it is placed on the chassis:
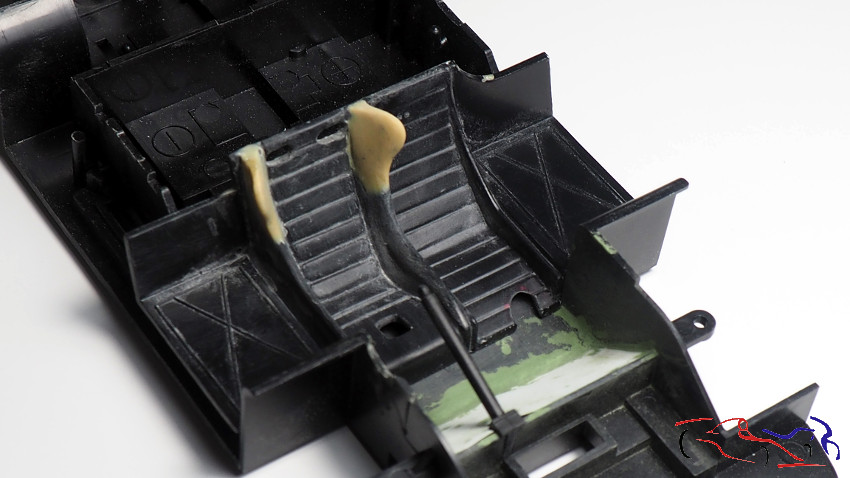
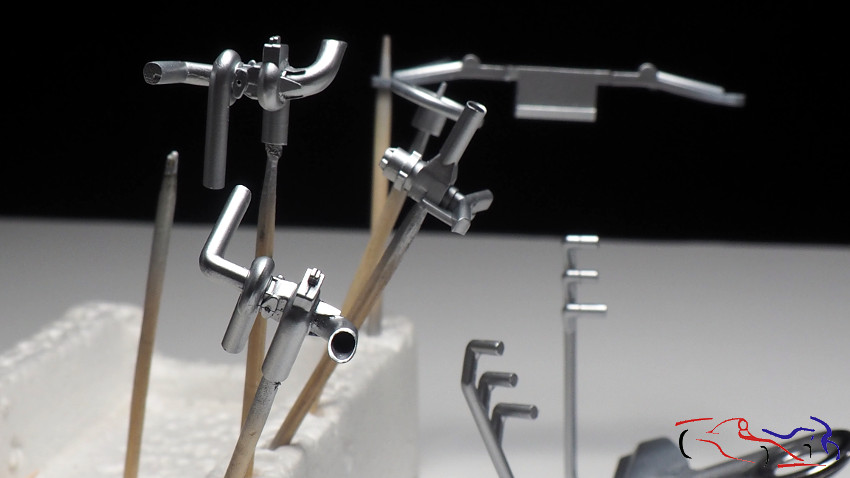
Detalles del cockpit:
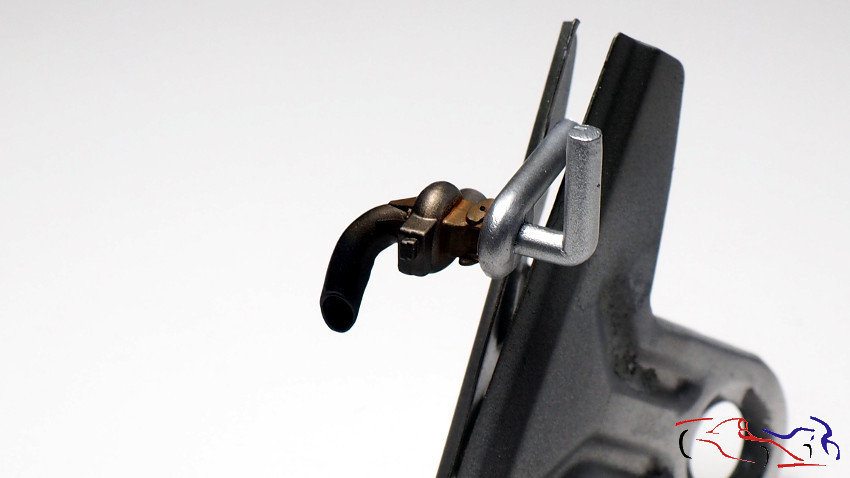
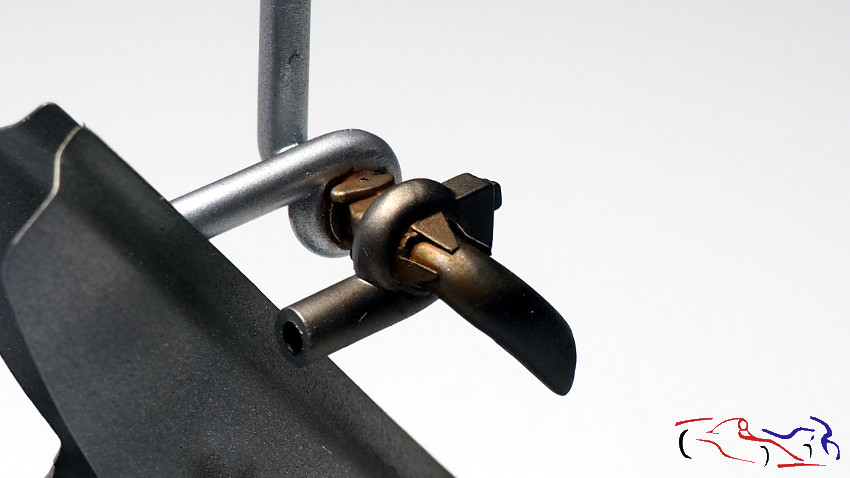
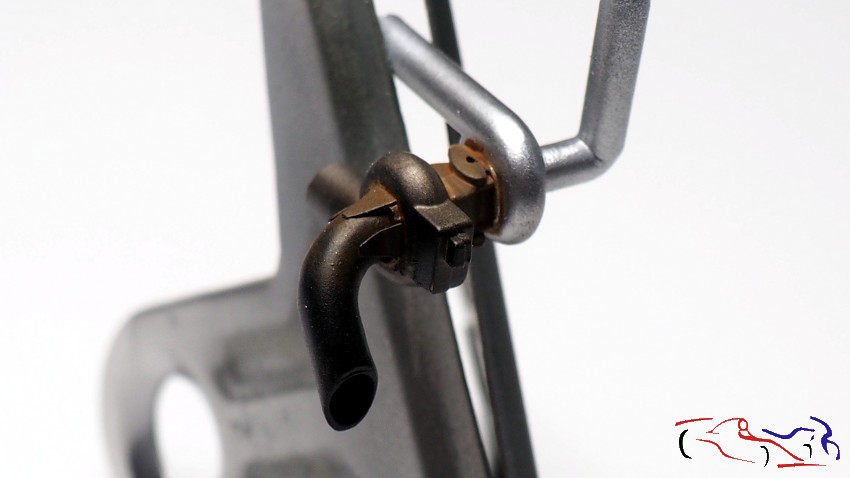
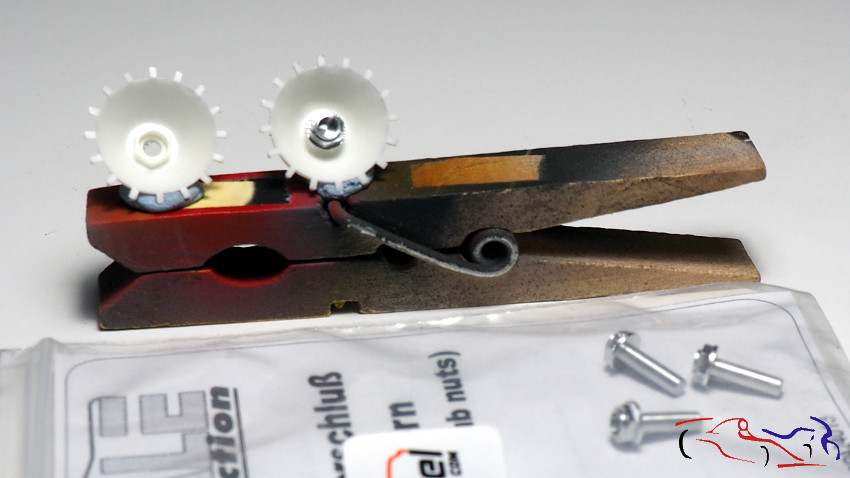
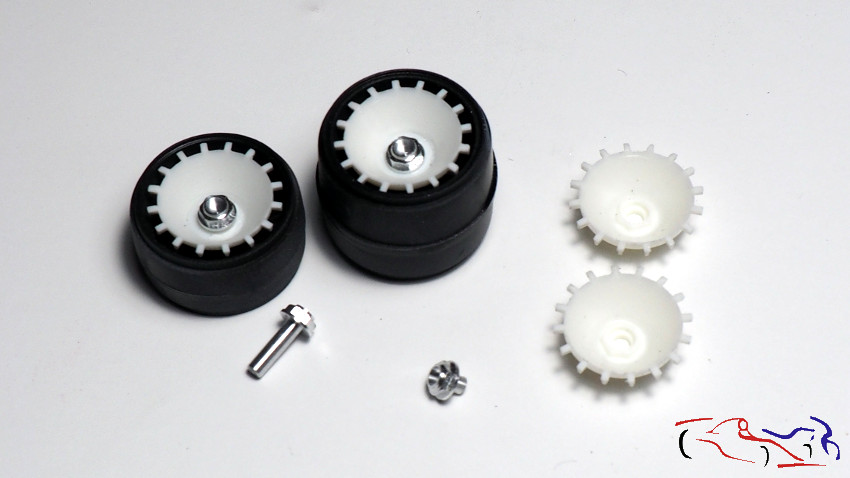
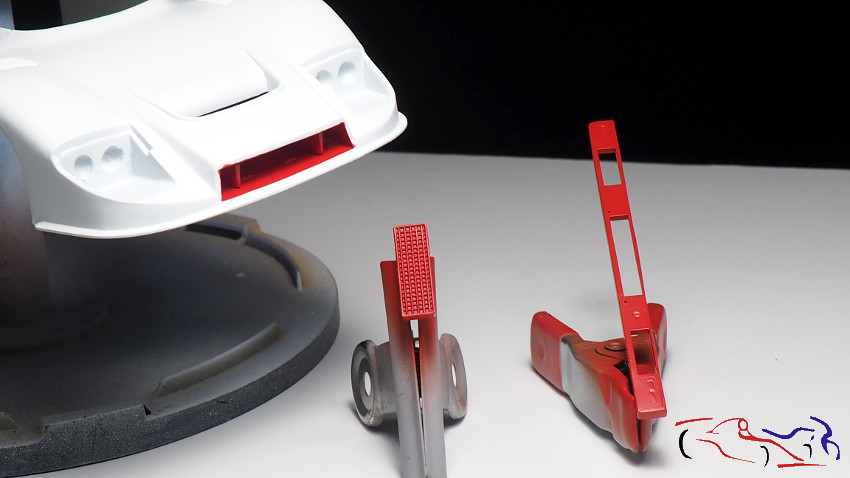
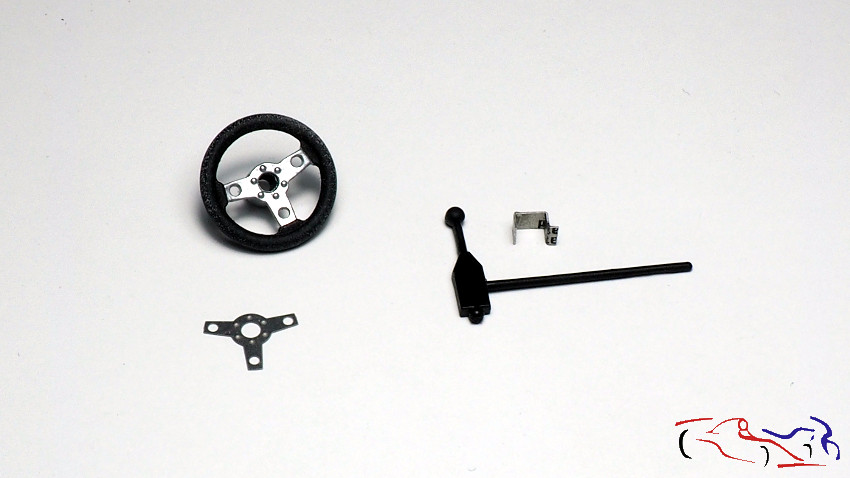
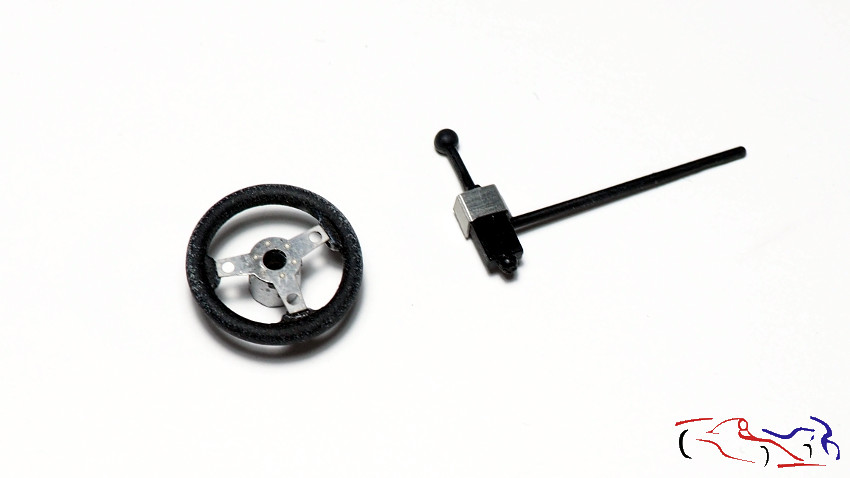
A su vez, voy modificando más piezas: al volante le voy a remplazar su parte central por una en fotograbado, y a la palanca del cambio, le voy a añadir la pieza que permite girar dicha palanca:
Cockpit details:
At the same time, I am modifying more parts: at the steering wheel I am going to replace its central part with one in photoengraving, and I am going to add the part that allows the lever to rotate:
 Aquí ya lo teneís cambiado:
Here you can have updated:
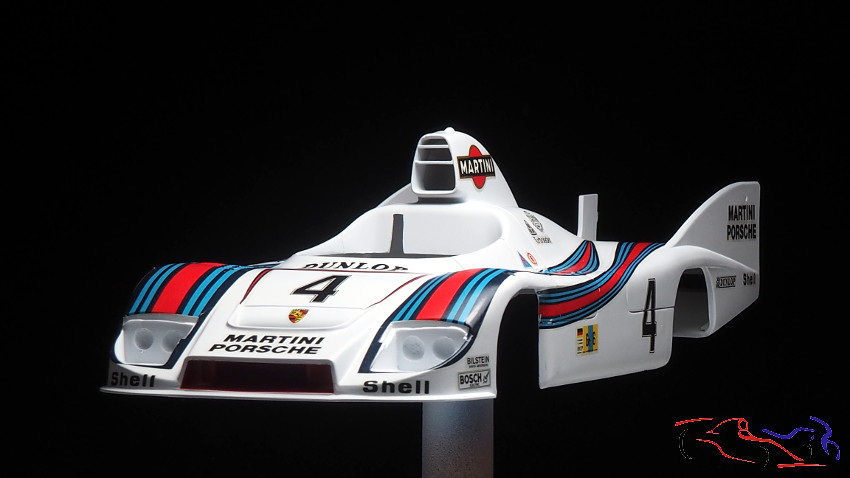
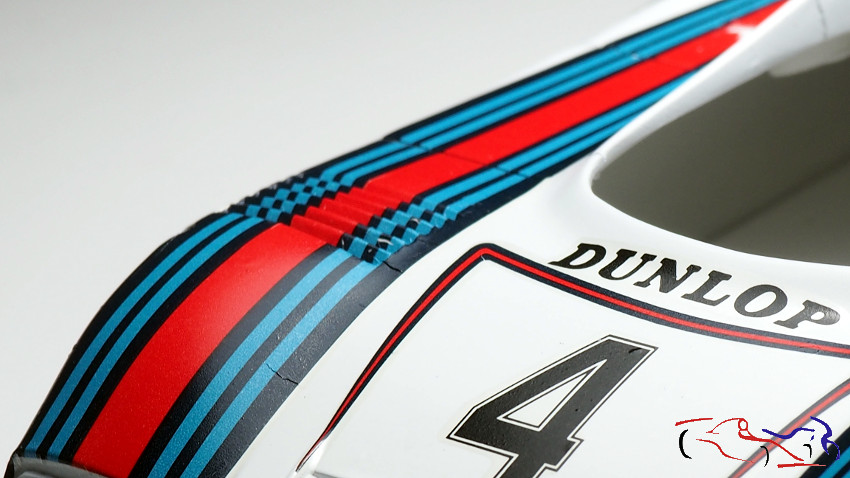
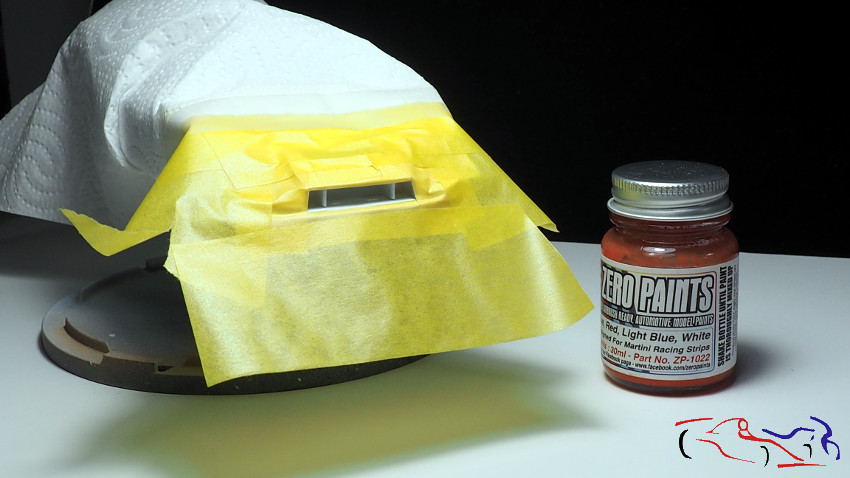
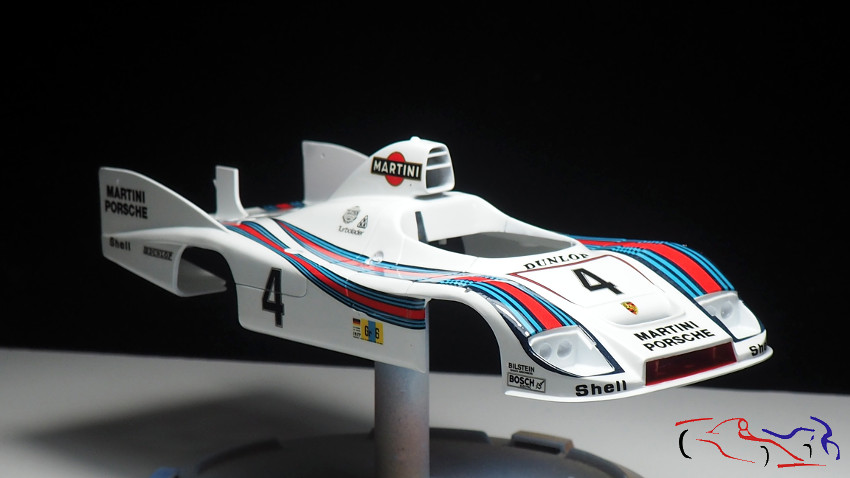
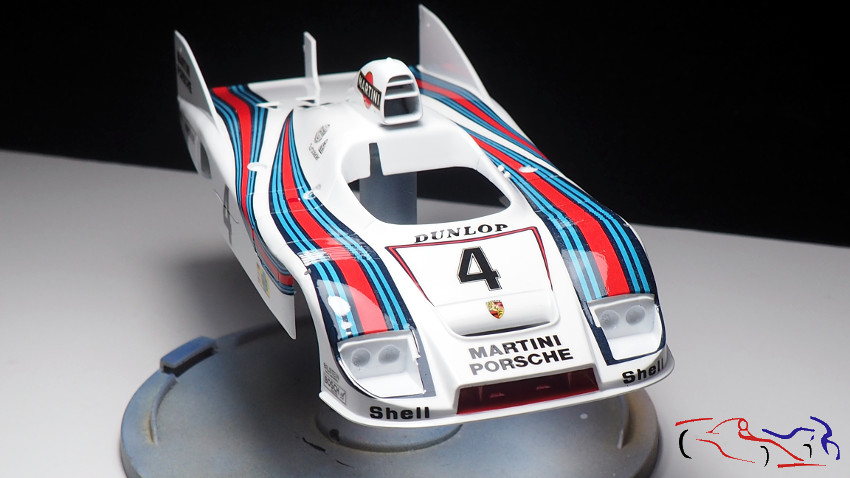
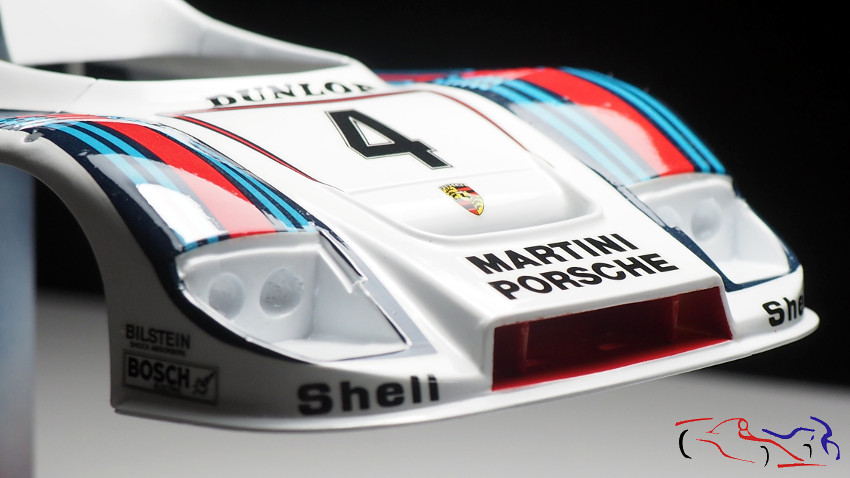
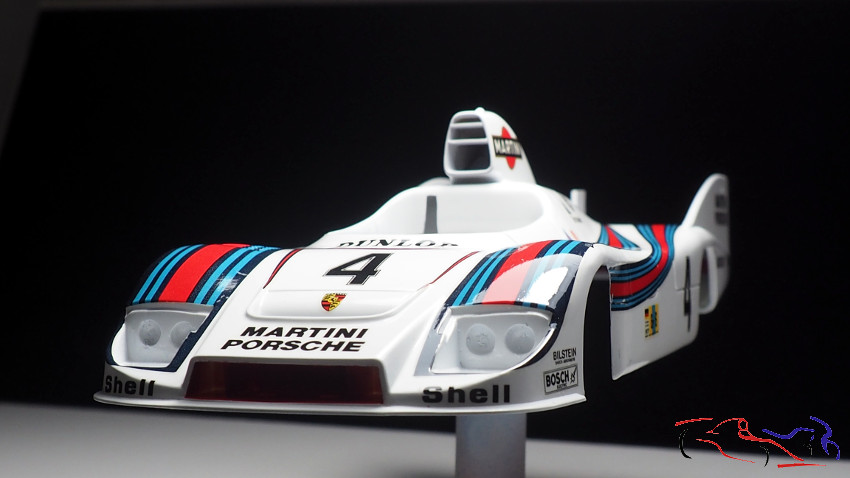
 Y vamos con la carroceria. COmo había algunos errores en las calcas, decido barnizarla para pintar encima. Y uso la prediluida de Zero Paints. Le doy una capa finita, y después una húmeda después, quedando así de brillante:
And we go with the bodywork. As there were some errors in the decals, I decide to varnish it to paint over it. And I use the prediluted Zero Paints. I give it a thin layer, and then a wet one afterwards, remaining this shiny:
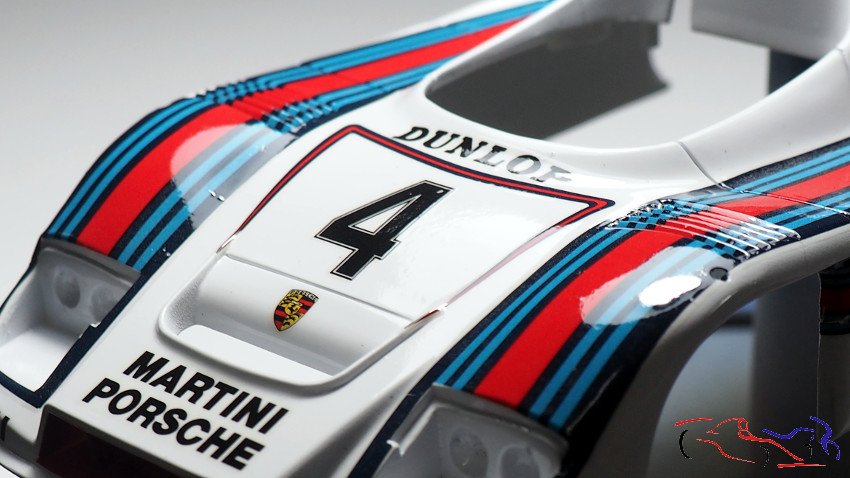
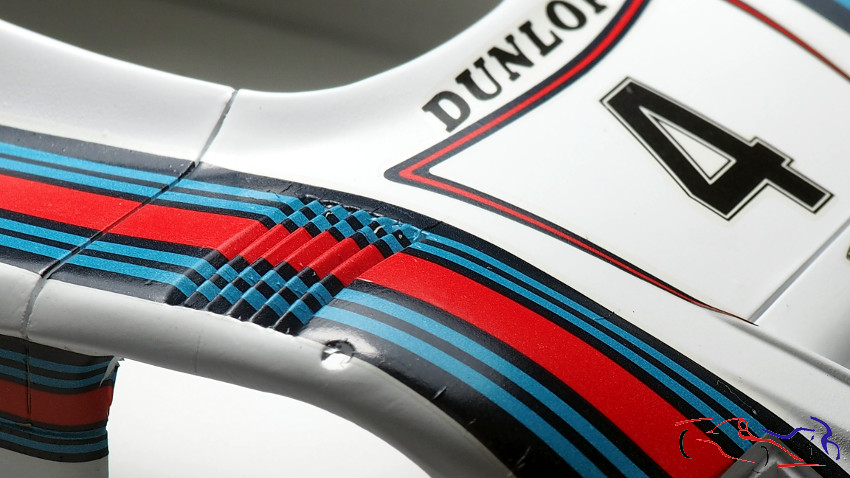
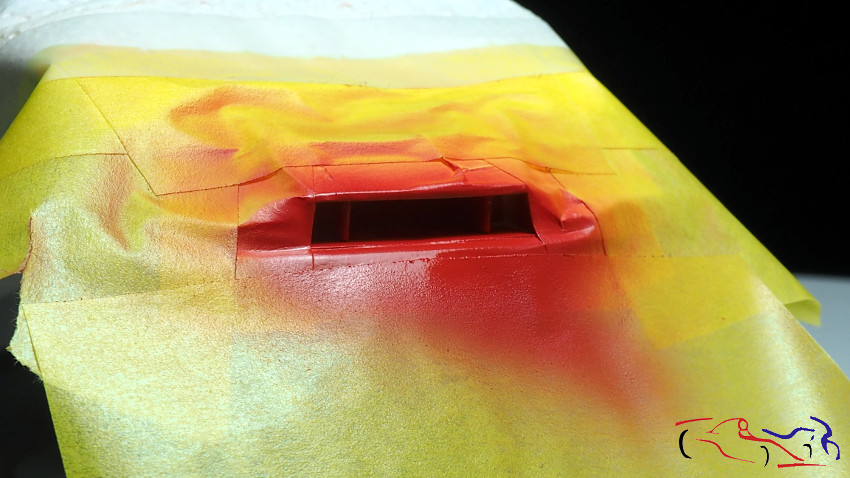
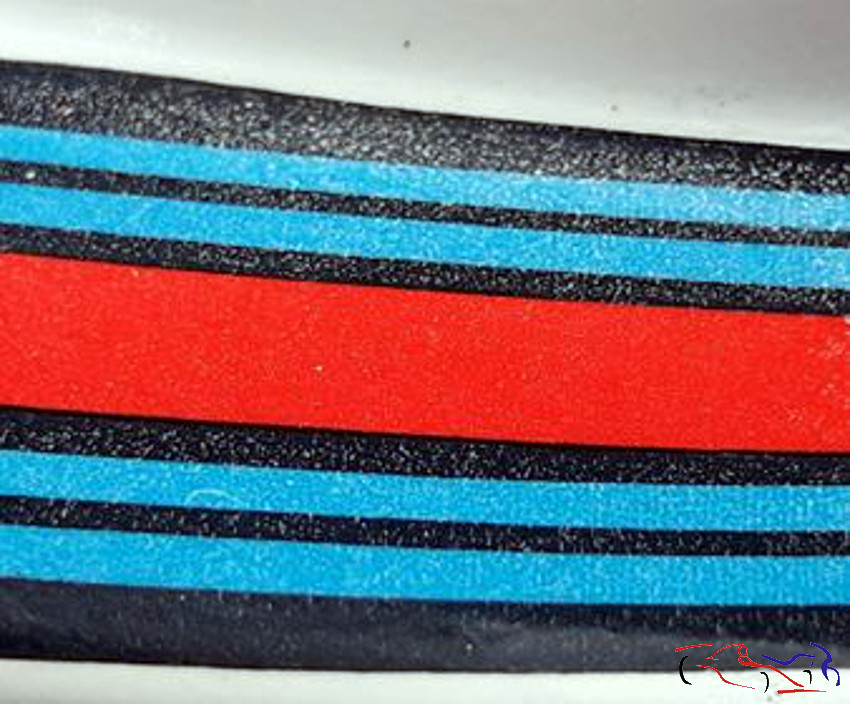
 Pero alguna reacción me hizo en las calcas quedando de este modo en algunos sitios…..
But some reaction made it in the decals in some places being in this way…..
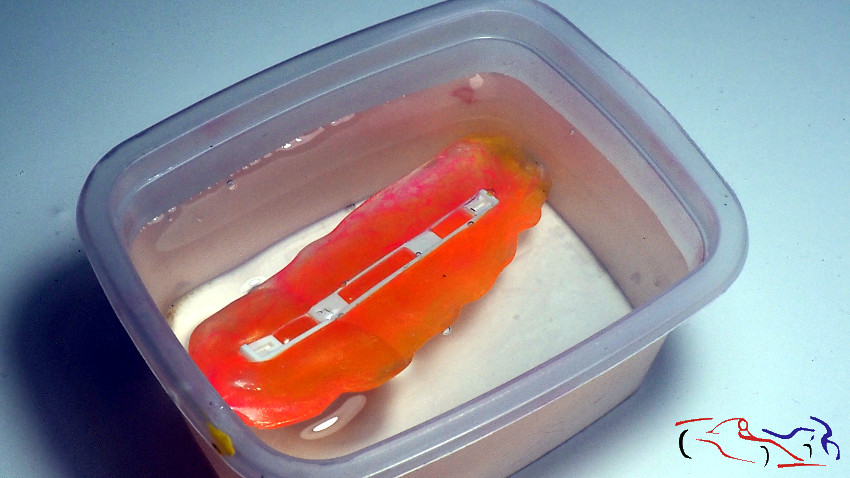
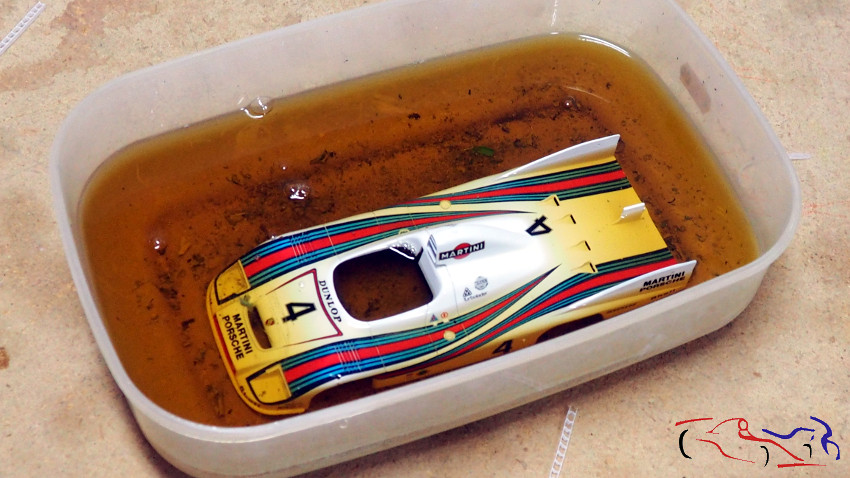
 Por lo que decido comprar otro juego de calcas, y meter la carrocería en el baño de líquido de frenos, para empezar de nuevo
So I decided to buy another set of decals, and put the body in the brake fluid bath, to start again:
 Después de 24 horas, parecía que segúia igual, pero al frotarla con el cepillo de dientes, empezó a despegarse todo, menos el putty!!
After 24 hours, it seemed to be the same, but when rubbing it with the toothbrush, everything started to come off, except the putty !!
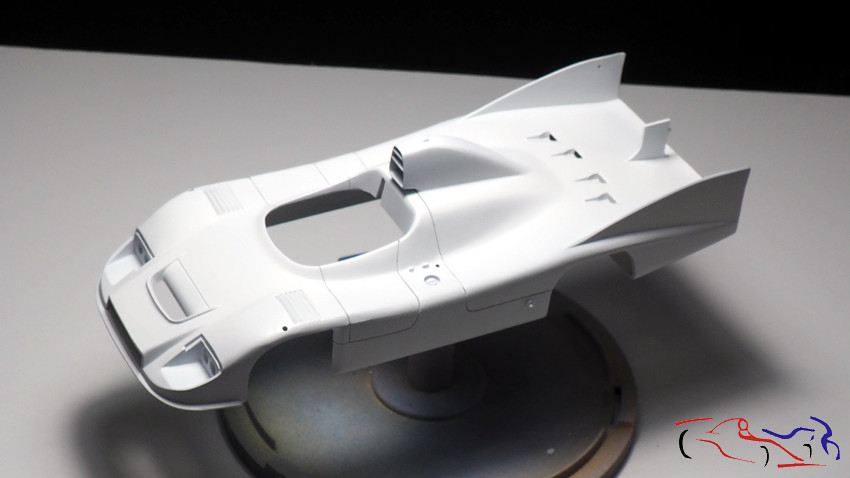
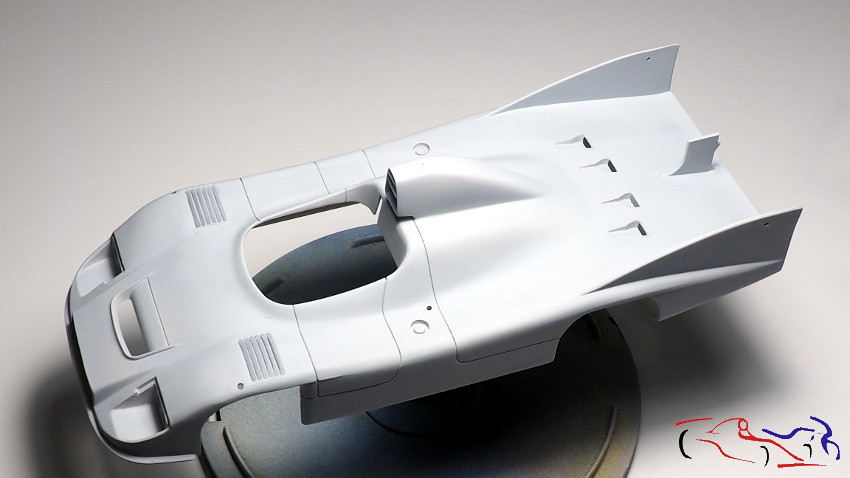
 Y voilá, aquí está una vez lavada con jabón!!
Y voilá, aquí está una vez lavada con jabón!!
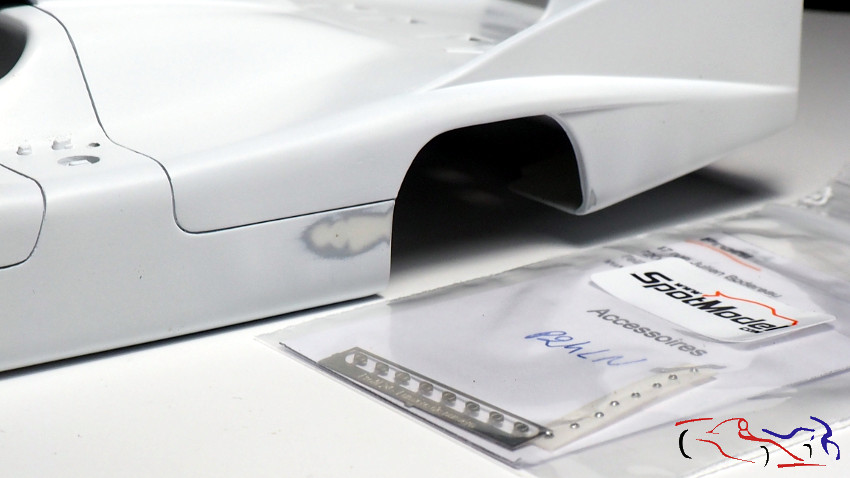
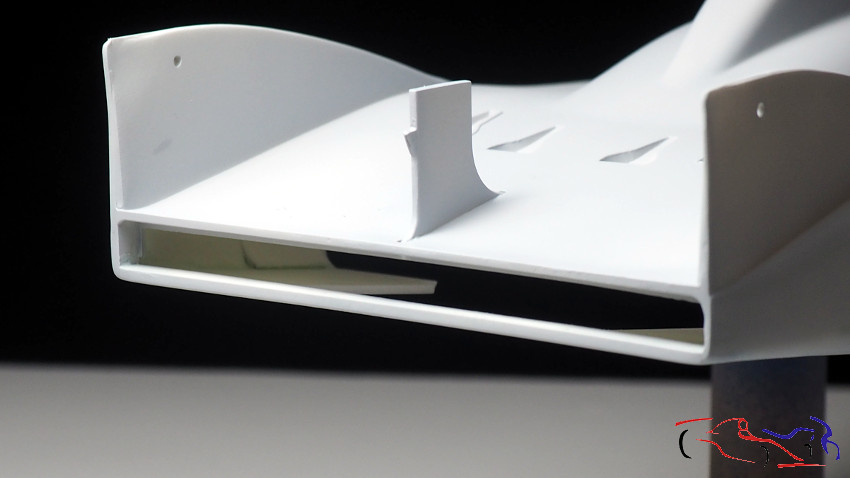
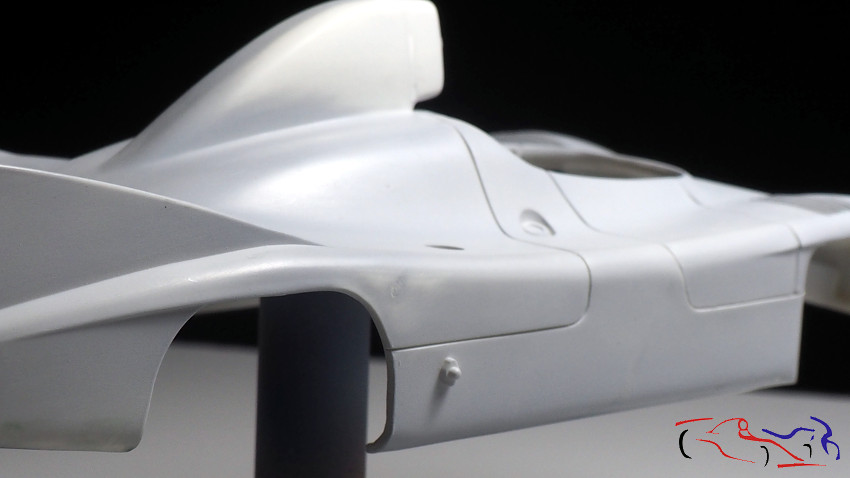
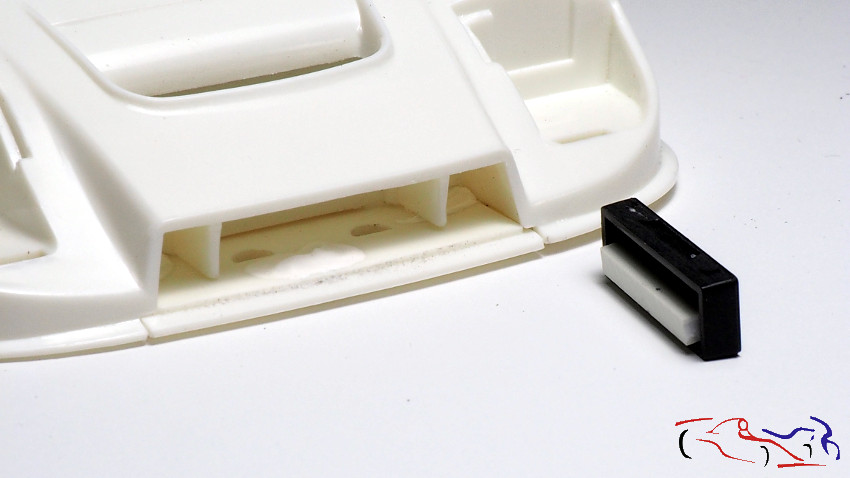
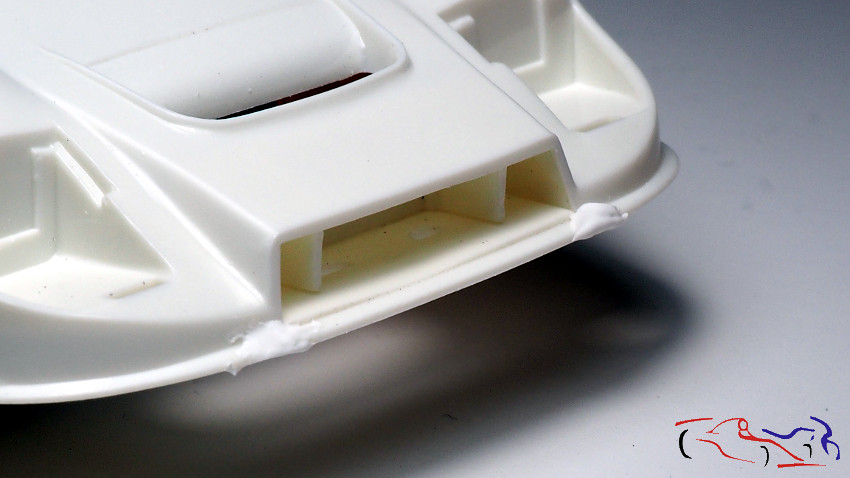
 Una pequeña rotura en las aberturas de la derecha:
A small break in the openings on the right:
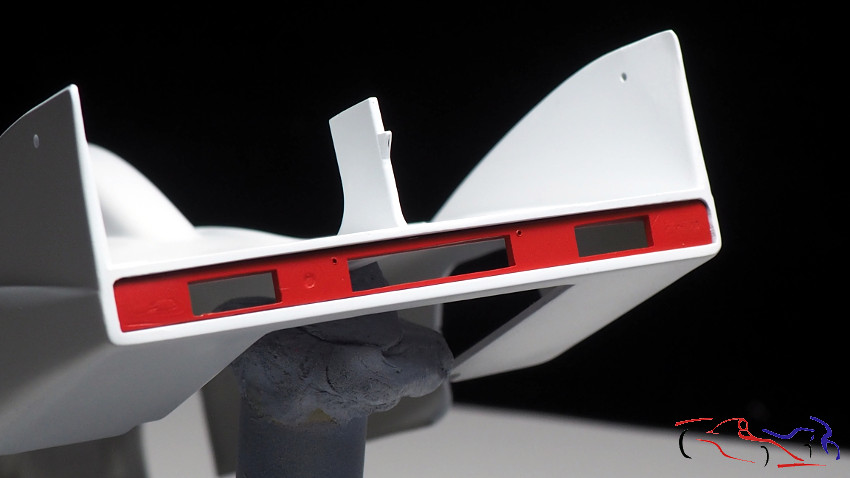
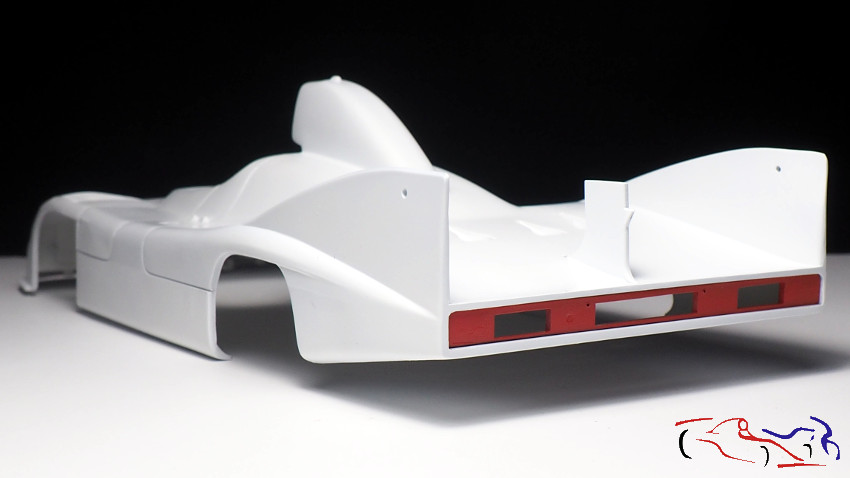
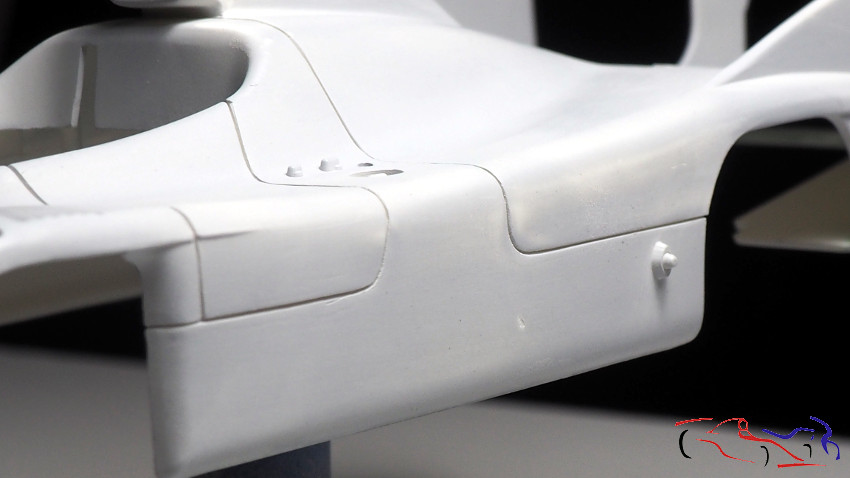
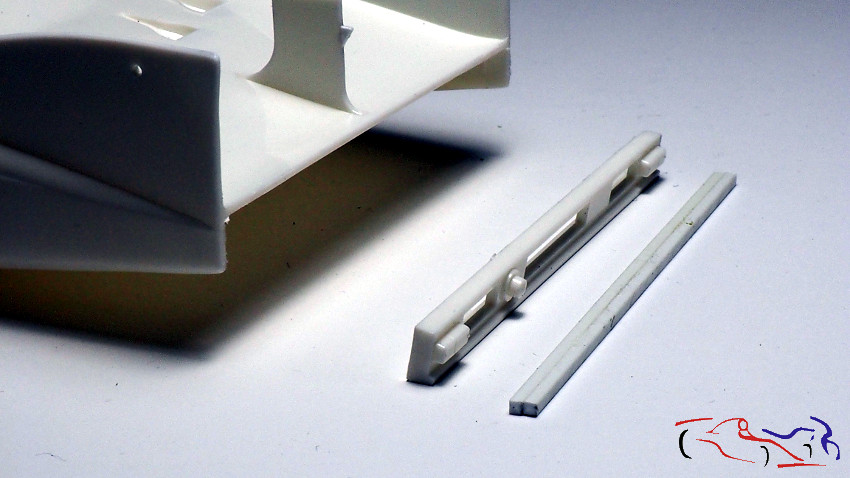
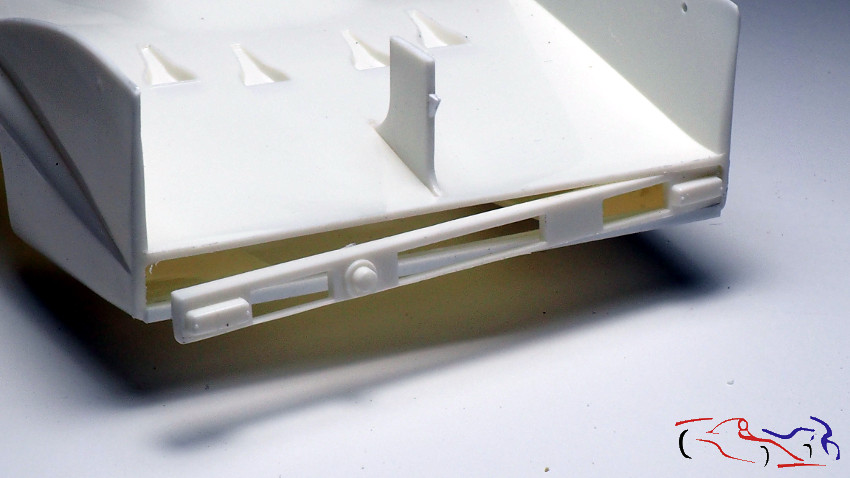
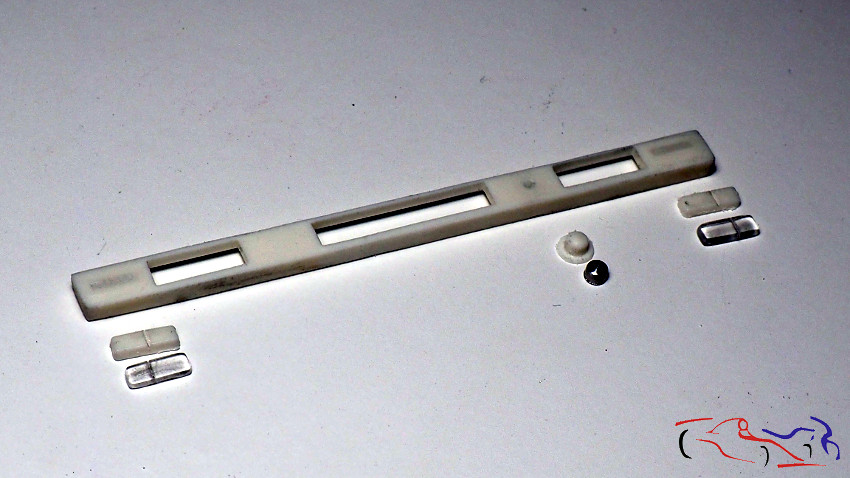
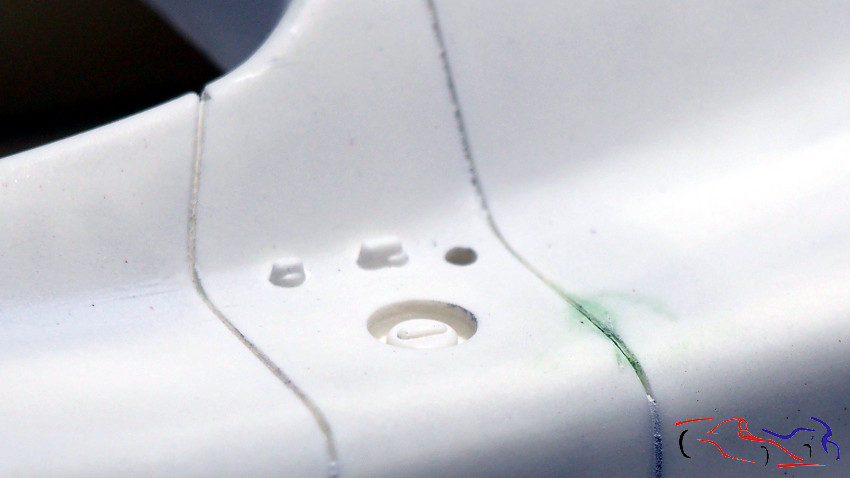
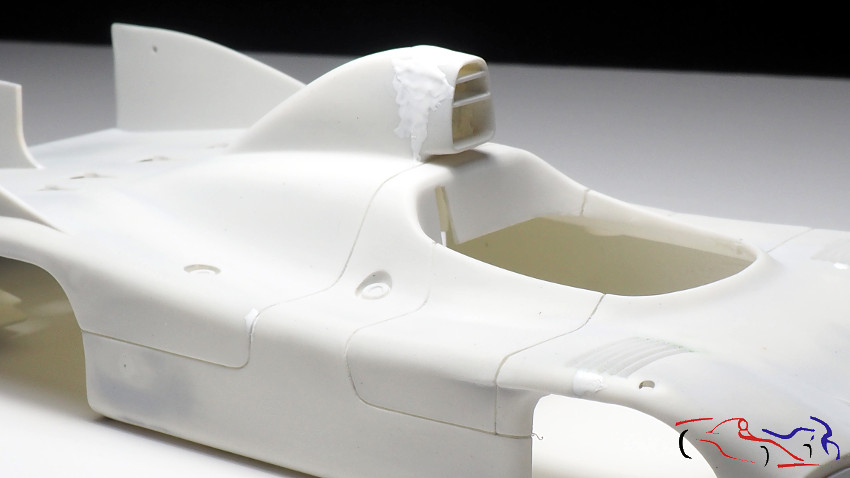
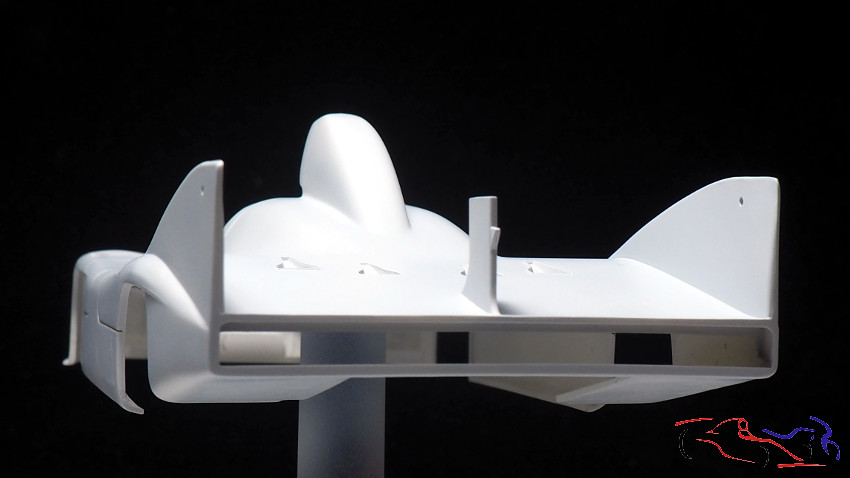
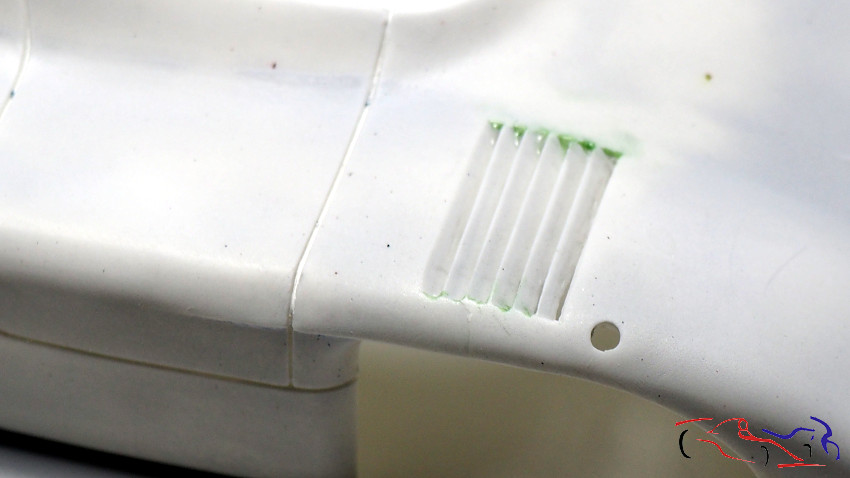 Y aprovecho para eliminar alguans cosas que sustiruiré: esos dos trocitos de plástico y la barra vertical de la tapa del depósito!
And I take the opportunity to eliminate some things that I will replace: those two pieces of plastic and the vertical bar of the tank lid!
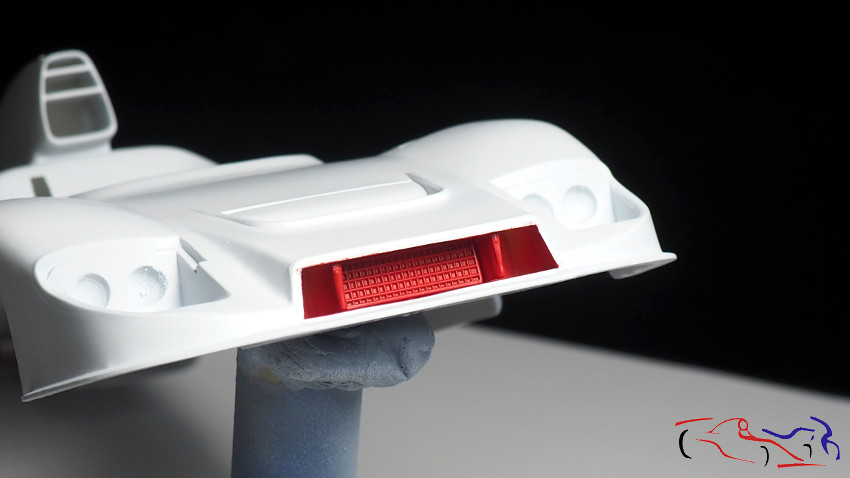
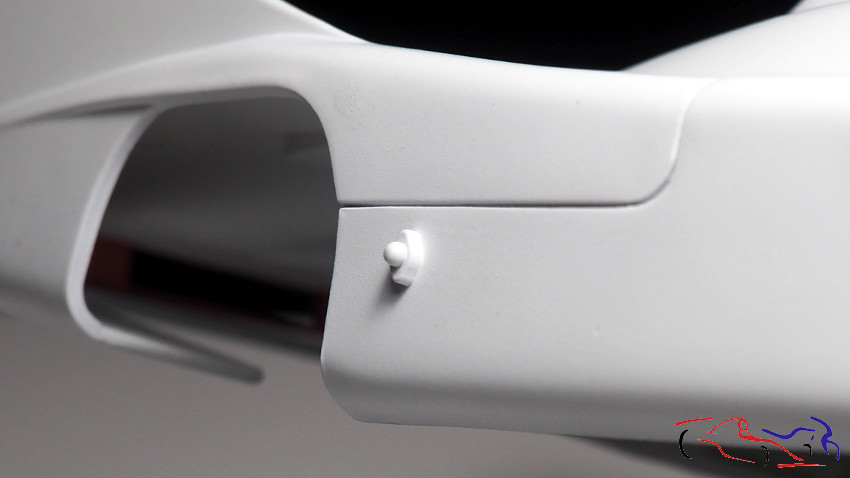
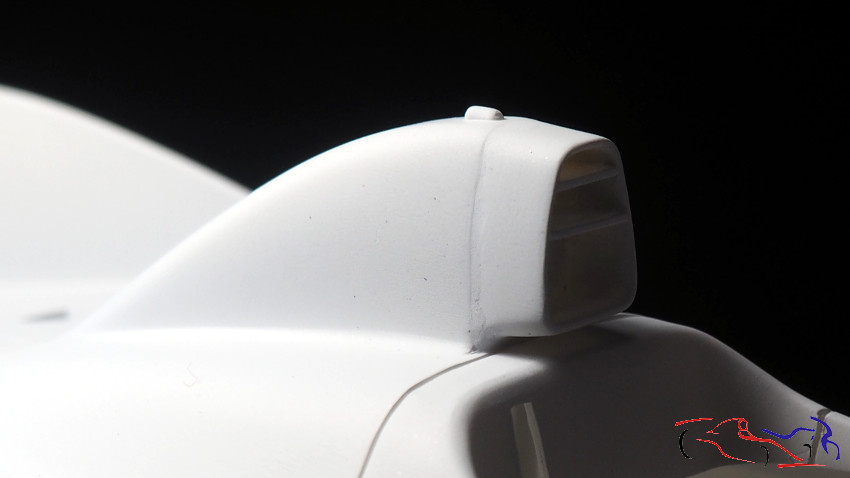
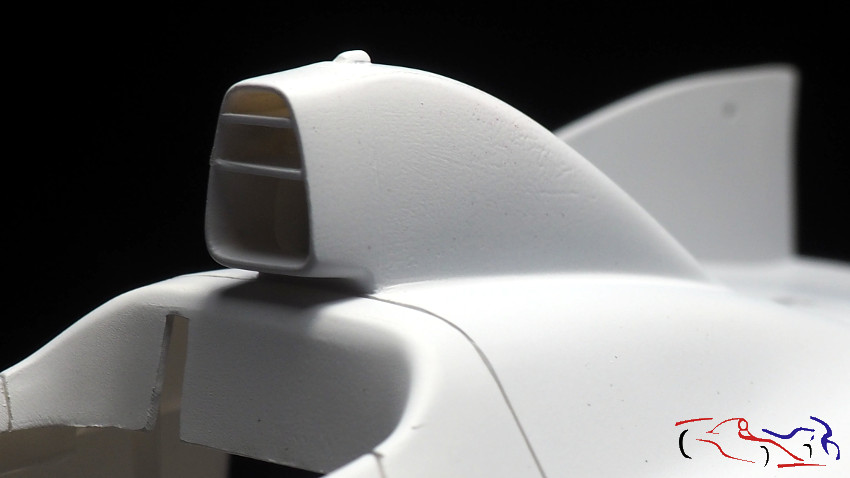
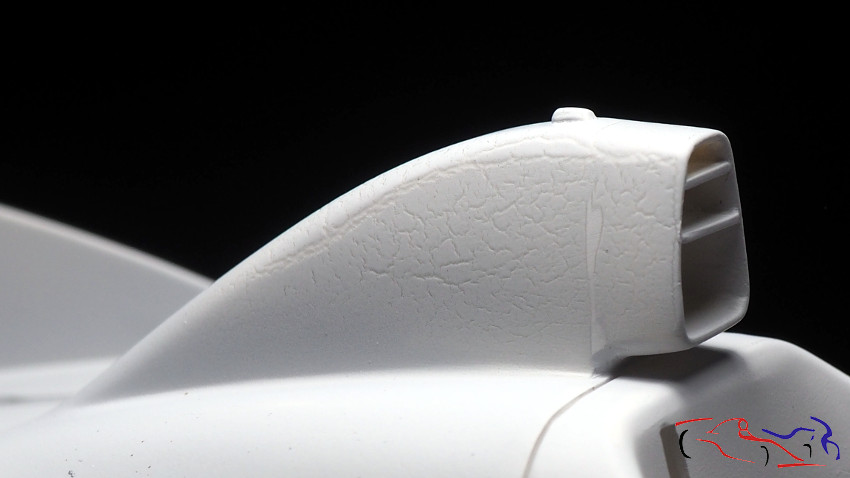
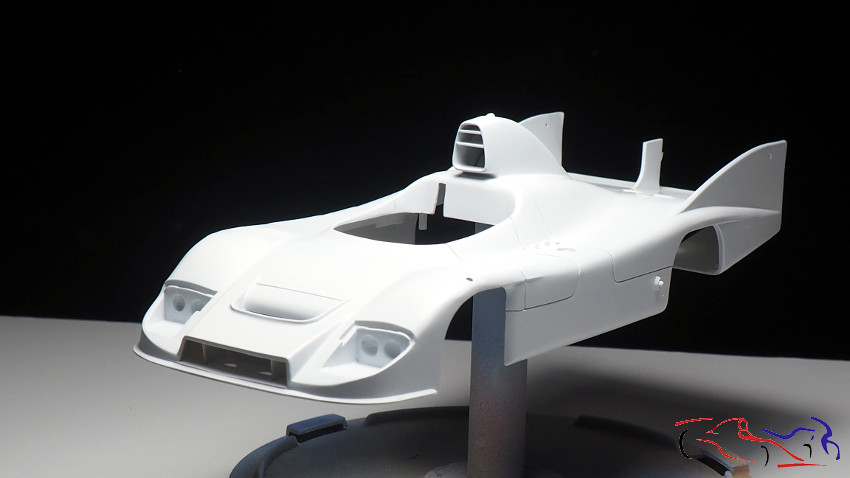
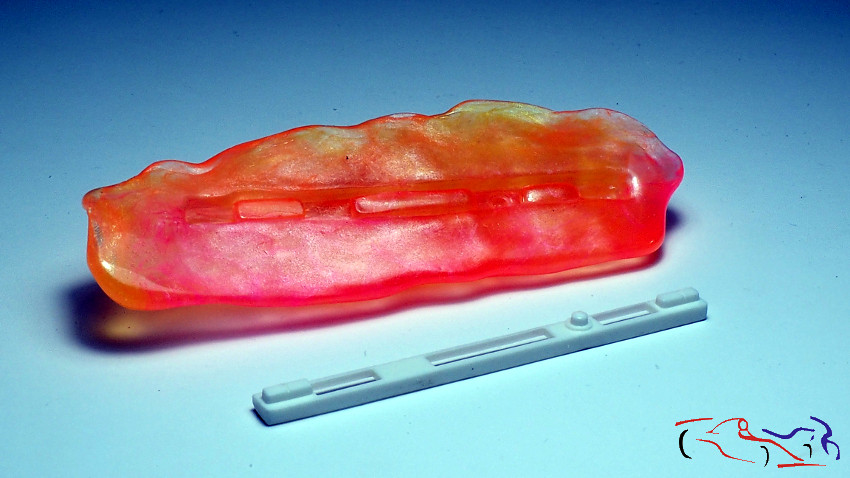
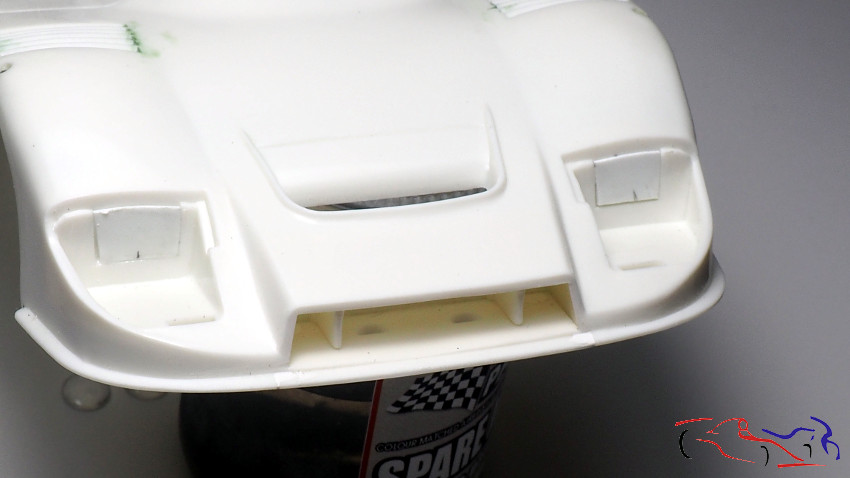
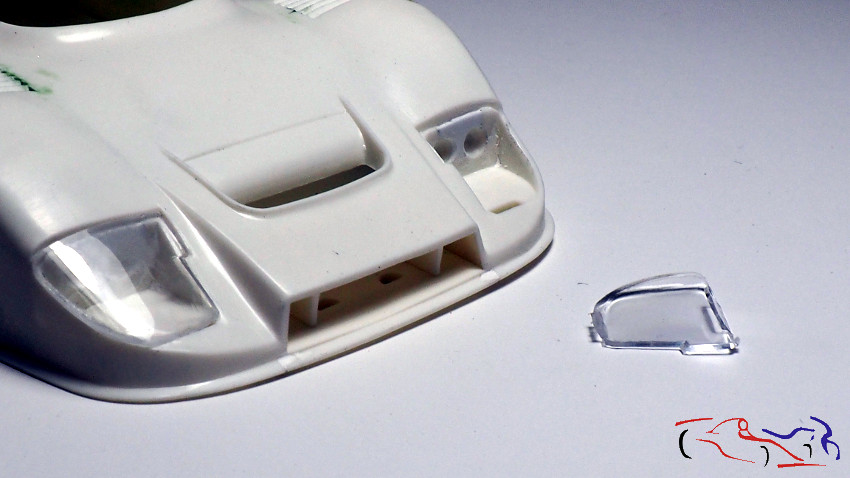
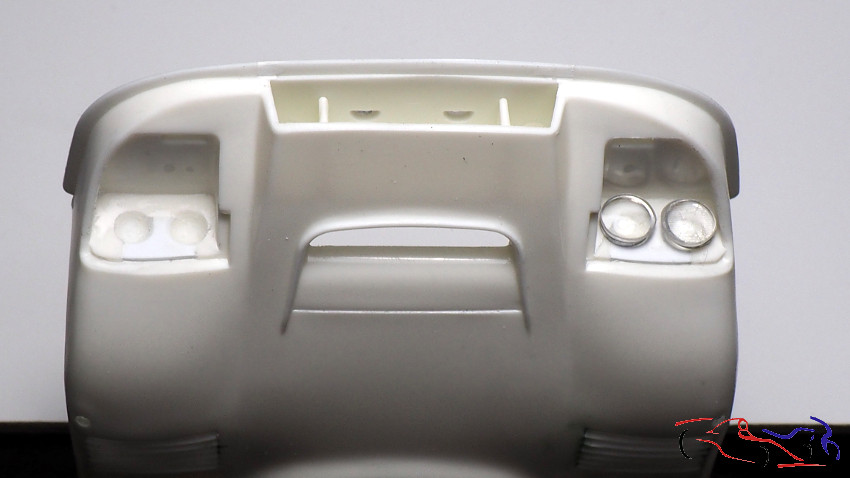
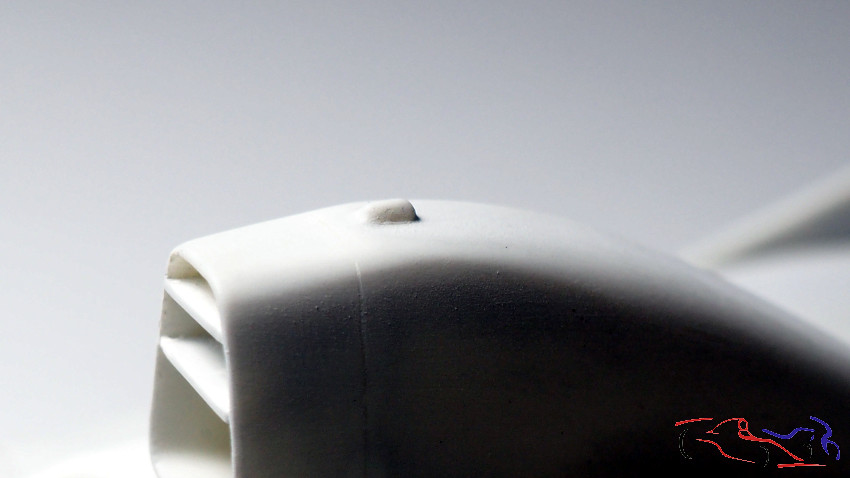
 Otra pieza que voy a reemplazar es la luz que hay encima de la toma de aire:
Another part that I am going to replace is the light above the air intake:
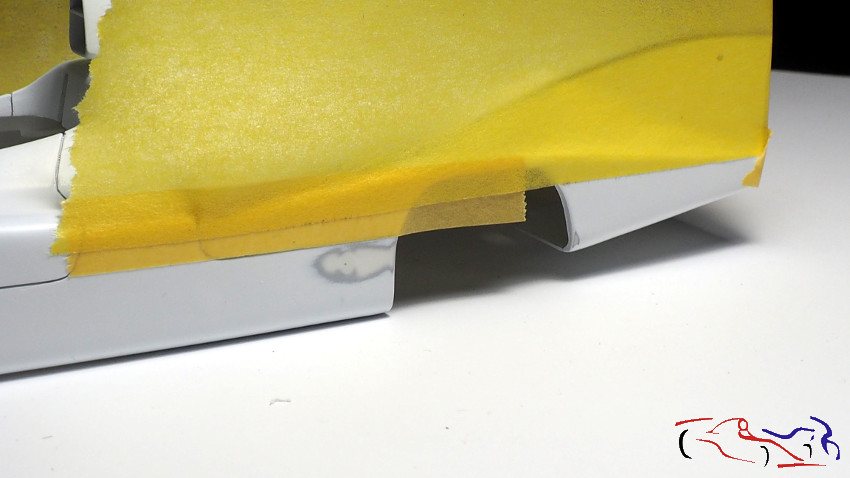
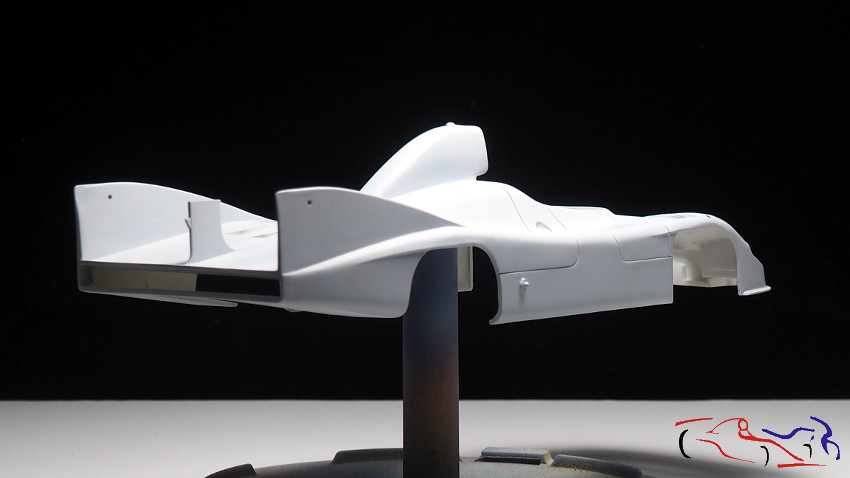
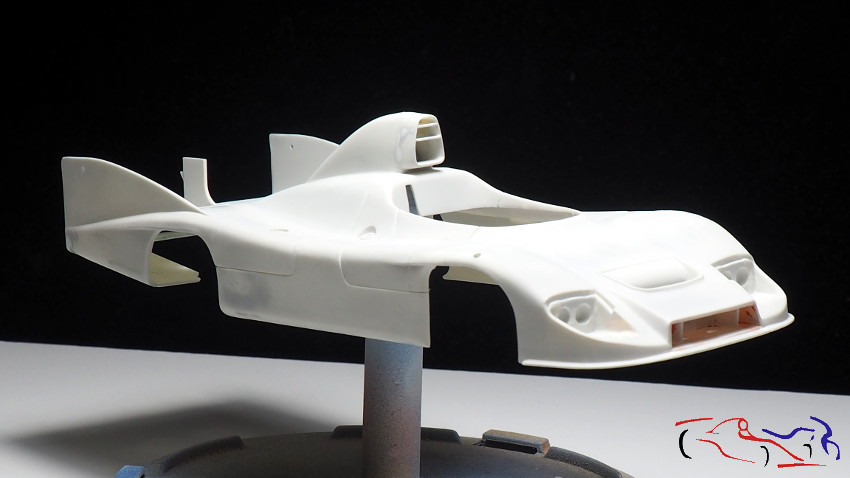
 Y le doy imprimación blanca tamiya, la del bote, para tapar algunas huellas o rasguños:
And I give it white tamiya primer, the one on the bottle, to cover some traces or scratches:
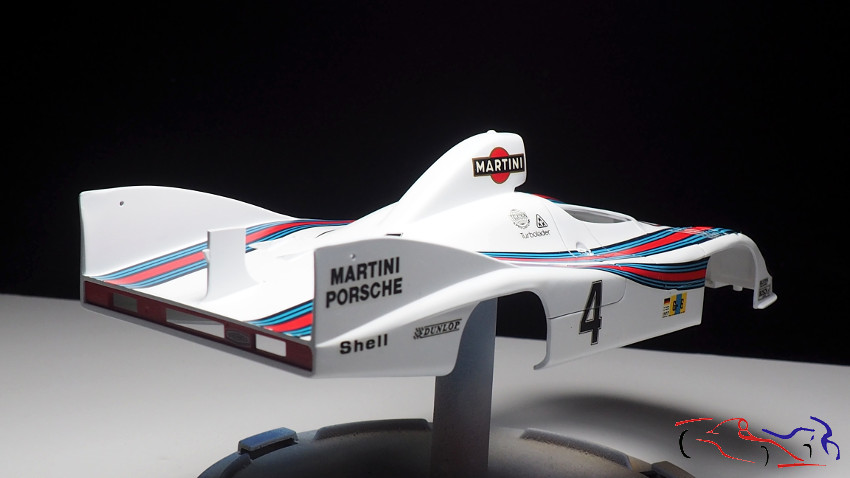
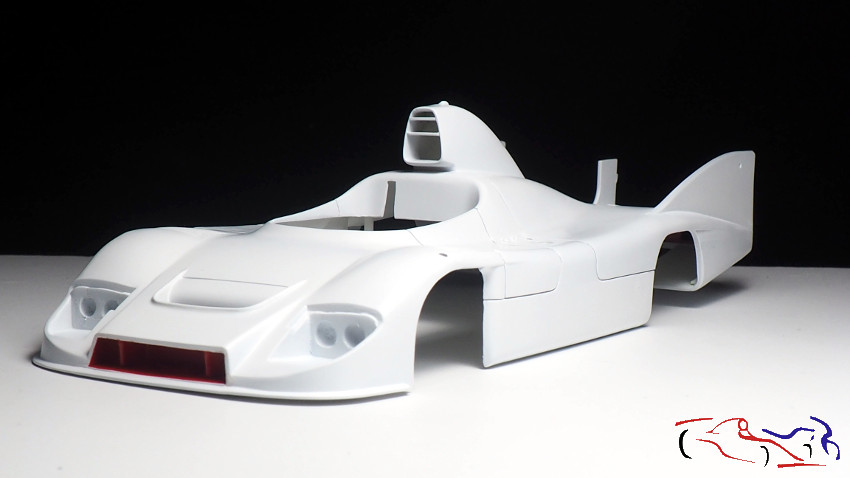
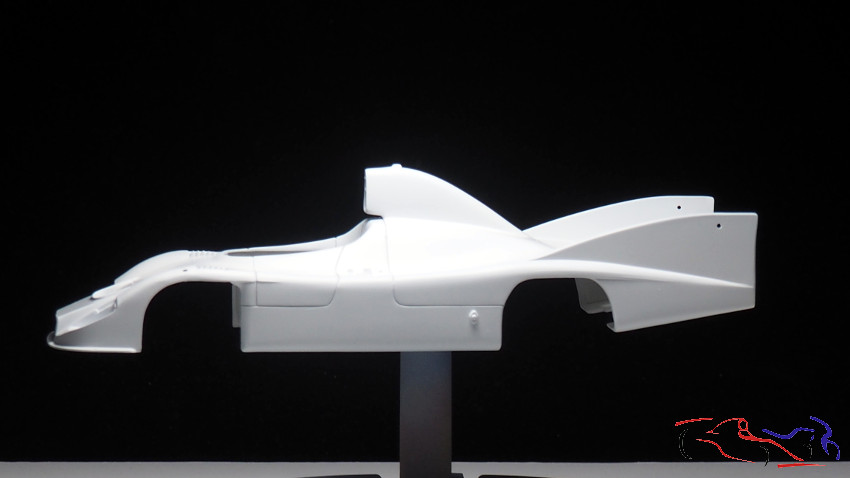
 Este es el resultado, y lista para imprimar con Gravity:
This is the result, and ready to prime with Gravity:
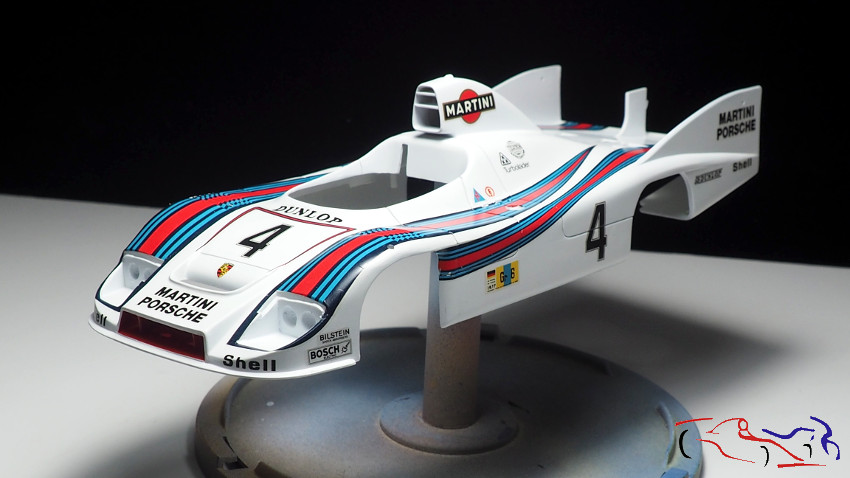
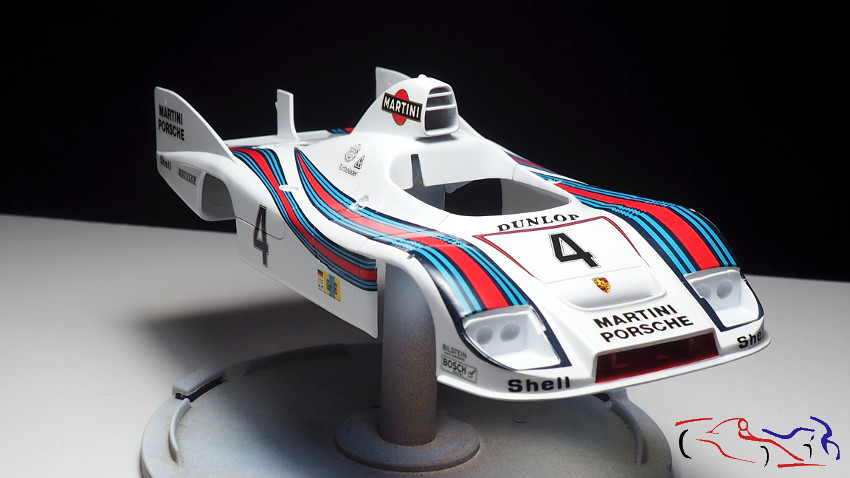
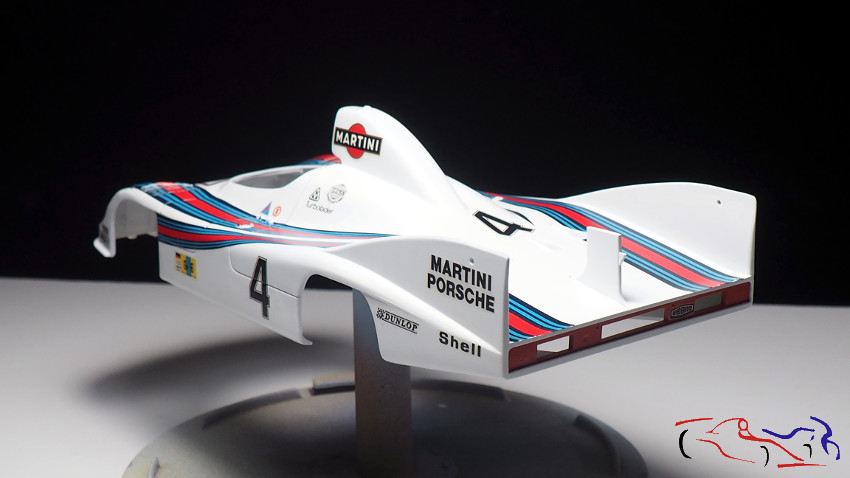
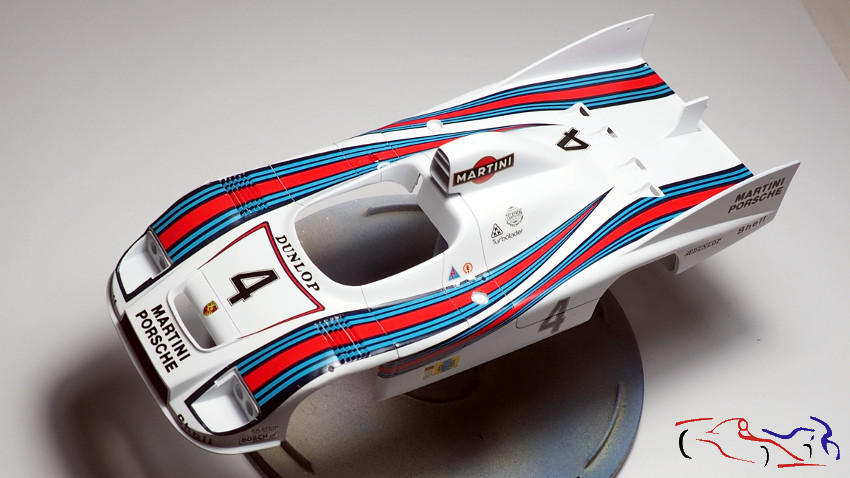
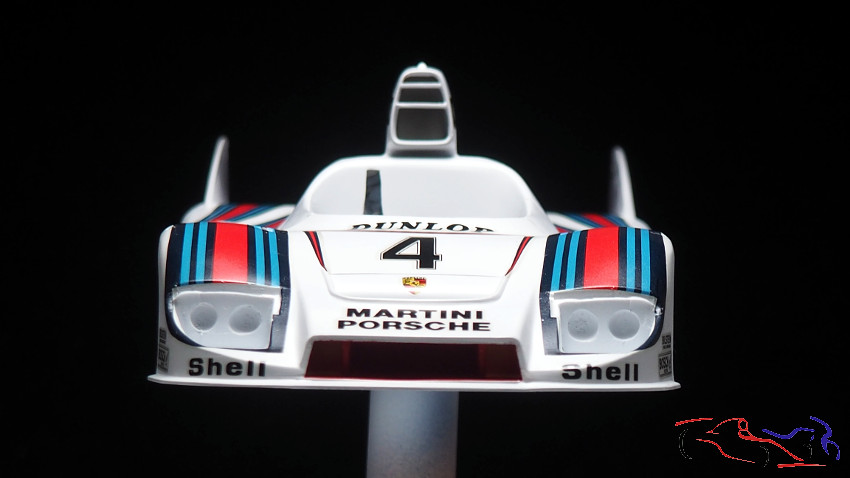
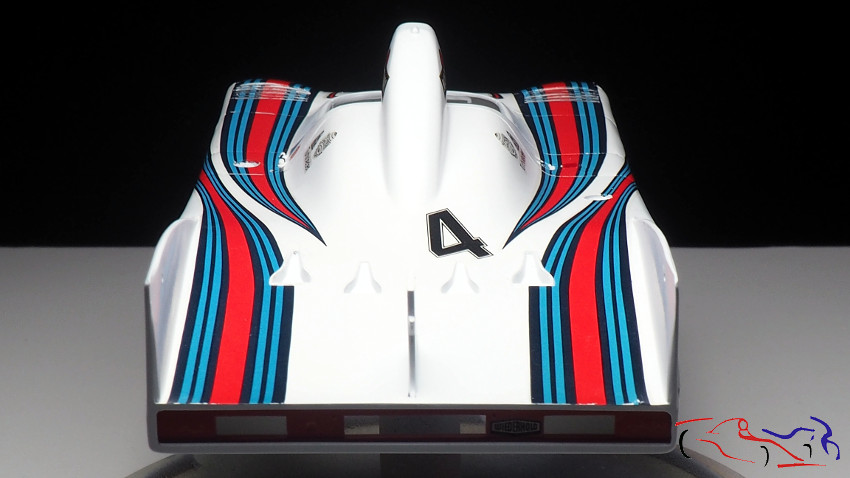
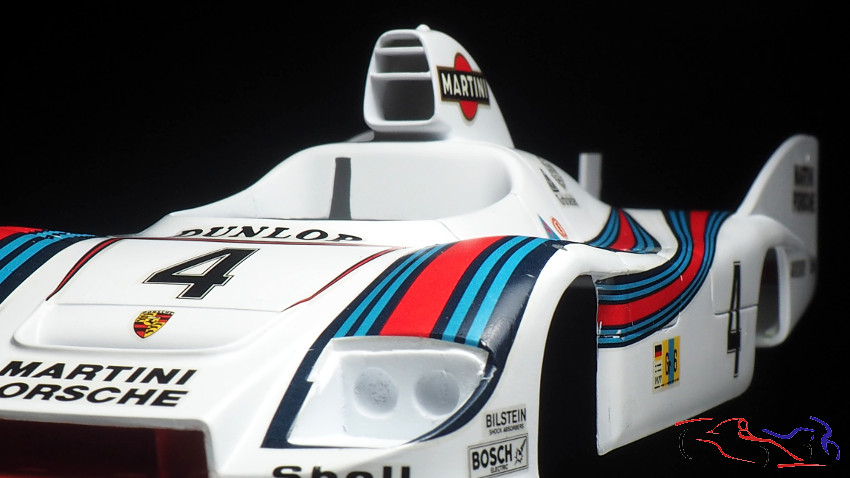
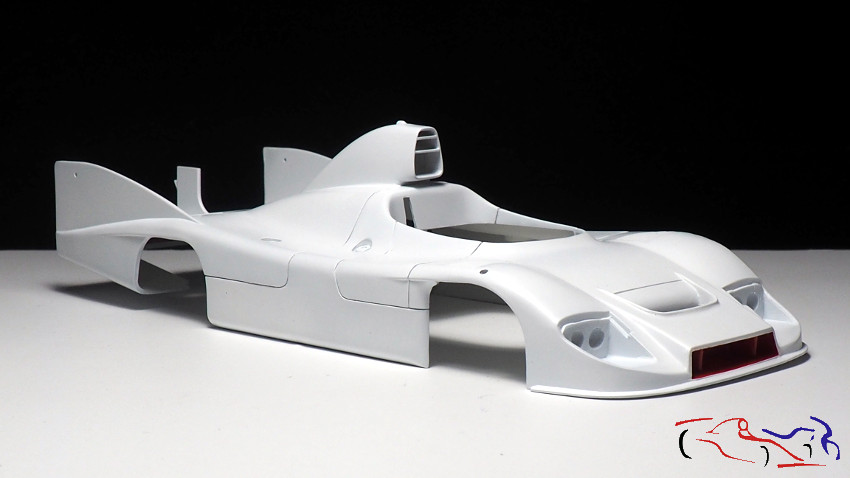
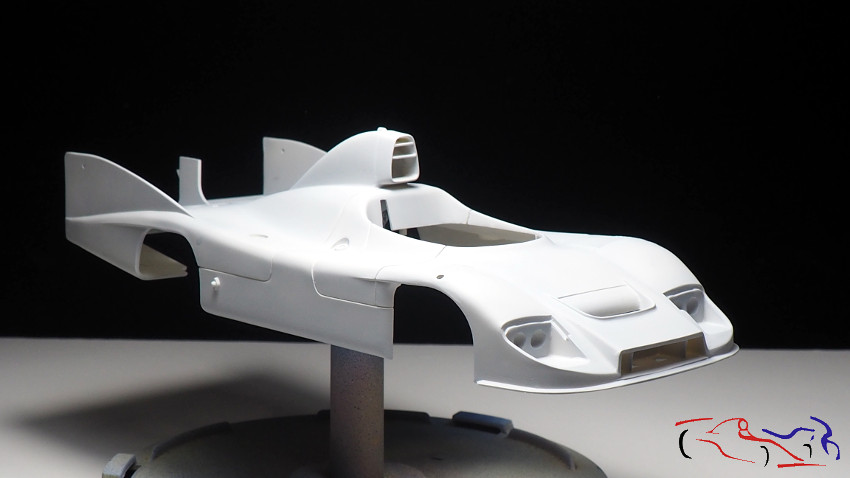
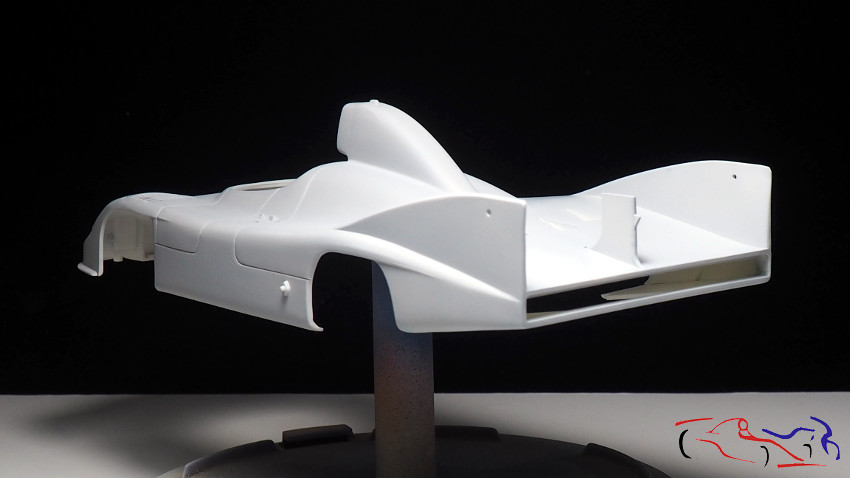
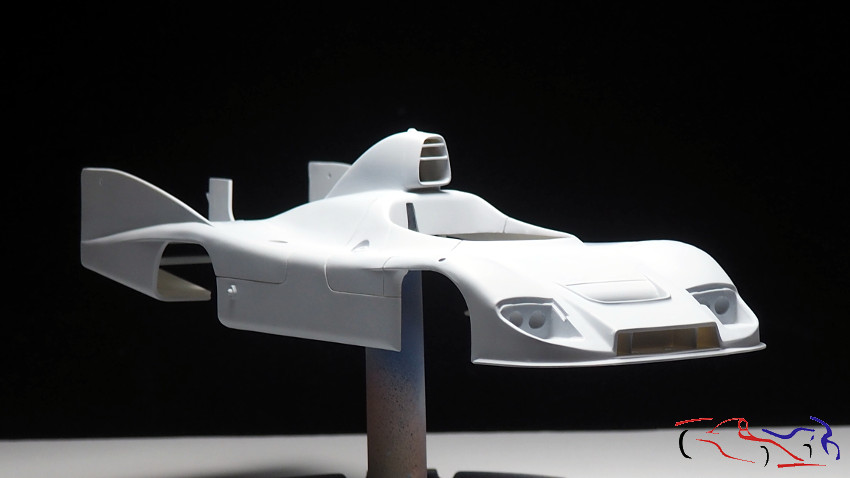
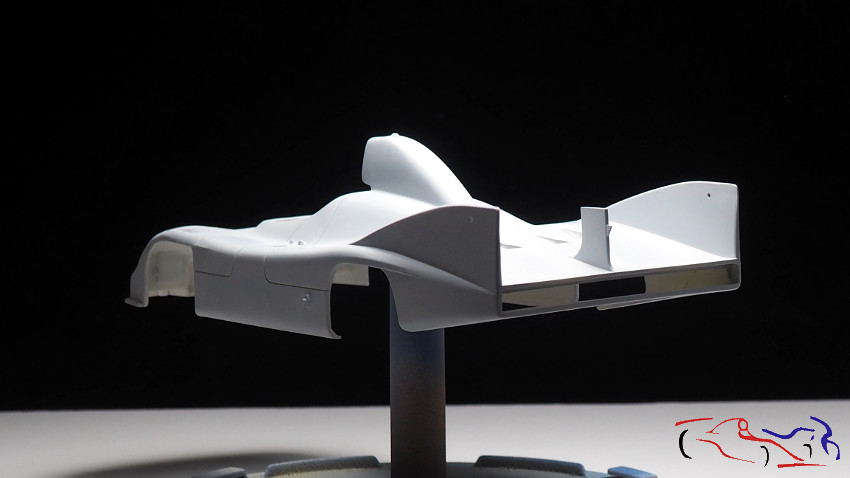
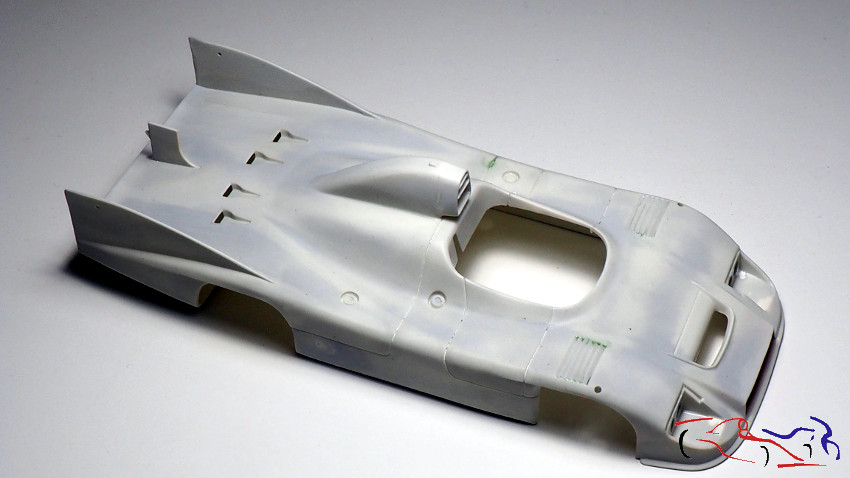
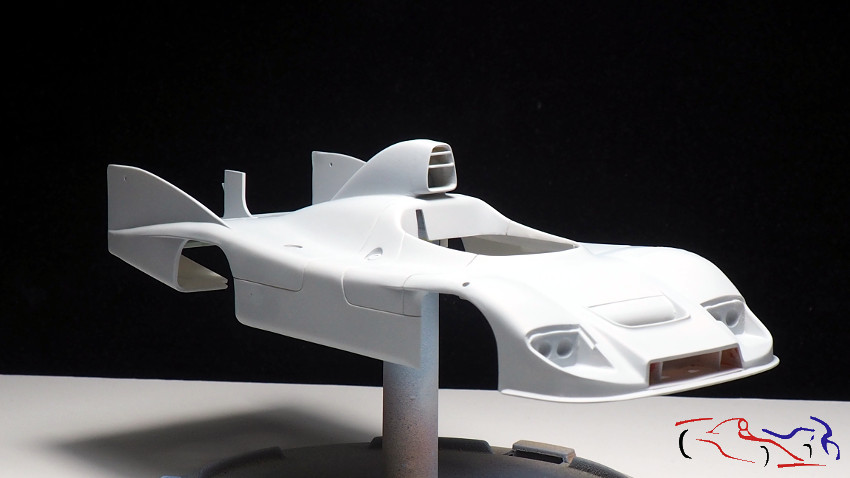
 Pues ya está lista , de nuevo, para la pintura blanca:
Well, it is ready, again, for white paint:
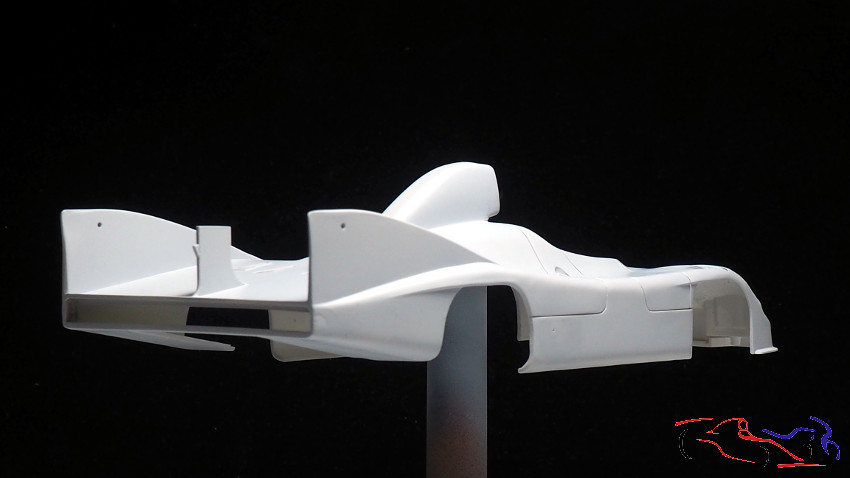 Lo siguiente será, la pintura blanca y seguir con el cockpit!
Gracias por mirar y comentar!
The next thing will be, the white paint and continue with the cockpit!
Thanks for looking and commenting!