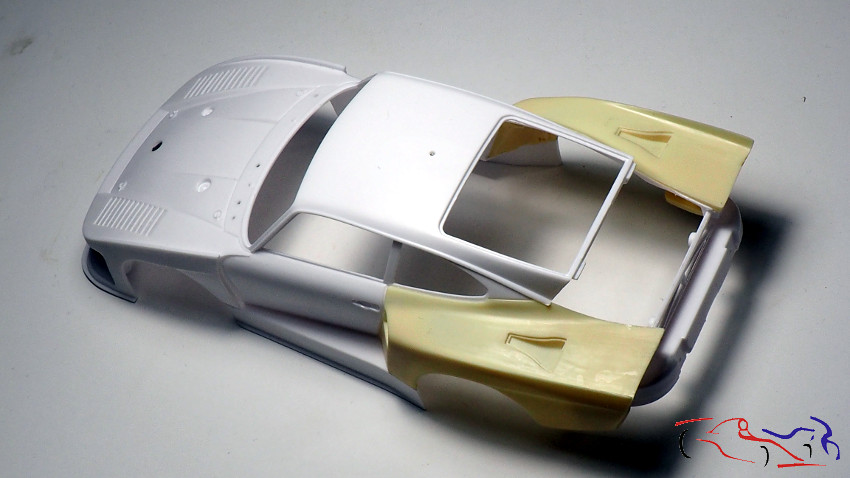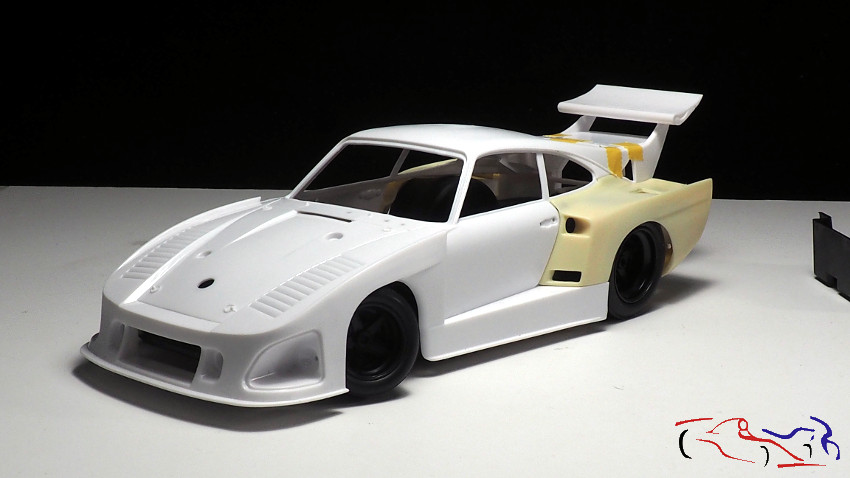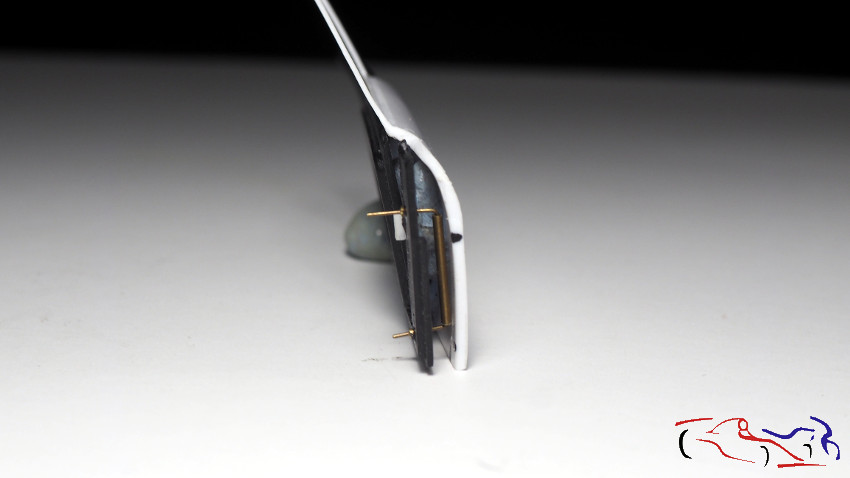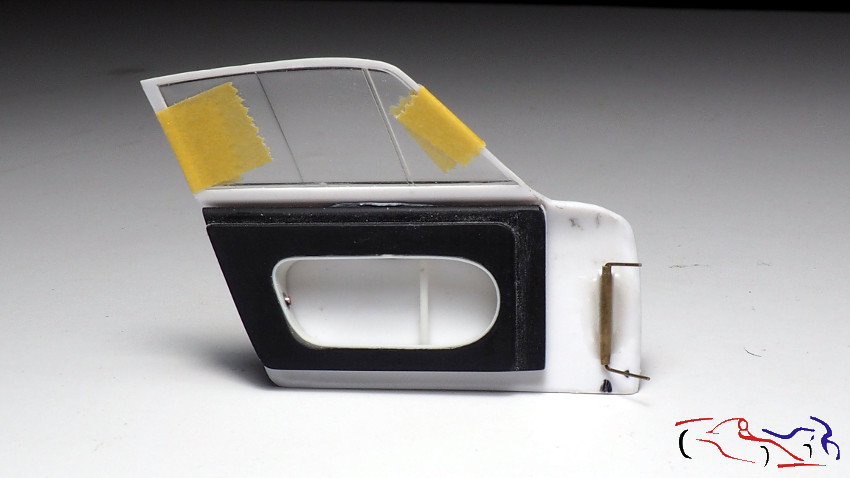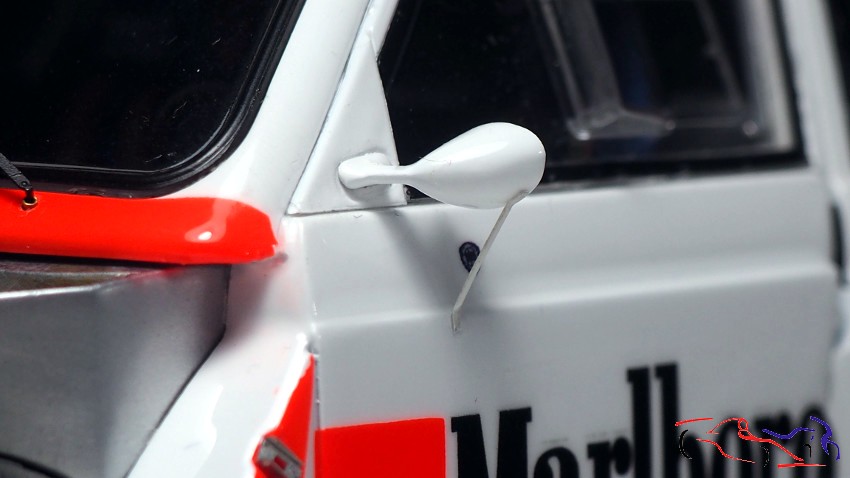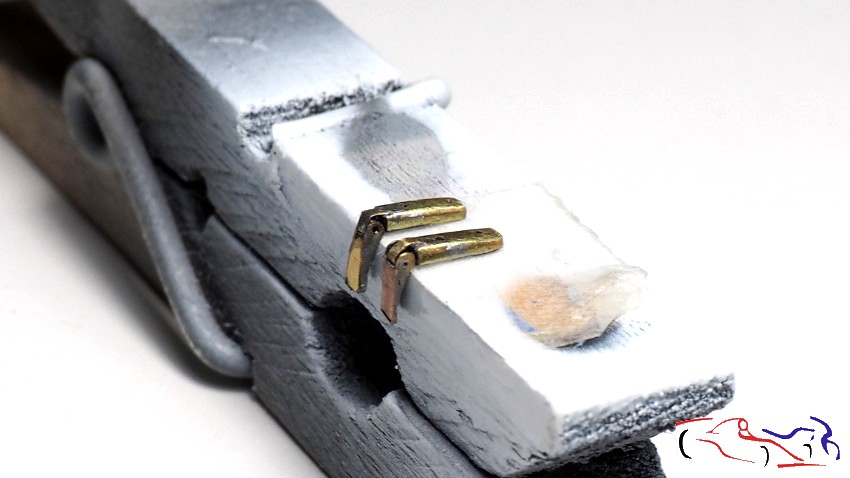
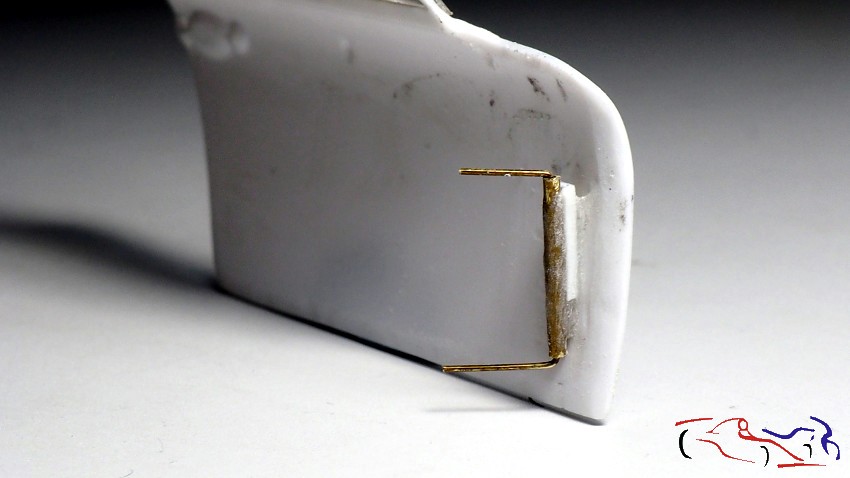
Continuamos con este proyecto, despacito porque la preparación para la pintura lleva su tiempo y dedicación, sobre todo cuando se recrean piezas. En este caso, os muestro como queda la bisagra de la puerta. Esos dos extremos doblados giran sobre el tubo, que está fijado a la puerta con un listón de Evergreen (redondeado para que apoyara el tubo) pegado con ciano, y rellenado con loctite y polvos de talco. Después se ha lijado hasta dejarlo tan estrecho como el tubo.
We continue with this project, slowly because the preparation for painting takes time and dedication, especially when recreating pieces. In this case, I show you how the door hinge looks like. These two bent ends turn on the tube, which is fixed to the door with a strip of Evergreen (rounded to support the tube) glued with cyano, and filled with loctite and talcum powder. It has then been sanded down to be as narrow as the tube.
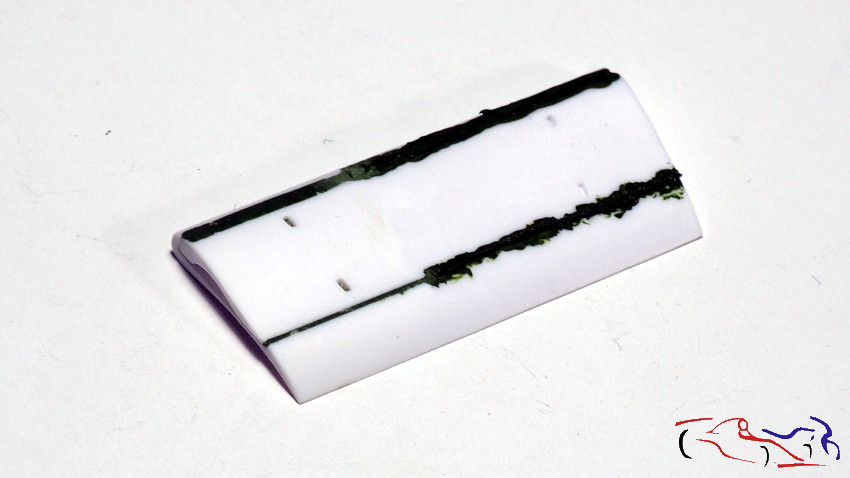
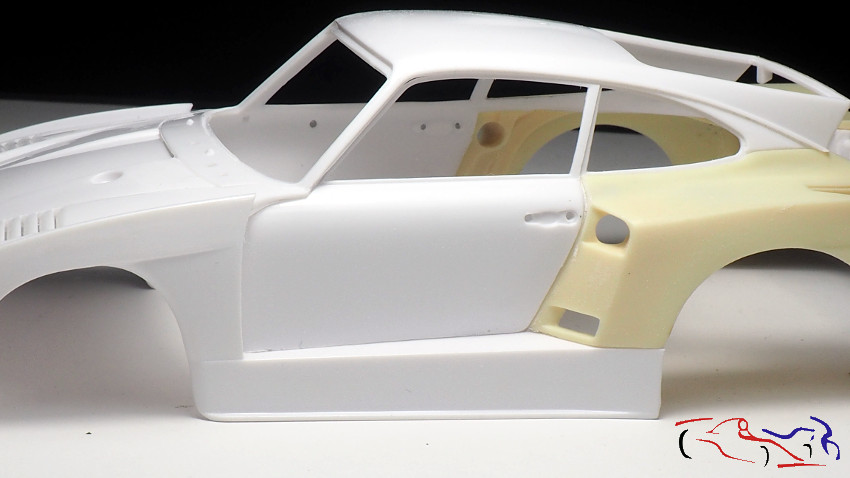
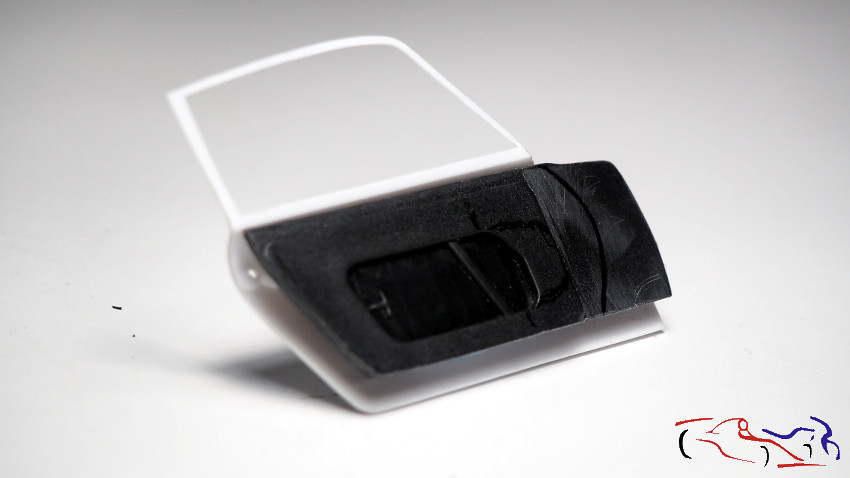
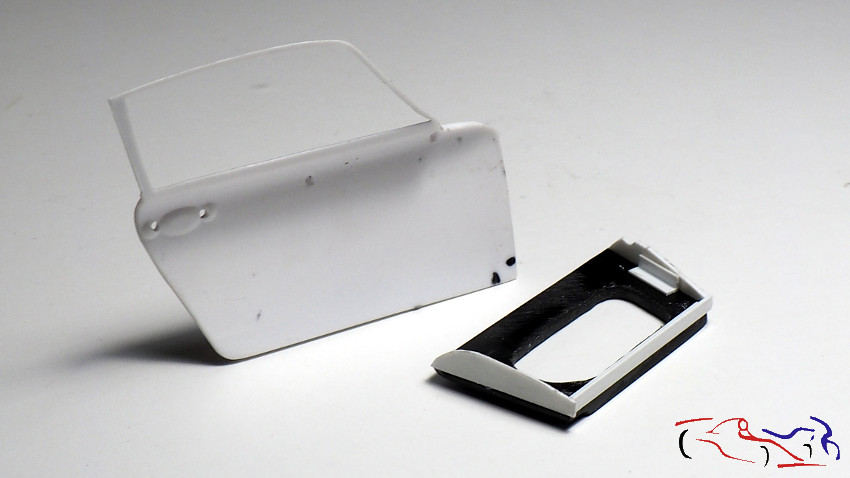
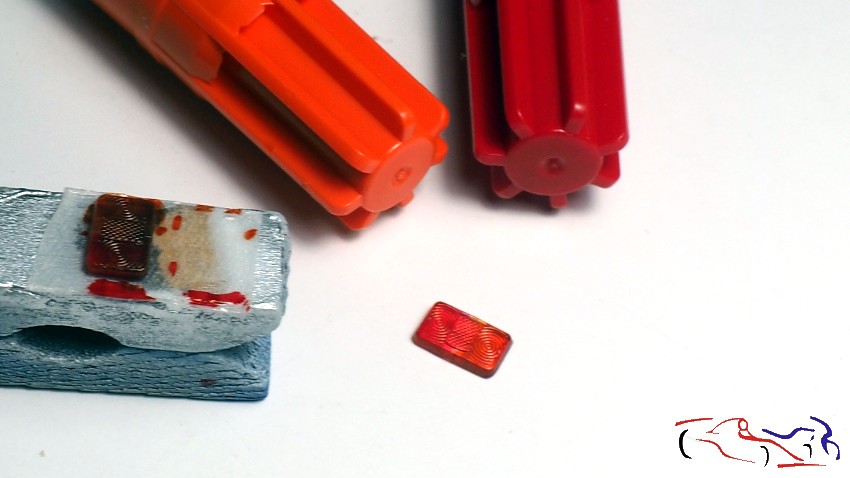
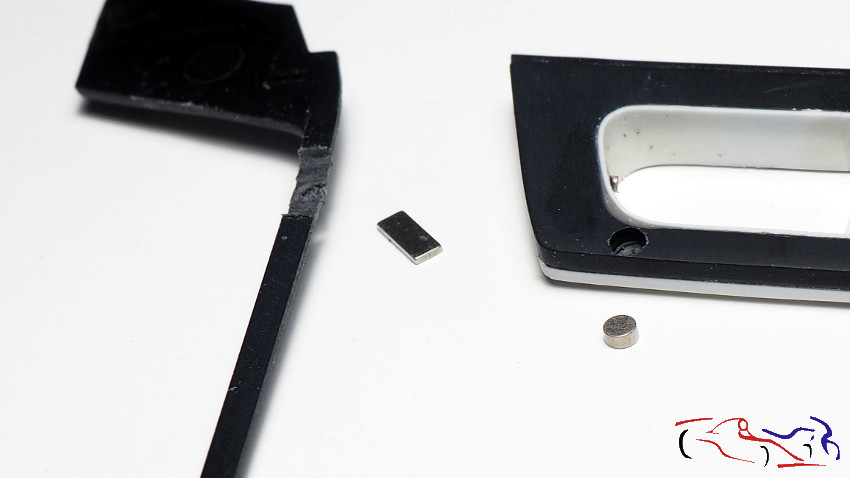
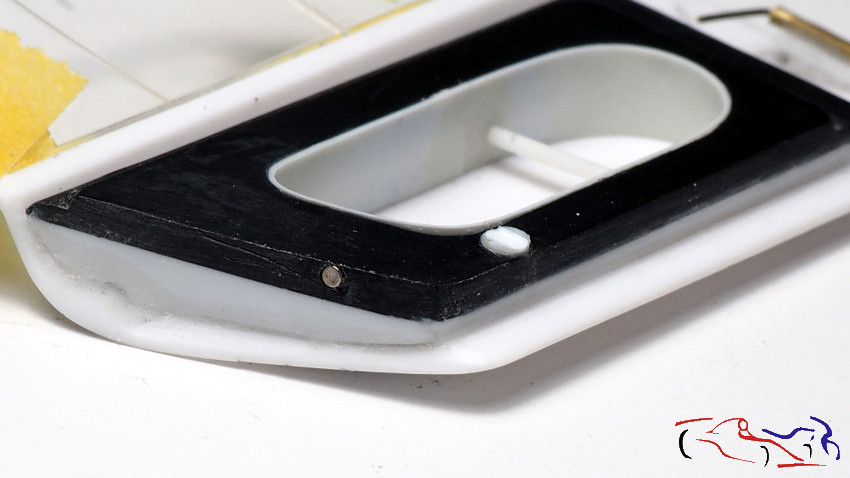
Y la puerta, debe quedar cerrada, y bien cerrada!! Para ello, le añado unos imanes tanto en el guarnecido interior de la puerta (uno redondo) como en el de la carrocería. Para ello, le hago una rebaja en la pieza para meter el imán, rectangular en este caso.
And the door must be closed, and well closed! To do this, I add magnets both in the inner trim of the door (a round one) and in the bodywork. To do this, I make a cut in the piece to put the magnet, rectangular in this case.
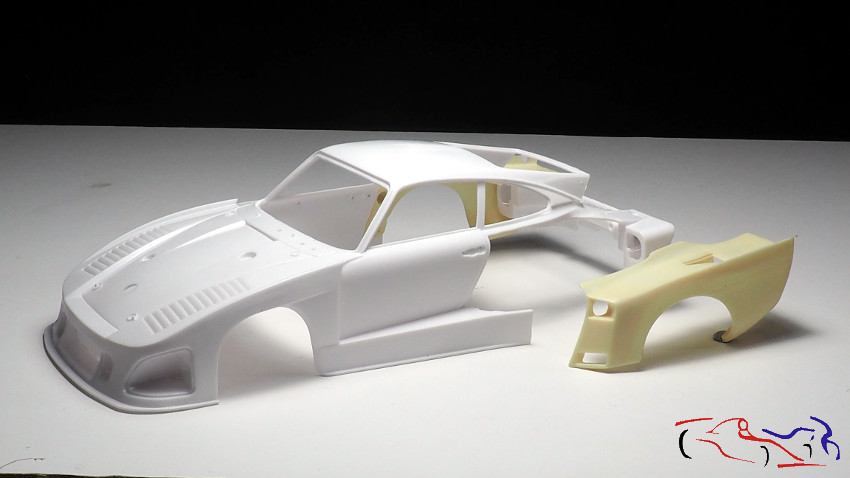
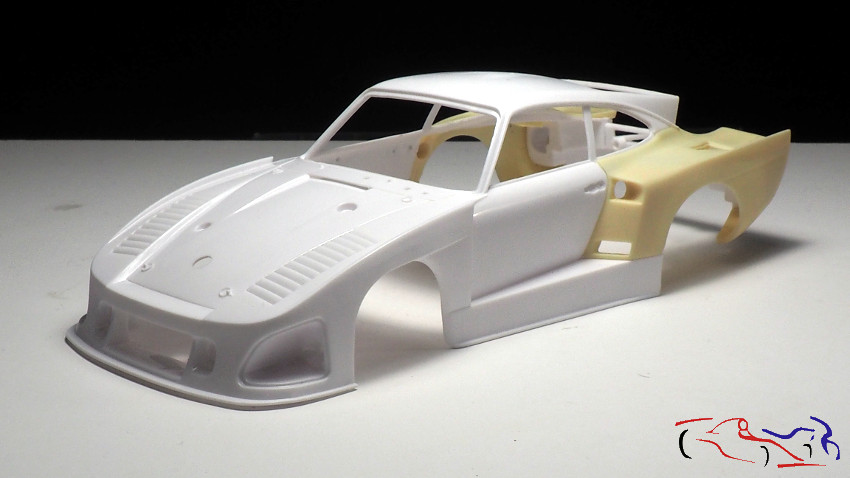
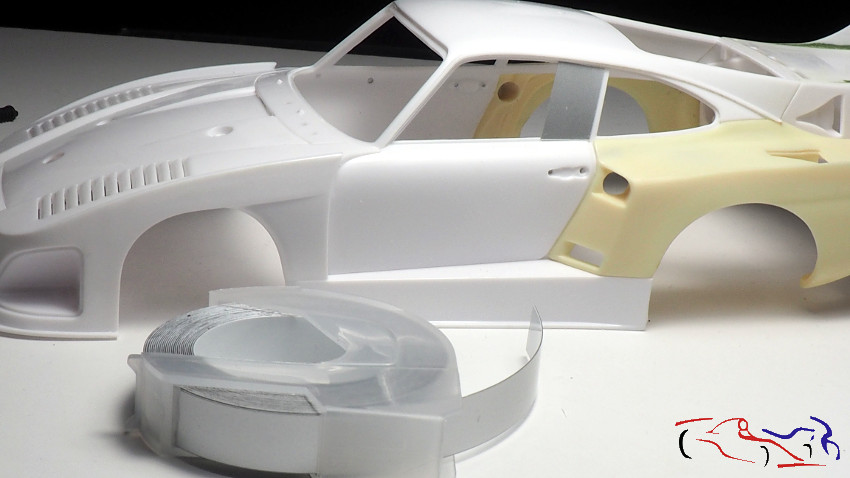
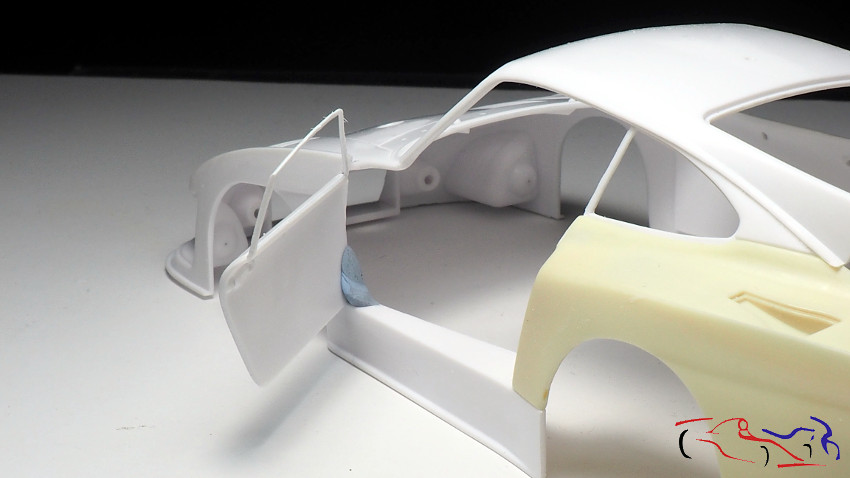
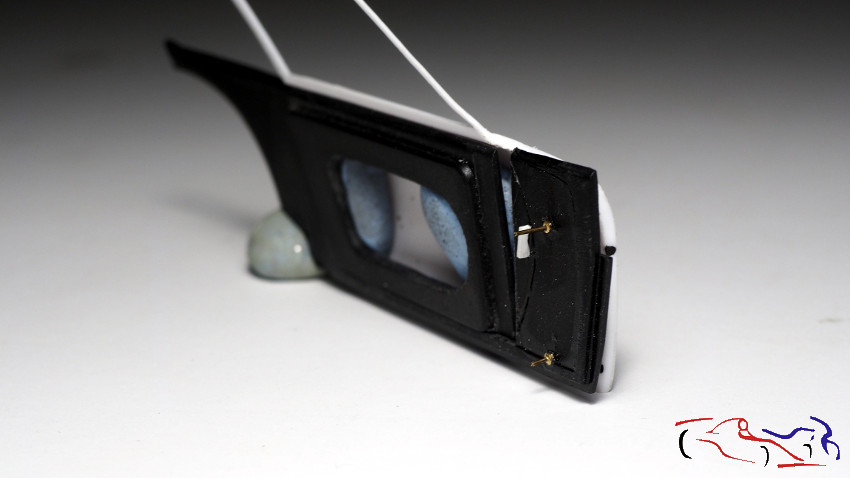
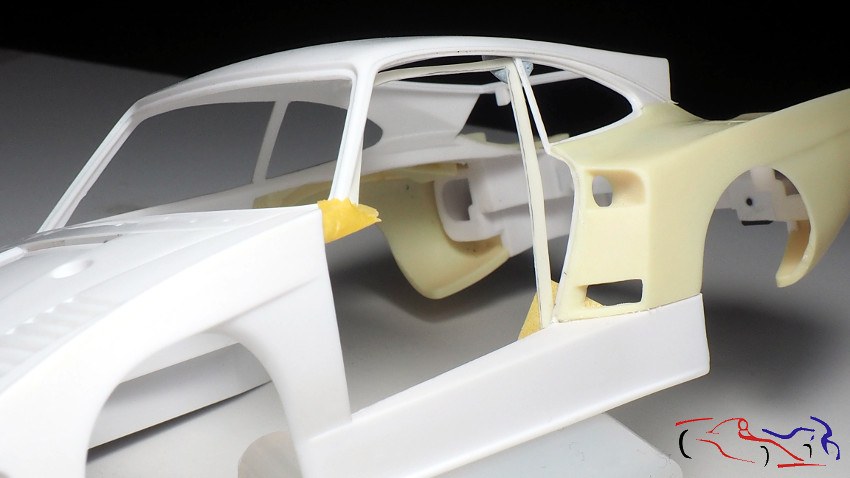
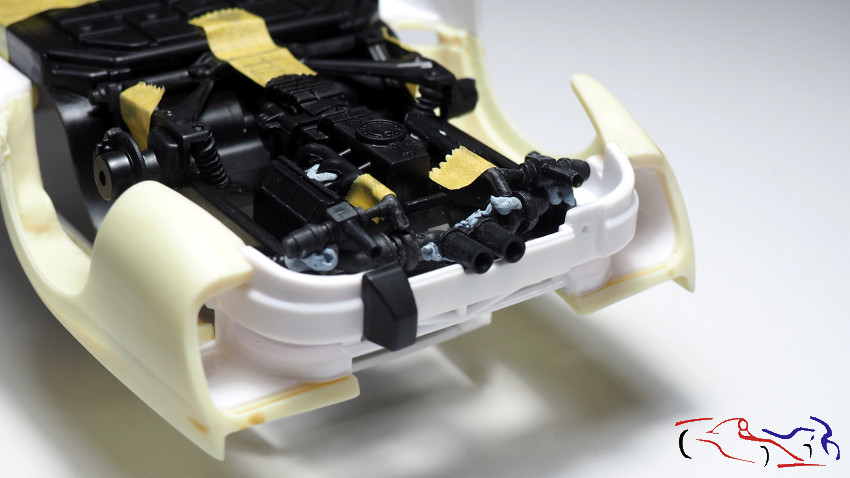
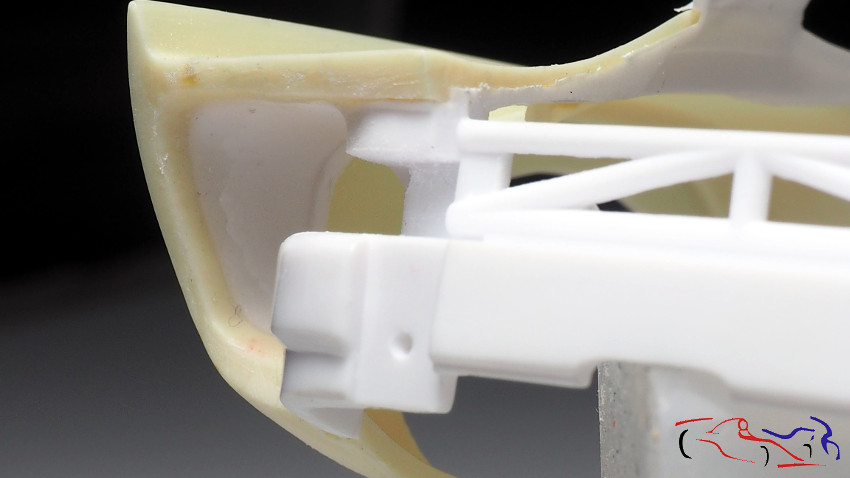
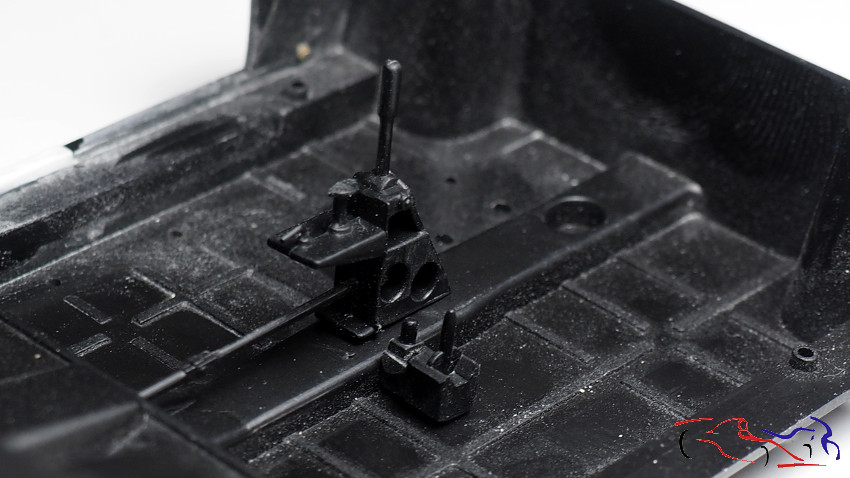
Pero no me fue bien, y al final el guarnecido del cockpit se estropeó (pieza izquierda en la foto anterior), teniendo que pegar la pieza al cockpit para asegurar mejor los trabajos posteriores, cortar, rellenar y alisar….y pensar en otra posición de los imanes. Mientras tanto, le puse dos tubos delante por donde pasarán los vástagos de la bisagra:
But it didn’t go well, and in the end the cockpit trim was damaged (left piece in the previous photo), and I had to glue the piece to the cockpit to better secure the later works, cut, fill and smooth …. and think of another position for the magnets. In the meantime, I put two tubes in front where the hinge rods will pass through:
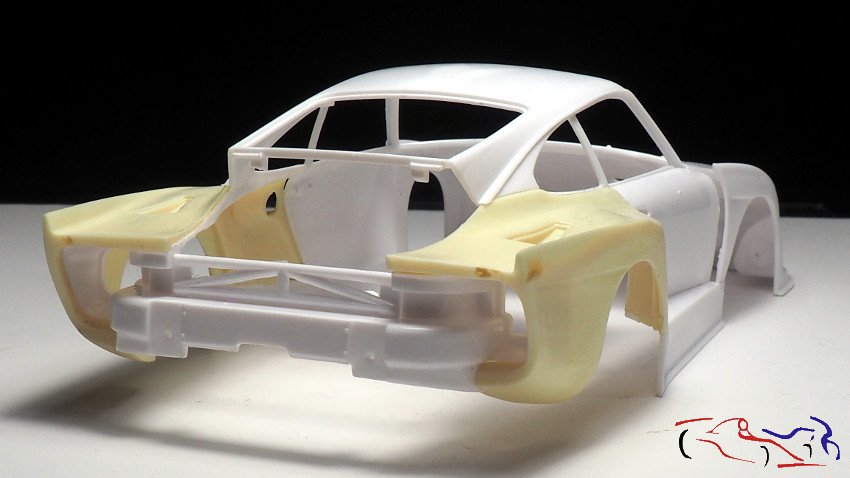
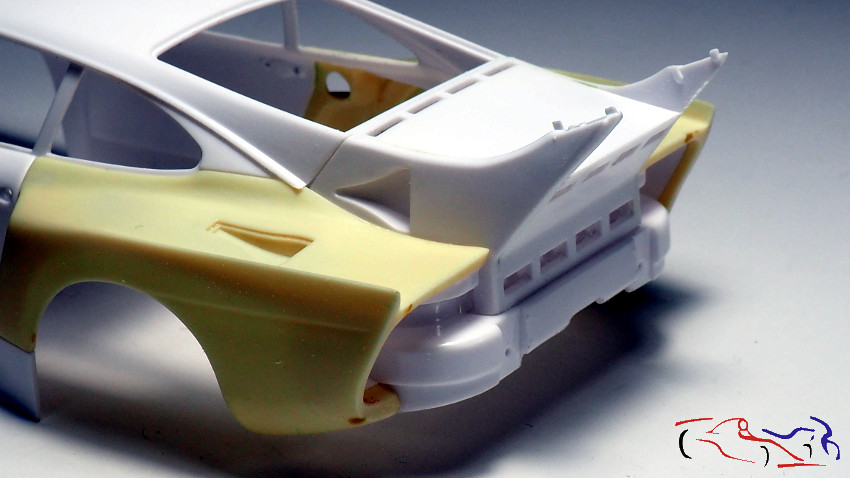
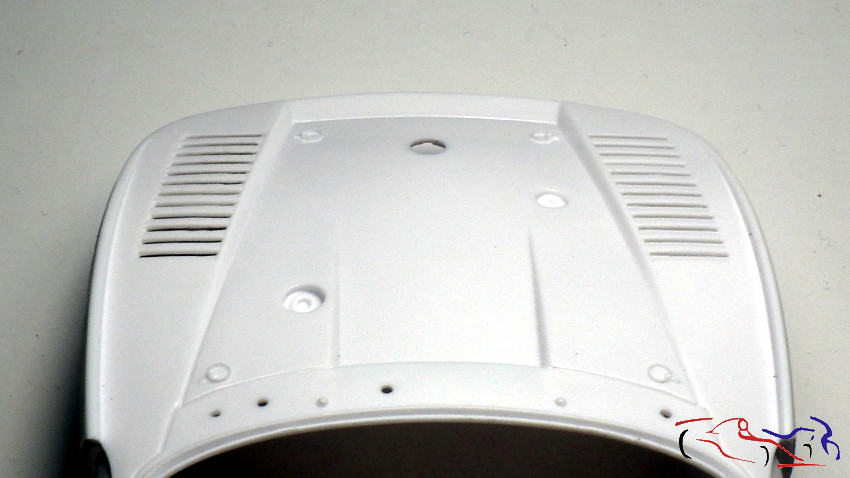
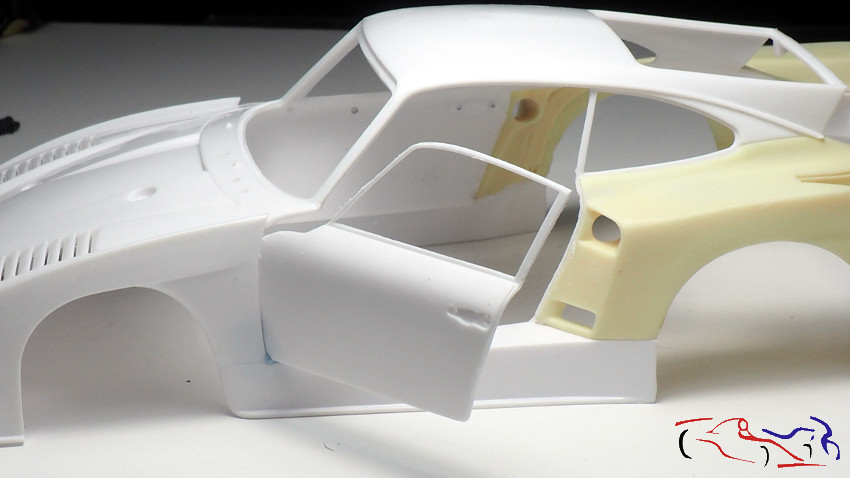
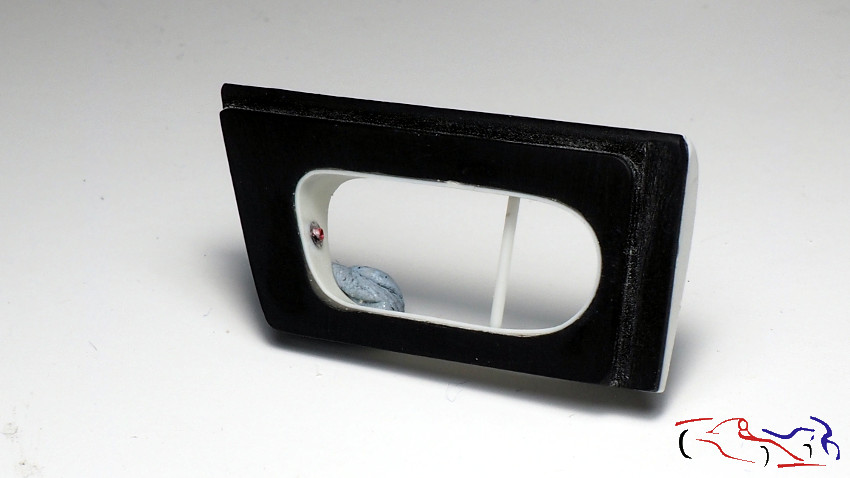
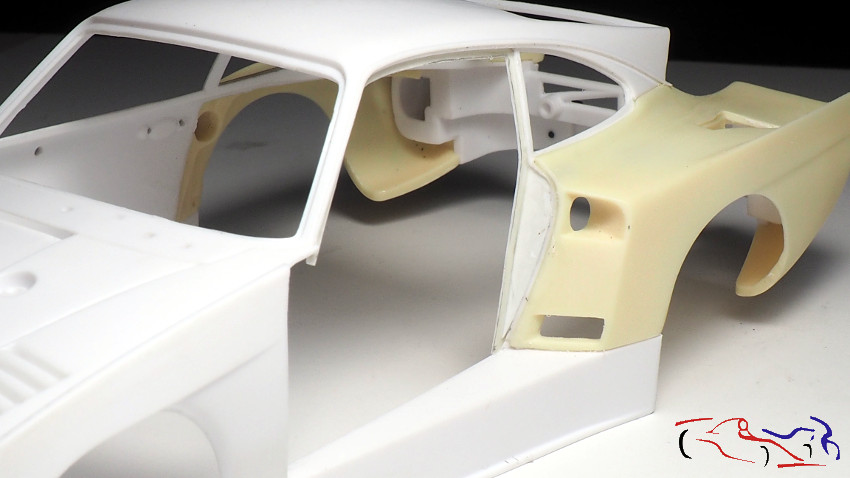
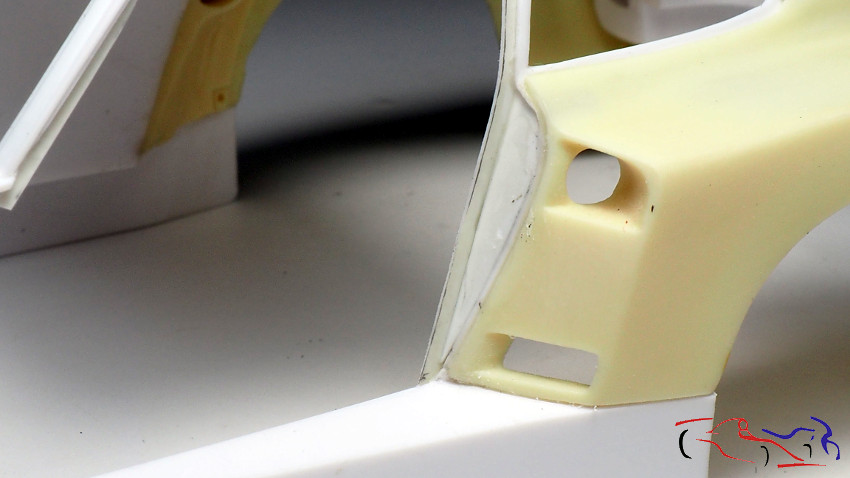
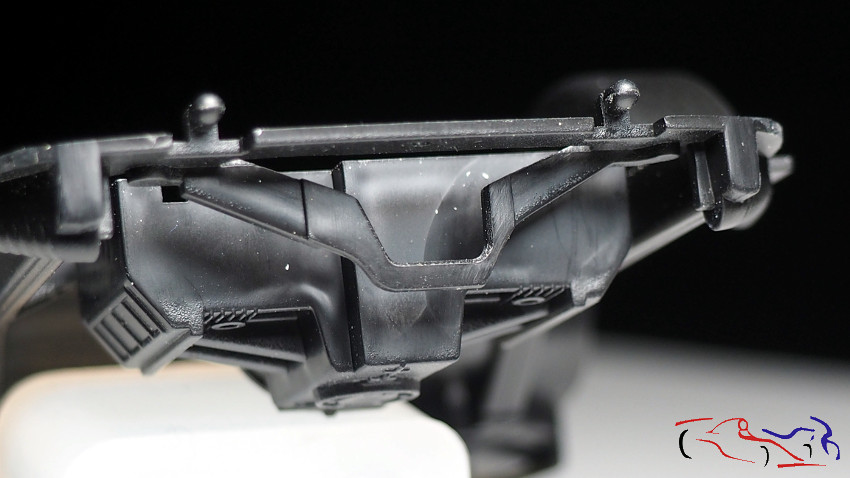
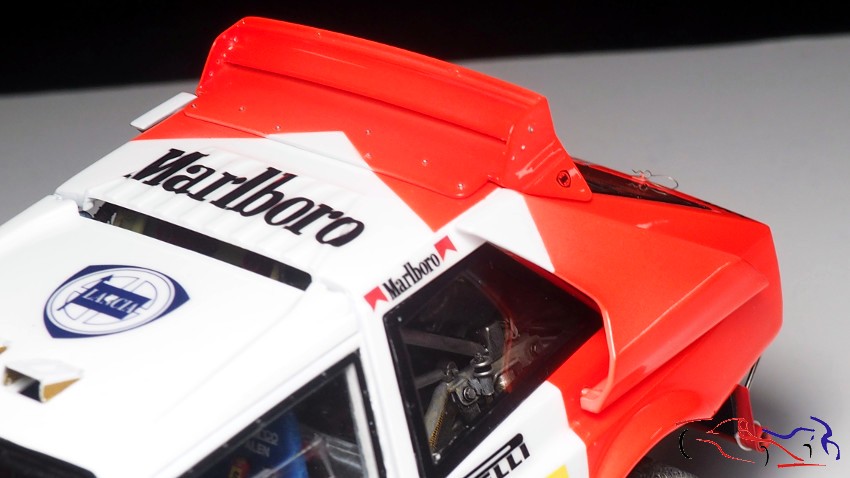
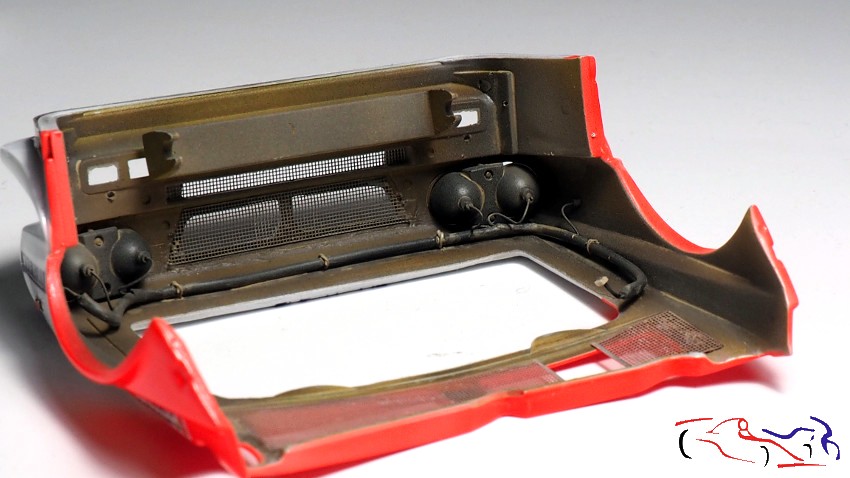
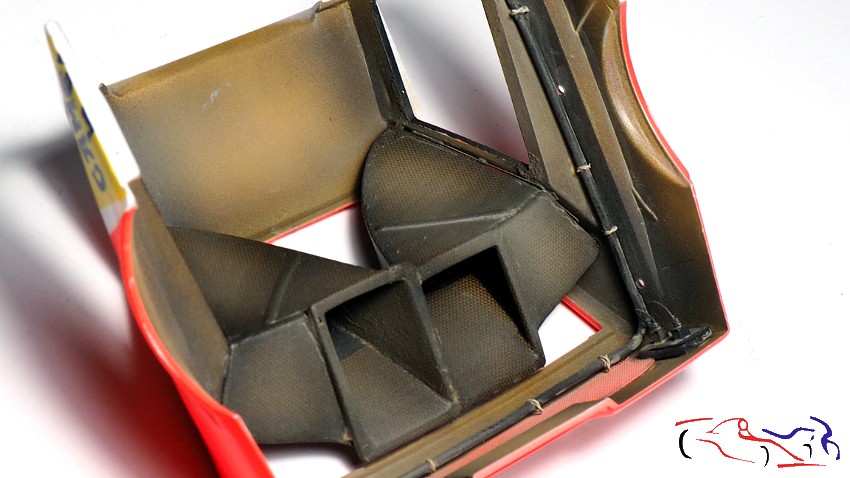
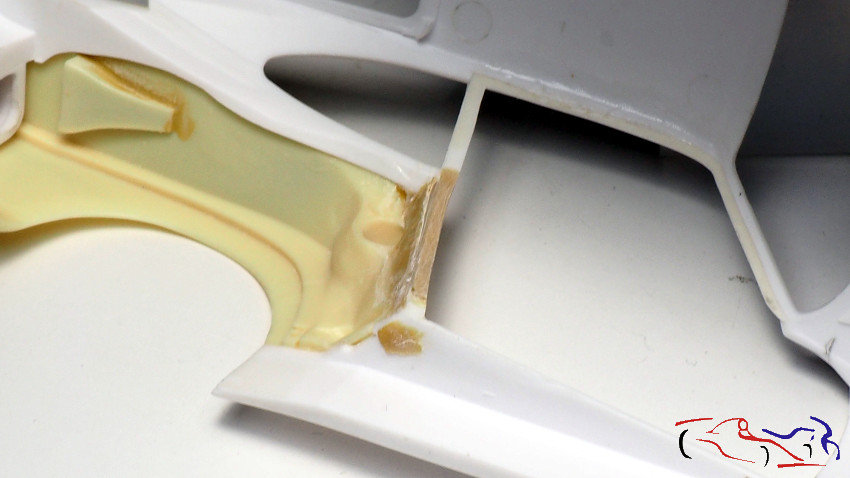
SI vemos el interior de la carrocería, podemps observar el marco interior de la puerta, y la masilla epoxy puesta para rellenar los huecos:
If we look inside the bodywork, we can see the inner door frame, and the epoxy putty used to fill the holes:
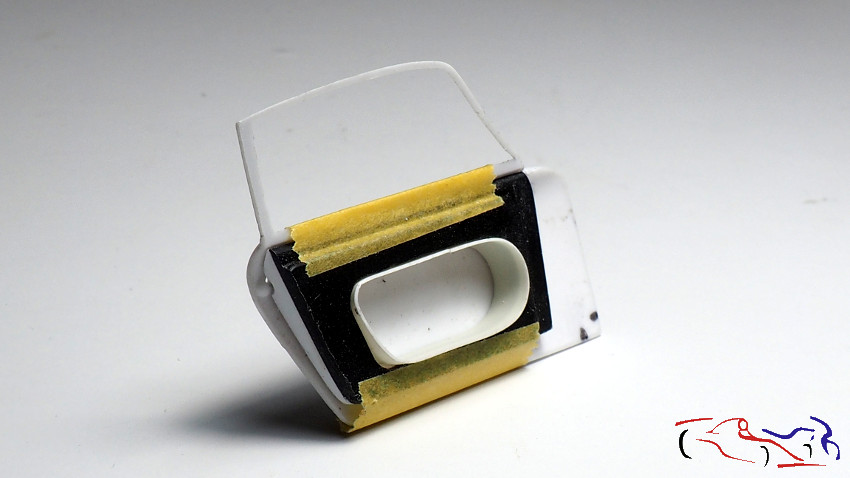
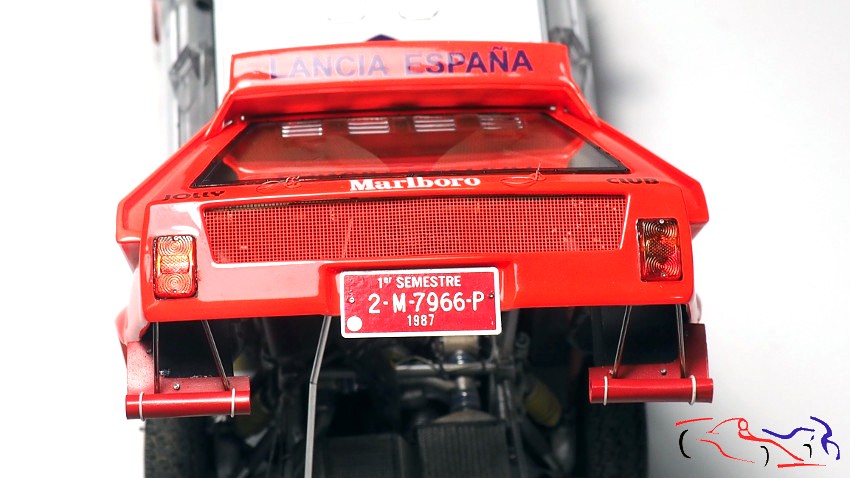
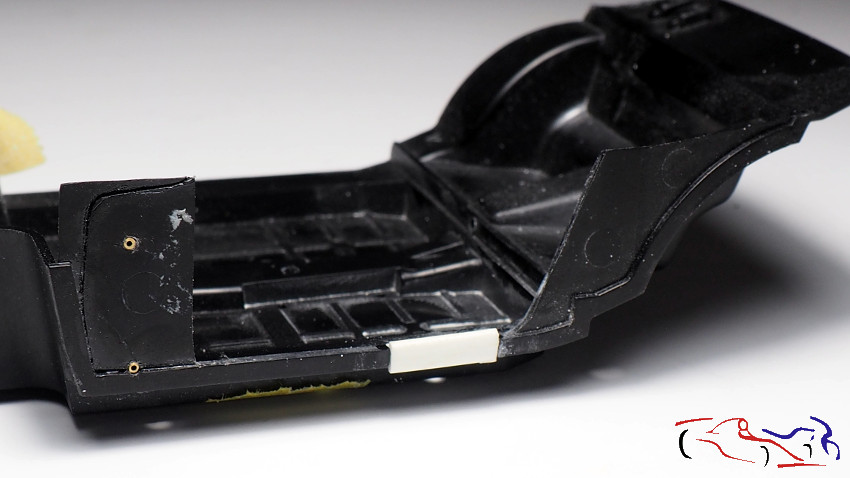
Una vez pegado el guarnecido en la puerta, podemos tapar el hueco del primer imán, y ver el nuevo imán, más pequeño, puesto en el lateral trasero de la puerta.
Once the trim has been glued on the door, we can cover the hole of the first magnet, and see the new, smaller magnet placed on the back side of the door.
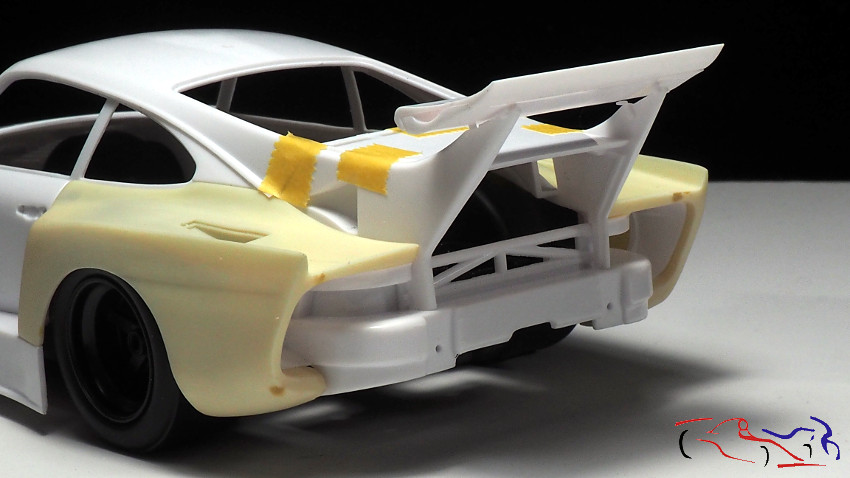
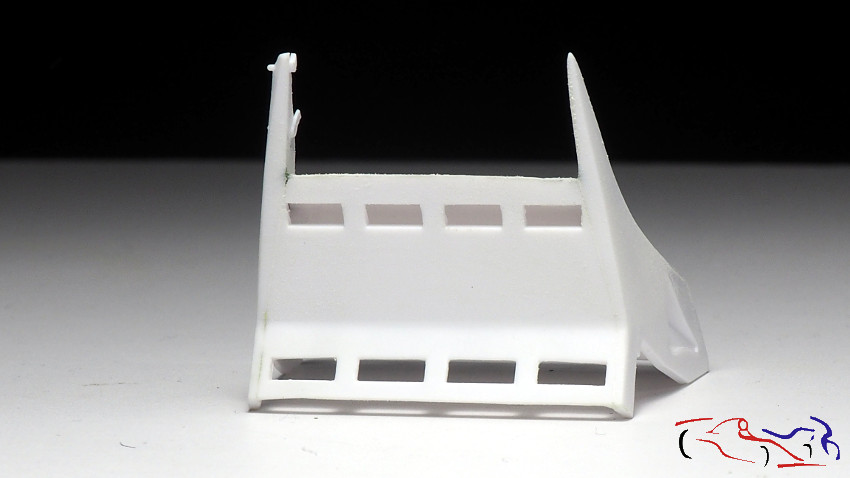
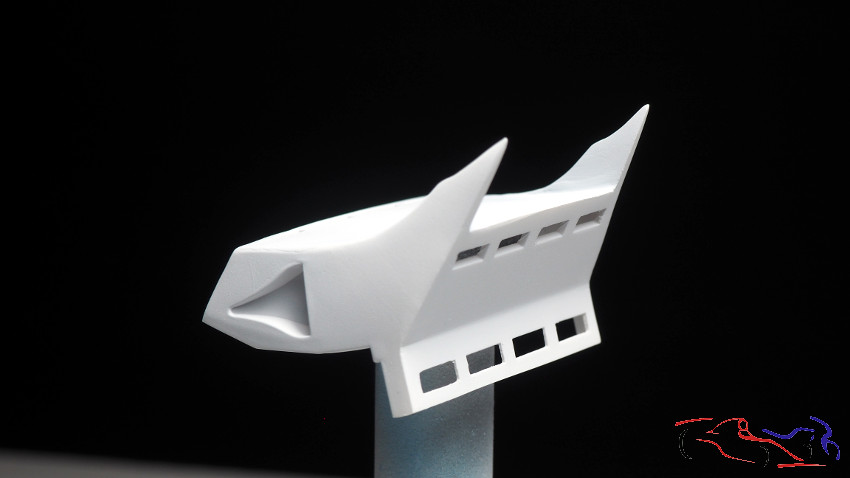
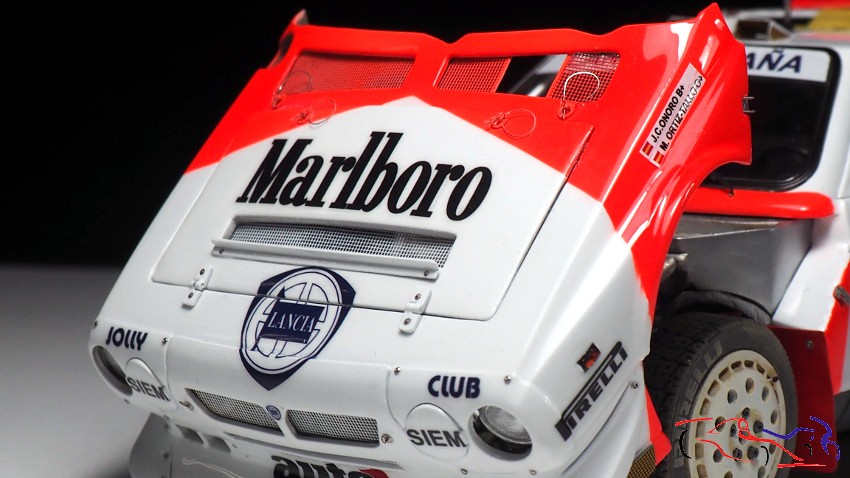
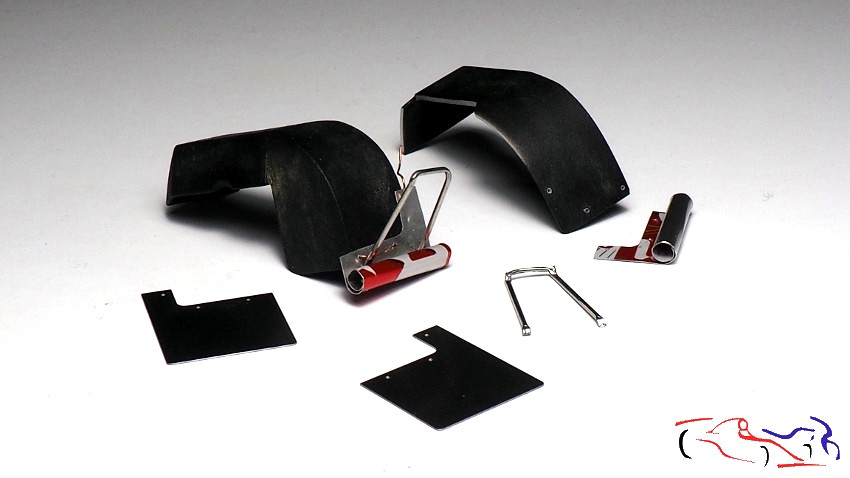
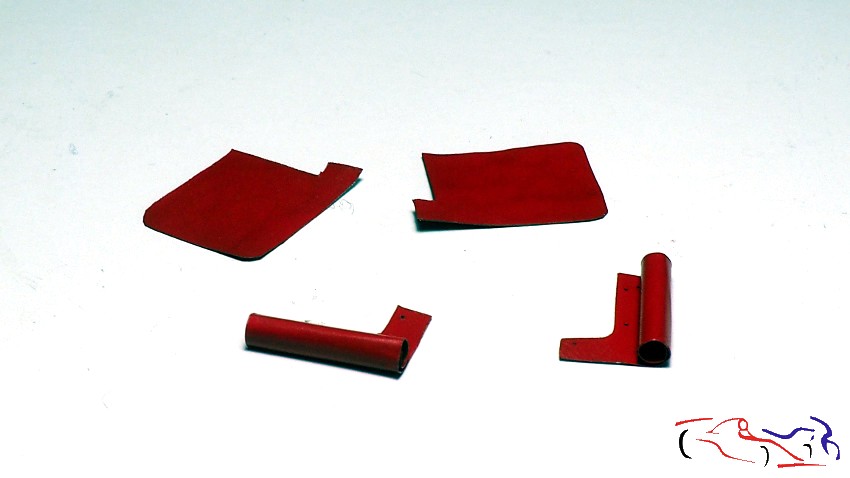
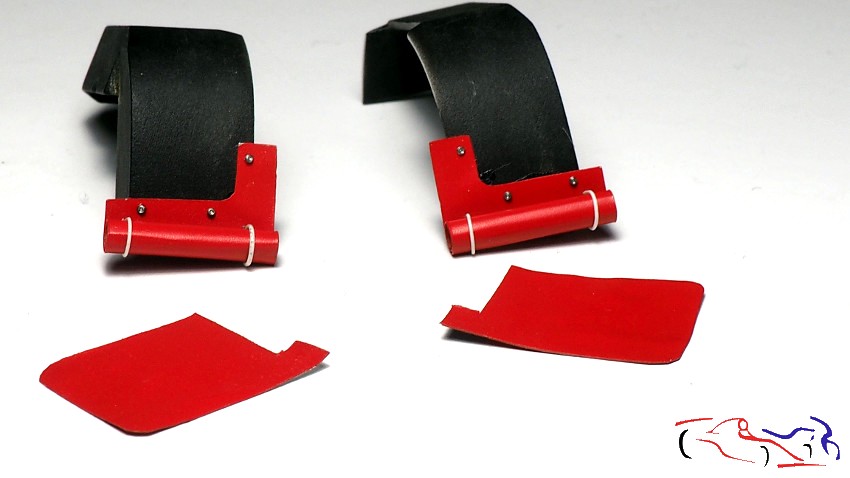
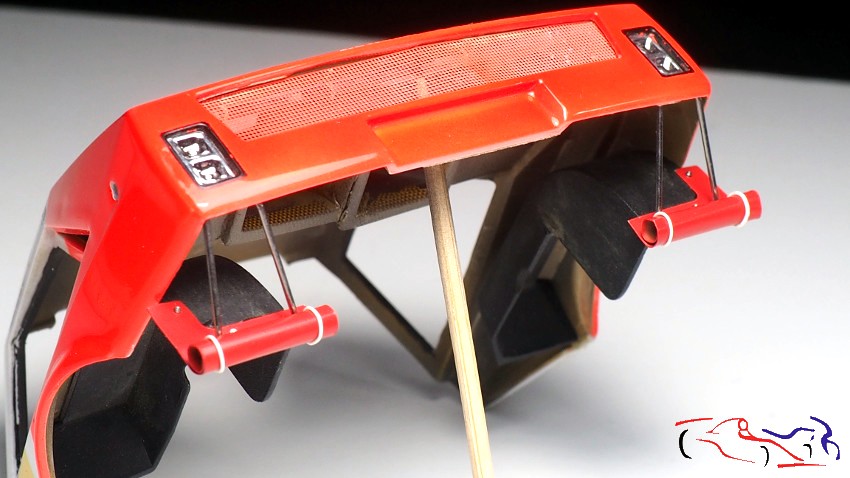
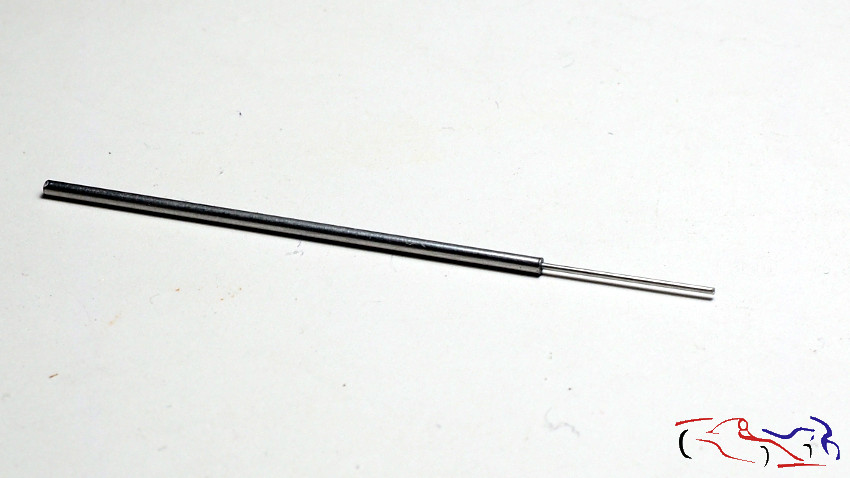
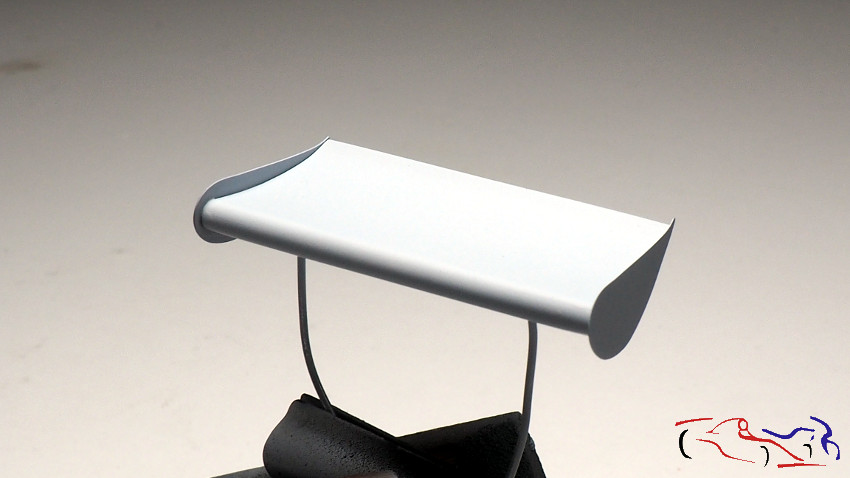
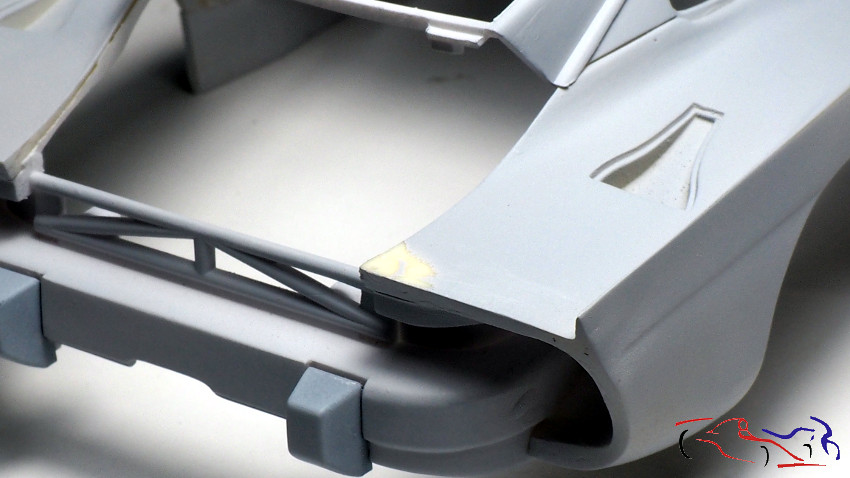
Para el alerón trasero, decido pegar los laterales de fotograbado y ponerle unos alambres por debajo en donde irán las fijaciones. Así podremos trabajarlo sin problemas…
For the rear wing, I decide to glue the photo-etched sides and put some wires underneath where the fixings will go. This way we can work it without problems…
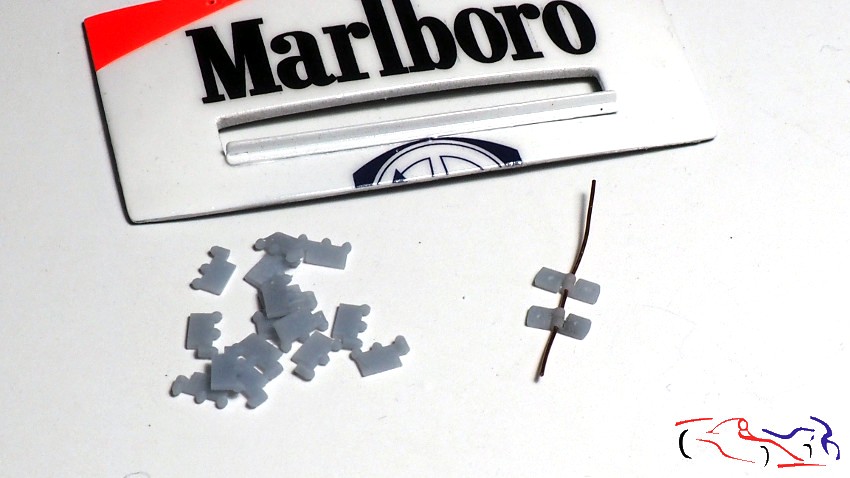
Pasamos al salpicadero, con los botones eliminados para ponerlos de metal o resina.
Pasamos al salpicadero, con los botones eliminados para ponerlos de metal o resina.
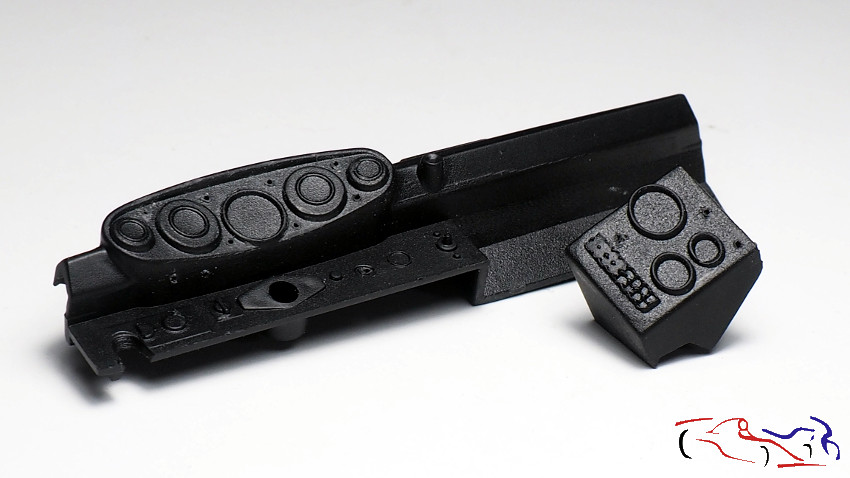
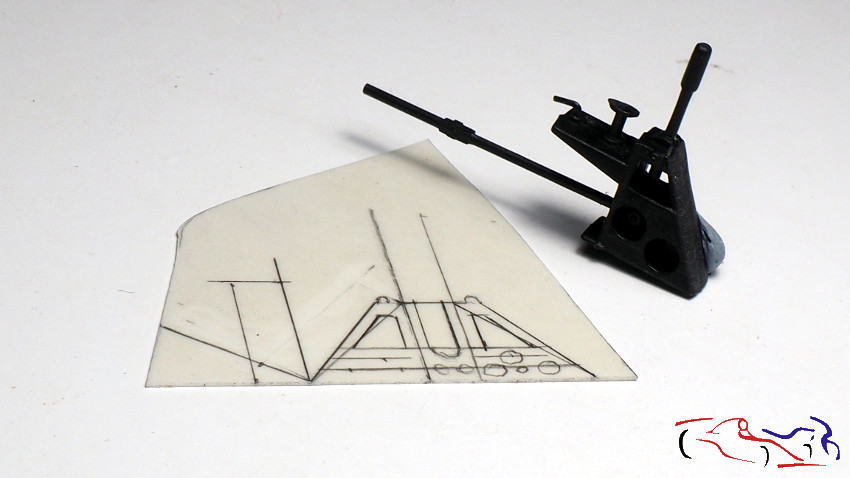
Unas piezas que requieren más detalle son la palanca de cambios y el repartidor de frenada. Al estar la puerta abierta, se va a poder ver mejor… por los que los haremos a scratch.
Some parts that require more detail are the gear lever and the brake distributor. As the door is open, you will be able to see them better… for those of us who will scratch them.
Sobre una plancha de Evergreen, hago el diseño de la nueva base de la palanca:
On a sheet of Evergreen, I make the design of the new lever base:
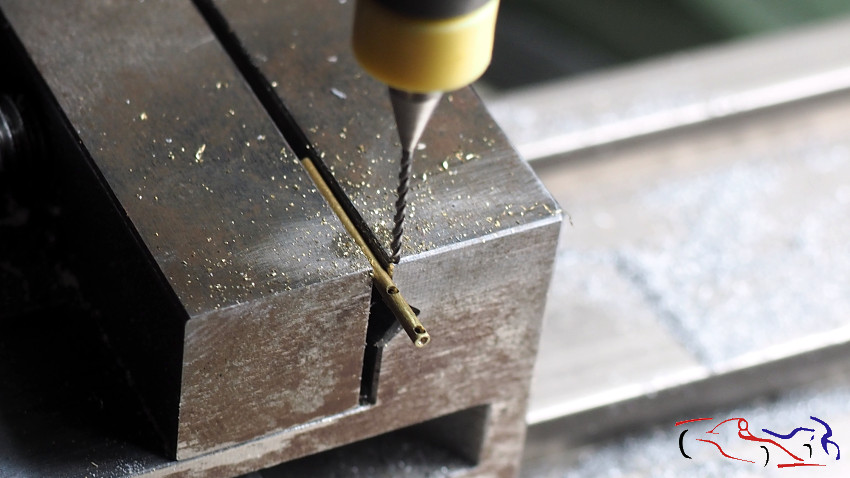
También hago agujeros sobre tubos para empalmar otros de menor tamayo perpendicularmente….
I also drill holes on tubes to join smaller ones perpendicularly ….
Y aquí está el resultado…
And here it is the result…
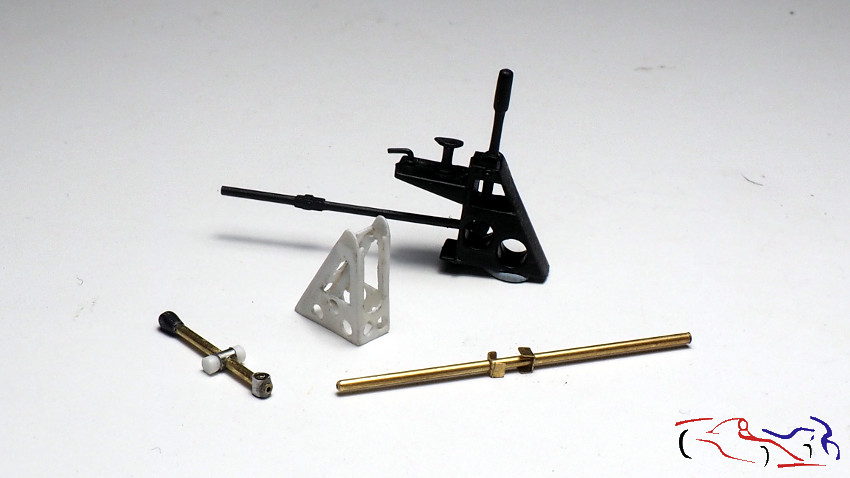
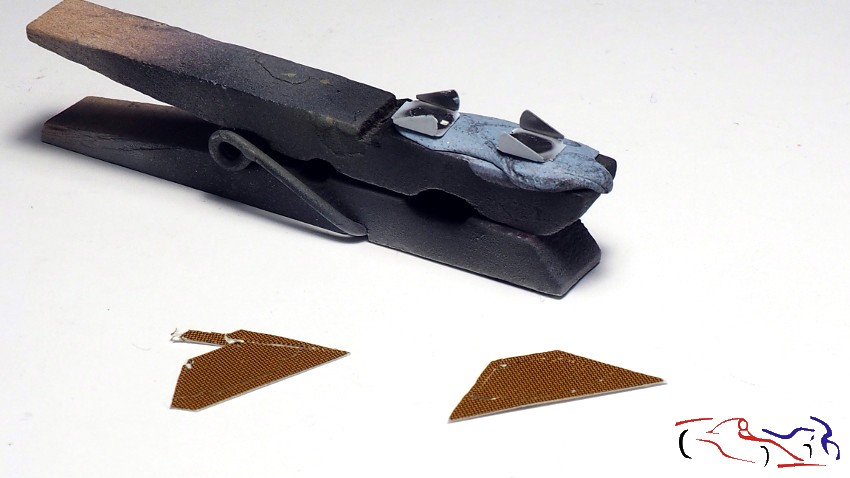
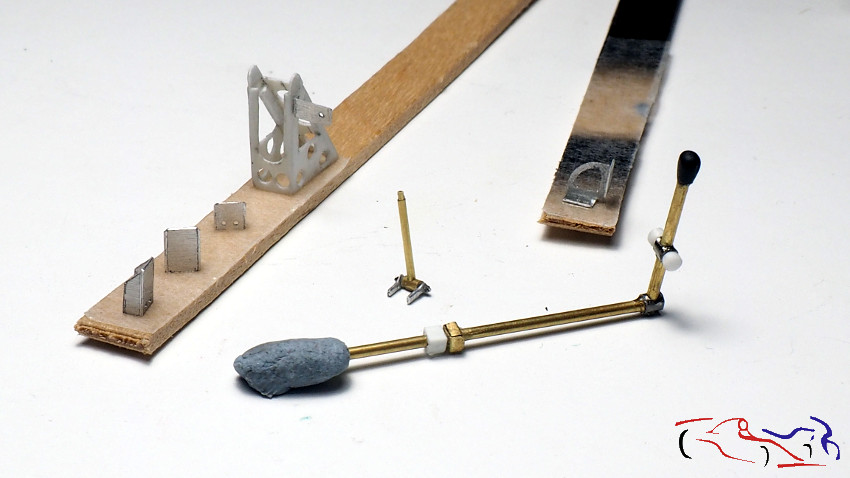
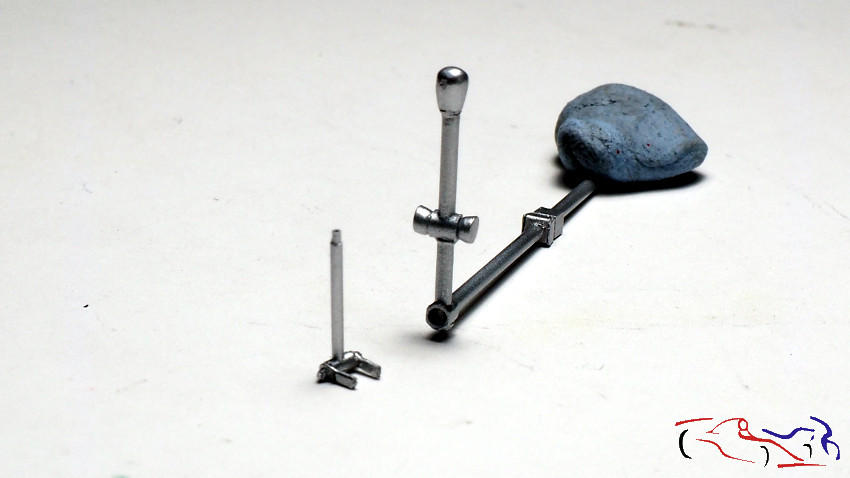
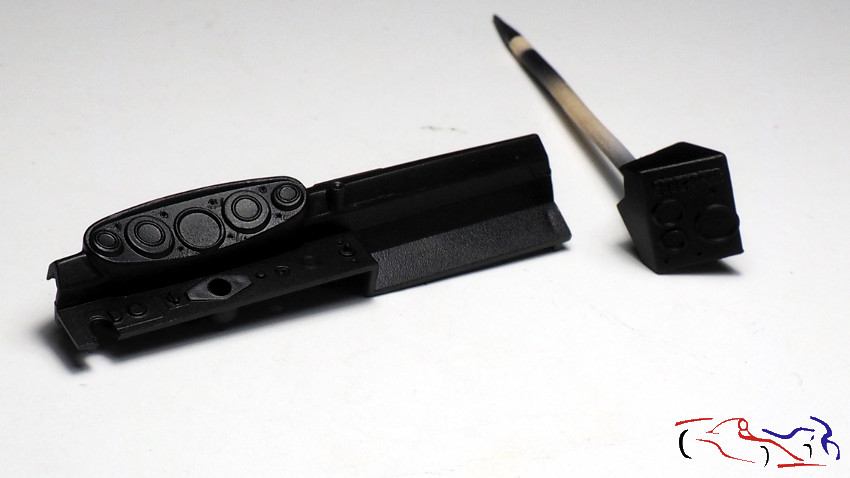
Vamos a explicar lo realizado. – La palanca de cambios. el pomo es de otro modelo, que le hice un agujero en la base para ponerle un vástago para que se coloque en el tubo vertical. Este tubo vertical tiene otro horizontal incrustado, al que le he puesto en los extremos dos trozos de plástico torneados hacia el centro, para que simule que tiene posibilidad de movimiento. Ese tubo transversal es el eje de donde la palanca de cambios bascula. En al parte inferior, tenemos otro tubo pero puesto en disposición perpendicular al de arriba, y conecta la paanca con la barra que va a la caja de cambios. Y en el medio de ésta, lleva un cardan simulado, realizado con dos laminas de latón contrapuestas, como se ve en la foto anterior. Esta palanca irá puesta en la pieza d eplástico que hay en la tablilla de madera. – El repartidor de frenado. Untubo vertical, con otro en su interior, que en la parte inferior, atraviesa otro tubo más ancho horizontalmente. En cada extremo, he puesto dos trozos de tubo de aluminio, a los que he aplastado el extremo, redondeándolo y haciéndoles un agujero para que un tornillo les atraviese y fije. Estos dos trozos d ealuminio, conectarán con los cables que van al repartidos de frenada. Esta palanca, irá colocada entre las otras piezas de metal que están sobre las maderas. En concreto, la de la derecha es la que en realidad tiene los pasos para fijar la palanca.
Let’s explain what has been done. – The gear lever. The knob is from another model, which I made a hole in the base to put a rod to be placed in the vertical tube. This vertical tube has another horizontal tube embedded in it, to which I have put two pieces of plastic turned towards the centre at the ends, to simulate the possibility of movement. This transversal tube is the axis where the gear lever tilts. In the lower part, we have another tube but placed perpendicular to the one above, and it connects the lever with the rod that goes to the gearbox. And in the middle of it, there is a simulated cardan shaft, made with two opposing brass plates, as shown in the previous photo. This lever will be placed on the plastic piece on the wooden board. – The brake distributor. A vertical tube, with another one inside it, which in the lower part, crosses another wider tube horizontally. At each end, I have put two pieces of aluminium tube, which I have flattened the end, rounding it and making a hole for a screw to go through and fix them. These two pieces of aluminium will be connected to the cables that go to the braking system. This lever will be placed between the other metal pieces that are on the wood. Specifically, the one on the right is the one that actually has the steps to fix the lever.
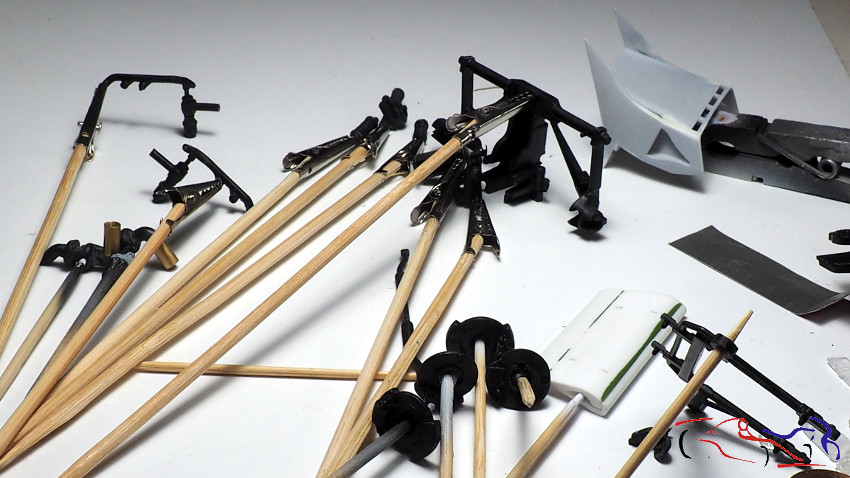
Y aquí están, una vez imprimados y pintados con Metal Aluminio de Zero, y junto a las piezas originales. Faltan los remaches de fotograbado en las zonas de giro.
And here they are, once primed and painted with Zero’s Metal Aluminium, and next to the original parts. The photoetched rivets are missing in the pivot areas.

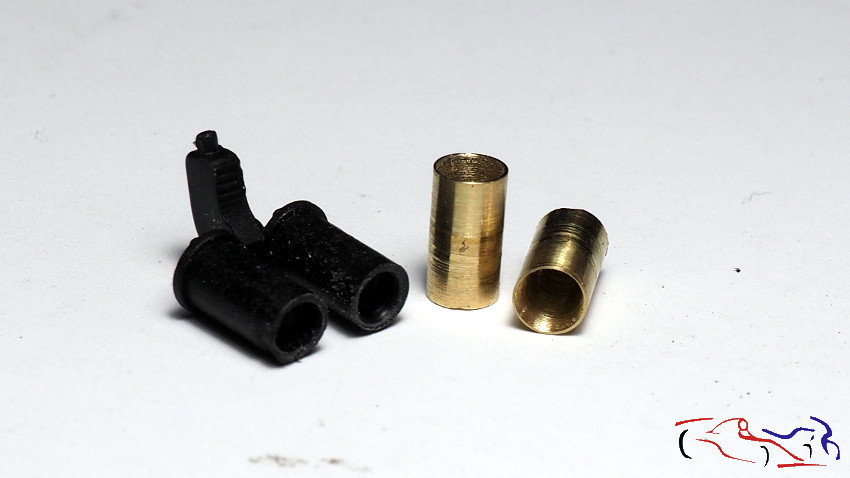
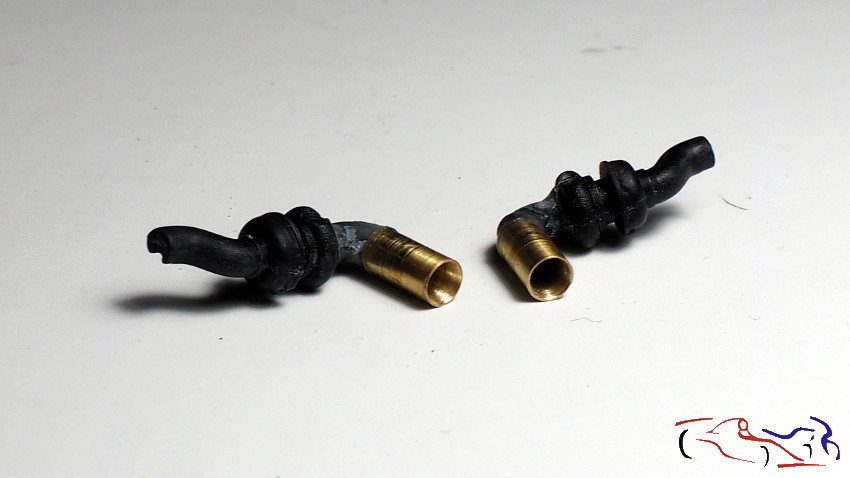
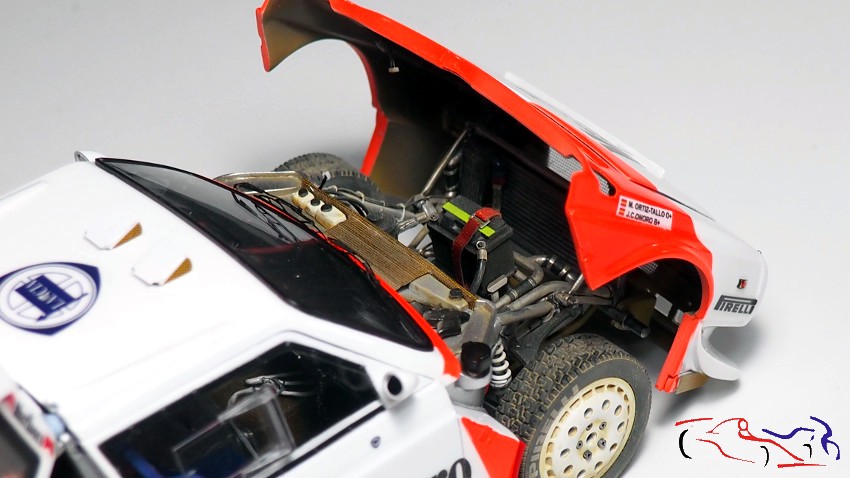
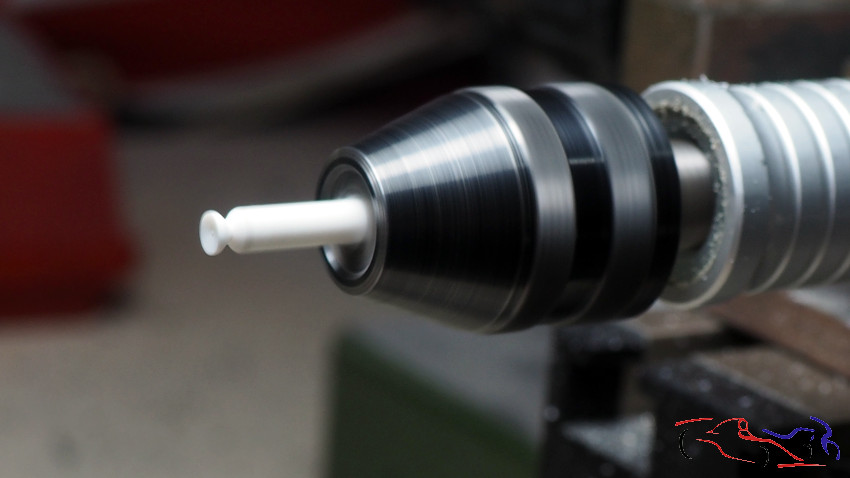
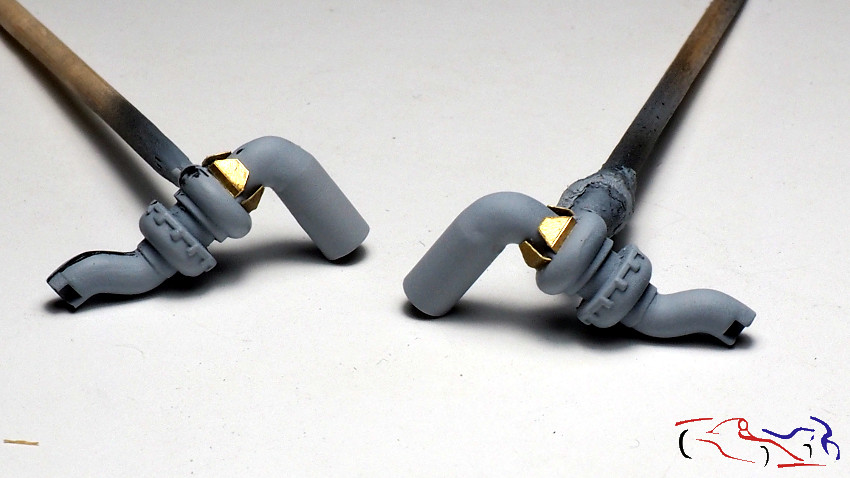
Otra pieza que hay que hacer es un tirador metálico que tienen todos los Porsche (936, 934, 935, 956, 962), que tiene dos mangueras que van hacia el motor, y desconozco su motivo. Para hacerla, ponemos una varilla de plástico en el minitaladro, y a darle forma con la cuchilla, limas y lijas!!
Another part to be made is a metal handle that all Porsche’s have (936, 934, 935, 956, 962), which has two hoses that go towards the engine, and I don’t know why. To make it, put a plastic rod in the mini-drill, and shape it with the blade, files and sandpaper!
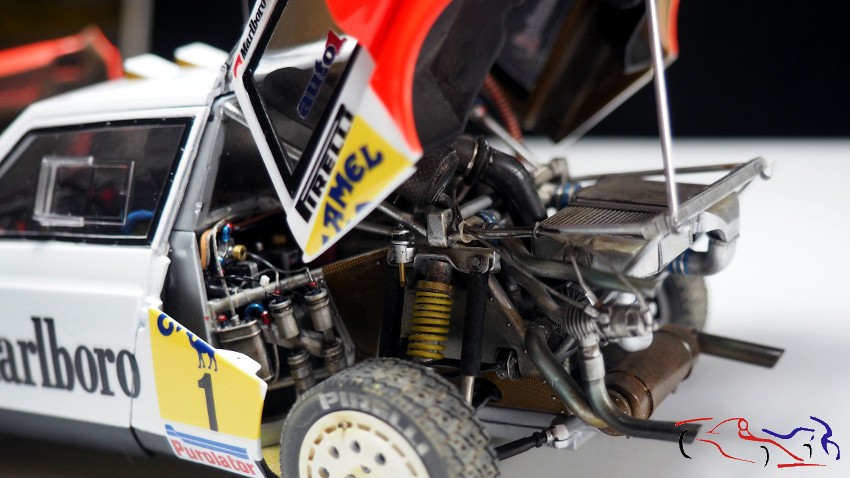
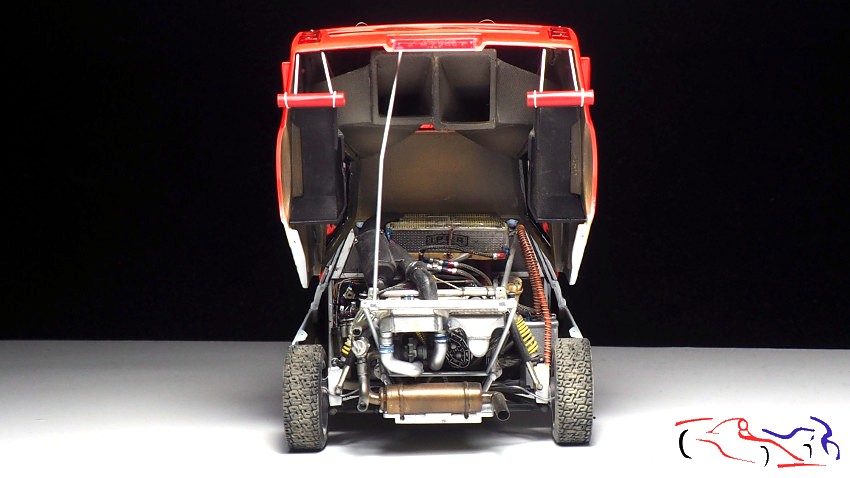
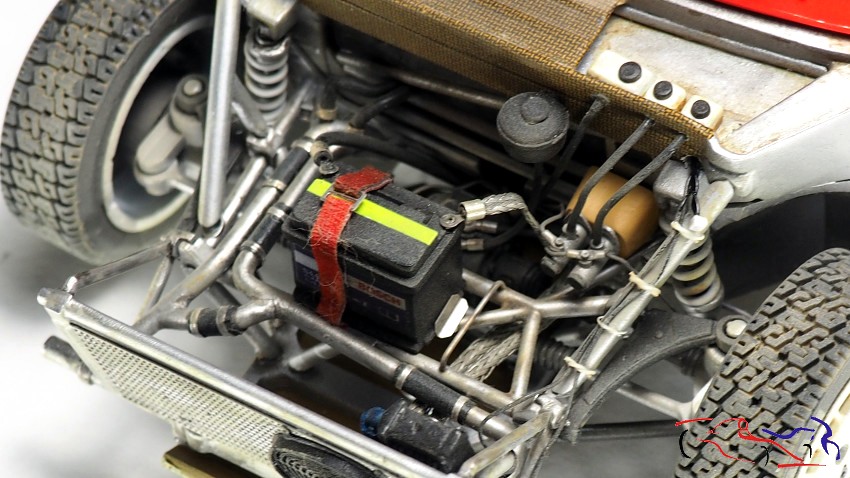
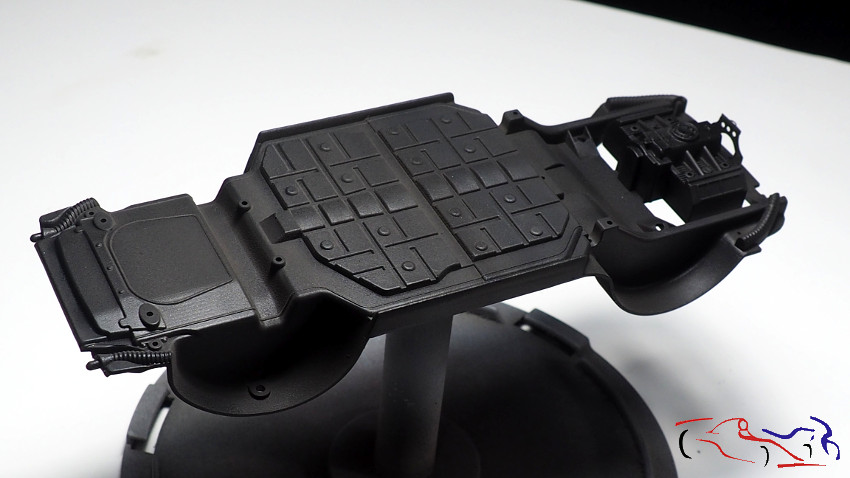
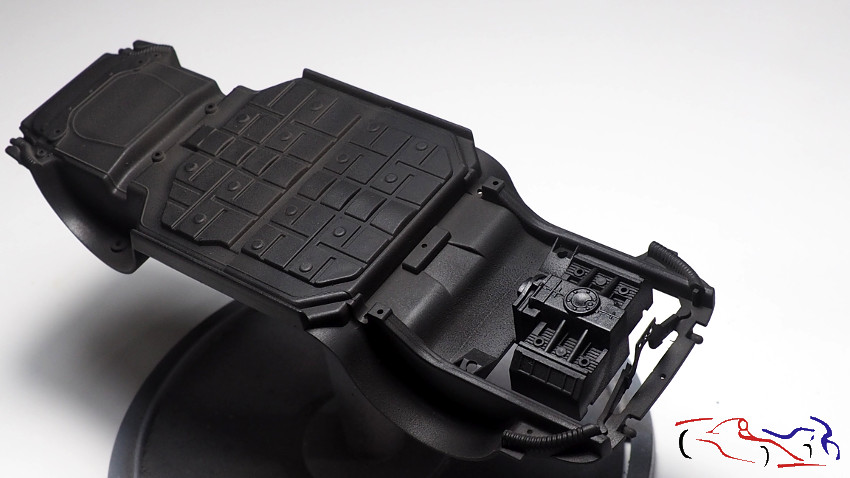
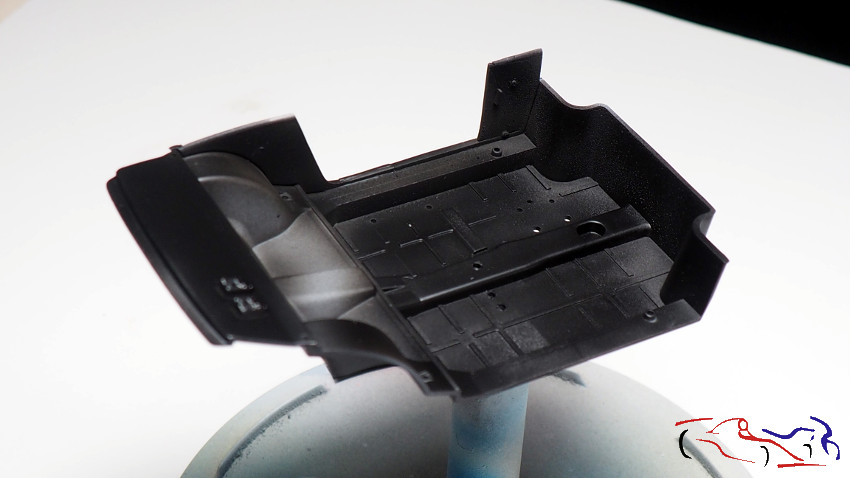
Pasamos al chasis, que pintamos con negro semi mate de Zero. decir que al probarlo, he visto que la pintura estaba un poco granulosa, como la texturizada, y he pensado que le podía venir bien, incluso después, tiene como ciertos rastros marrones…..¿?:
We moved on to the chassis, which we painted with semi-matt black from Zero. I have to say that when I tested it, I saw that the paint was a bit grainy, like the textured one, and I thought it could be good for it, even afterwards, it has some brown traces …..¿?
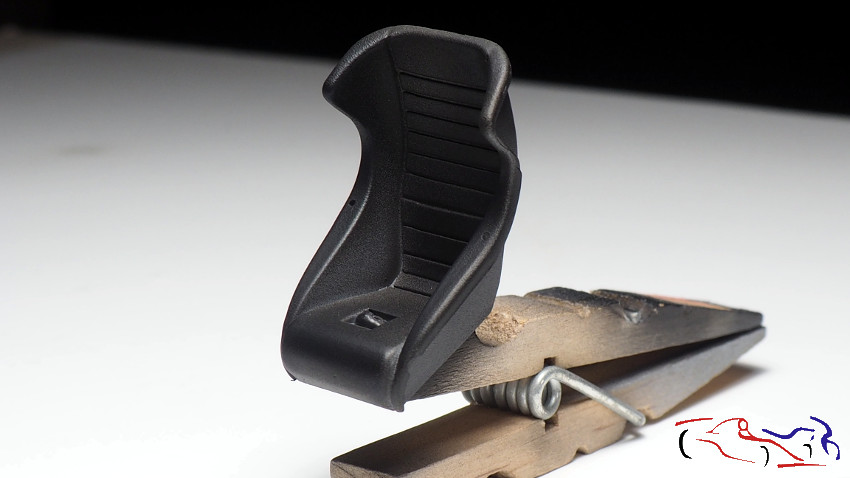
Pero para el habitáculo, asiento y salpicadero, he usado otra pintura semimate, también de Zero pero en buenas condiciones!!
But for the cabin, seat and dashboard, I used another semi-matt paint, also from Zero but in good condition!!!
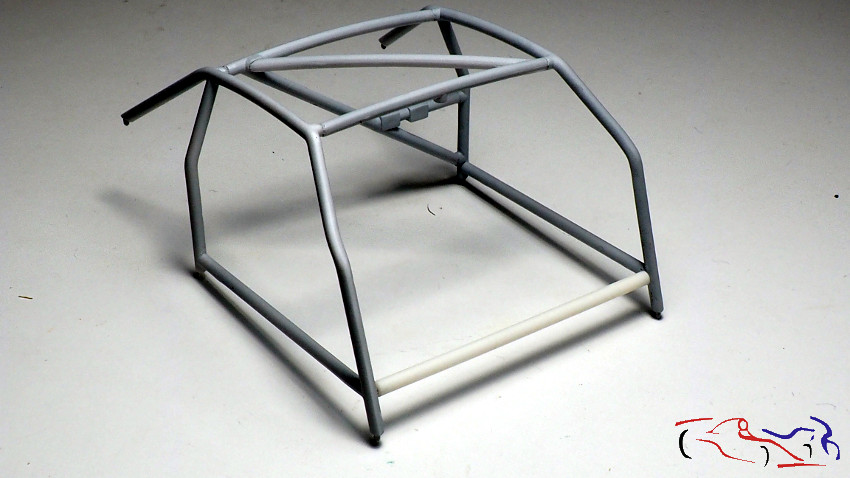
Ahora pasamos al arco de seguridad, al que después de pegado, le añado la típica barra horizontal que llevan todos los Porsche delante del piloto y debajo del salpicadero. Se fija con unos pernos metálicos que le he practicado:
Now we move on to the roll bar, to which, after gluing, I add the typical horizontal bar that all Porsche cars have in front of the driver and under the dashboard. It is fixed with some metal bolts that I have made:
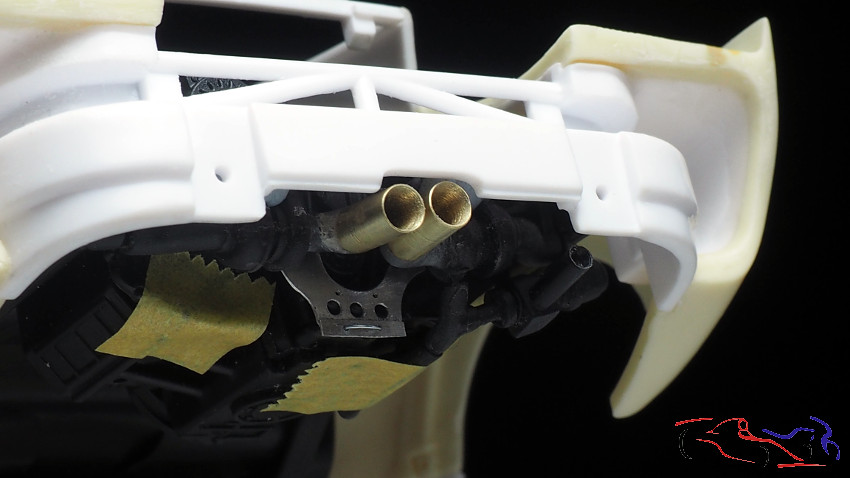
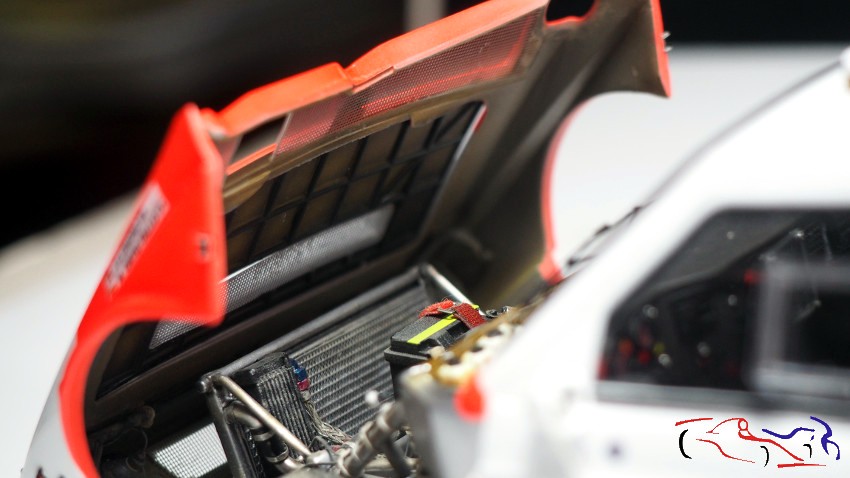
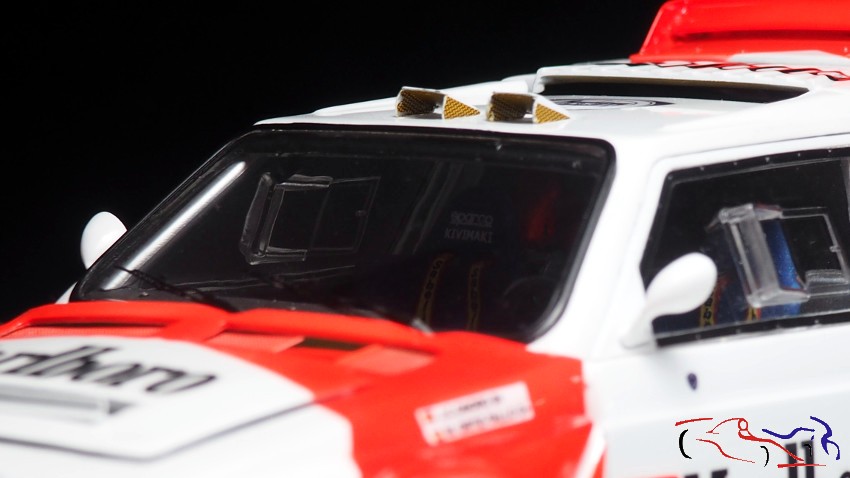
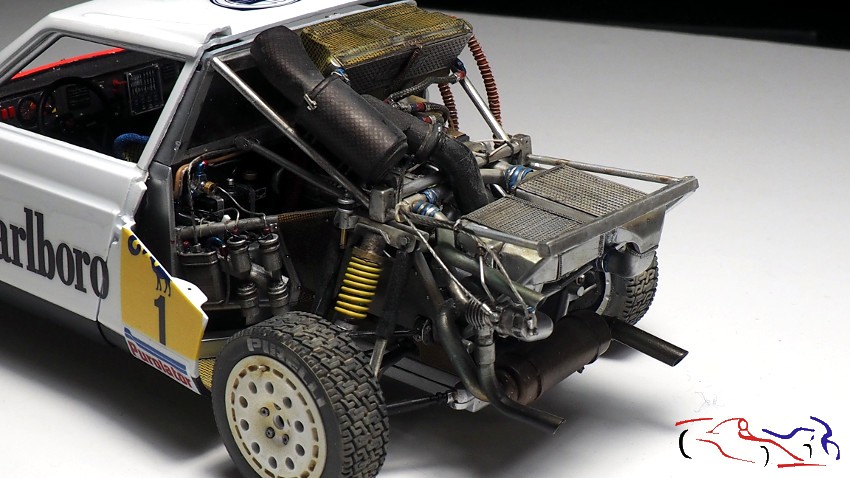
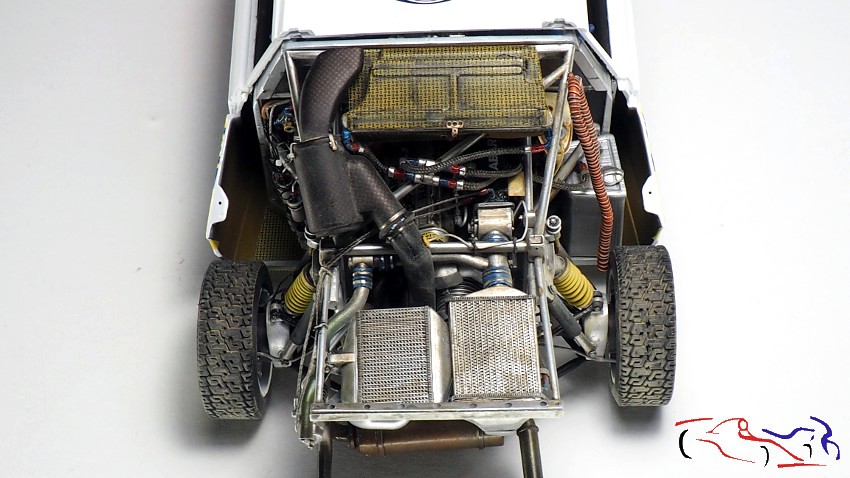
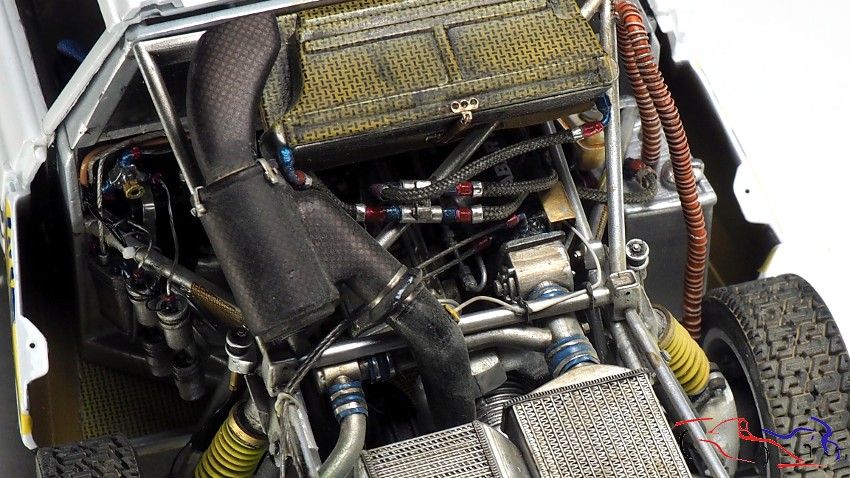
Mas detalles, en esta caso en los turbos: les faltaba esas plaquitas de latón que le he añadido!
More details, in this case on the turbos: they were missing those little brass plates that I have added!
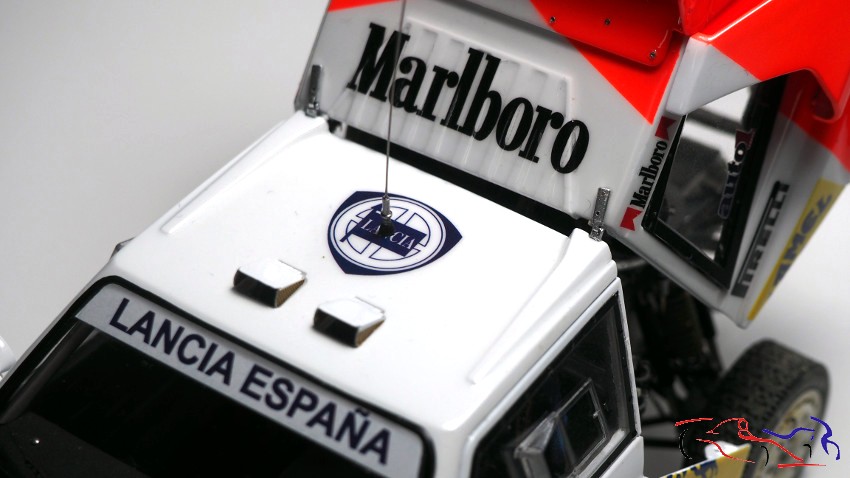
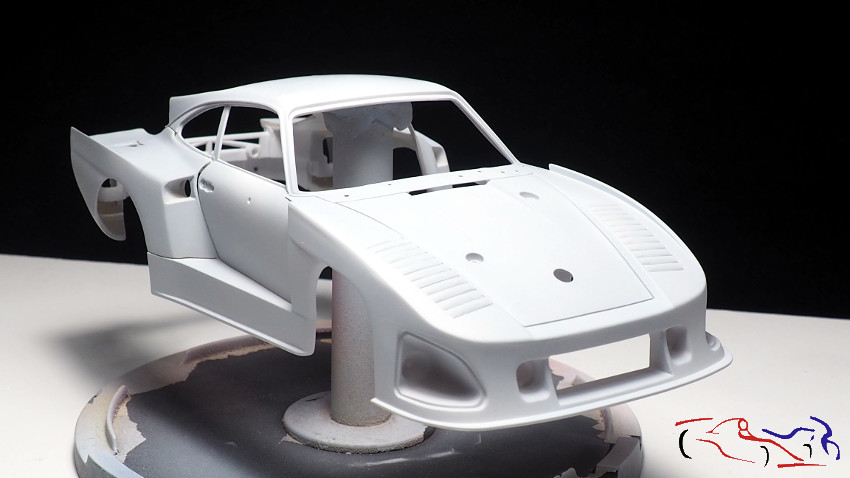
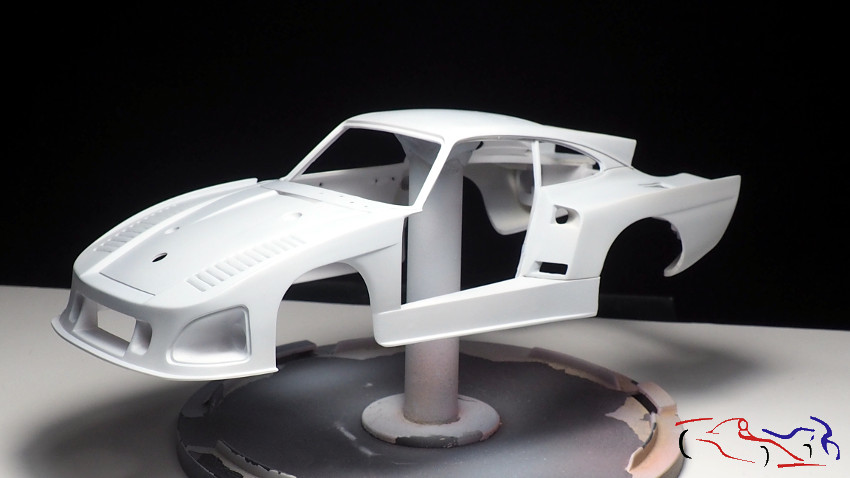
Y como ya he imprimado y pintado algunas piezas, como no iba a estar la carrocería en ese proceso!! Y después de la primera mano, se han tenido que retocar algunos detalles….
And as I have already primed and painted some parts, how could the bodywork not be in the process! And after the first coat, some details had to be retouched….
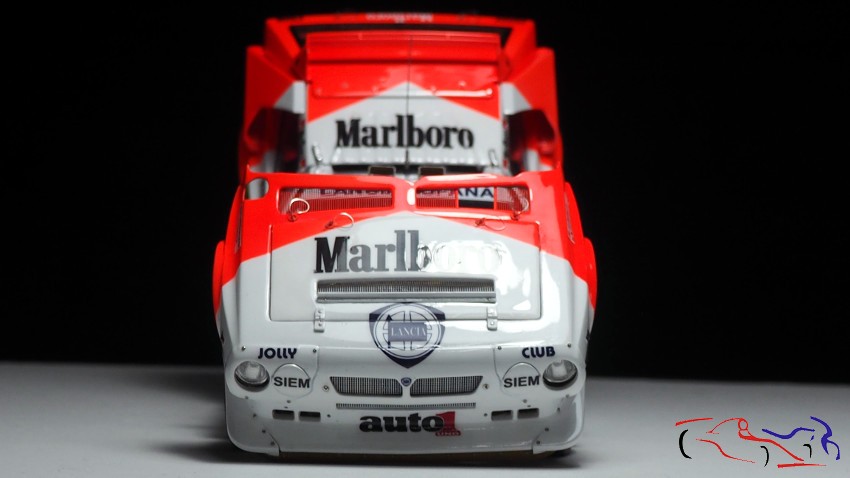
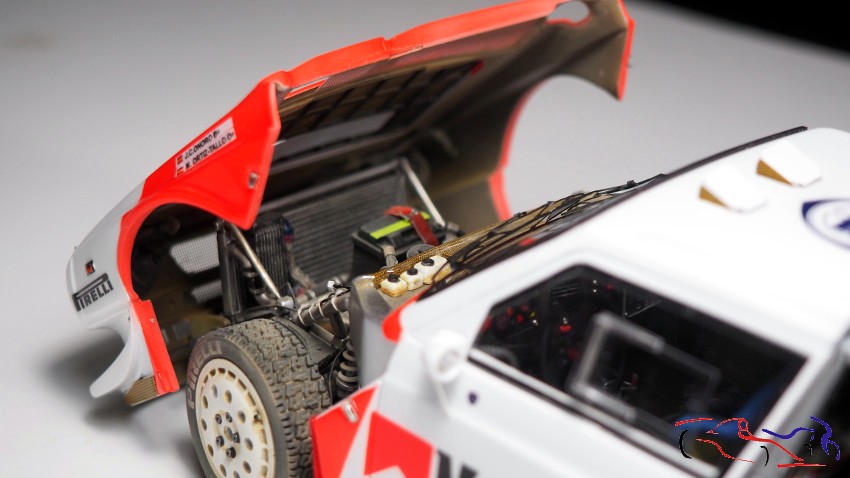
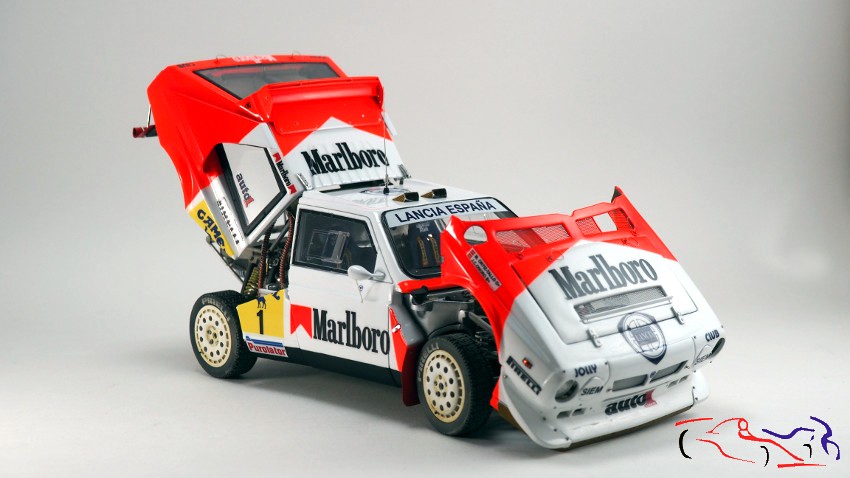
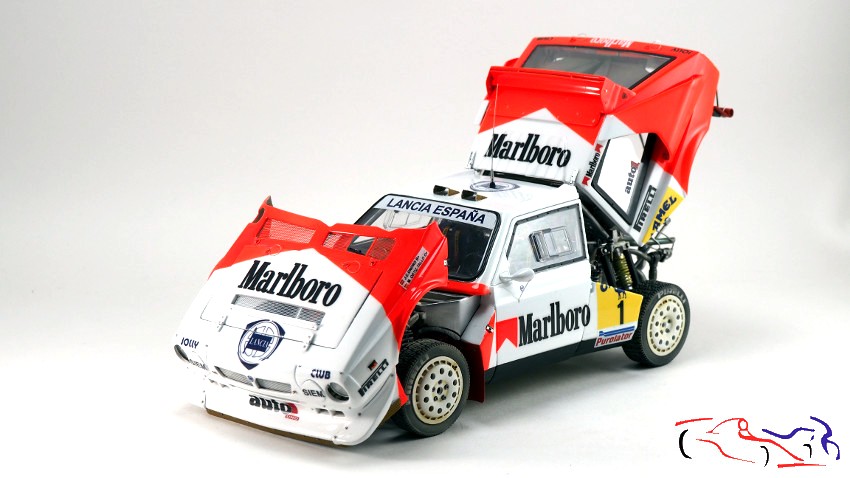
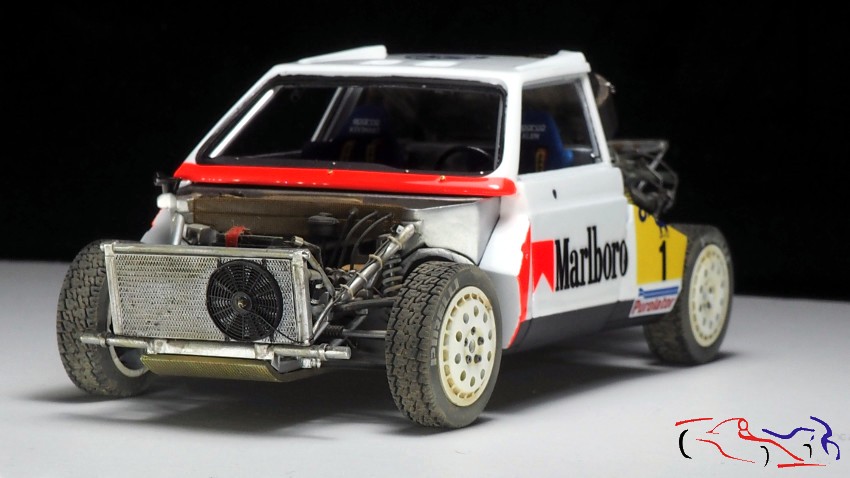
….para terminar la carrocería con tres manos de imprimación Gravity Spain!!
.….for finishing, the body with 3 layers of Gravity Spain primer!!
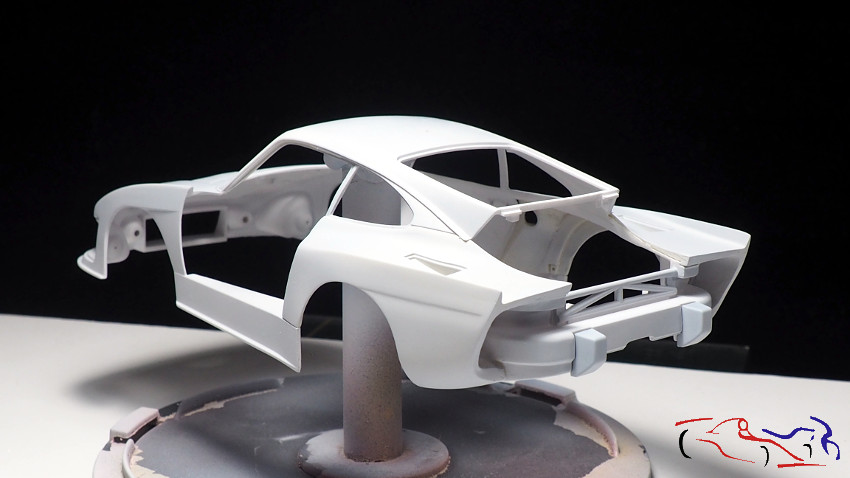
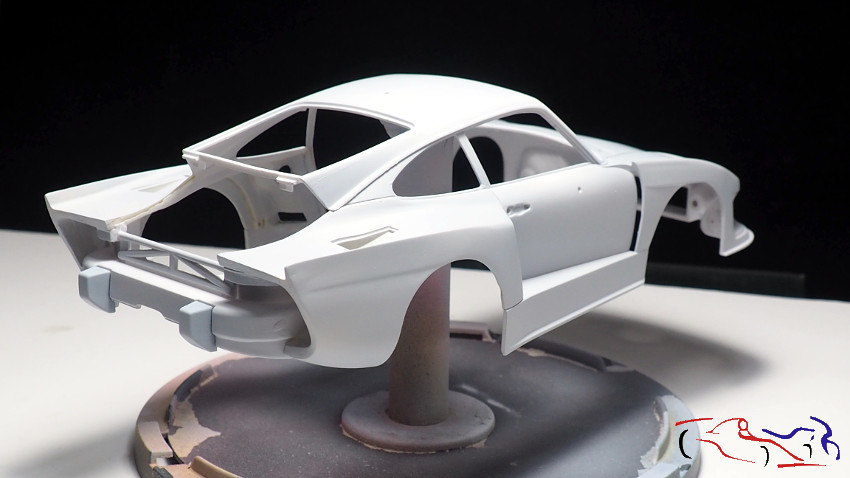
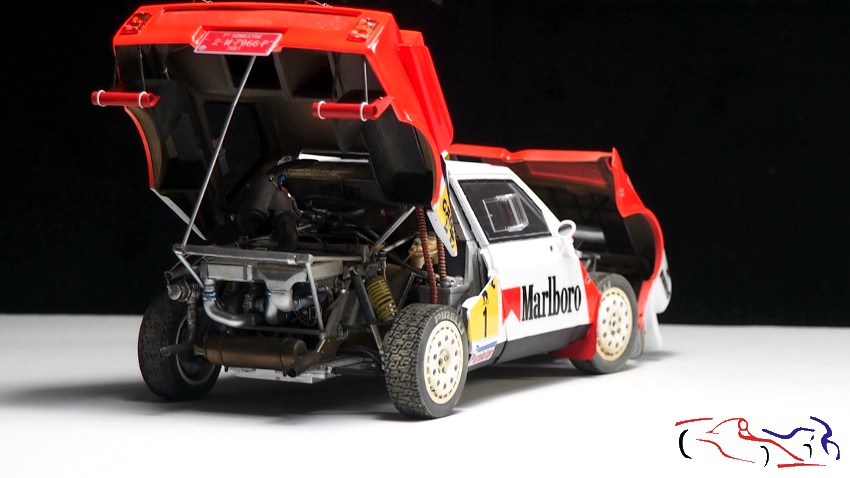
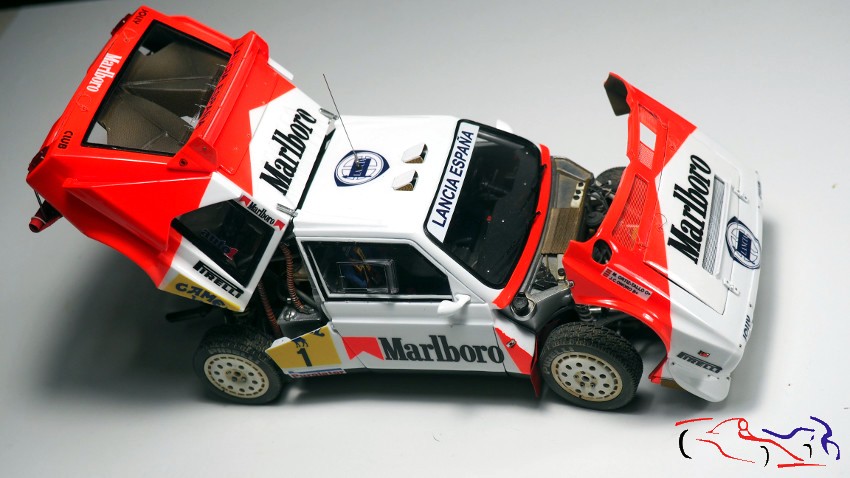
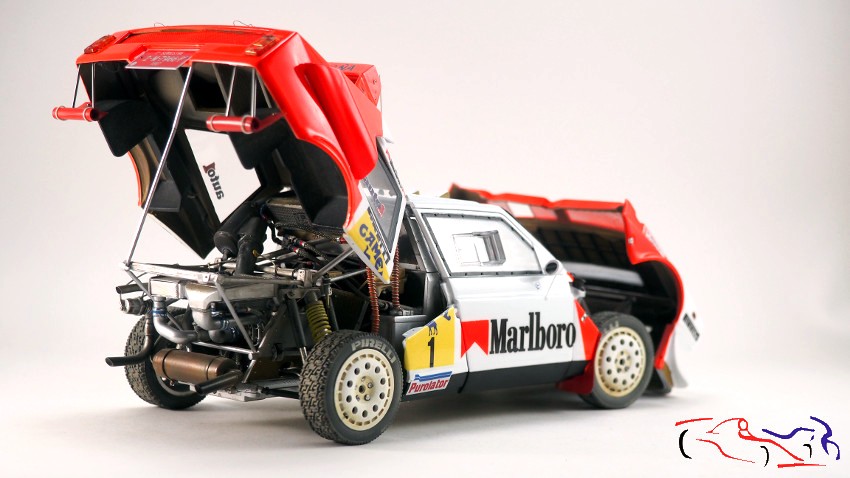
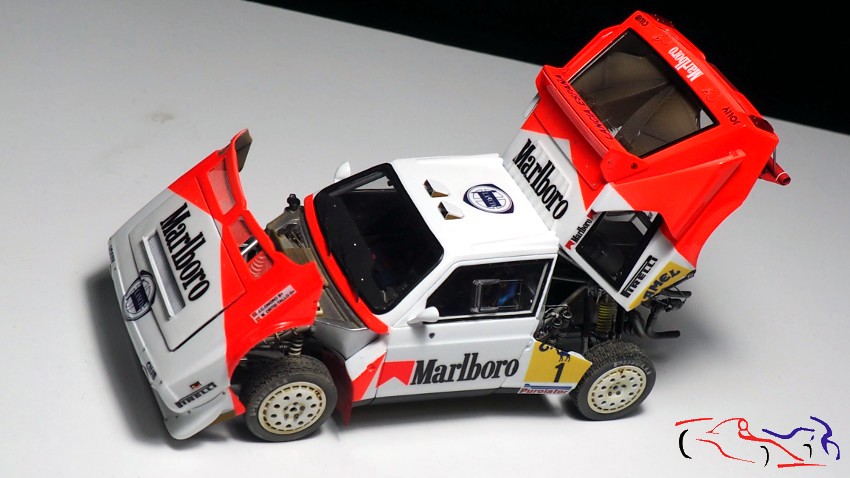
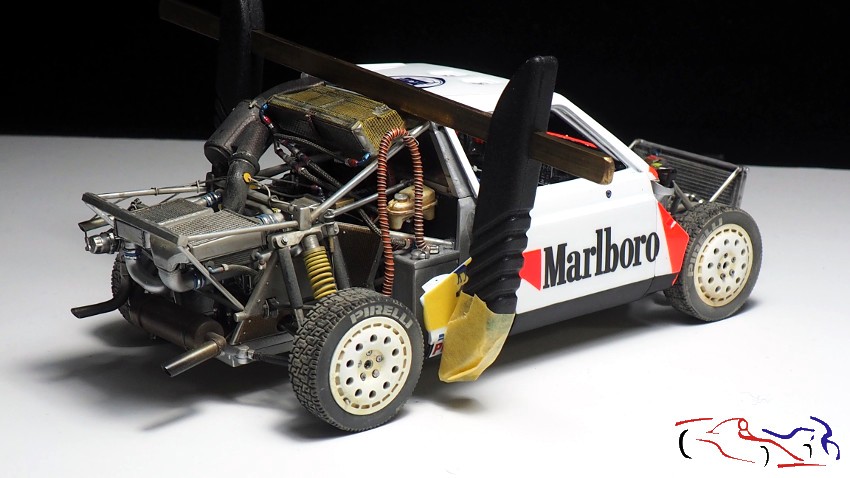
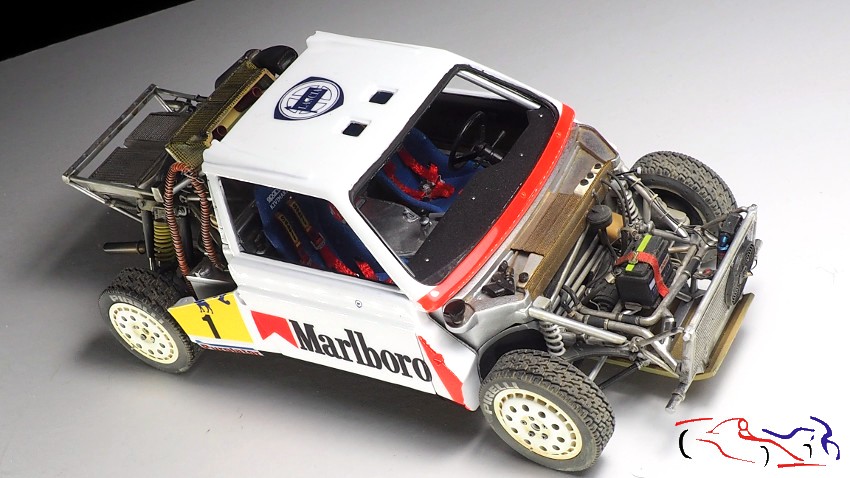
Y ya, el siguiente paso será empezar a dar color y pegar piezas!! Gracias por ver y comentar!!
And now, the next step will be to start colouring and gluing the pieces! Thanks for watching and commenting!