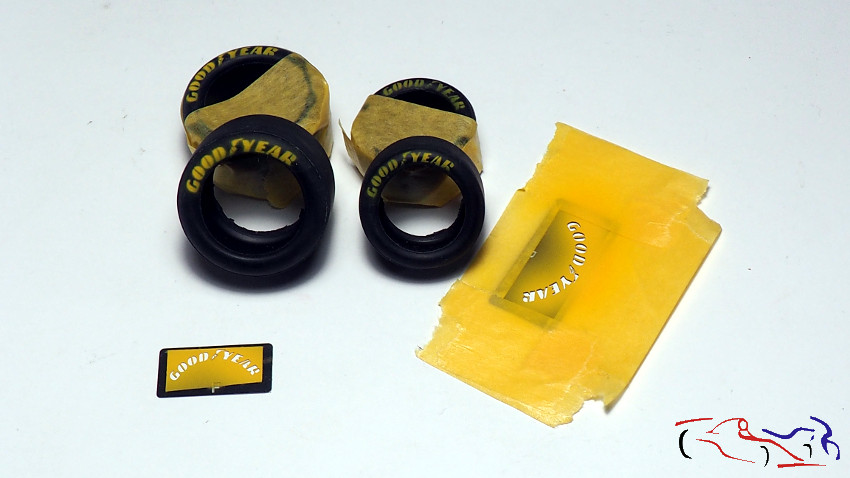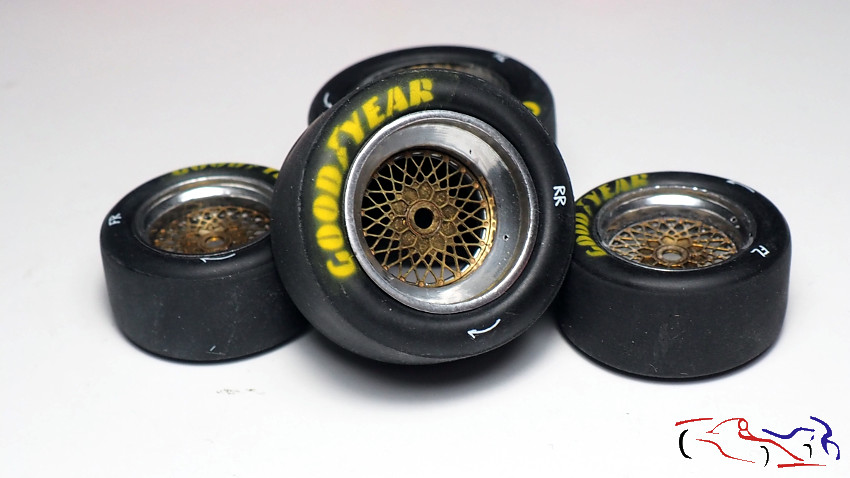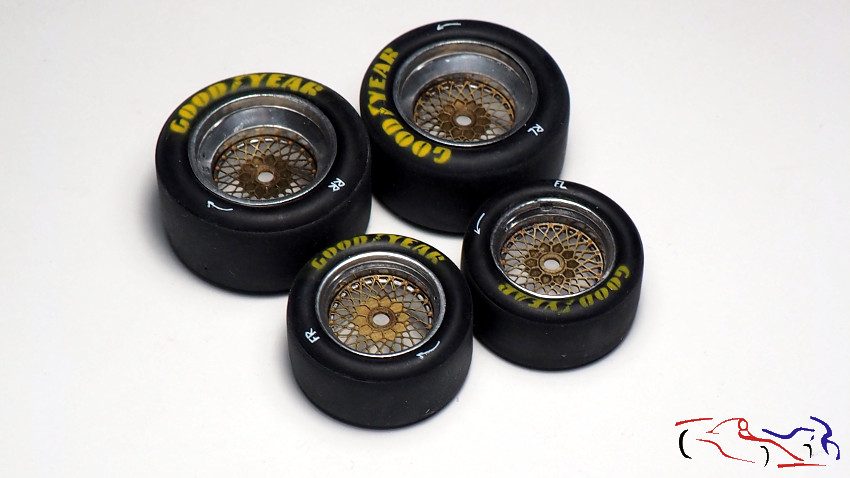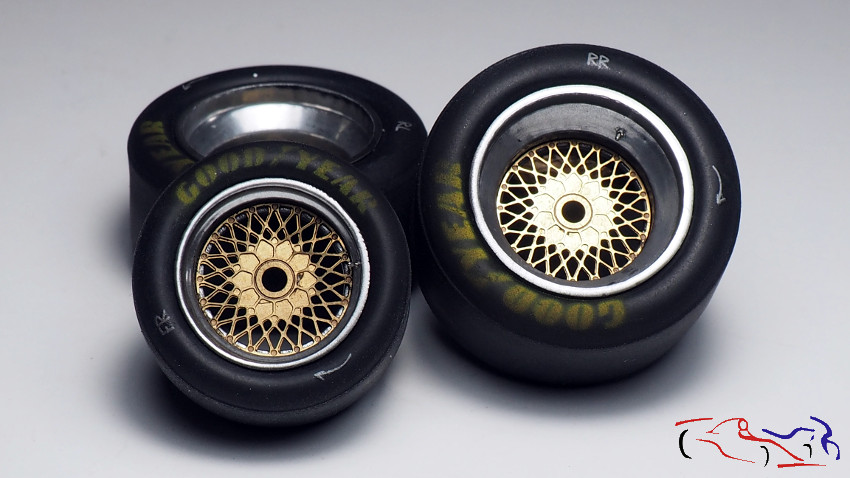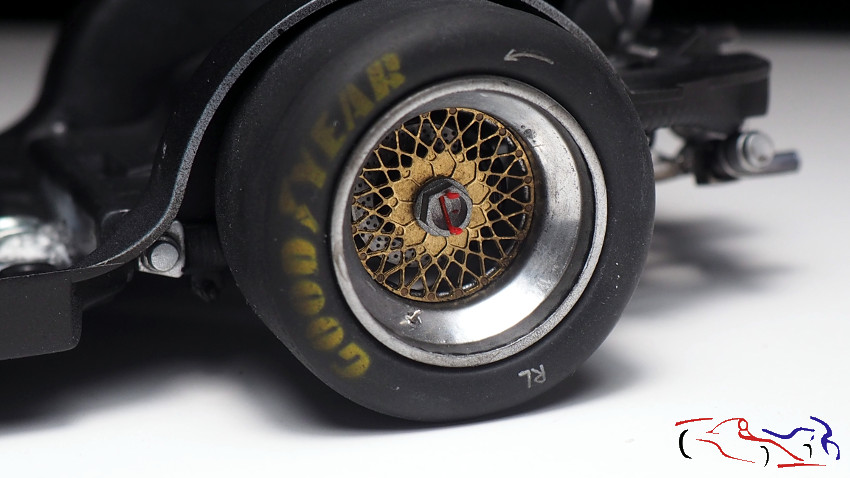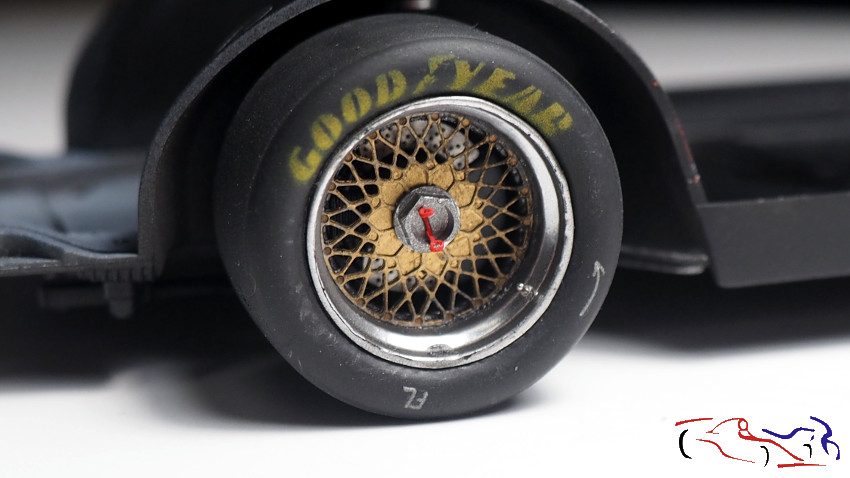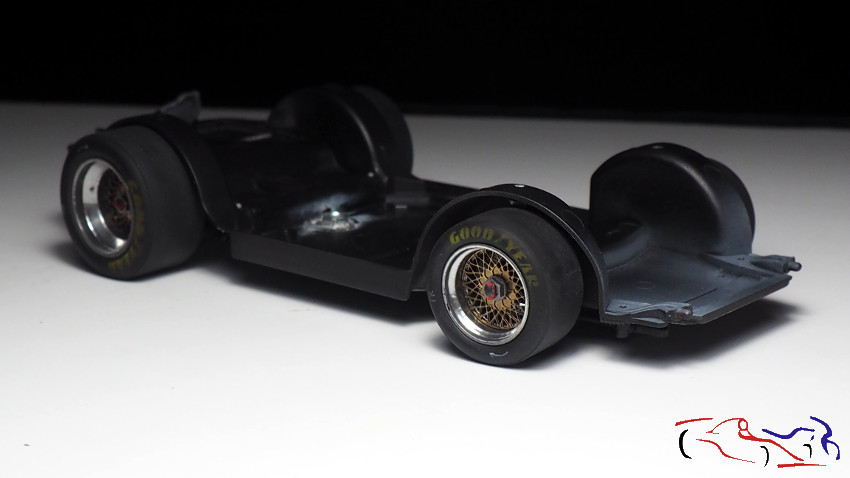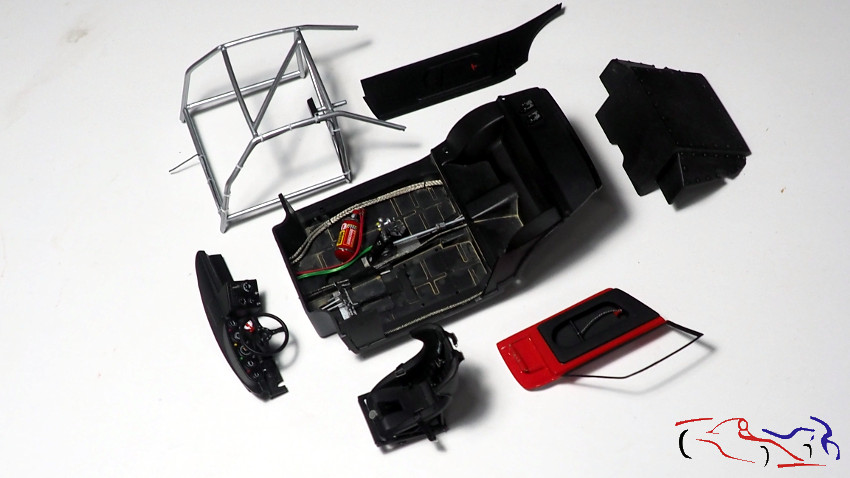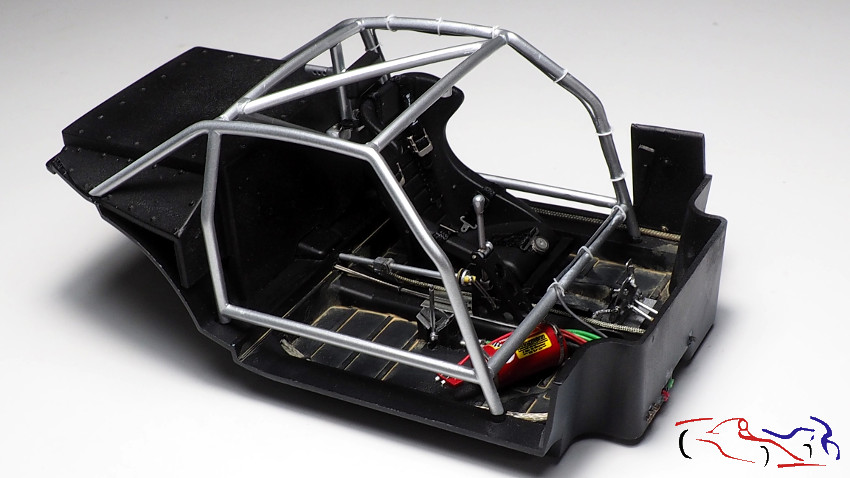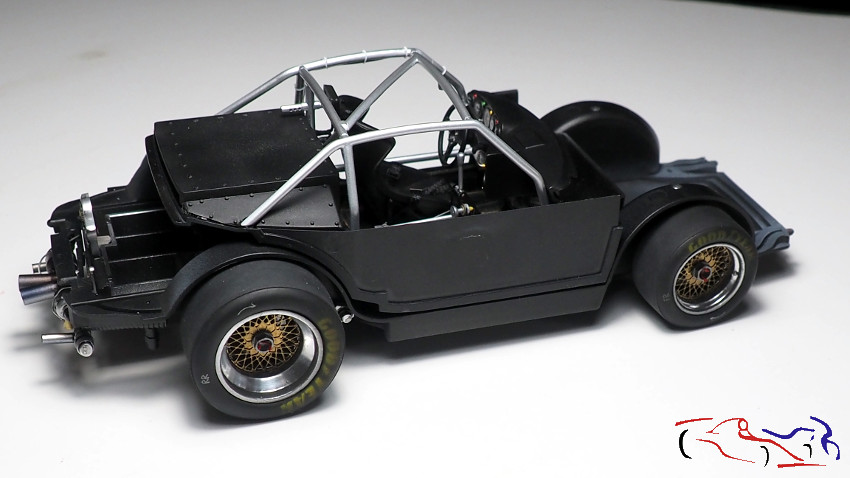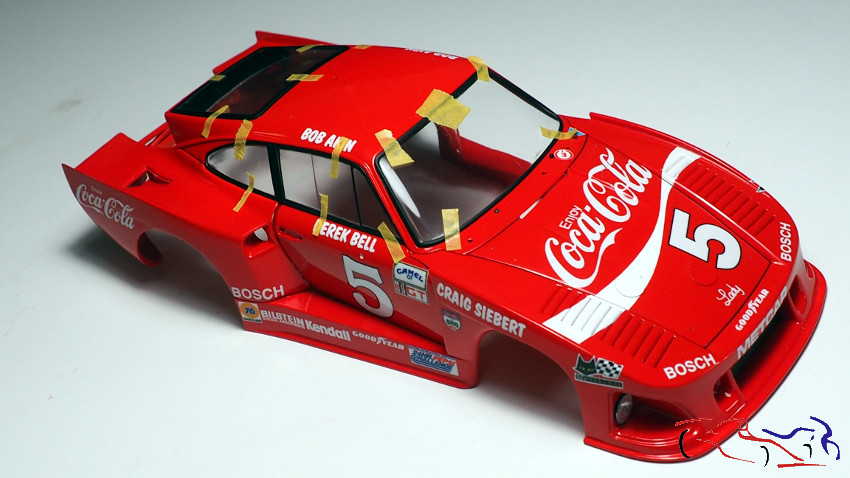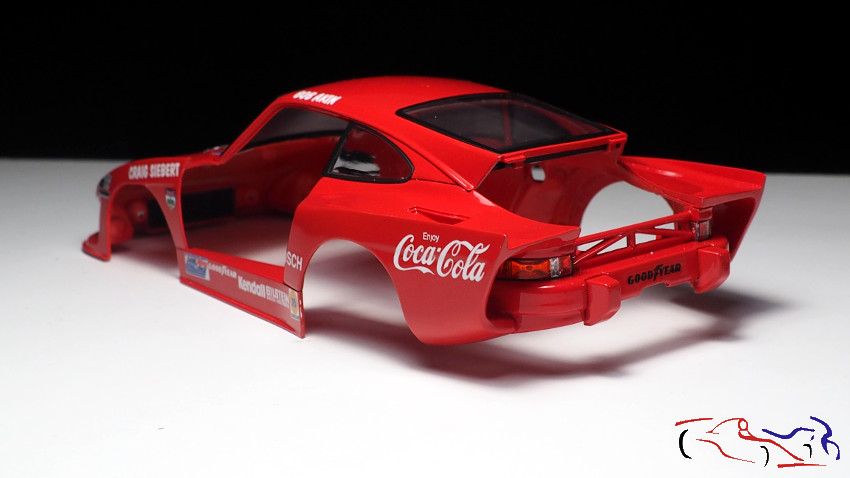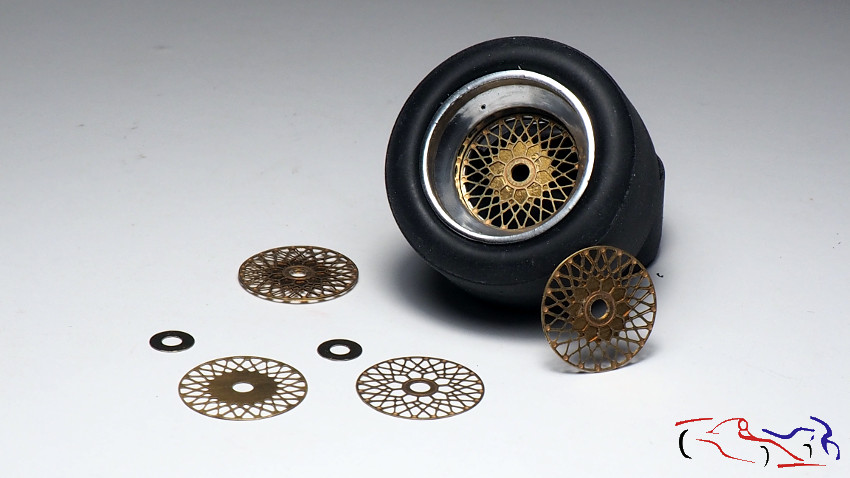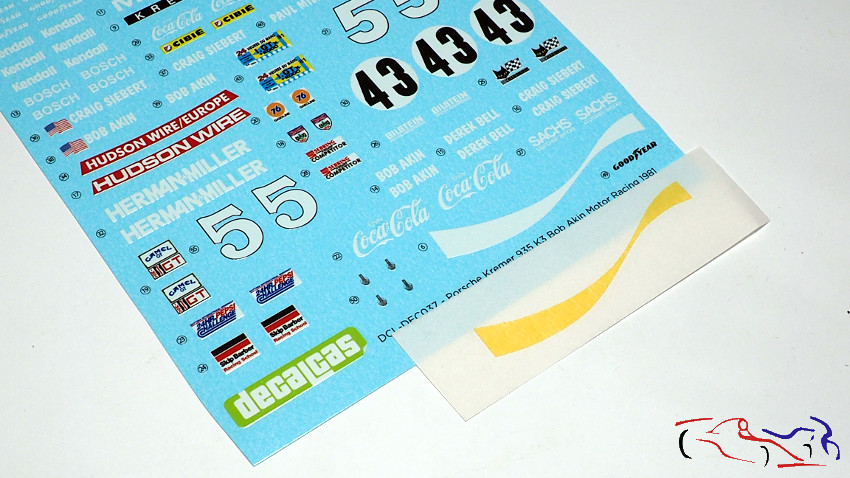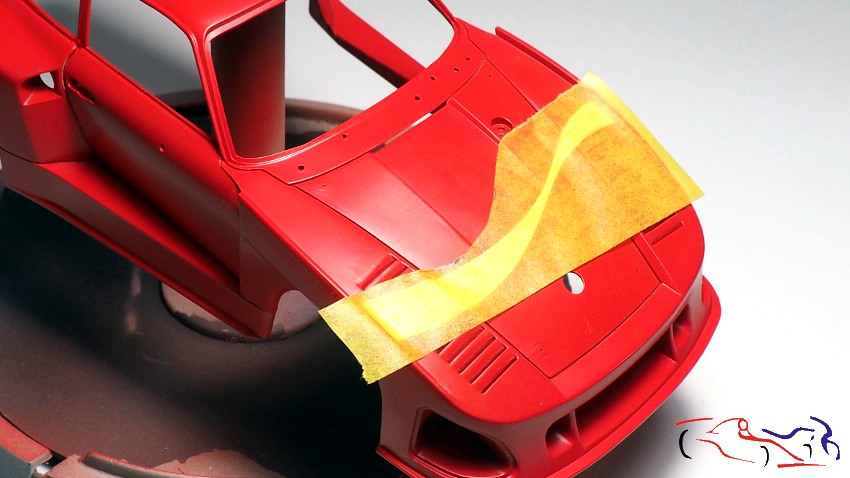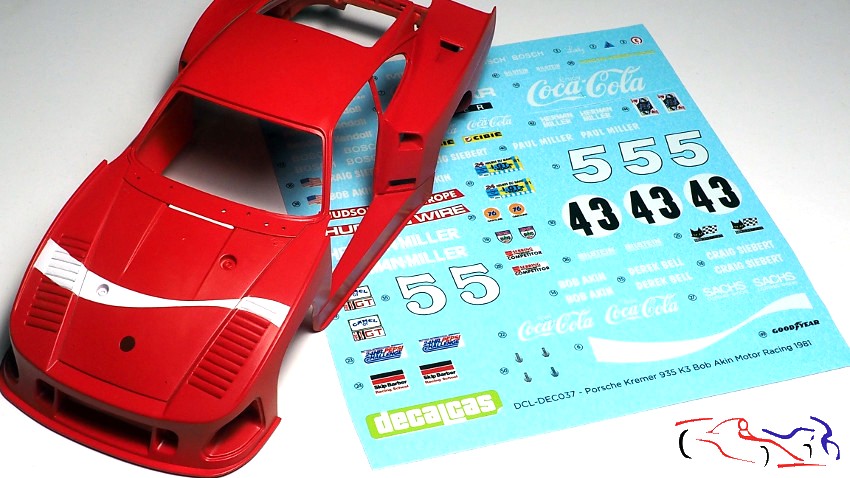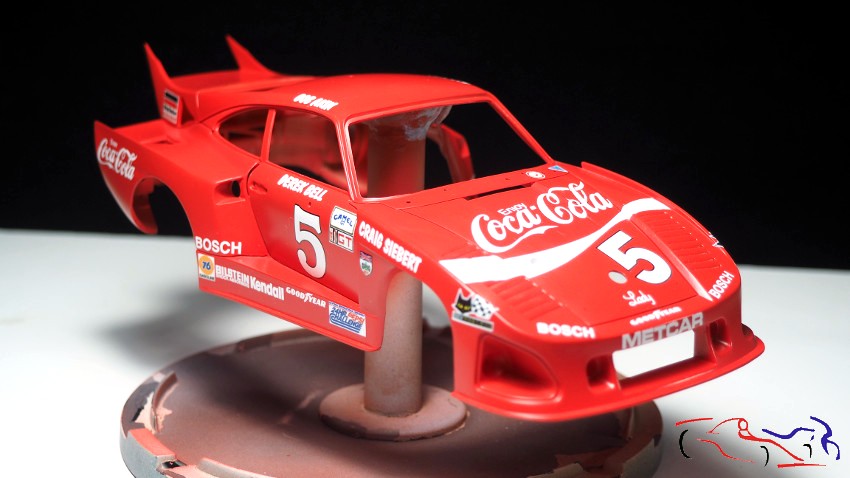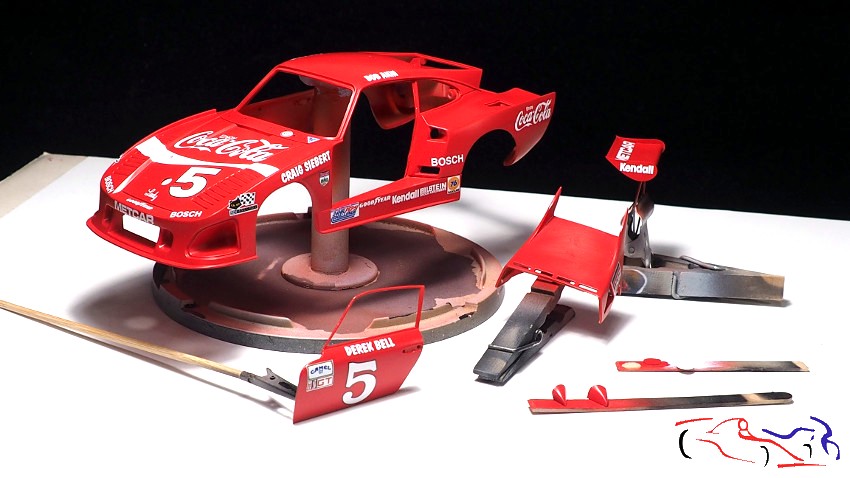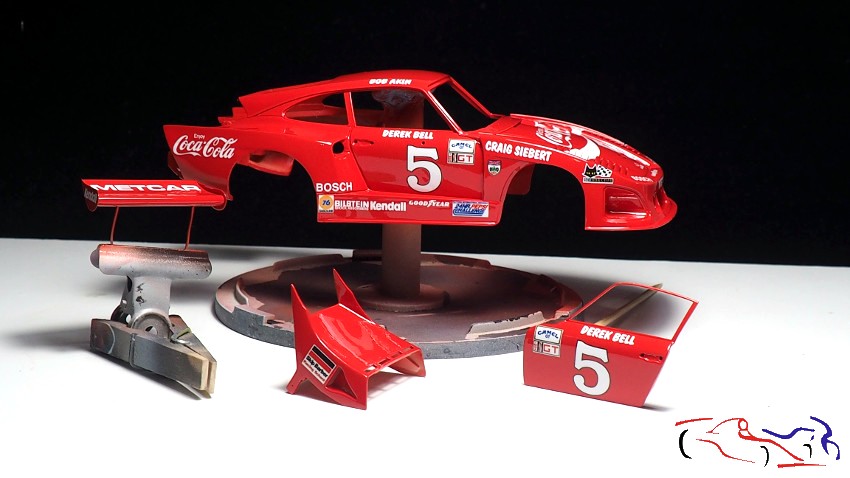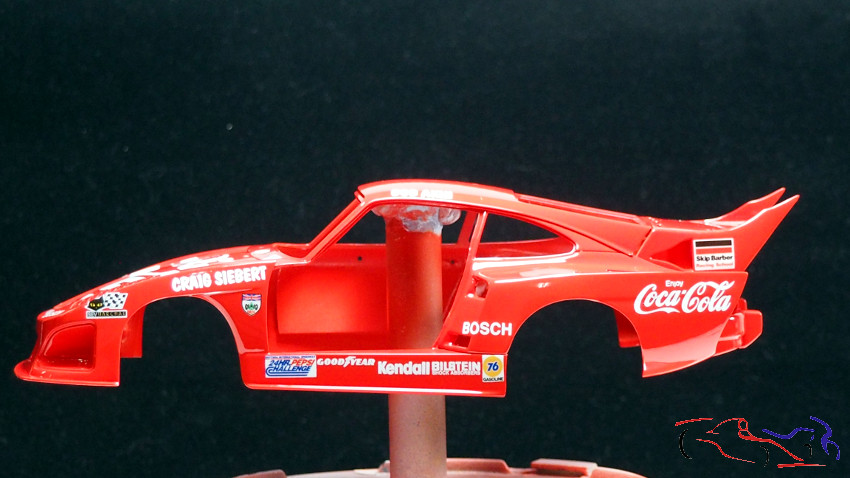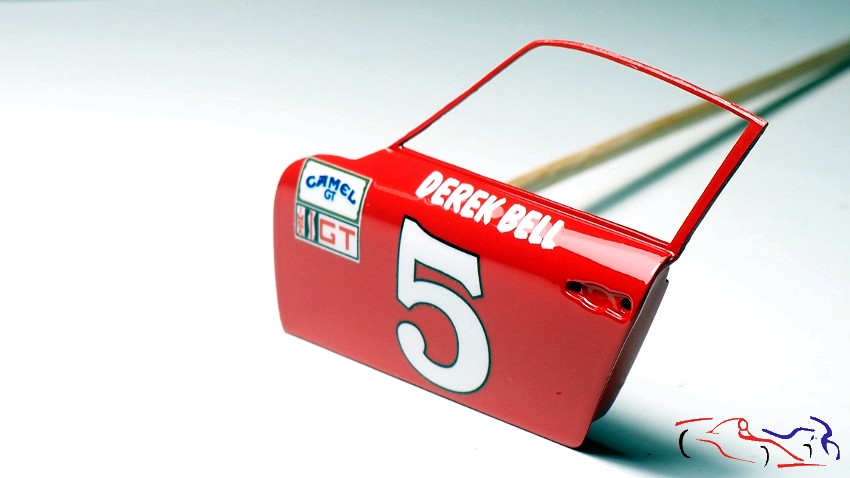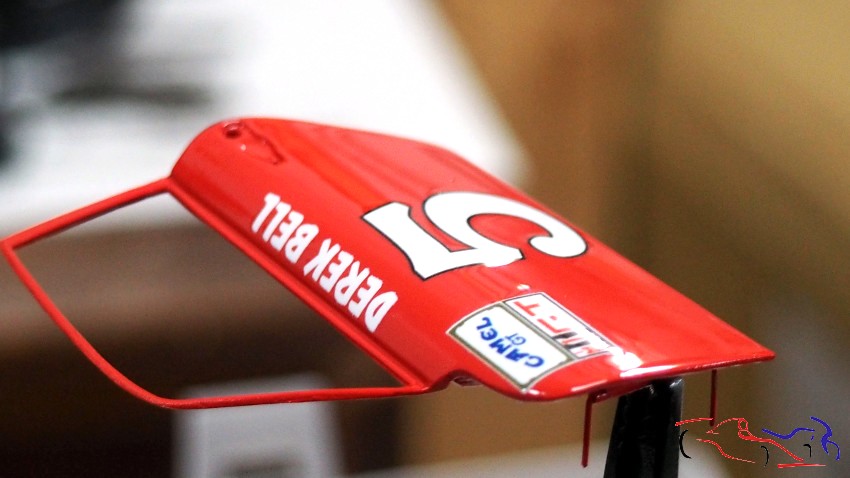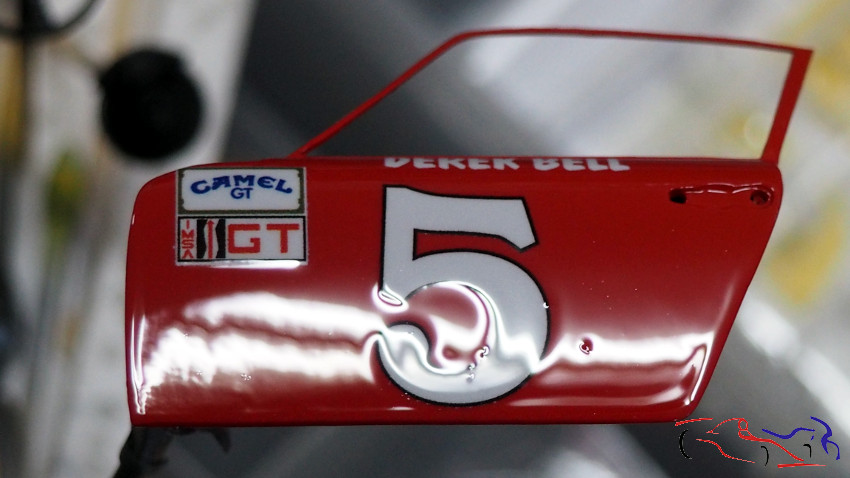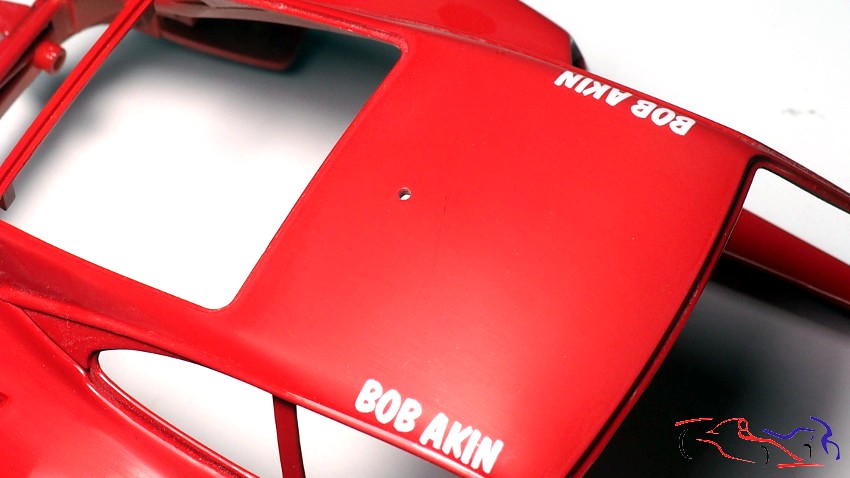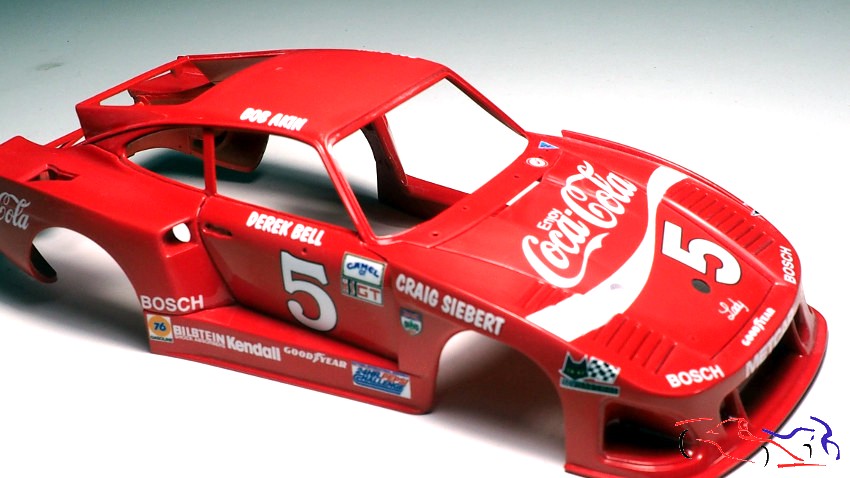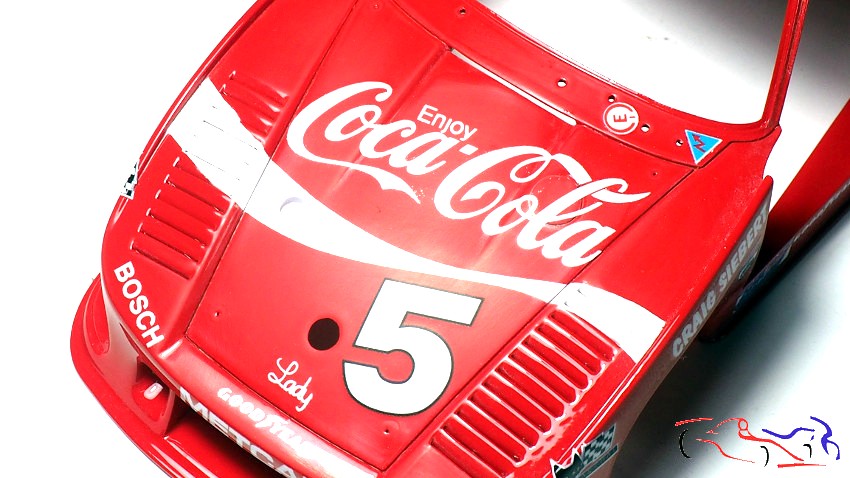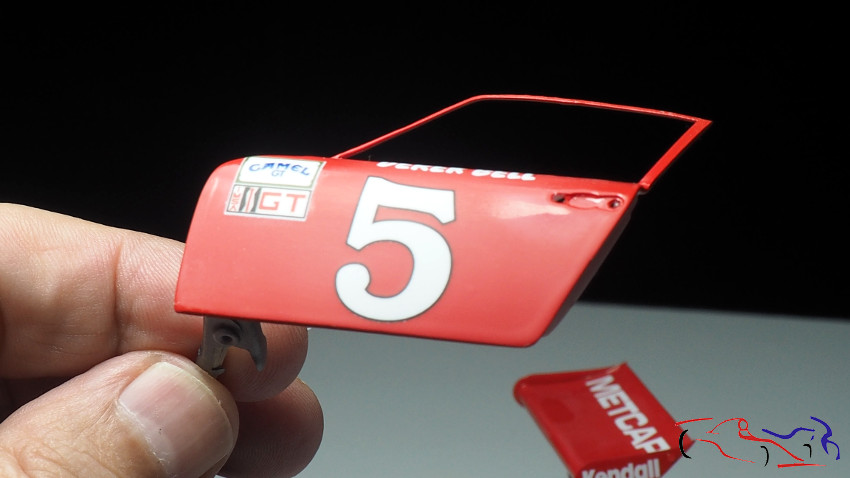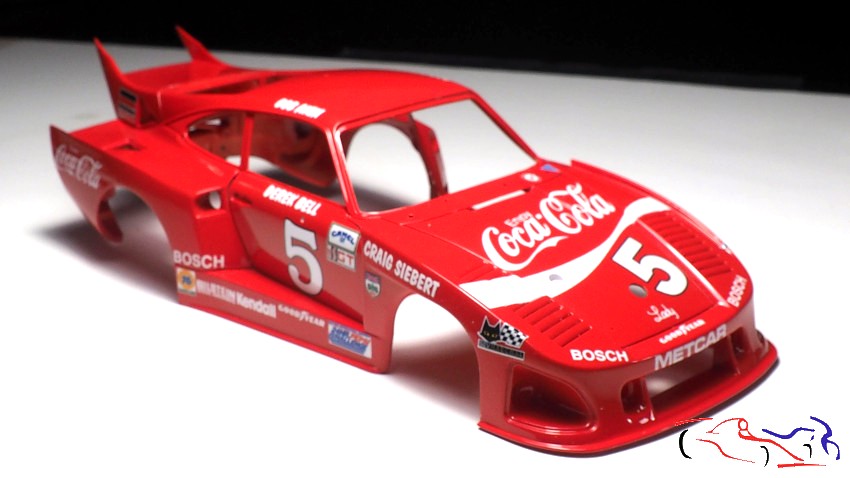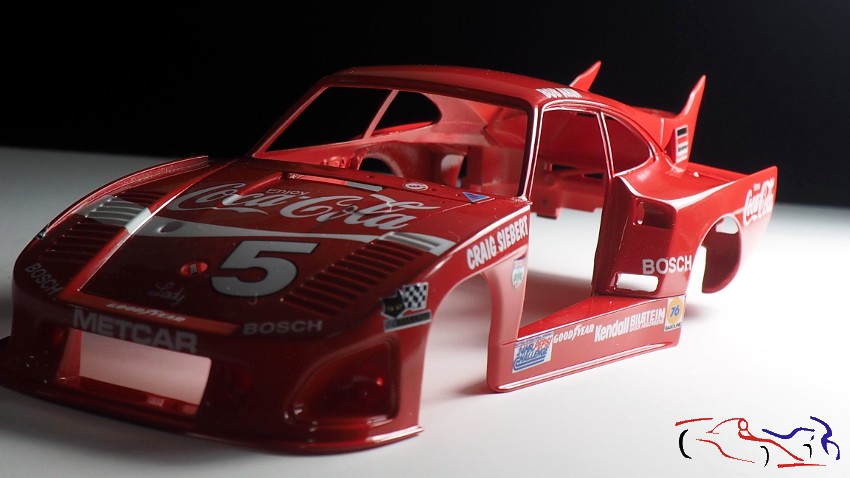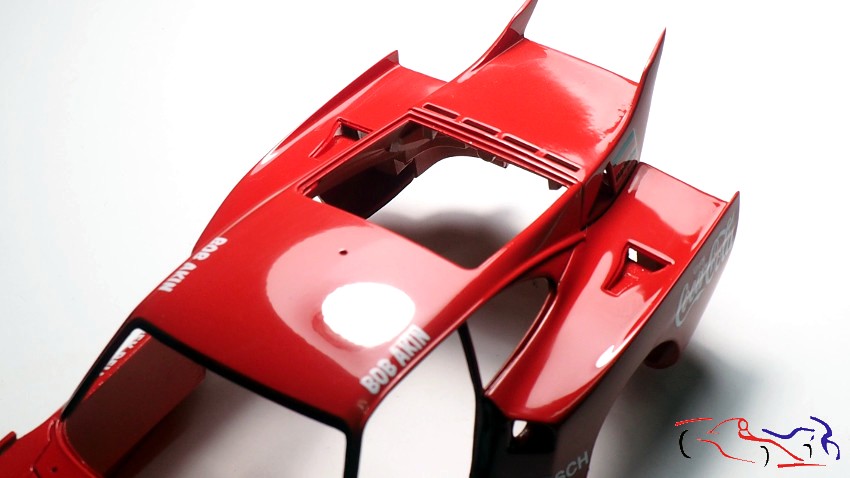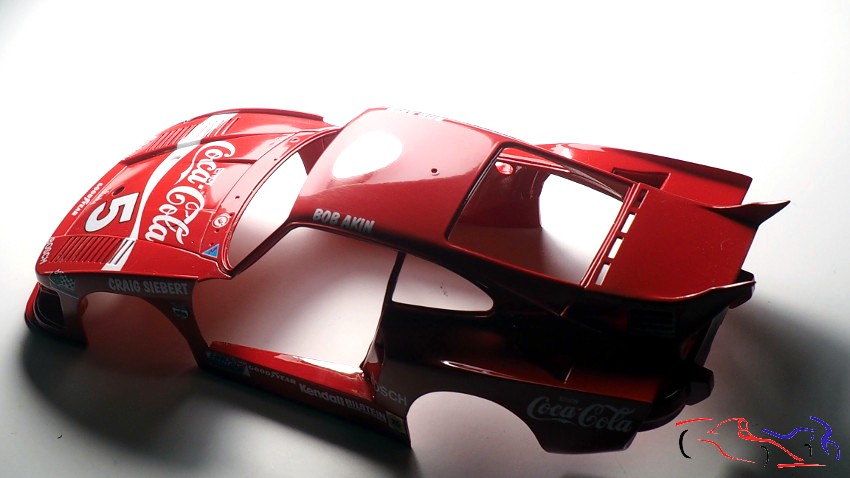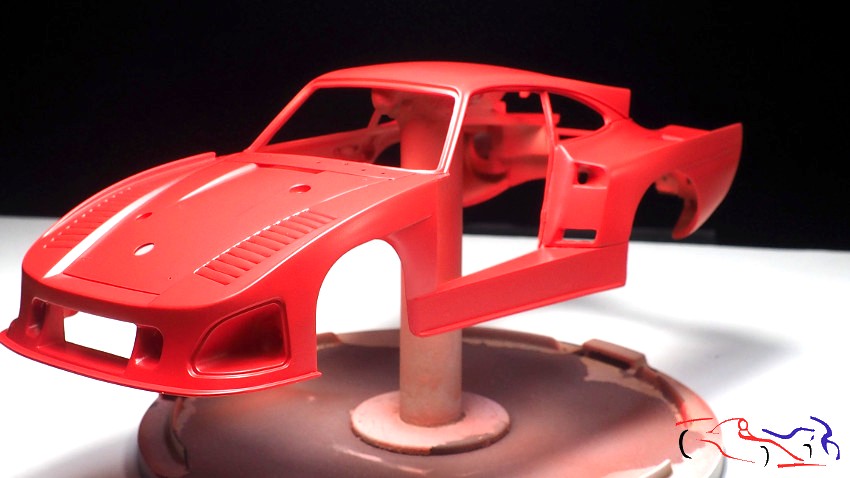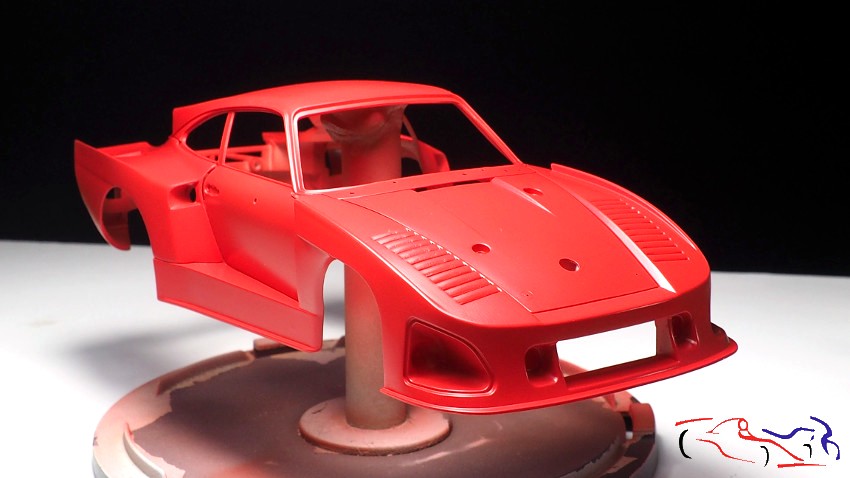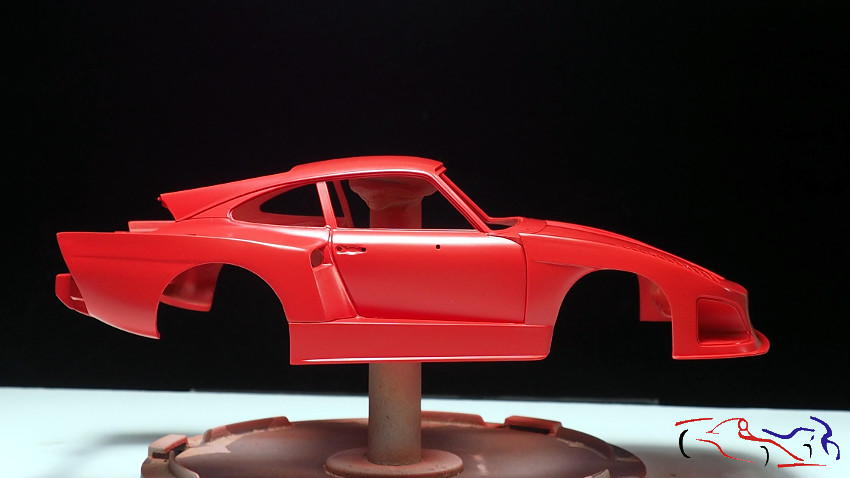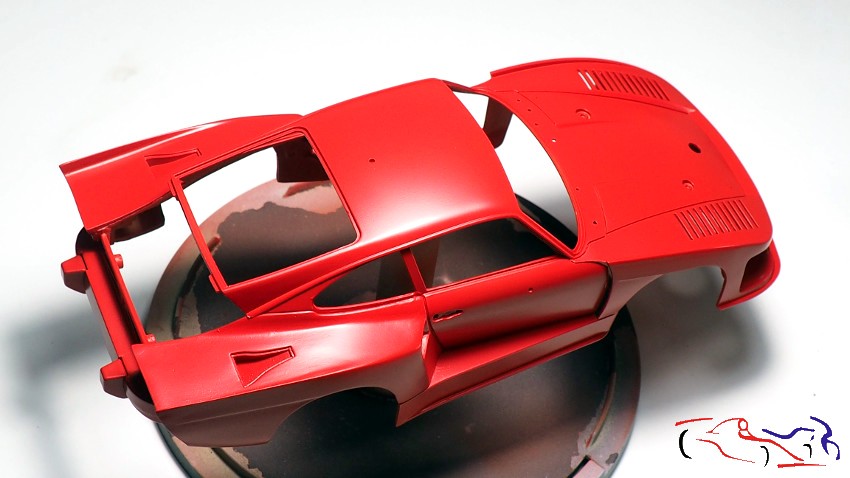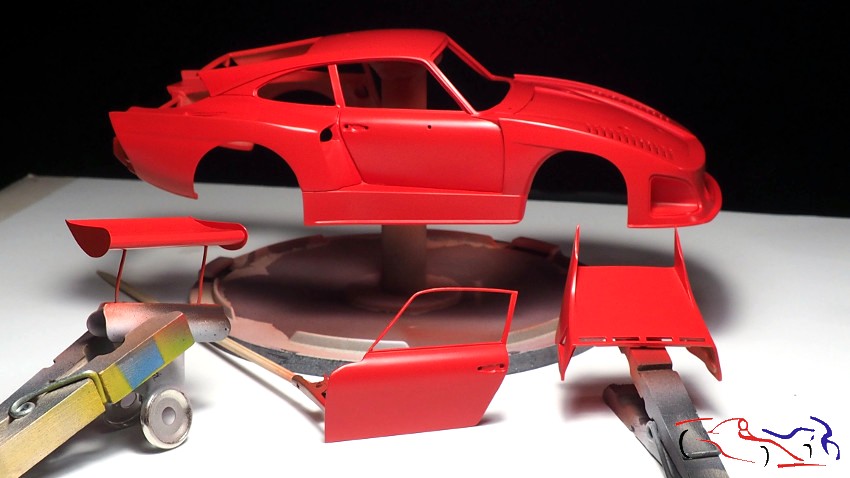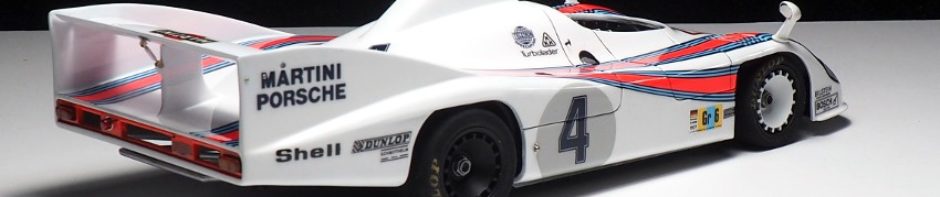
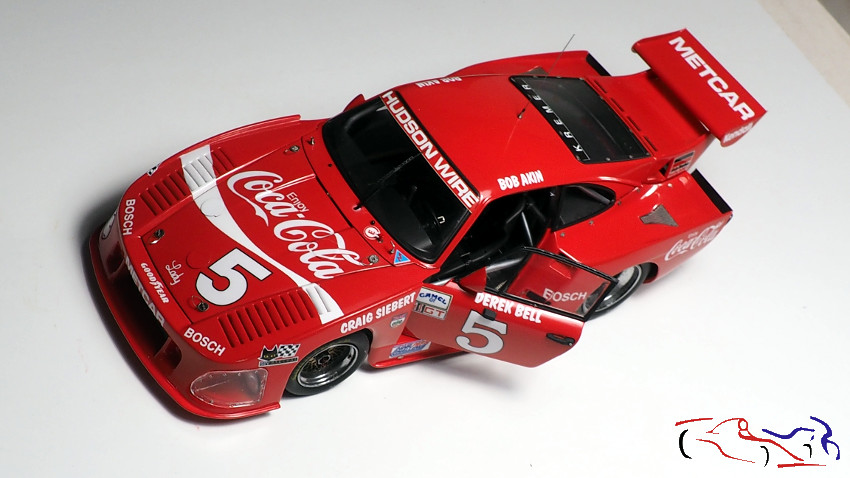
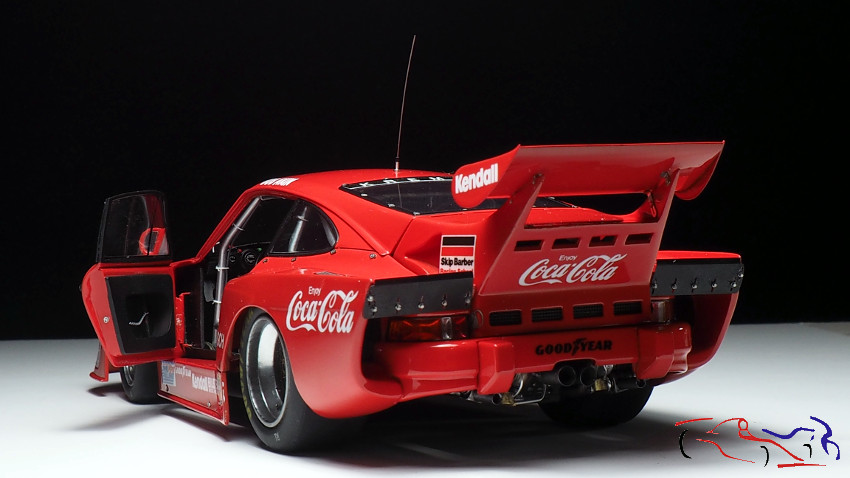
Análisis particular. Después de unos 5 meses, este proyecto llega a su fin. La verdad es que es una maqueta que se deja hacer sin tener la calidad de las mejores marcas. Si se hace de caja, queda un coche resultón, muy vistoso y muy impresionante, aunque siempre como en todo, tiene sus detractores. Y si se quiere detallar, también tiene muchas posibilidades pero ahí influye las capacidades de cada uno. Respecto a las mejoras realizadas y añadidas, la apertura de la puerta debería permitir ver más el interior, pero si no se mete la cámara como en el real, poco se ve por la cantidad de cosas que hay en su interior, y quizás abriendo las dos, o la puerta derecha, se verían mejor todos los dispositivos que hay. Respecto a las ruedas, el fotograbado del núcleo está bien pero lo que es la llanta, debe trabajarse bien para que quede liso la resina. Y si recomiendo lijar las gomas para quitarles las canalizaciones y ese aspecto a plástico . Otro punto fue la modificación de la base del alerón trasero, que no recomiento porque aunque queda muy bien, fijar el alerón se convierte en una pesadilla al poder moverse mucho teniendo en cuenta que se usan unos fotograbados que no tienen marca alguna. Y hablando de fotograbados, conviene adquirir el set extra de la marca para este coche, que nos dará una buena cantidad de detalle al kit, incluyendo los 32 conectores Dzus que hay que poner a lo largo de la carrocería. Explicaré otros detalles a continucación entre las fotografias. Si pasamos al acabado, la pintura de Gravity-Colors Spain sigue en su línea, cubre bien y seca rápido. Las calcas de Decalcas lo mismo, bien de tamaños y con la posibilidad de pintar la banda blanca del capó en lugar de usar la calca. Y para terminar, la laca y el pulimento de Number5 son también muy buenos. L alaca es dura y se aplica muy bien siguiendo las directrices del fabricante. Y lo mismo con el pulimento, que aconseja mover bien los botes antes de usar!! Con todo ésto, pasamos a las fotos. De primeras, unas imágenes del coche completo desde todos sus lados.
Particular analysis. After about 5 months, this project comes to the end. The truth is that it is a model that can be done without having the quality of the best brands. If it is made from a box, it is a good looking car, very attractive and very impressive, although as in everything, it has its detractors. And if you want to detail it, it also has many possibilities, but it deppends on the capabilities of each modeller come into play. Regarding the improvements made and added, the opening of the door should allow you to see more of the interior, but if you don’t put the camera in, as in the real one, you can see very little because of the amount of things inside, and perhaps opening both doors, or the right door, you would see better all the devices that are inside. Regarding the wheels, the photoengraving of the core is fine, but the rims need to be worked well so that the resin is smooth. And I do recommend sanding the tyres to remove the channels and the plastic look. Another point was the modification of the base of the rear wing, which I do not recommend because although it looks very good, fixing the wing becomes a nightmare because it can move a lot considering that some photoetched parts that have no markings are used. And speaking of photoetched parts, you should buy the extra set of the brand for this car, which will give us a good amount of detail to the kit, including the 32 Dzus connectors that must be placed along the body. I will explain further details below between the pictures. Moving on to the finish, the paint from Gravity-Colors Spain is still in line, it covers well and dries fast. The Decalcas decals are the same, good size and with the possibility of painting the white stripe on the bonnet instead of using the decal. And finally, the Number5 lacquer and polish are also very good. The lacquer is hard and applies very well according to the manufacturer’s guidelines. And the same with the polish, which advises to shake the pots well before use! With all this, let’s move on to the photos. First, some pictures of the complete car from all sides.
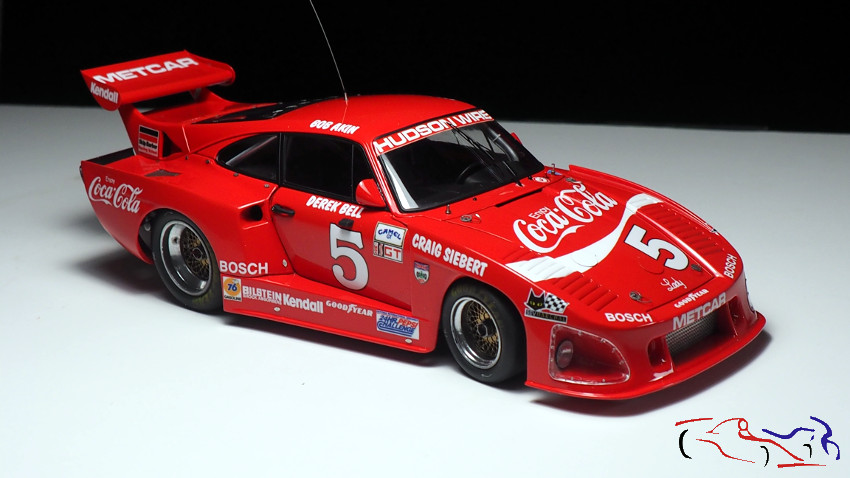


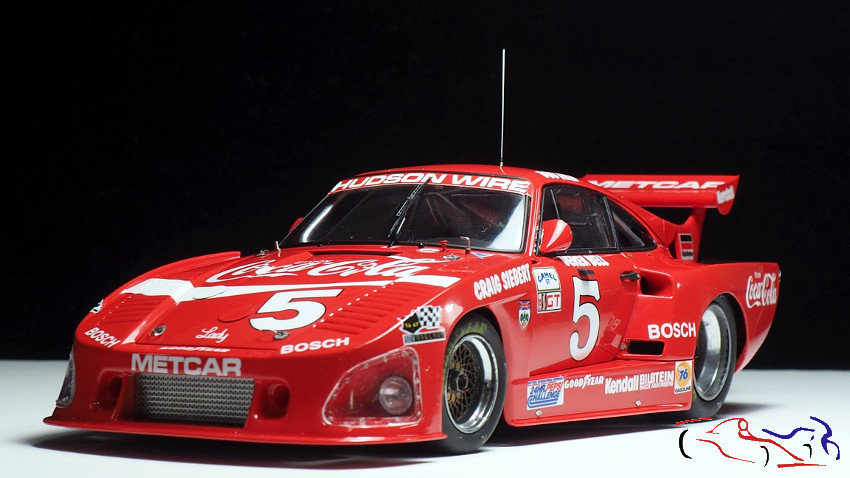
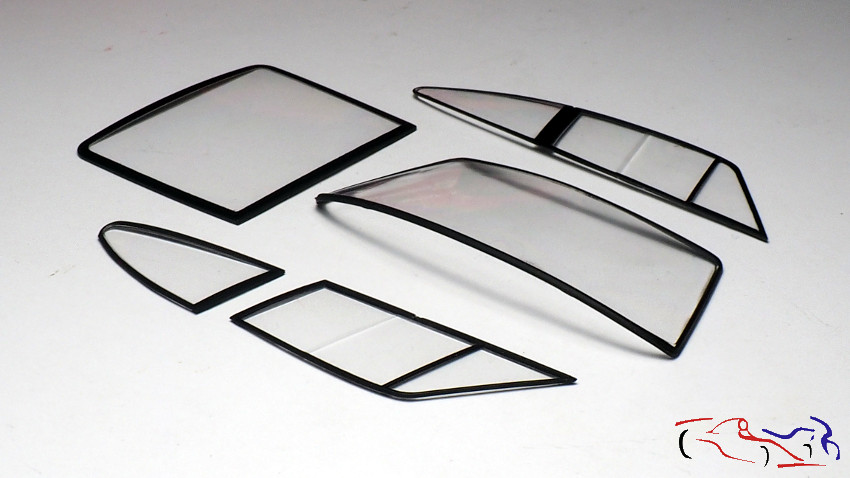
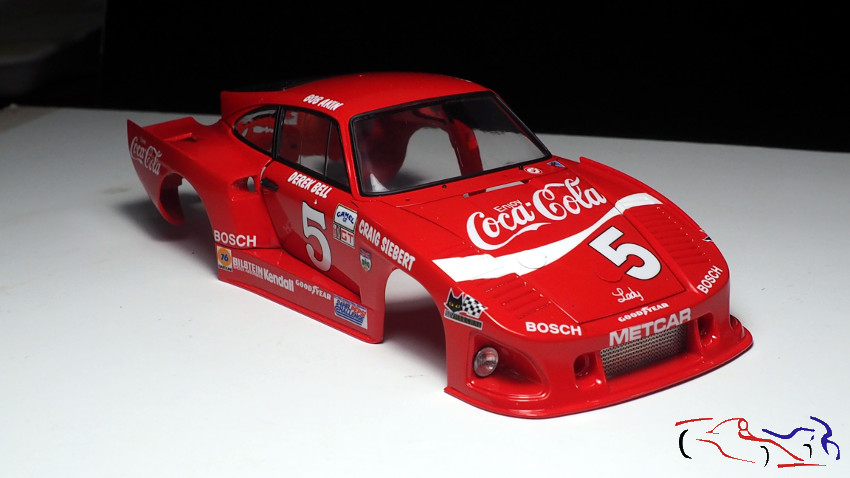
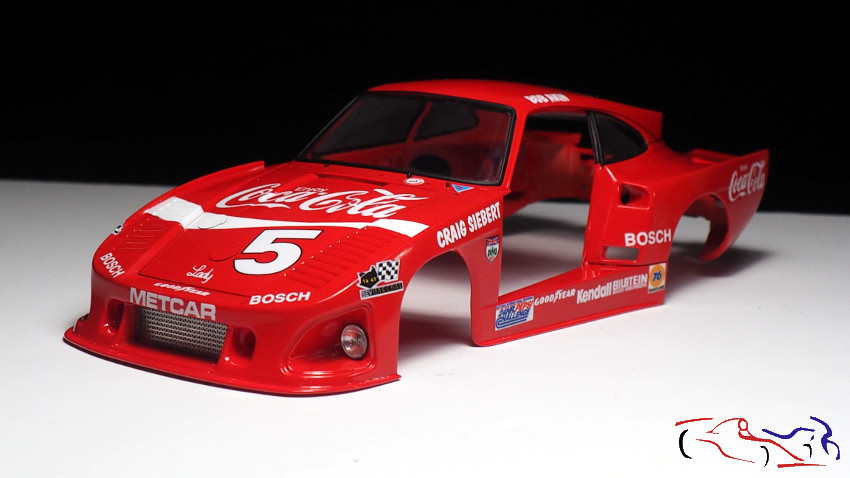
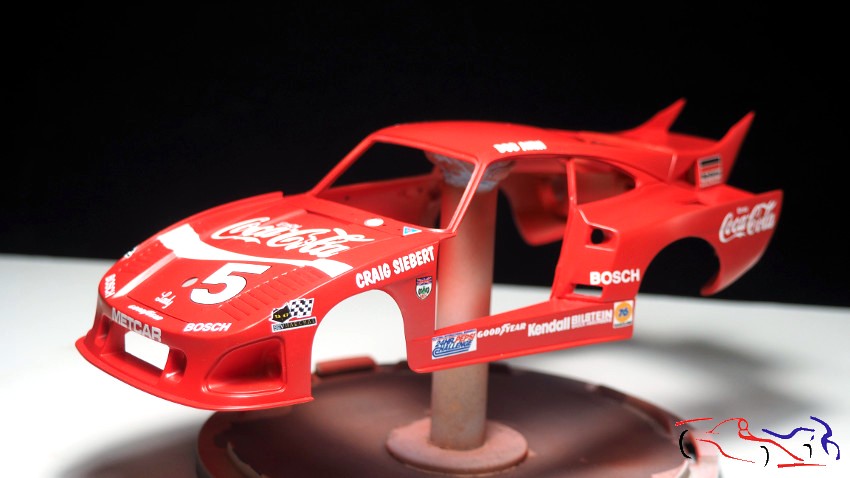
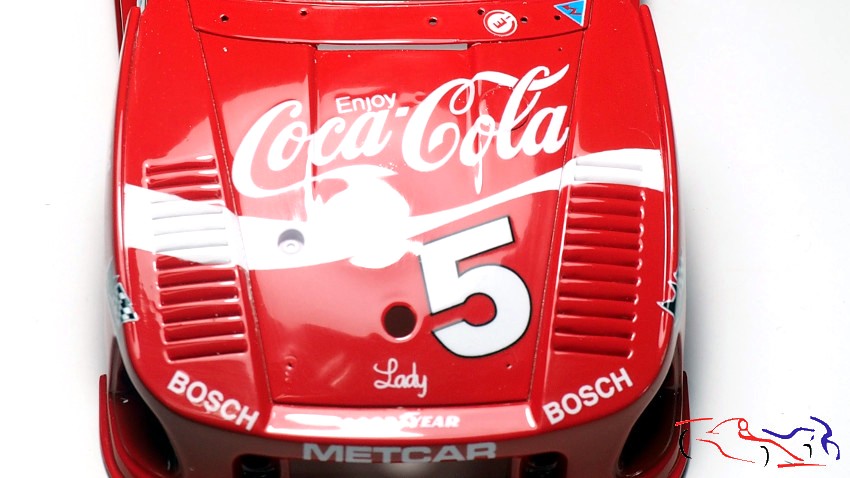
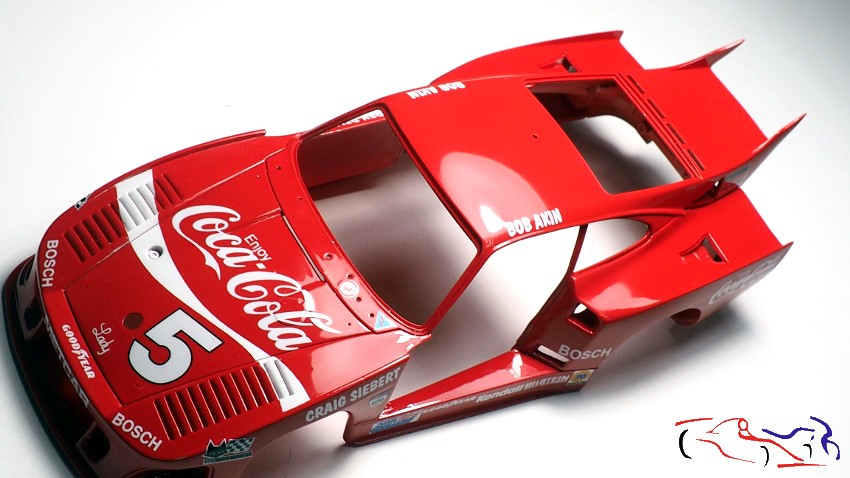
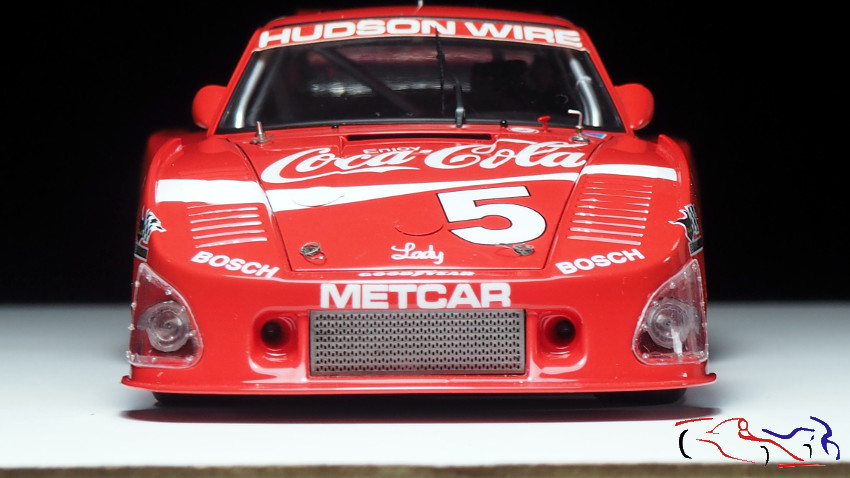
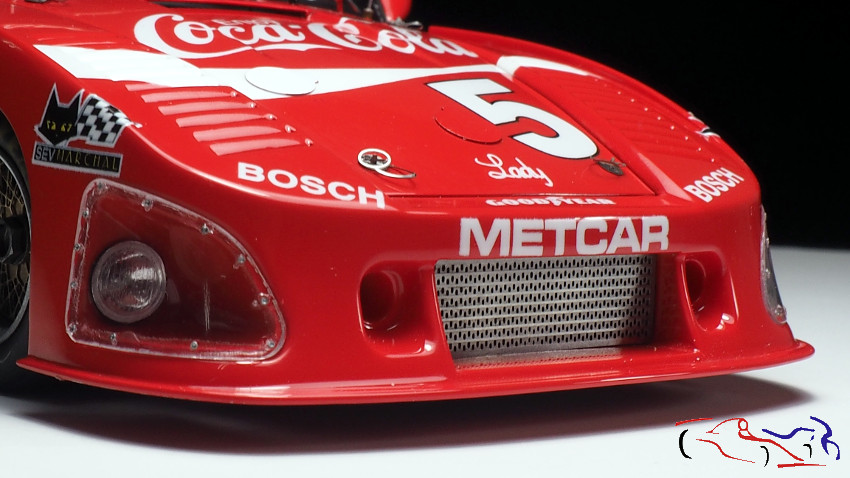
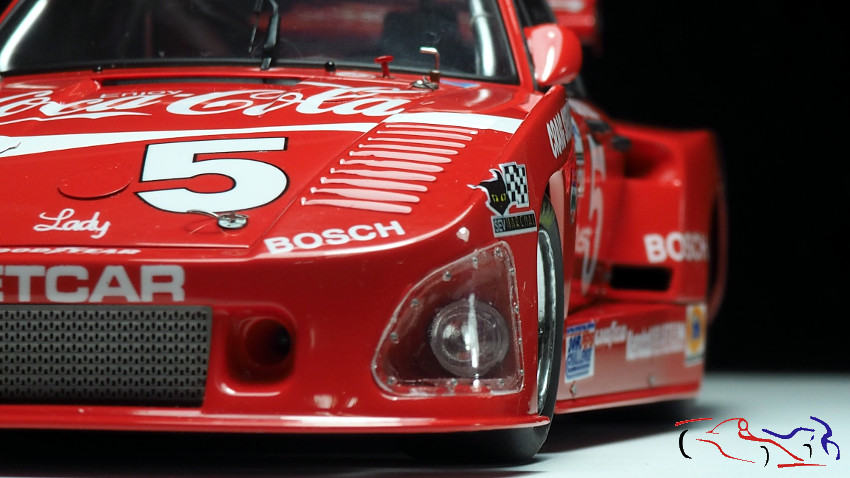
Y pasamos a los detalles de la parte delantera. A los faros, le pinté el borde exterior de la base de color negro, dejando en color rojo el interior del propio faro. También existía la opción del fondo negro pero preferí dejarlo del color de la carrocería, al igual que los cristales. Los he visto con el borde negro o transparente, siendo esta última mi decisión, pero poniendo en ellos, los doce remaches de fotograbado de 0.5 mm que lleva cada cristal, de la marca Top Studio y todos pegados con Ultra Glue de MIG. También vemos parte de los Dzus que lleva el coche.
And now we move on to the details of the front. To the headlights, I painted the outer edge of the base in black, leaving the inside of the headlight itself in red. There was also the option of a black background but I preferred to leave it in the same colour as the bodywork, as well as the lenses. I have seen them with the black or transparent border, being this last one my decision, but putting in them, the twelve 0.5 mm photoetched rivets that each glass has, of the brand Top Studio and all glued with Ultra Glue of MIG. We can also see part of the Dzus on the car.
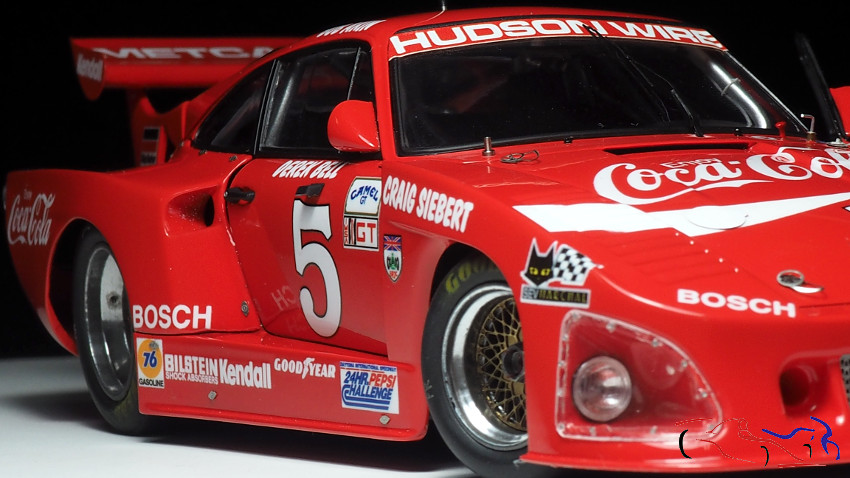
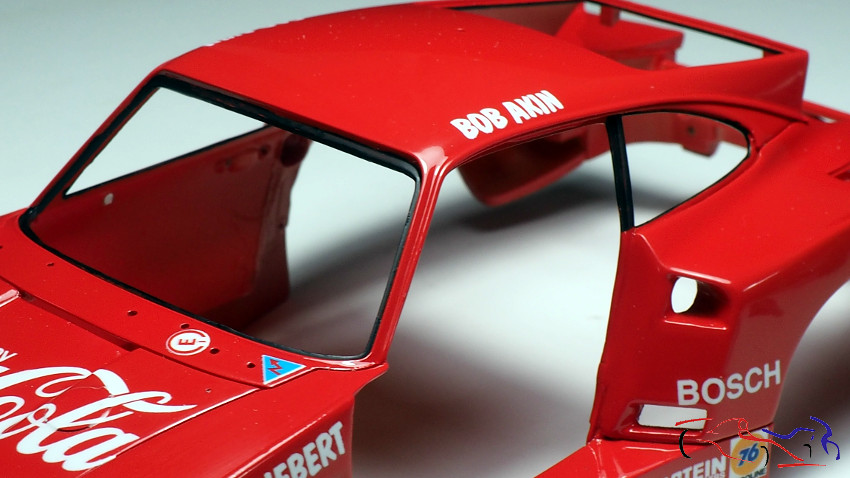
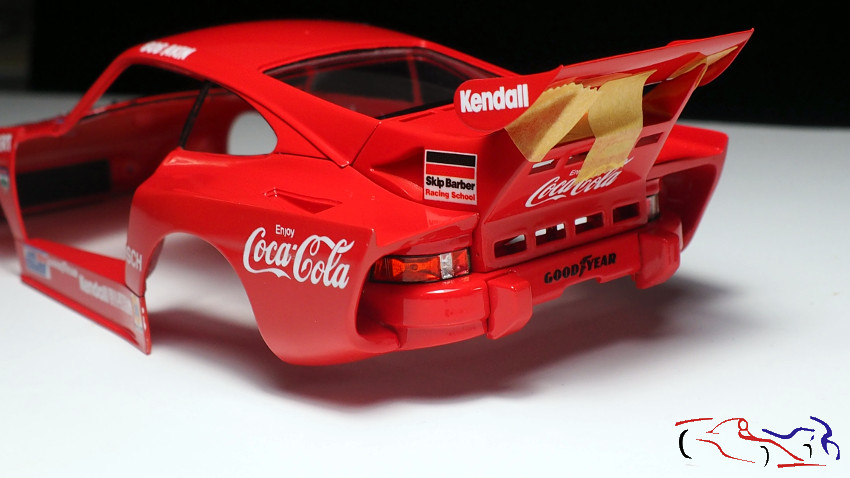
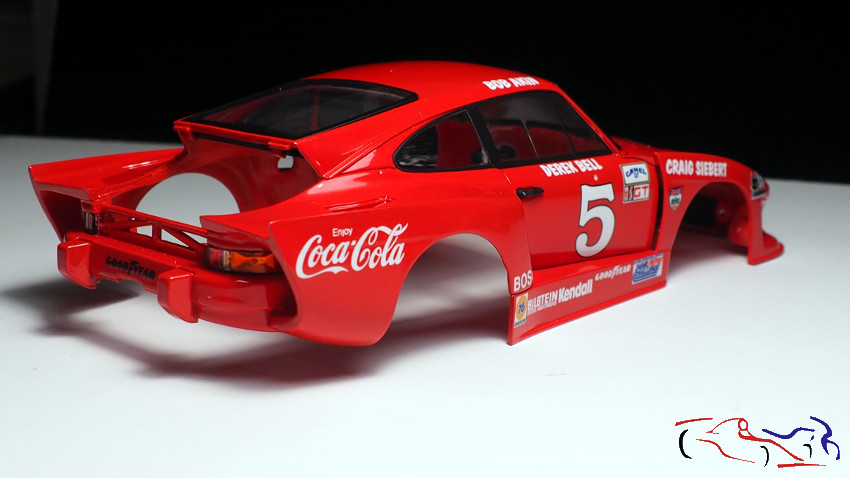
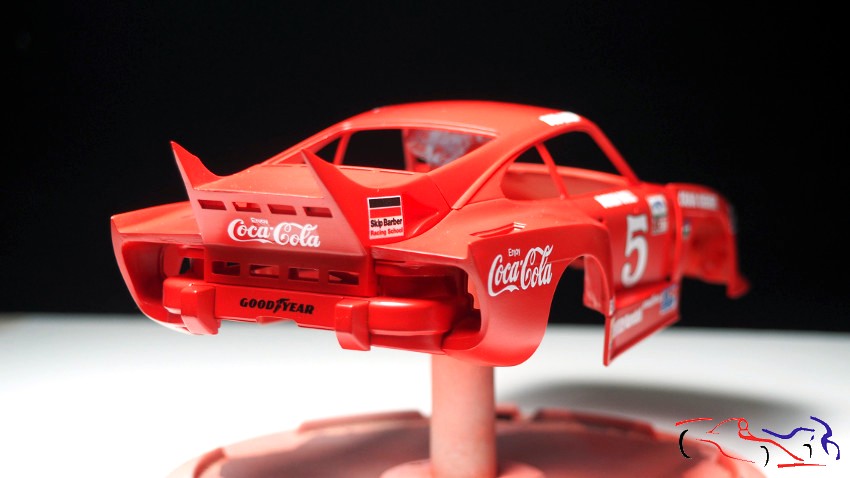
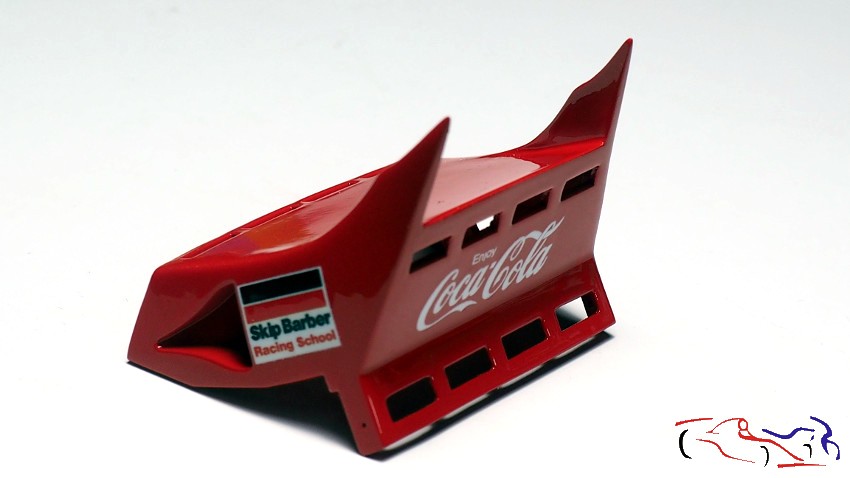
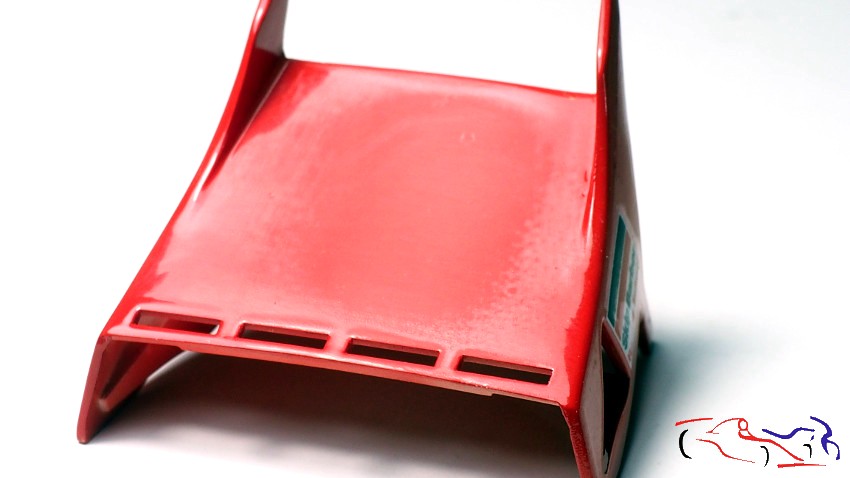
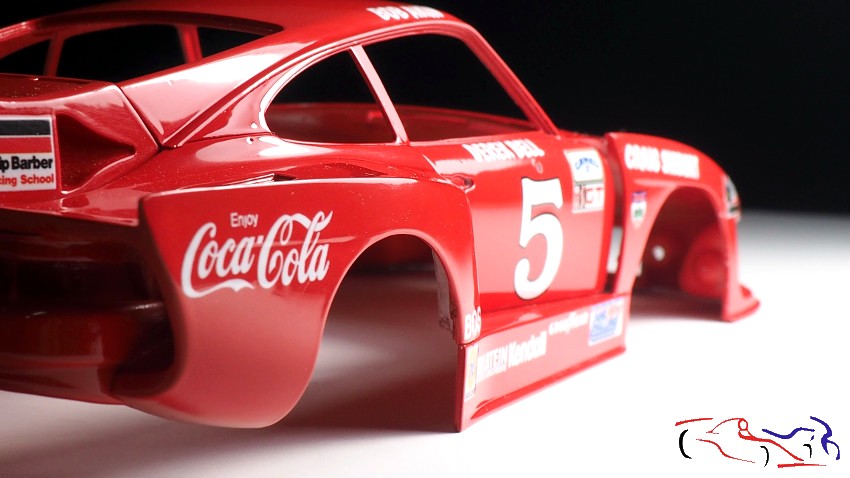
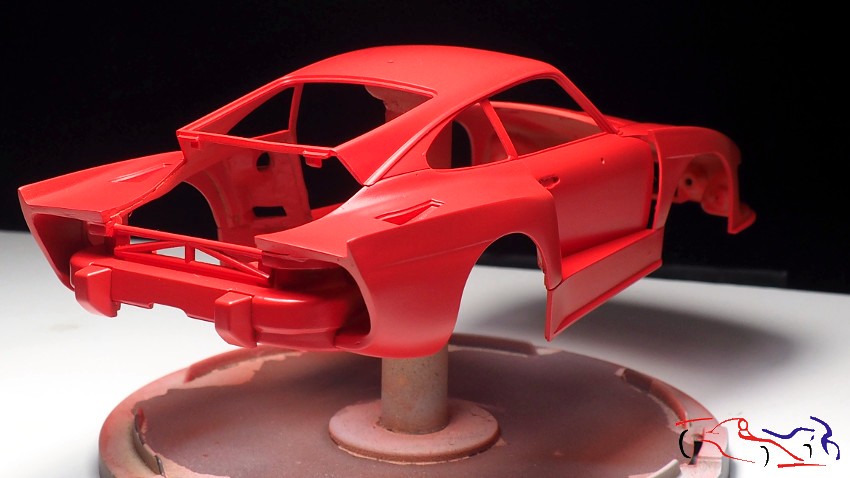
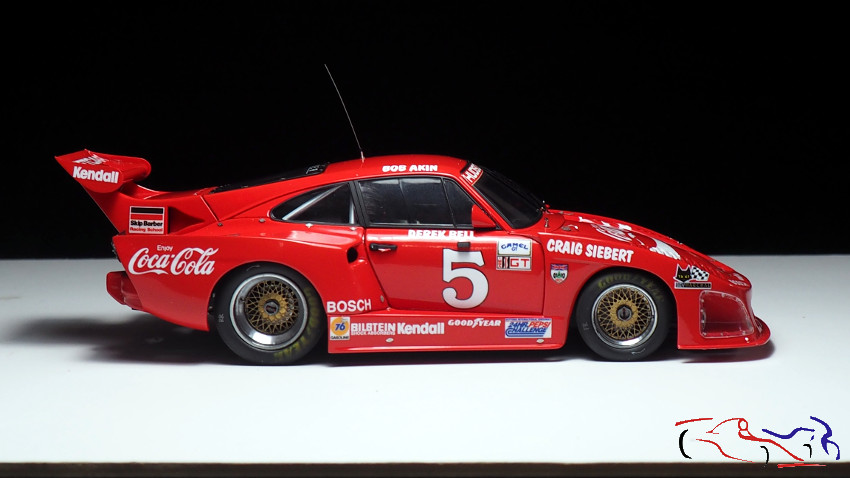
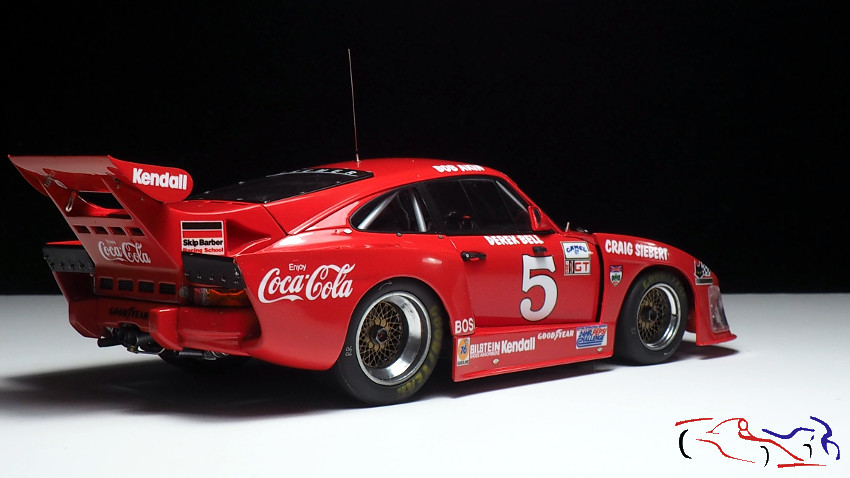
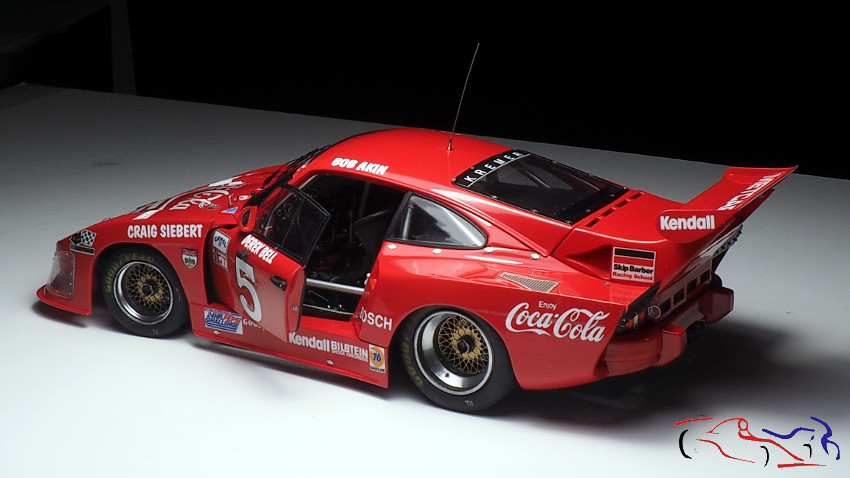
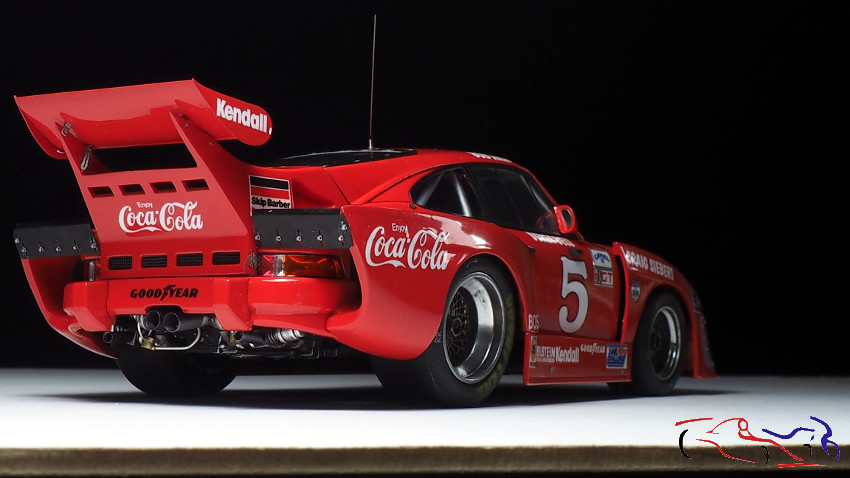
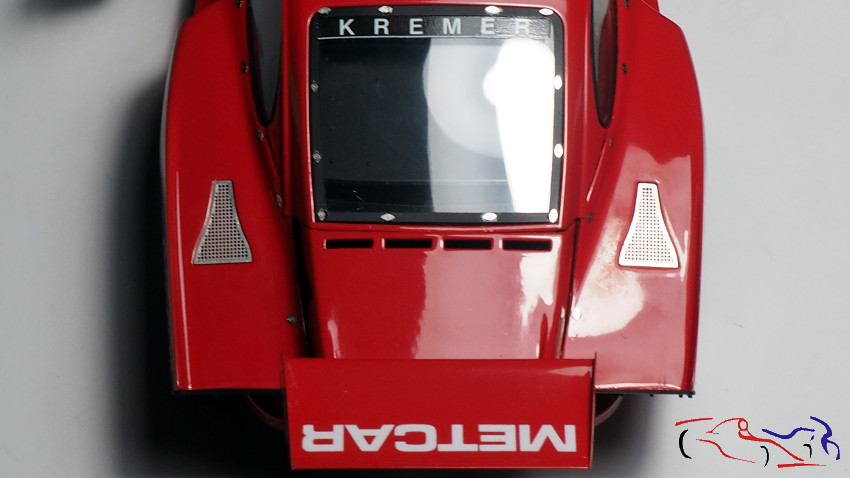
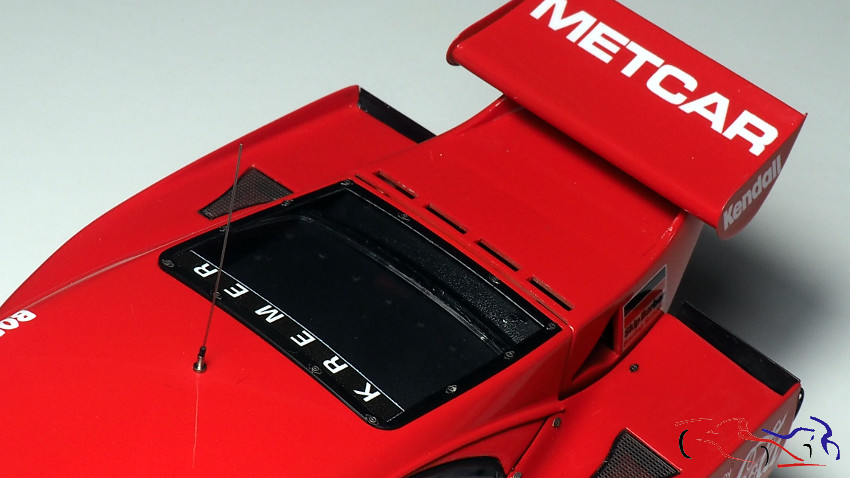
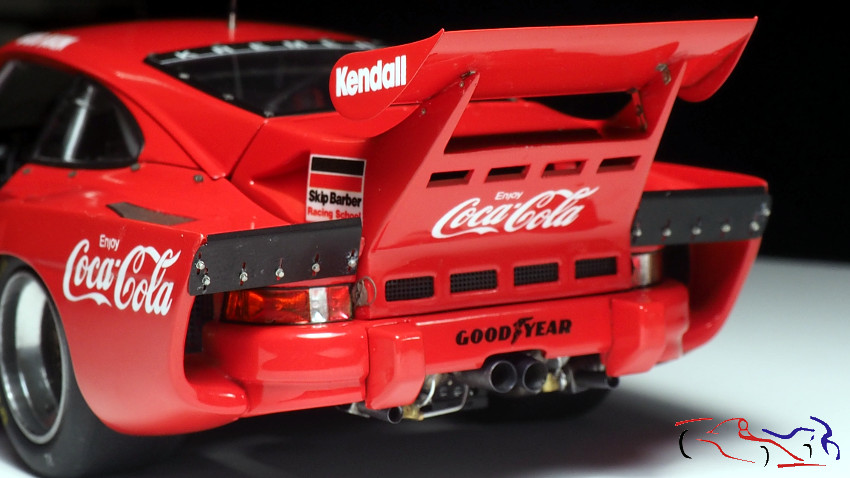
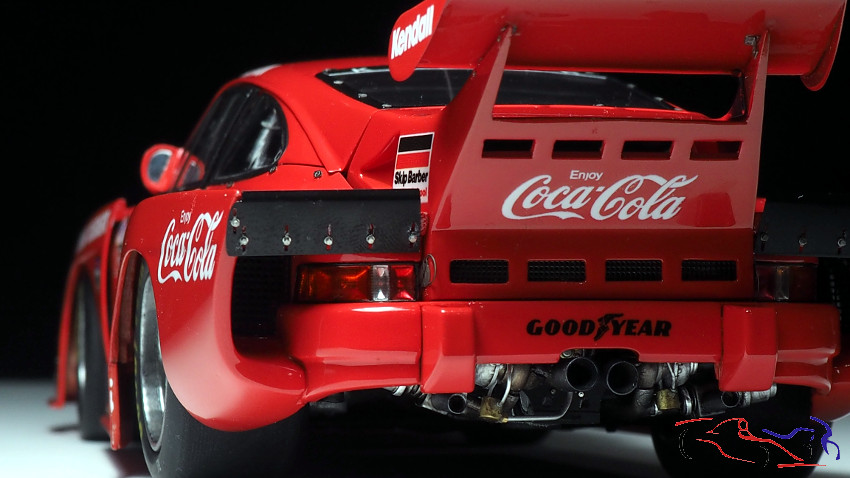
En las siguientes fotos, vemos los concetores Dzus que llevan las aletas tarseras y el cristal trasero. En total son cerca de 30, a los cuales hay que repasar con lija el punto de unión por donde se cortan, para que no se vea ninguna punta. Esto es complicado porque son muy pequeños!! Tambié se ve los filtros d elas entradas de aire
In the following pictures, we can see the Dzus concetors that have the rear fins and the rear glass. In total there are about 30 of them, which need to be sanded at the junction point where they are cut, so that no tip is visible. This is complicated because they are so small! You can also see the air inlet filters.
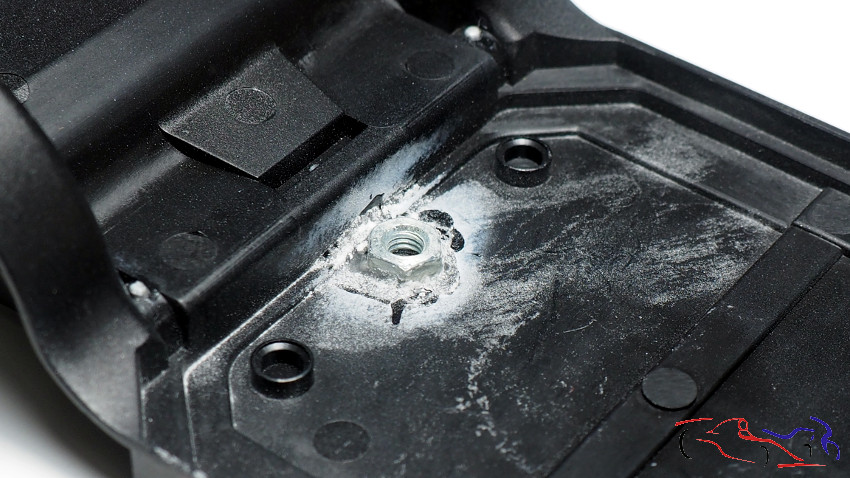
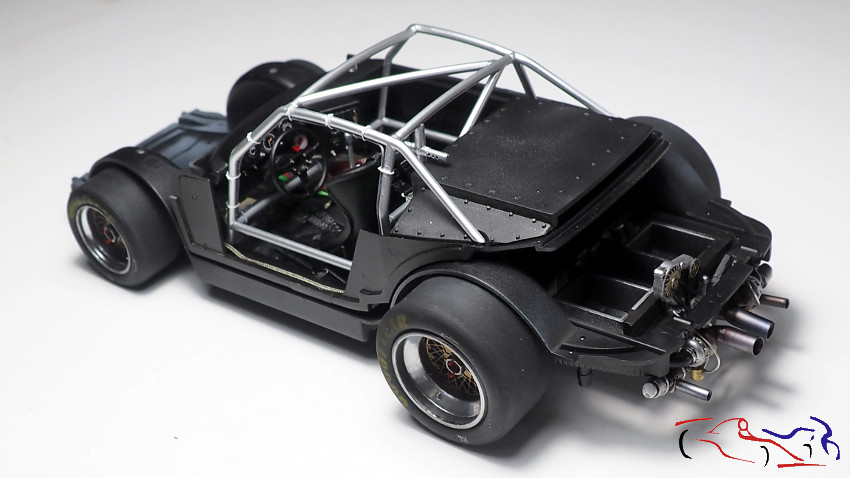
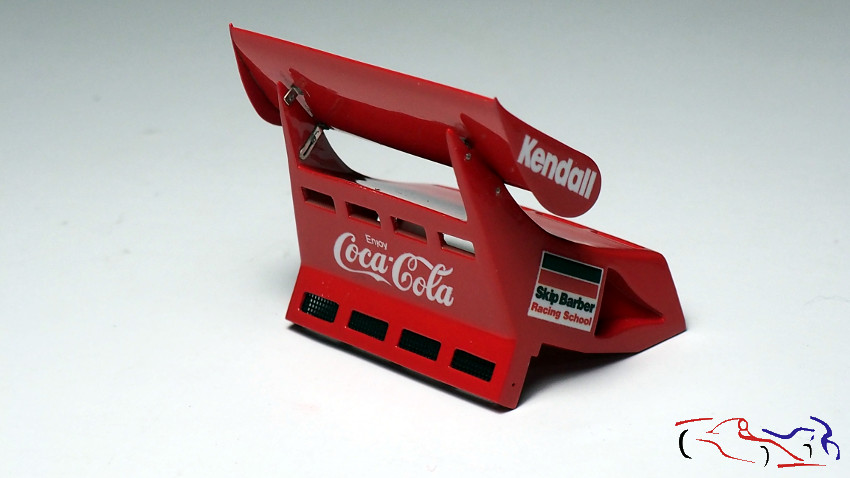
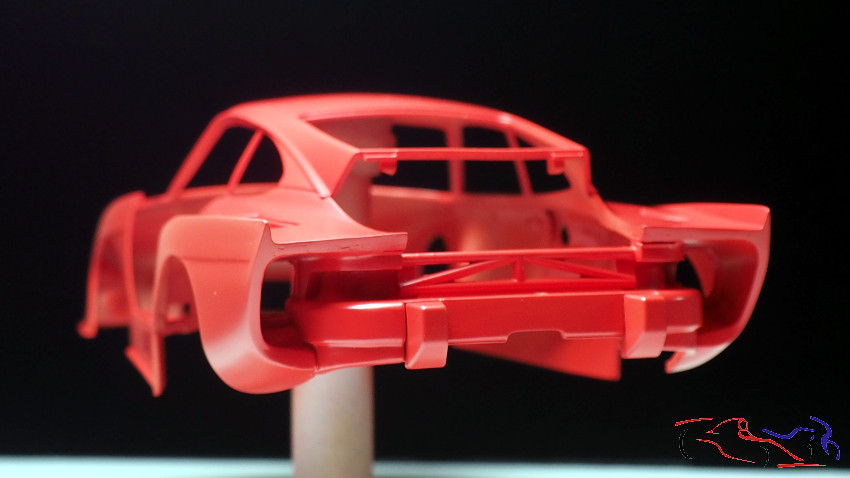
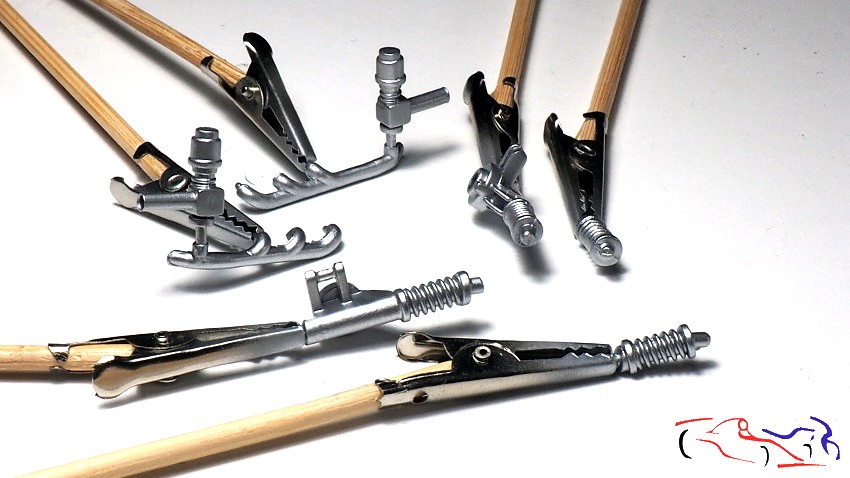
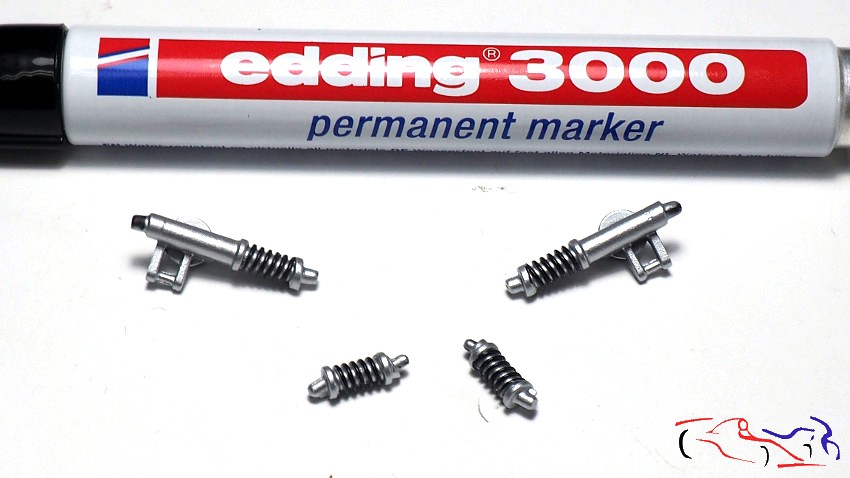
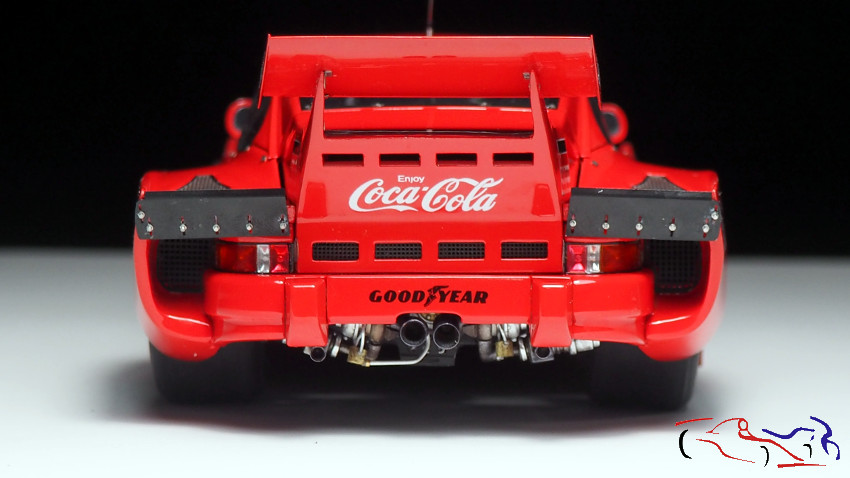
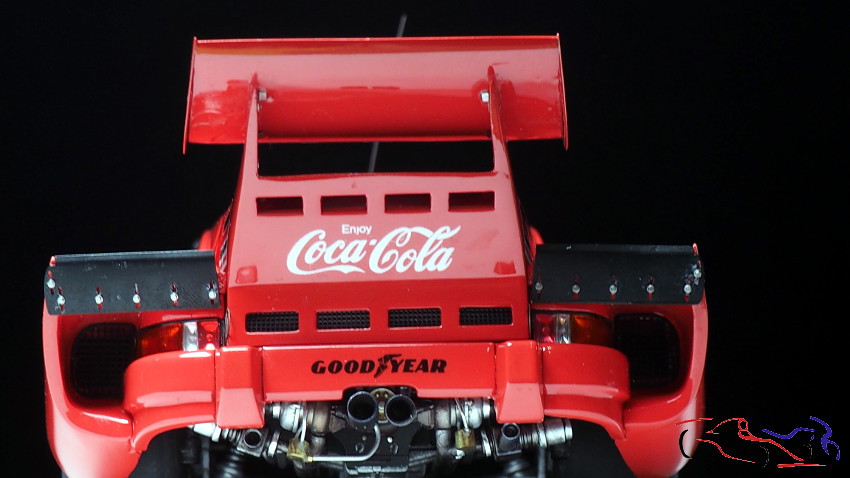
En la parte tarsrra, destacan las dos piezas negras que hay detras de cada lado, que van fijadas con tornillos. Desestimé lso del TK de Nunu y usé unos de TMF, que compré hace años. Los pegué con ciano y después corté y limé lso extremos para que se pudieran pegar a la carrocería.
On the back, there are two black pieces on the back of each side, which are fixed with screws. I discarded the ones from Nunu’s TK and used ones from TMF, which I bought years ago. I glued them with cyano and then cut and filed the ends so that they could be glued to the bodywork.
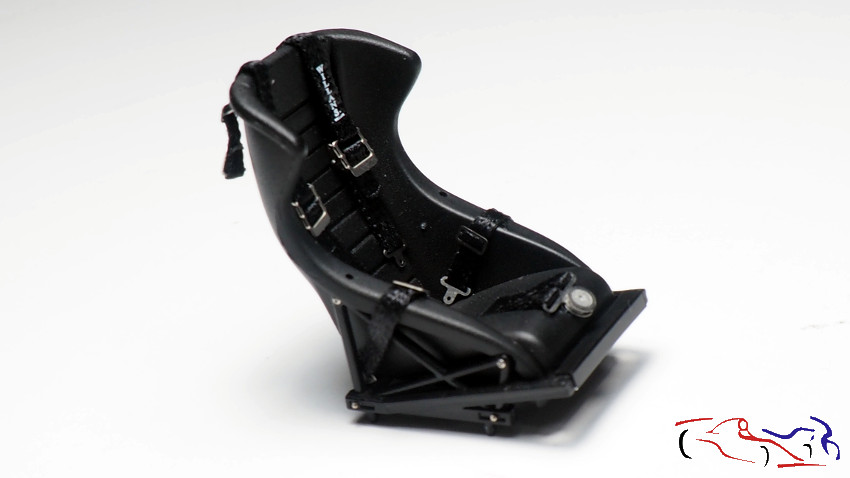
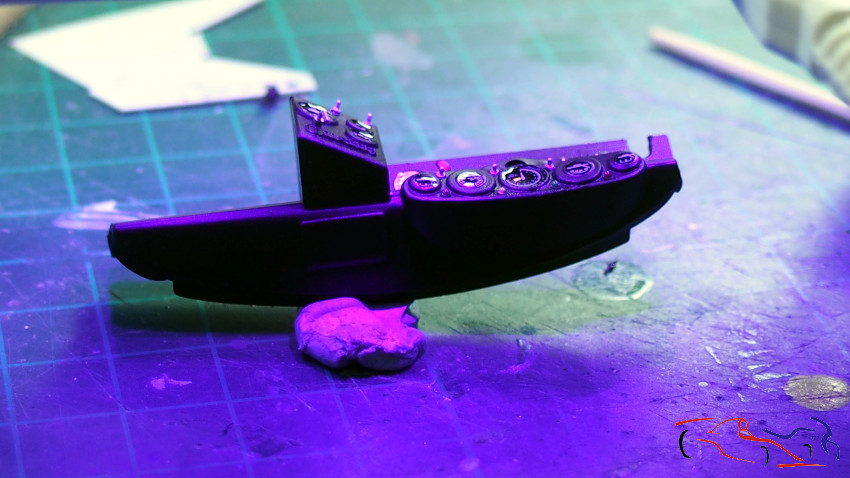
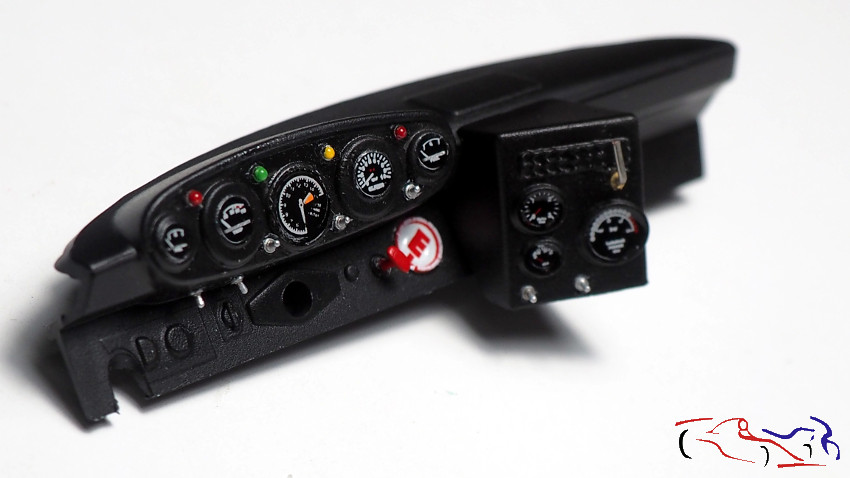
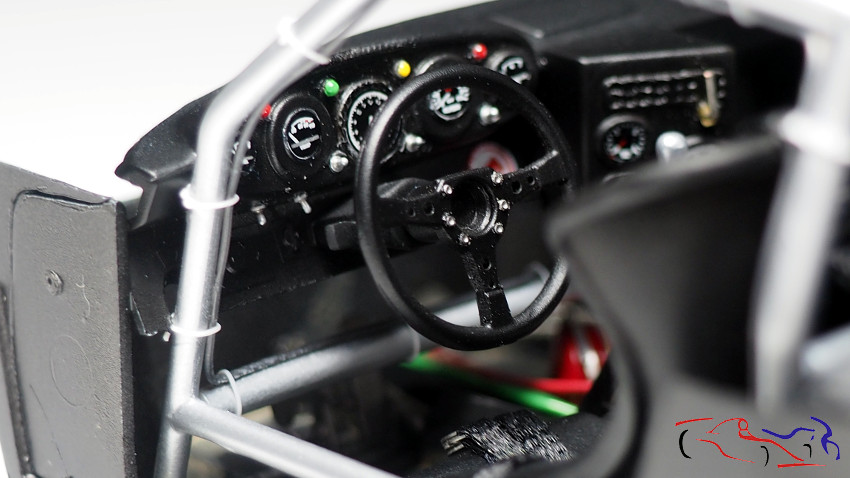
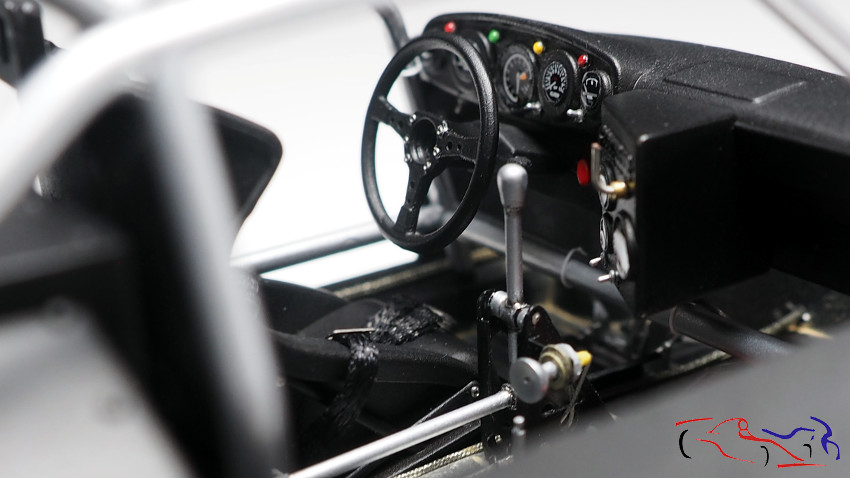
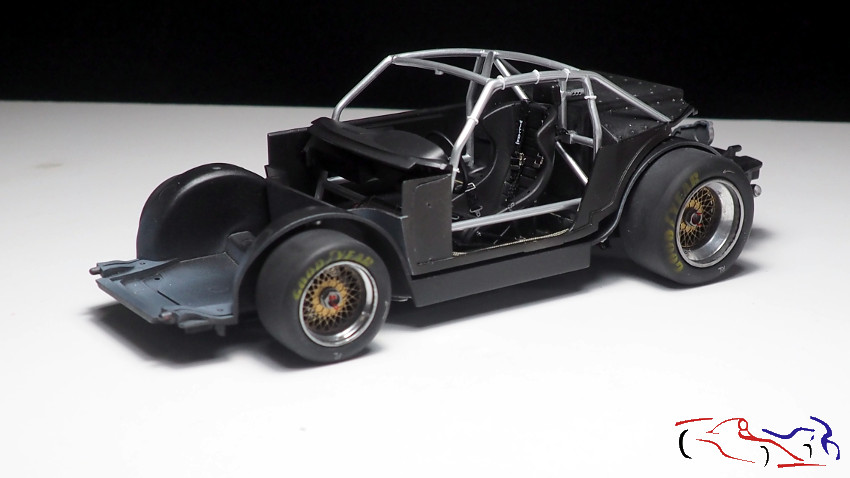
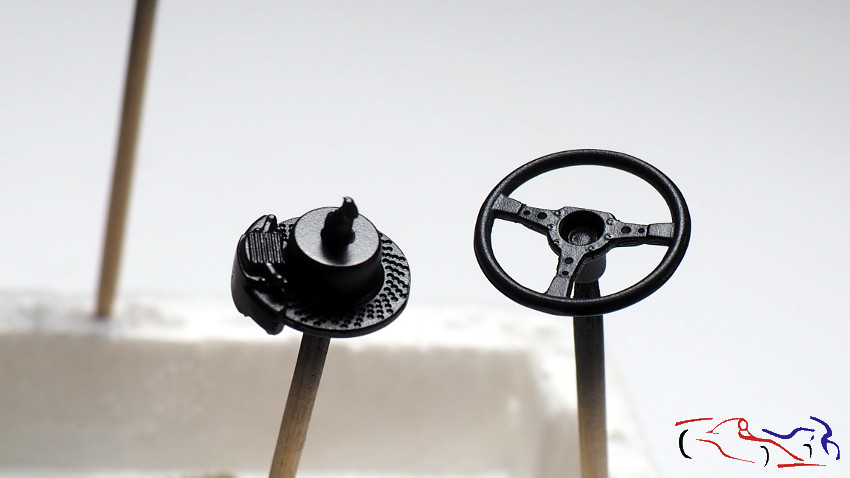
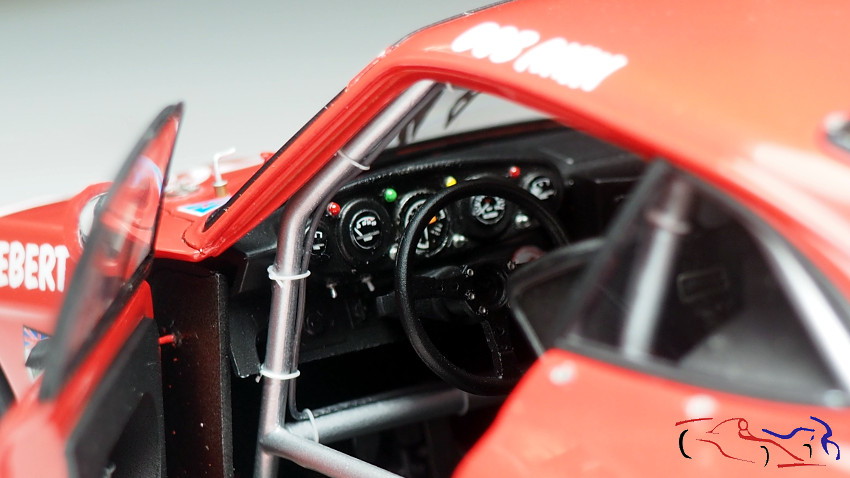
Y para terminar, primero os dejo una vista del salpicadero…
And to finish, first I leave you a view of the dashboard…
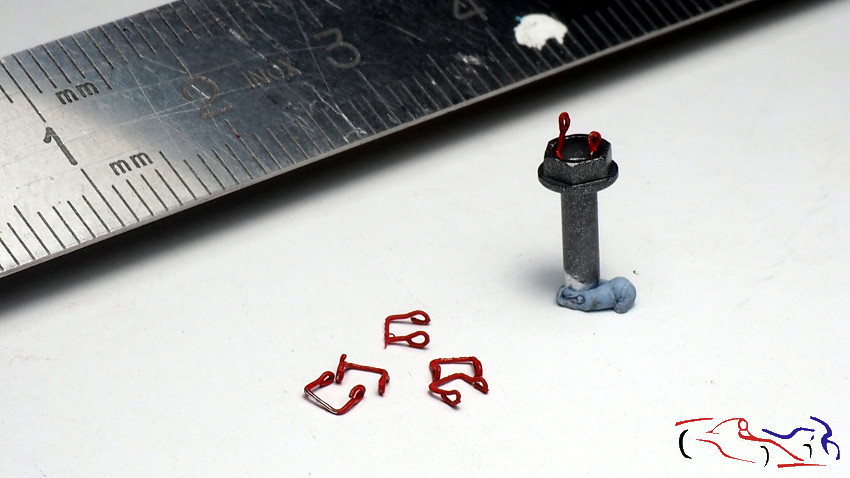
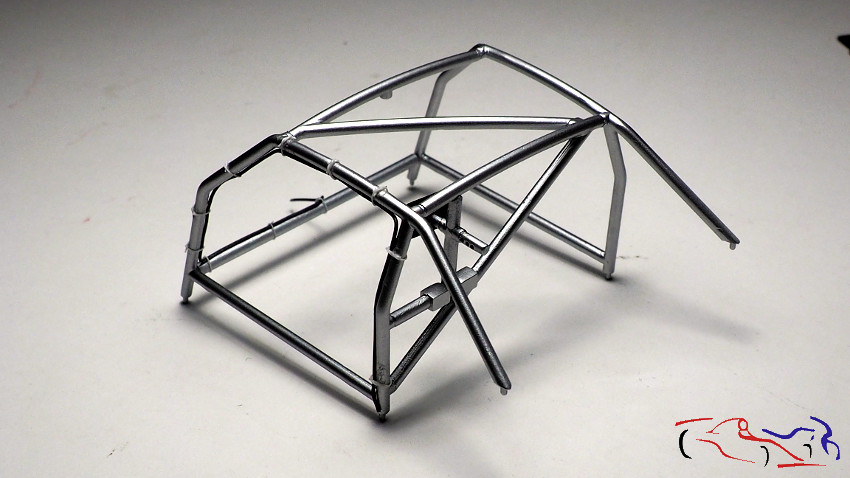
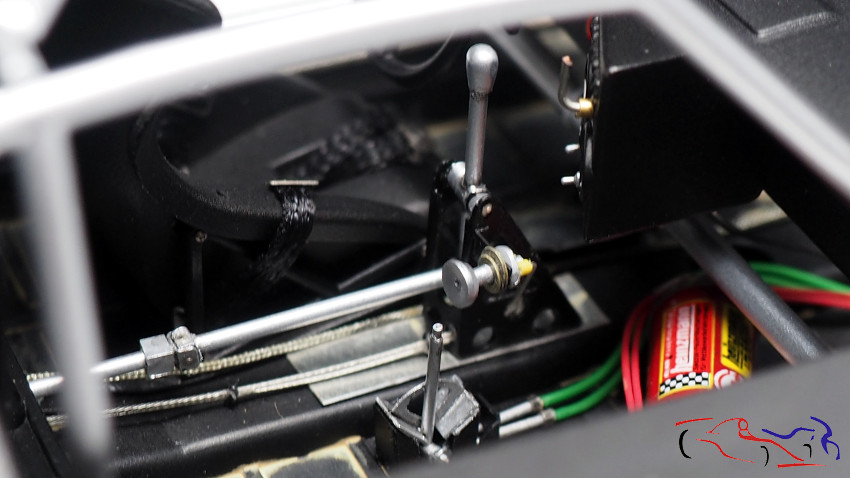
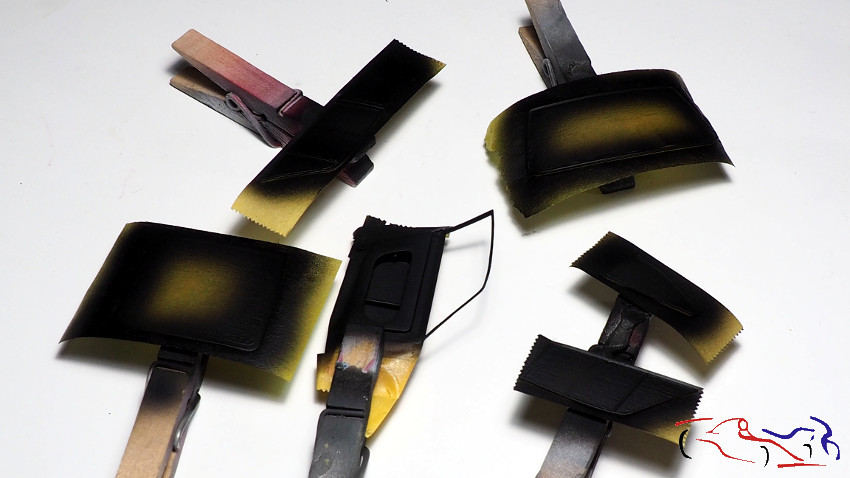
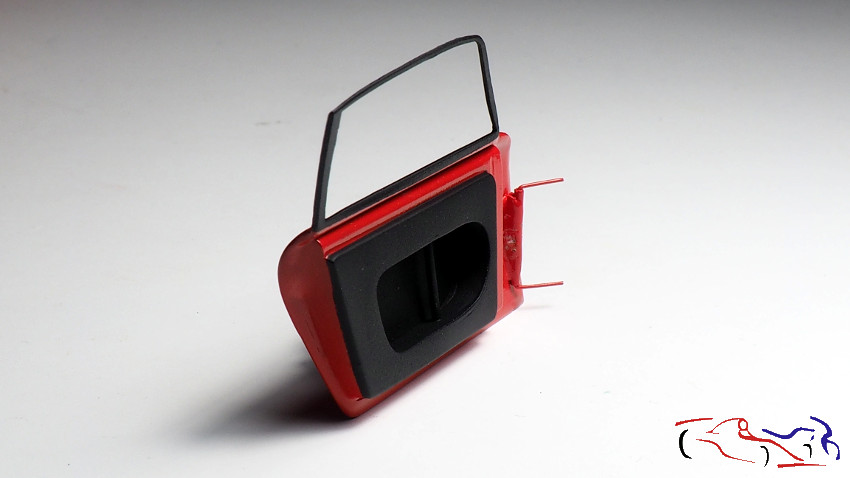
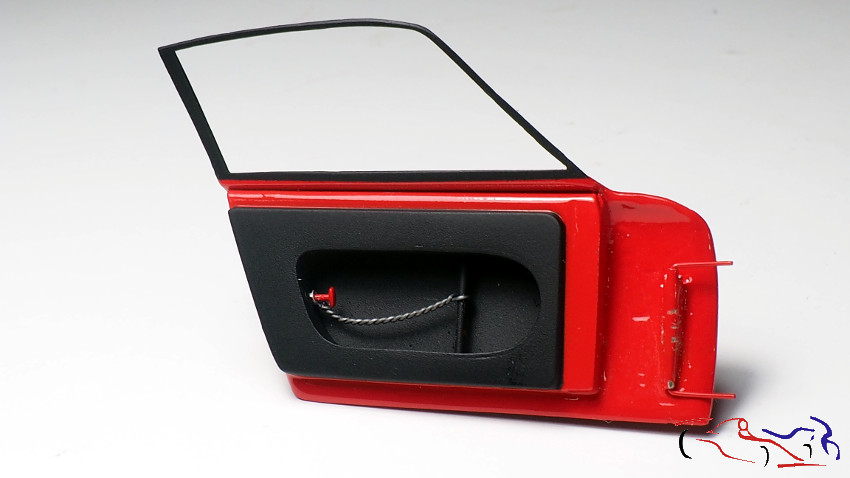
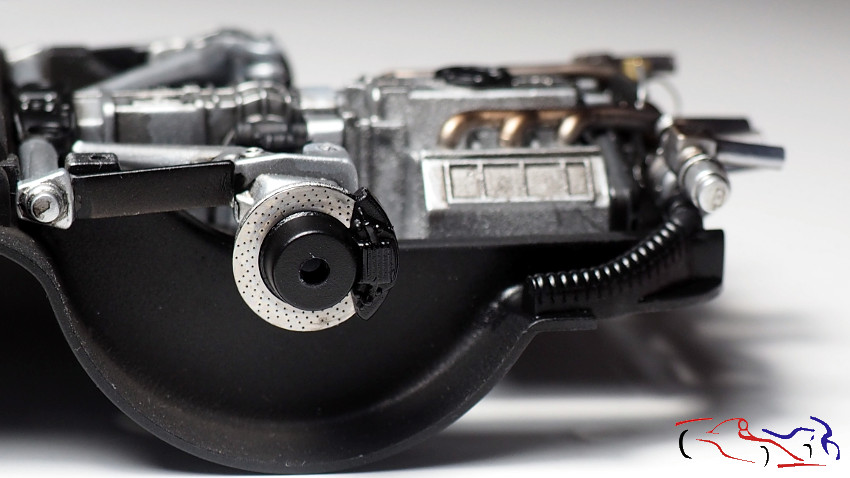
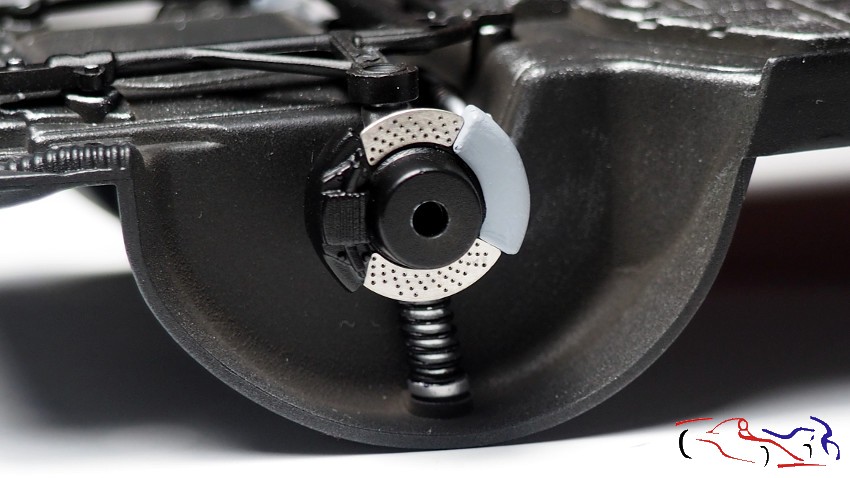
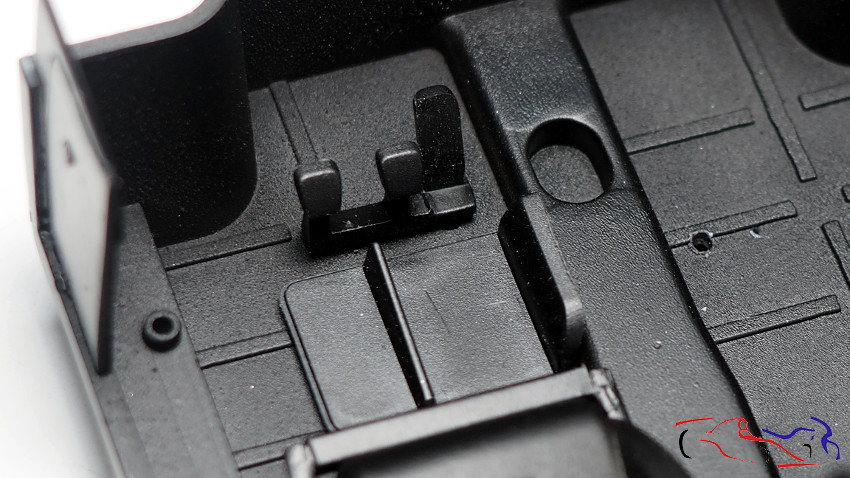
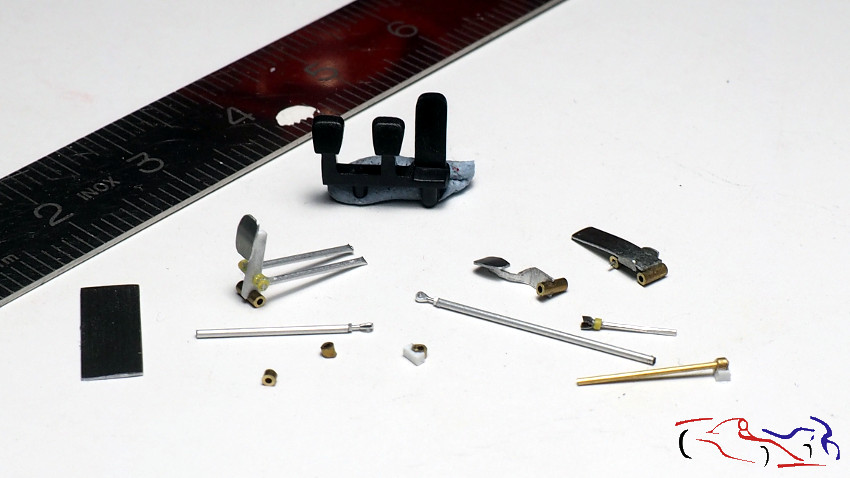
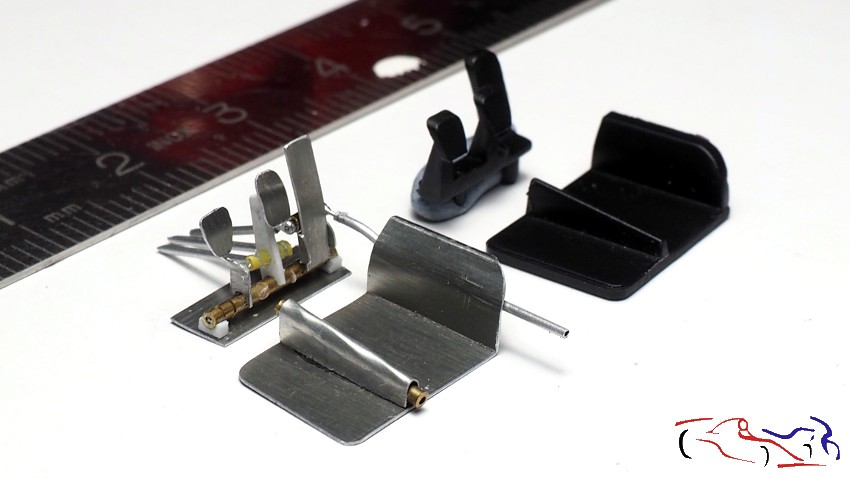
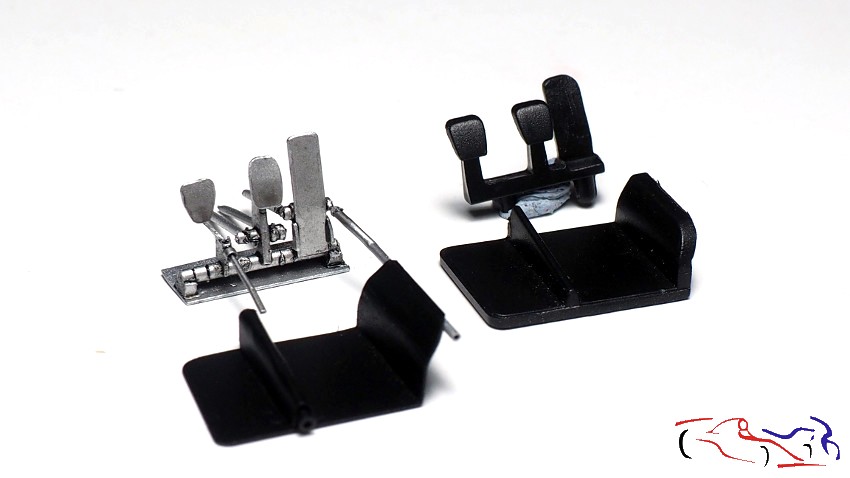
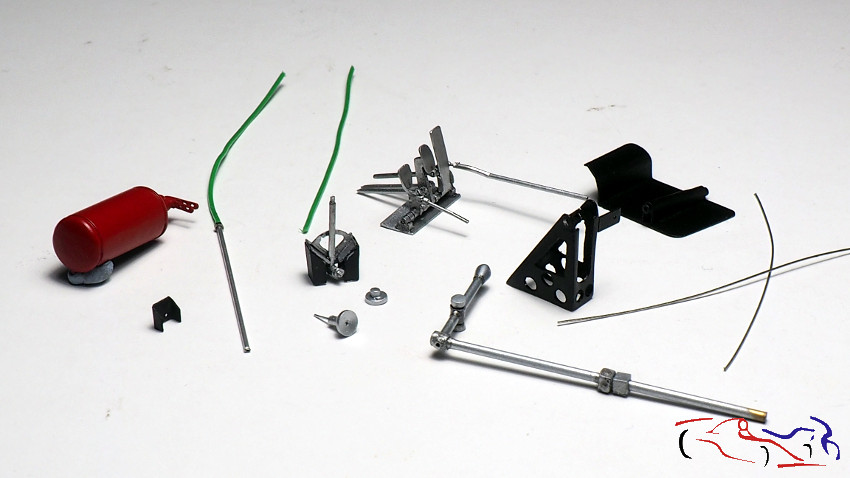
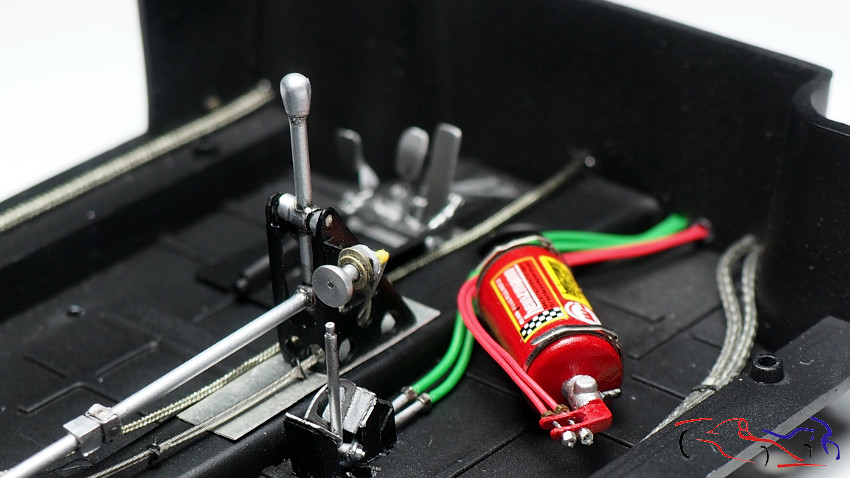
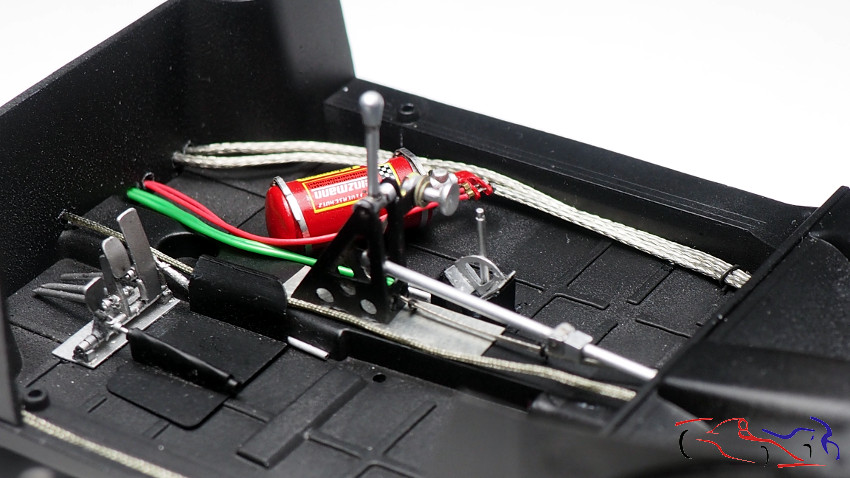
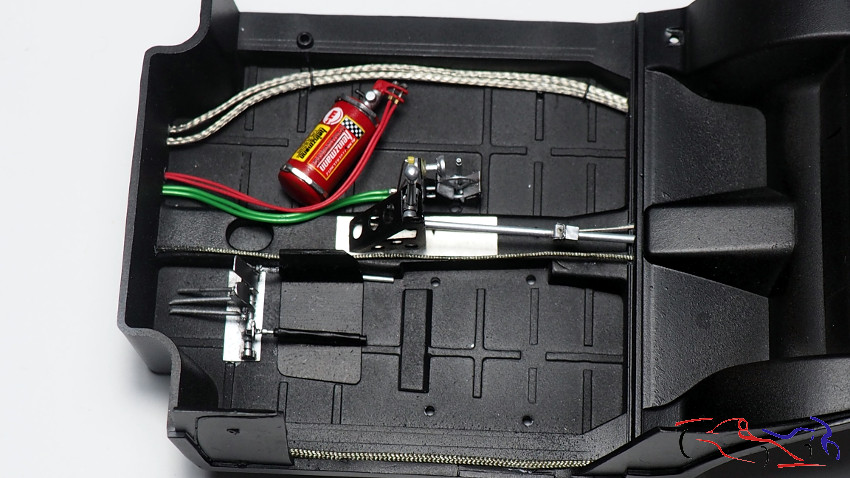
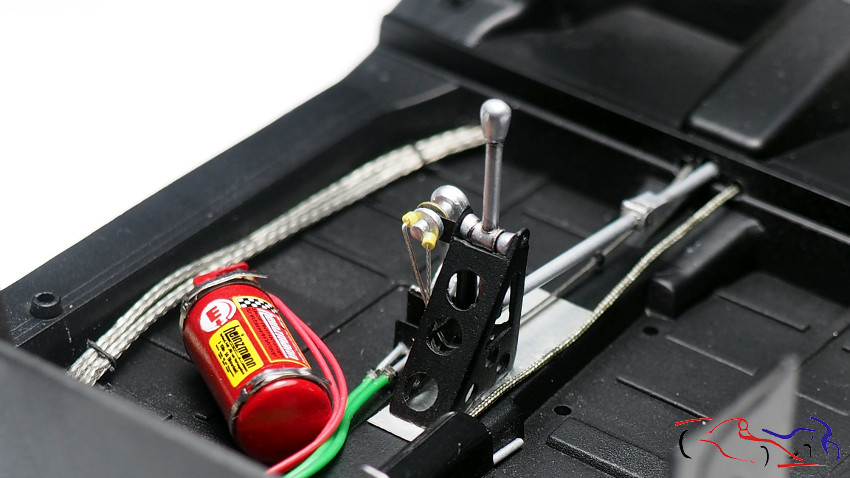
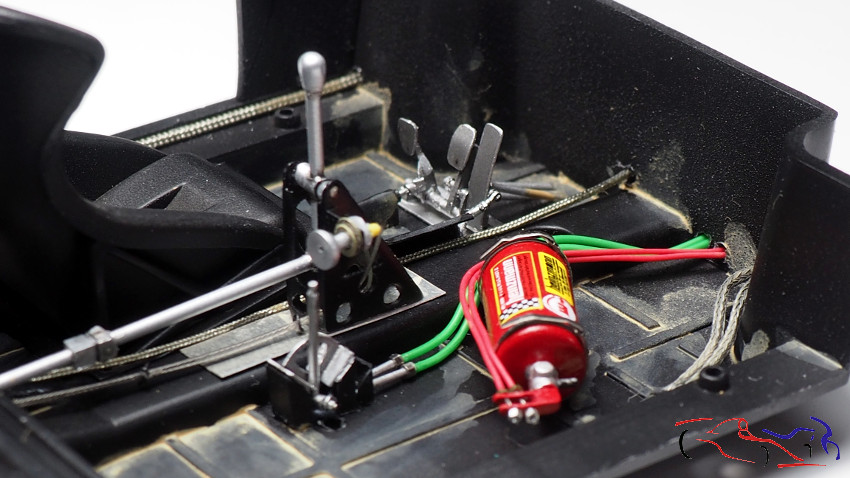
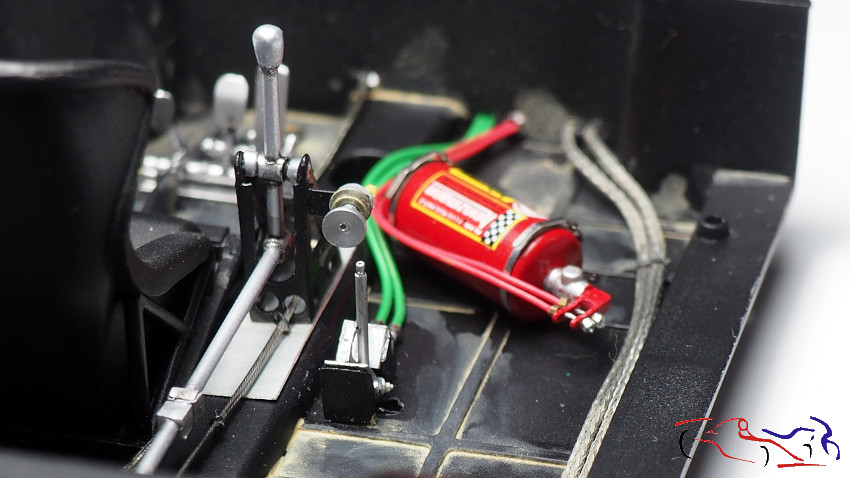
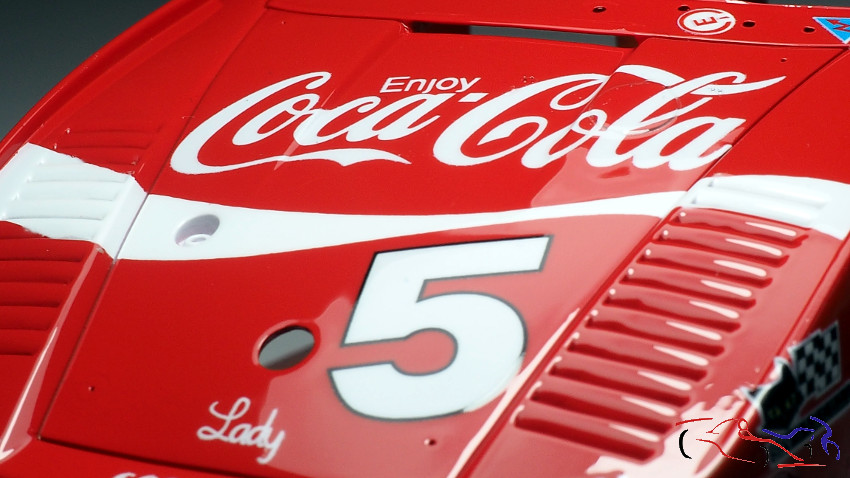
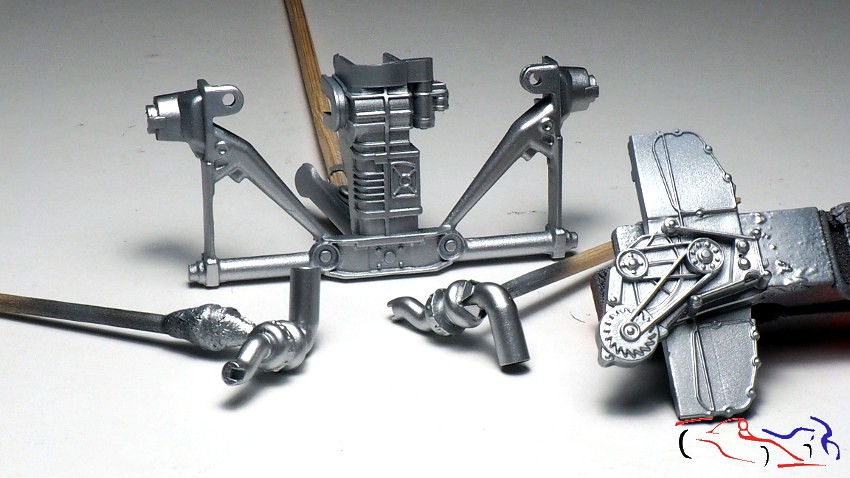
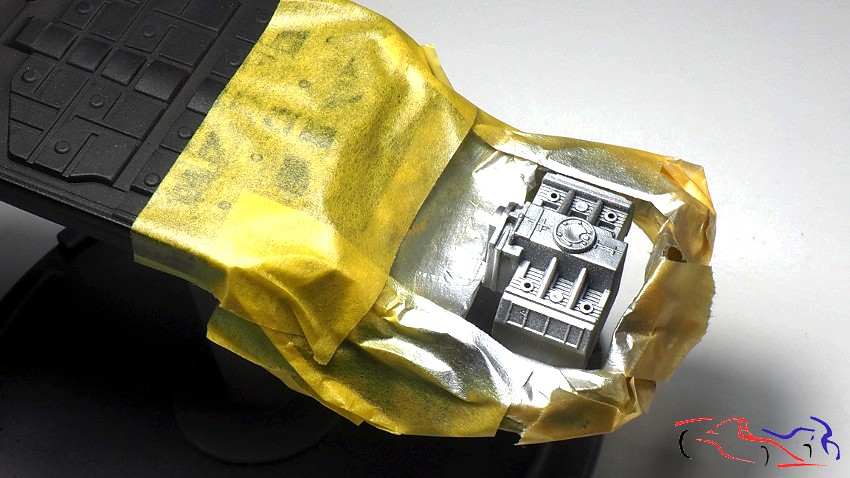
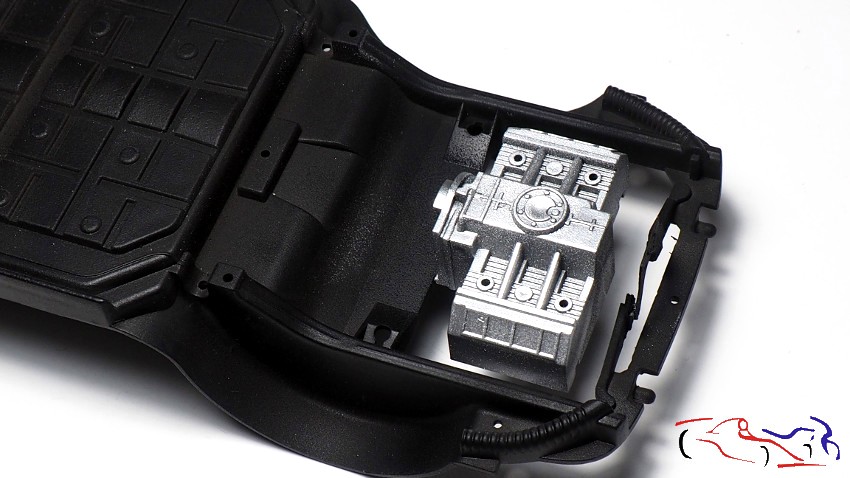
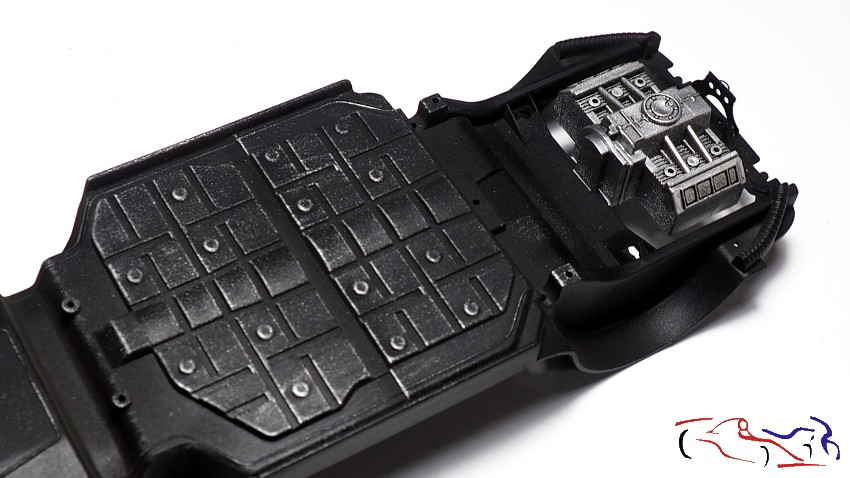
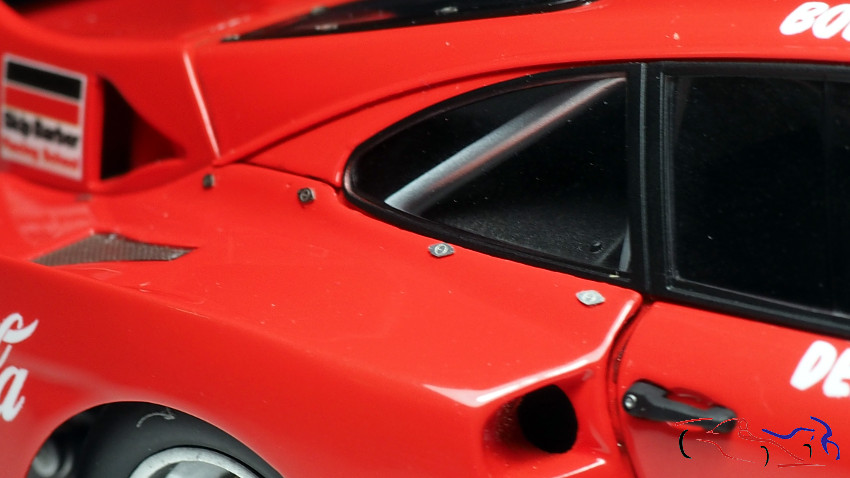
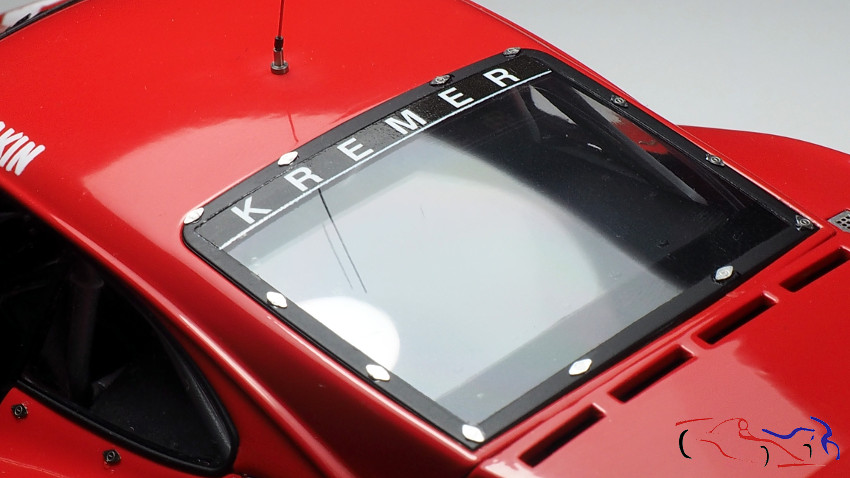
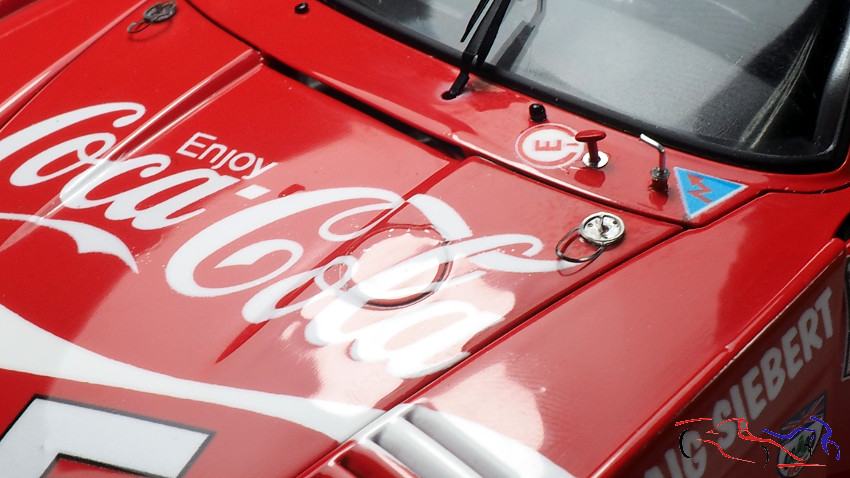
…y segundo, los dispositivos de seguridad del capó:
…and secondly, the safety devices on the bonnet:
Espero que os haya gustado y os sirva en caso de querer hacerla. Gracias por mirar y comentar!
I hope you liked it and that it will be useful in case you want to make it. Thanks for watching and commenting!