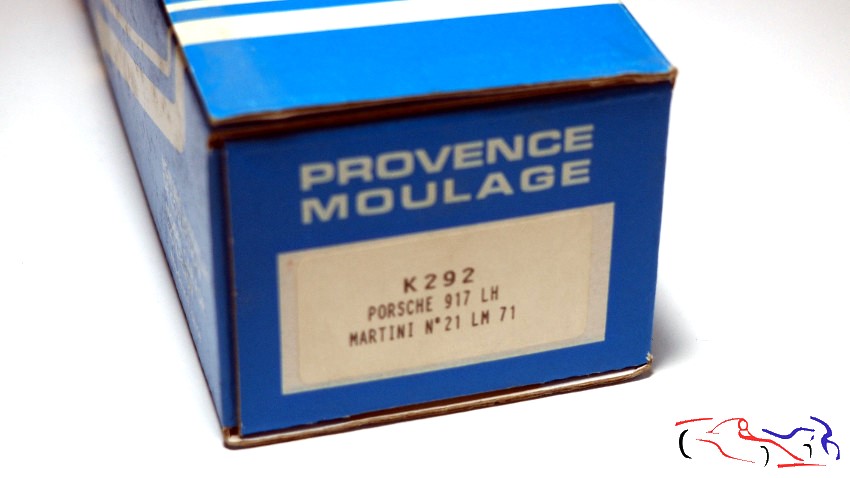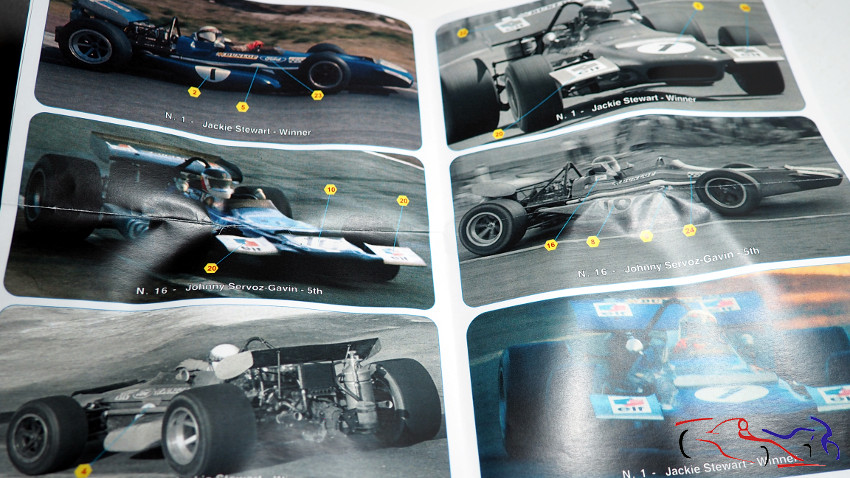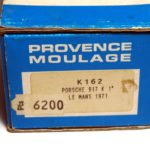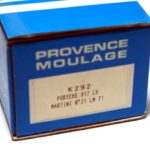
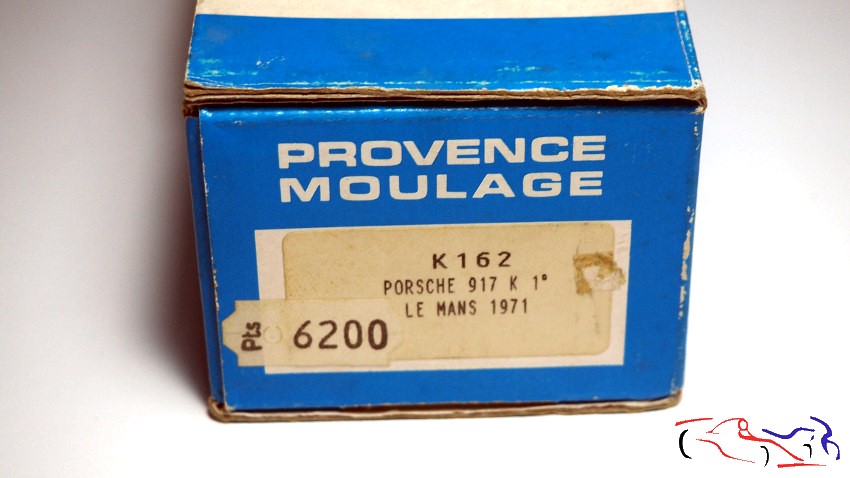
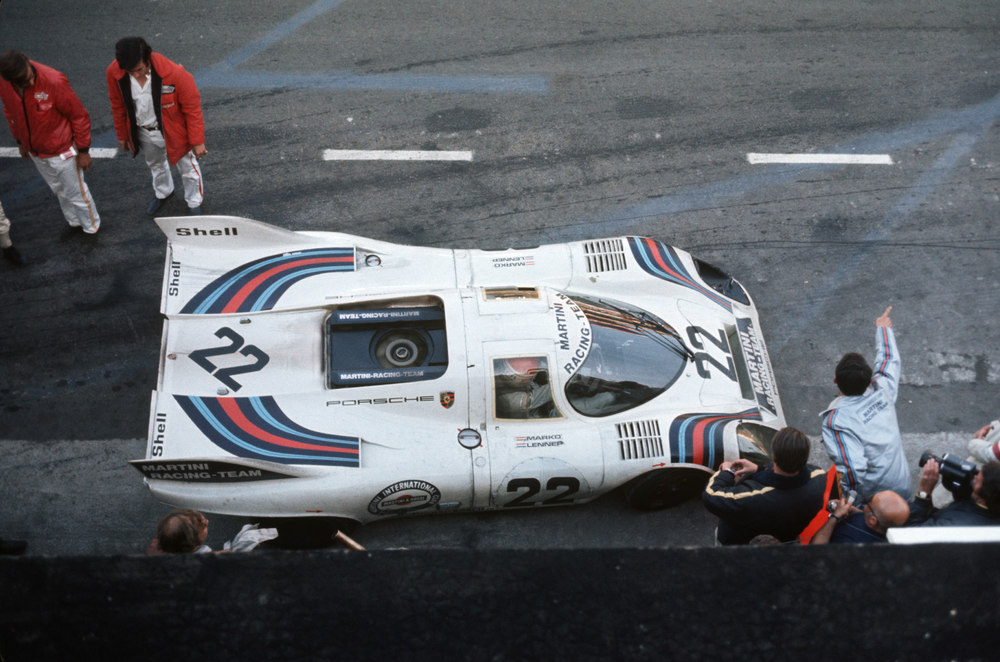
Hola a todos! Aunque hace muy poco he empezado otro proyecto, de un Porsche 917 que corrió e LeMans en 1971, hoy os muestro este kit, que también corrió en 1971, pero éste se llevó la victoria conducido por Helmut Marko y Gijs van Lennep. Mi idea es hacerlo casi al mismo tiempo, para que los dos se laquen al mismo tiempo, junto con el March 701, y asi, aprovechar ese proceso. El kit es otro Provence Moulage, que en su tiempo costó 6200 pesetas, que en euros sería 37,25 (no se cuando fue comprado en la tienda!!):
Hello everyone! Although I’ve only just started another project – a Porsche 917 that raced at Le Mans in 1971 – today I’m showing you this kit, which also raced in 1971, but this one took the win, driven by Helmut Marko and Gijs van Lennep. My plan is to build it at roughly the same time, so that both can be painted at the same time, along with the March 701, and thus make the most of that process. The kit is another Provence Moulage, which at the time cost 6,200 pesetas, which would be €37.25 (I don’t know when it was bought in the shop!!):
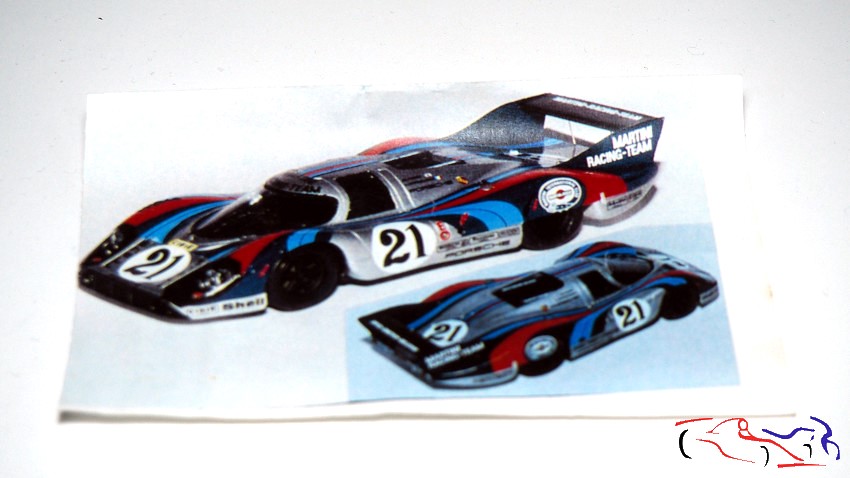
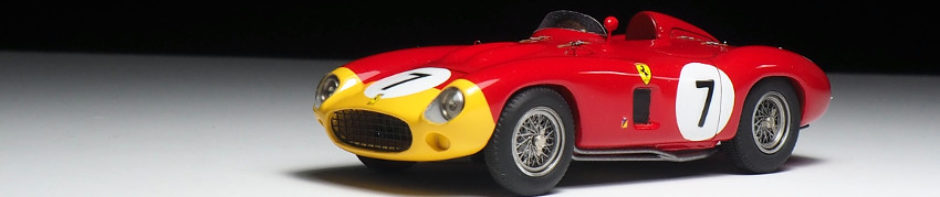
Y este es el modelo final:
And this is the final model:
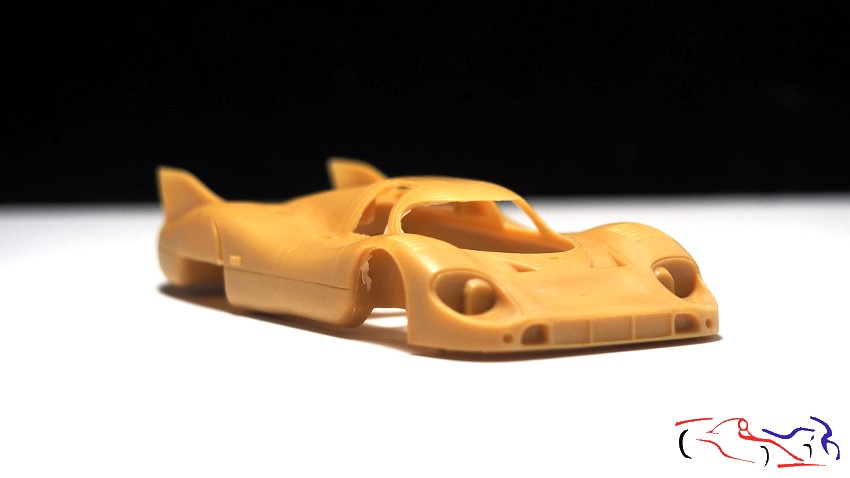
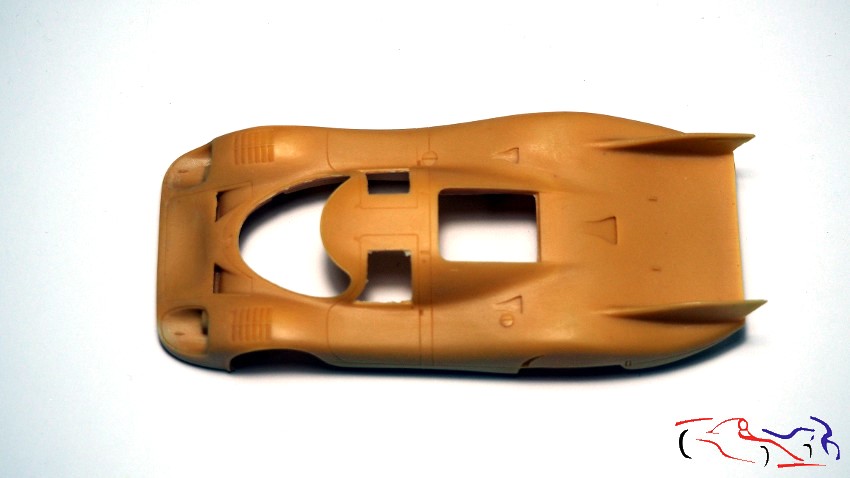
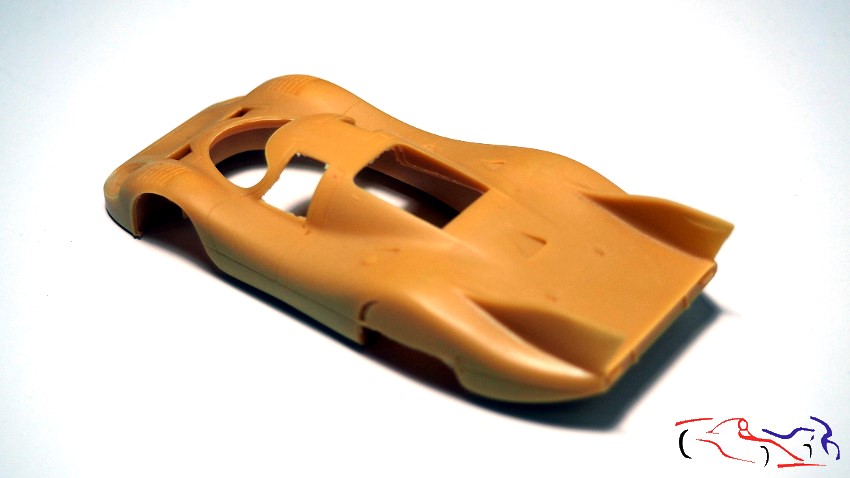
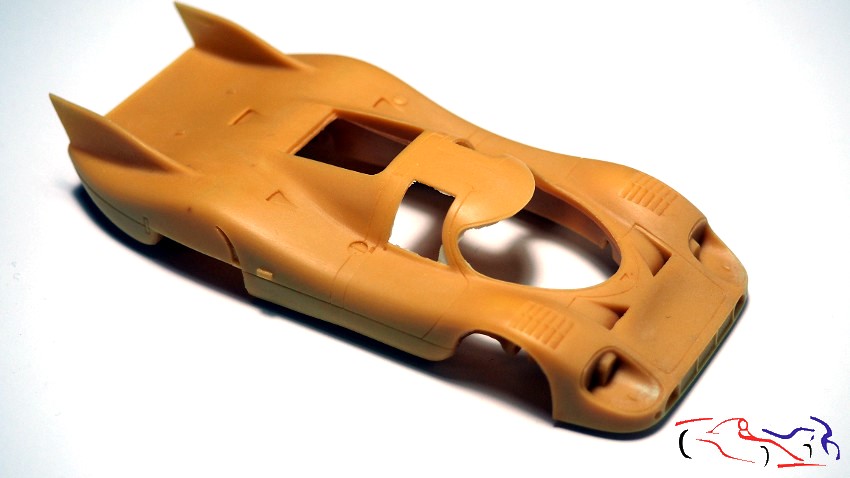
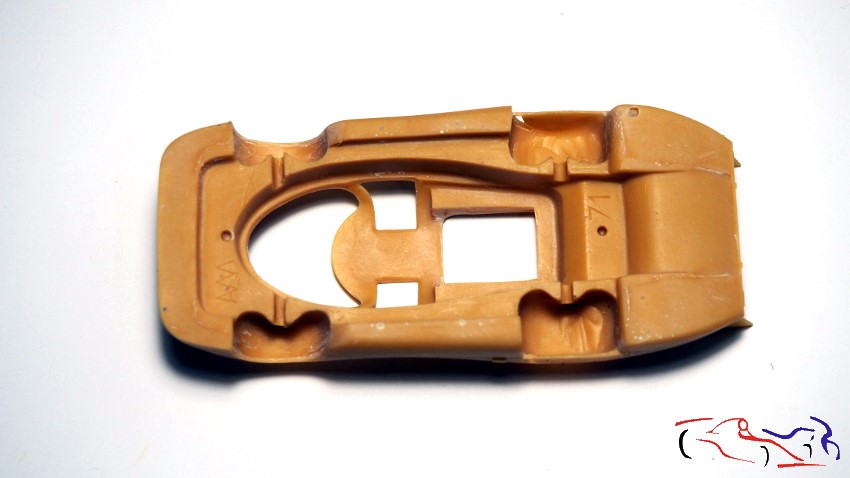
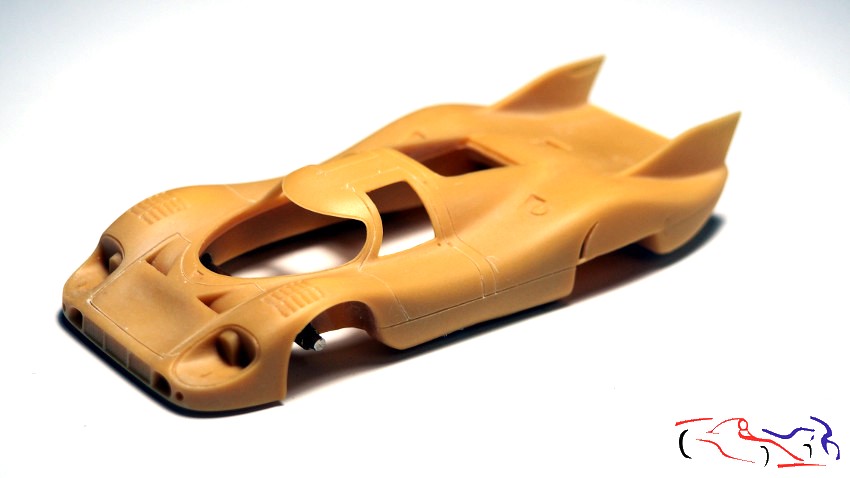
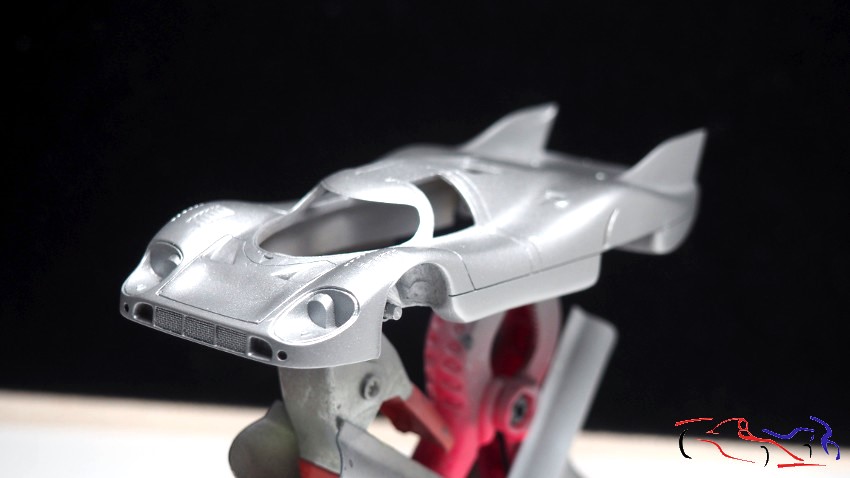
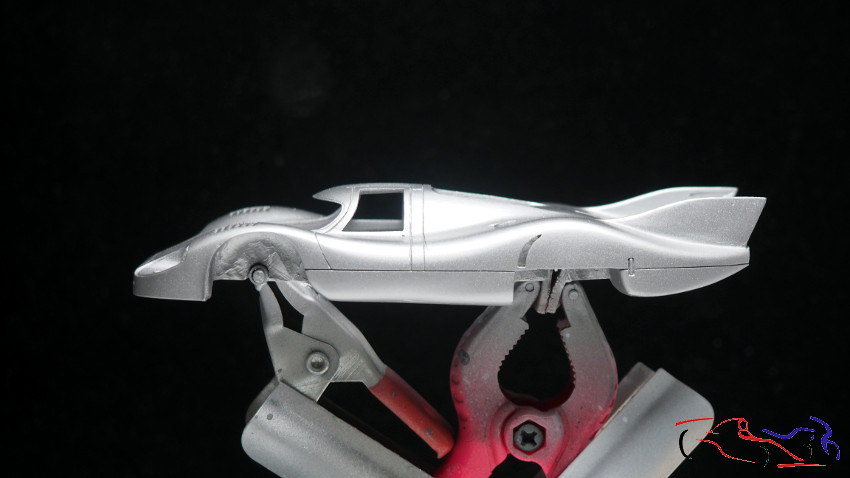
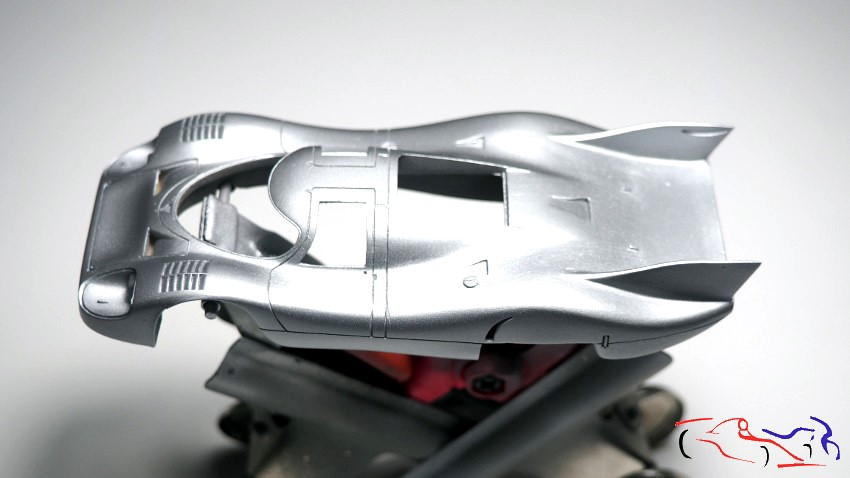
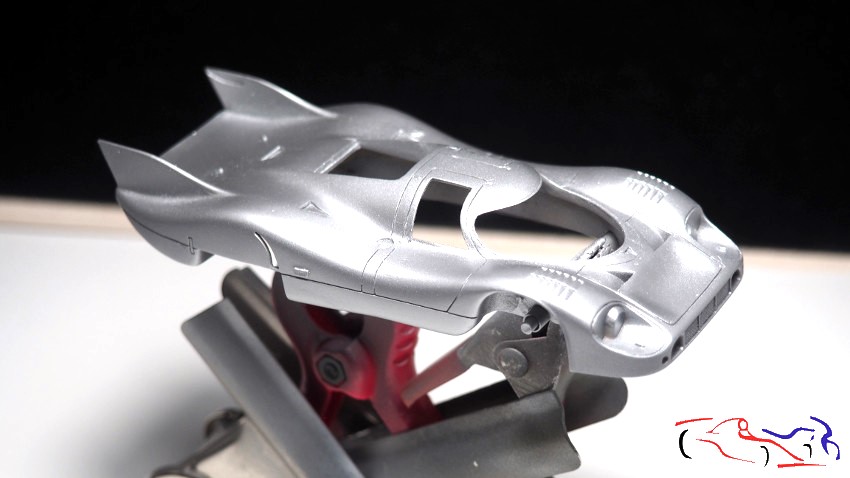
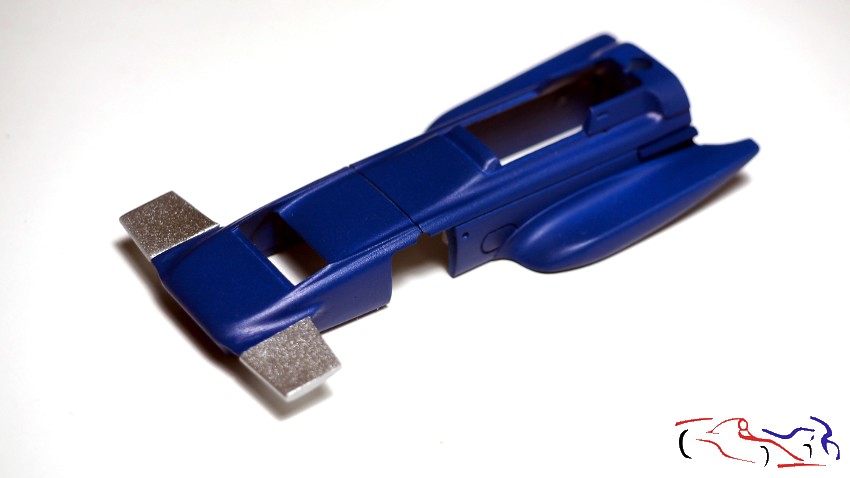
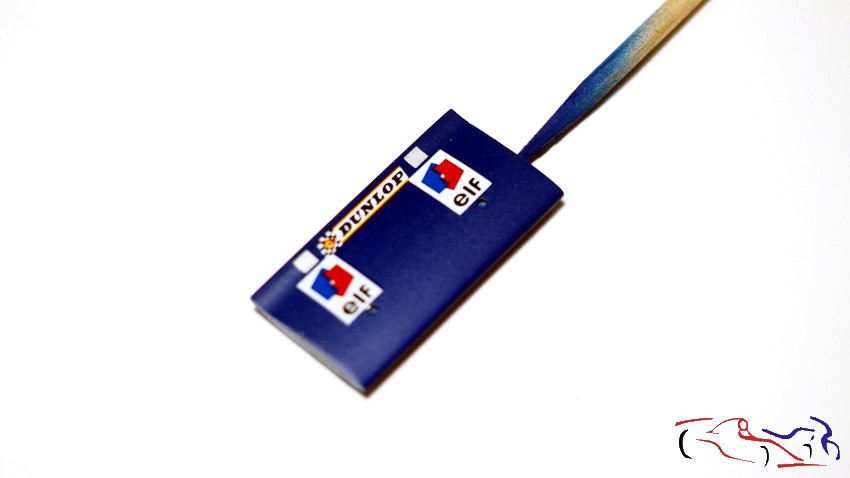
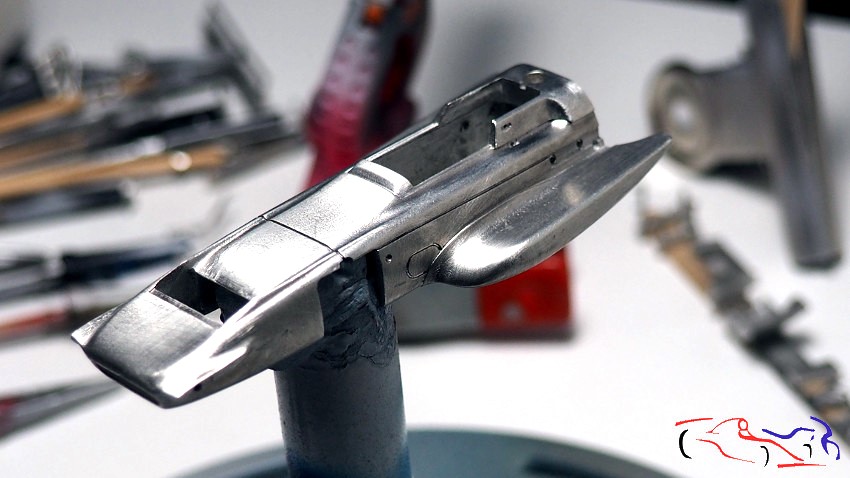
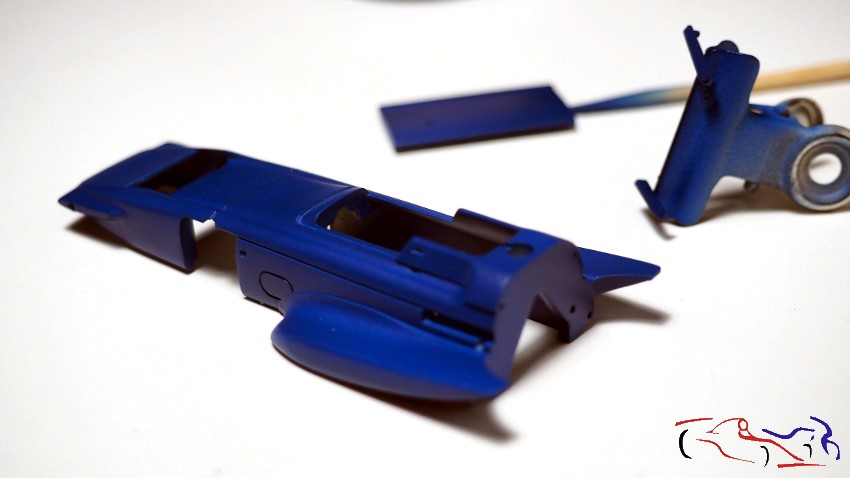
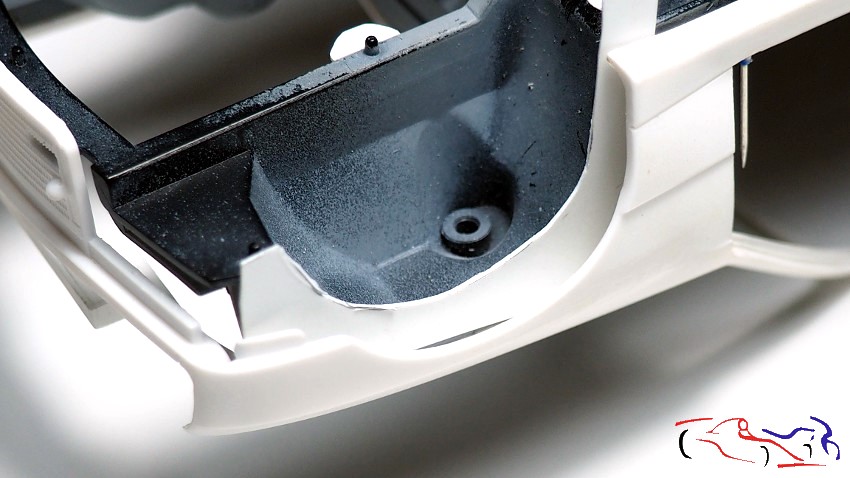
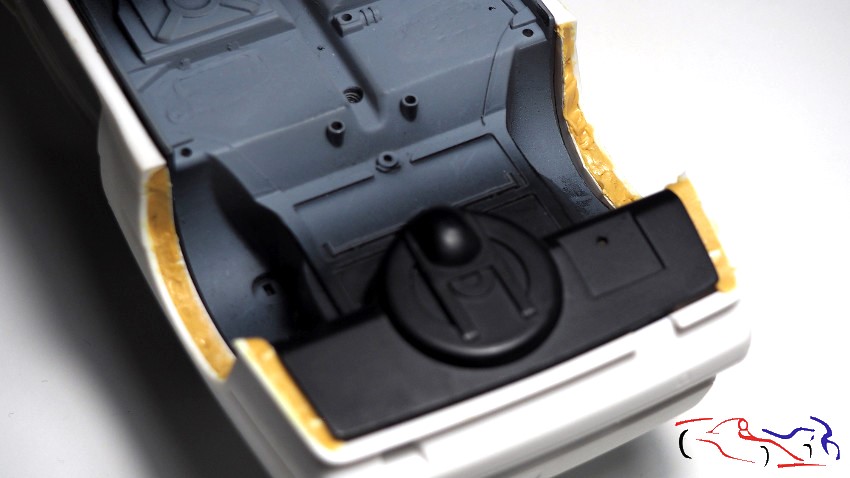
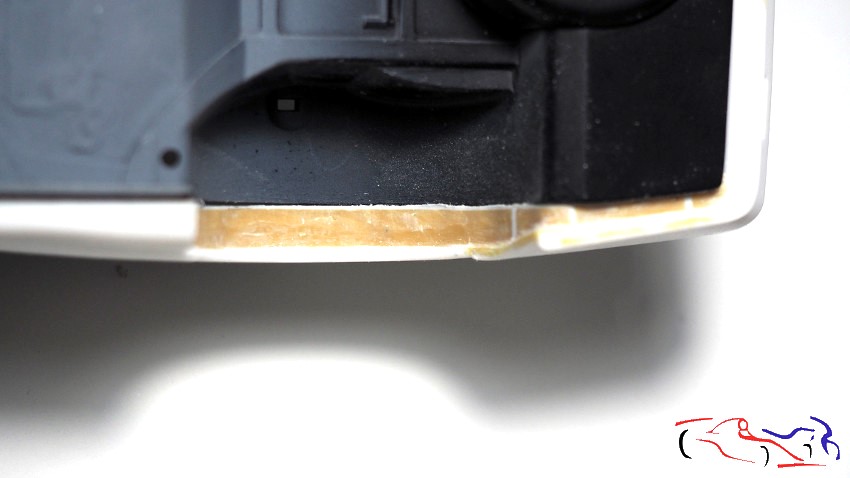
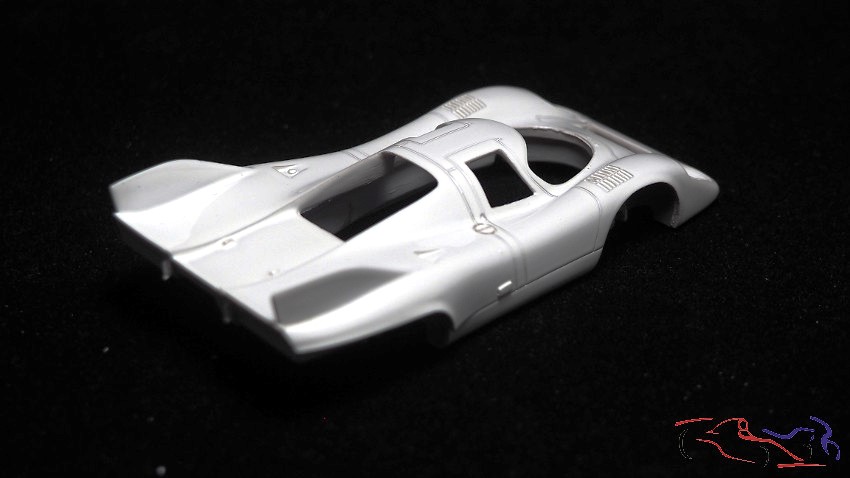
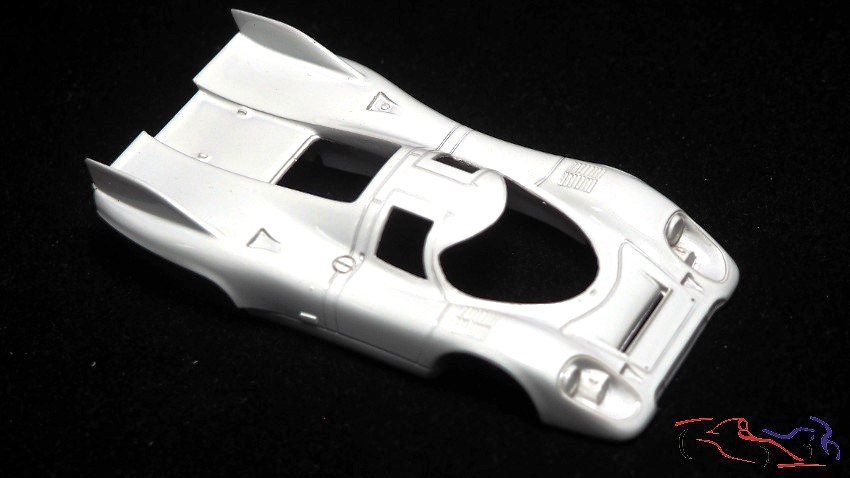
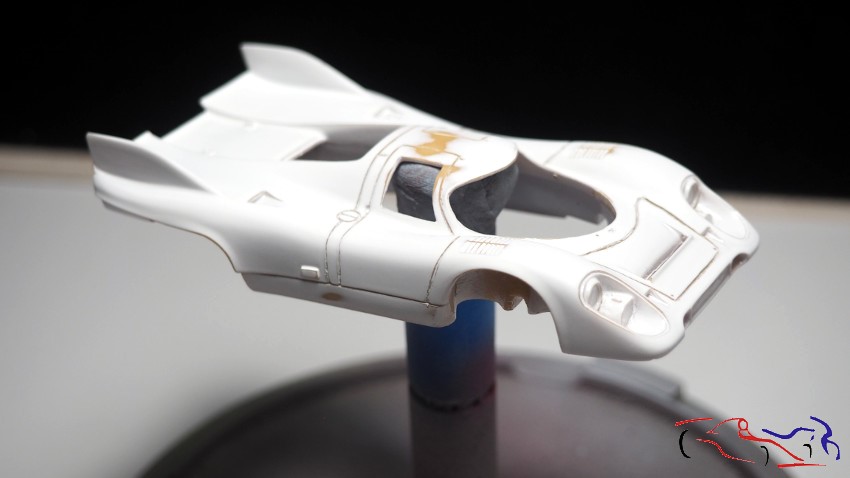
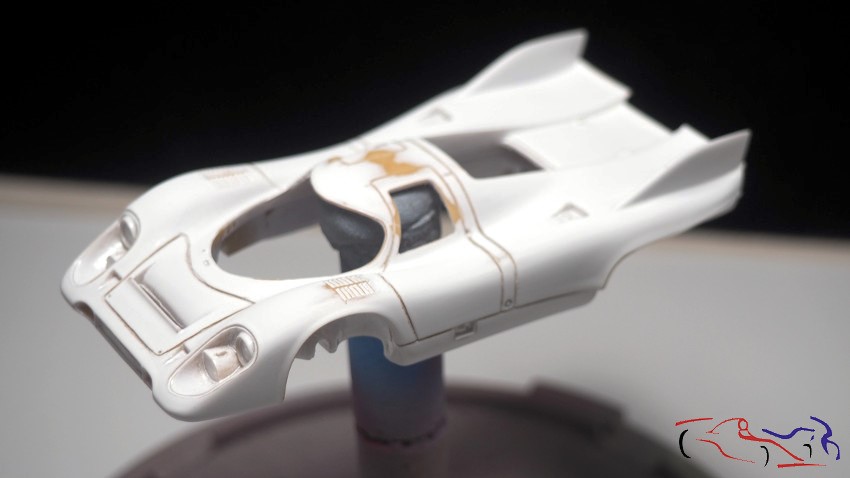
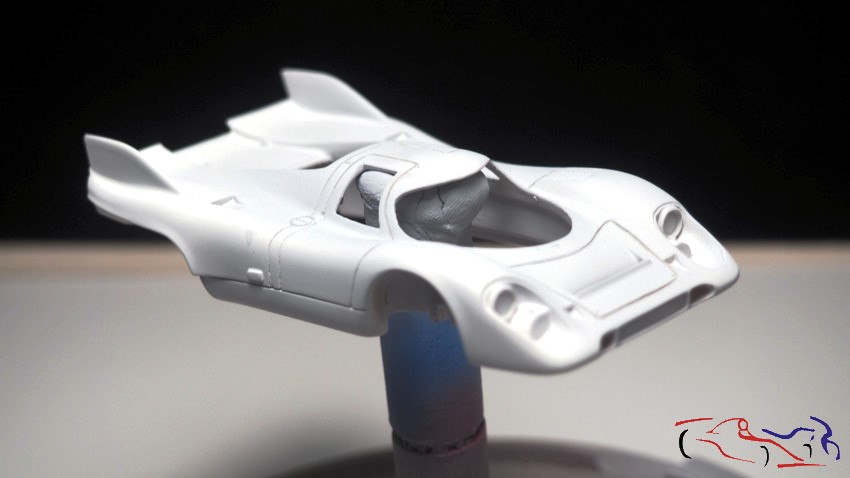
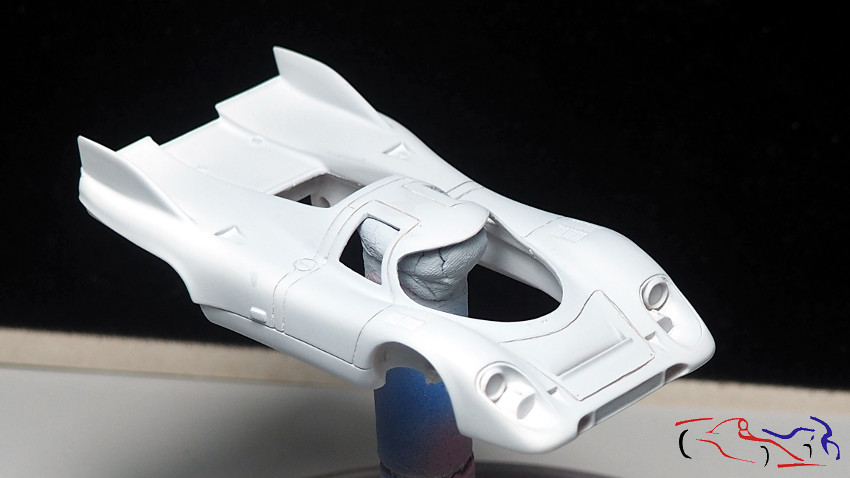
La carrocería es igualmente de resina, pero alguno de sus dueños anteriores, debió pintarlo de blanco, sin afinarla, ya que hay restos de rebabas, y sin profundizar las líneas de los paneles. Además, la capa de pintura fue generosa, por lo que muchas curvas eliminaron dichos paneles. Habrá que repasarla un poco!!
The bodywork is also made of resin, but one of its previous owners must have painted it white without sanding it down properly, as there are traces of rough edges, and without deepening the lines of the panels. What’s more, a thick layer of paint was applied, so many of the curves on those panels have been lost. It’ll need a bit of a touch-up!!
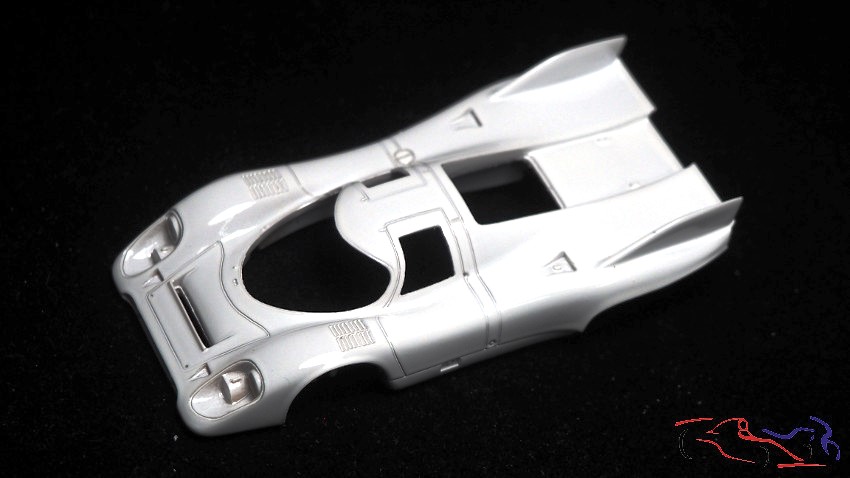
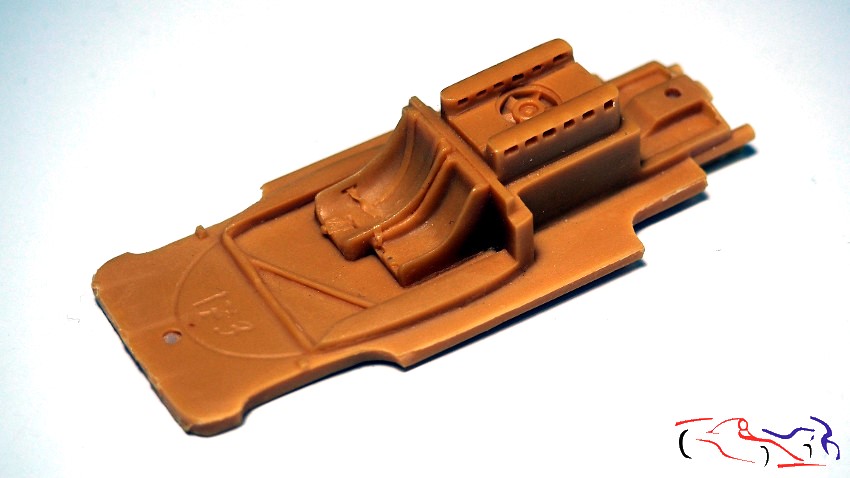
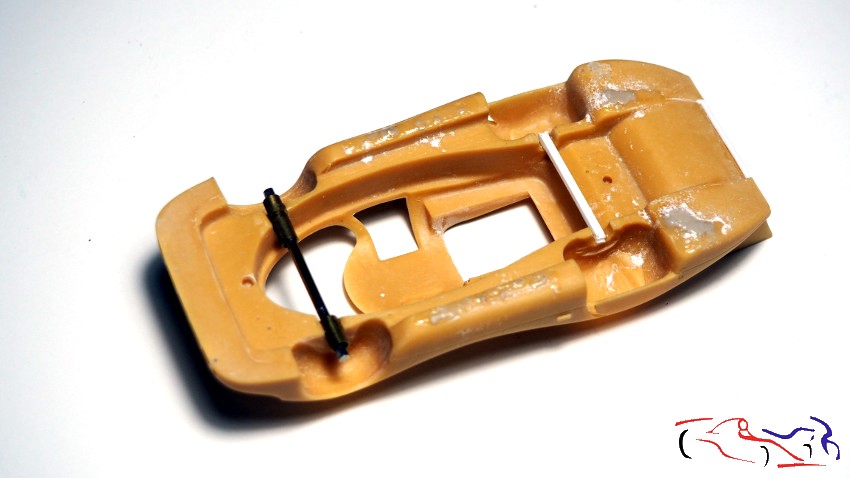
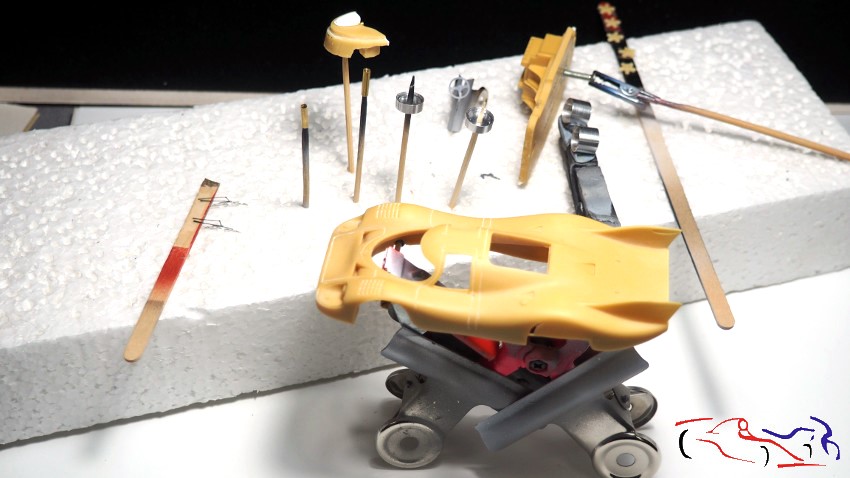
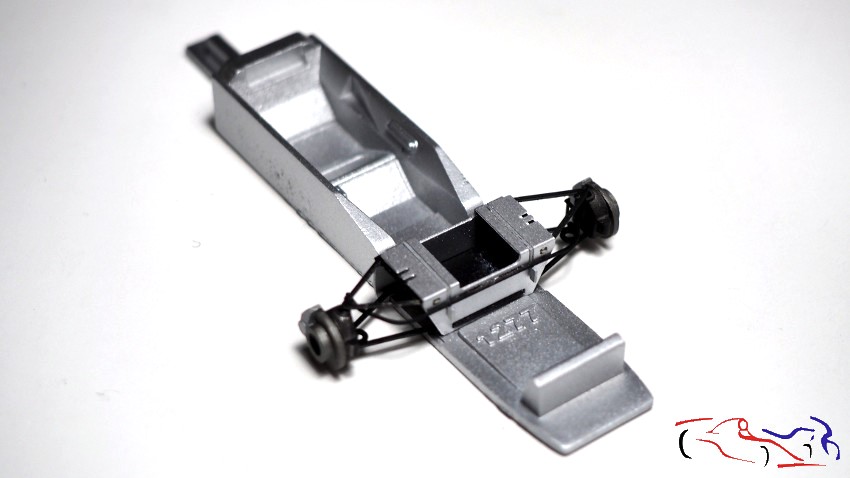
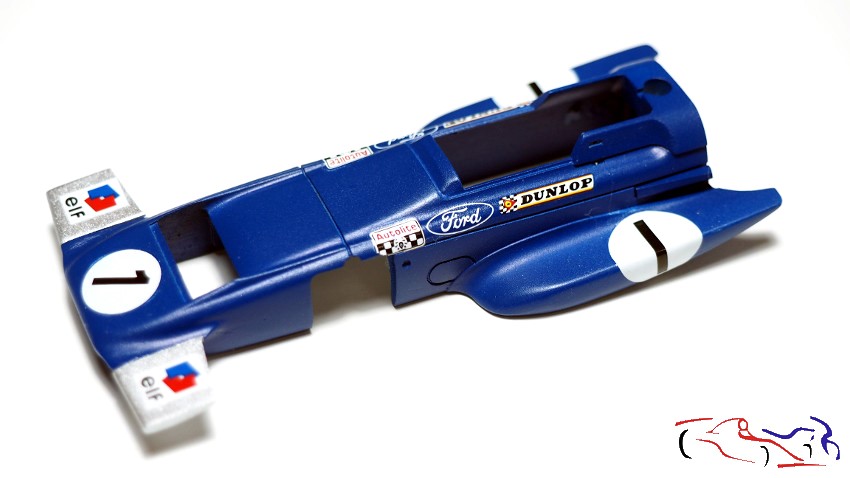
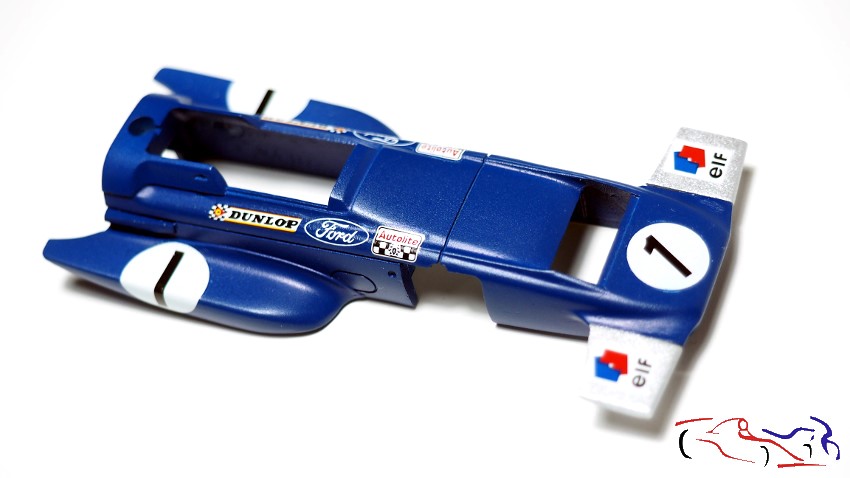
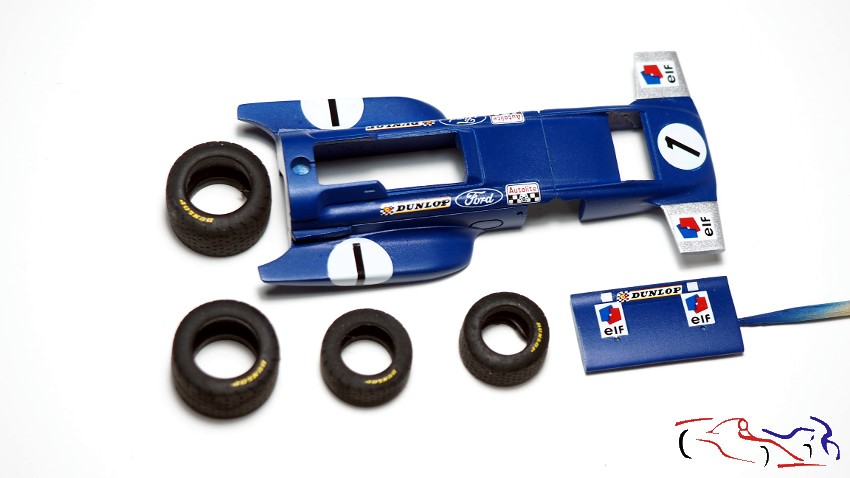
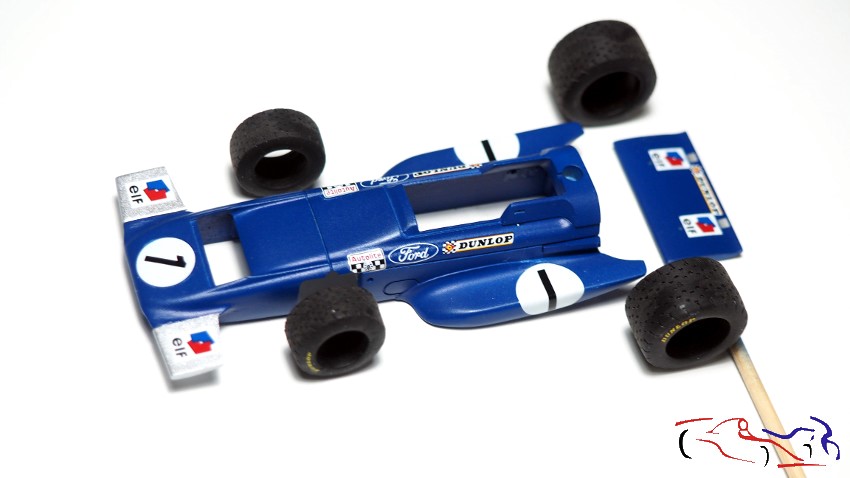
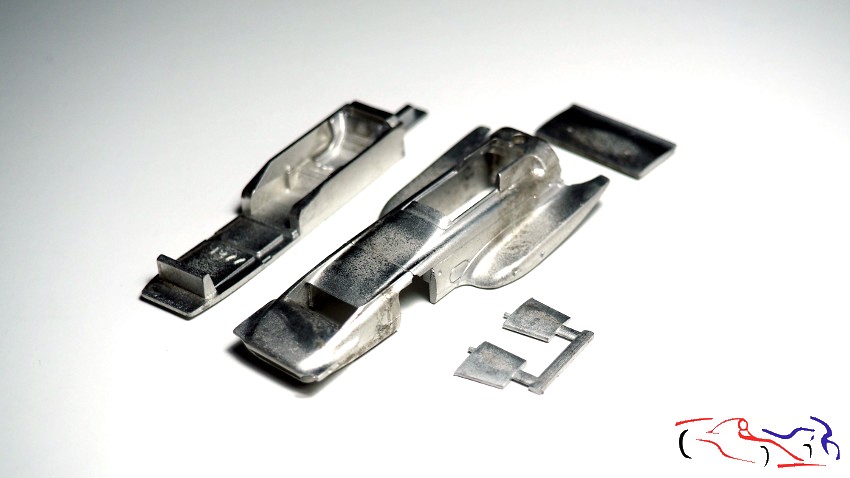
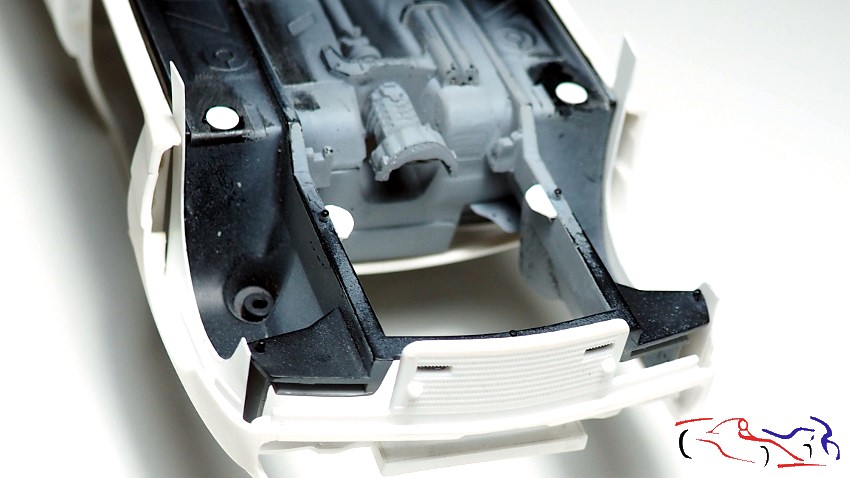
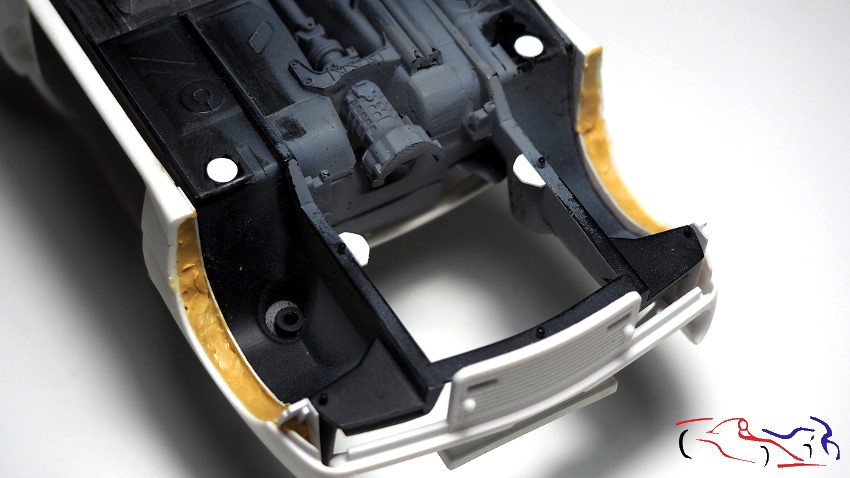
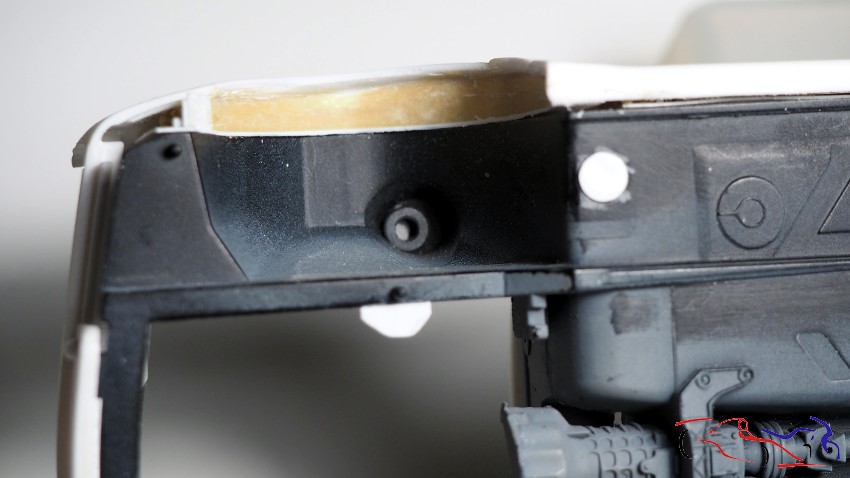
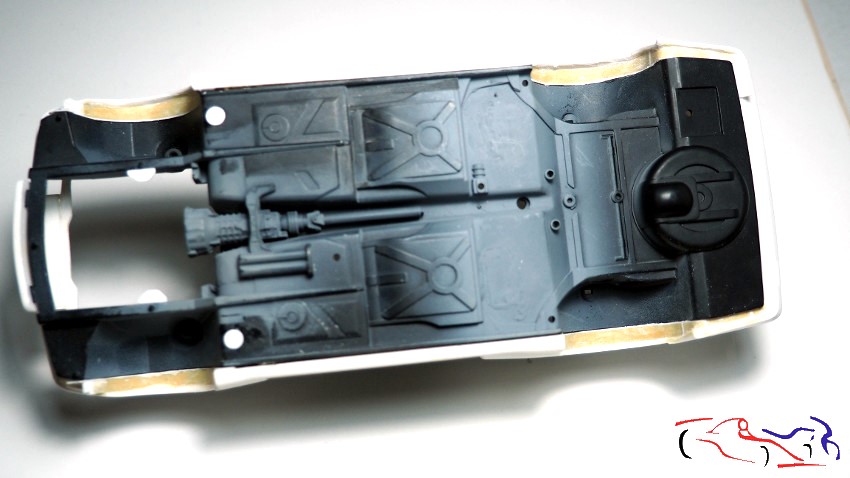
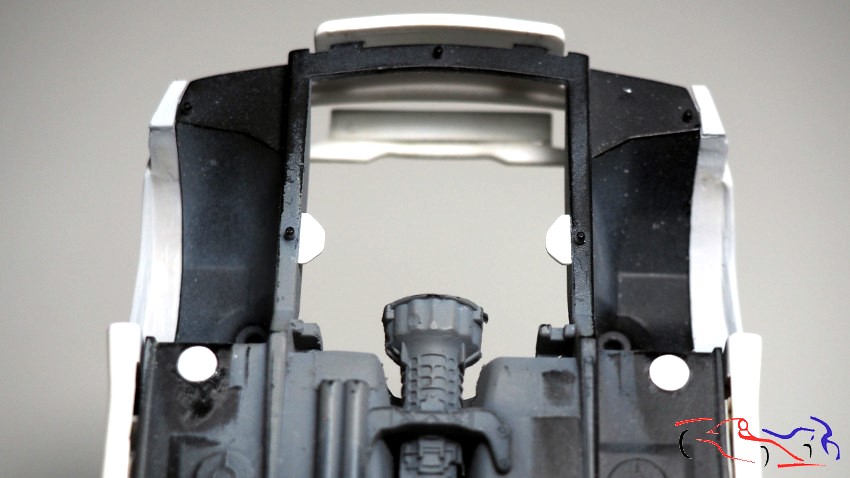
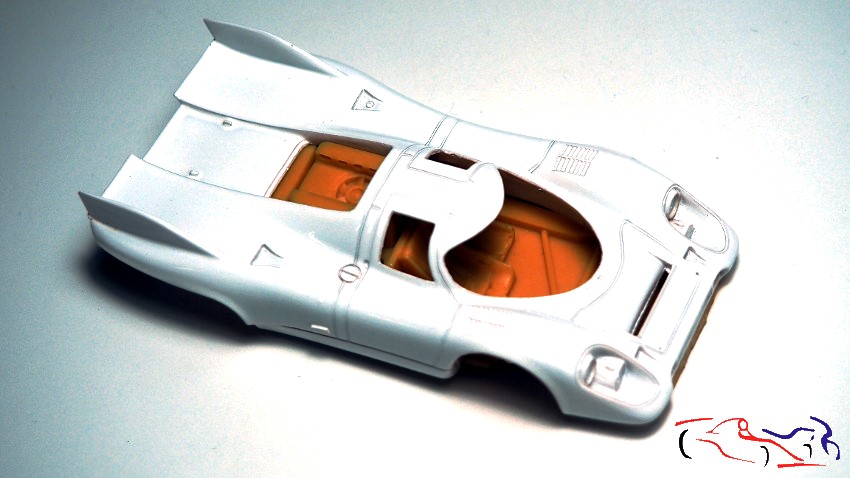
Aquí vemos la carrocería con su chasis:
Here we can see the bodywork with its chassis:
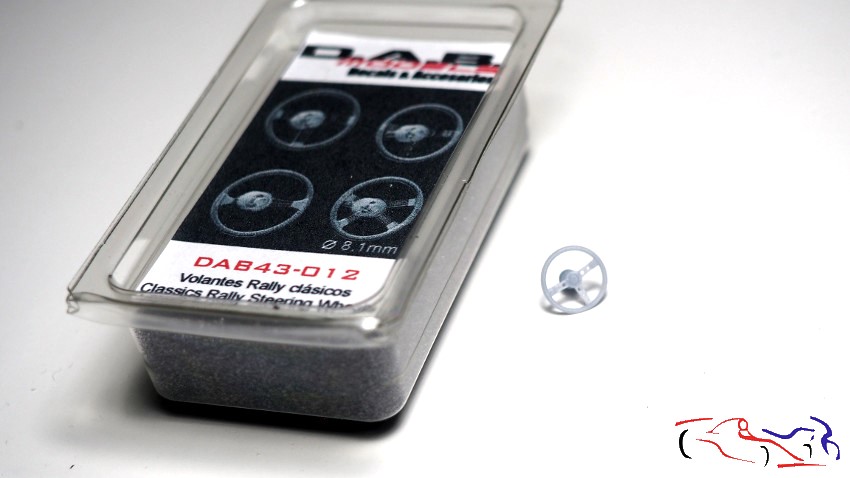
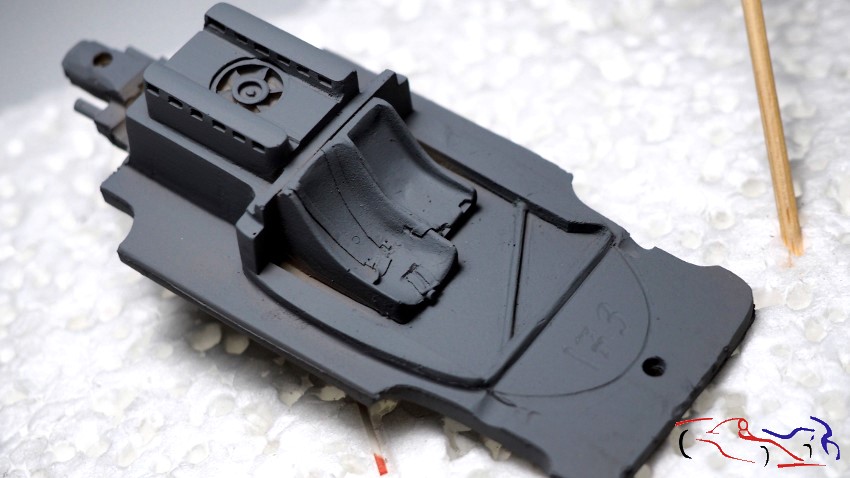
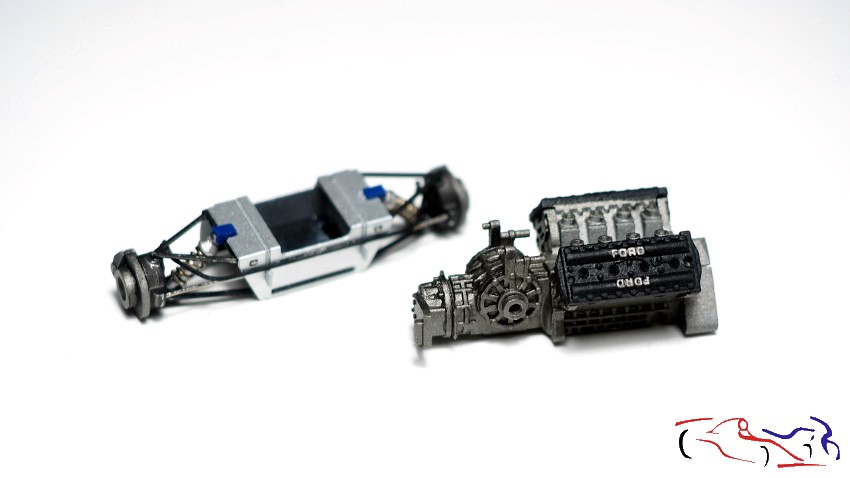
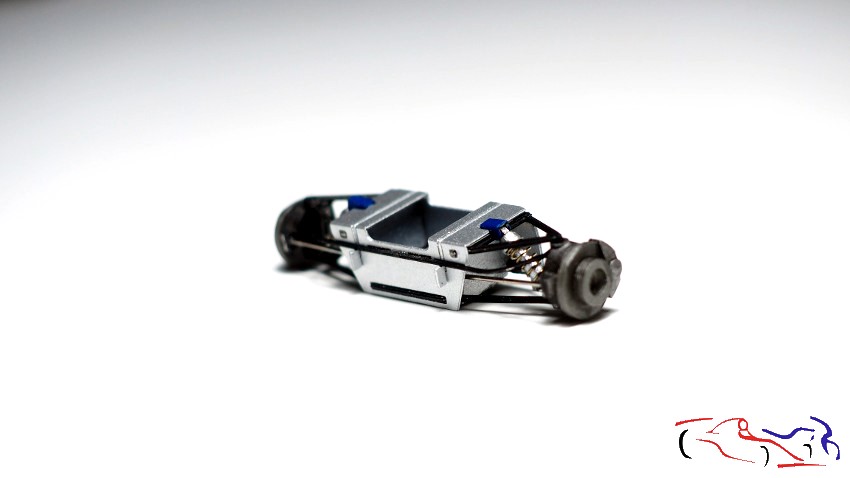
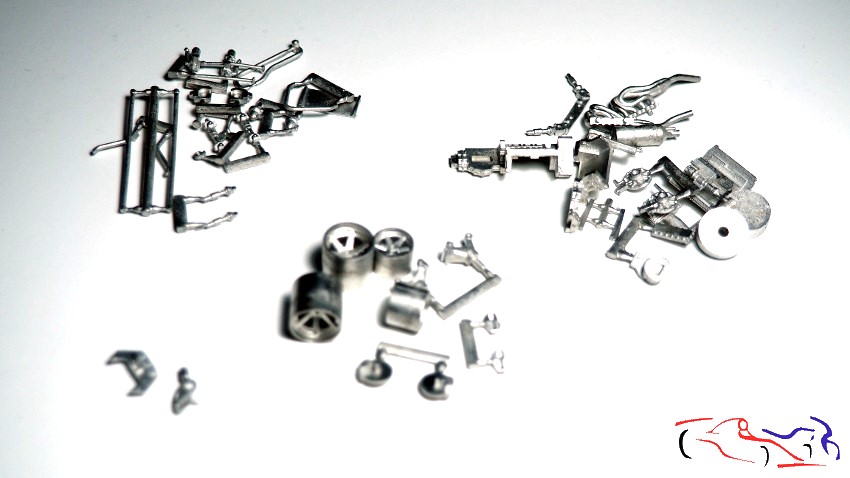
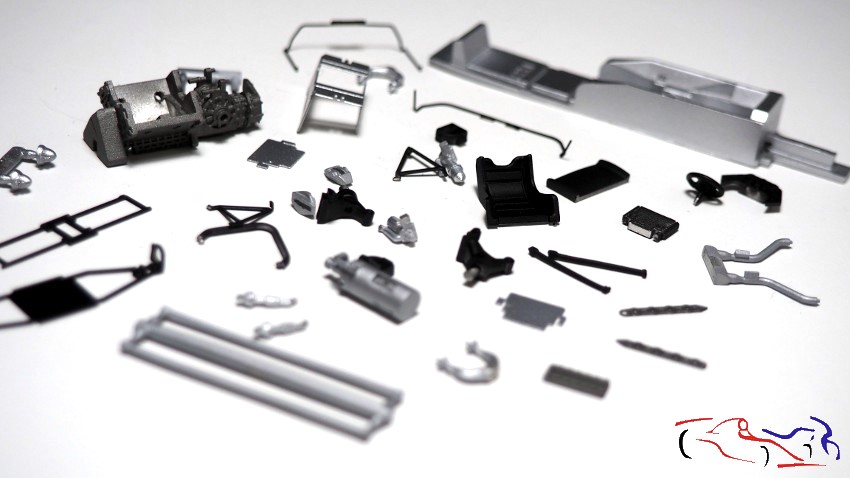
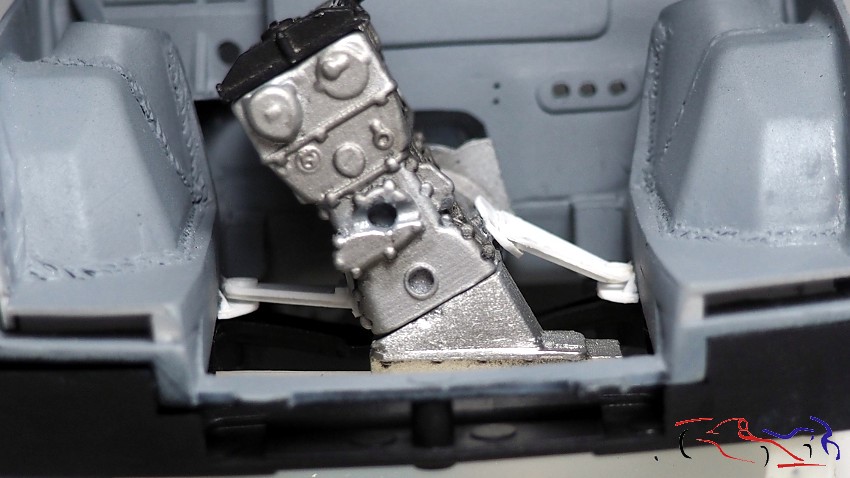
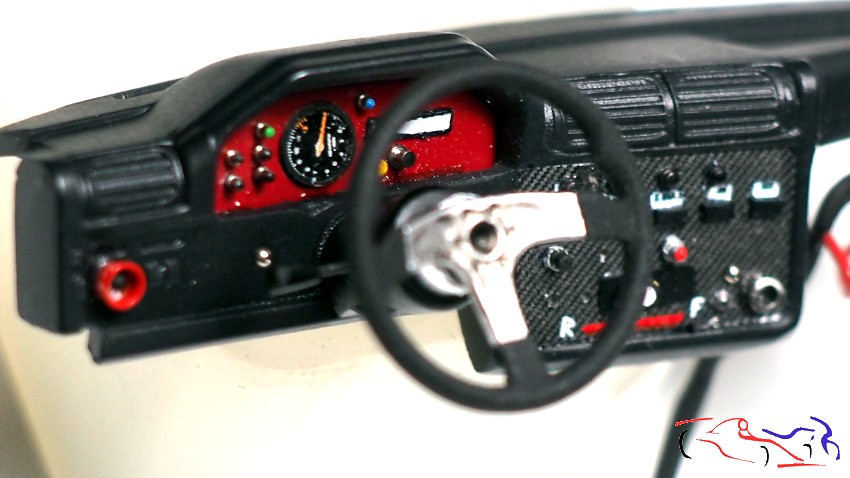
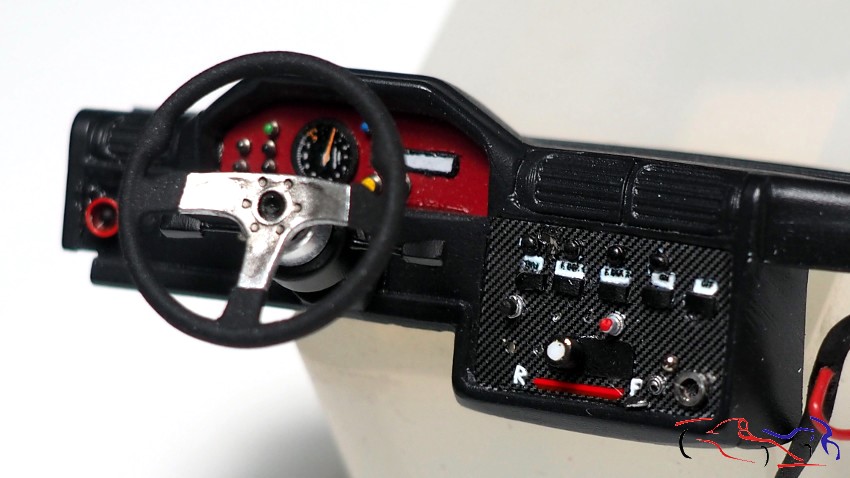
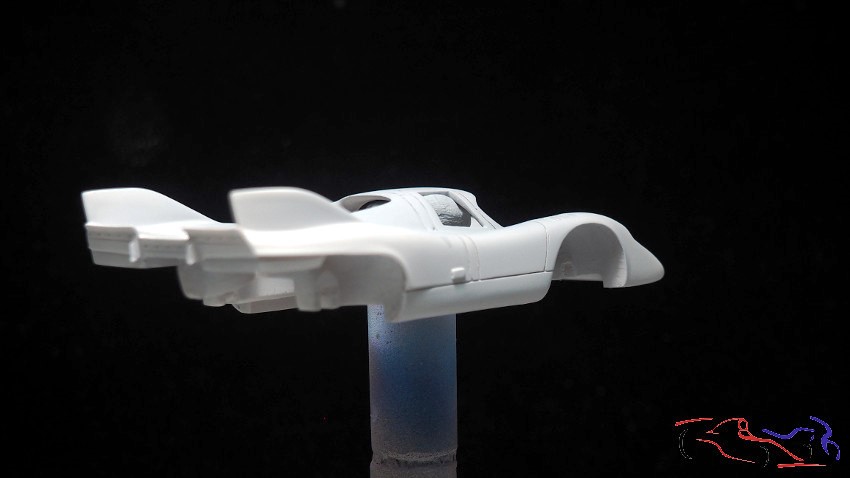
El chasis es muy similar al anterior kit, teniendo el salpicadero los embellecedores de las llantas y los alerones, común. De hecho, los alerones no nos servirán para este modelo.
The chassis is very similar to the previous kit, with the dashboard, wheel trims and spoilers being the same. In fact, the spoilers won’t be suitable for this model.
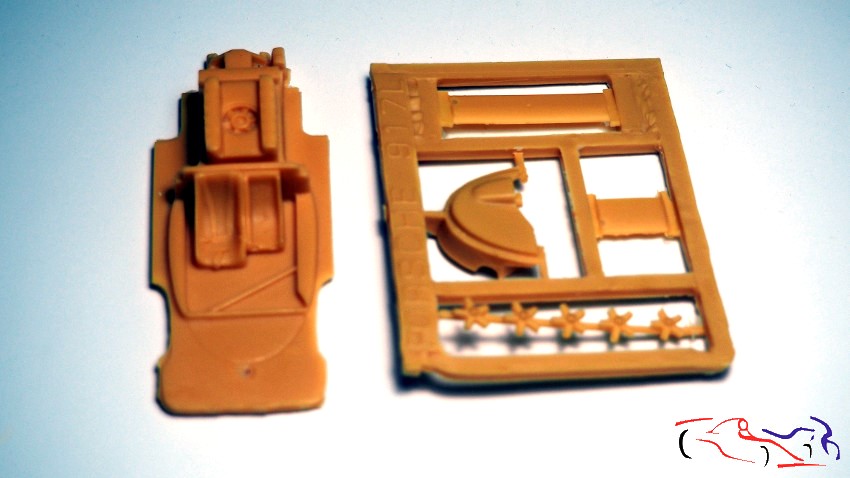
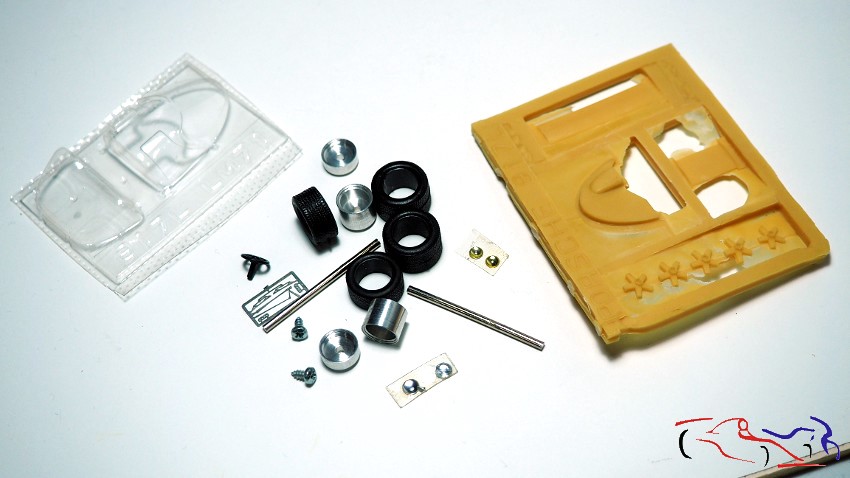
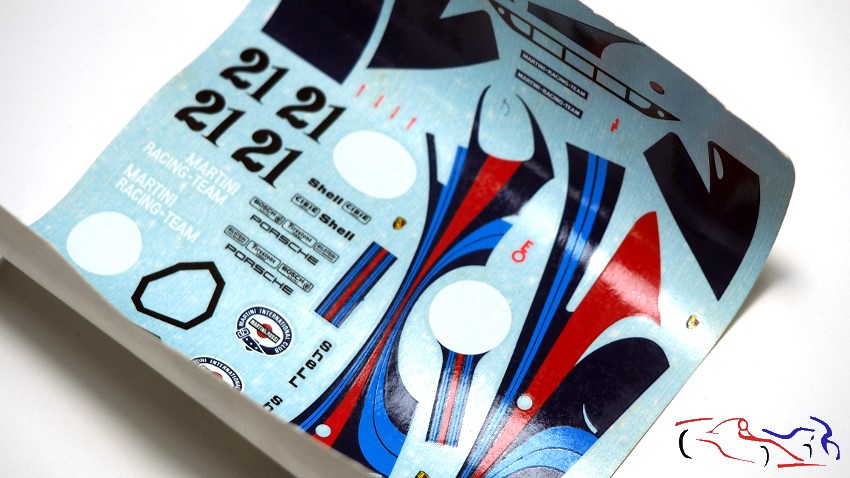
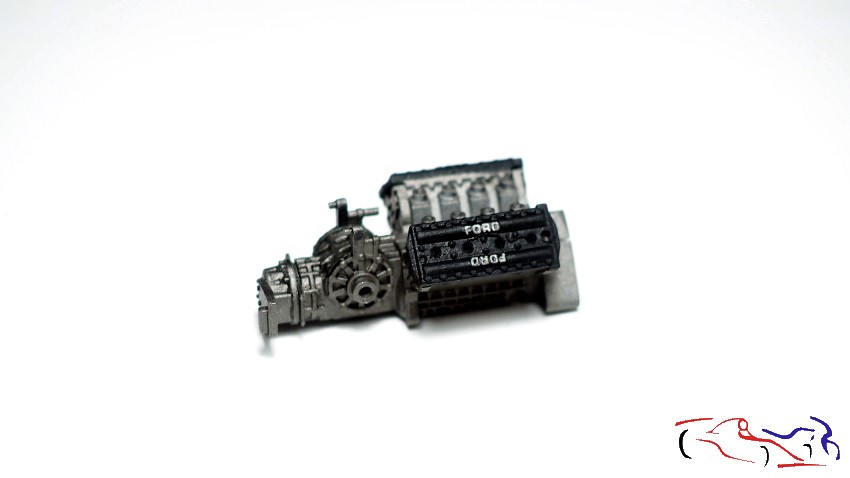
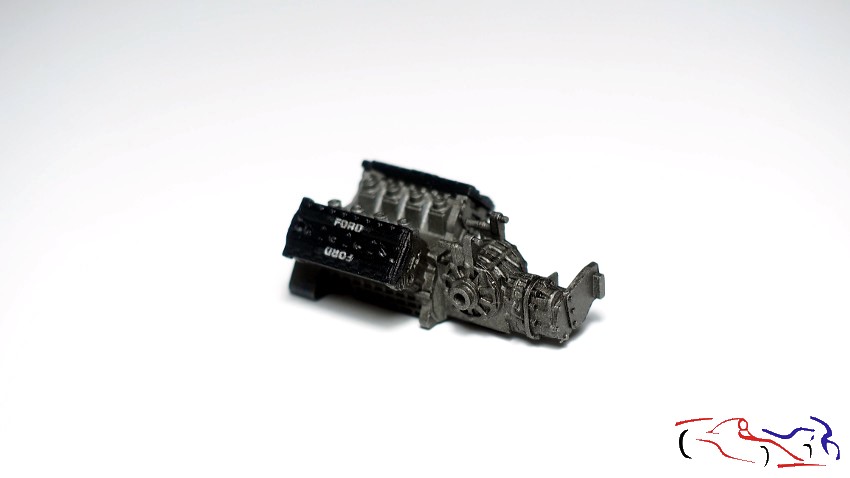
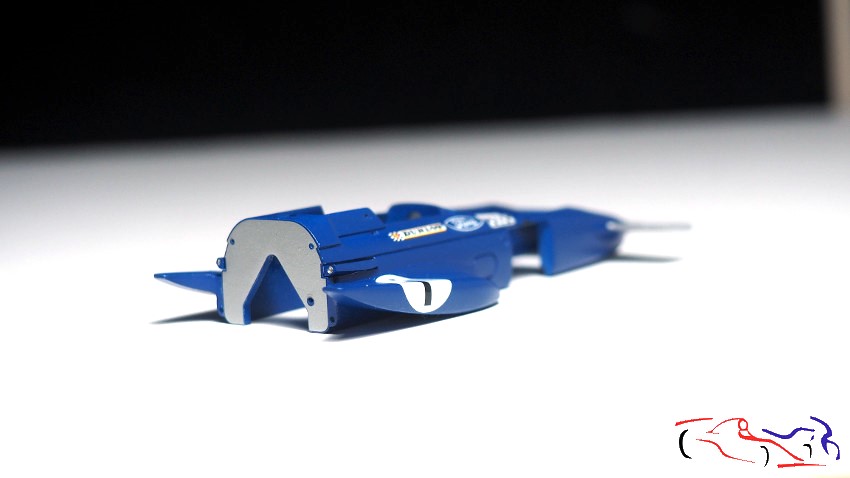
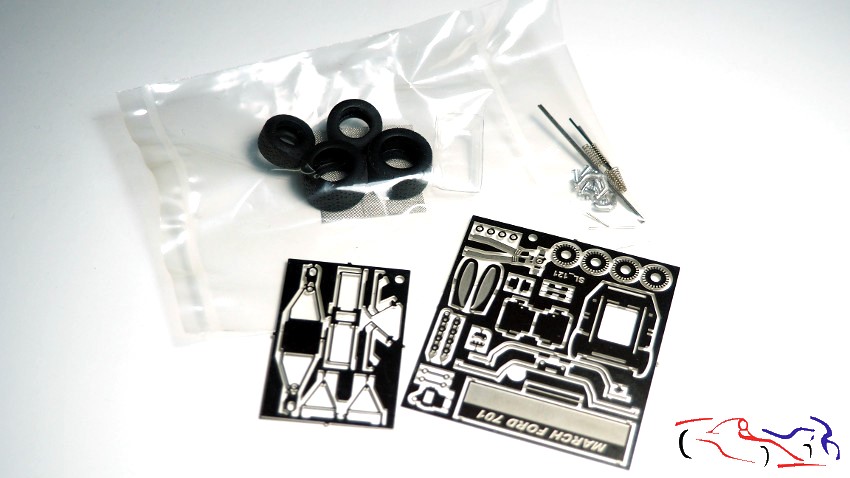
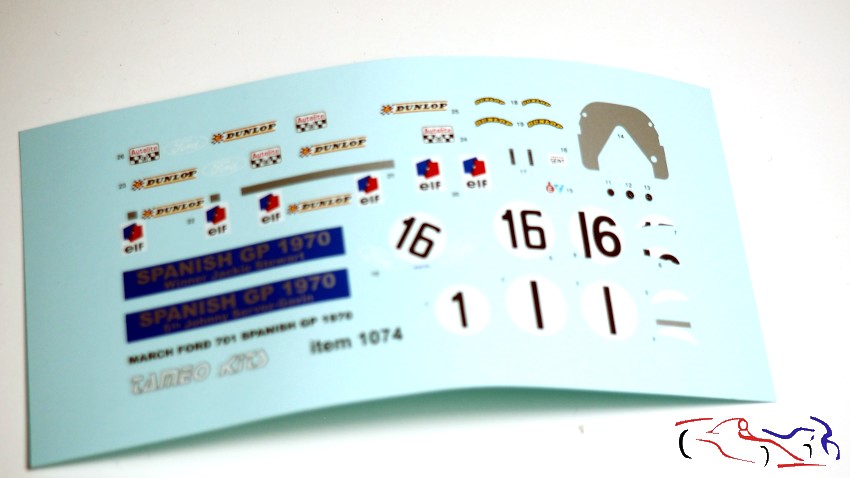
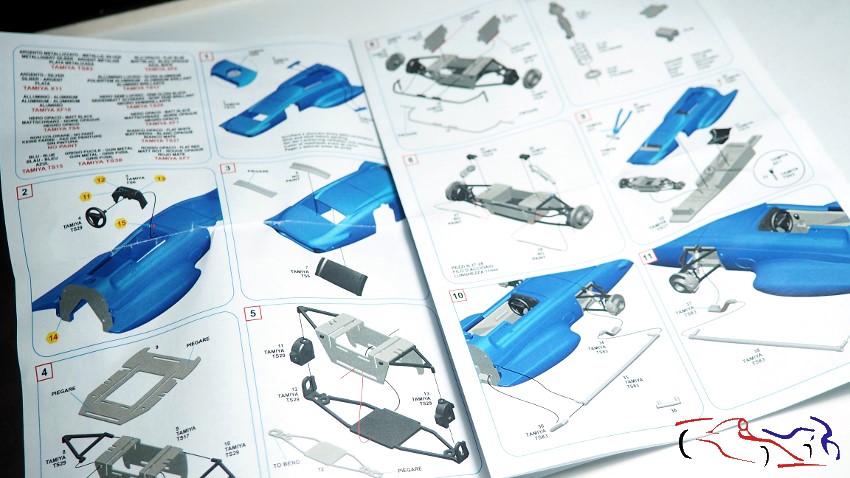
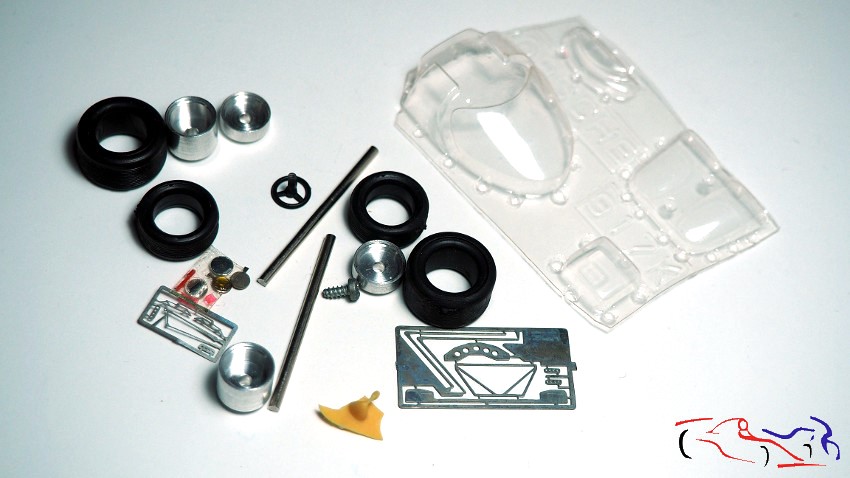
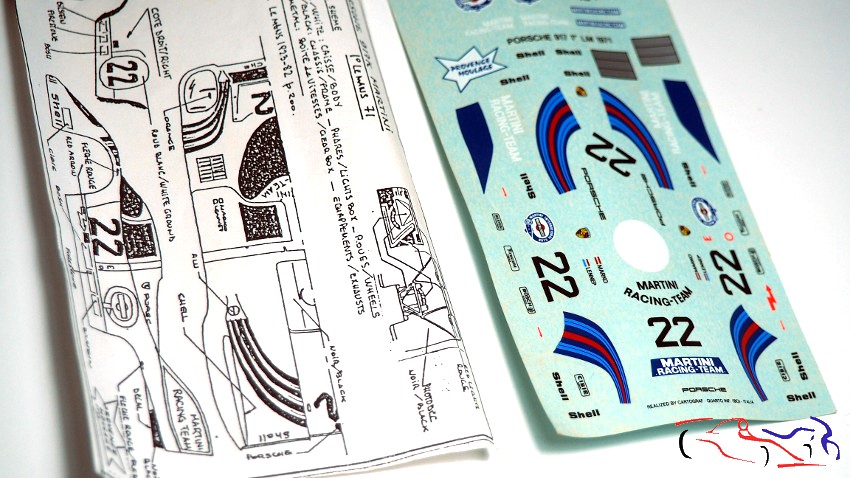
El resto de piezas es casi común, añadiendo un fotograbado para la estructura tubular trasera. En cuanto a las calcas, nada que decir de momento, y comentar, que este kit si trae una instrucciones…de pintura, posición de calcas y de la estructura trasera:
The rest of the parts are fairly standard, with the addition of a photo-etched part for the rear tubular frame. As for the decals, there’s nothing to report at the moment, and it’s worth noting that this kit does come with instructions… on painting, decal placement and the rear frame:
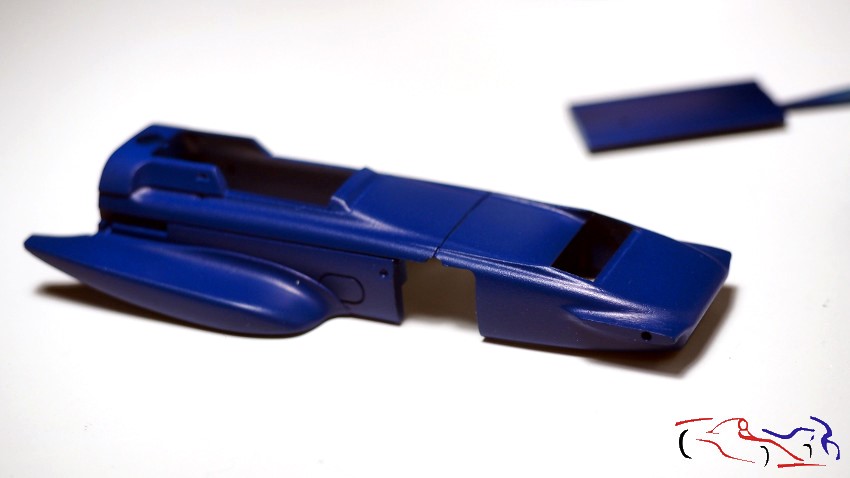
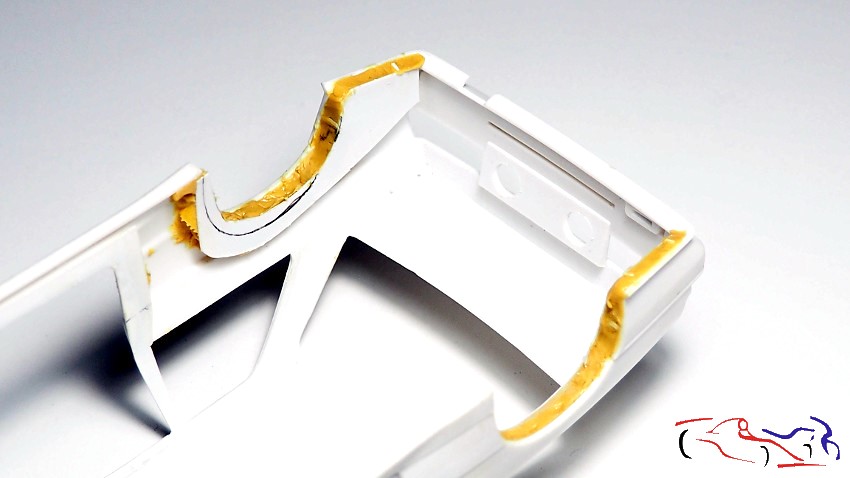
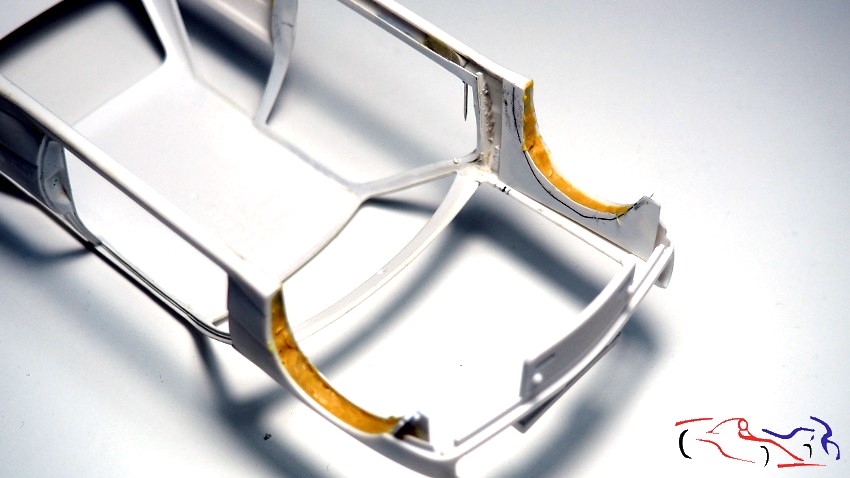
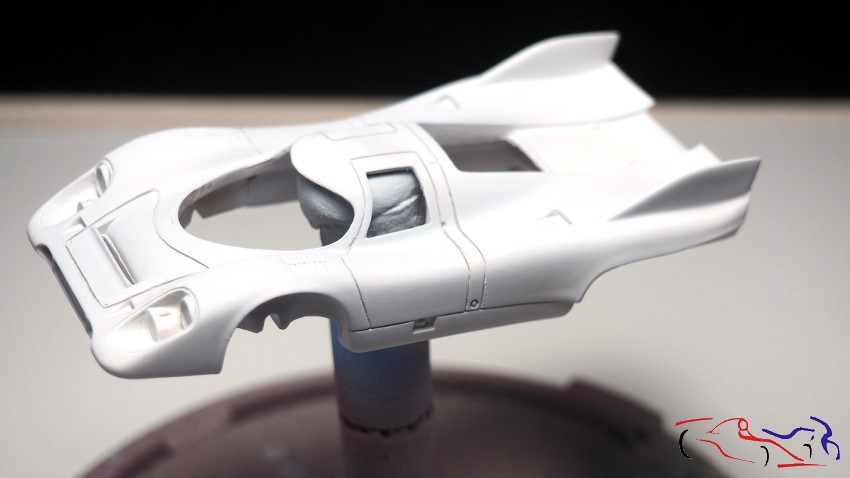
Lo primero que he hecho es profundizar los paneles, y lijar toda la pintura para que la imprimación agarre:
The first thing I did was to deepen the panels and sand off all the paint so that the primer would adhere properly:
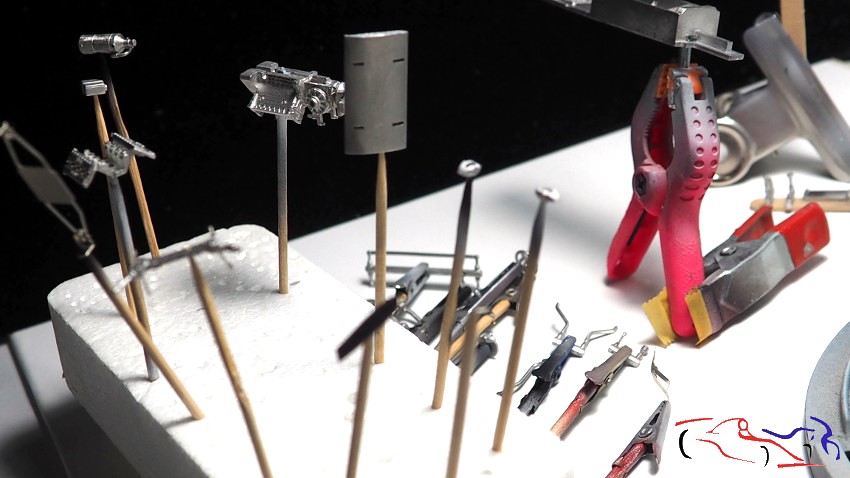
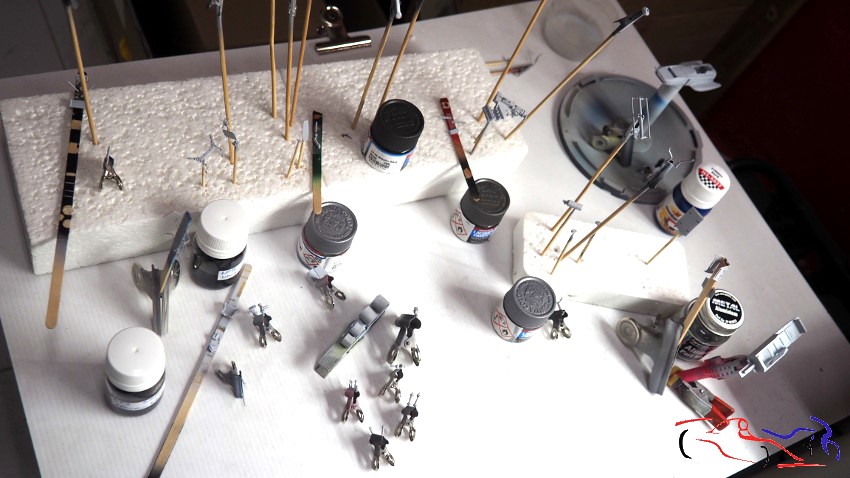
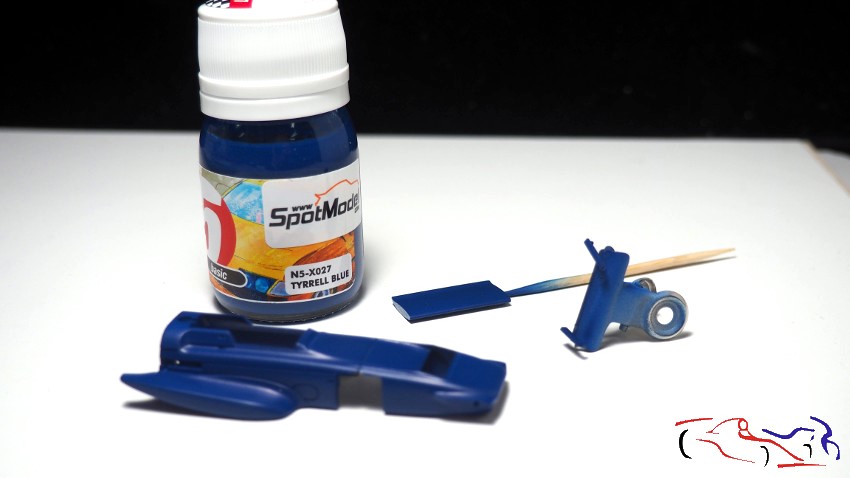
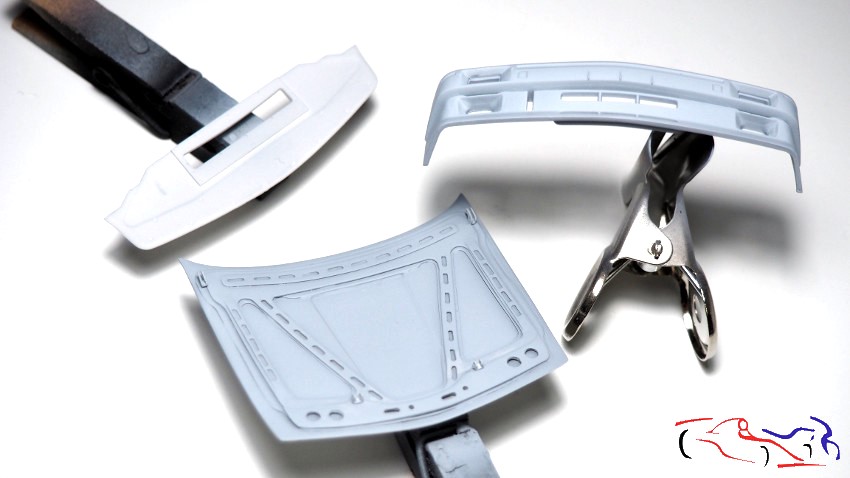
Una vez hecho, imprimo la carrocería y el resto de piezas con Gravity:
Once that’s done, I print the body and the rest of the parts using Gravity:

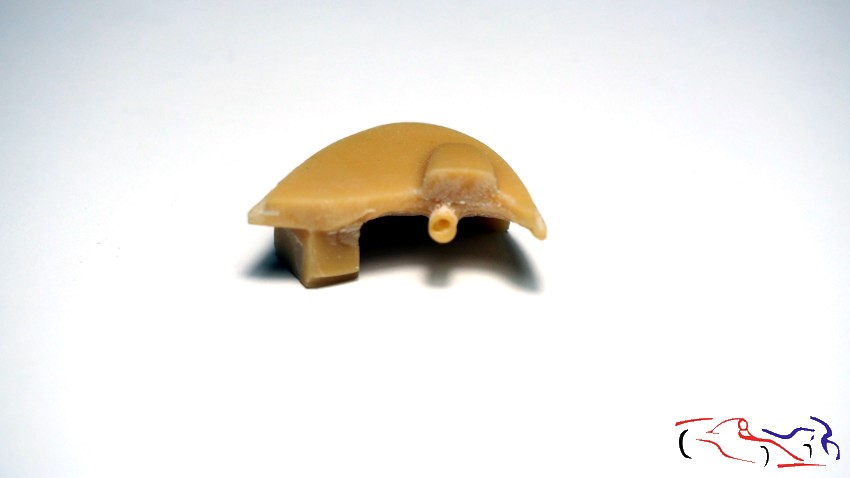
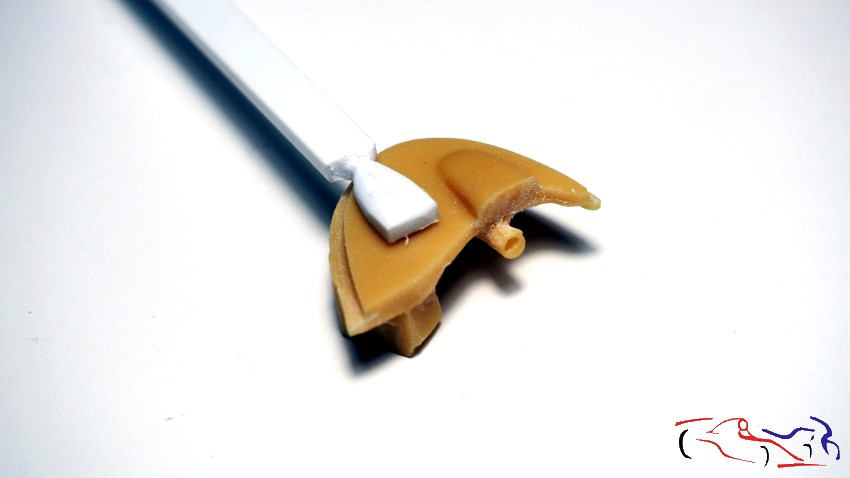
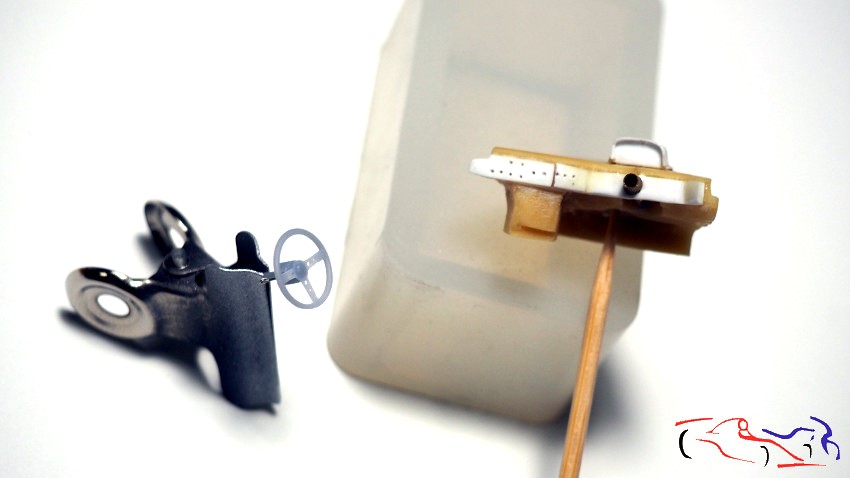
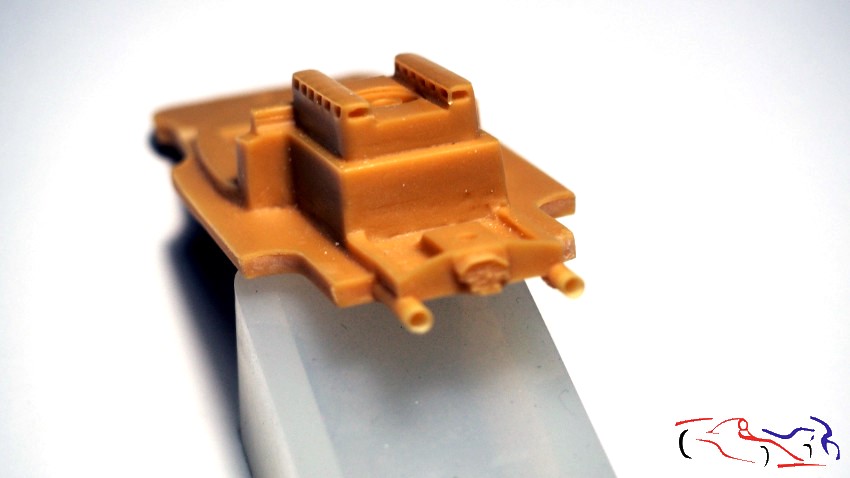
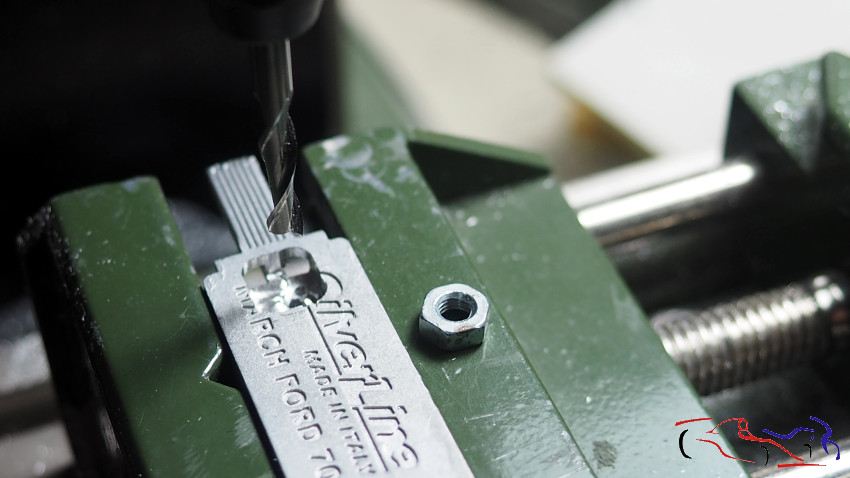
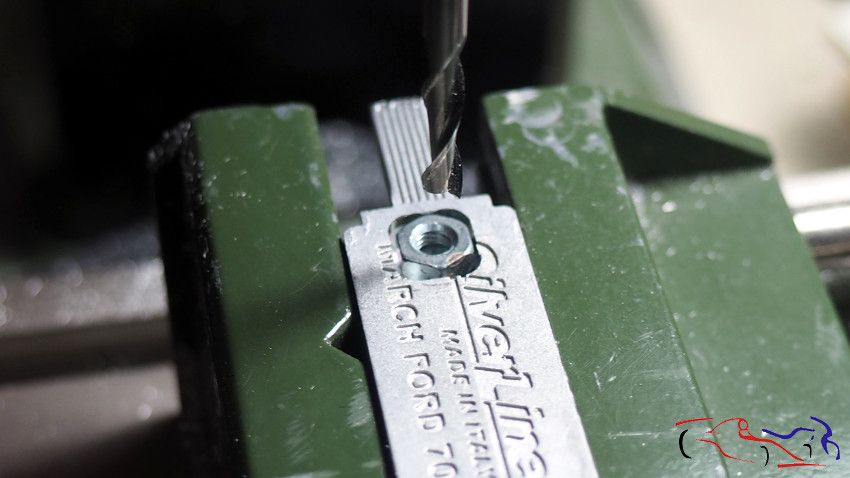
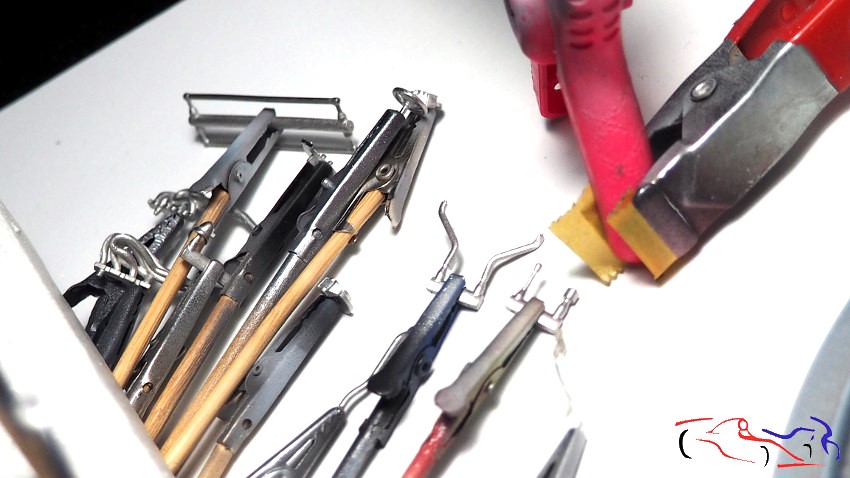
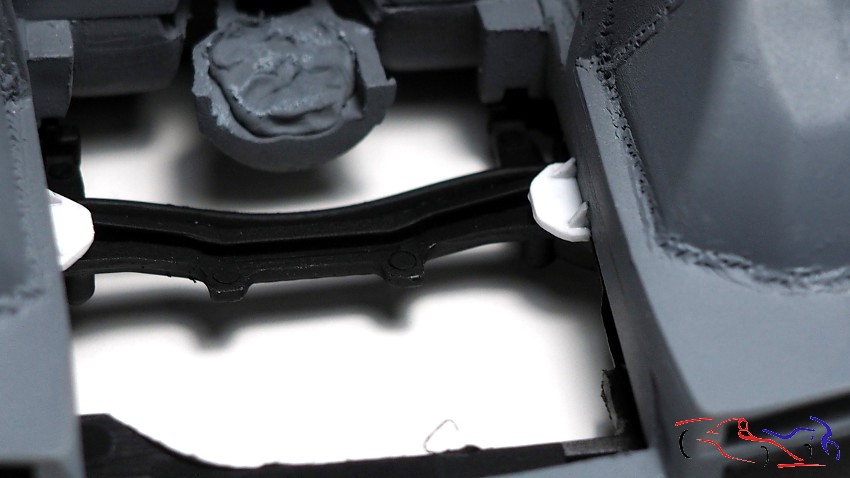
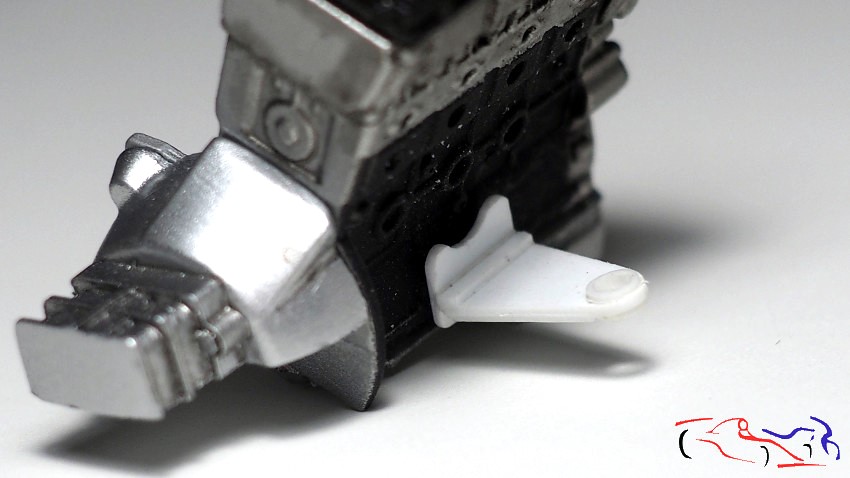
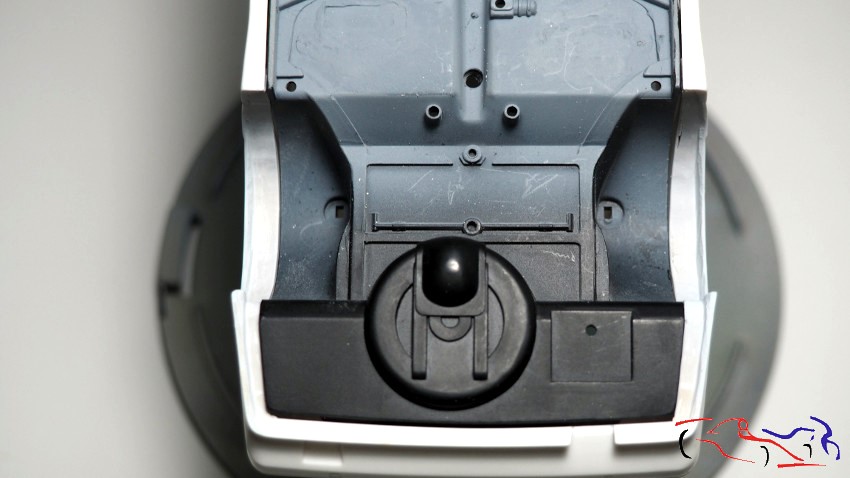
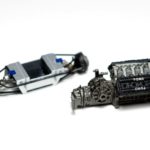
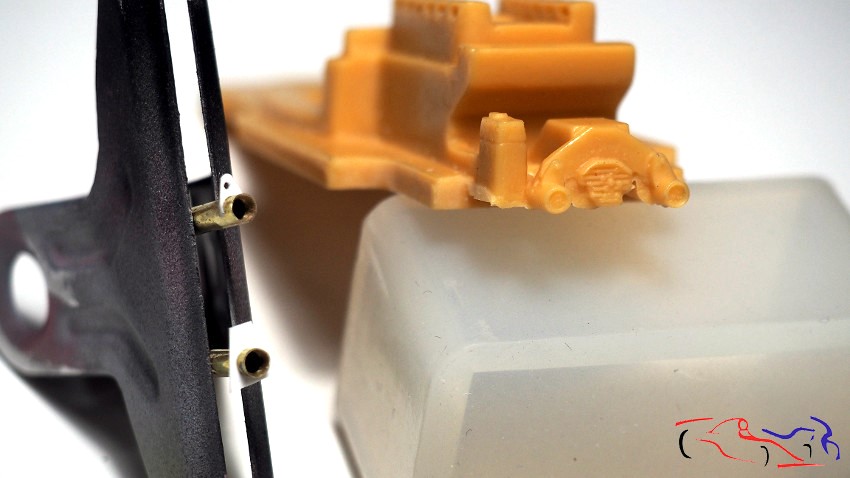
En cuanto al chasis, veo que la parte trasera deja mucho que desear y decido arreglarla. Lo primero, substituyo los escapes por unos de latón, a los cuales, adelgazo el espesor y les añado una fijación con plástico. En la foto, podéis ver un escape terminado con su fijación, y el otro, el de abajo, sin terminar:
As for the chassis, I can see that the rear end leaves a lot to be desired, so I’ve decided to fix it. First of all, I’m replacing the exhaust pipes with brass ones, which I’m thinning down and fitting with plastic mounts. In the photo, you can see one exhaust pipe with its mount already fitted, and the other one, at the bottom, still unfinished:
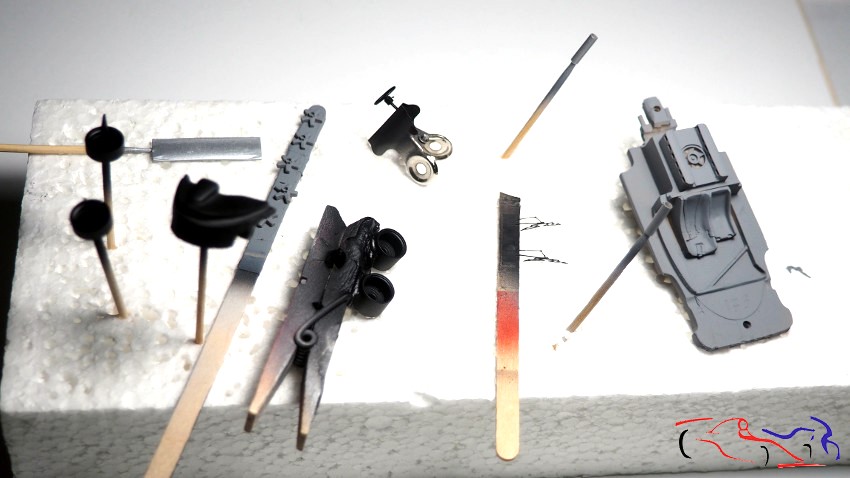
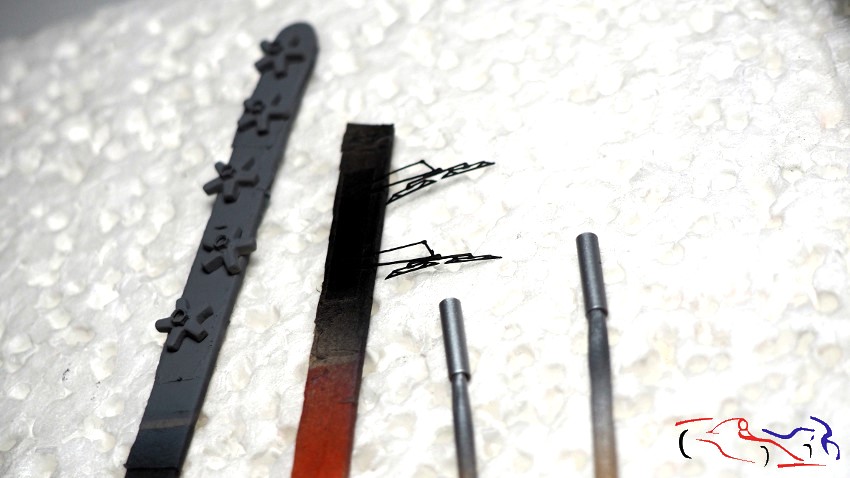
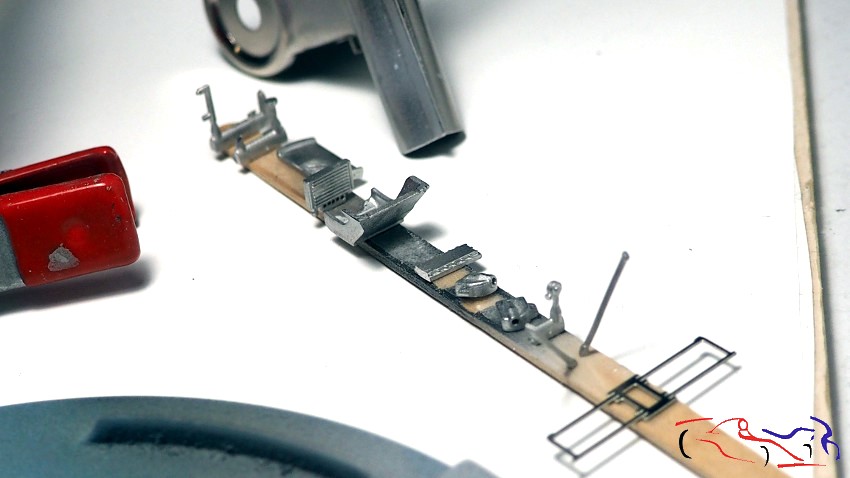
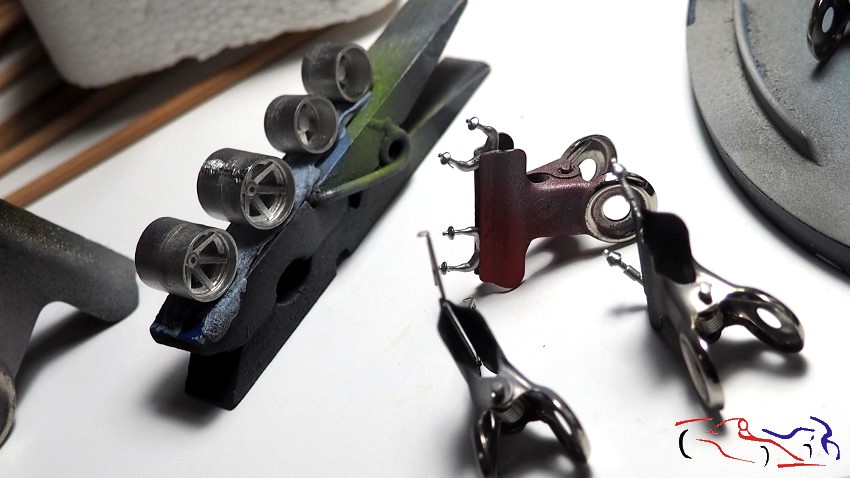
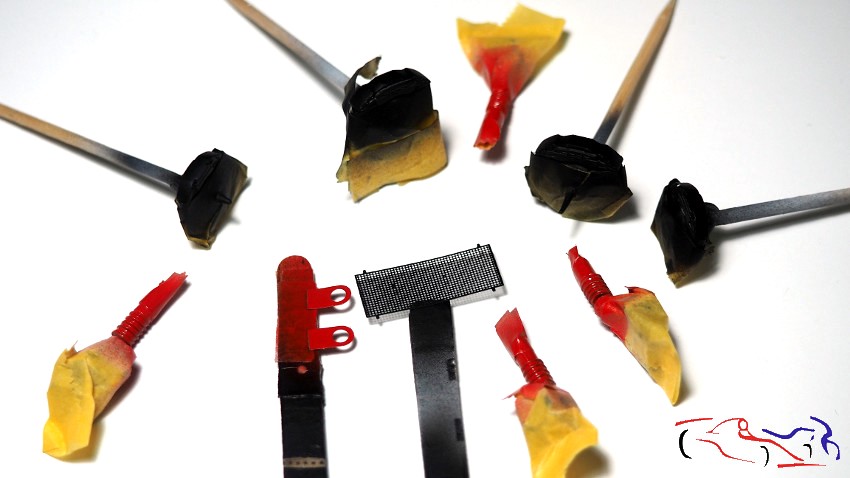
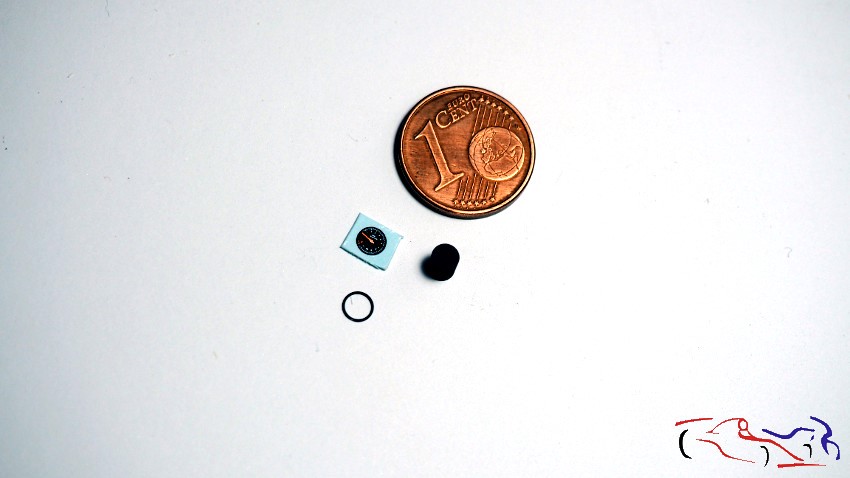
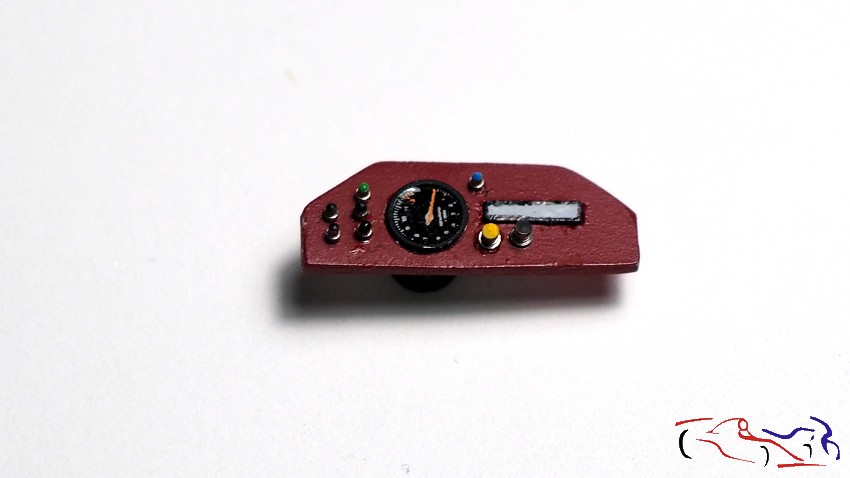
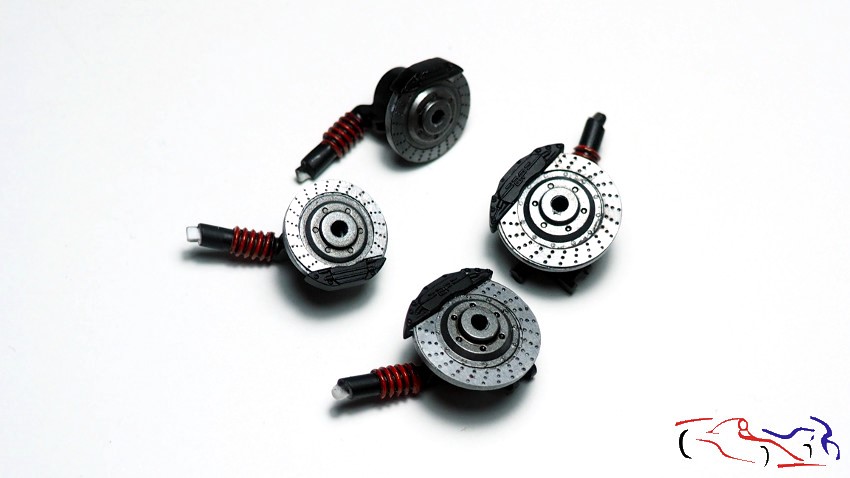
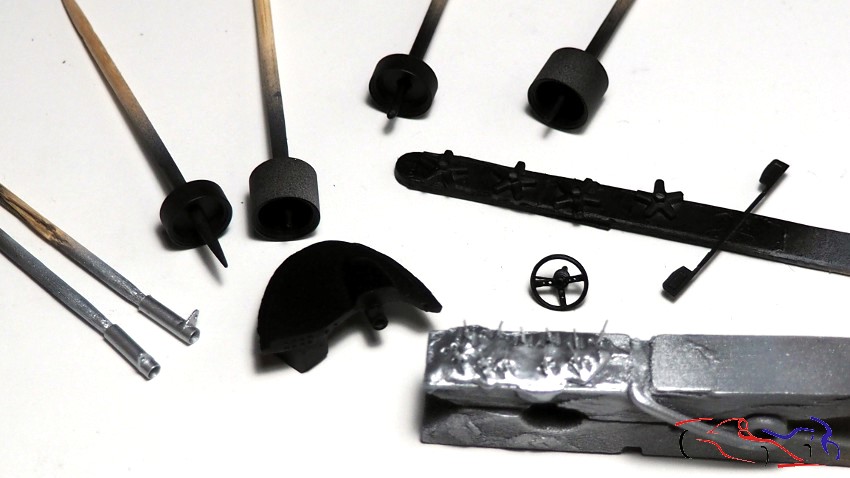
Y una vez imprimados, pinto de negro semi mate LP de tamiya las llantas, salpicadero, embellecedores de las llantas, y un fotograbado donde irán las luces traseras, y con Aluminium de la gama Metal de Zero Paints, los escapes y lo que serán los interruptores del salpicadero:
And once primed, I paint the wheels, dashboard, wheel trims and a photo-etched part where the rear lights will go with Tamiya LP semi-matt black, and the exhausts and what will become the dashboard switches with Aluminium from the Zero Paints Metal range:
Esto es todo de momento!! Gracias por ver y comentar!!
That’s all for now!! Thanks for watching and commenting!!