Más trabajos realizados en el Lancia Stratos verde, y como veis en la siguiente foto, ya le he dado mucho color a las piezas, entre ellas, las llantas, y los tubos de escape, que son quizás, los que más destacan.
More work done on the green Lancia Stratos, and as you can see in the next picture, I have already given a lot of colour to the parts, among them, the rims, and the exhaust pipes, which are perhaps, the ones that stand out the most.
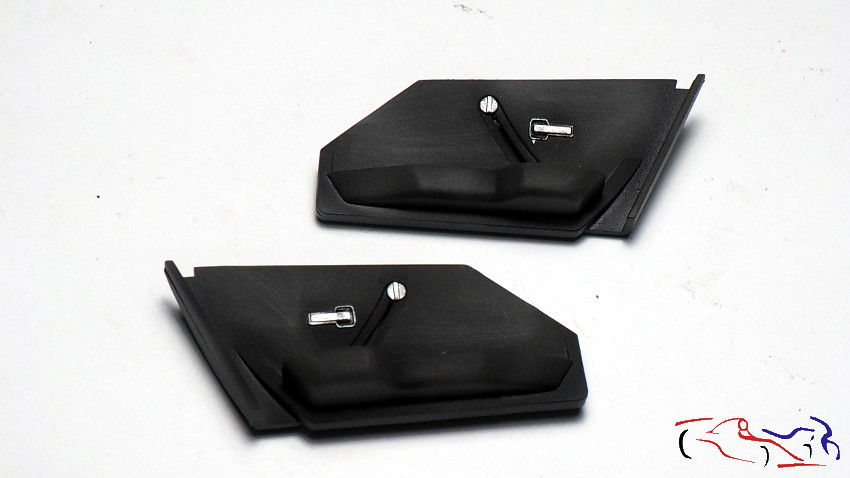
Los paneles interioes de las puertas, ya los tenía pintados con la pintura Nero Pantera de Focus, y ahora les he pintado la palanca de apertura y el tirador para abrir y cerrar el cristal con plata de Vallejo:
The interior door panels were already painted with Focus Nero Pantera paint, and I have also painted the opening lever and the handle to open and close the glass with Vallejo silver:
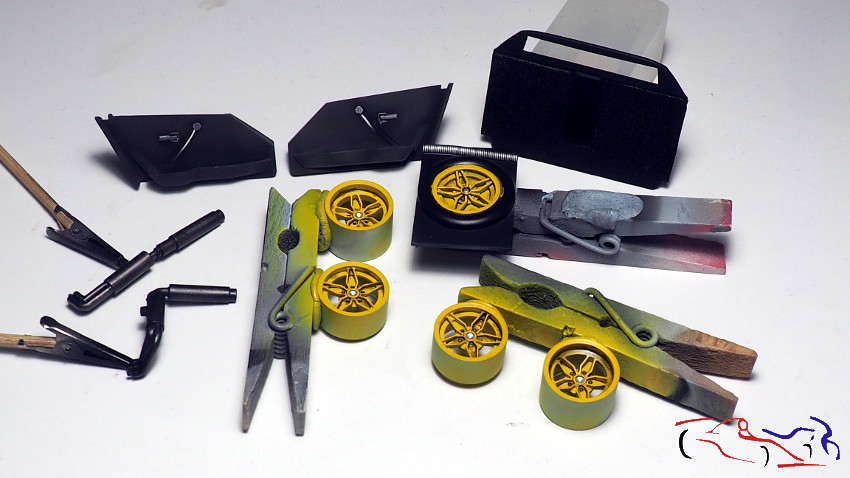
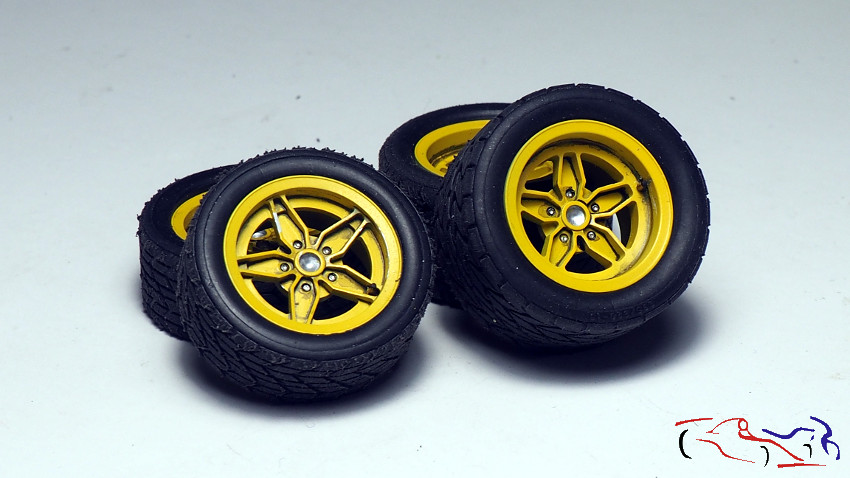
En cuanto a las llantas, después del amarillo de Zero, las he dado un lavado con el Panel Liner negro de Tamiya, al que he repasado con un bastoncillo posteriormente. No he querido que fuera un detalle fino e incluso, he eliminado un poco del amarillo, viéndose el aluminio en algunas zonas. Esto es debido al desgaste que he querido aplicar. También le he puesto las tuercas de fotograbado y las vávulas de inflado:
As for the rims, after the yellow from Zero, I gave them a wash with Tamiya’s black Panel Liner, which I then went over with a cotton swab. I didn’t want it to be a fine detail and I even removed a little of the yellow, showing the aluminium in some areas. This is due to the wear I wanted to apply. I have also put the photoetched nuts and the inflation valves:
Y como tengo ya muchas piezas listas, empiezo a pegarlas de acuerdo a las instrucciones:
And as I have a lot of pieces ready, I start gluing them together according to the instructions:
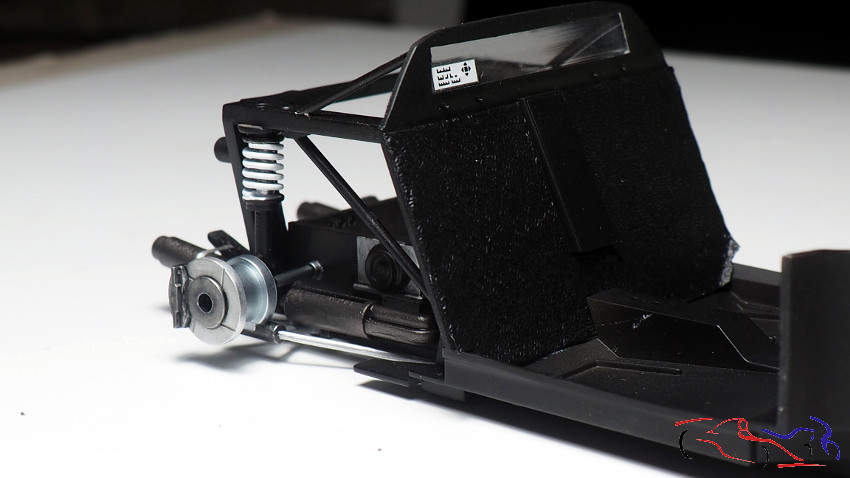
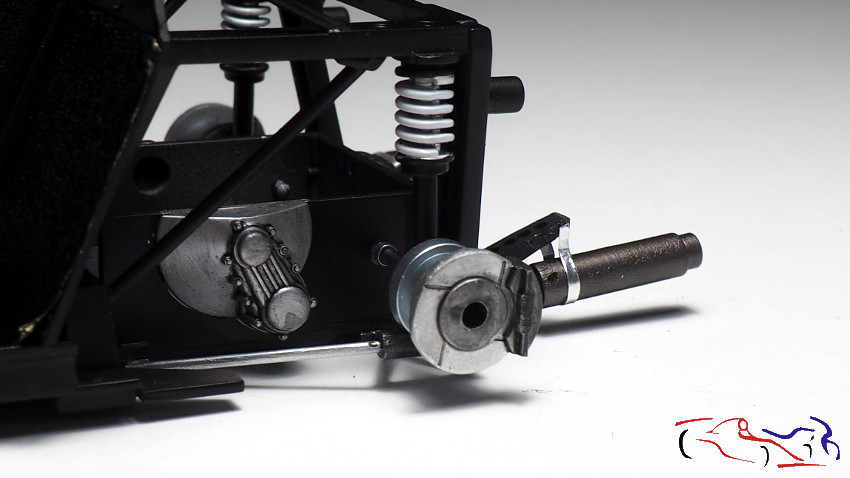
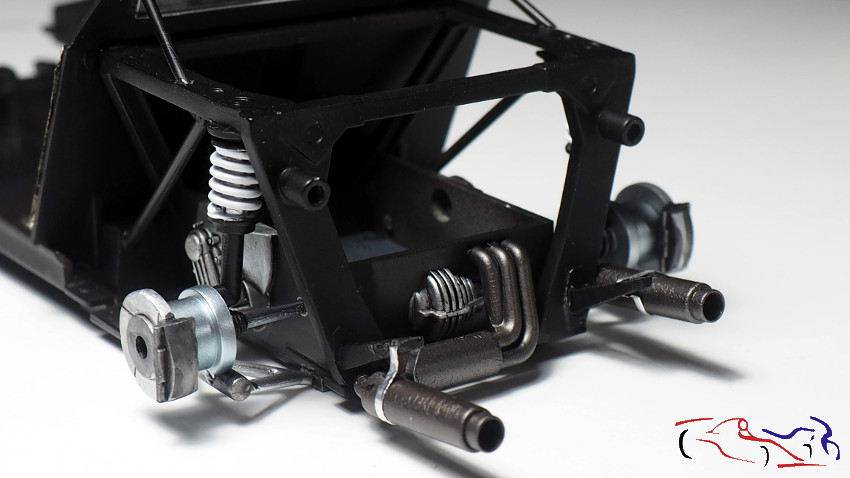

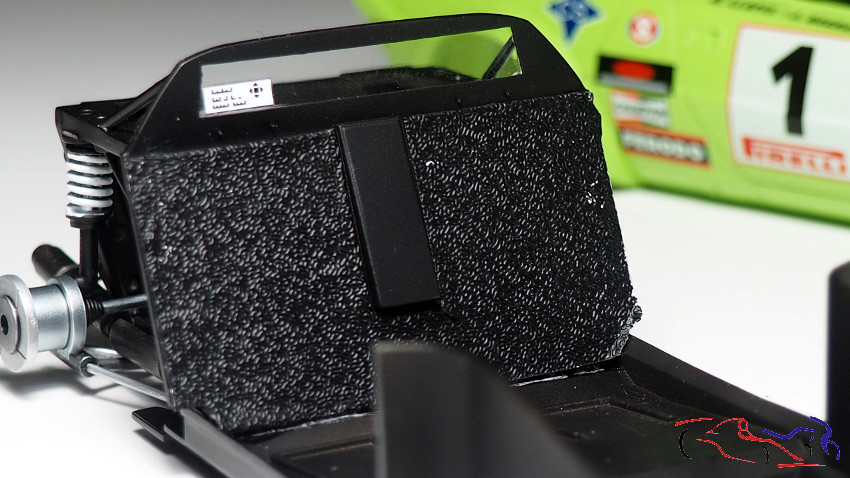
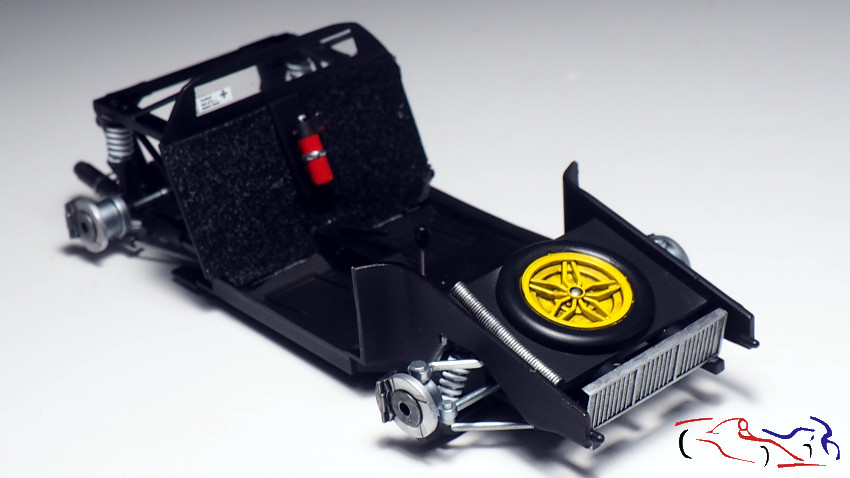
Destacar el radiador delantero pintado con acero y un lavado de panel liner negro y el cortafuegos pintado con el negro semi mate de la gama LP de Tamiya:
Highlights include the front radiator painted with steel with a black liner panel wash and the firewall painted with the semi-matt black from the Tamiya LP range:

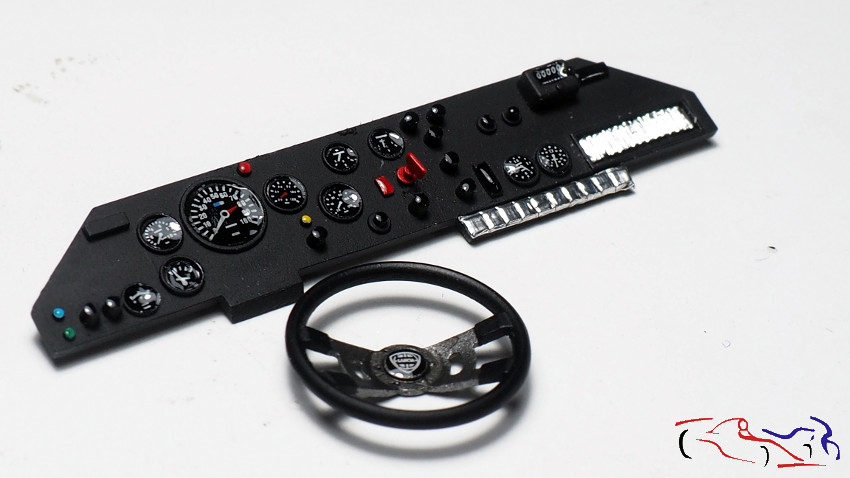
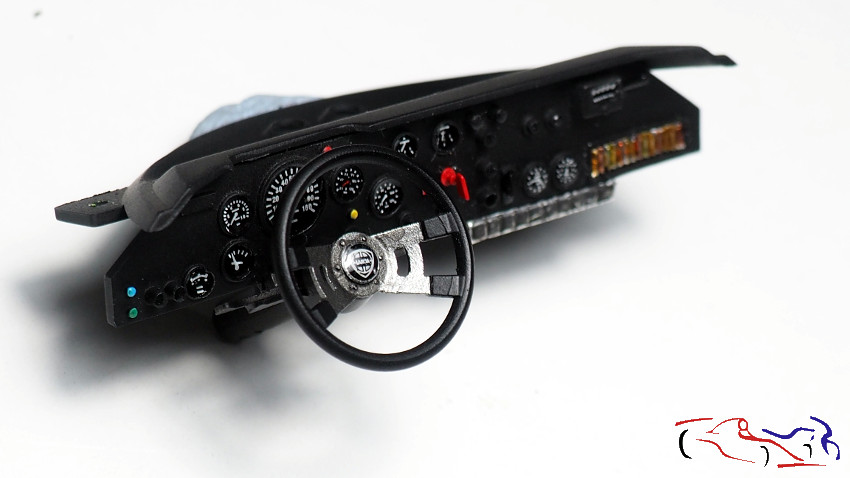
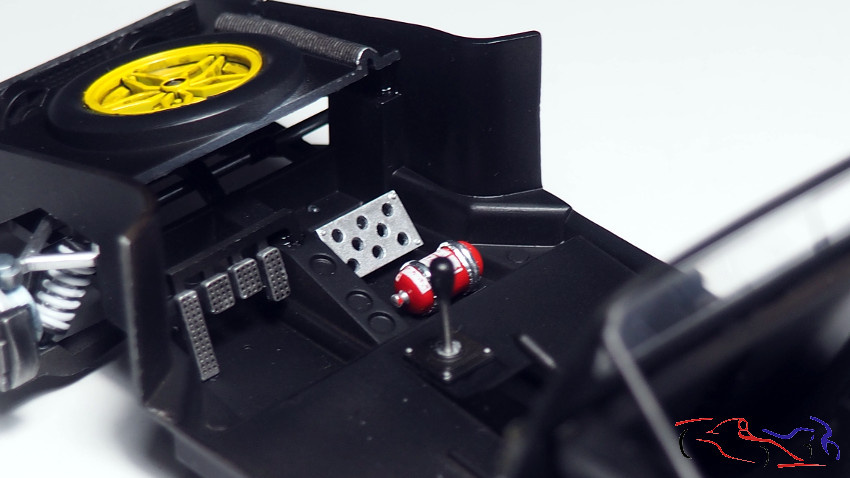
Y pasamos al salpicadero. puestas las calcas y pintadados los pulsadores, les puse resina transparente para darles brillo. Coloqué el cortacorriente de Decalcas, pinté de blaco los fusibles, y puse cinta adhesiva metálica a los pulsadores inferiores con un lavado de panel liner negro, y lo pegué todo:
And now we move on to the dashboard. Once the decals were put on and the buttons painted, I applied some clear resin to give them a shine. I put the Decalcas cutter, painted the fuses white, and put metallic adhesive tape on the lower push buttons with a wash of black liner panel, and glued it all together:
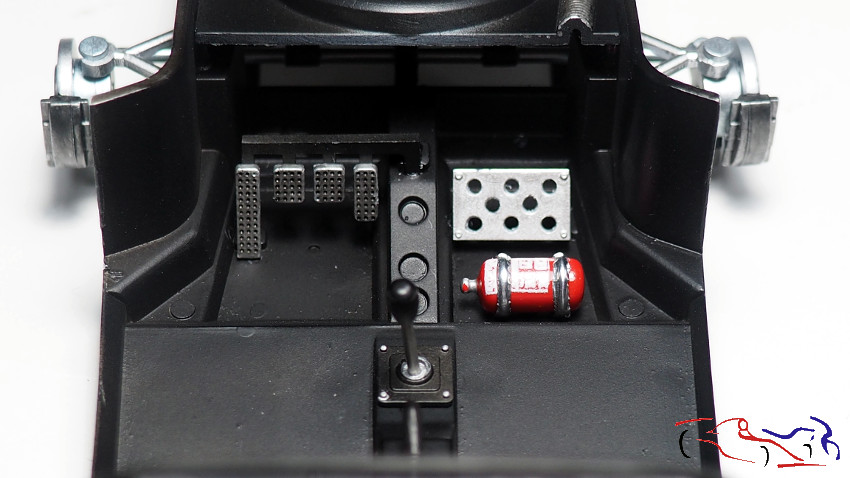
Y también, dentro del chasis, ponemos todo lo que no son los asientos. Los extintores, uan vez lacados junto a la carrocería, le pongo cinta adhesiva metálica en las fijaciones, con un toque de panel liner negro en los bordes, y pinto las partes negra y plata de Vallejo con pincel. El simil d ela rueda de recambio, lleva el mismo proceso que las otras cuatro, y pintando la goma cn el Negro Rubber de Zero.
And also, inside the chassis, we put everything that is not the seats. The fire extinguishers, once lacquered at the same time than the body, I put metallic adhesive tape on the fixings, with a touch of black panel liner on the edges, and I paint the black and silver parts of Vallejo with a paintbrush. The spare wheel similar, takes the same process as the other four, and painting the rubber with Zero’s Black Rubber.
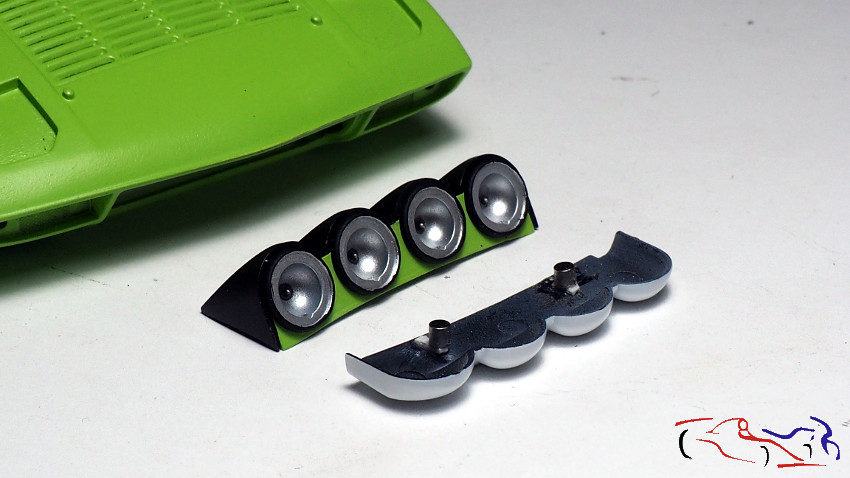
Un proceso que quería hacer es poner la tapa de los faros auxiliares con imanes, para que fuera facilmente, de quita y pon. Podéis ve ren el interior de la tapa los imanes, que van pegados cobre un trozo de plastico para sacarlos más y que queden al rasante de los propios faros. EL otro imán va pegado por detrás del plástico verde de los faros:
One process I wanted to do is to put the cover of the auxiliary headlights with magnets, so that it was easy to remove and put on. You can see on the inside of the cover the magnets, which are glued to a piece of plastic to remove them more and to be flush with the headlights themselves. The other magnet is glued to the back of the green plastic of the headlights:

Como ejemplo visual, os añado este video que muestra su funcionamiento:
As a visual example, I add this video showing how it works:
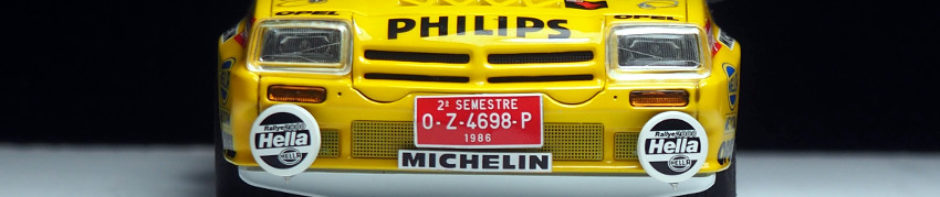
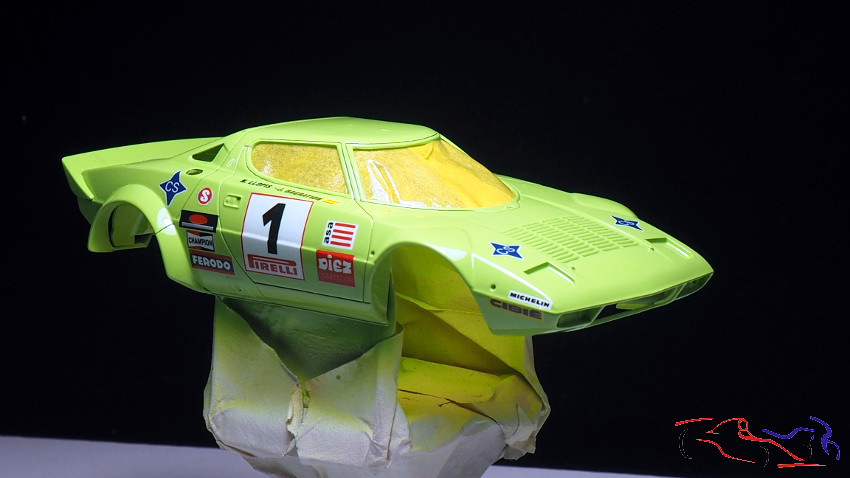
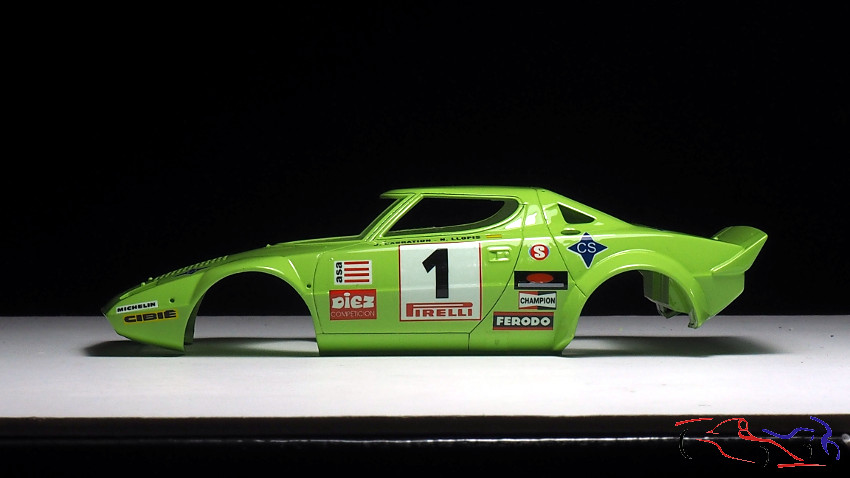
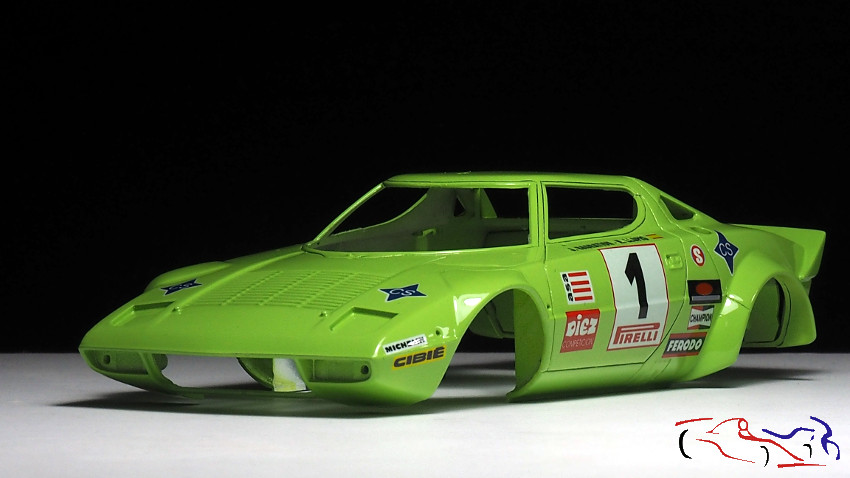
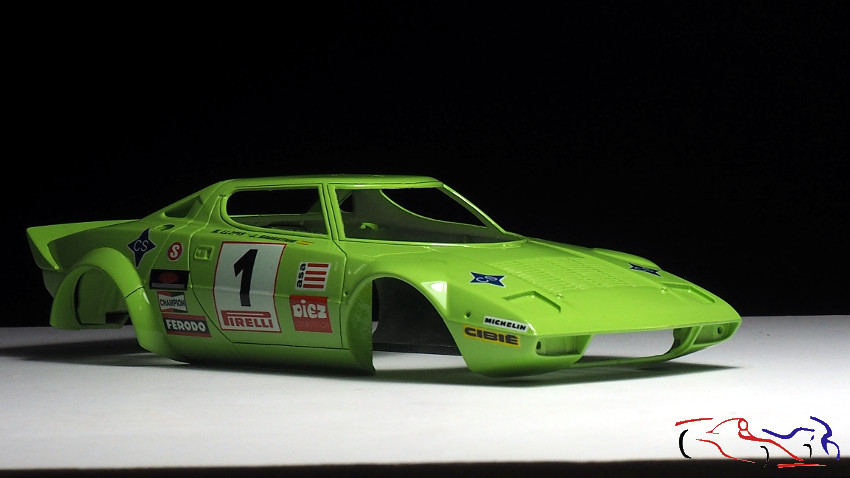
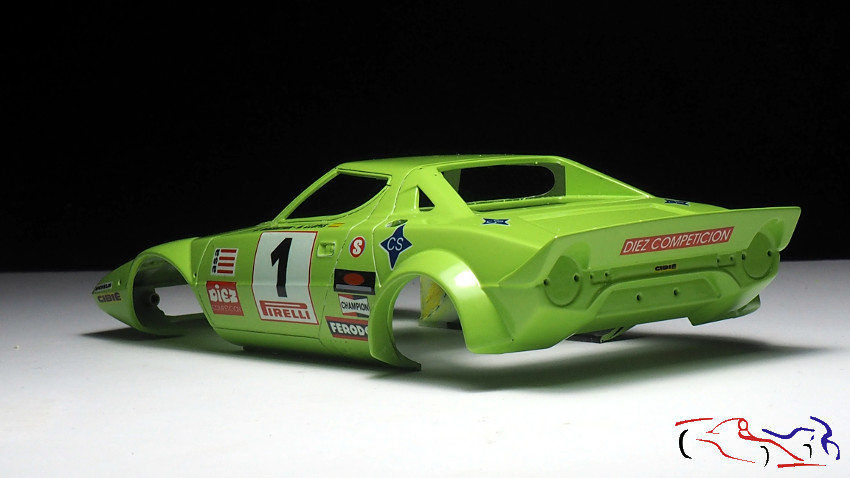
Y sin más, pasamos a la carrocería, la cual ya está lacada en las siguientes fotos. He utilizado la laca de Number5, en proporción 2:1:0,5, habiendo tapado el interior:
And without further ado, let’s move on to the bodywork, which is already lacquered in the following photos. I used Number5 lacquer, in a 2:1:0.5 ratio, having covered the interior:
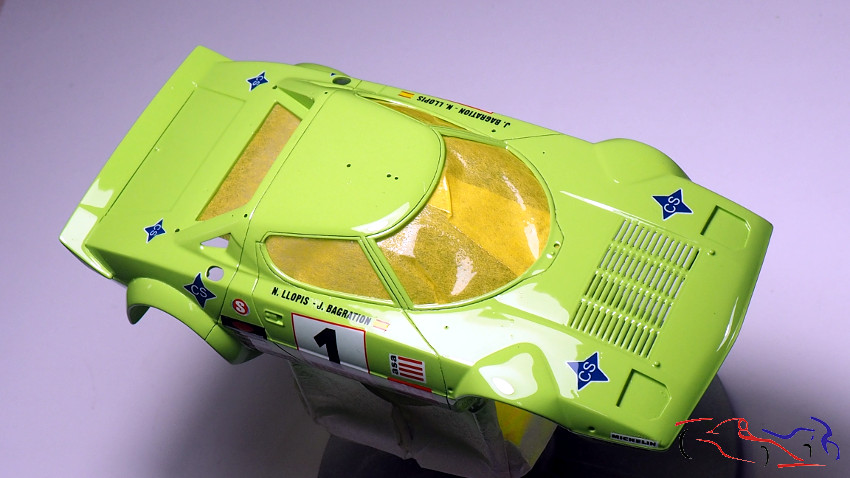
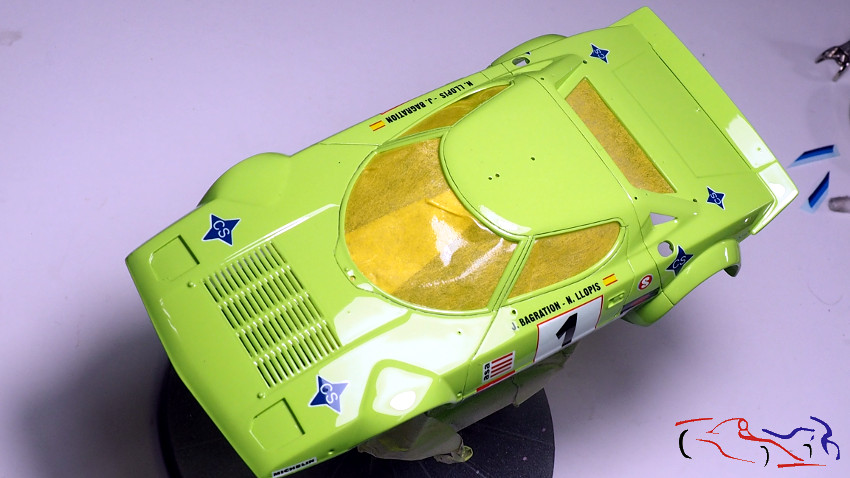
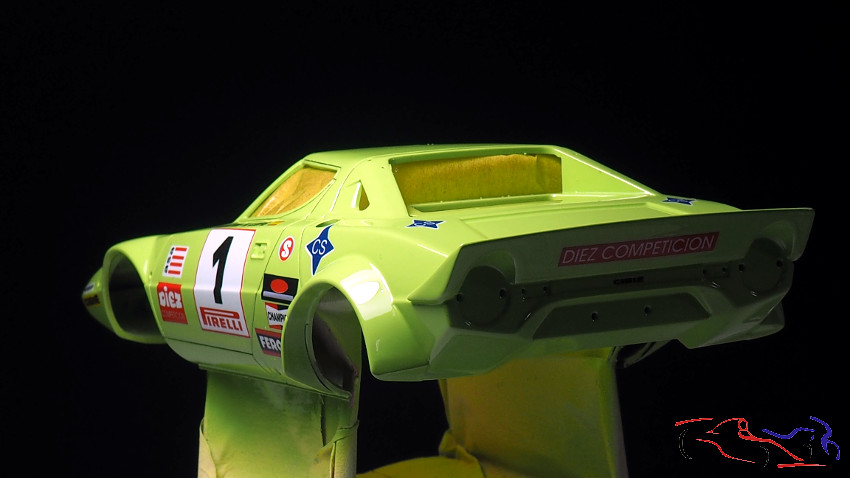
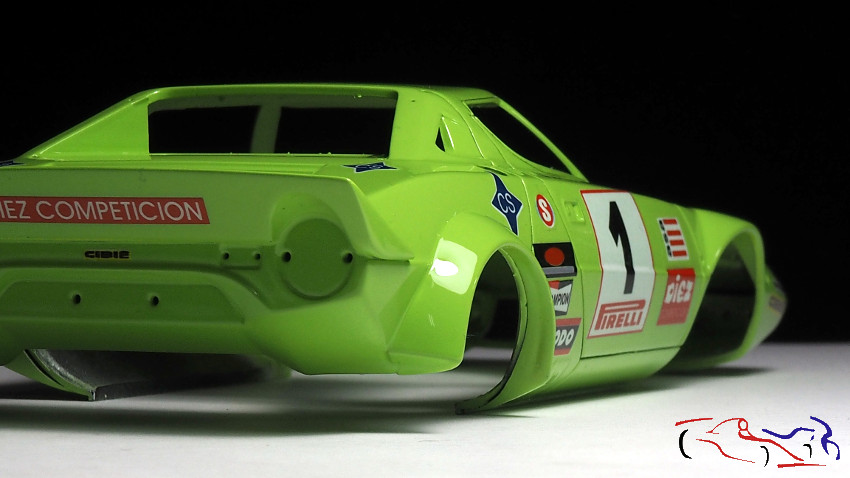
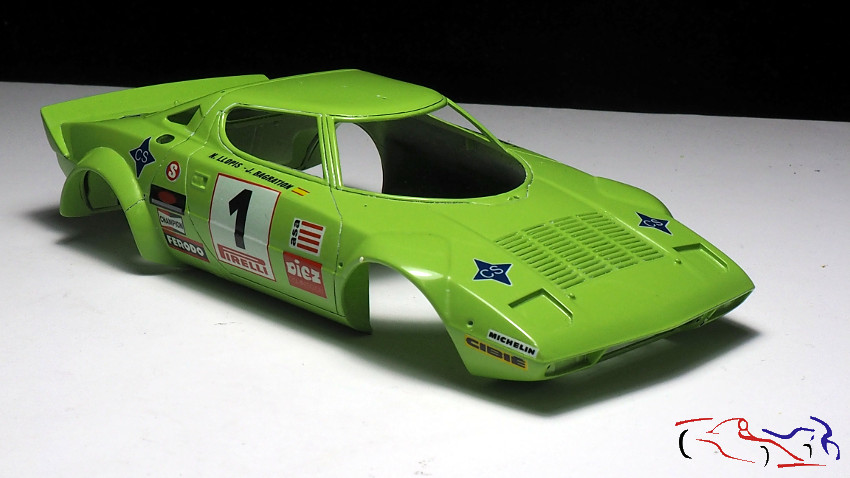
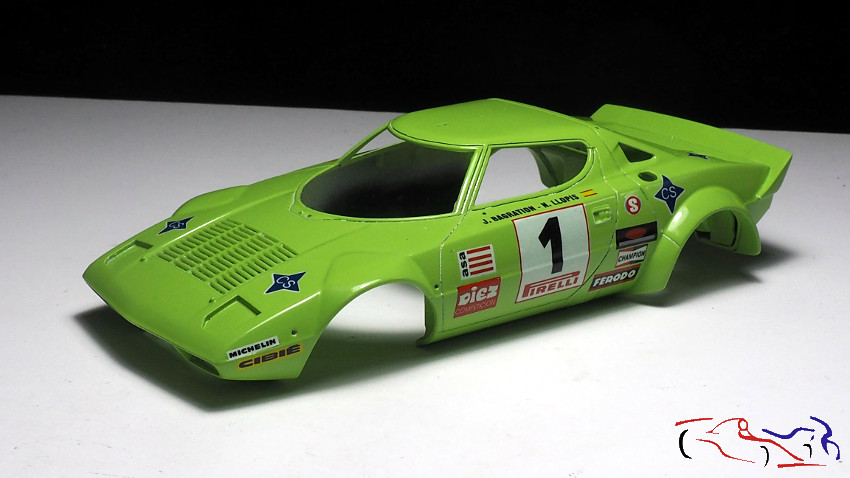
Y ahora, las fotos una vez pulido, sin sacar mucho brillo porque en aquellos, años, los coches no eran tan brillantes co o ah0ra:
And now, the photos once polished, without taking too much shine because in those years, the cars were not so shiny as they are now:

Gracias por mirar y comentar!!
Thanks for watching and commenting!


Muy bonito. No está mal que pusieras más videos..