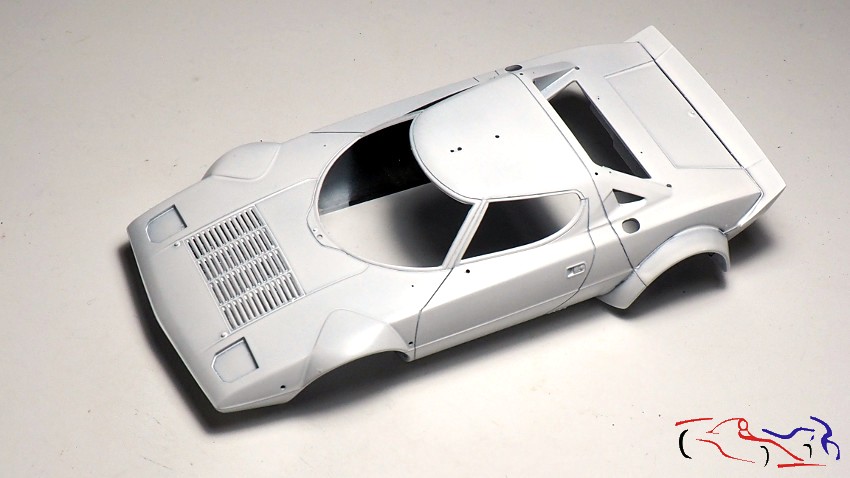
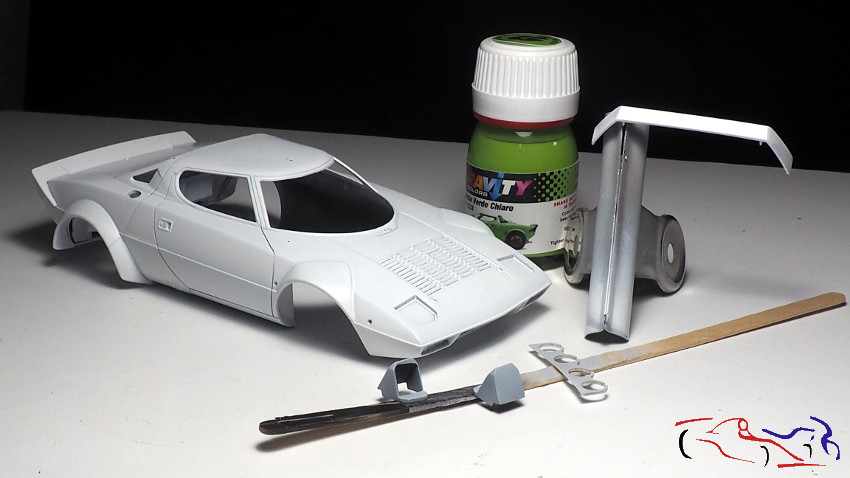
En esta entrada, empezamos a quitar el color negro de las piezas con imprimación y colores. Y lo primero es la carrocería, que le damos para empezar, una capa de imprimación blanca de Tamiya a spray:
In this entry, we start to remove the black colour of the parts with primer and colours. And the first task is the bodywork, which we start with a coat of white Tamiya spray primer:
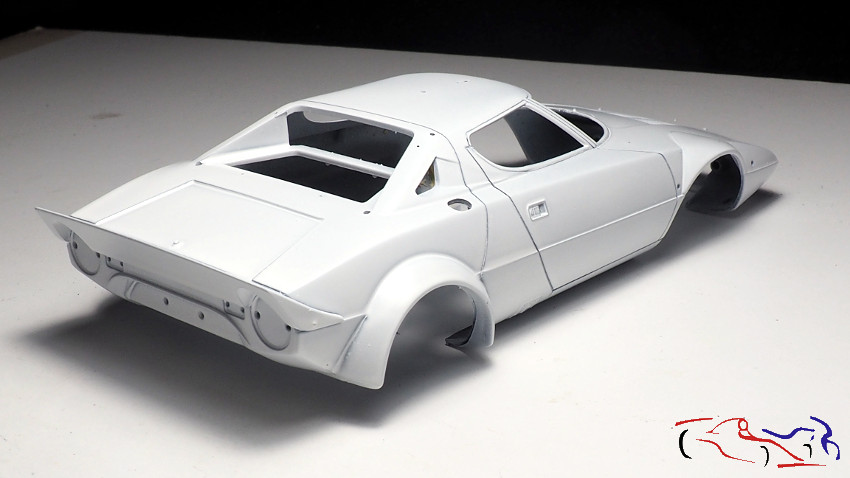
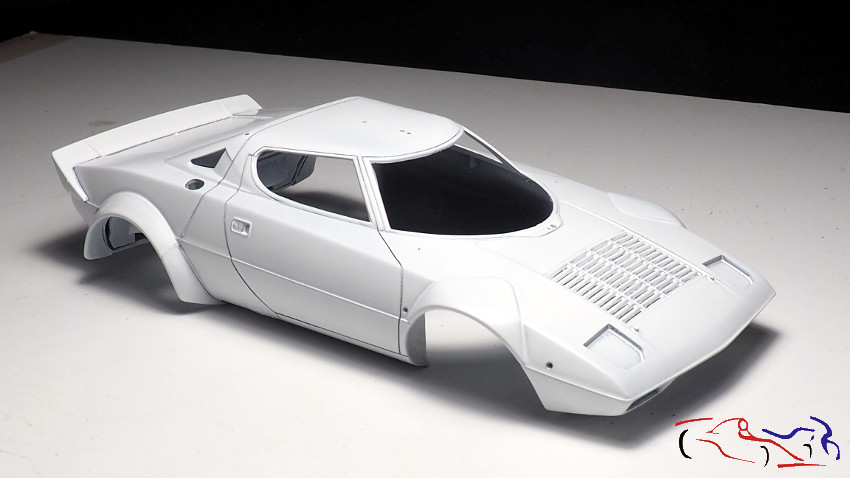
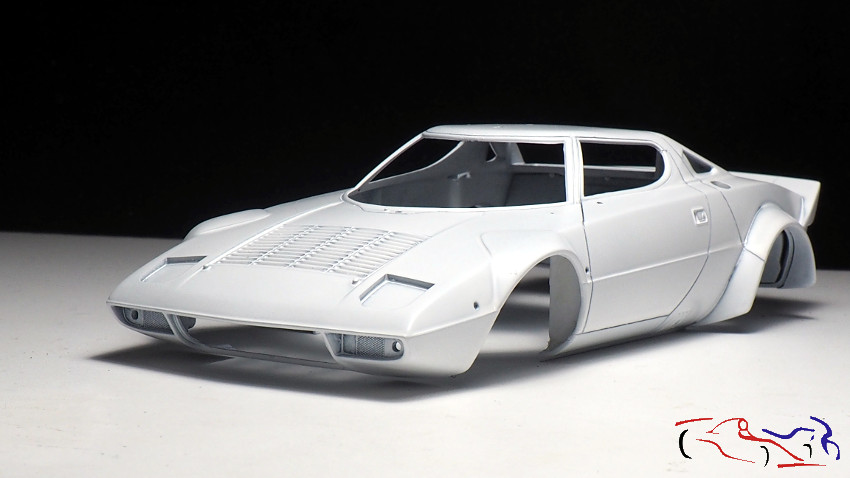

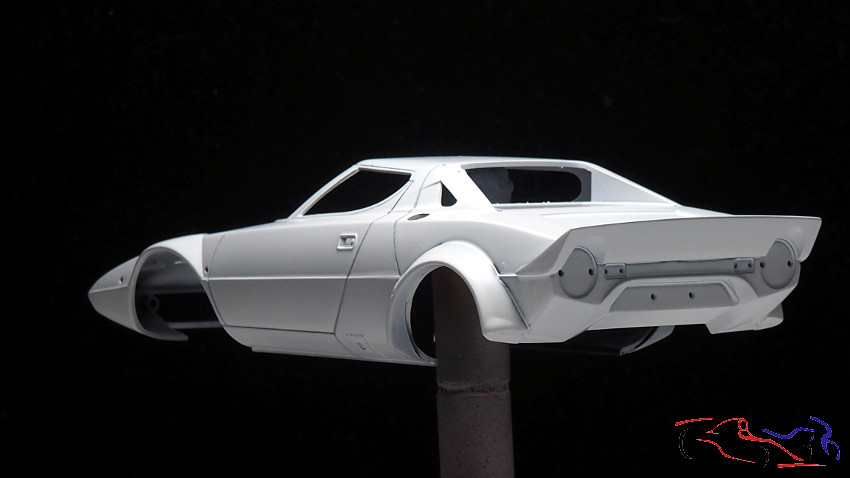
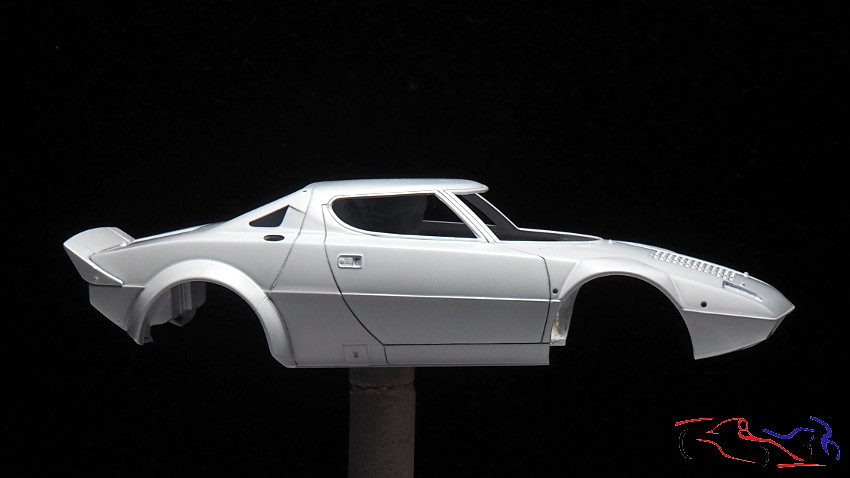
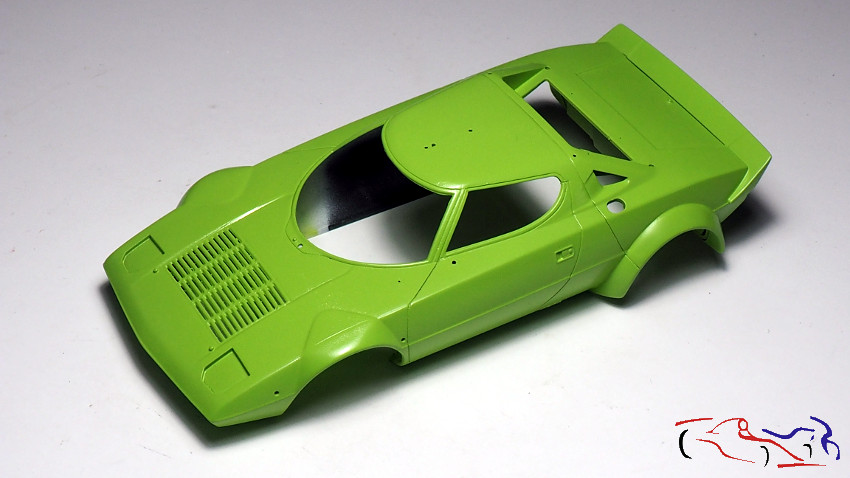
Otras tomas realizadas poniendo la carrocería en un soporte. Quiero decir que el color negro de la carrocería se cubrió perfectamente con el blanco de la imprimación.
Other shots were taken by placing the bodywork on a stand. I want to say that the black colour of the bodywork was perfectly covered by the white primer.

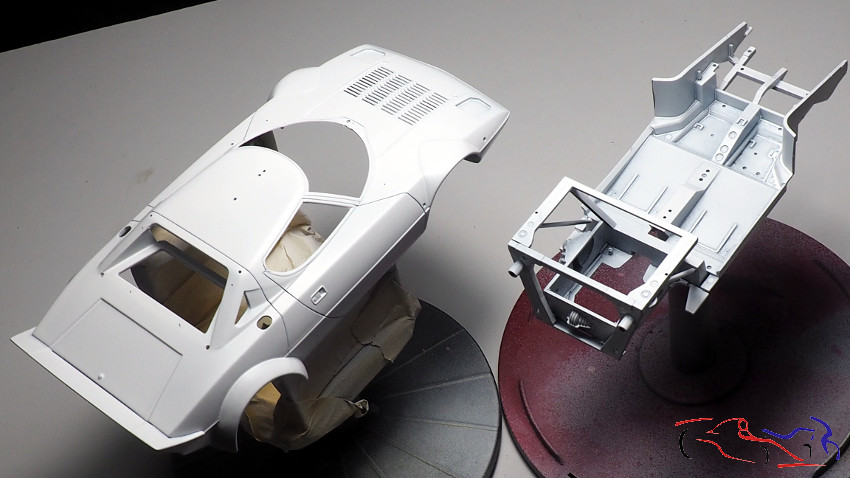
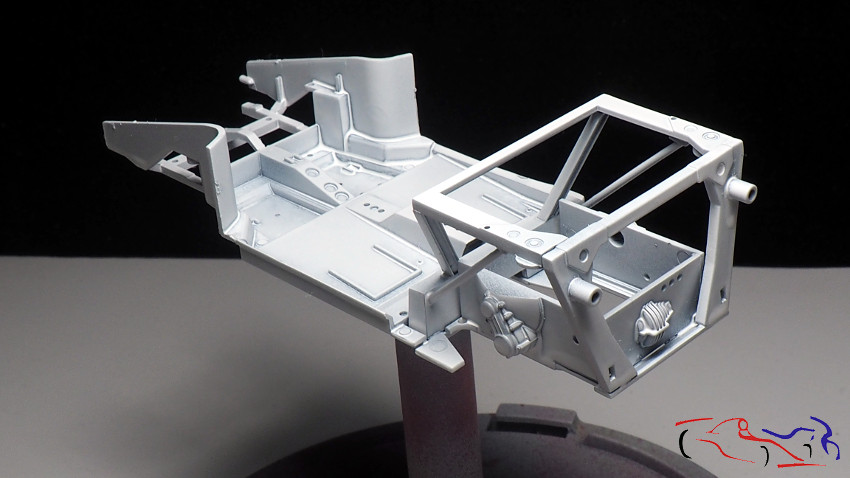
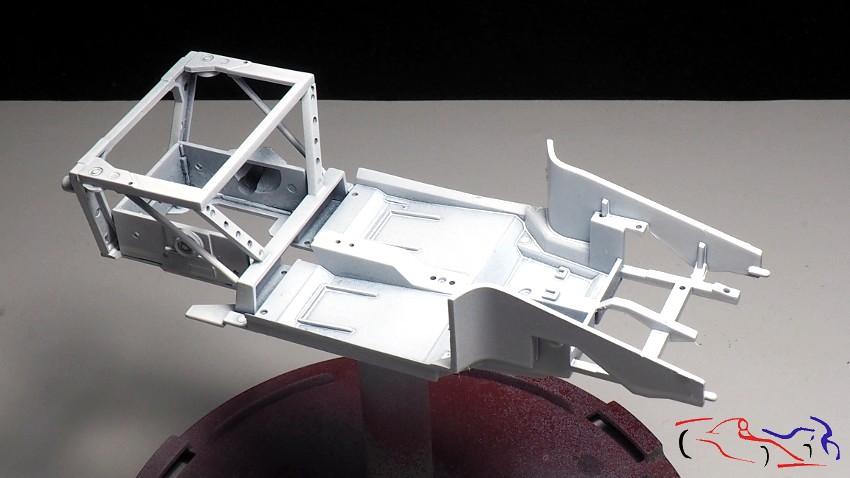
Y junto con la carrocería, imprimí también el chasis:
And along with the body, I also printed the chassis:
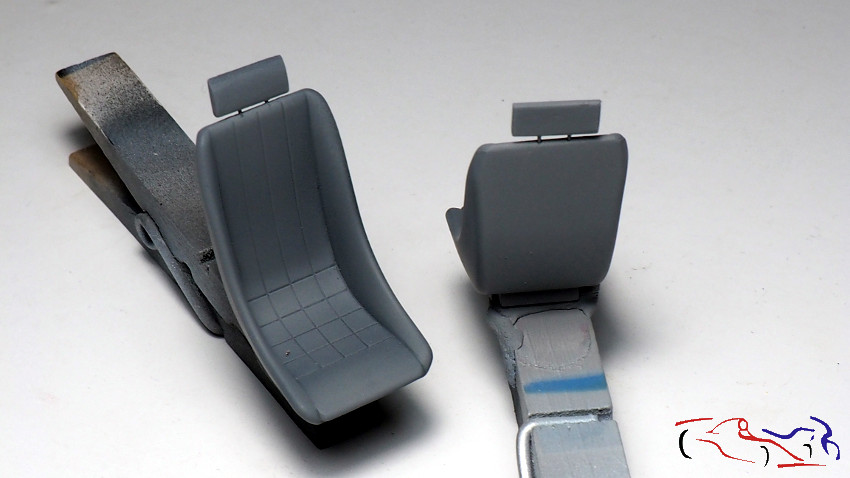
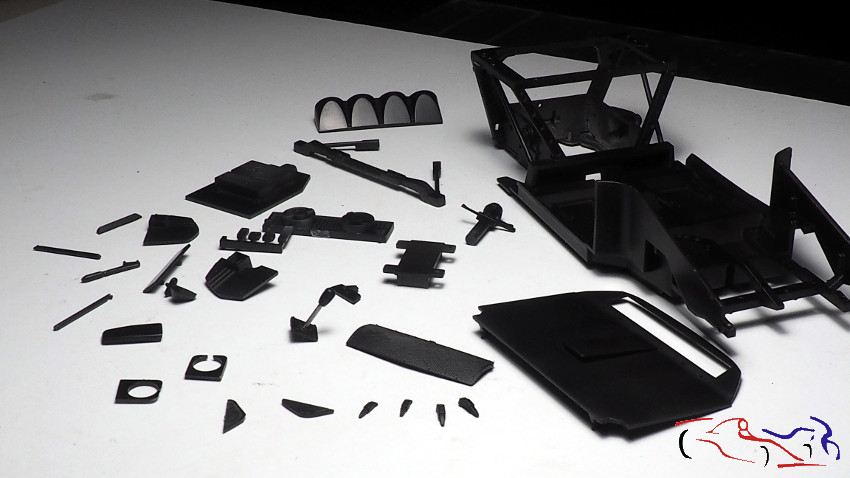
Más piezas: los asientos, los imprimí con el gris oscuro de Gravity, porque aplicaré la pintura negra de la gama Focus:
More parts: I primed the seats with Gravity’s dark grey, because I will apply the black paint from the Focus range:
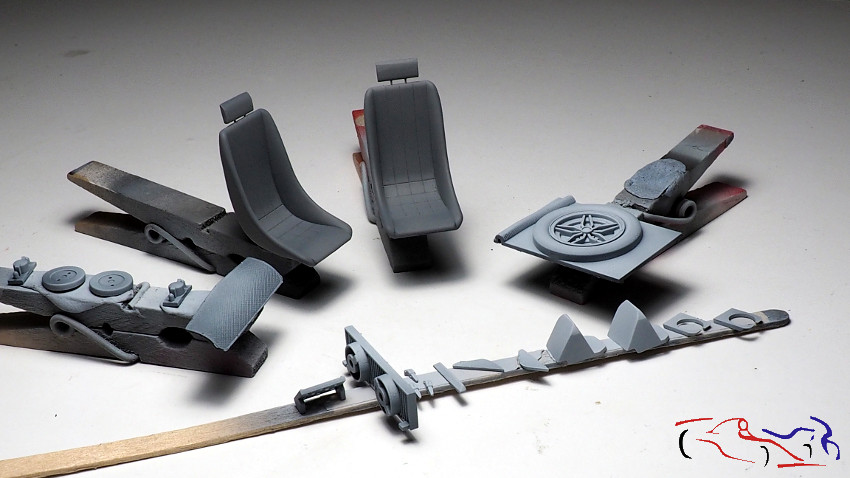
Y junto a los asientos, más piezas en sus soportes. En las pinzas utilizo Blue-tack para fijar las piezas, mientras que en la varilla de madera, utilizo cinta adhesiva de doble cara.
And next to the seats, more parts in their holders. On the clamps I use Blue-tack to fix the parts, while on the wooden rod, I use double-sided tape.
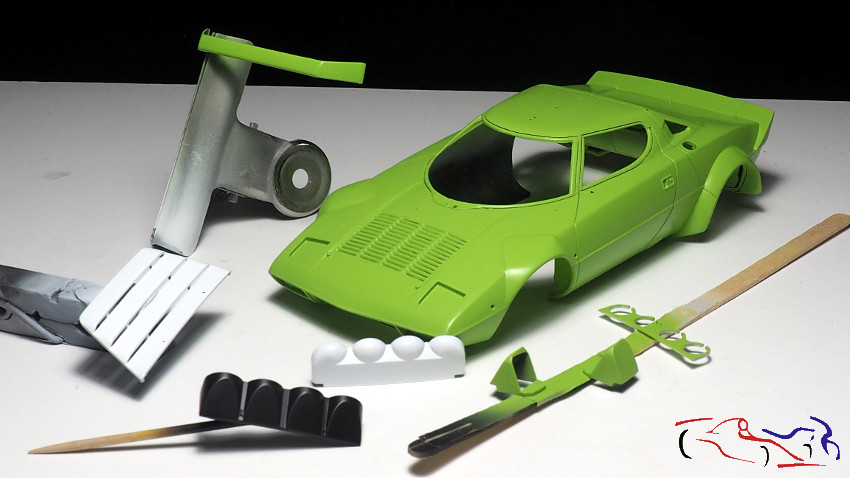
Aquí os muestro las piezas que van en verde Gravity, y que previamente imprimí: la carrocería, el alerón del techo, la cubierta de los faros y el frontal de la parrilla de faros:
Here I show you the parts in Gravity green, which I previously primed: the body, the roof spoiler, the headlight cover and the front of the headlight grille:
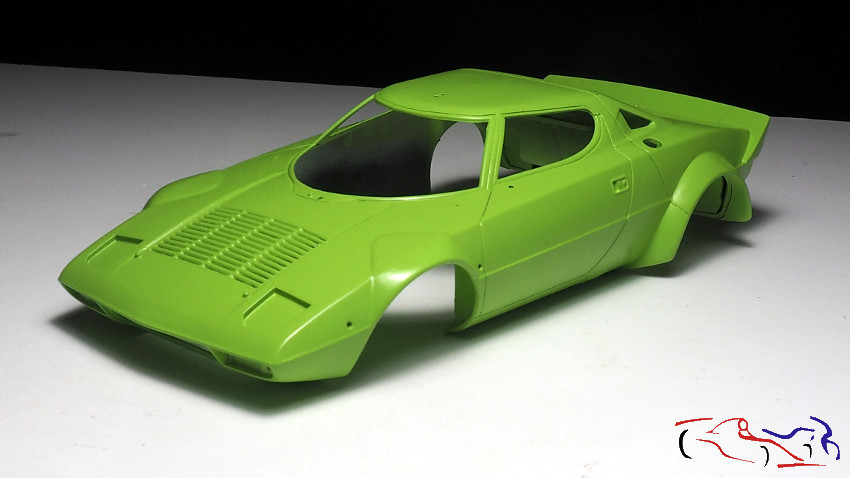
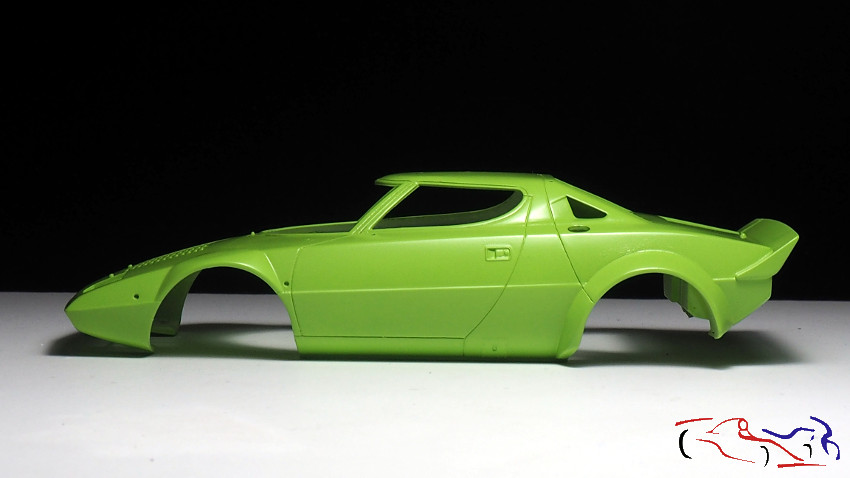
Apliqué tres manos de pintura verde. Después, lijé un poco la superficie y le volví a dar otra capa de pintura:
I applied three coats of green paint. Then I sanded the surface a little and applied another coat of paint:
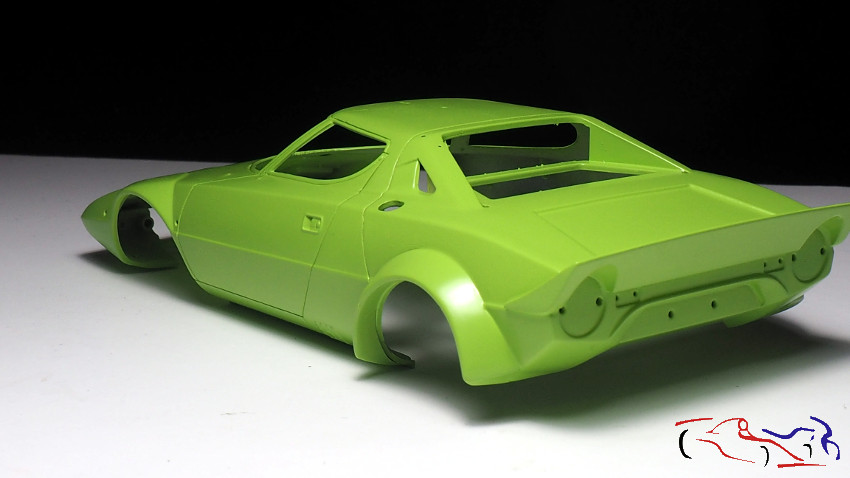
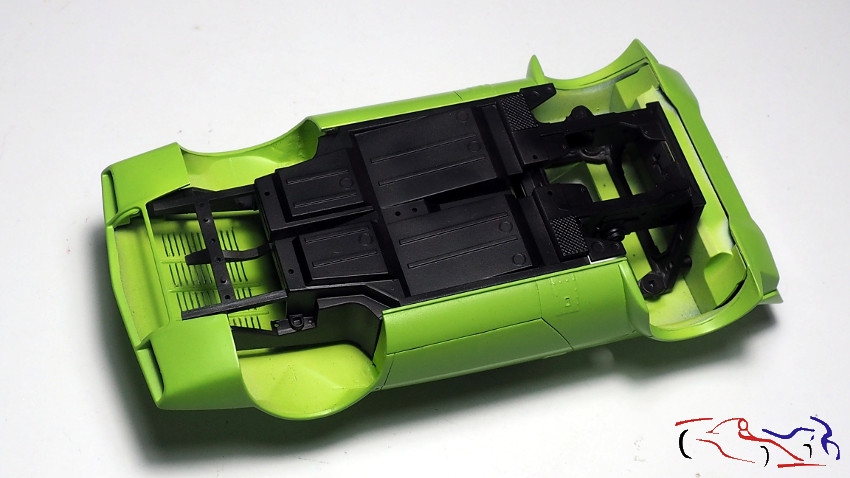
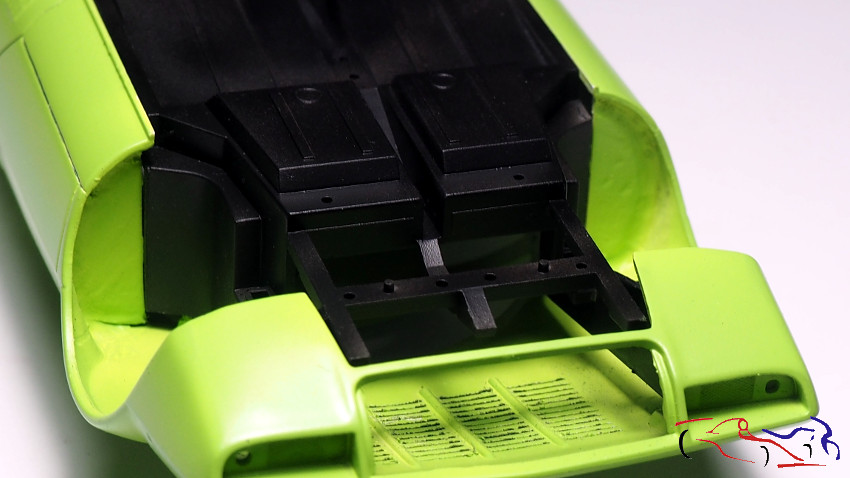
A su vez, también pinté otras piezas con otros colores, como el chasis, de negro mate de Zero Paints, el cual coloqué en la carrocería. En la segunda foto, se ven perfectamente los añadidos que hice en los pasos de rueda delanteros de la carrocería, los cuales irán pintados también de negro mate como todo el interior:
At the same time, I also painted other parts with other colours, such as the chassis, in matt black from Zero Paints, which I placed on the bodywork. In the second picture, you can see perfectly the additions I made in the front wheel arches of the bodywork, which will also be painted matt black as the whole interior:
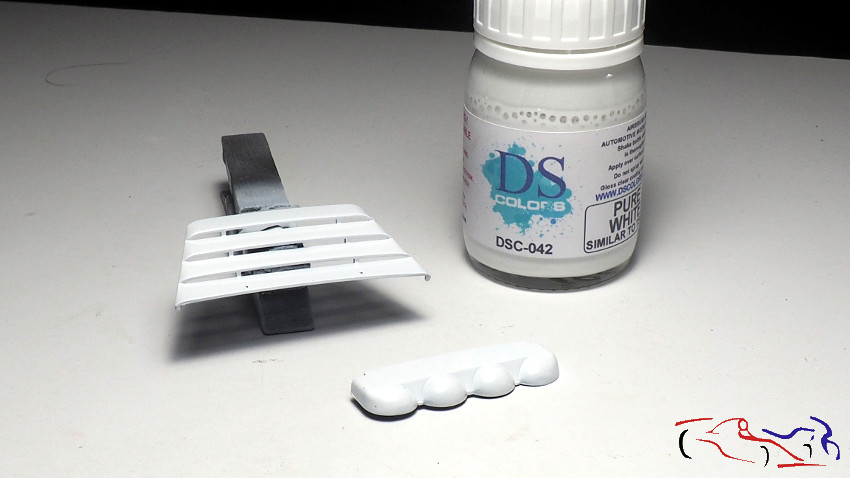
Aquí os muestro las piezas ya pintadas en sus colores, que van directamente en la carrocería:
Here I show you the parts already painted in their colours, which go directly on the bodywork:
Para las piezas blancas use pintura DS color, que me pareció muy buena:
I used DS colour paint to the white parts, which I found very good:
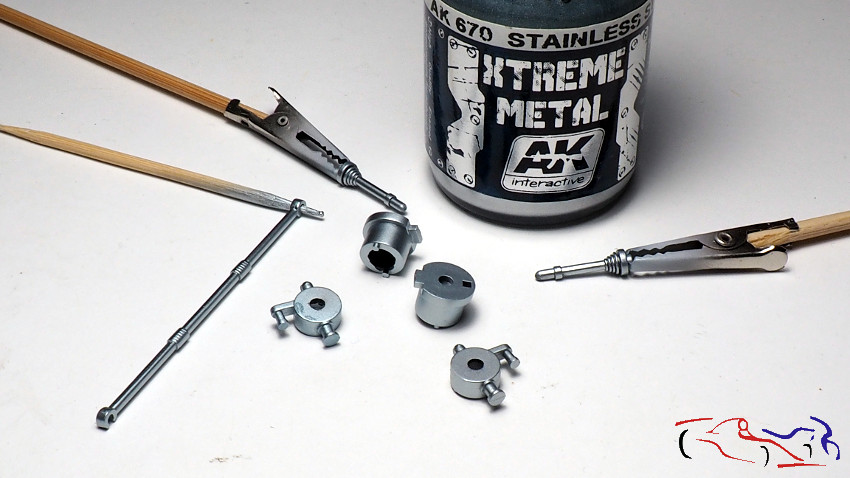
Las piezas en color acero, las pinté con Stainless Steel de Extreme Metal de AK:
The steel coloured parts were painted with Stainless Steel from AK Extreme Metal:
Para las piezas plateadas, usé Zero Metal Chrome, con muy buen resultado. Muchas de esas piezas, tendrán posteriormente más colores, como son los muelles de la suspensión o los discos de freno:
For the silver parts, I used Zero Metal Chrome, with very good results. Many of these parts will later have more colours, such as the suspension springs or brake discs:

Y por supuesto, negro mate de Zero para muchas piezas más!!
And of course, matte black from Zero for many more pieces!
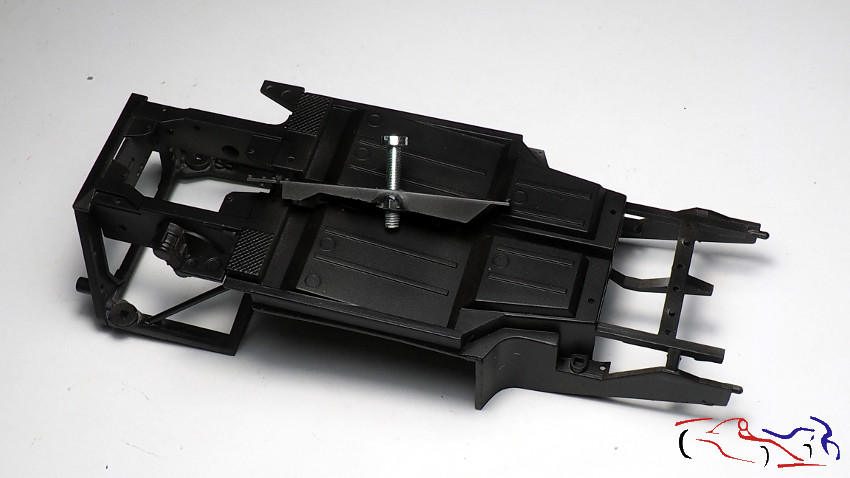
Por último, os pongo el sistema de fijación que le voy a realizar para sujetar el coche a la base: un agujero en esa pieza que cubre la transmisión, y le pego una tuerca, donde el tornillo se enroscará una vez introducido por debajo de la base.
Finally, I’m going to show you the fixing system I’m going to make to fix the car to the base: a hole in the piece that covers the transmission, and I stick a nut, where the screw will be screwed once it is inserted under the base.
En la siguiente entrada, seguiremos con más pintura y quien sabe si pondré las calcas! Gracias por ver y comentar.
In the next entry, we’ll continue with more paint and who knows if I’ll put the decals! Thanks for watching and commenting.


