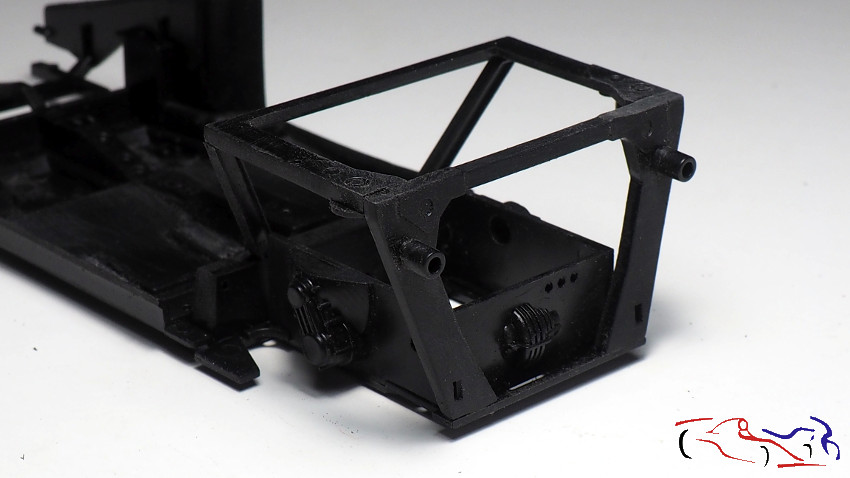
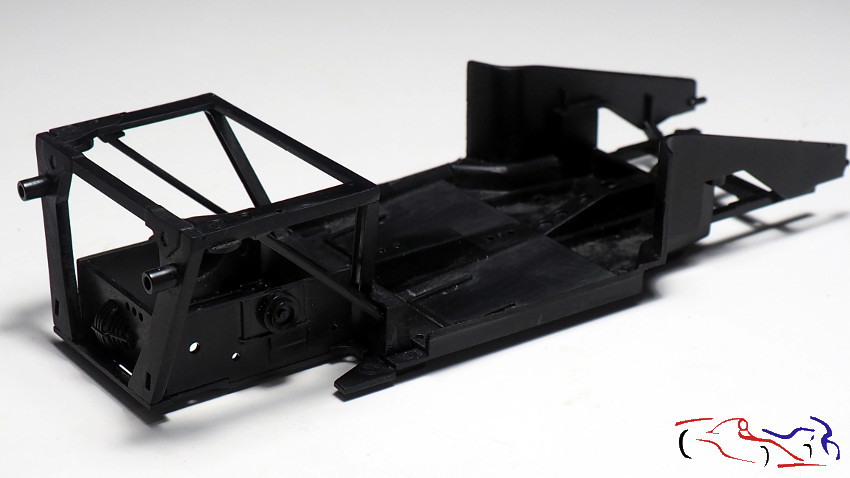
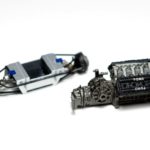
Continuamos preparando las piezas para imprimar del Lancia Stratos. Lo primero de todo, disculpad por las fotos porque al ser las piezas negras, se ven mal y tienen poco detalle. Y empezamos montando los soportes del motor, que no existe. Todo irá pintado de negro con sus toques metálicos. Esto era necesario para probar que la carrocería ajustara bien:
We continue preparing the parts for priming the Lancia Stratos. First of all, sorry for the photos, because the parts are black, and they look bad with very little detail. We start assembling the engine mounts, which does not exist. Everything will be painted black with metallic touches. This was necessary to test that the bodywork fit well:
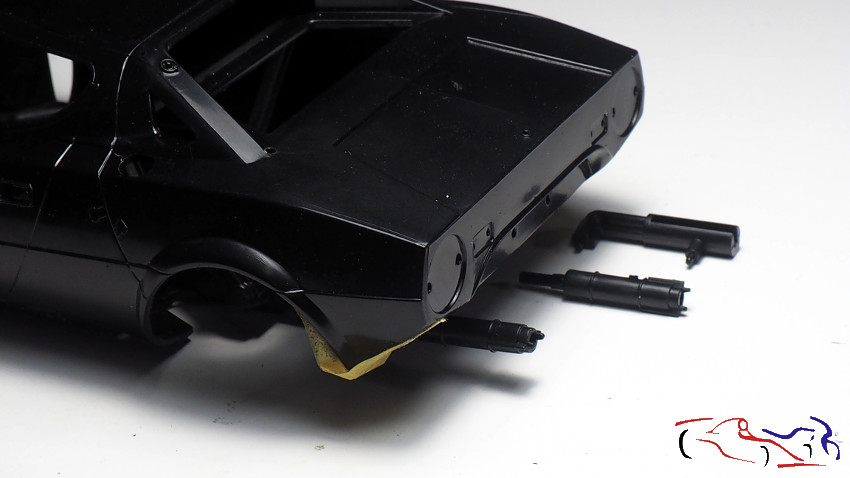
Una vez colocados los soportes anteriores, probamos a ver como quedan los tubos de escape, que creo que tendré que mejorar…
Once the previous brackets are in place, we try to see how the exhaust pipes look like, which I think I’ll have to improve…
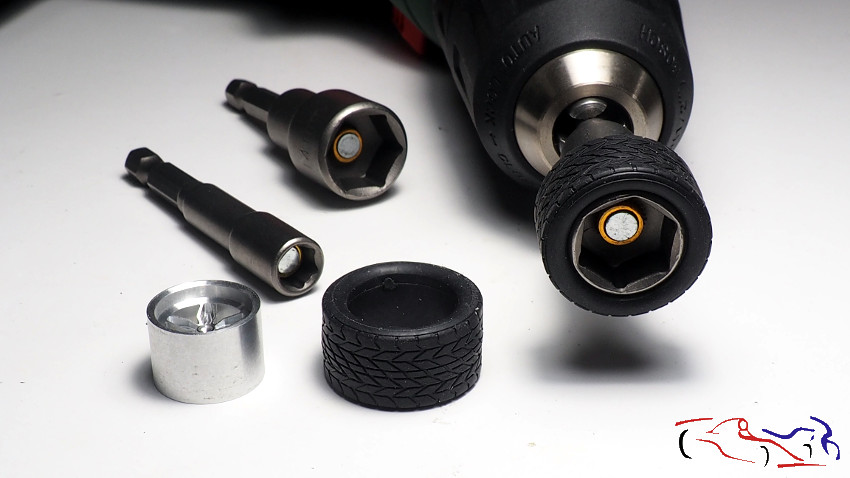
El siguiente paso es gastar los neumáticos y para eso, voy a usar ls nuevas llaves de vaso que he comprado, de varias medidas. Pongo los neumáticos en las llave correspondiente y ésta en el taladro. En la segunda foto vemos la diferencia entre la rueda inclinada (ya lijada) y la vertical de la derecha, que está sin lijar.
The next step is to wear out the tyres and for that, I’m going to use the new socket spanners I bought of various sizes. I put the tyres in the sockets and the sockets in the drill. In the second photo we can see the difference between the inclined wheel (already sanded) and the vertical one on the right, which is unsanded.

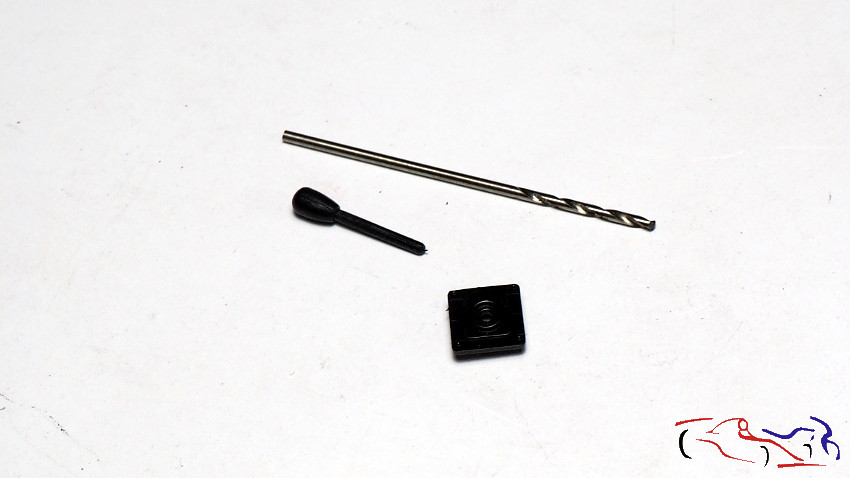
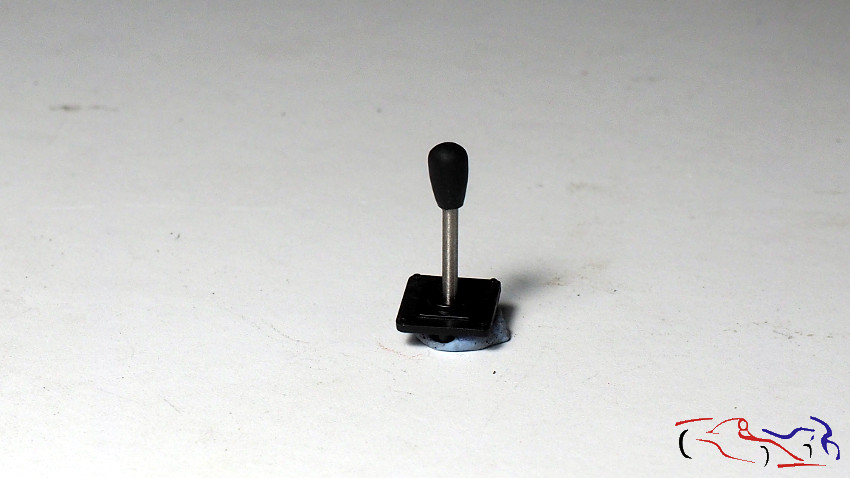
Otra pieza que mejoro: la palanca del cambio de marchas. Elimino el tubo de plástico y le pongo un trozo de broca de 1 mm:
Another part I improve: the gear shift lever. I remove the plastic tube and put a piece of 1 mm drill bit in it:
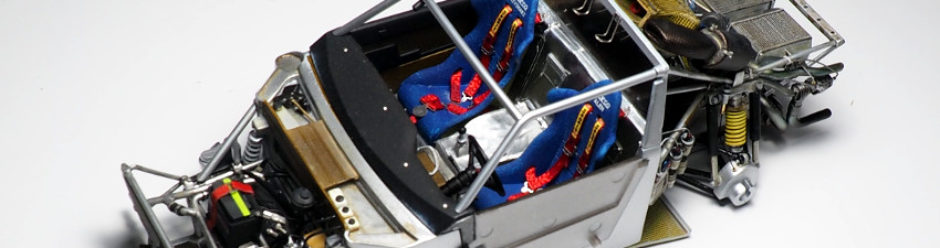
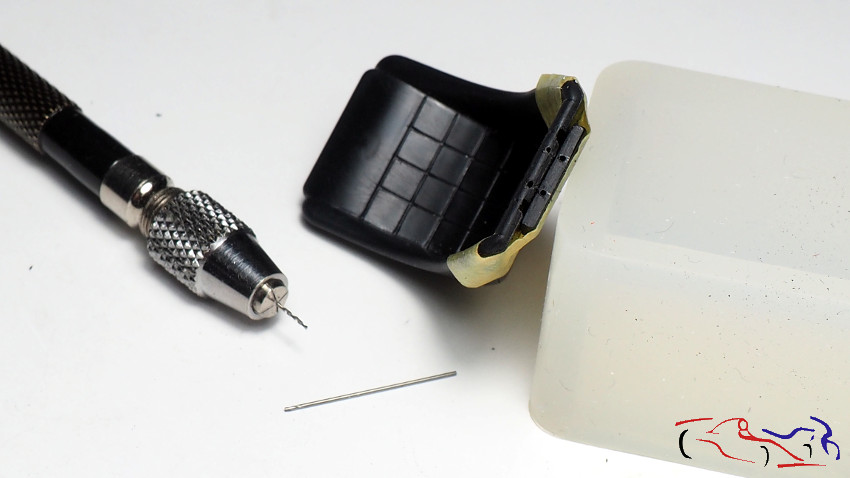
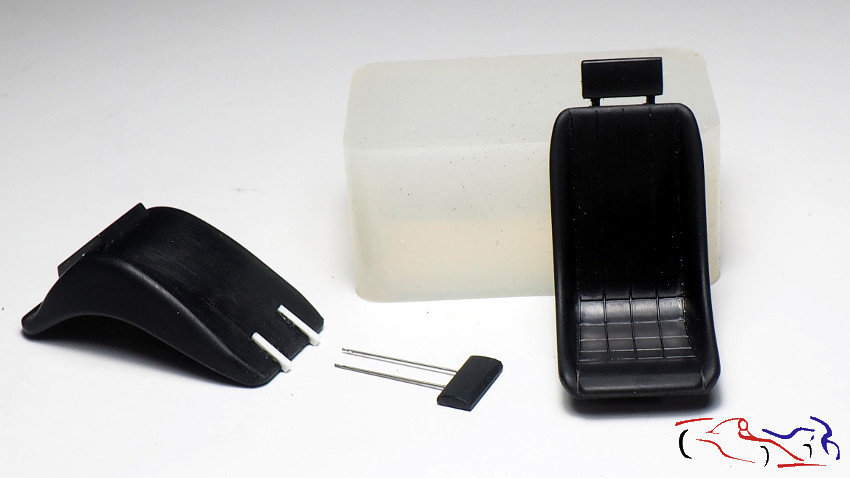
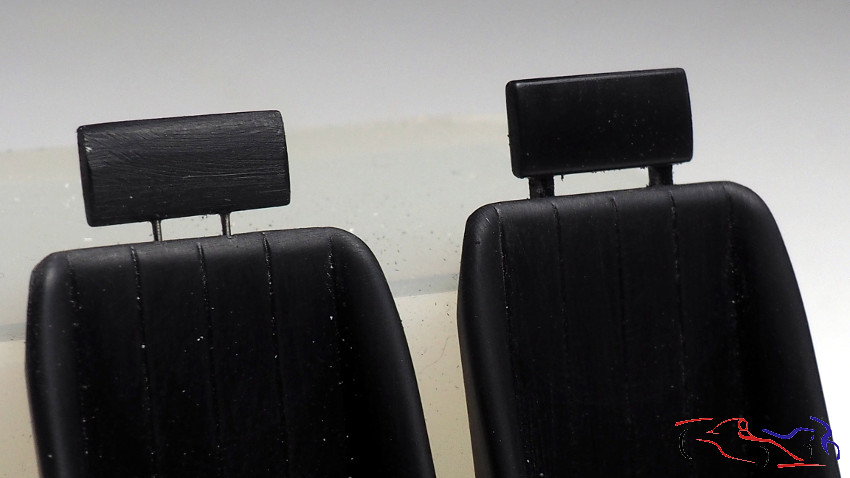
Ahora es el turno de los asientos. Tenemos los reposacabezas que van unidos por unos trozos de plástico, que sustituiremos por varillas de metal. Primero hacemos los agujeros en el asiento, con una broca de 0,4 mm, FIjaremos entonces el reposacabezas por detrás, y haremos sus agujeros a la misma medida que el asiento. Ponemos las varillas y tapamos con plástico blanco, las fijaciones iniciales. El resultado es notable!
Now it is the turn of the seats. We have the headrests, which are attached by pieces of plastic, which we will replace with metal rods. First we make the holes in the seat, with a 0.4 mm drill bit, then we will fix the headrest from behind to the seat, and we will make the holes at the same size as the seat. We put the rods and cover with white plastic, the initial fixings. The result is remarkable!
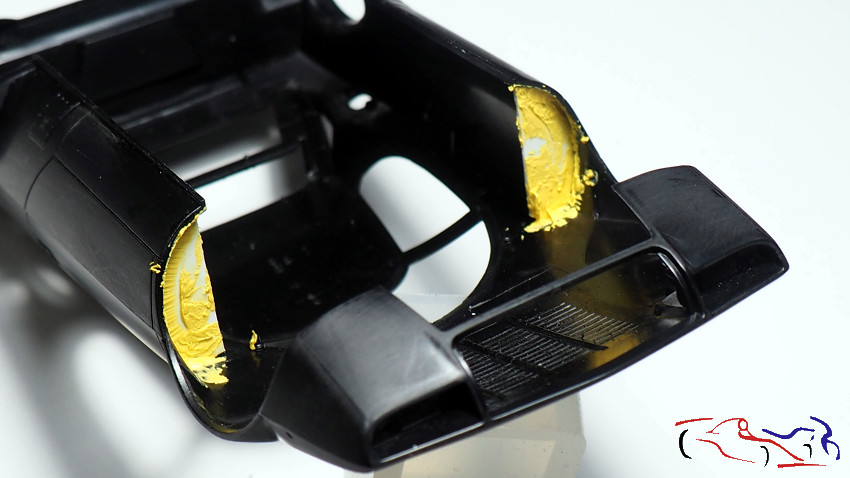
SI recordáis del post anterior, recorté los laterales del chasis para que se pudiera introducir mejor en la carrocería, pero una parte de los pasos de rueda delanteros se eliminaba, y había que taparlas. Para ello, coloco primero cinta de enmascarar y pinto las formas de las piezas, según la forma interior de la carrocería.
If you remember from the previous post, I cut out the sides of the chassis so that it could be better inserted into the bodywork, but part of the front wheel arches were removed, and they had to be covered. To do this, I first put masking tape and paint the shapes of the pieces, according to the interior shape of the bodywork.
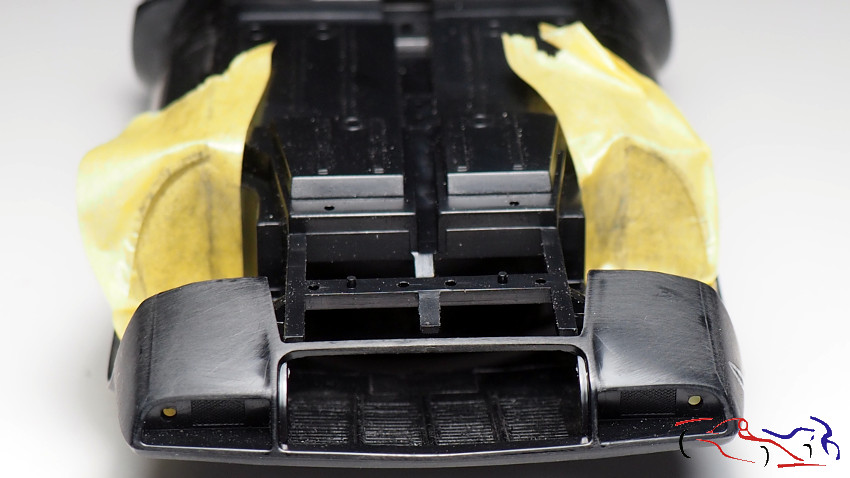
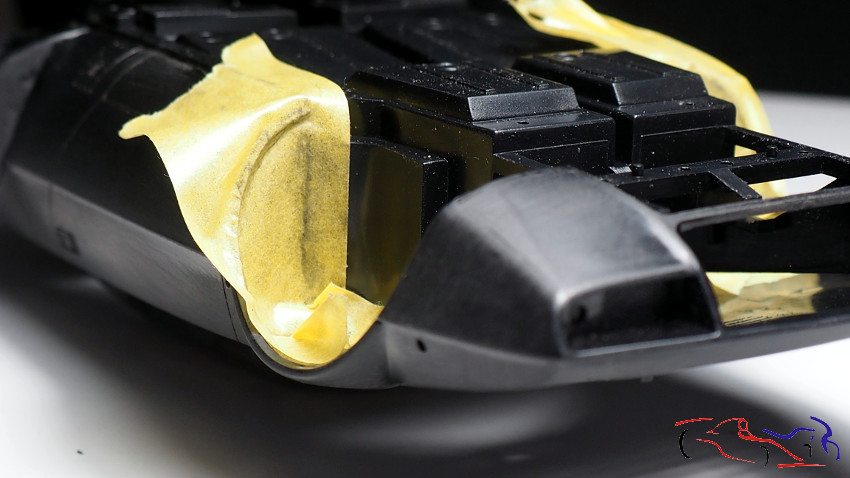
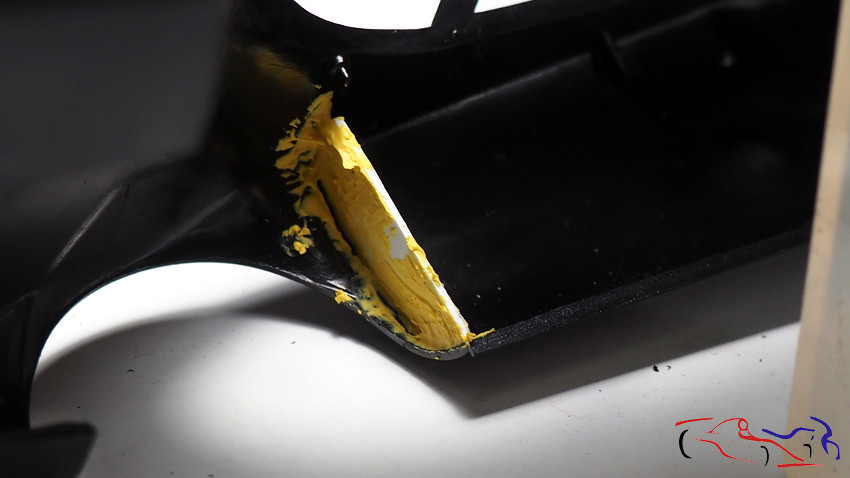
A continuación, paso las platillas a plástico de 1mm, recorto, ajusto y pego en su sitio. Depsués aplico masilla Tamiya de Poliuretano:
Next, I transfer the stencils to 1mm plastic, cut, adjust and glue them in place. Then I apply Tamiya Polyurethane putty:
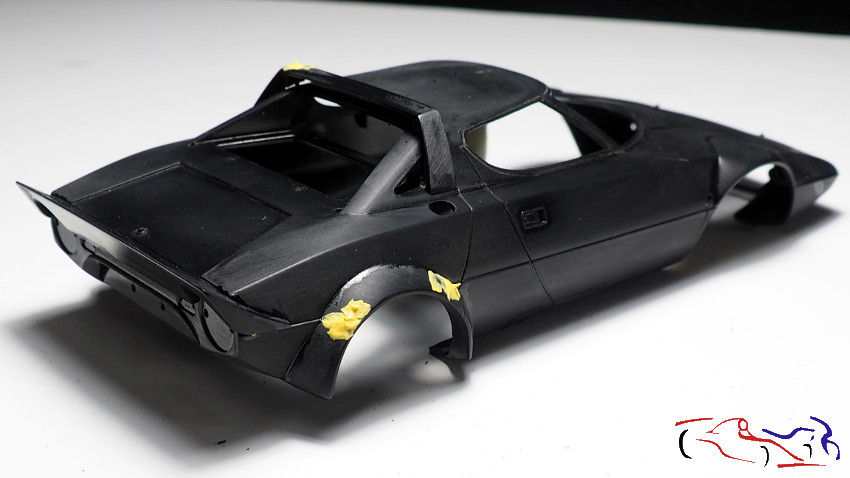
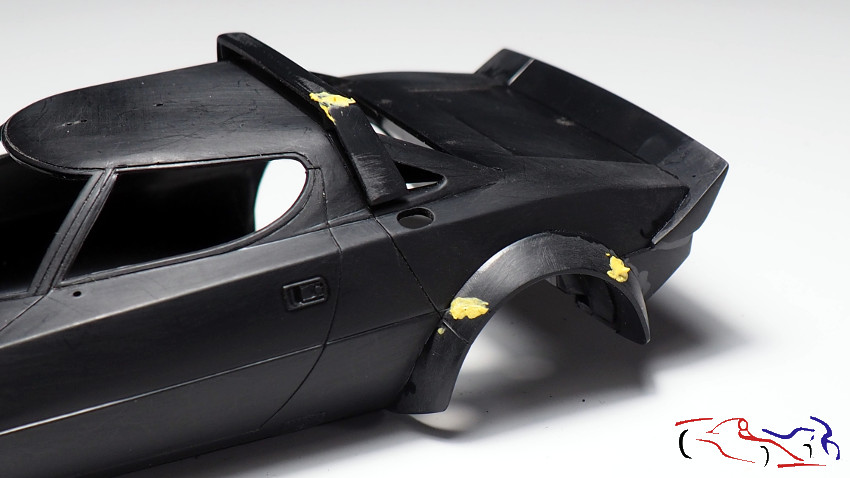
Y ya que usamos la masilla, la aplico en las piezas de la carrocería donde he visto huecos: los aletines traseros y el arco superior. Decir, que antes repasé las lineas de los paneles y los bordes de las ventanas, asi como una lijada a toda la carrocería. Lo siguiemte será lijar la masilla e imprimar:
And since we are using the putty, I apply it on the parts of the bodywork where I have seen holes: the rear wheel arches and the upper wing. Before that, I went over the lines of the panels and the edges of the windows, as well as sanding the whole bodywork. Next I will sand the putty and prime:
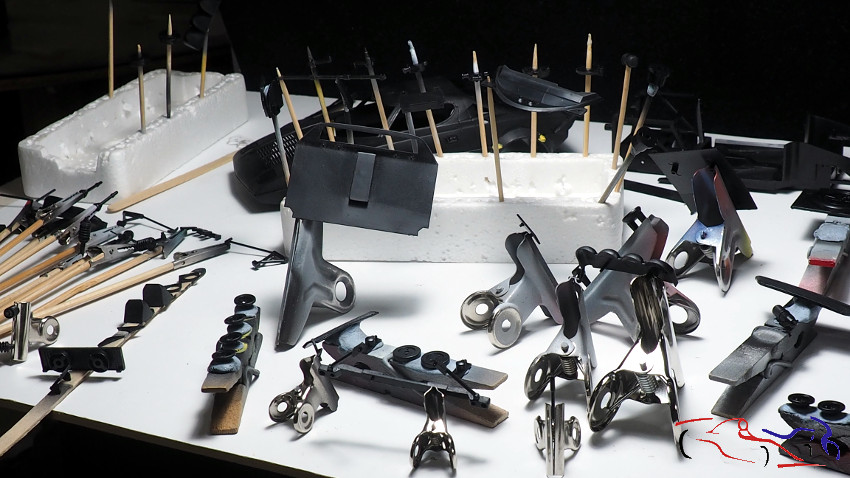
Y por supuesto, colocar todas las piezas para su proceso de imprimación y posterior pintura:
And of course, to place all the pieces for the priming and painting process:
En el siguiente post, veremos ya las piezas normalmente en un color claro, donde revisaremos los posibles fallos. Gracias por ver y comentar!
In the next post, we will look at the parts normally in a light colour, where we will check for possible faults. Thanks for watching and commenting!


This is going to be a great project. Many modifications and improvements. I like that, you describe the procedure and I can learn a lot from it. I don’t know if you know GB modeling is designing an engine with suspension and brakes for drn hasegawa. This could save you a lot of work if you open the hood. There are already some CAD pictures on FB. He also made the engine for the Fiat 131 about 1 year ago.
Hi, very appreciated your comments!! Thanks a lot. Regardong the engine, i know it becasue Claudio offered me in a primate message, but i rejected it at the moment because i have another one to be built with more details. This is a quick project to have somehting built faster!!
Muy trabajado.
Gracias Eduardo!!