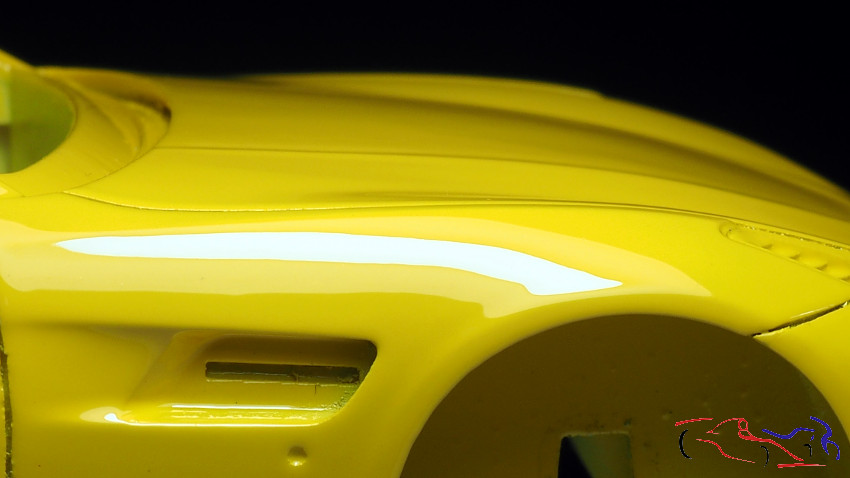
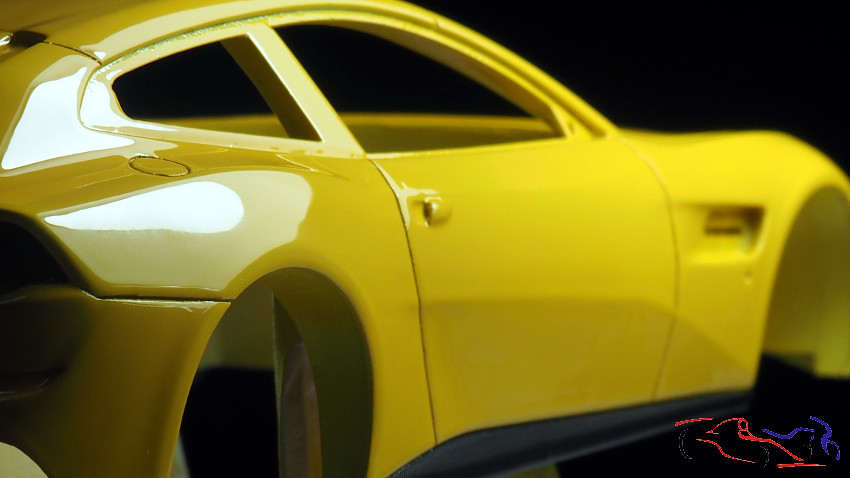
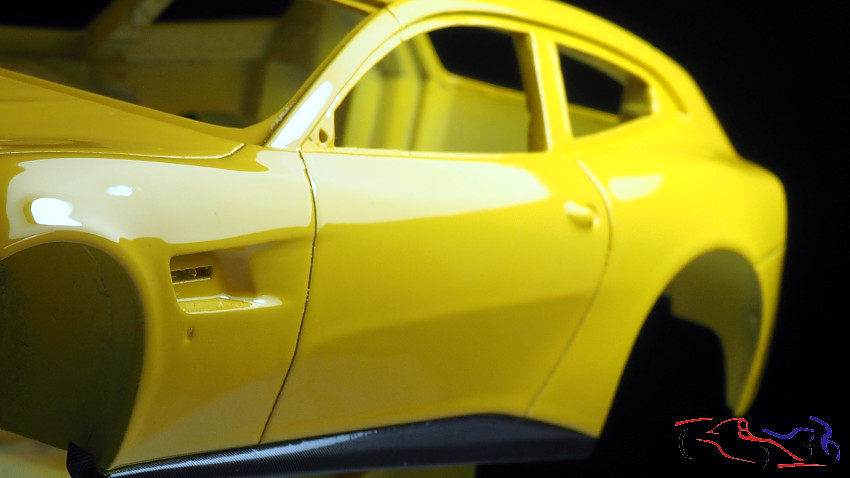
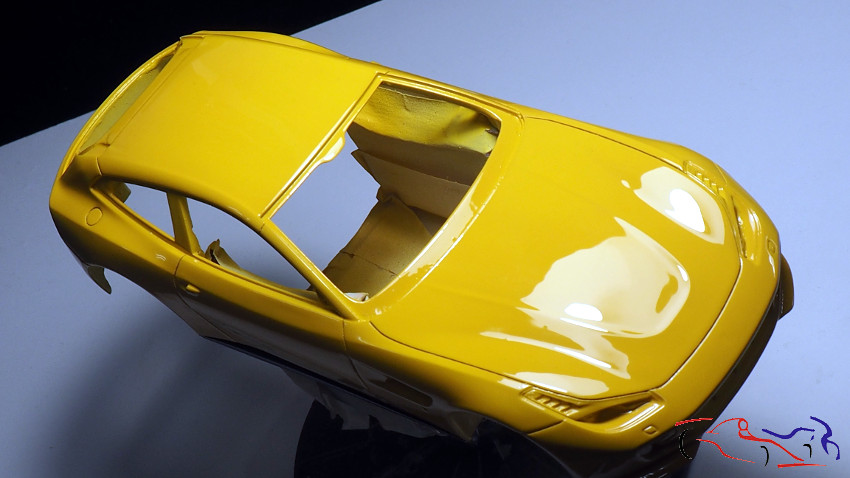
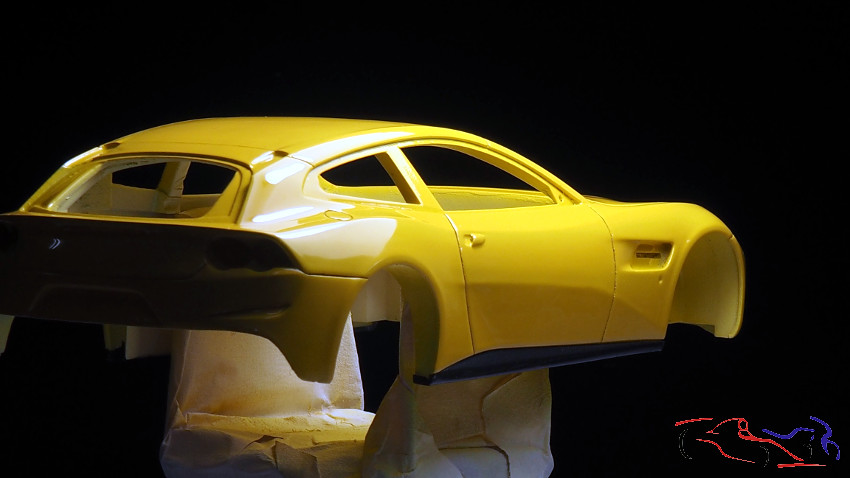
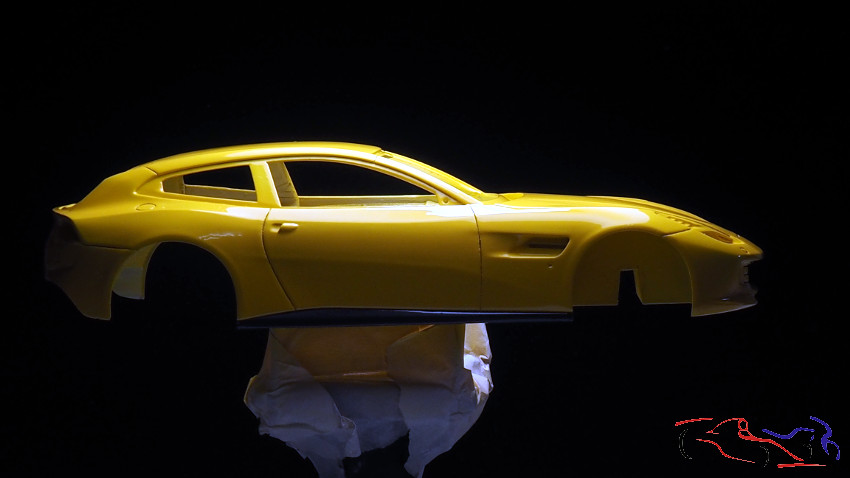
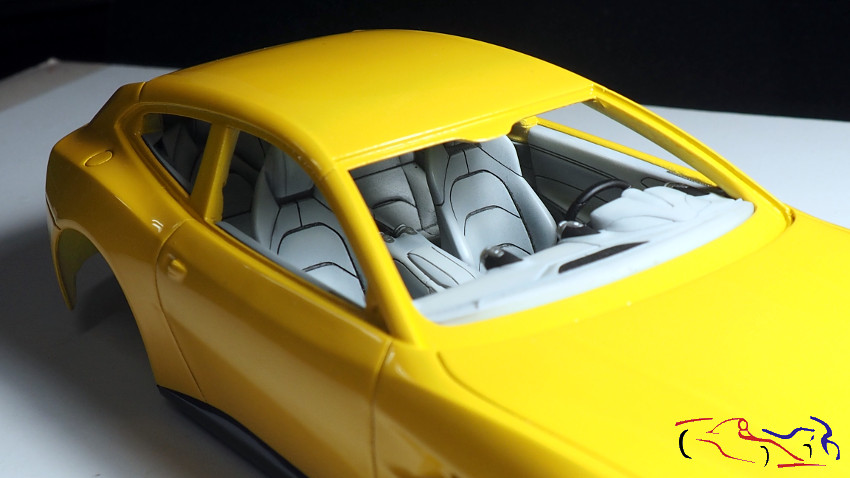
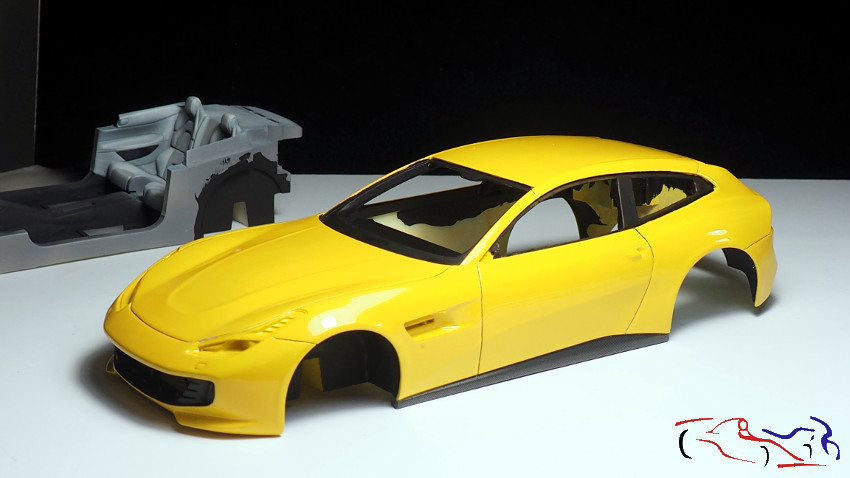
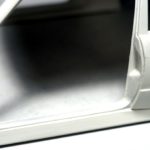
Continuamos con el Ferrari, y este será la última antes de las fotos finales. Dejamos la carrocería a falta de lacar, proceso que hice con la nueva laca de Number5, que me gustó mucho. La proporción del fabicante dice que es 2:1, y yo le puse cinco gotas de disolvente, porque me gusta la laca más líquida. Dos capas muy finas y una húmeda, separadas por 5 minutos de espera. Y el resultado es éste!! Decir que no me hará falta pulir porque la laca estiró muy bien!! Aquí las fotos:
We continue with the Ferrari, and this will be the last post before the final photos. We left the bodywork to be lacquered, a process I did with the new Number5 lacquer, which I liked a lot. The manufacturer’s ratio says 2:1, and I put five drops of thinner, because I like the lacquer more liquid. Two very thin coats and one wet coat, separated by 5 minutes between them. And the result is this! I will not need to polish because the lacquer stretched very well!!! Here are the photos:
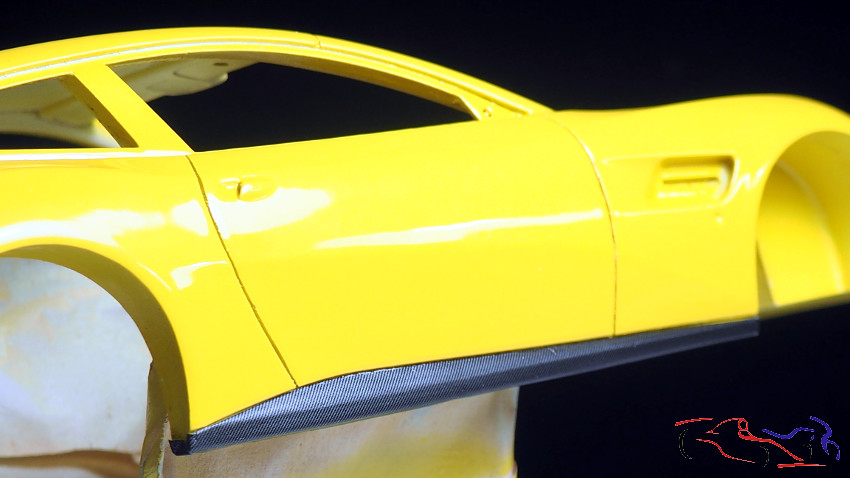
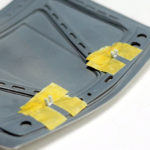
Una vez seca, el siguiente paso sería el poner fibra de carbono en las taloneras. Para eso, con cinta de enmascarar, corté con un cutter bien afilado, cogí la parte de la talonera y la traspasé a la hoja de calca. La otra parte, la guardé para usarla más adelante. La calca la puse sin más problemas con los porductos micro y con el secador de pelo:
Once it was dry, the next step was to put carbon fibre on the heel pads. For this, using masking tape, I cut with a very sharp cutter, took the part of the heel cup and transferred it to the decal sheet. I kept the other part for later use. I put the decal on without any further problems with the Micro products and the hairdryer:
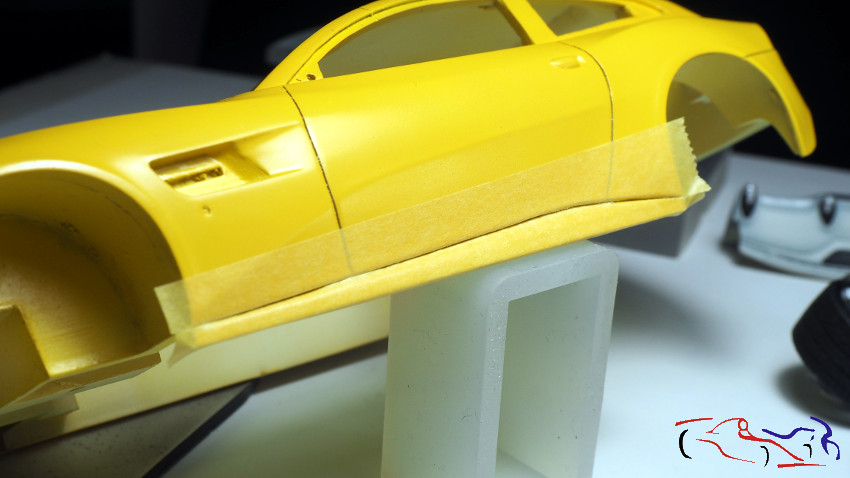

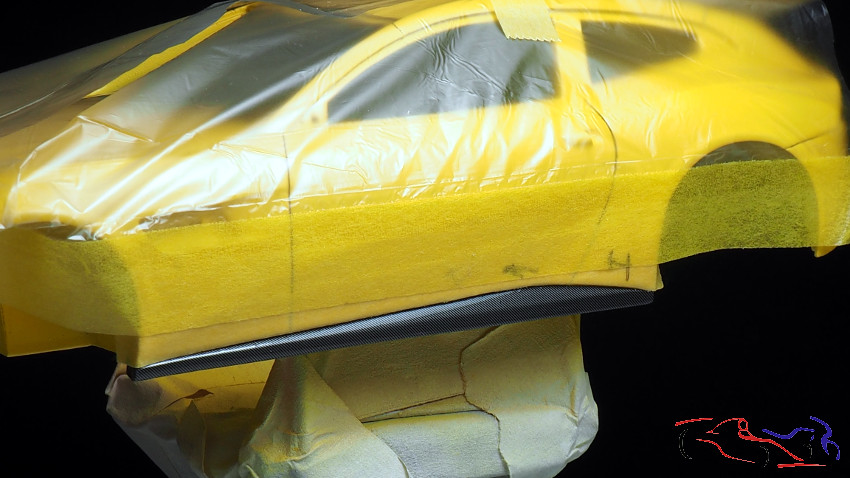
Una vez seca, cogí la otra parte de la máscara, la de la carrocería, y la volví a poner. Y a aprtirde ésta, más mascara para tapar la carrocería y dejar la talonera lista para barnizar en semimate, ya que todas la piezas de fibra van así terminadas.
Once dry, I took the other part of the mask, the one for the bodywork, and put it back on. And after that, more masking to cover the complete bodywork and leave the heel panel ready to varnish in semi-matt, as all the fibre parts are finished in this way.
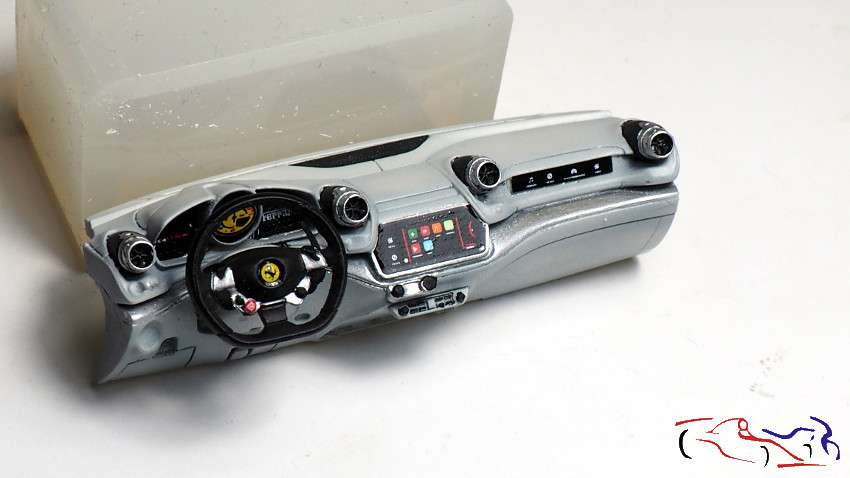
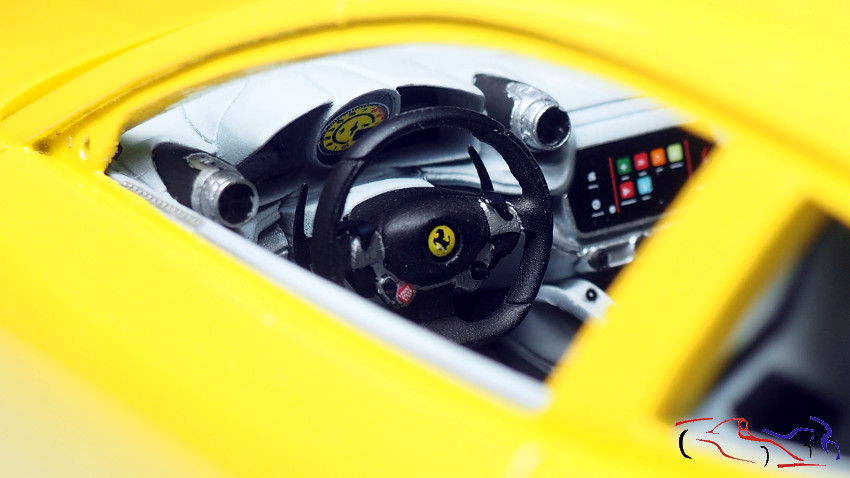
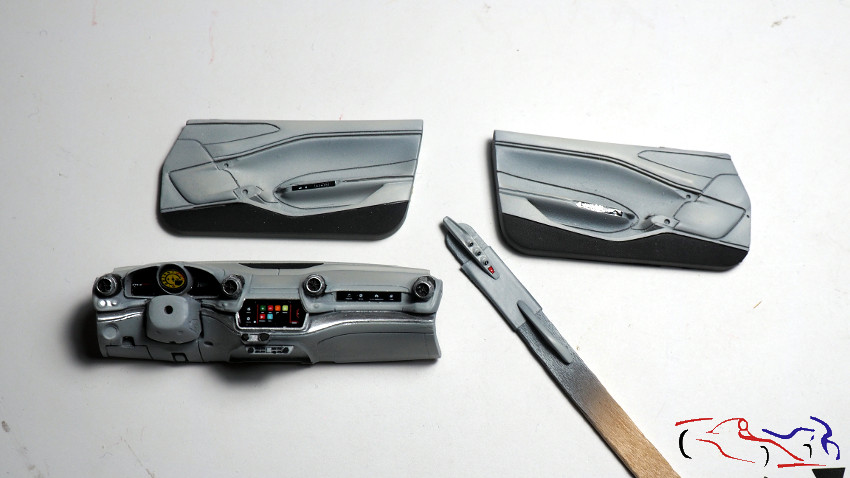
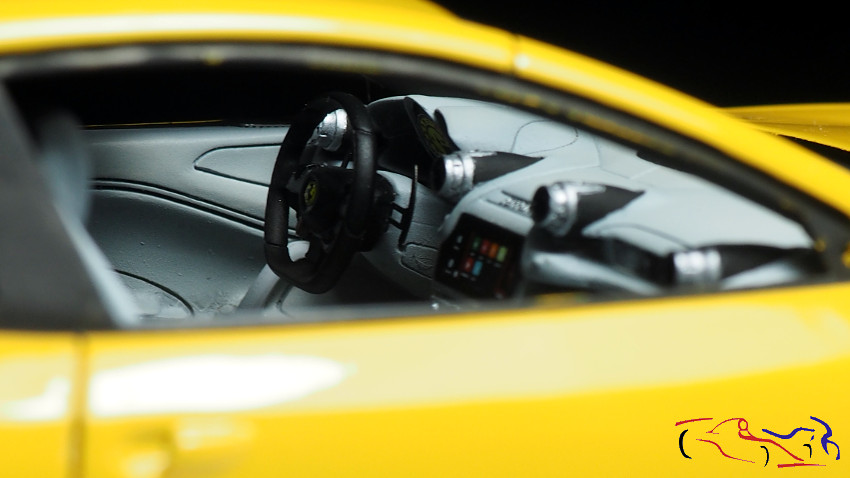
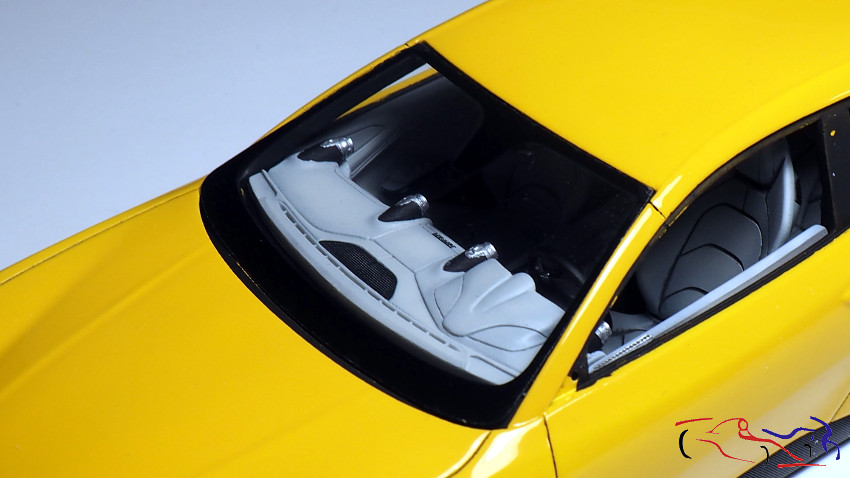
Y también teminé el interior, añadiendo las calas y fotograbados, tanto en el salpicadero como en el resto de piezas:
I also finished the interior, adding the coves and photoetched parts, both on the dashboard and the rest of the parts:
A la hora de terminar los emblemas de Ferrari, y una vez pegadas las calcas, les puse con un palillo, unas gotas de resina UV, que endurecí con una lámpara, siendo el resultado fantástico. Decir que los emblemas van sobre un fotograbado e irán colocados eln los laterales y en el frontal.
When finishing the Ferrari emblems, and once the decals were glued, I put with a toothpick, a few drops of UV resin, which I hardened with a lamp, and the result was fantastic. The emblems are on a photoetched parts and will be placed on the sides and on the front.
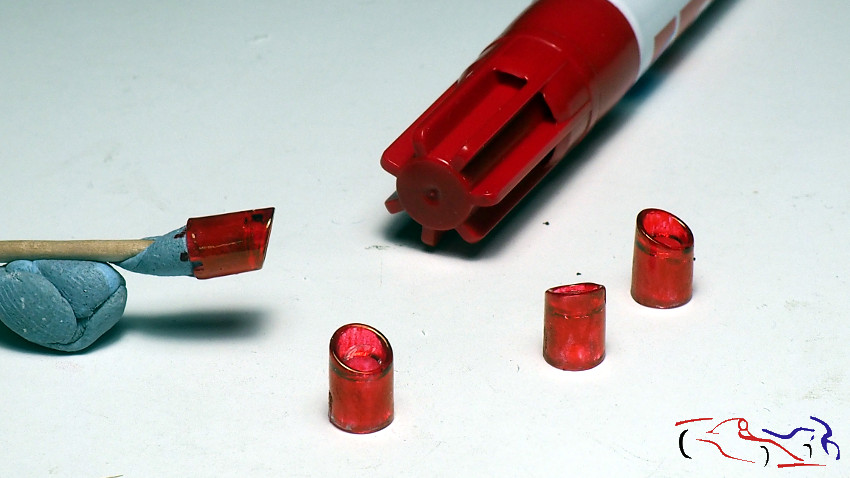
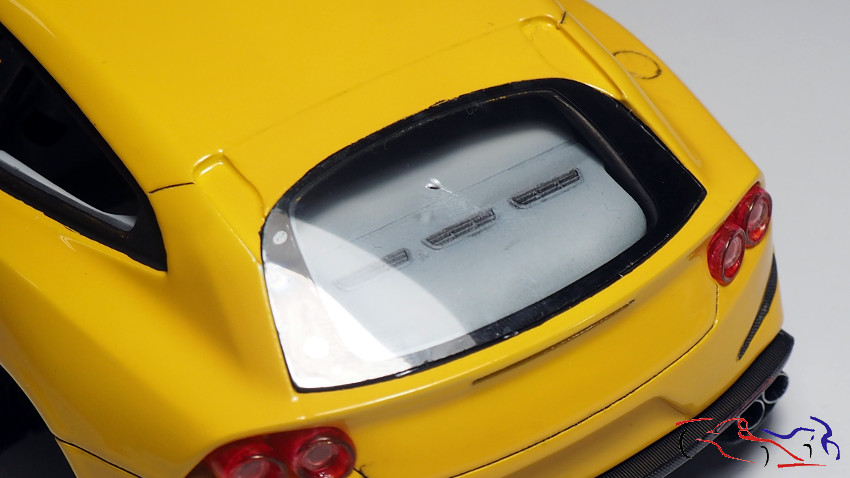
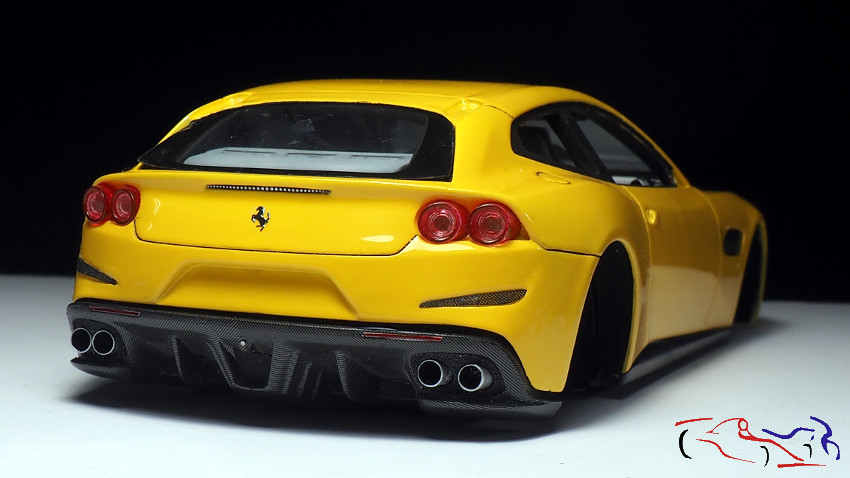
Más cosas: a los faros transparentes traseros, les di color con el rotulador rojo, siendo el acabado muy bueno!
Other things: the transparent rear lights were coloured with the red marker and the finish was very good!
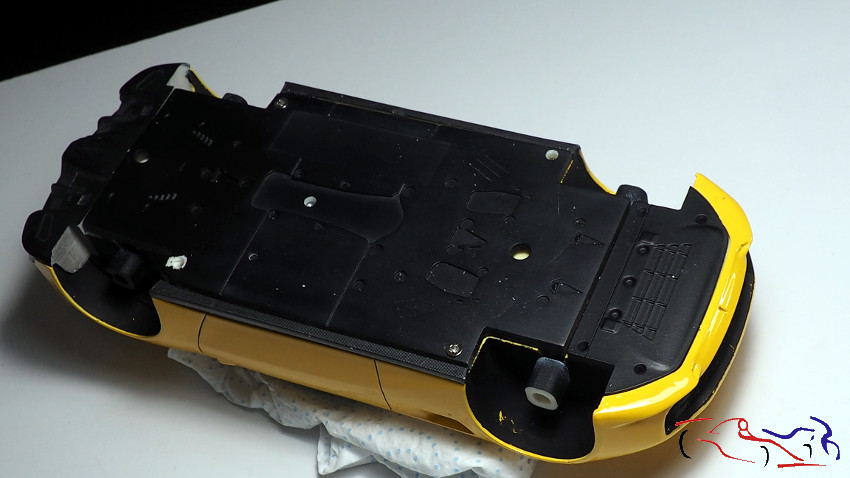
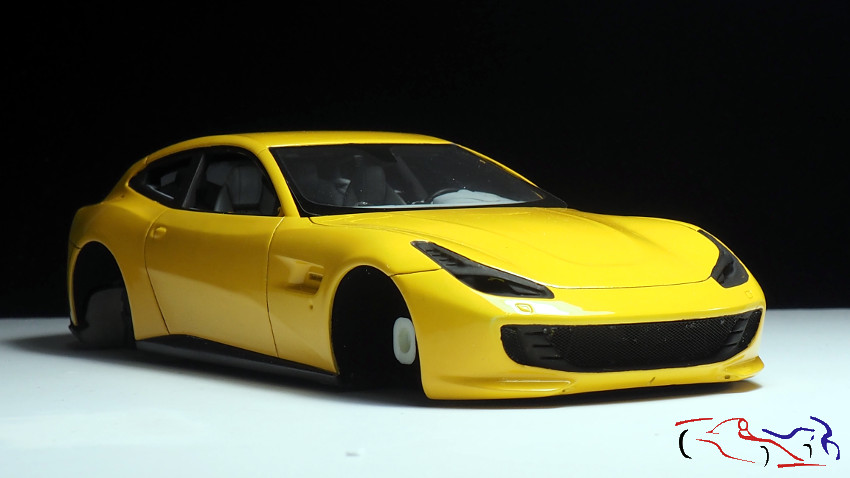
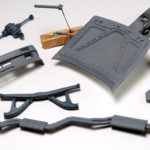
Las siguientes fotos muestran la carrocería con las partes negras ya pintadas, a la que voy pegando las piezas que había preparado anteriormente. Destacar en los bajos, el agujero central para fijar la maqueta a la base (internamente tiene una tuerca pegada):
The following pictures show the bodywork with the black parts already painted, to which I’m gluing the pieces I had previously prepared. The underbody has a central hole to fix the model to the base (internally it has a glued nut):
…. los cristales que son de acetado, con dos laminas en ambas caras que se eliminan para dejarlos limpios
…. the glass panes are made of acetate, with two films on both sides that are removed to leave them clean.
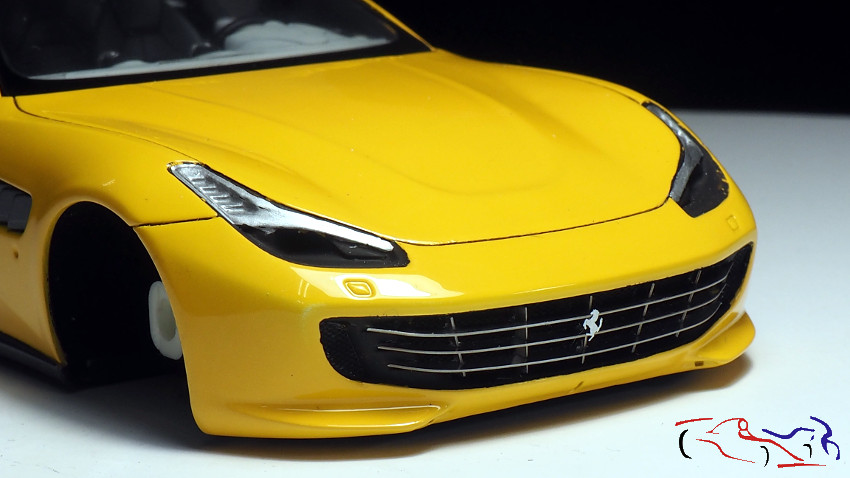
También colocamos el faldón trasero, y la rejilla delantera, con sus correspondientes “caballinos”;
We also fitted the rear apron and the front grille, with their corresponding “caballinos”
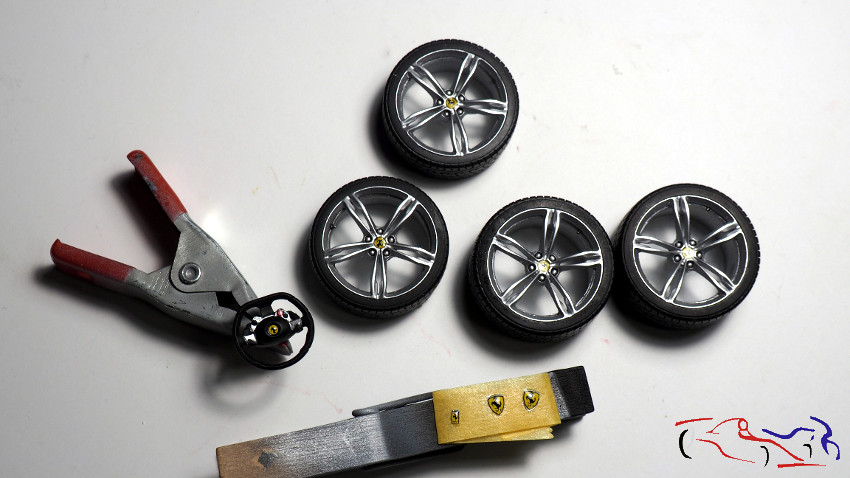
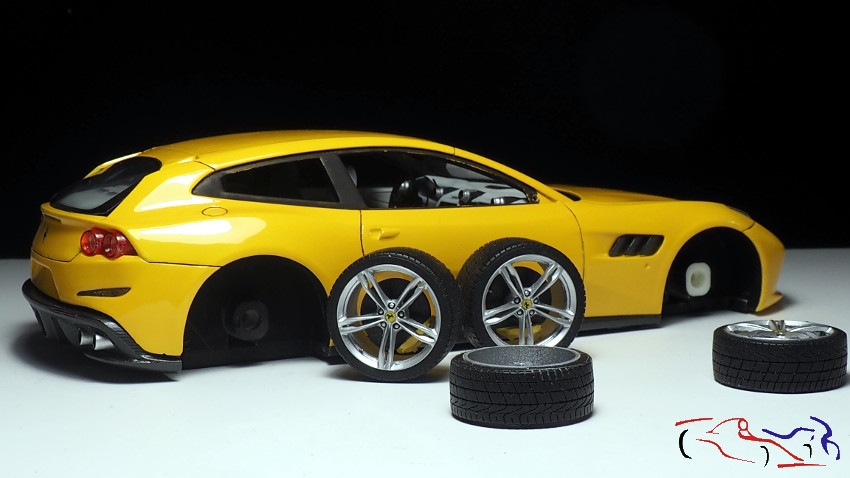
Y todo listo para poner las ruedas, que las pondré con pegamento epoxy de dos componentes:
And everything is ready to put the wheels on, which I will put on with two-component epoxy glue:
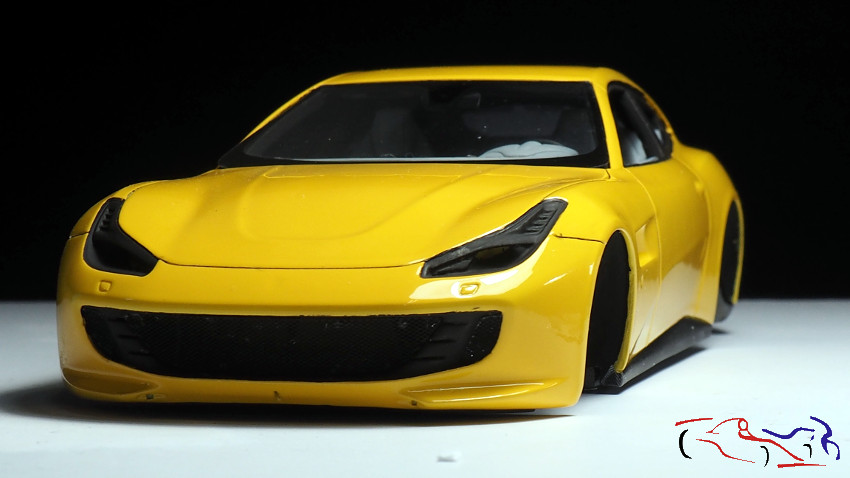
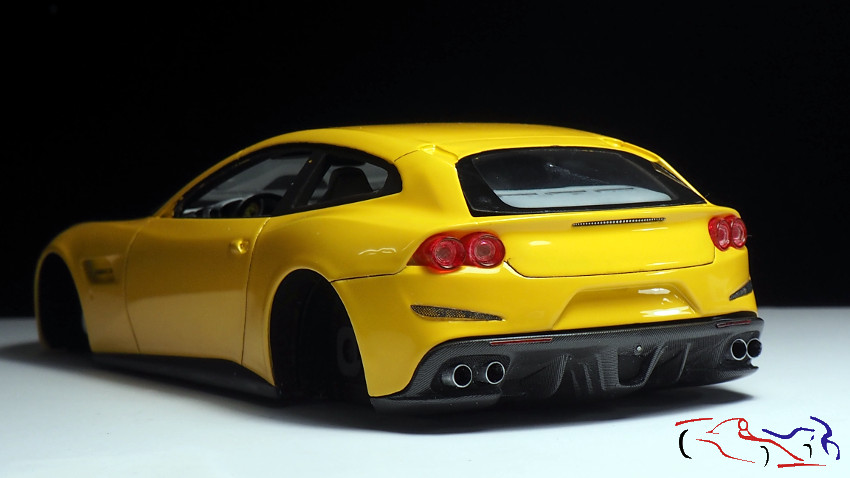
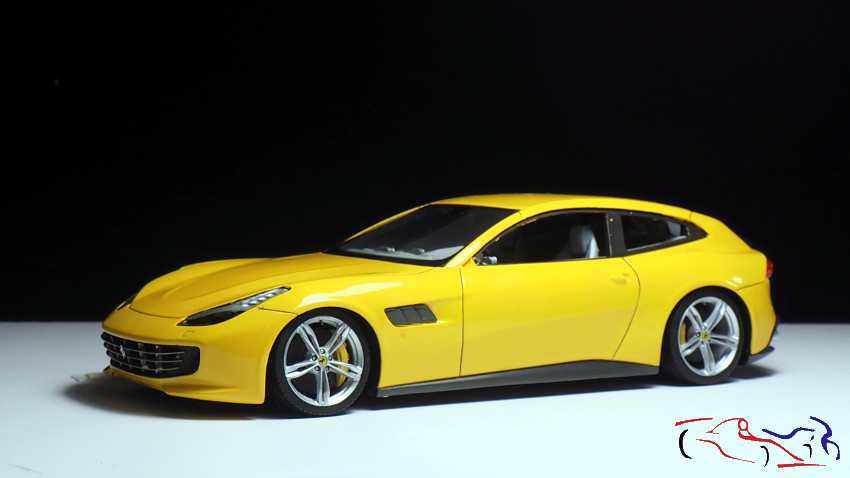
Y ya, casi terminado, a falta de los emblemas, algunos fotograbados, limpiaparabrisas….
And now, almost finished, with the emblems, some photo-etched parts, windscreen wipers, etc. ….
Y lo próximo será la maqueta terminada con sus fotos finales!! Gracias por ver y comentar!
And next will be the finished model with its final photos!!! Thanks for watching and commenting!
Hola Jesus, top trabajo como siempre. Feliz año nuevo..
Saludo desde Marbella..
Feliz Año.
Feliz año también para ti Eduardo!