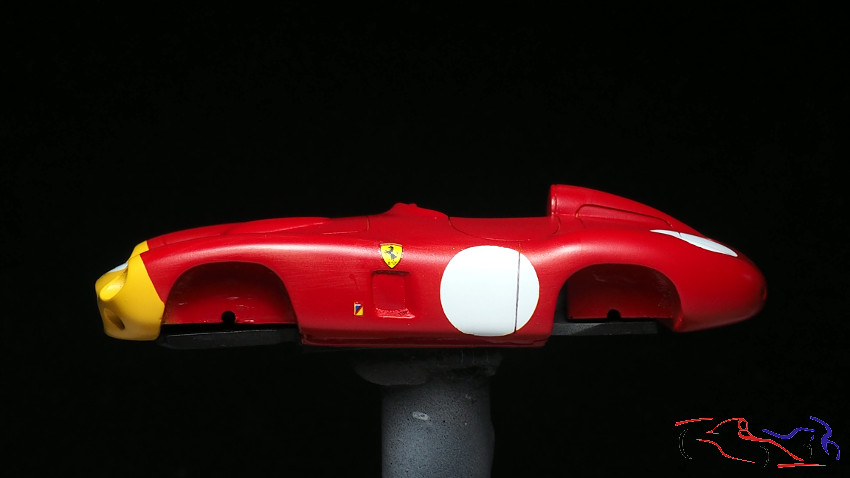
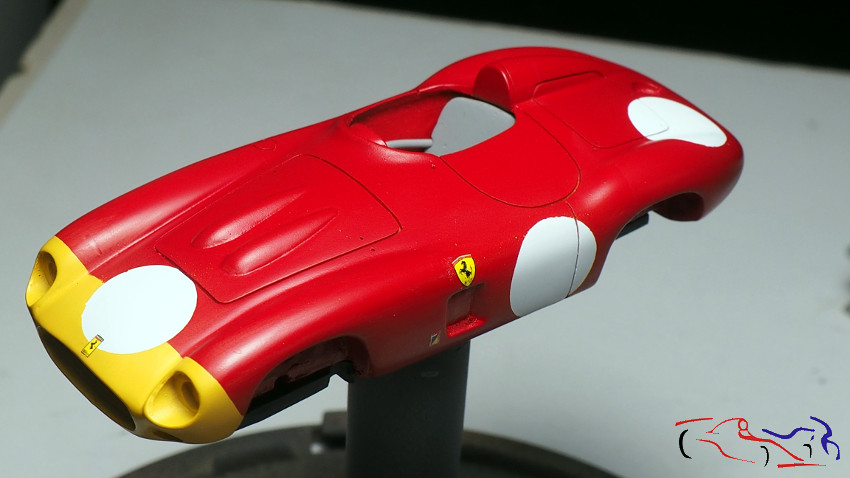
Hola a todos. Pocos avances he dado con este coche debido a un problema con las calcas, yo solo he podido poner la pequeñas, quedando la carrocería en este estado:
Hello everyone. I have made little progress with this car due to a problem with the decals, I have only been able to put the small ones, leaving the body in this state:
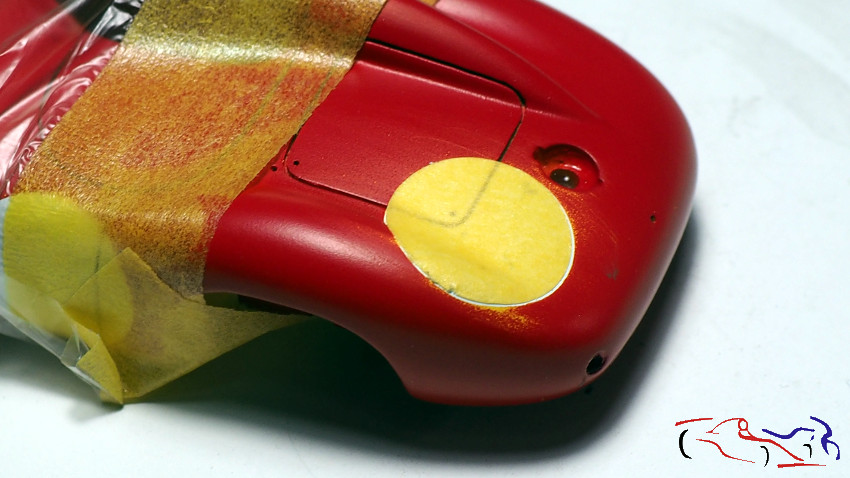
 Pero demos unos pasos atrás para ver lo que pasó. De primeras, le pasé una lija muy fina con agua y con jabón para eliminar las marcas de pintura de las máscaras. Todo fue bien hasta que vi que me había pasado en la aleta izquierda trasera, al lado del numeral blanco. Por tanto, hice otra máscara redonda y enmascaré la parte delantera del coche:
But let’s take a few steps back to see what happened. At first, I passed a very fine sandpaper with water and soap to remove paint marks from the masks. Everything went well until I saw that I had passed me on the left rear fin, next to the white numeral. So I made another round mask and masked the front of the car:
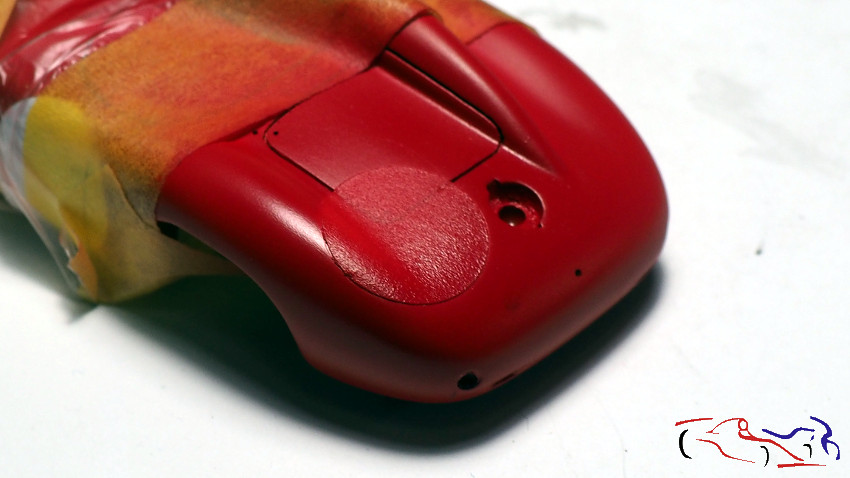
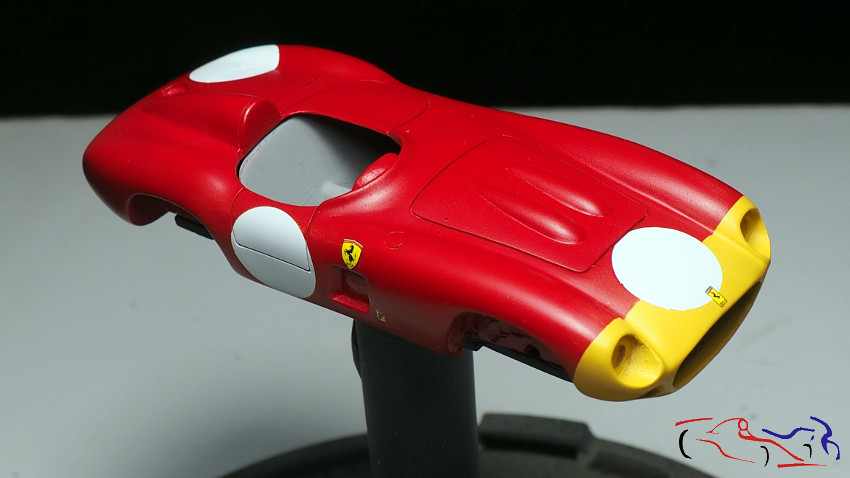
 Le apliqué oar vez el mismo rojo de Gravity, quedando perfecto!!
I applied the same Gravity red once, making it perfect !!
 Era entonces el momento de poner las calcas. Recorté los “7” negros pero….empezaron a romperse dentro del agua!!
It was then time to put the decals on. I cut the black “7” but …. they started to break in the water !!
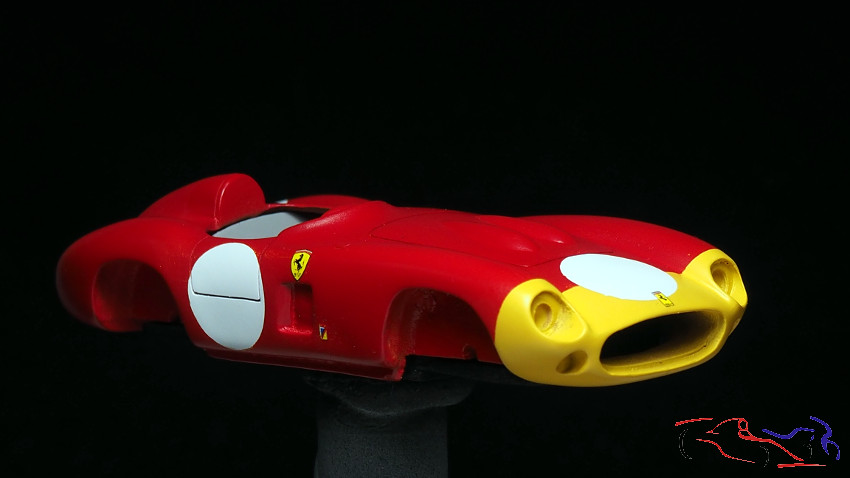
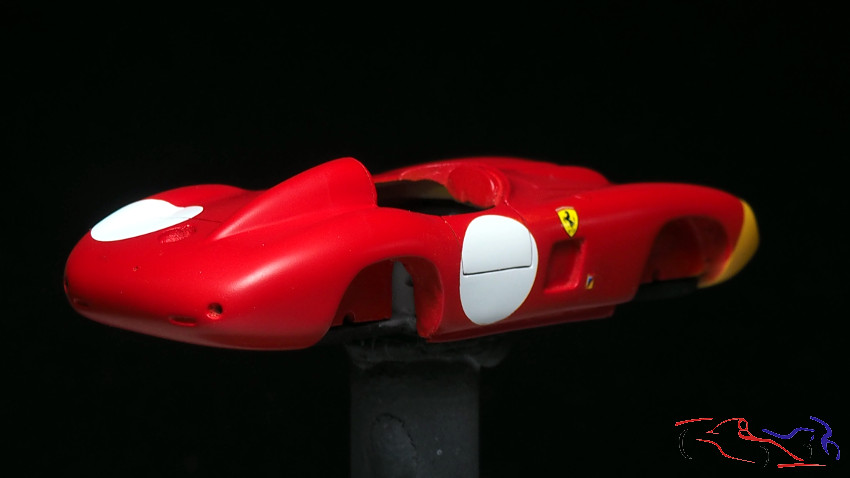
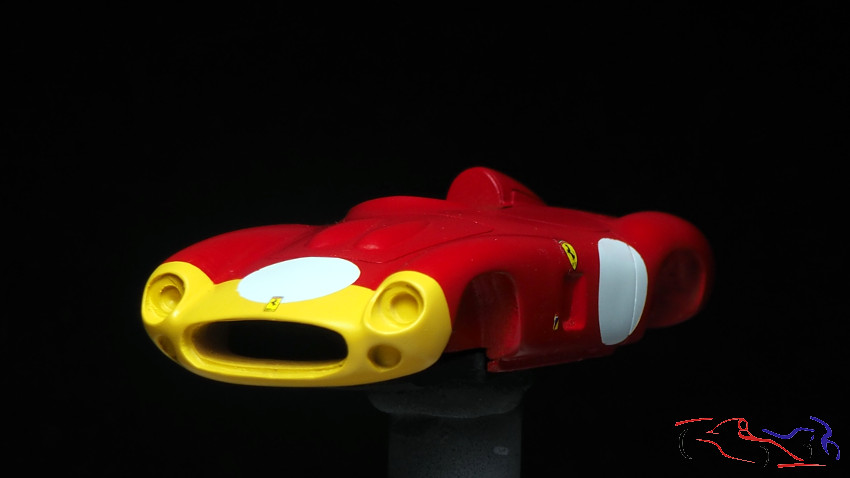
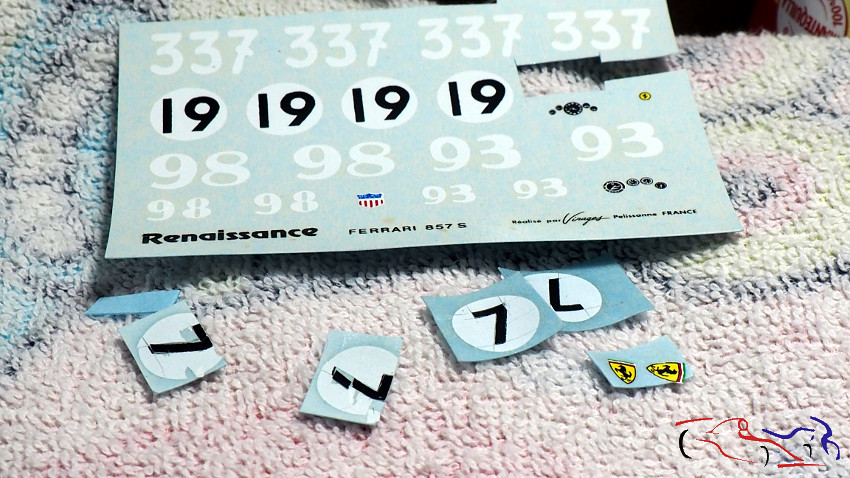 Por tanto, pedí unas nuevas calcas a Spotmodel, y mientras tanto, pegué los escudos Ferrari de unas hojas que tenía de escudos de todas las medidas. Y así es como quedó:
Therefore, I ordered new decals to Spotmodel, and meanwhile, I glued the Ferrari shields to some sheets that had shields of all sizes. And this is how it turned out:
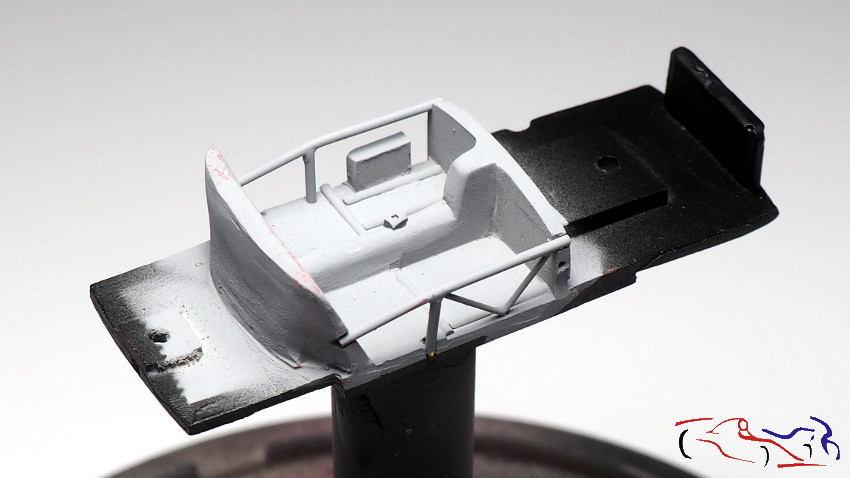
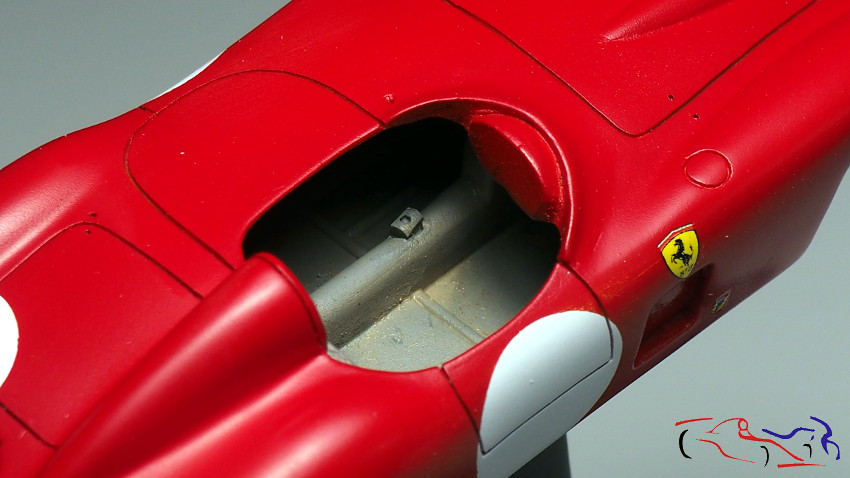
 Mientras esperaba las calcas, decidí meterme un poco con el cockpit. Esto es como lo dejé, pintado de un gris, que en la foto parece blanco:
While waiting for the decals, I decided to mess with the cockpit a bit. This is how I left it, painted a gray, which in the photo looks white:
 Y utilizando los óleos de MIG, le fui ensuciando con blanco, negro, gris y color polvo. Acentué su aplicación en los bordes:
And using MIG’s oils, I was dirtying it with white, black, gray and dust color. I accentuated its application at the edges:
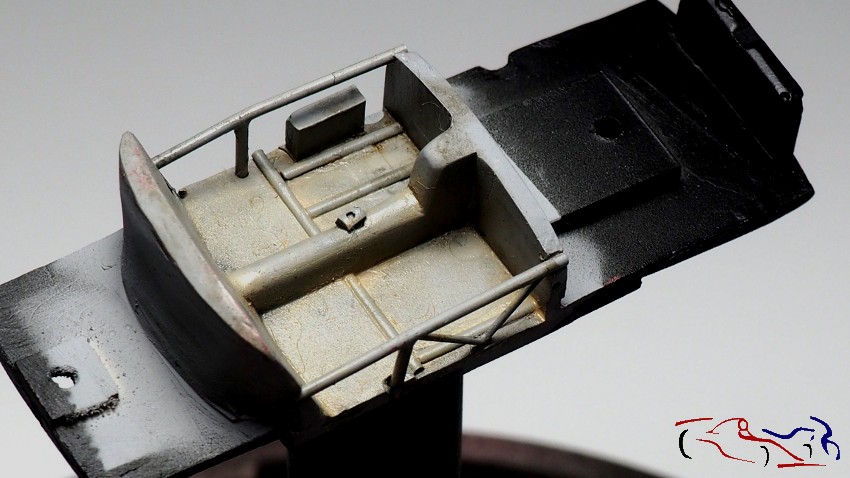
Este es el resultado de como se verá desde fuera. Es un ligero ensuciado muy natural:
This is the result of how it will look from the outside. It is a very natural light soiling:
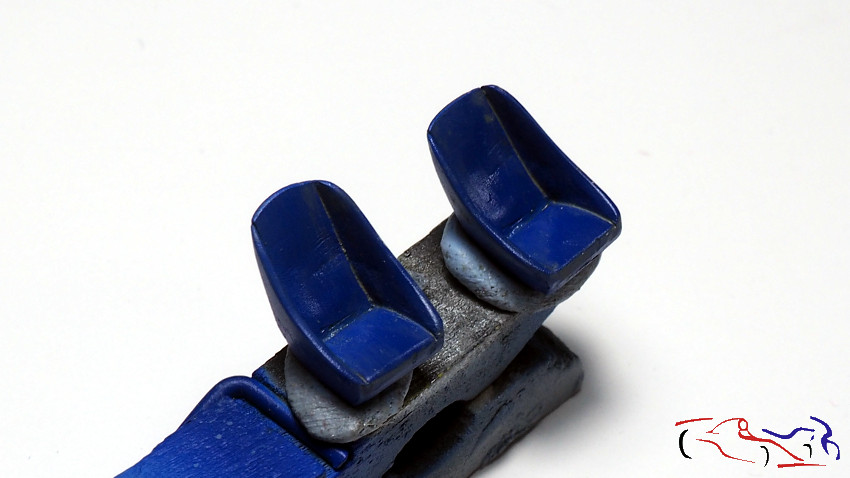
 También apliqué un poco a los asientos, pero tengo que continuar con ellos.
I also applied a bit to the seats, but I have to continue with them.
 Gracias por ver y comentar!!
Thanks for viewing and commenting!!


I love the way you’re building this 1/43 kit !!!!!
Thanks a lot!! I’m happy for that!!
One thing I forgot to highlight, in the title of the topic: the kit name is Renaissance, there is a missing “a”.
The tool you used for cutting the disc is a good one. I tried to do it with a “basic” circle cutter, and it doesn’t work so good.
Again, I love the last pictures !!!!!