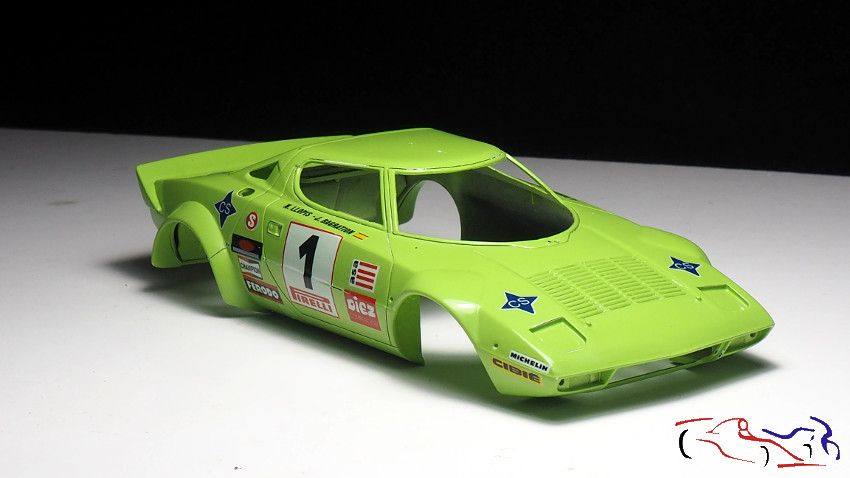
Seguimos ya casi terminando el Lancia Stratos verde del año 1979 y e hecho, ésta será la ultima entrada antes de que os enseñe la maqueta terminada. Lo primero va a ser el proceso de pulido, para lo cual, lijé toda la carrocería con lija de 1500 y 3000, siempre con agua:
We are almost finishing the green 1979 Lancia Stratos and in fact, this will be the last entry before I show you the finished model. The first thing is going to be the polishing process, for which I sanded the whole bodywork with 1500 and 3000 grit sandpaper, always with water:
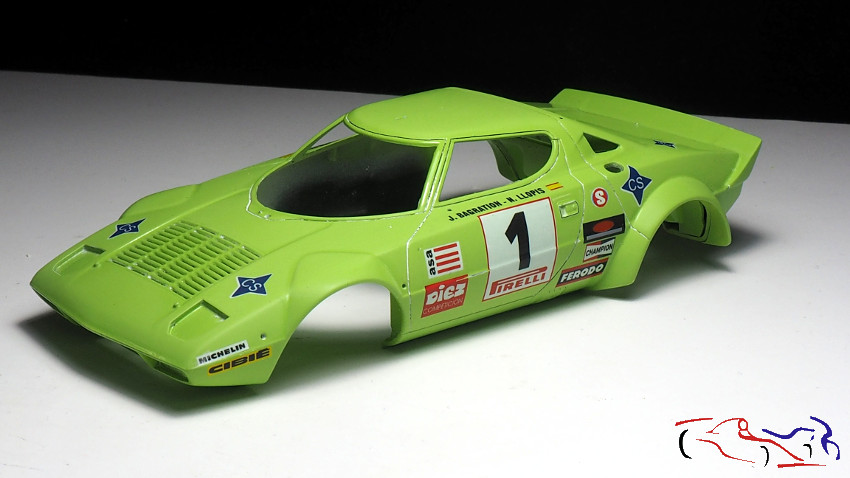
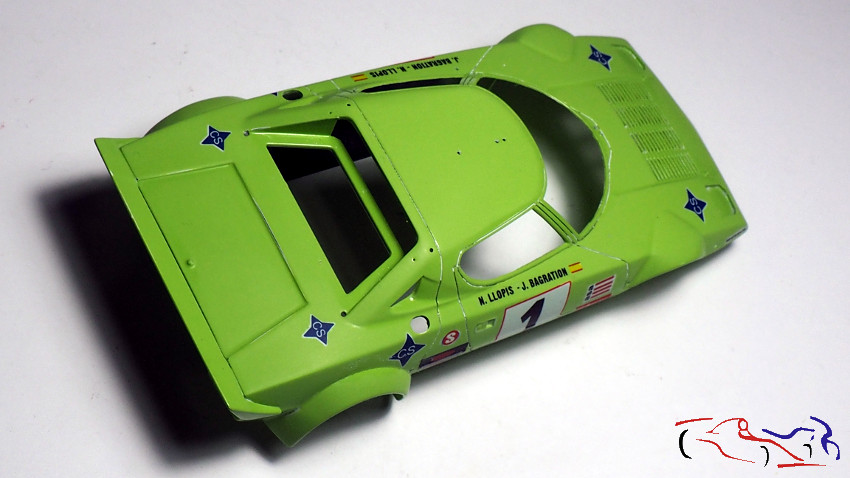
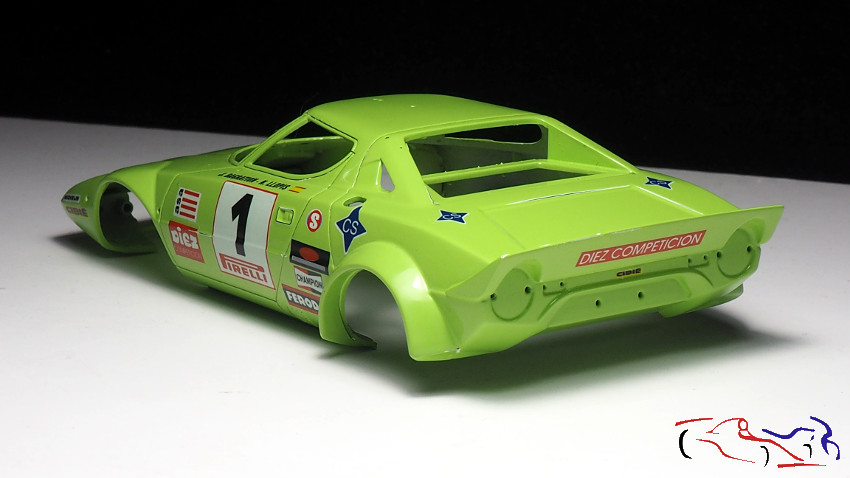
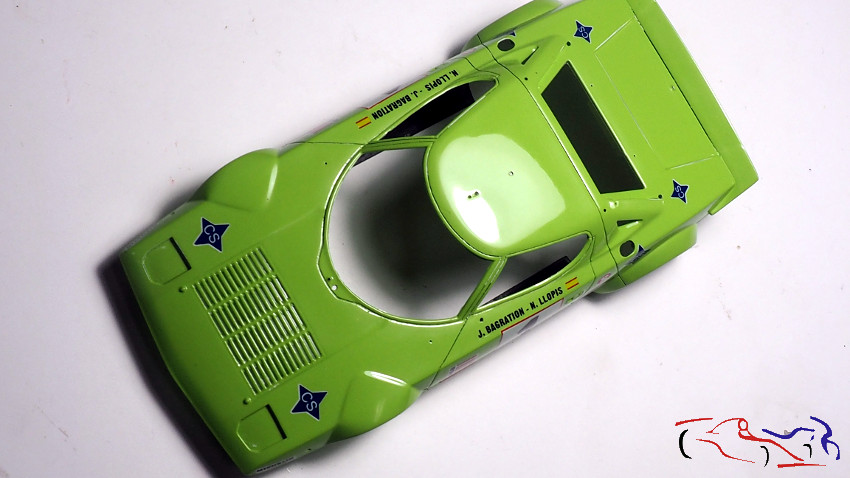
Una vez que la carrocería estaba lijada, limpia y seca, procedí a pulirla con el pulimento Number5, dejando la carrocería no del todo brillante, pues en aquella época, no se tenían los brillos de ahora:
Once the bodywork was sanded, clean and dry, I proceeded to polish it with Number5 polish, leaving the bodywork not quite shiny, because at that time, they didn’t have the shine we have today:
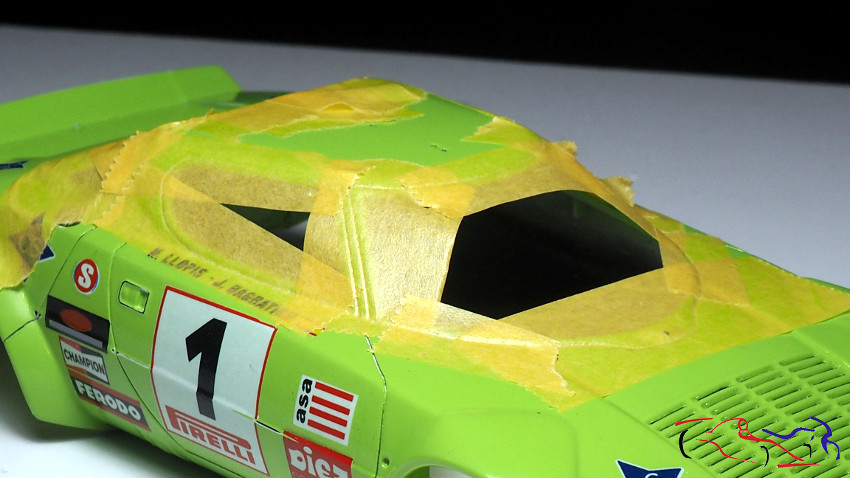
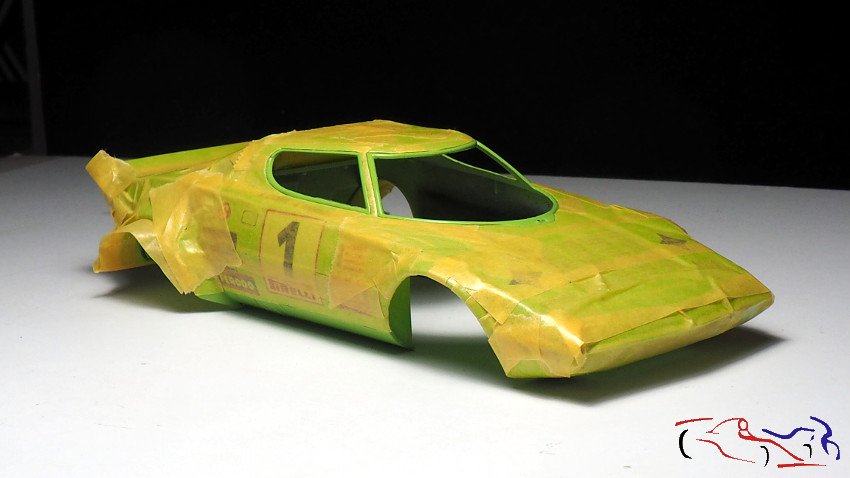
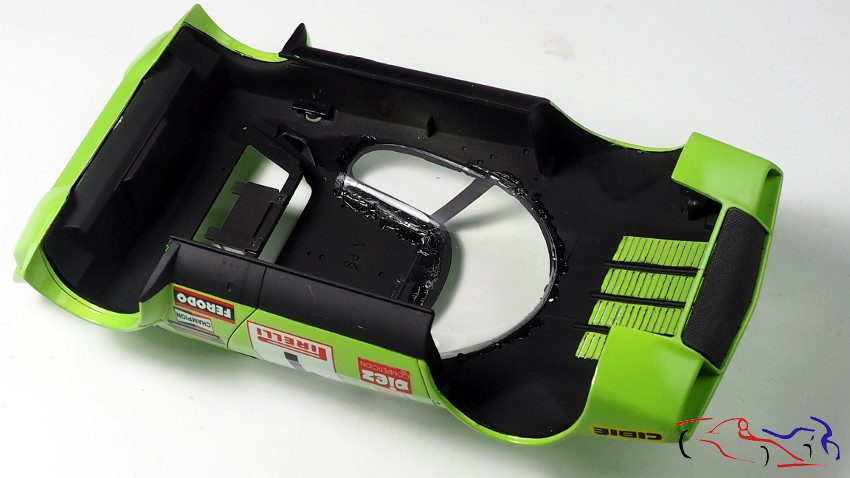
El siguiente paso era pintar con negro mate de Tamiya LP, los marcos de los cristales, los bajos de la carrocería y el interior. Para ello, enmascaramos todo, empezando por la parte de los cristales, y siguiendo con el corte de la máscara a lo largo de la línea que tiene la carrocería. Y previo al corte con cuchilla nueva, repasé las líneas con un palillo de madera. Después pinté con el negro todo lo descrito y aproveché también para pintar el frente de los faros escamoteables del Lancia.
The next step was to paint the window frames, the underbody and the interior with Tamiya LP matt black. To do this, we masked everything, starting with the part of the crystals, and continuing with the cut of the mask along the line that has the bodywork. And before cutting with a new blade, I went over the lines with a wooden stick. Then I painted with black everything described above and I also took the opportunity to paint the front of the retractable headlights of the Lancia.

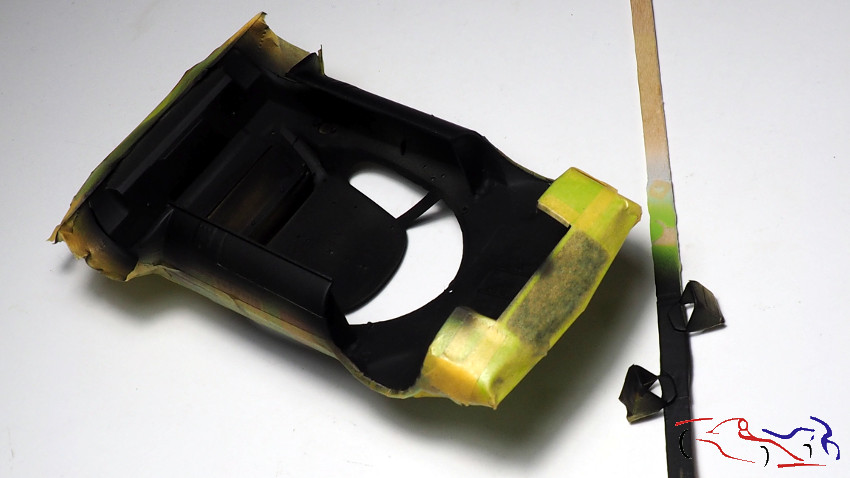
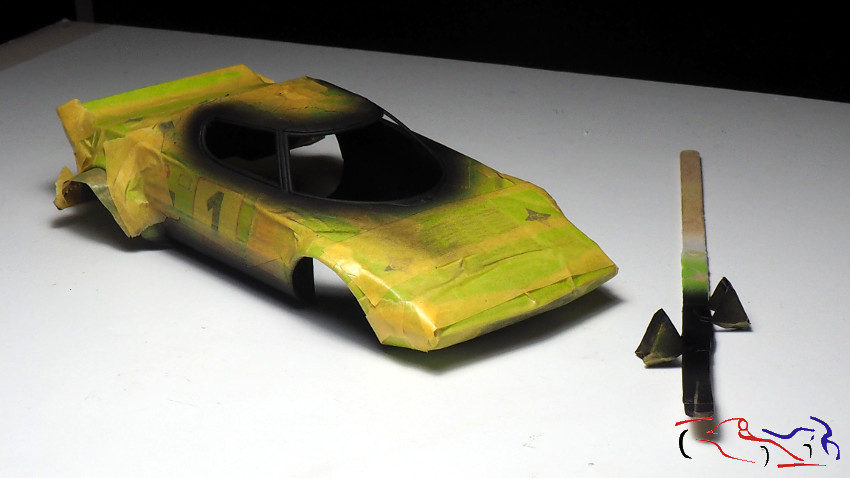
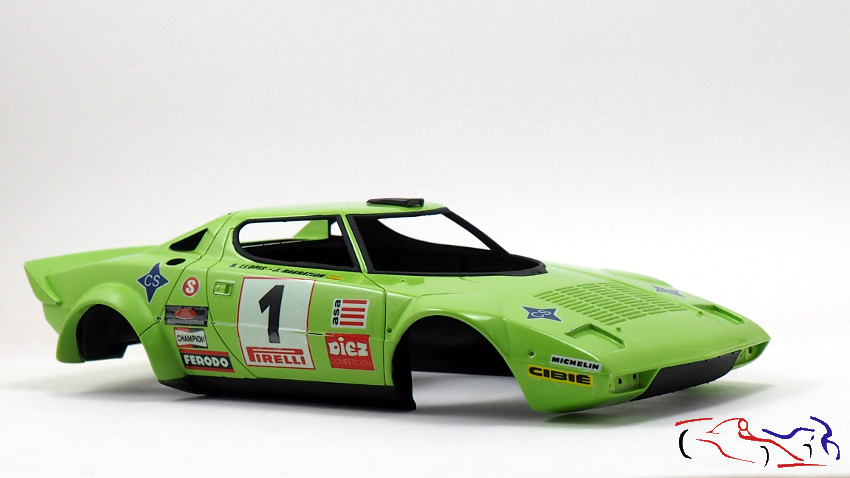
El resultado es el siguiente, una vez eliminé las máscaras:
The result is as follows, once I removed the masks:
El siguiente paso es empezar a pegar todas las piezas que previamente había preparado, o que se tenían que pegar con el intyerior pintado, como los cristales. Para ellos. utilicé Ultra Glue de MIG, que aparte de quedarse trasparente, se puede eliminar los restos secos con agua. También pegué el salpicadero y los paneles de las puertas, asi como las entradas de gasolina.
The next step is to start gluing all the pieces that I had previously prepared, or that had to be glued with the painted interior, such as the glass. For them, I used Ultra Glue from MIG, which apart from remaining transparent, you can remove the dried remains with water. I also glued the dashboard and door panels, as well as the fuel inlets.
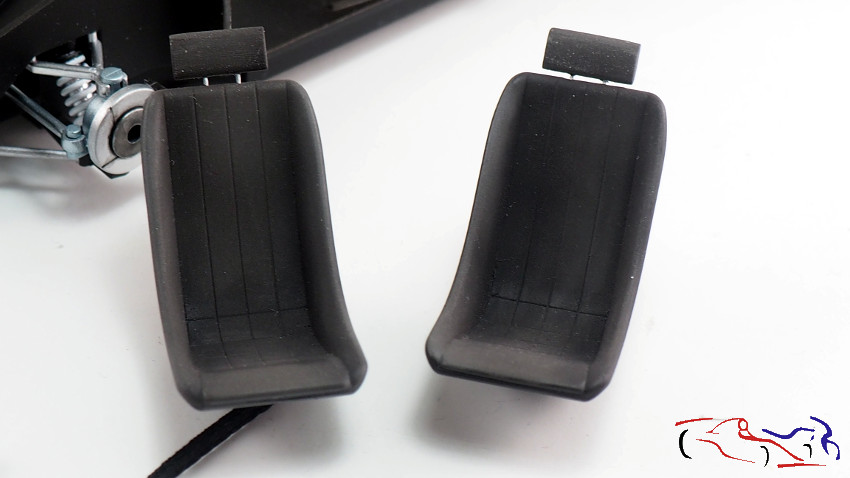
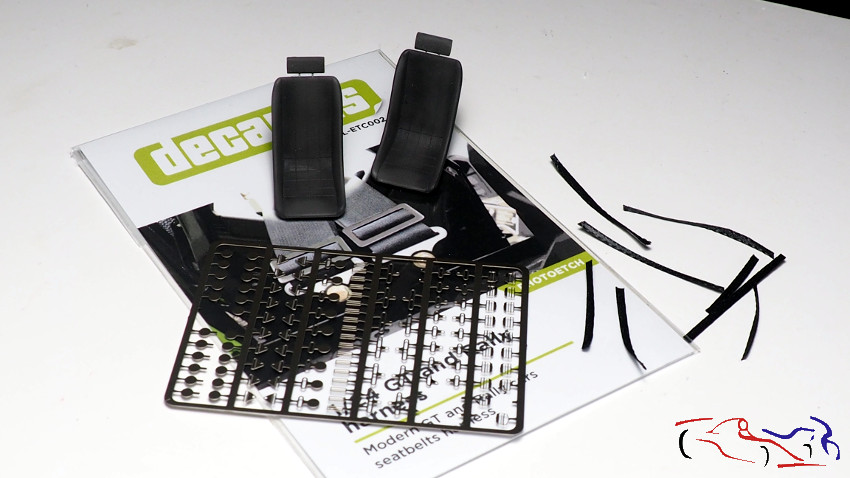
El interior ya lo tenía avanzado, a falta de los asientos, pues les faltaban los cinturones. Cogí cinturones de tela negra, los fotograbados de Decalcas para las hebillas y unas calcas que tengo de algún aftermarket.
The interior was already finished, except for the seats, as they were missing the belts. I took black fabric belts, Decalcas photoetched parts for the buckles and some decals I have from some aftermarket.
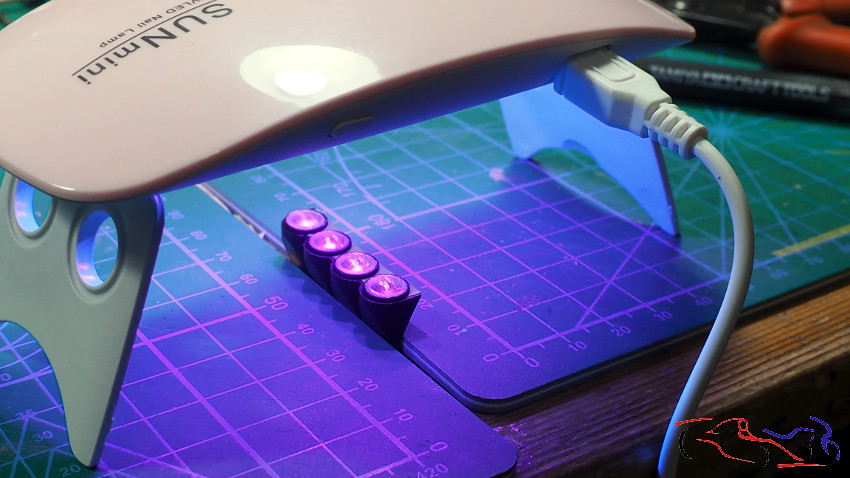
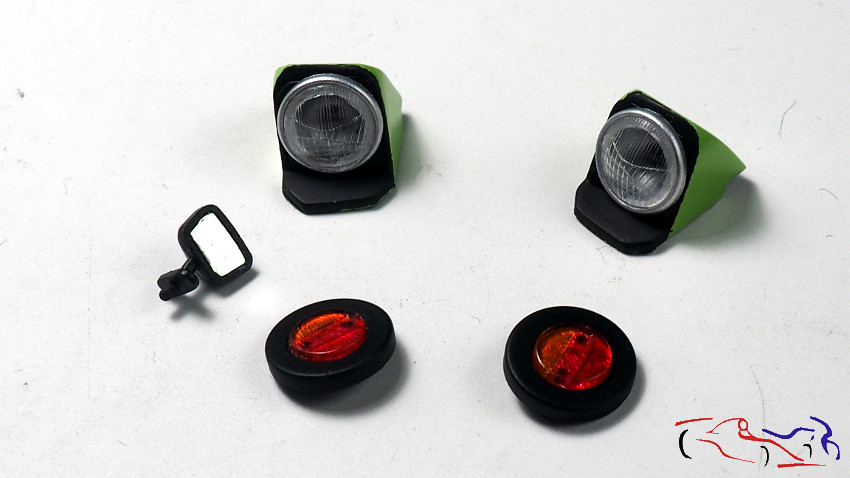
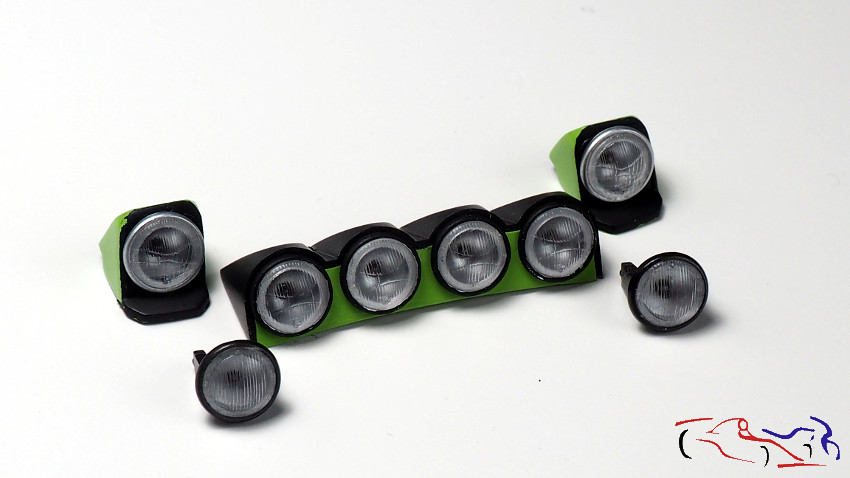
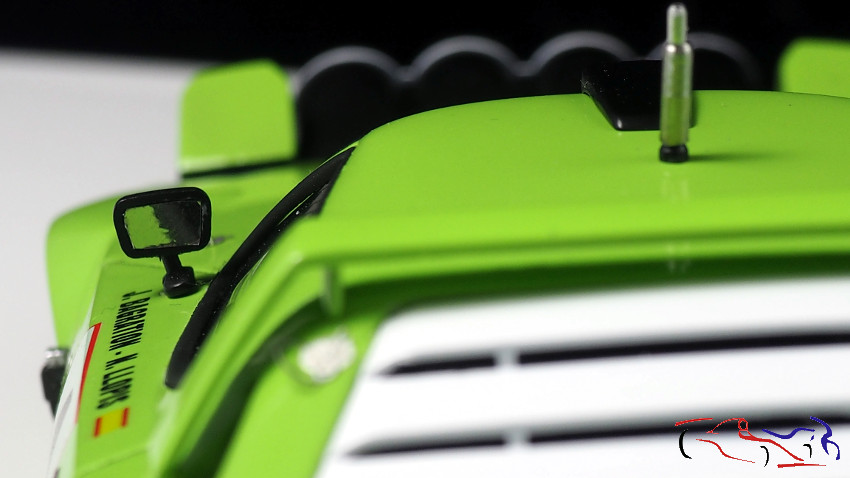
Más piezas que vamos terminando. A los faros, les pego los cristales con resina UV, la cual endurezco con la lampara de UV, en unos 30/40 segundos, siendo el resultado muy bueno. Y al retrovisor externo, le pongo la película Chrome de Hasegawa, que es autoadhesiva:
More pieces that we are finishing. To the headlights, I glue the lenses with UV resin, which I harden with the UV lamp, in about 30/40 seconds, and the result is very good. And to the external rearview mirror, I put the Chrome film from Hasegawa, which is self-adhesive:
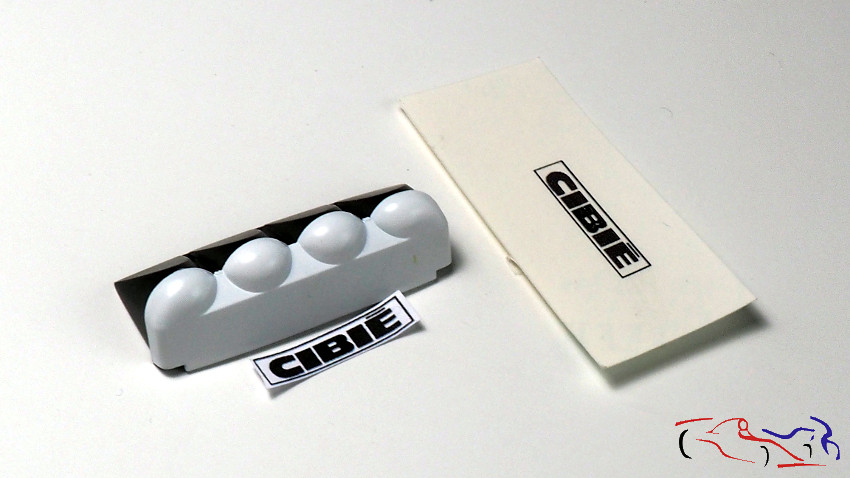
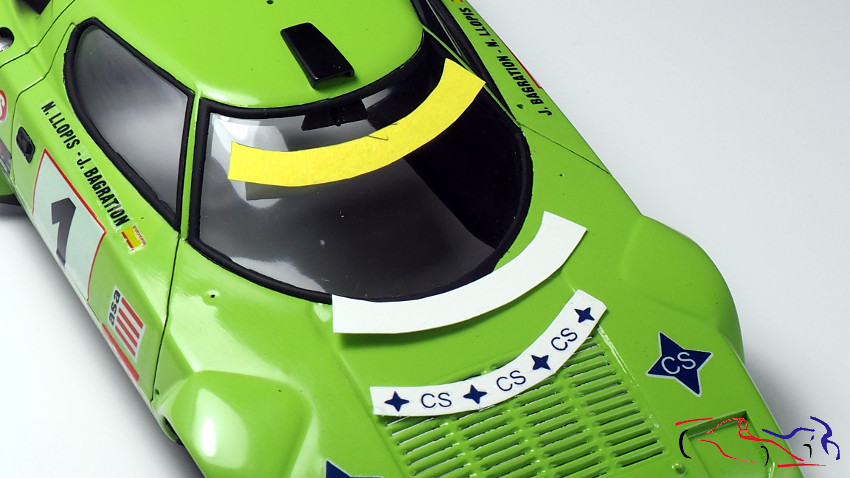
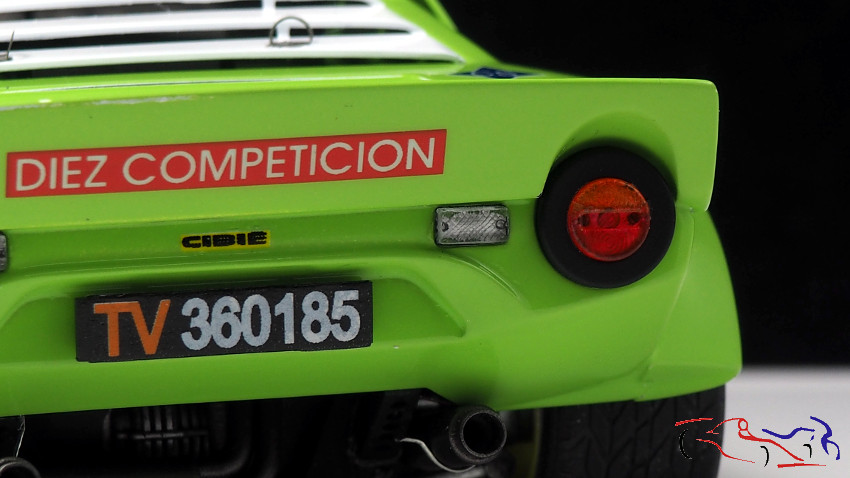
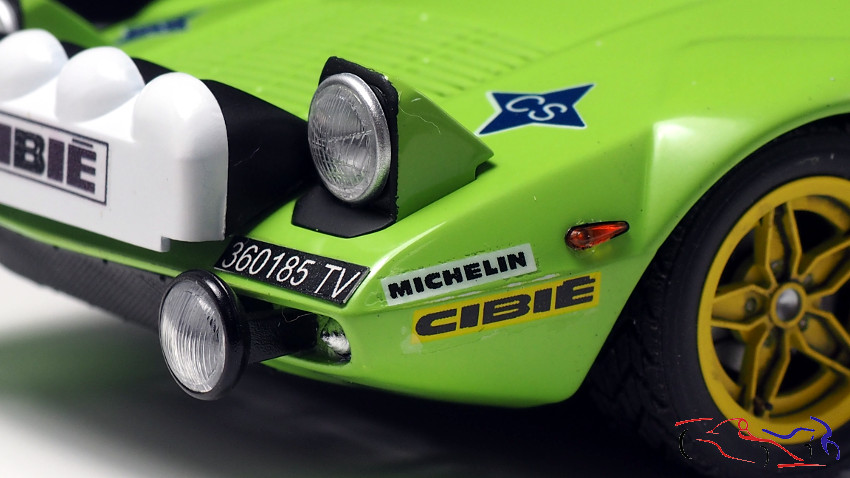
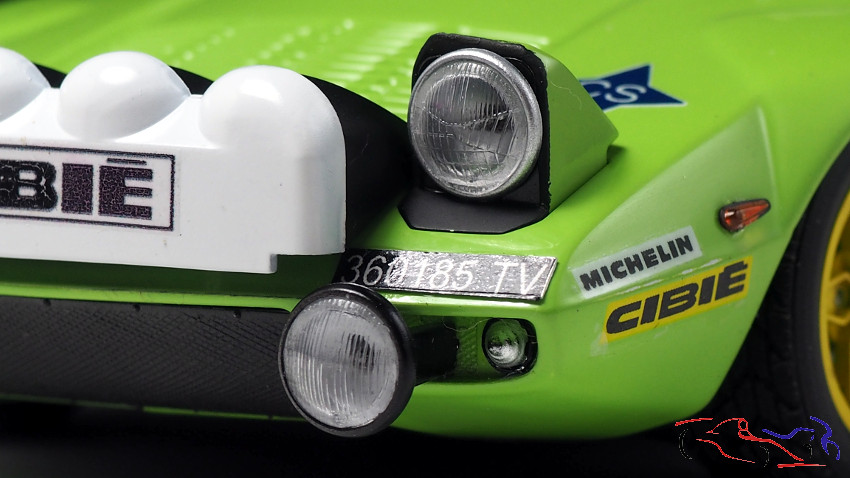
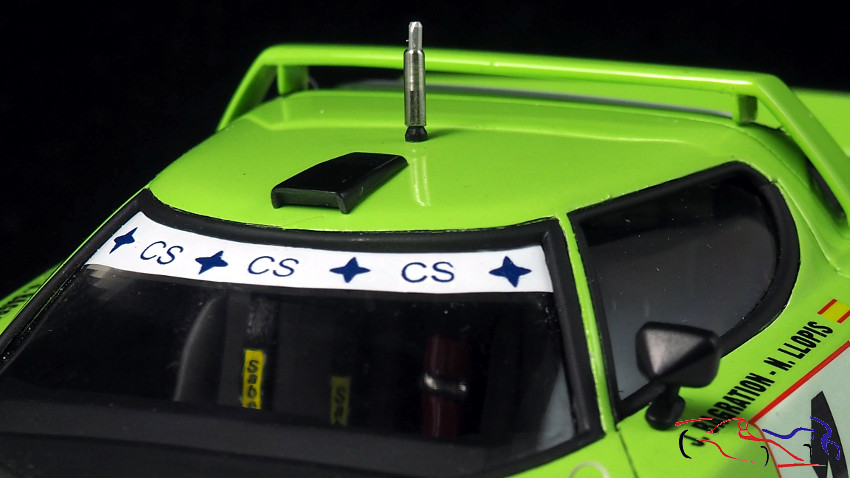
Viendo fotos del coche original, y la hoja de calcas que tenía, había otras dos puntos que fallaba: faltaba la calca de Cibié del protector de los faros, que hice en el ordenador e imprimé en hoja transparente de calcas, y el parasol del cristal, que era pequeña. Para esta última, hice una plantilla sobre calca virgen blanca, y le puse encima los logos recortados de la calca original.
Looking at photos of the original car, and the decal sheet I had, there were two other points that were missing: the Cibié decal of the headlight protector, which I made on the computer and printed on a transparent decal sheet, and the glass sun visor, which was small. For the latter, I made a template on white blank decal, and put the logos cut from the original decal on top of it.
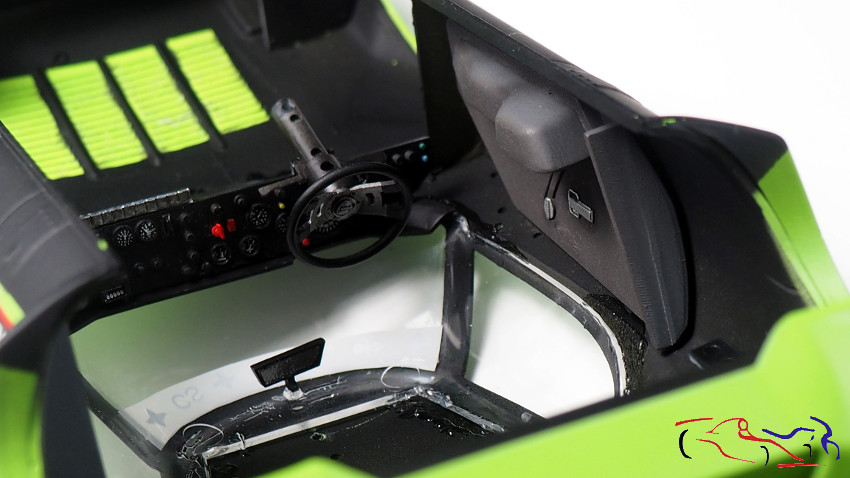
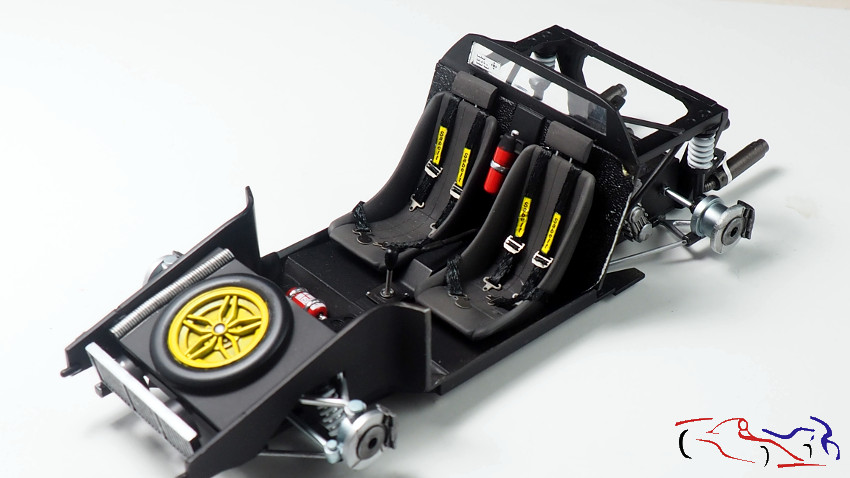
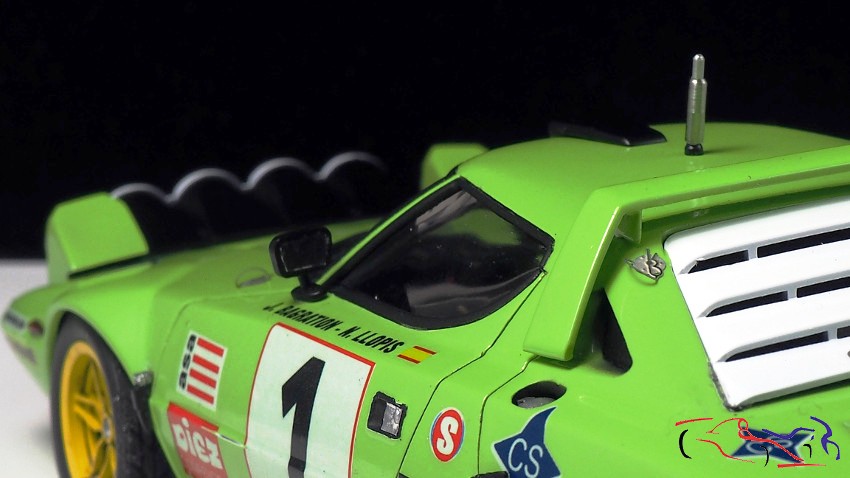
Y ya finalmente, encajé el chasis en la carrocería, con mucho cuidado, pero ese mucho cuidado no fue suficiente. Una vez puesta, la volteé para ver como había quedado y empezó a sonar algo dentro…se había forzado el volante y se había soltado!! Pensé en abrirla de nuevo, pero lo deseché, porque al fin y al cabo, el interior se ve poco!!
And finally, I fitted the chassis to the body, with great care, but that great care was not enough. Once it was in place, I turned it over to see how it had turned out and something started to rattle inside… the steering wheel had been forced and had come loose! I thought about opening it again, but I discarded it, because after all, you can’t see much inside!
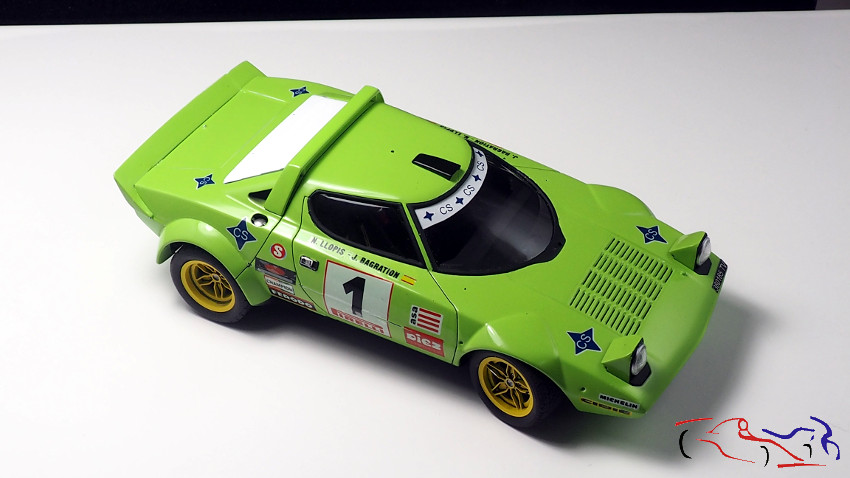
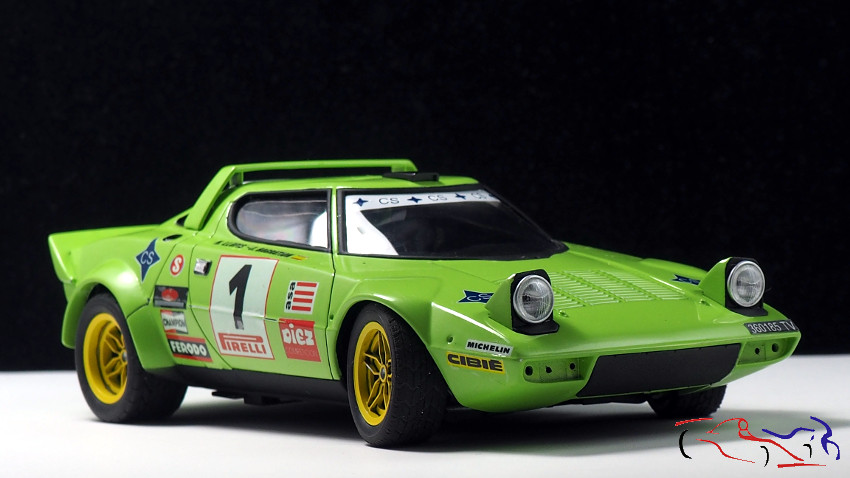
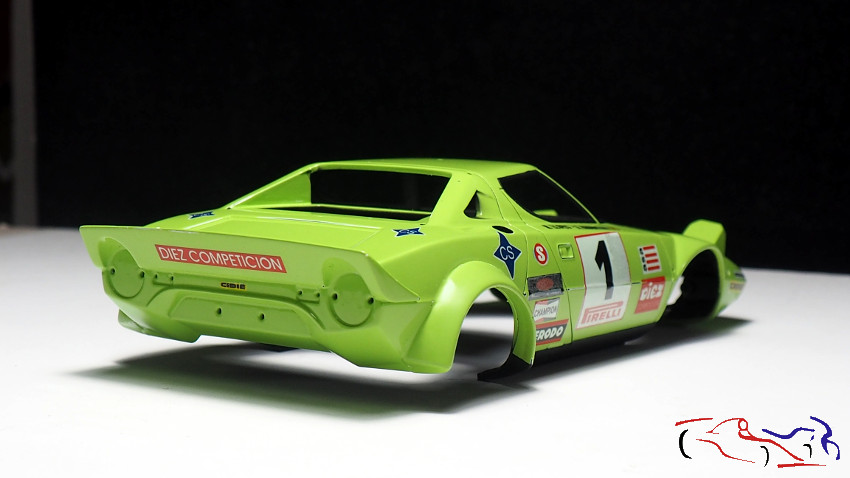
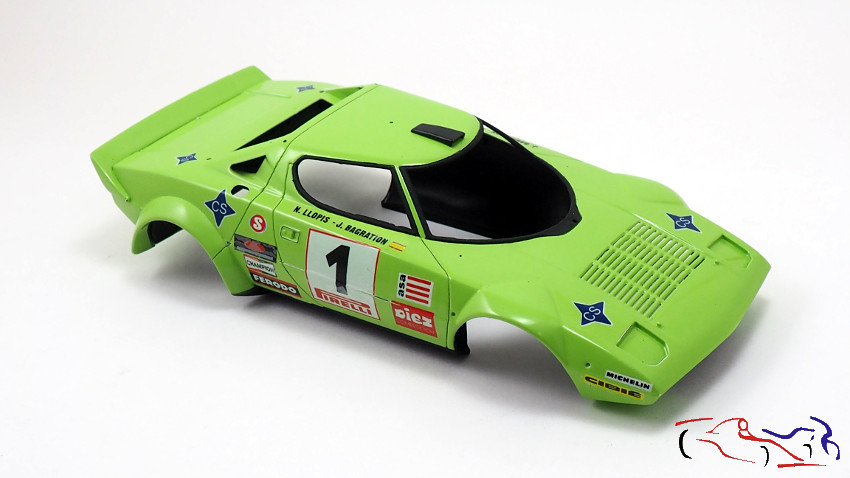
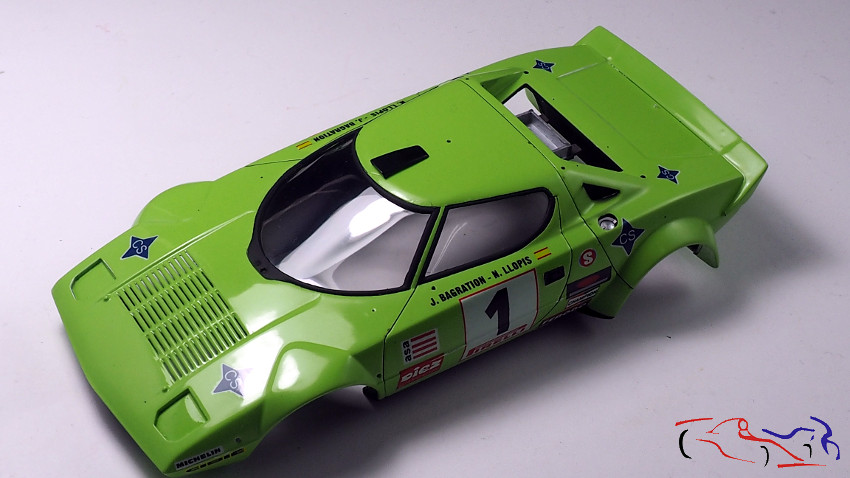
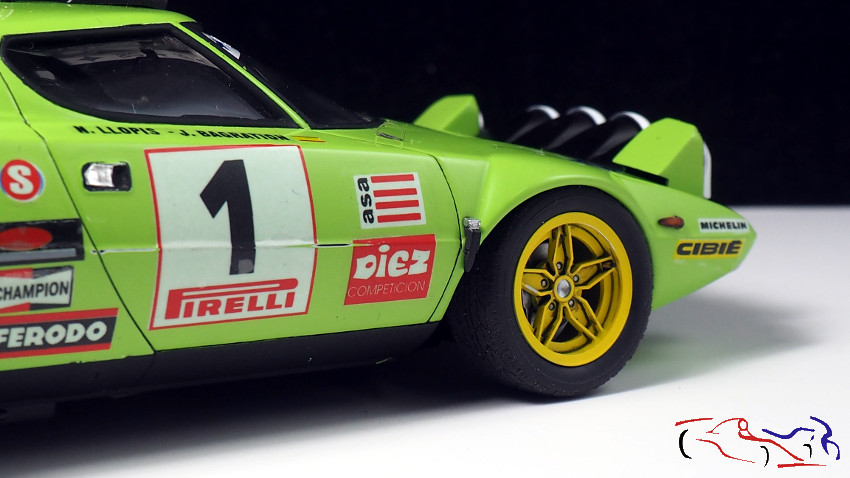
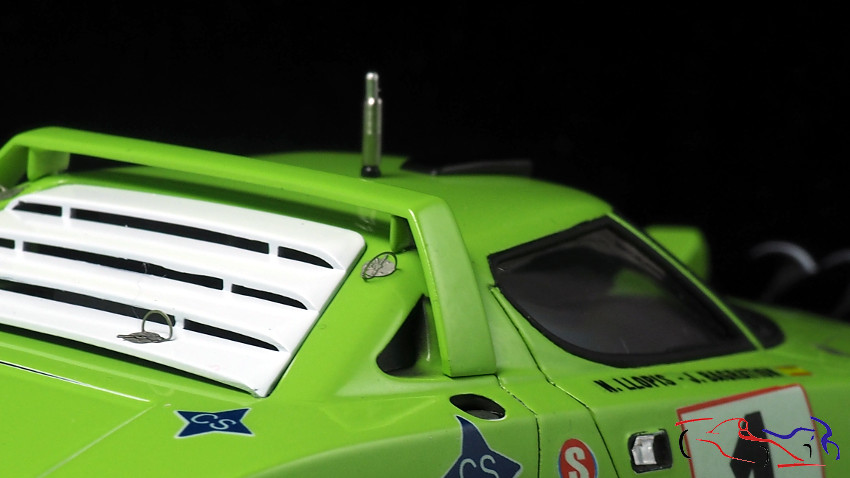
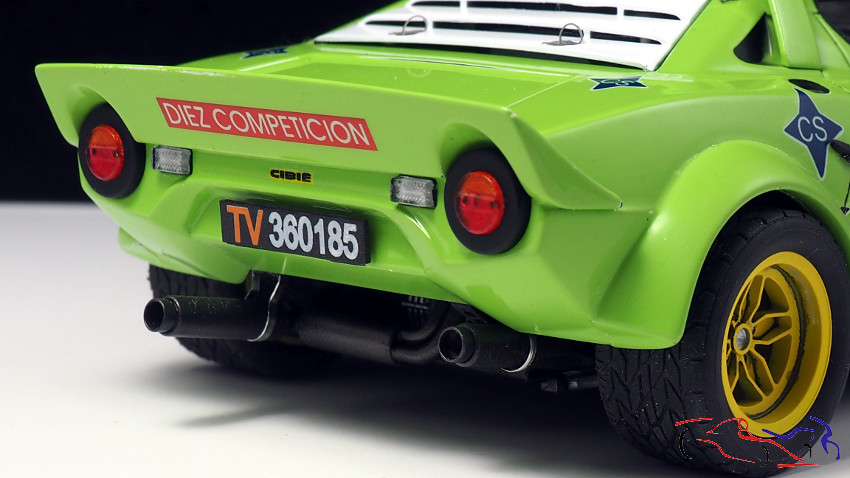
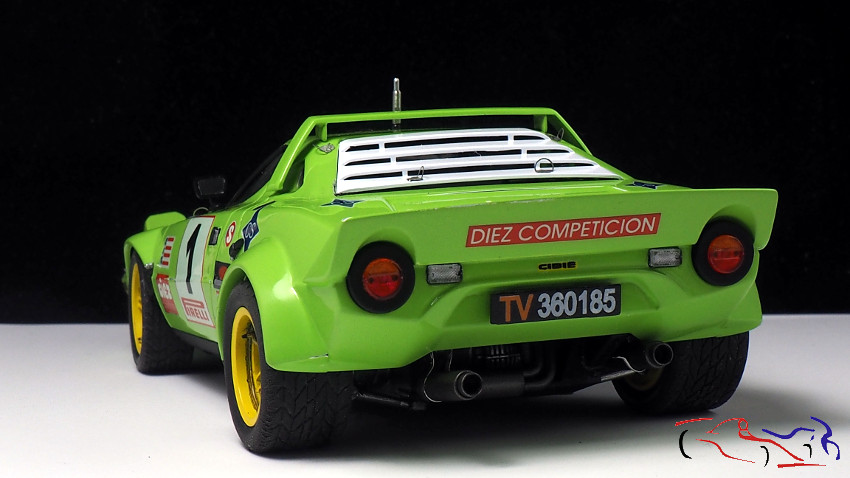
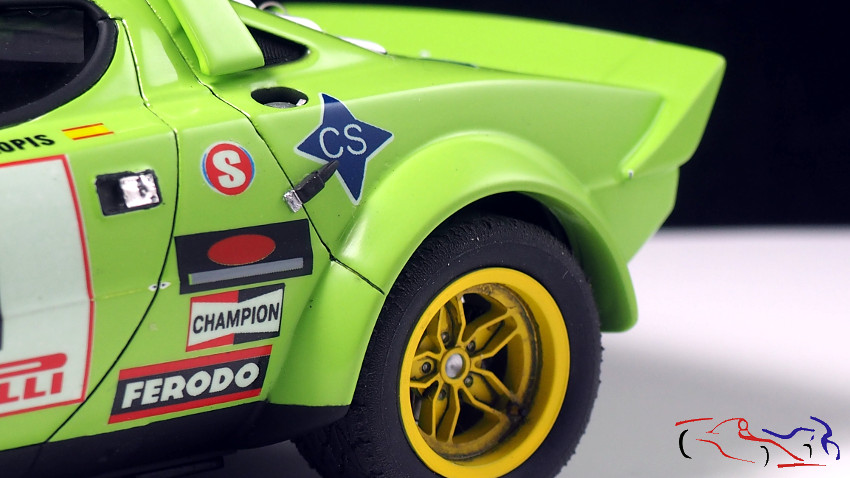
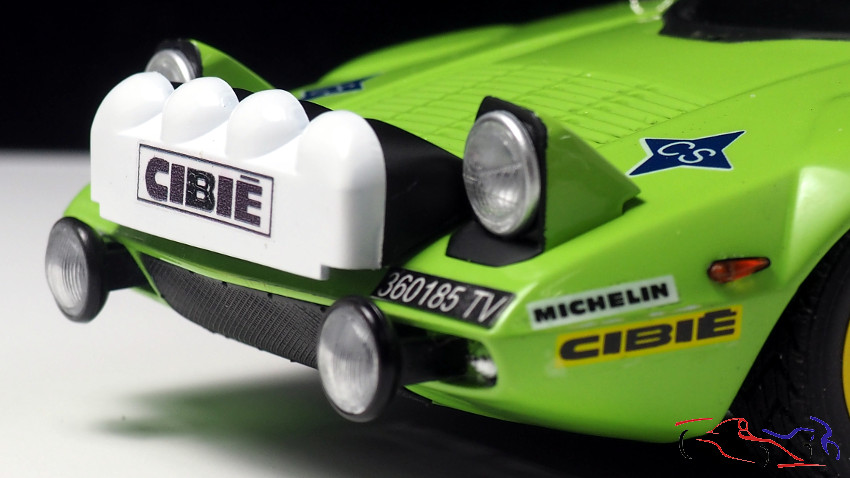
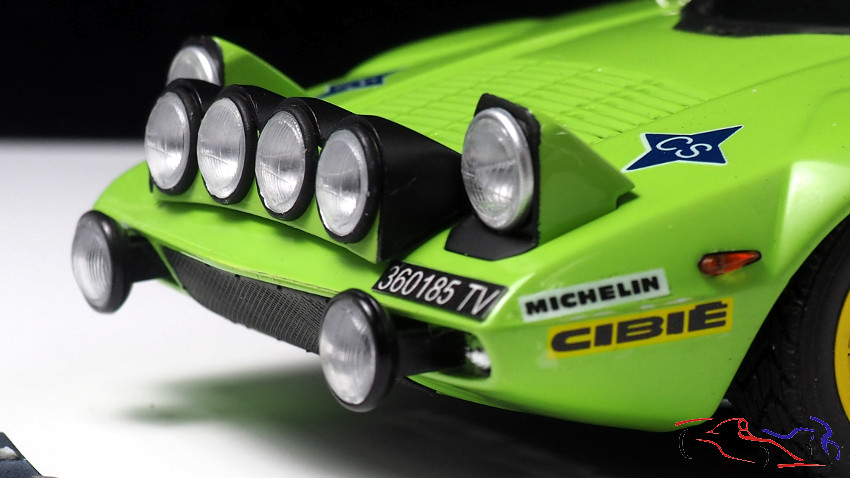
Y ahora, fotos “casi” finales, donde podéis ver como queda el conjunto y los detalles puestos. Decir que faltan el limpiaparabrisas, la entena y unas fijaciones del capó trasero, que me va a mandar DAB models. Destacar un fallo que hice al pulir la carrocería: algunas partes se ven si color ni calca, ya que me excedí al lijar. Fallo que tengo que controlar en el futuro!!
And now, “almost” final photos, where you can see how is the set and the details. I have to say that the windscreen wipers, the rear bonnet and some fixings for the rear bonnet are missing, which DAB models is going to send me. I have to point out a mistake I made when polishing the bodywork: some parts can be seen without colour or decals, as I went too far when sanding. A mistake that I have to control in the future!

La siguiente entrada será la de las fotos finales, con los comentarios sobre la maqueta y el proceso. Gracias por ver y comentar!!
The next post will be the final photos, with comments on the model and the process. Thanks for watching and commenting!


Hola Jesus, top trabajo y mucha paciencia. Saludo desde Marbella 😉
Muy buen trabajo! nada mas que comentar, las fotos hablan de por sí solas. Le sigo de hace tiempo y su blog me ayuda a detallar mis maquetas.
Quería preguntarle una cosa que me ha pasado un par de veces. Al retirar la cinta de enmascarar (de Tamiya) después de pintar los marcos de las ventanillas me llevé con ella parte del barniz y las calcas. ¿Por qué pueden suceder estas cosas?
Espero que no deje de publicar trabajos suyos.
Saludos y gracias de antemano.
Hola José Félix, me alegro que te sirvan mis procesos para tus proyectos!!!
Si te pasa eso es que la calca no está bien pegada. Barniza o laca antes de poner las calcas e intenta sacar todos las burbujas de aire o líquidos lo más posible. La laca al secarse se estira y tira de todo lo que hay debajo, por lo que debes asegurar su buena aplicación.
Muchas gracias! Voy a seguir su consejo. Precisamente en estas dos maquetas puse las calcas sobre pintura brillante y no tenía la superficie muy preparada.
Saludos y felicidades por este blog.