Seguimos con el Ford Escort Gr2 Zakspeed. Si bien teníamos piezas del motor, nos faltaba una cubierta de válvulas que fuese del preparados Zakspeed. Y como veis en la siguiente foto, ya la tengo, pero vayamos desde el principio!!
We continue with the Ford Escort Gr2 Zakspeed. Although we had engine parts, we were missing a valve cover that was from Zakspeed preparations. And as you can see in the next photo, I already have it, but let’s go from the beginning !!
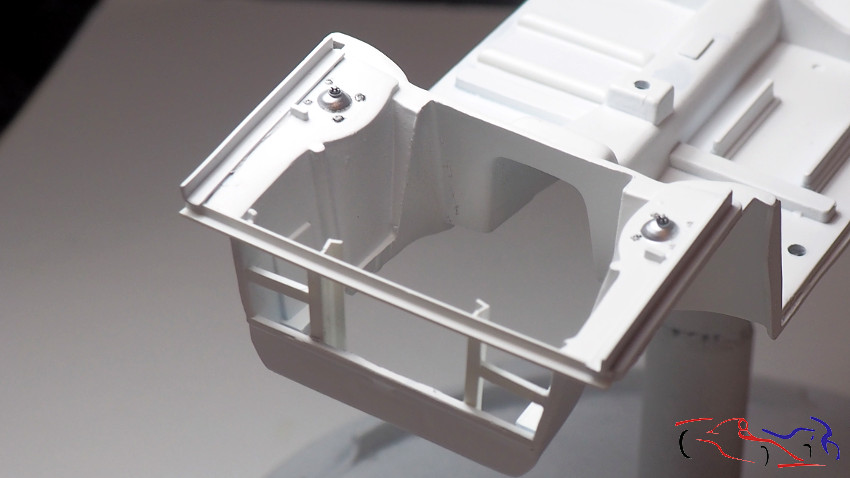
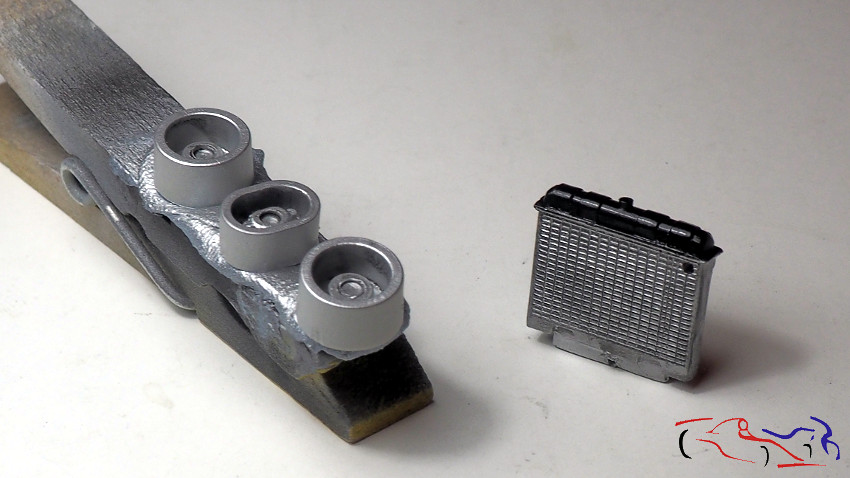
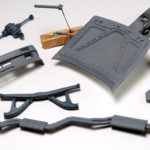
Os muestro el chasis definitivo tal y como ha quedado con los soportes del radiador que he realizado. También veis que he pintado las copelas de los amortiguadores delanteros con aluminio de AK a aerógrafo:
I show you the definitive chassis as it has been with the radiator supports that I have made. You can also see that I painted the cups of the front shock absorbers in aluminum AK with airbrush:
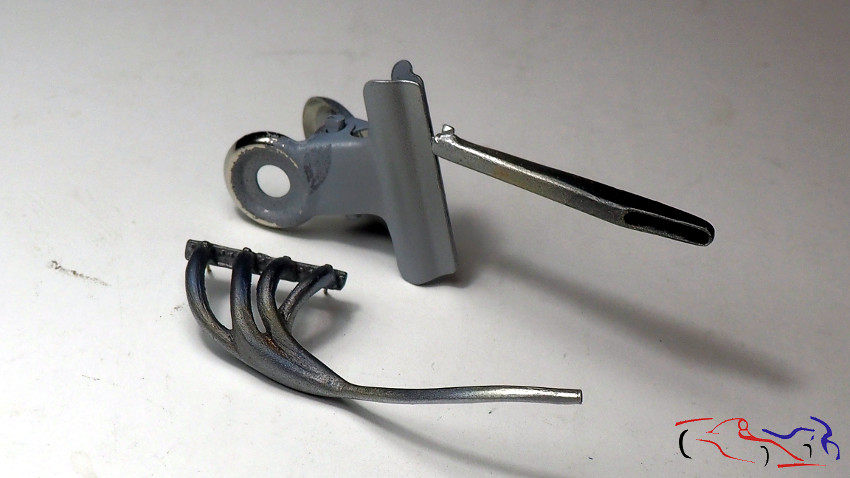
A su vez,el tubo de escape lo he separado para pintarlo mejor, añadiendo un alambre en la intersección para su posterior fijación:
In turn, I have separated the exhaust pipe to paint it better, adding a wire at the intersection for later fixing:
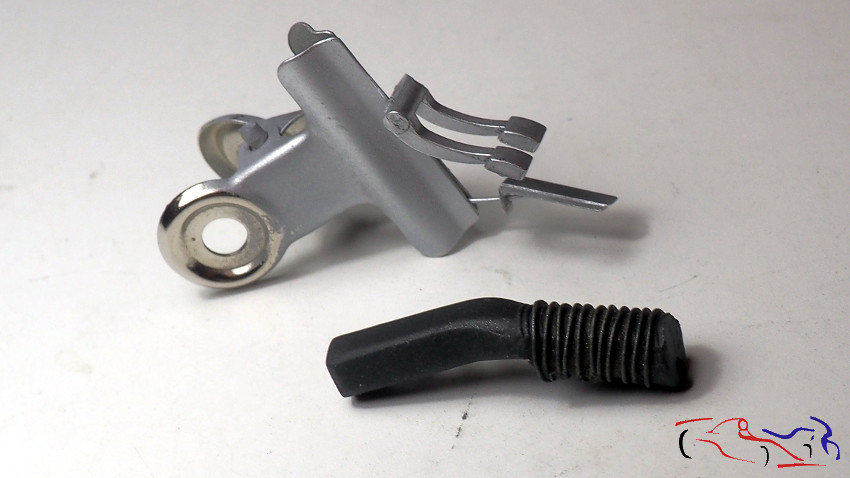
El trabajo e pintura en los pedales ha sido realizado con aluminio de AK, siendo negro mate de MIG, el usado para la toma de aire:
The painting work on the pedals has been made with AK aluminum, being matte black MIG, the one used for the air intake:
EL aluminio de AK ha sido el utilizado también en el radiador y en las tomas existentes en la tapa del maletero. Tengo que decir, que esas son las originales del kit que sustituiré, y que la parte superior del radiador la pinté con negro semimate de MIG.
The aluminum of AK has also been used in the radiator and in the existing intakes in the trunk lid. I have to say that these are the originals of the kit that I will replace them, and that the top part of the radiator was painted with MIG black semi-matt.
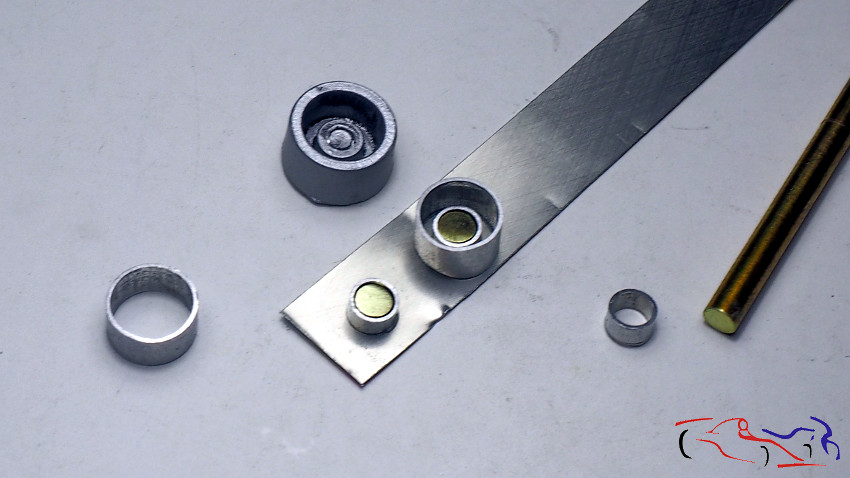
Aquí vemos los elementos que he usado para sustituir las tomas del maletero: tubos metálicos y redondo de cobre sobre una lámina de lata:
Here we see the elements that I used to replace the trunk plugs: metal tubes and copper round on a tin plate:
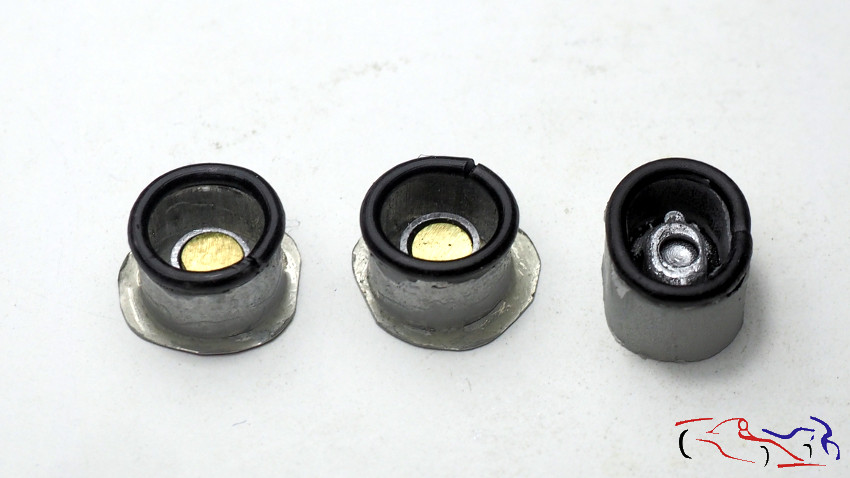
Una vez hechos, la añadí un trozo de estaño que pinté a pincel con negro semimate de MIG:
Once they were made, I added a piece of tin that I painted with a brush with semi-black MIG:
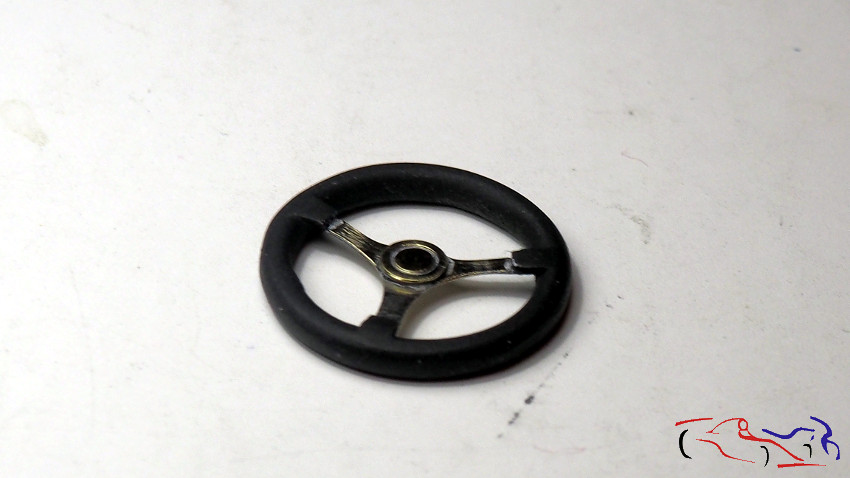
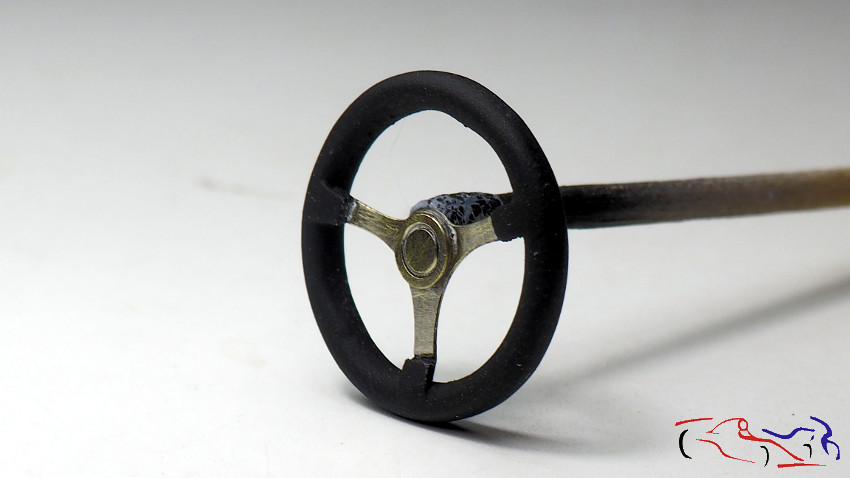
Al volante, le he eliminado la parte central y le he añadido el fotograbado de Reji:
At the wheel, I removed the central part and I added the photogravure of Reji:
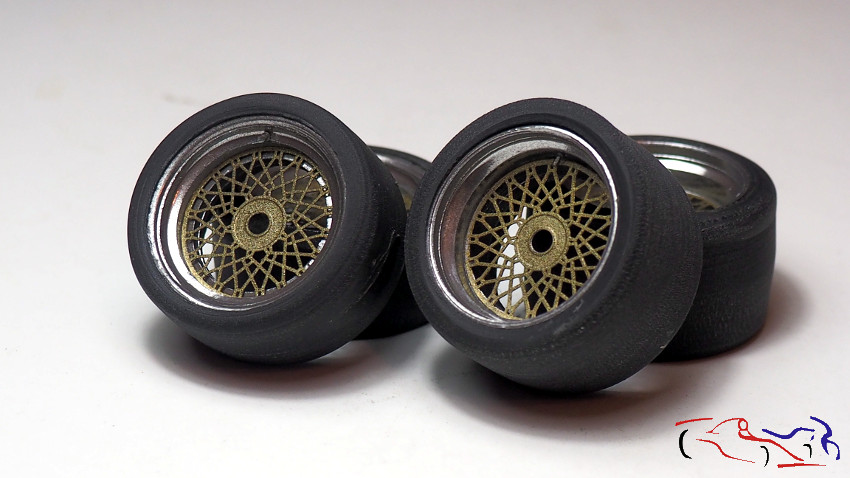
En cuanto a las ruedas, les he aplicado negro mate de tamiya muy diluido para quitar el brillo que tenían, dándoles un aspecto de uso.
As for the wheels, I applied a very diluted matte black of tamiya to remove the shine they had, giving them an appearance of use.
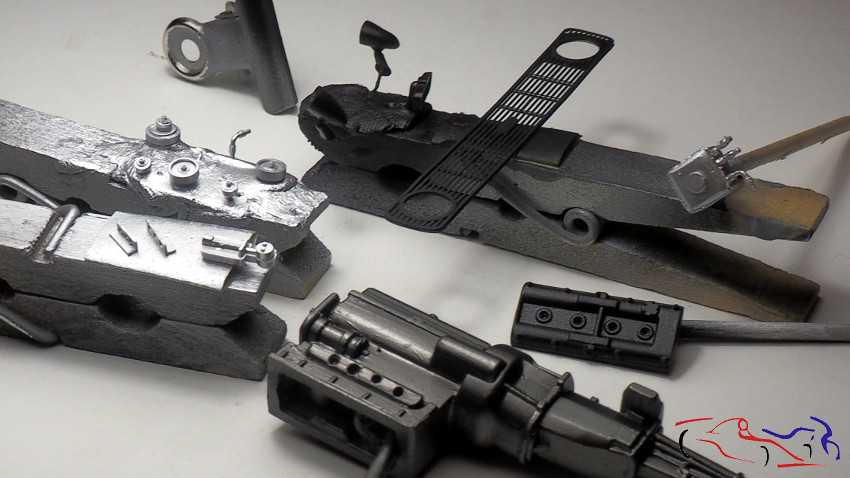
En la siguiente foto se ven muchas piezas pintadas tanto en negro mate como en aluminio de AK
In the next photo you can see many pieces painted in both black and AK aluminum
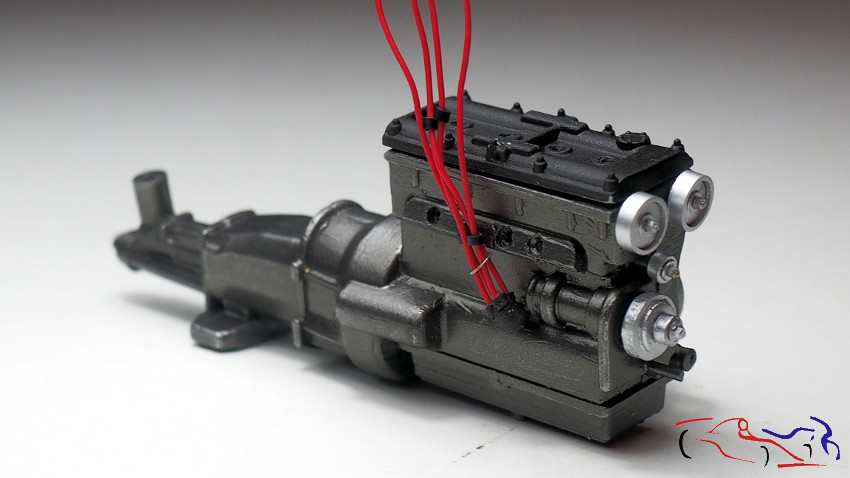
Y aquí está el motor montado con la tapa de válvulas del kit, el cableado de las bujías y las poleas pintadas con Aluminio de AK
And here is the engine mounted with the valve cap of the kit, the spark plug wiring and the pulleys painted with AK Aluminum
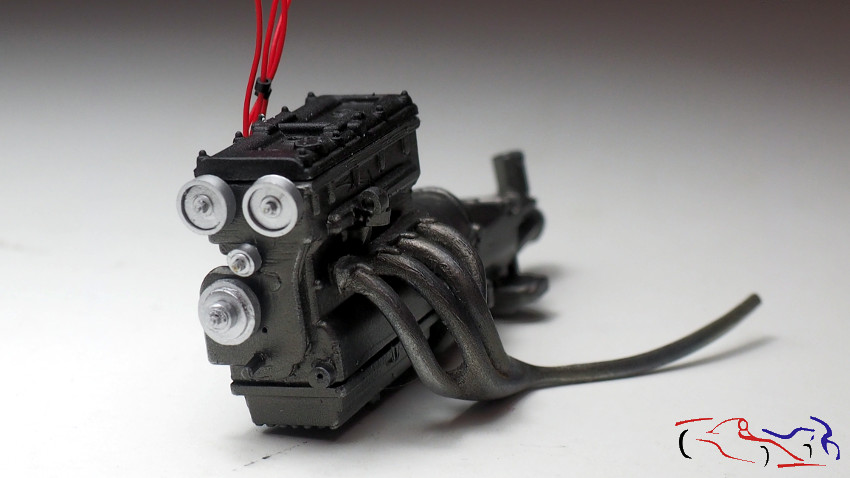
Vista lateral de donde se conectan los cables de las bujías.
Side view of where the spark plug wires are connected.
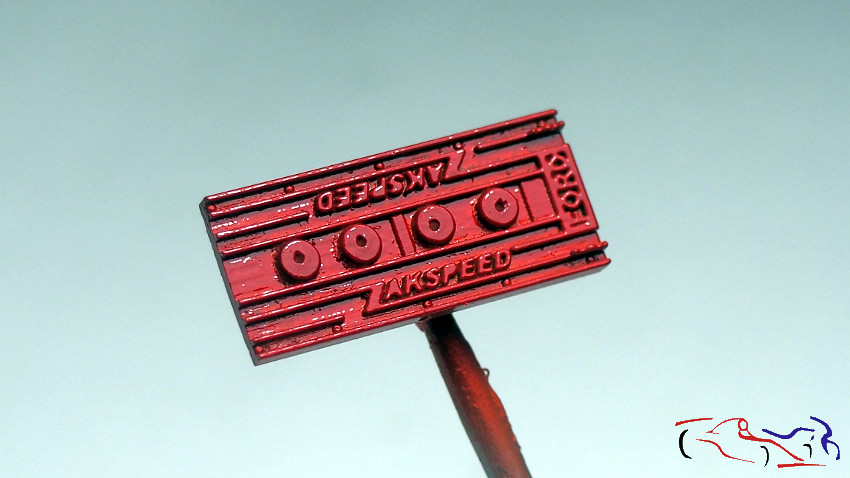
Respecto a la tapa de las válvulas, la voy a reemplazar por un encargo hecho a un amigo, Dominique Lemmens, que la hizo en 3D
Regarding the valve cover, I’m going to replace it with another onean made by a friend, Dominique Lemmens, who made it in 3D
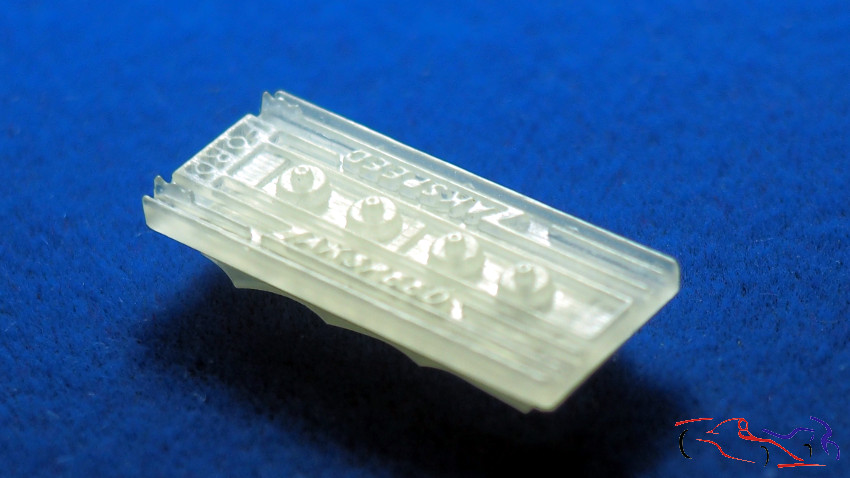
Y aquí la pongo sobre el motor antes de pintarla:
And here you have it on the engine before painting it:

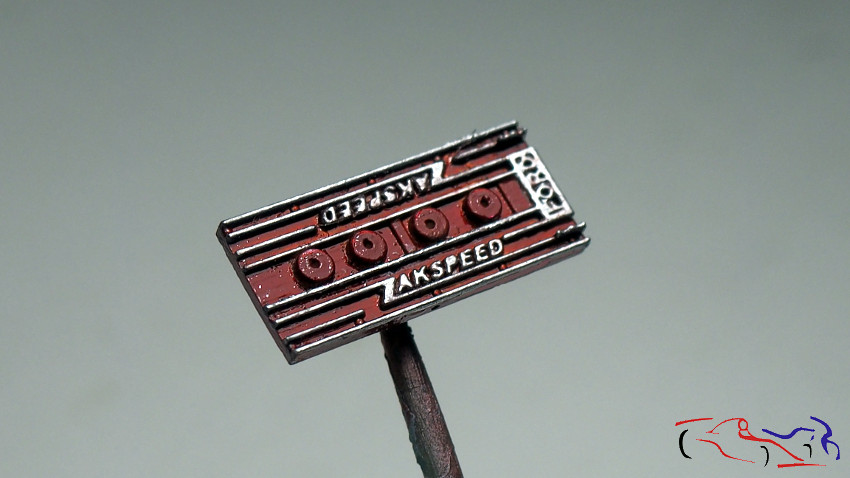
Y para terminarla, primero le doy una primera capa de plata de esmalte…
And to finish it, first I give it a first layer of enamel silver …
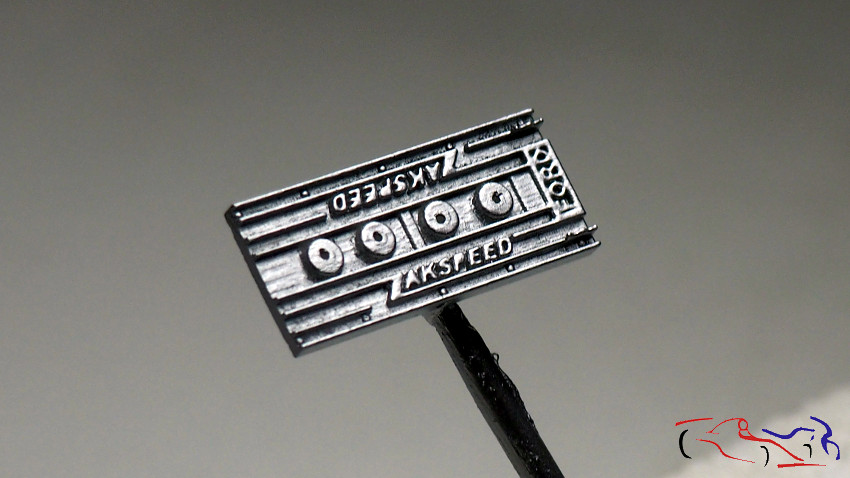
Una vez seca, le aplico rojo acrílico en capas muy delgadas para que se trasparente un poco la plata….
Once dry, I apply acrylic red in very thin layers so that the silver is slightly transparent ….
Después, una vez seca, la limpio con disolvente en las aristas superiores, dejando el fondo del color rojo. Perfilo con un rotulador color plata…..
Then, once dry, clean it with solvent on the upper edges, leaving the bottom of the red color. Profile with a silver marker …..

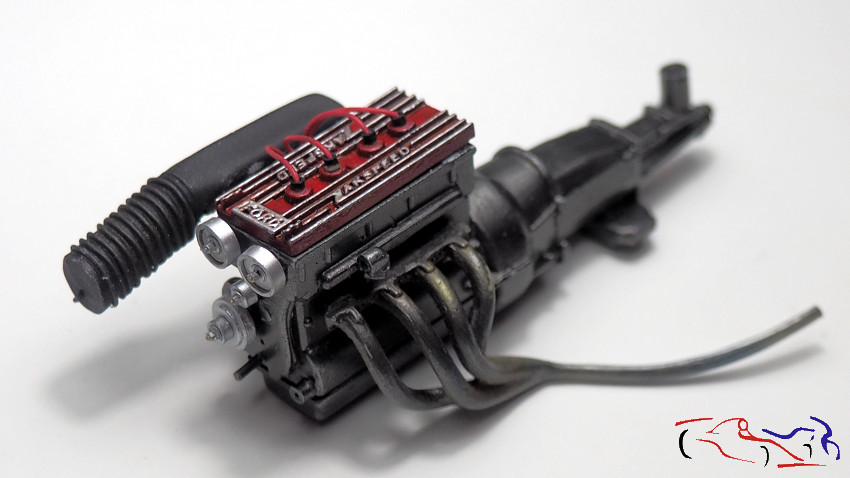
Para finalizar con un ligero lavado de Smoke acrílico:
To finish with a light wash of Smoke acrylic:
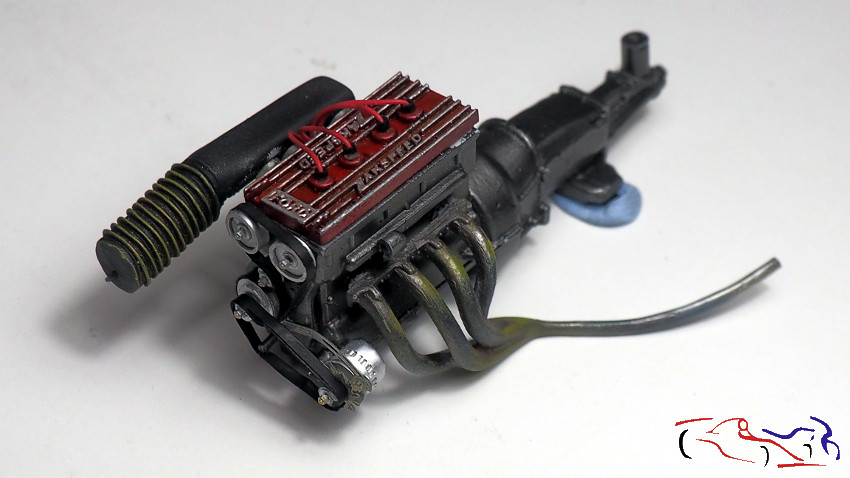
Y la ponemos en el bloque motor con los cables de las bujías, junto a la toma de aire:
And we put it in the engine block with the spark plug wires, next to the air intake:
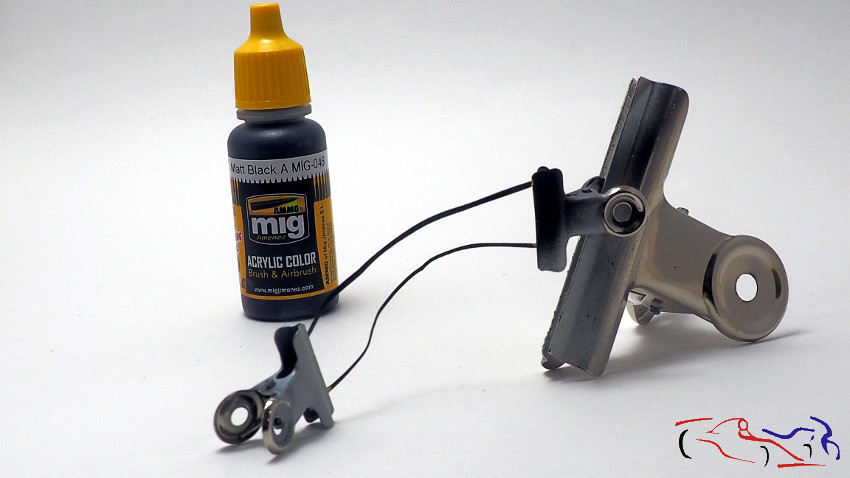
Para las correas, cinta de enmascara tamiya doblada por la parte que tiene adhesivo, y pintada con negro mate de MIG:
For the straps, masking tape tamiya bent in adhesive part, and painted them with black matte MIG:
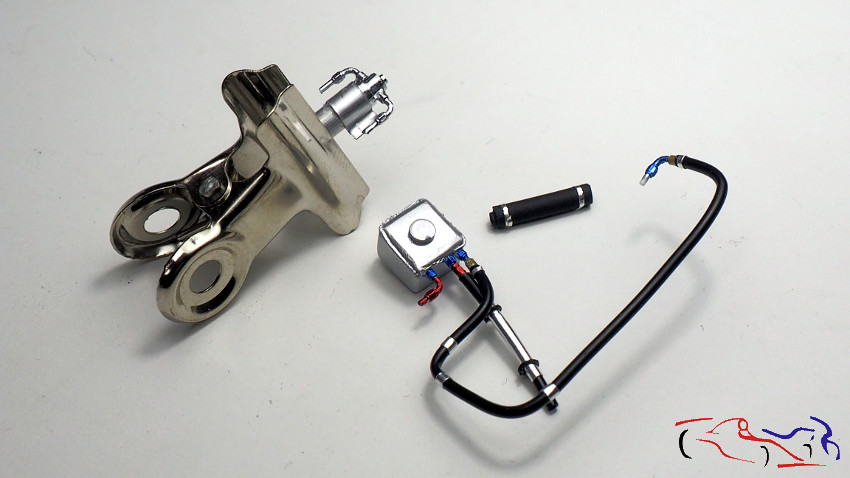
Más piezas del motor. La superior está realizada con dos racores, pintada con cromo Molotov a pincel. El tubo pequeño irá hacia el radiador, con dos tiras de aluminio adhesivo. La inferior, está pintada con Aluminio de AK, racores, y tubos negros, que tienen un alambre en el interior para dar la forma. Las arandelas son tiras de aluminio adhesivo.
More engine parts. The upper one is made with two fittings, painted with Molotov chrome with a brush. The small tube will go to the radiator, with two adhesive aluminum strips. The lower one is painted with AK aluminum, fittings, and black tubes, which have a wire inside to give the shape. The washers are adhesive aluminum strips.
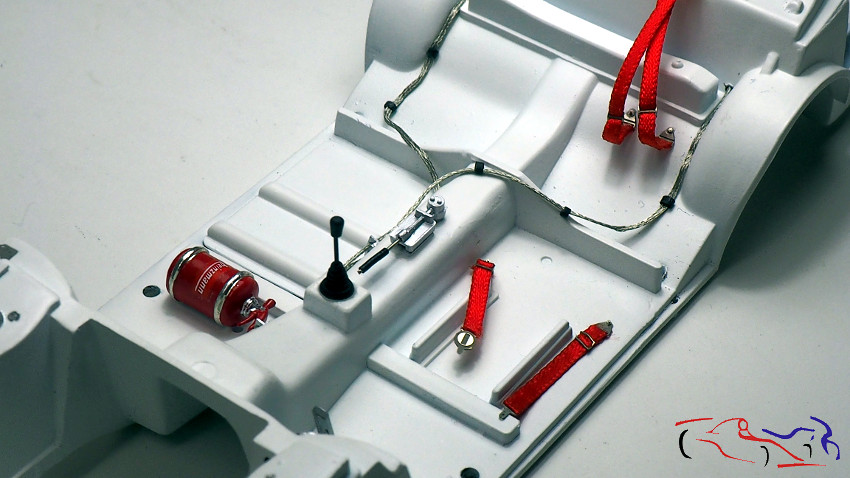
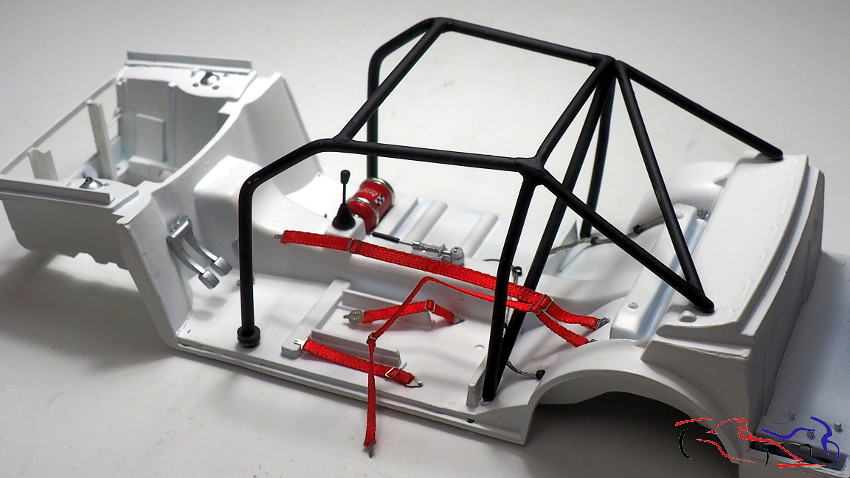
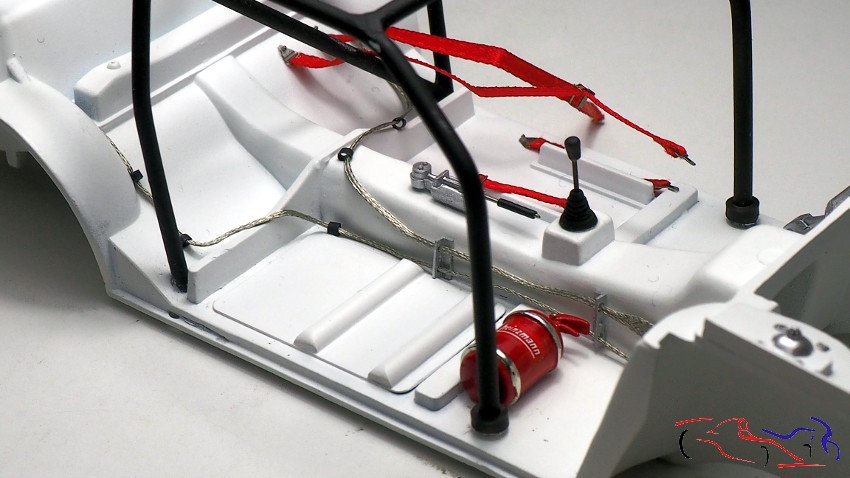
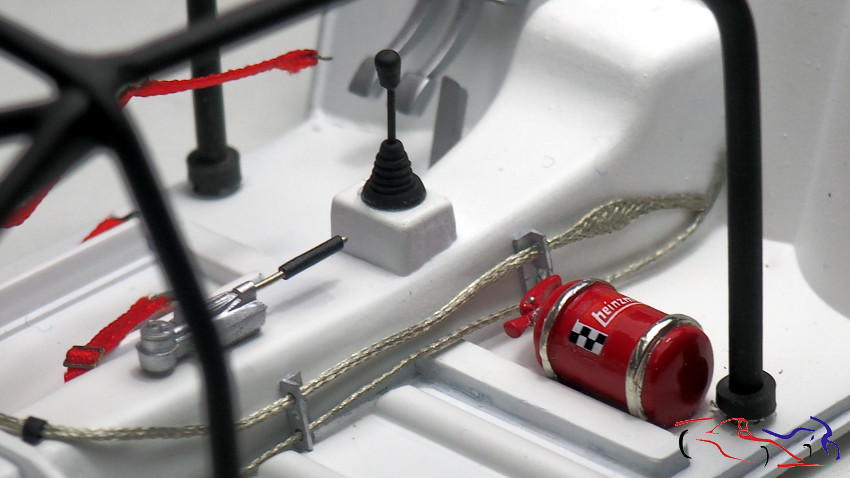
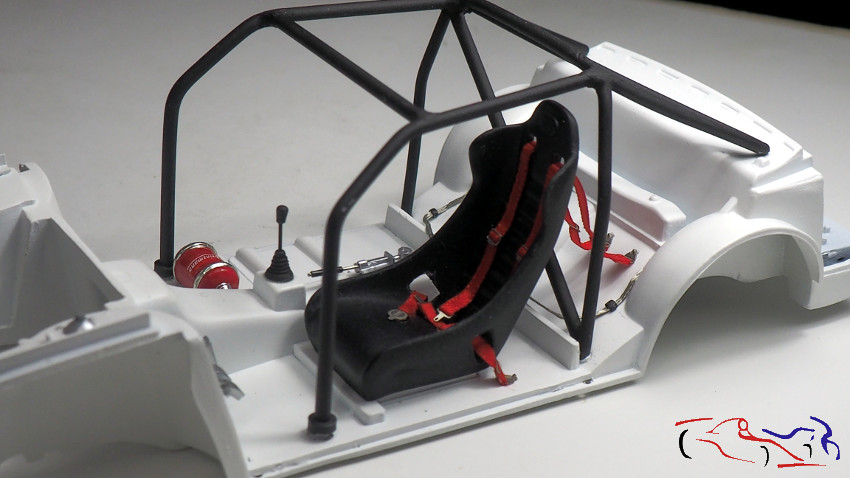
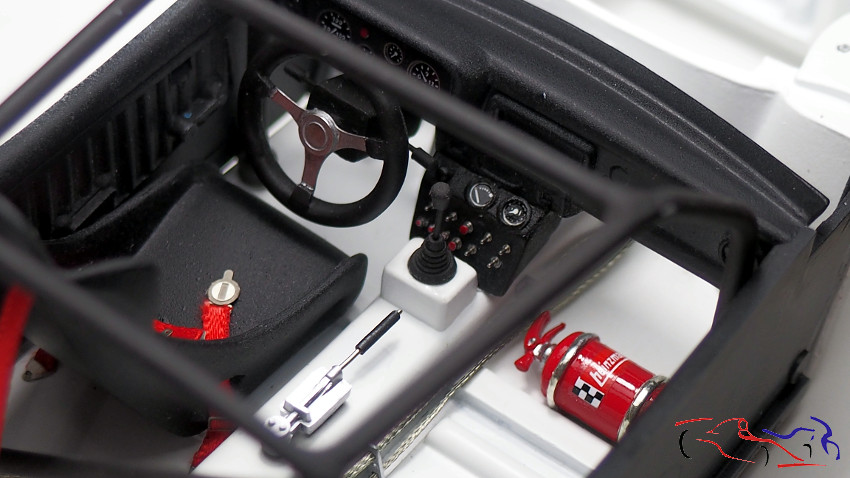
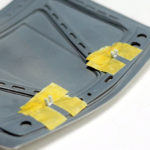
Y empezamos a poner las piezas en el chasis. Los cinturones los he fijado primero al chasis porque si no, con el asiento puesto, no podría haberlos anclado con sus respectivos clavos. Le he puesto dos cables trenzados a lo largo del chasis como conductos entre la parte delantera y los depósitos traseros
And we started putting the pieces in the chassis. The belts I have fixed first to the chassis because if not, with the seat on, I could not have anchored them with their respective nails. I have put two twisted cables along the chassis as conduits between the front and the rear tanks
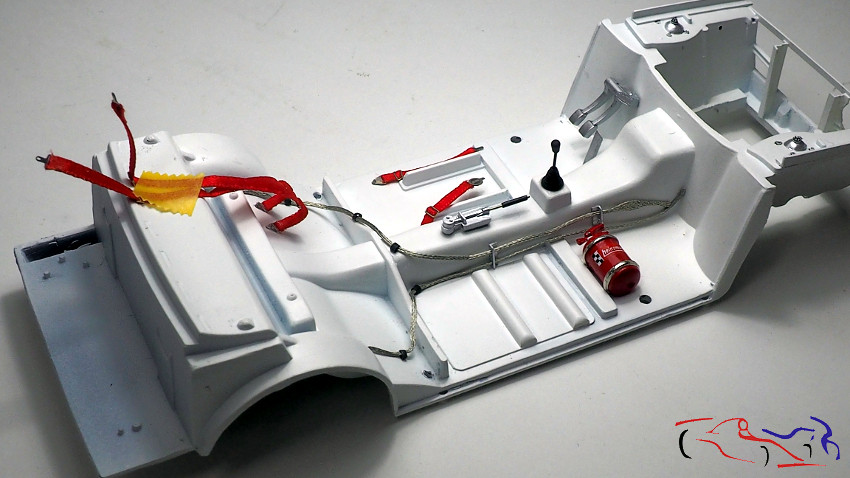
También vemos el freno de mano que al final se lo puse.
We also see the handbrake that I put it at the end.
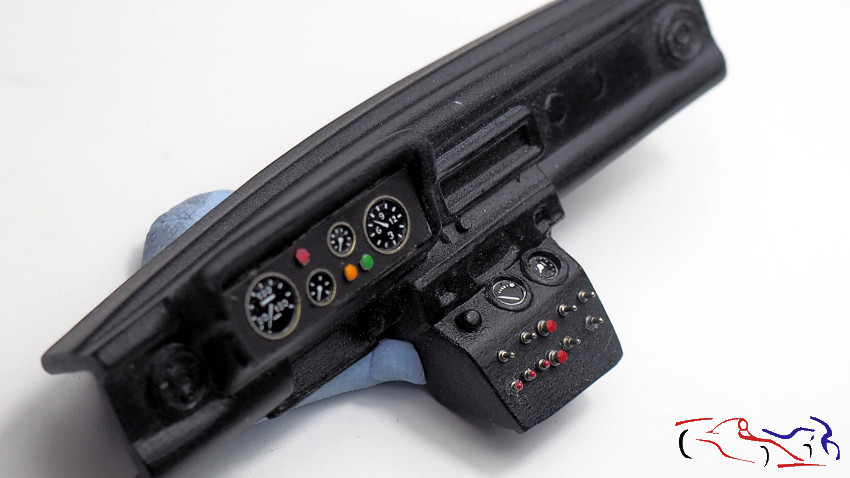
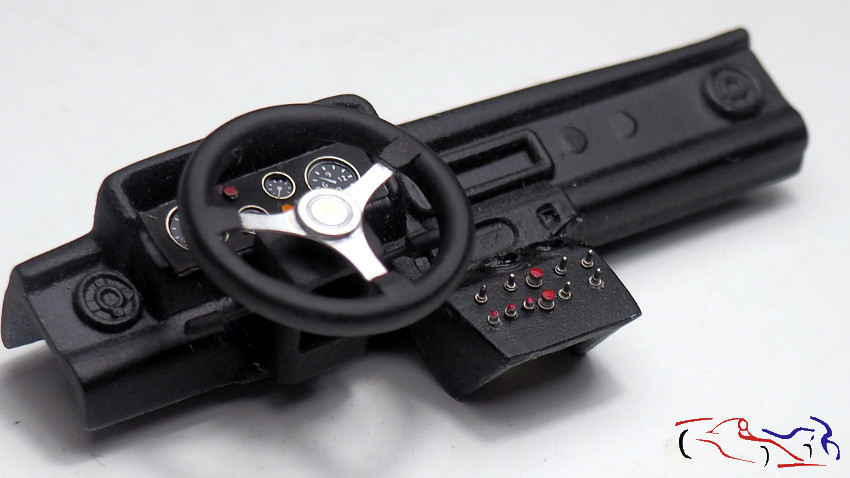
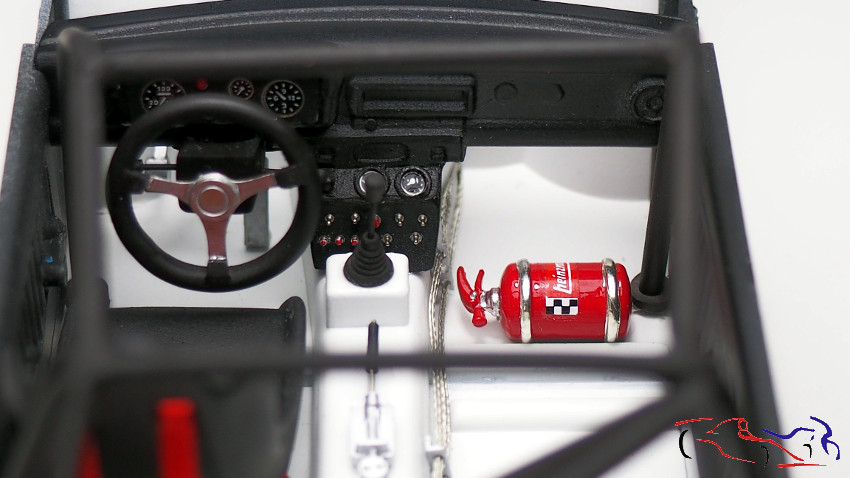
Para el salpicadero, he añadido los botones y los testigos. Los relojes tienen un fotograbado que pinté de negro y que después raspé para que volviera el color metálico.
For the dashboard, I added the buttons and the tokens. The watches have a gravure that I painted in black and then scraped to make the metallic color come back.
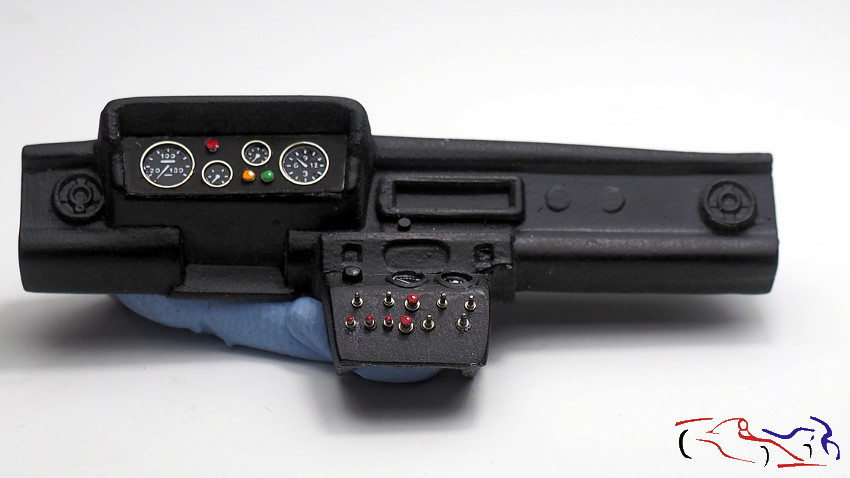
Los dos relojes de la consola central, fueron añadidos y a todos ellos les puse unas gotas de barniz brillante de AK. A los botones de colores, los pinté previamente con blanco mate.
The two clocks in the center console were added and I put a few drops of AK varnish on them. To the colored buttons, I previously painted them with matt white.
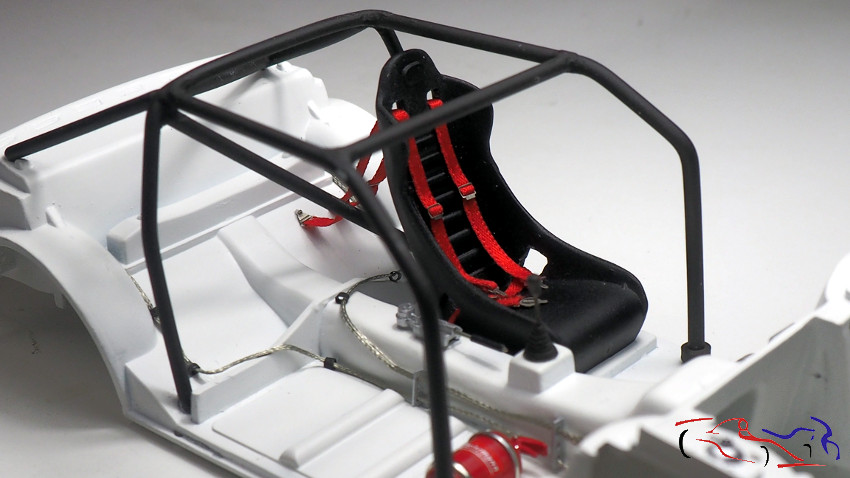
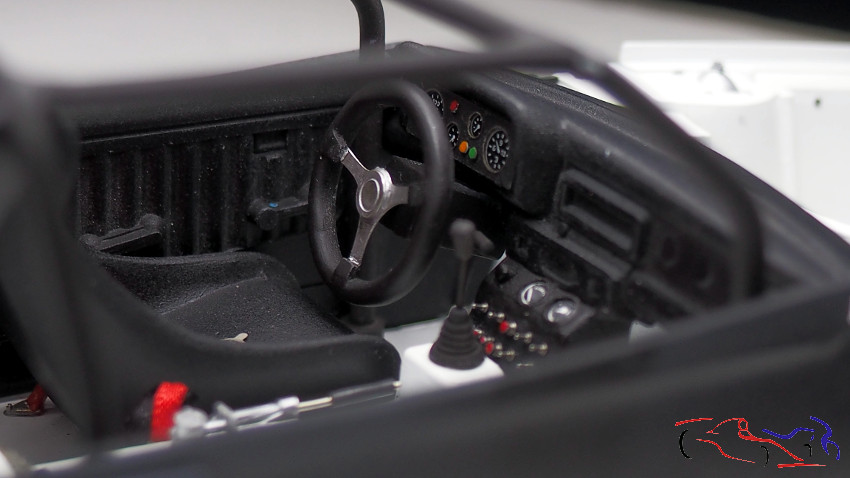
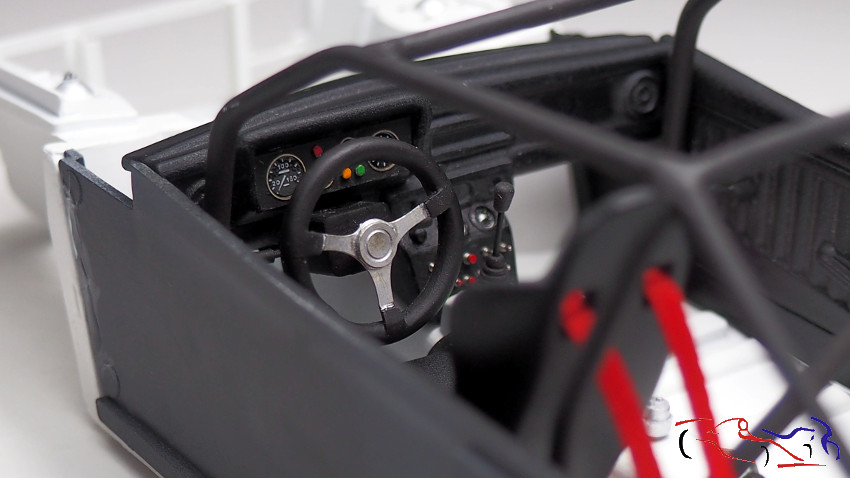
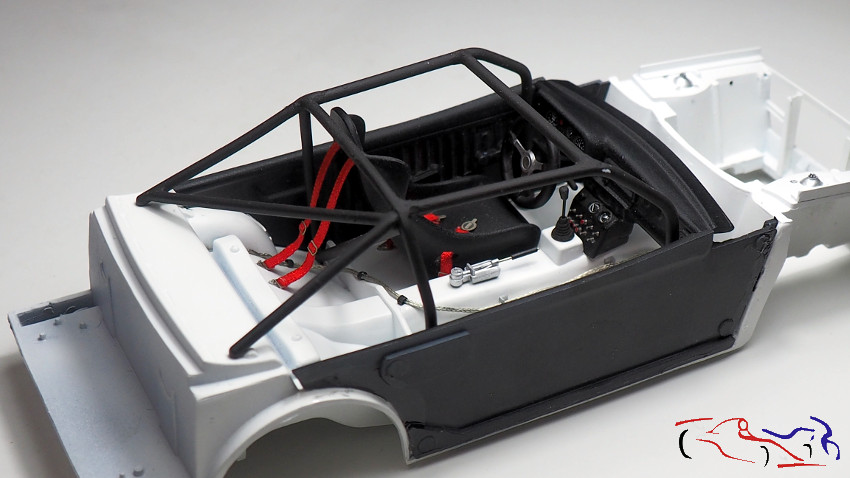
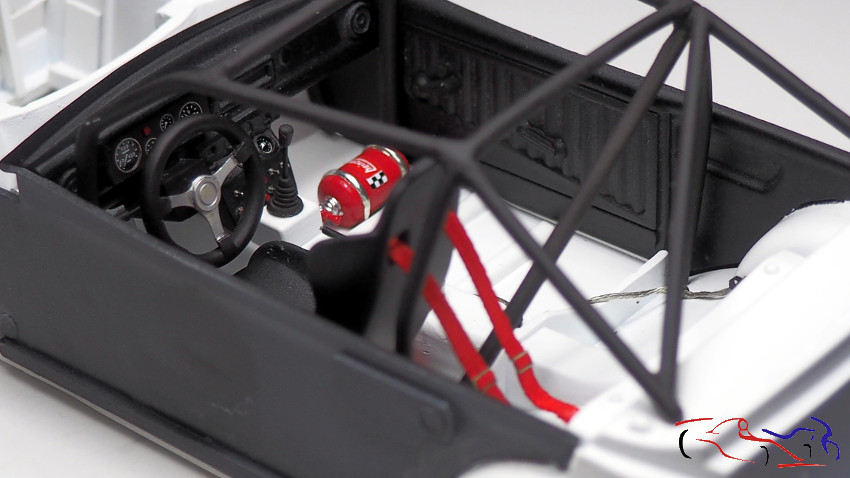
Y ponemos las barras antivuelco… Aquí muestro varias fotos del conjunto:
And we put the anti-roll bars … Here I show several photos of the set:
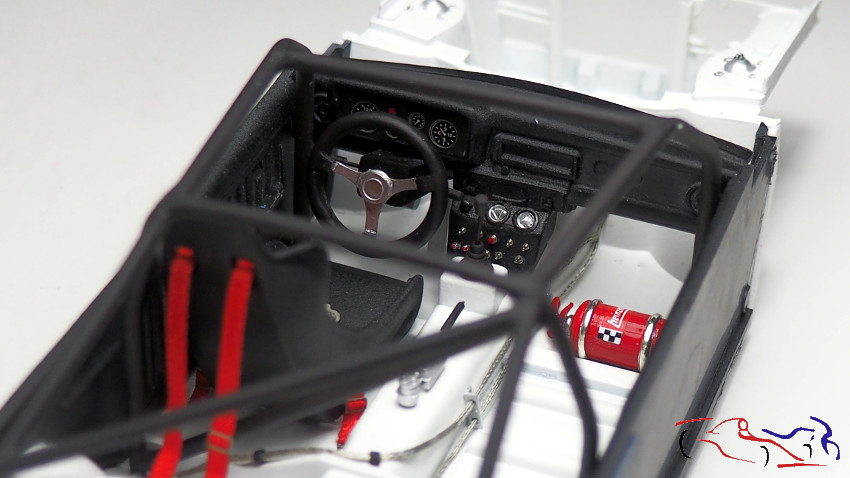
Y añadimos el volante al salpicadero:
And we add the steering wheel to the dashboard:
Lo mismo con el asiento. Una vez puesto, le paso los cinturones por las aberturas y los pego con ciano:
The same with the seat. Once put, I pass the belts through the openings and stick them with cyano:
Una vez seco, le añado los laterales y el salpicadero:
Once dry, I add the sides and the dashboard:
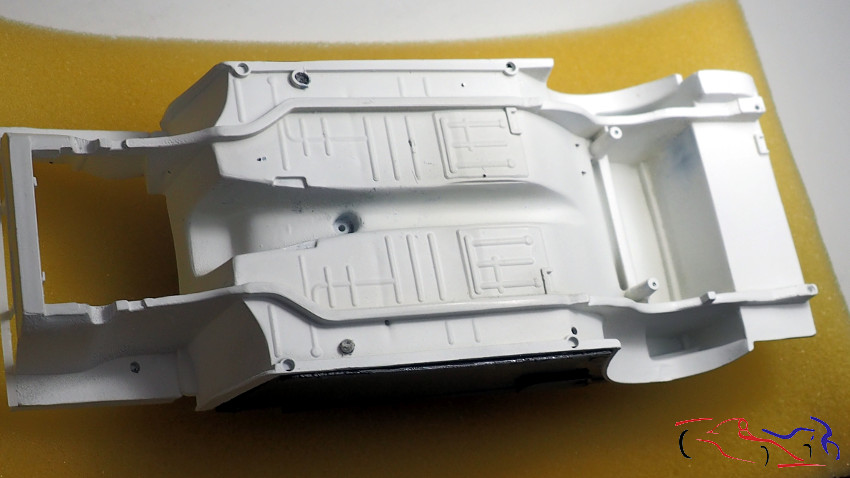
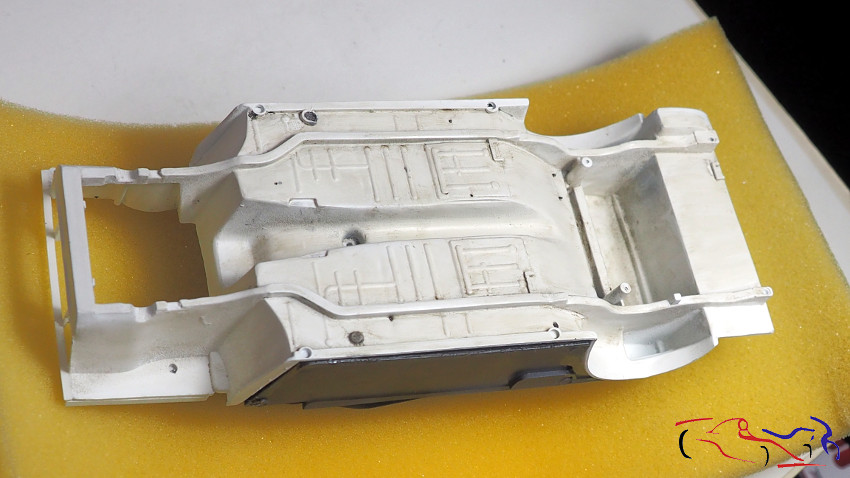
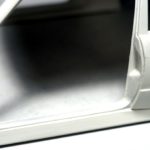
Para los bajos del chasis, volvemos a probar nuevas técnicas: del blanco impoluto…
For the underbody of the chassis, we try again new techniques: from the pure white …
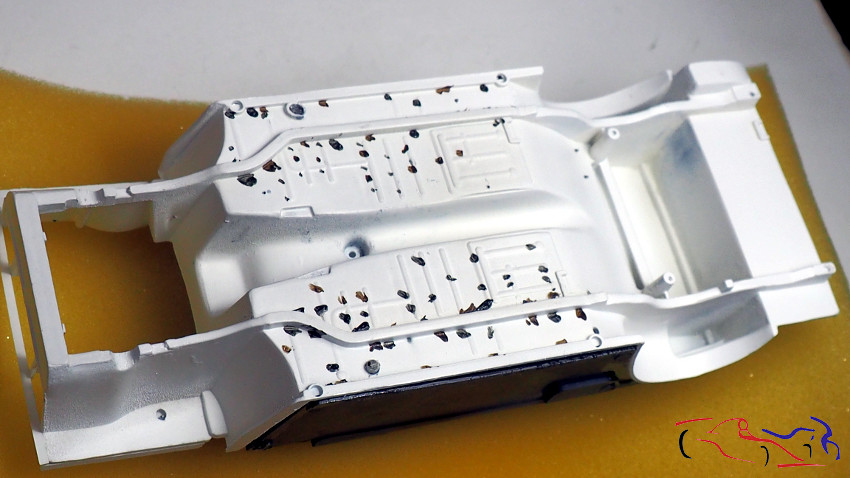
..le marco con negro y marrón oscuro, puntos de óleos MIG….
..I frame it with black and dark brown, MIG oil points ….
…Y con un pincel plano y disolvente, voy difuminándolos. No importa que añada mcho disolvente porque hará que se concentre en las esquinas a modo de aguada…
… And with a flat brush and solvent, I blur them. It does not matter if you add a lot of solvent because it will concentrate on the corners as a wash …
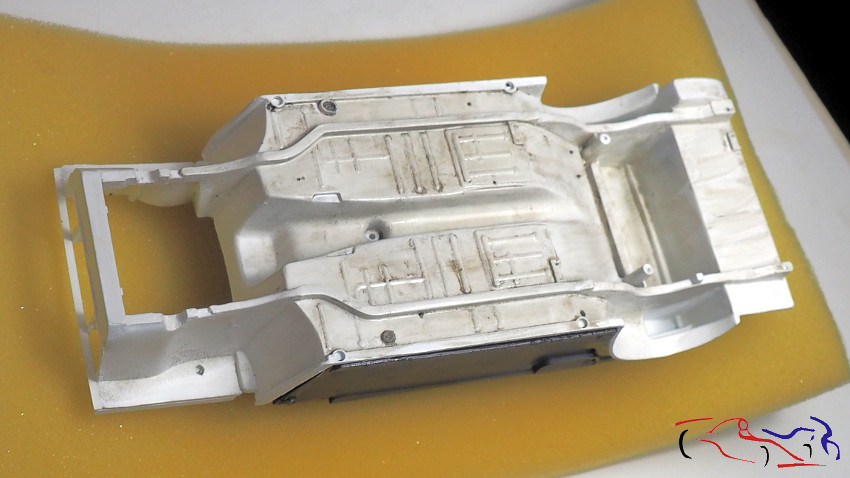
Y finalmente, cuando está un poco seco, elimino lo que no quiero con un bastoncillo, quedando una ligera patina. Este proceso se puede hacer muy bien en la parte superior del chasis, con lo que le dará un ligero tono de uso:
And finally, when it is a bit dry, I eliminate what I do not want with a stick, leaving a slight slip. This process can be done very well in the upper part of the chassis, which will give a slight tone of use:
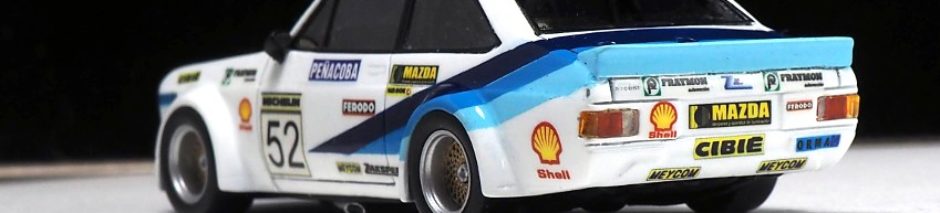
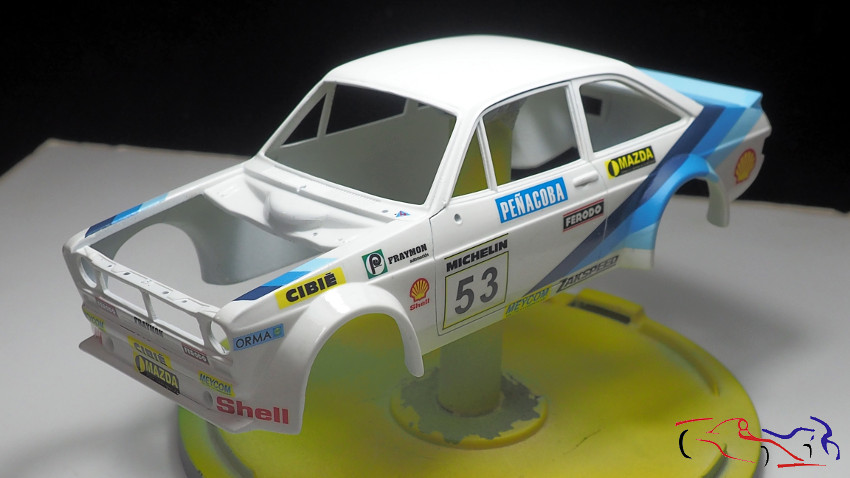
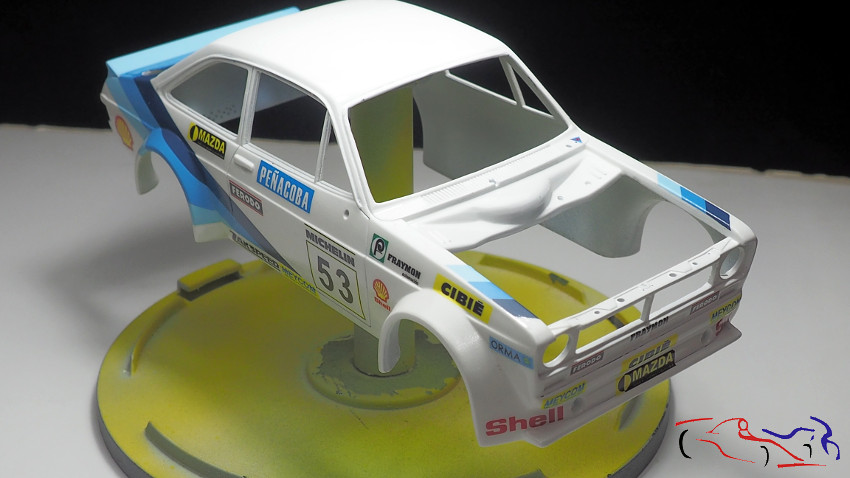
Y para terminar, unas fotos de la carrocería con las ligeras capas de barniz para que las calcas no se estropeen al aplicar la laca. No hace falta que esté muy brillante ya que la idea es proteger las calcas:
And finally, some photos of the body with the light layers of varnish so that the decals do not spoil when applying the lacquer. It does not need to be very bright since the idea is to protect the decals:
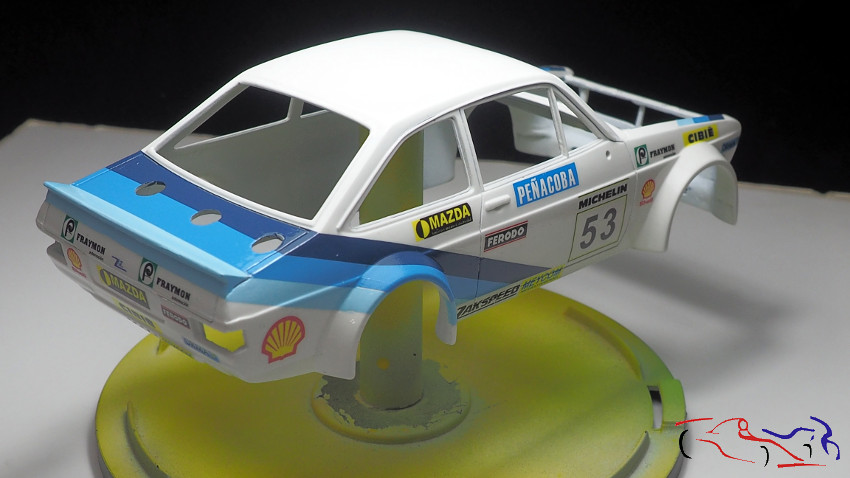
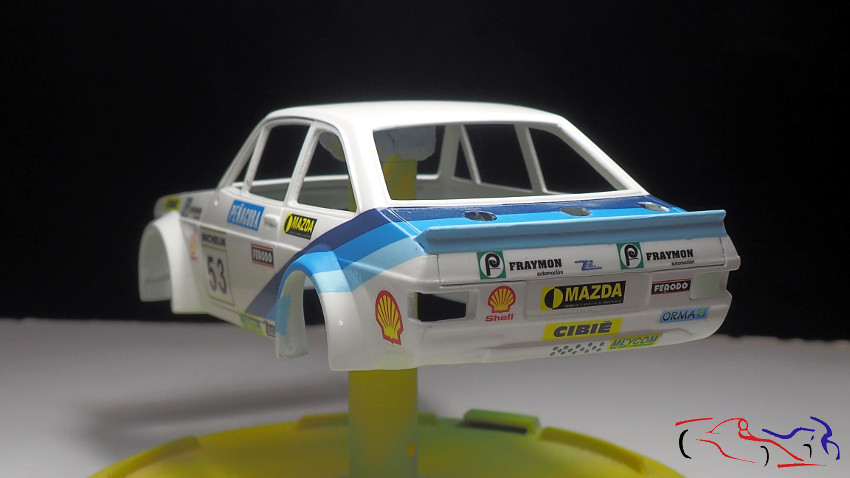
Y lo próximo será la laca!!
Gracias por ver y comentar!!
And the next will be the lacquer!
Thanks for viewing and commenting!!
Trabajo perfecto y detallado….gracias por la publicación. Saludos!